Home>Seasonal Storage>How Do You Make Easter Baskets Out Of Paper?
Seasonal Storage
How Do You Make Easter Baskets Out Of Paper?
Modified: October 27, 2024
Learn how to make Easter baskets out of paper for an easy and budget-friendly seasonal storage solution. Get creative and save space!
(Many of the links in this article redirect to a specific reviewed product. Your purchase of these products through affiliate links helps to generate commission for Storables.com, at no extra cost. Learn more)
Introduction
Welcome to the wonderful world of Easter crafts! If you’re looking for a creative and eco-friendly way to make Easter baskets, then look no further. In this article, we will guide you through the process of making beautiful Easter baskets out of paper. Not only is this a fun and engaging activity, but it also allows you to repurpose materials and contribute to a sustainable lifestyle.
Creating your own Easter baskets out of paper is not only a budget-friendly option, but it also adds a personal touch to your holiday celebrations. Whether you’re making them for your kids, friends, or as a DIY project, these paper Easter baskets will surely impress and bring joy to anyone who receives them. So, let’s gather our materials and embark on this crafty adventure!
Key Takeaways:
- Create personalized, eco-friendly Easter baskets out of paper with vibrant colors and festive designs. Add treats and goodies for a delightful, handmade surprise that brings joy to your Easter celebrations.
- Repurpose materials and contribute to a sustainable lifestyle by crafting DIY paper Easter baskets. Personalize with creative decorations and fill with treats for a unique and heartfelt Easter gift.
Read more: How To Make May Day Baskets Out Of Paper
Materials Needed
Before we dive into the process of making Easter baskets out of paper, let’s gather all the necessary materials. Here’s a list of what you’ll need:
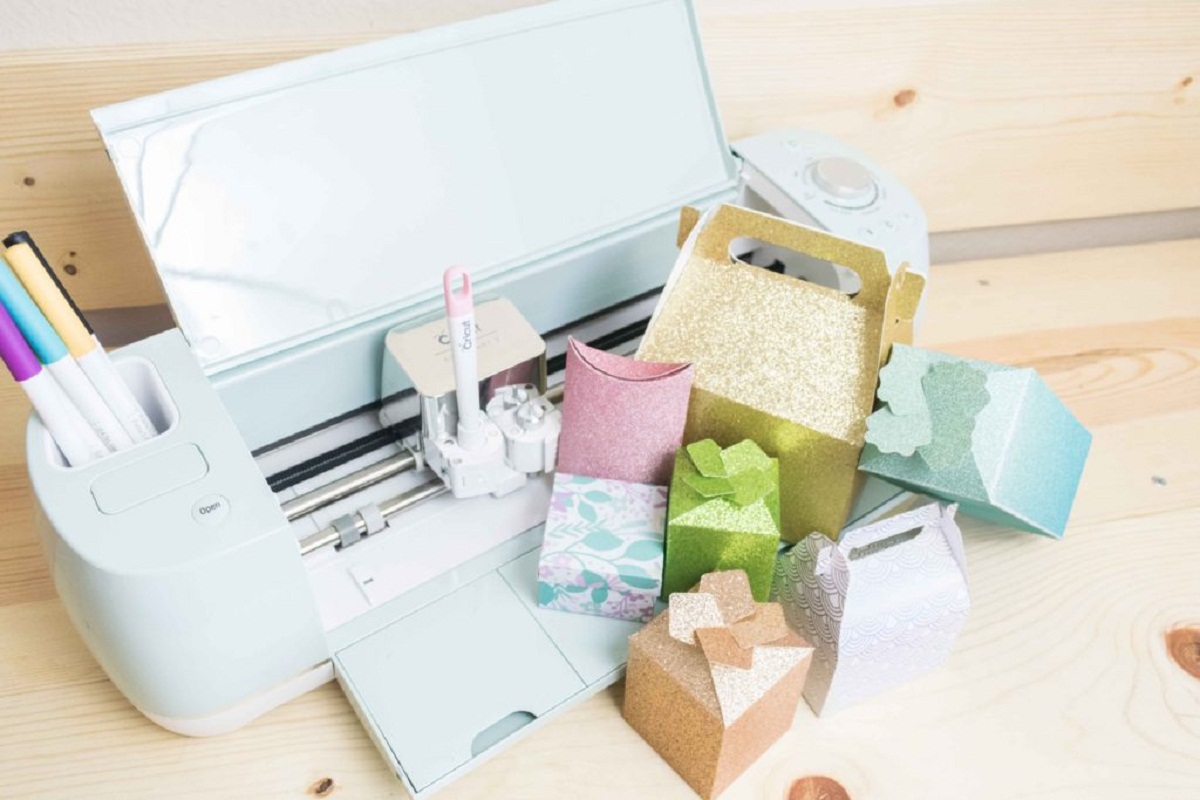
- Colored construction paper or cardstock
- Scissors
- Ruler
- Pencil
- Glue stick or double-sided tape
- Ribbon or string for the handle
- Decorative items such as stickers, markers, or cutouts
- Easter-themed cutouts (optional)
Ensure that you have all these materials within reach before you begin. It’s always helpful to have a well-organized workspace to make the crafting process smoother.
Now that we have our materials ready, let’s move on to the next step: choosing the right paper for our Easter baskets.
Step 1: Choosing the Right Paper
The first step in making Easter baskets out of paper is to select the right type of paper. You’ll want to choose a sturdy material that can hold the weight of the treats and decorations you plan to put inside the basket.
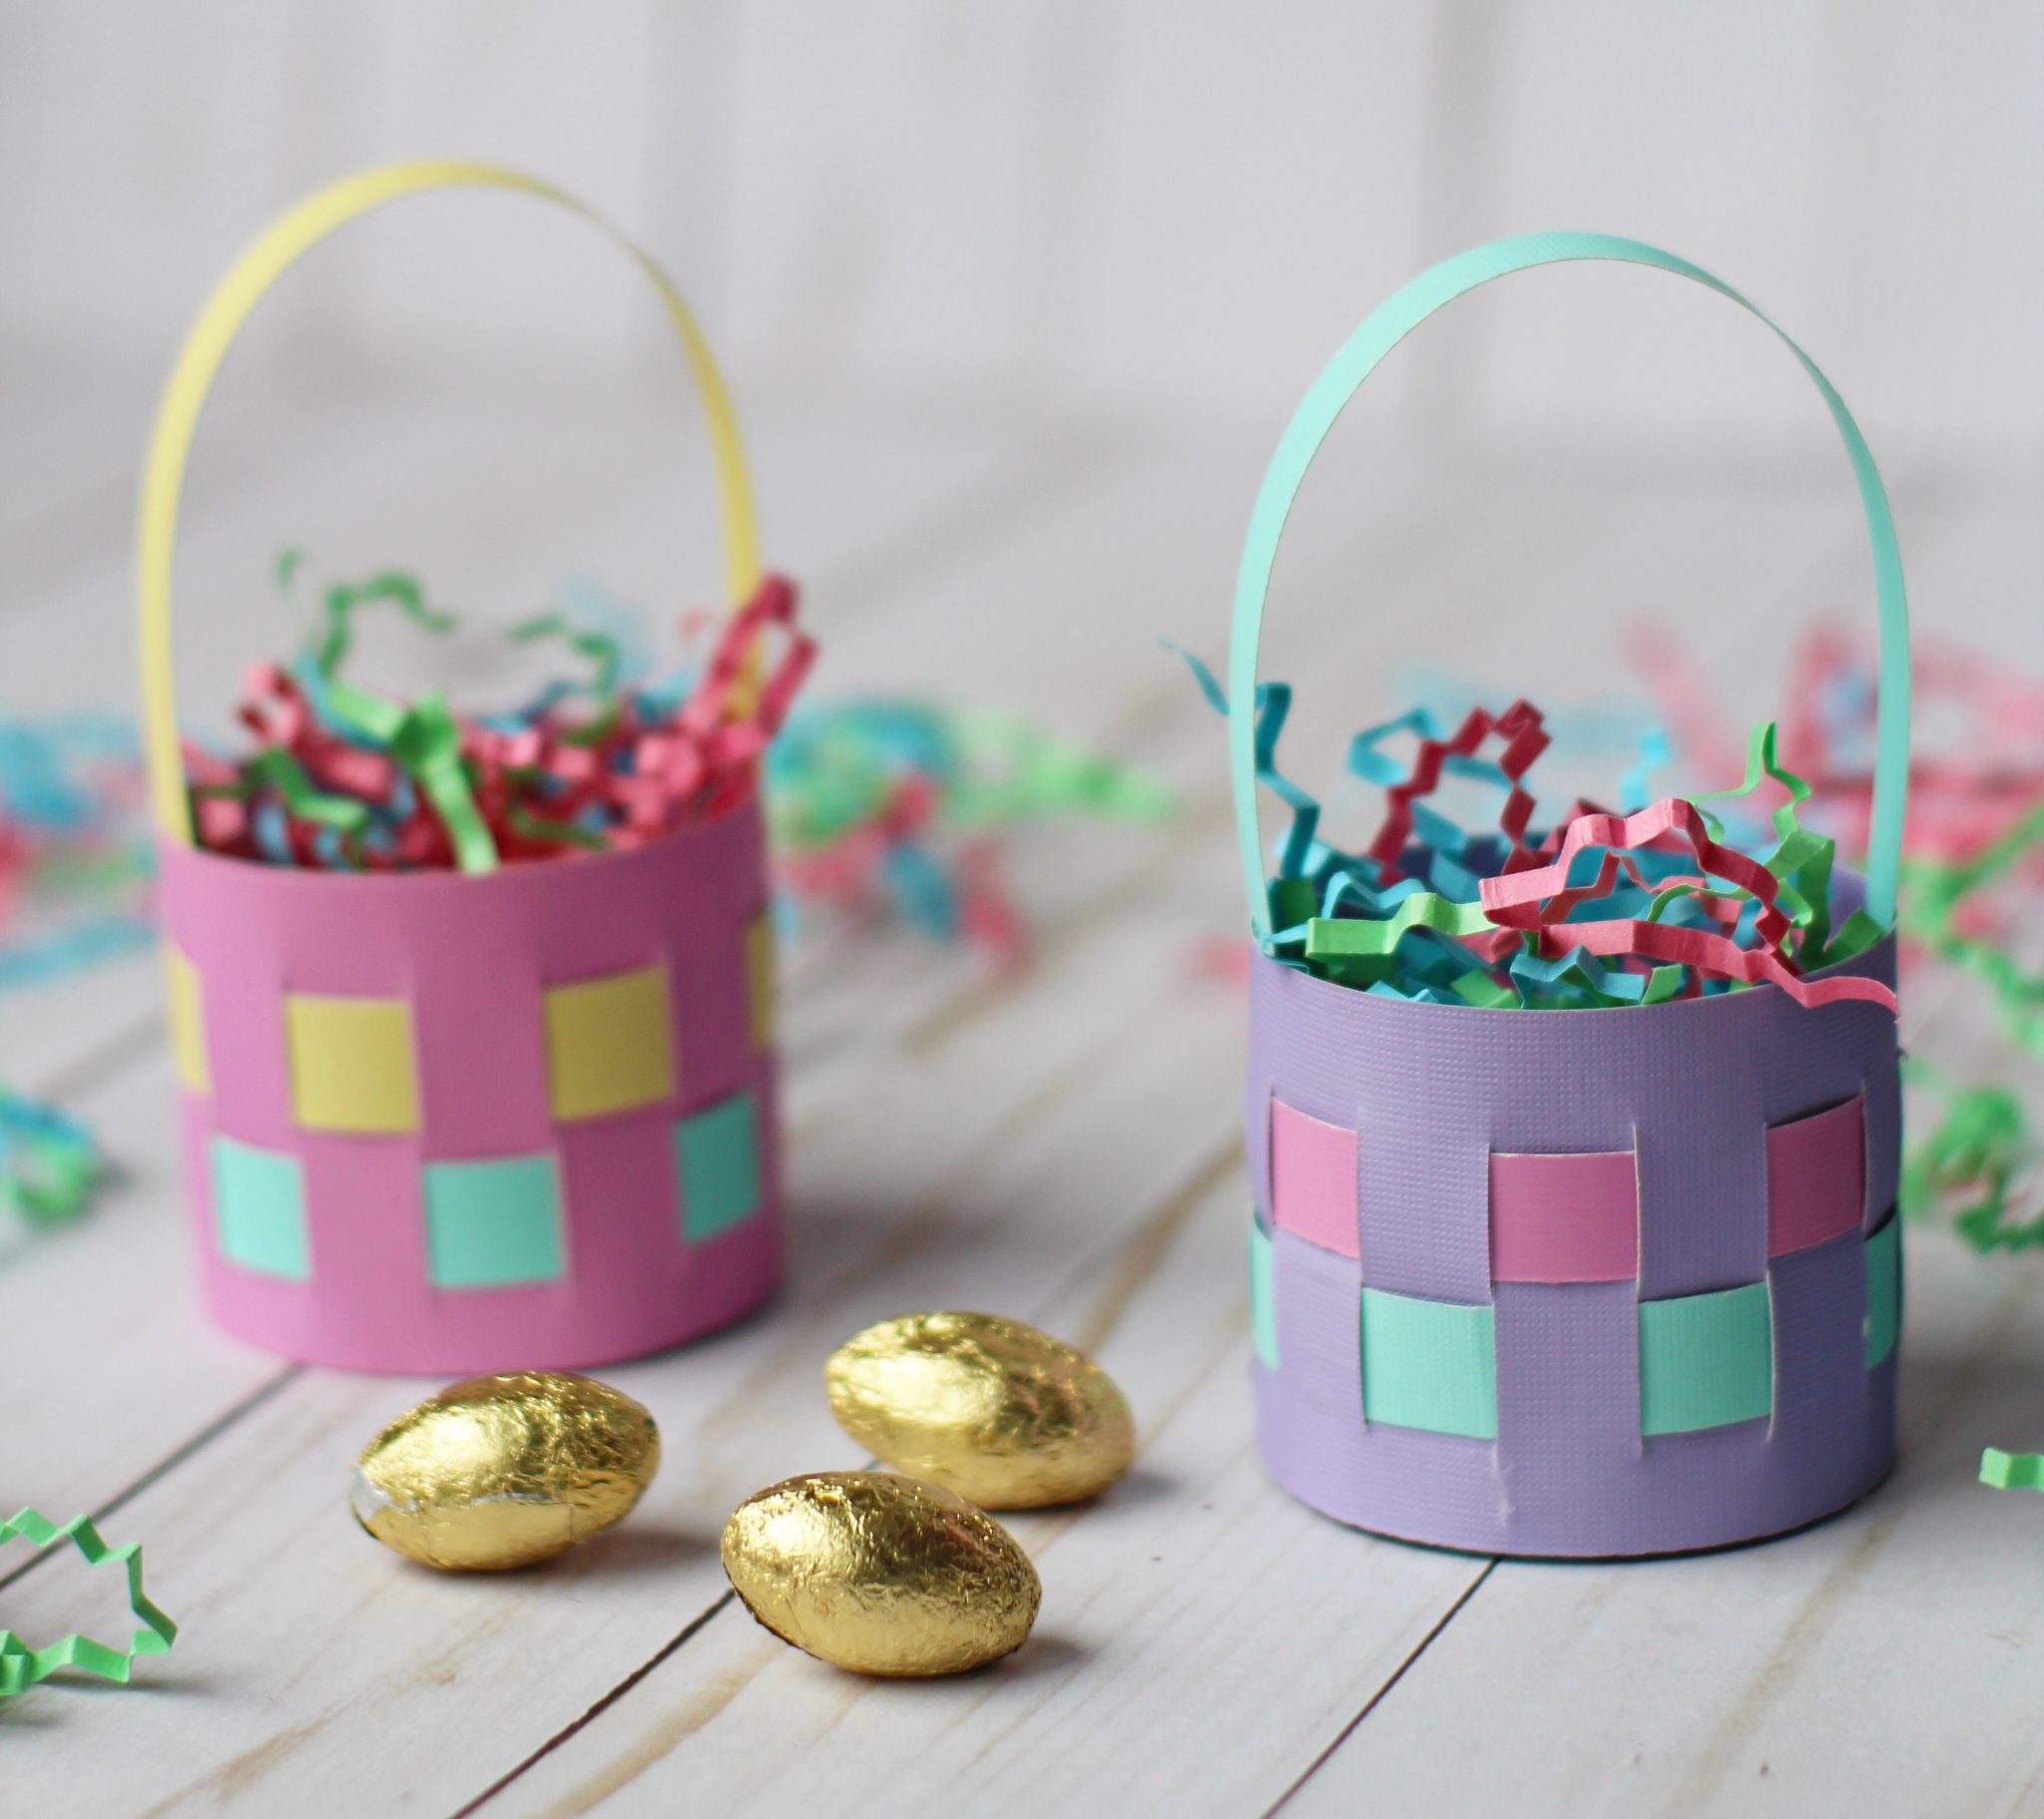
Colored construction paper or cardstock are excellent choices for this project. They are thick, durable, and come in a variety of colors that will make your Easter baskets vibrant and eye-catching. Look for colors that are commonly associated with Easter, such as pastel shades like light blue, soft pink, mint green, or sunny yellow.
Additionally, consider using patterned paper with Easter-themed designs, such as bunnies, eggs, or flowers. These patterns can add a festive touch to your baskets and make them even more visually appealing.
Once you’ve chosen the paper that you’d like to work with, move on to the next step: creating the basket base.
Step 2: Creating the Basket Base
Now that you have your chosen paper ready, it’s time to create the base of your Easter basket. Follow these simple steps:
- Start by measuring a square or rectangular shape on your paper. You can use a ruler and a pencil to ensure straight lines and accurate measurements.
- Decide on the size of your basket base. Consider how big you want your finished basket to be and then mark the dimensions on the paper. For example, if you want a square basket, you could measure 8 inches by 8 inches.
- Once you’ve measured and marked the dimensions, use your scissors to carefully cut out the shape.
- Now, fold the paper in half diagonally to create a triangle. Unfold and repeat the opposite diagonal to create two intersecting folds on the paper.
- With the paper still folded in half, bring the two opposite corners together to meet in the center, creating a smaller triangle shape.
- Hold the folded edges firmly and fold the sides up, using the two intersecting folds as a guide. This will form the sides of your basket.
- Open up the sides and fold the flaps inward along the folds you just made. This will reinforce the structure of the basket.
- Finally, refold the sides and secure them in place with glue stick or double-sided tape.
Once you’ve completed these steps, you’ll have a sturdy base for your Easter basket. You’re now ready to move on to the next step: folding the sides of the basket.
Step 3: Folding the Sides
With the basket base created, it’s time to fold the sides and give your Easter basket its distinctive shape. Follow these simple steps:
- Take one corner of the basket base and fold it up towards the center.
- Align the edges of the folded corner with the edges of the basket base and crease the fold to secure it in place.
- Repeat this process with the remaining three corners, folding them up towards the center and aligning the edges with the base.
- Once all four corners are folded, you’ll notice that the sides of the basket start to take shape.
- Hold the folded corners in place and reinforce the folds by running your fingers along the creases.
- Make any necessary adjustments to ensure that the sides are evenly folded and the basket maintains its shape.
By following these steps, you’ll achieve a neatly folded Easter basket with defined sides and corners. Now, it’s time to move on to the next step: attaching the handle.
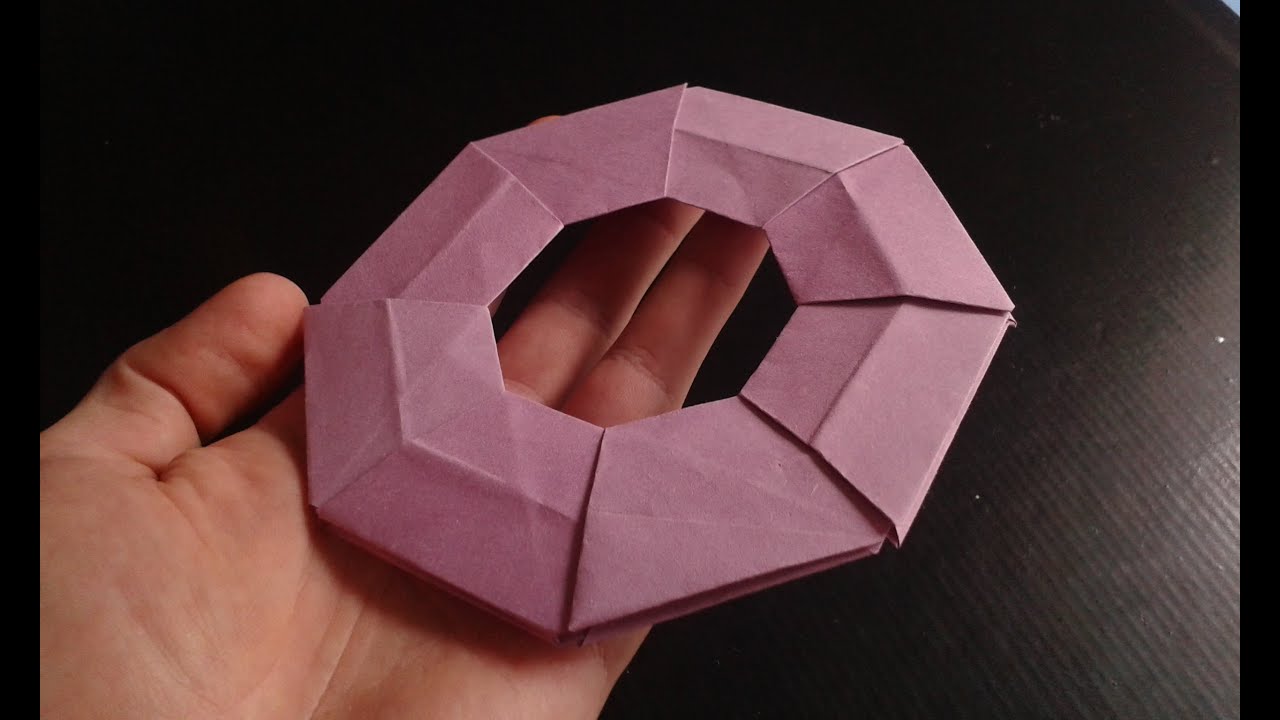
You can make Easter baskets out of paper by folding and weaving strips of paper to create the basket shape. Use colorful paper and add a handle for a festive touch.
Read more: Why Do We Do Easter Baskets
Step 4: Attaching the Handle
The handle adds both functionality and charm to your paper Easter basket. Follow these steps to attach the handle:
- Measure and cut a length of ribbon or string for the handle. The size can vary depending on your preference, but a length of around 10-12 inches should be sufficient.
- Position the ribbon or string across the top edges of the basket, with each end extending to the sides.
- Secure the ends of the ribbon or string to the basket by using glue or double-sided tape. Make sure the handle is firmly attached to provide support.
- You can also reinforce the handle by placing a small piece of paper over the ends and attaching it to the inside of the basket.
- Once the handle is securely attached, test its stability by gently lifting the basket.
The handle not only makes it easier to carry the Easter basket but also adds a decorative element. You can use colorful ribbons, twine, or even fabric strips to personalize your basket further.
Now that you have your handle in place, it’s time to move on to the next step: decorating the basket.
Step 5: Decorating the Basket
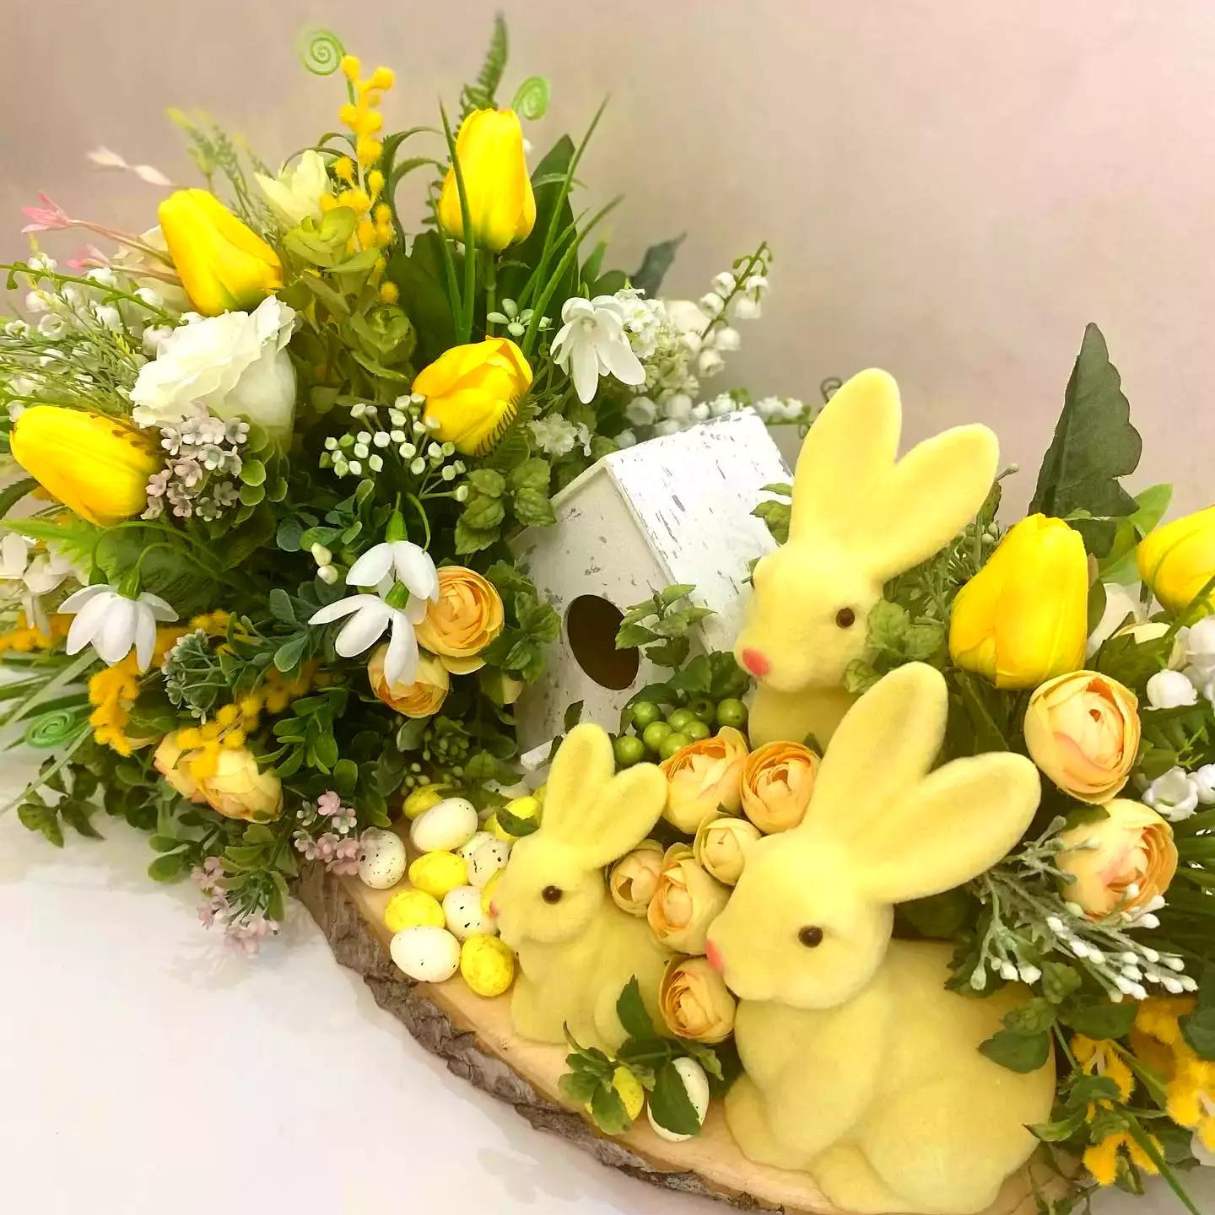
Decorating your Easter basket adds a festive and personalized touch. Let your creativity shine with these decoration ideas:
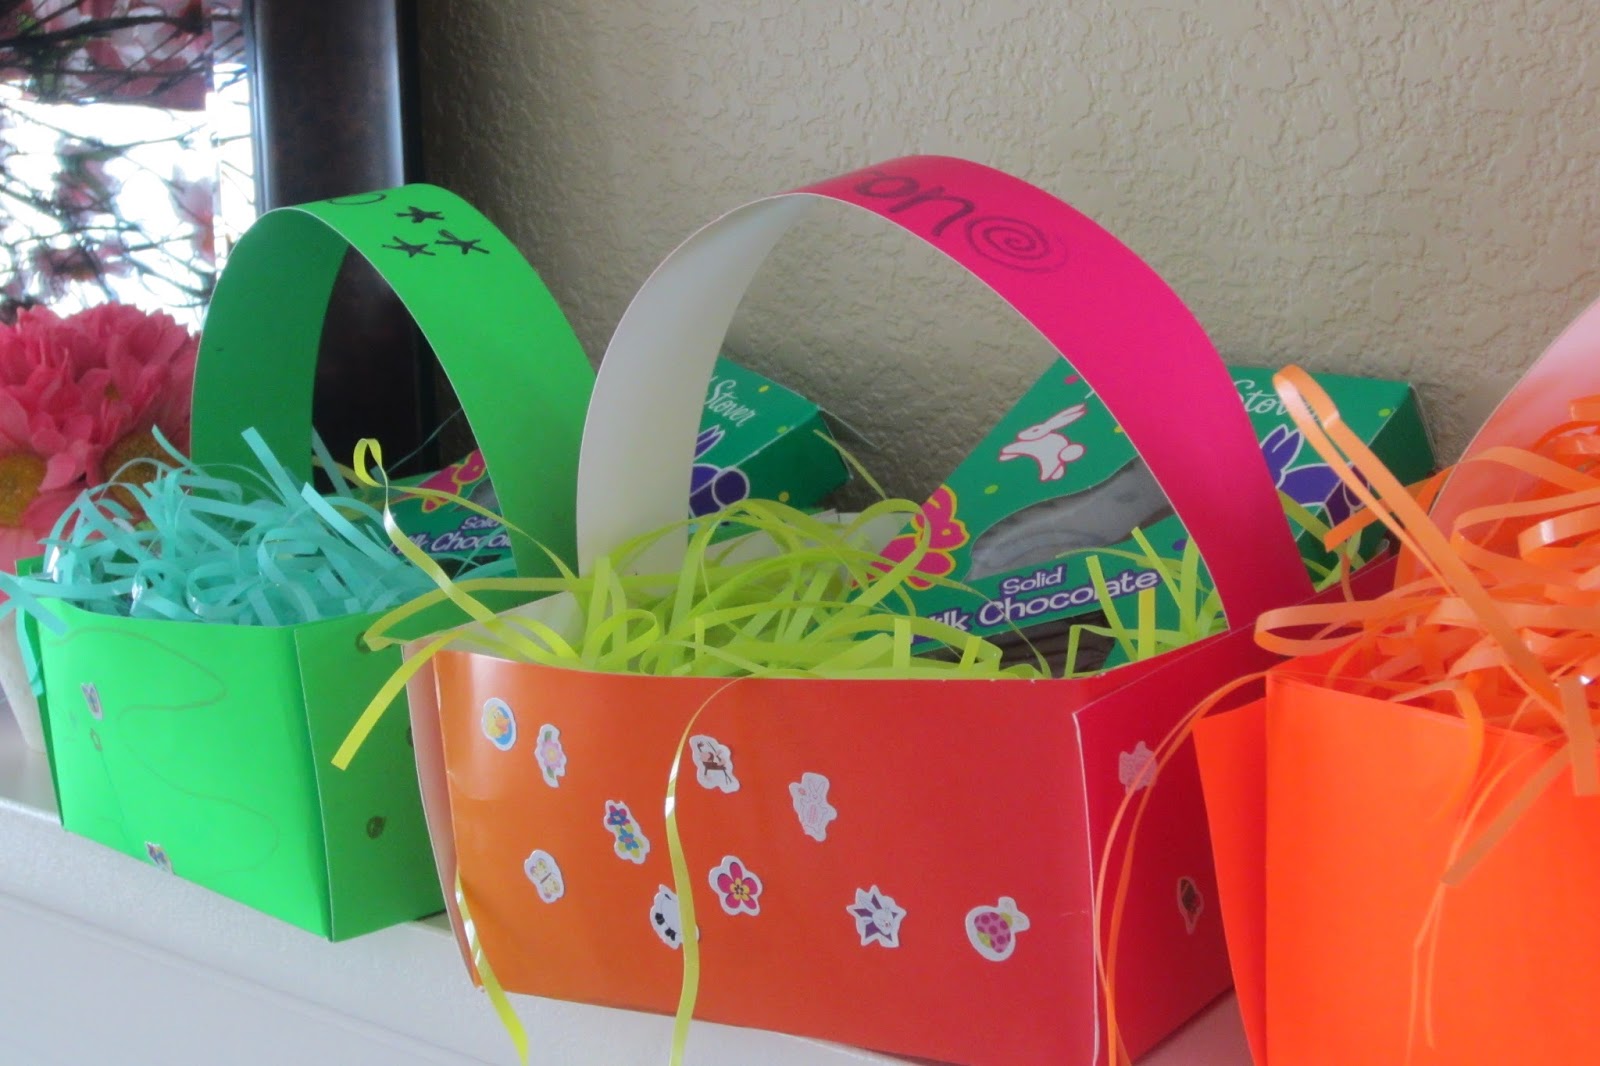
- Stickers: Use Easter-themed stickers to add fun and colorful designs to your basket. Bunnies, eggs, flowers, and chicks are popular choices.
- Markers and Crayons: Draw your own designs on the basket using markers or crayons. Add patterns, geometric shapes, or even write personalized messages.
- Cutouts: Cut out Easter-themed shapes and glue them onto your basket. You can use printed images or create your own designs on colored paper.
- Ribbons and Bows: Tie ribbons and bows around the handle or along the edges of the basket for an elegant and festive look.
- Glitter: Add a touch of sparkle by applying glitter glue or sprinkling glitter onto the basket. Just be sure to let it dry completely before handling.
Remember, decorating your Easter basket is a fun and creative activity, so don’t be afraid to experiment and let your imagination run wild. The goal is to make the basket reflect your personal style and add a unique flair to your Easter celebrations.
Once you’ve finished decorating, it’s time for the final step: filling the basket with Easter goodies!
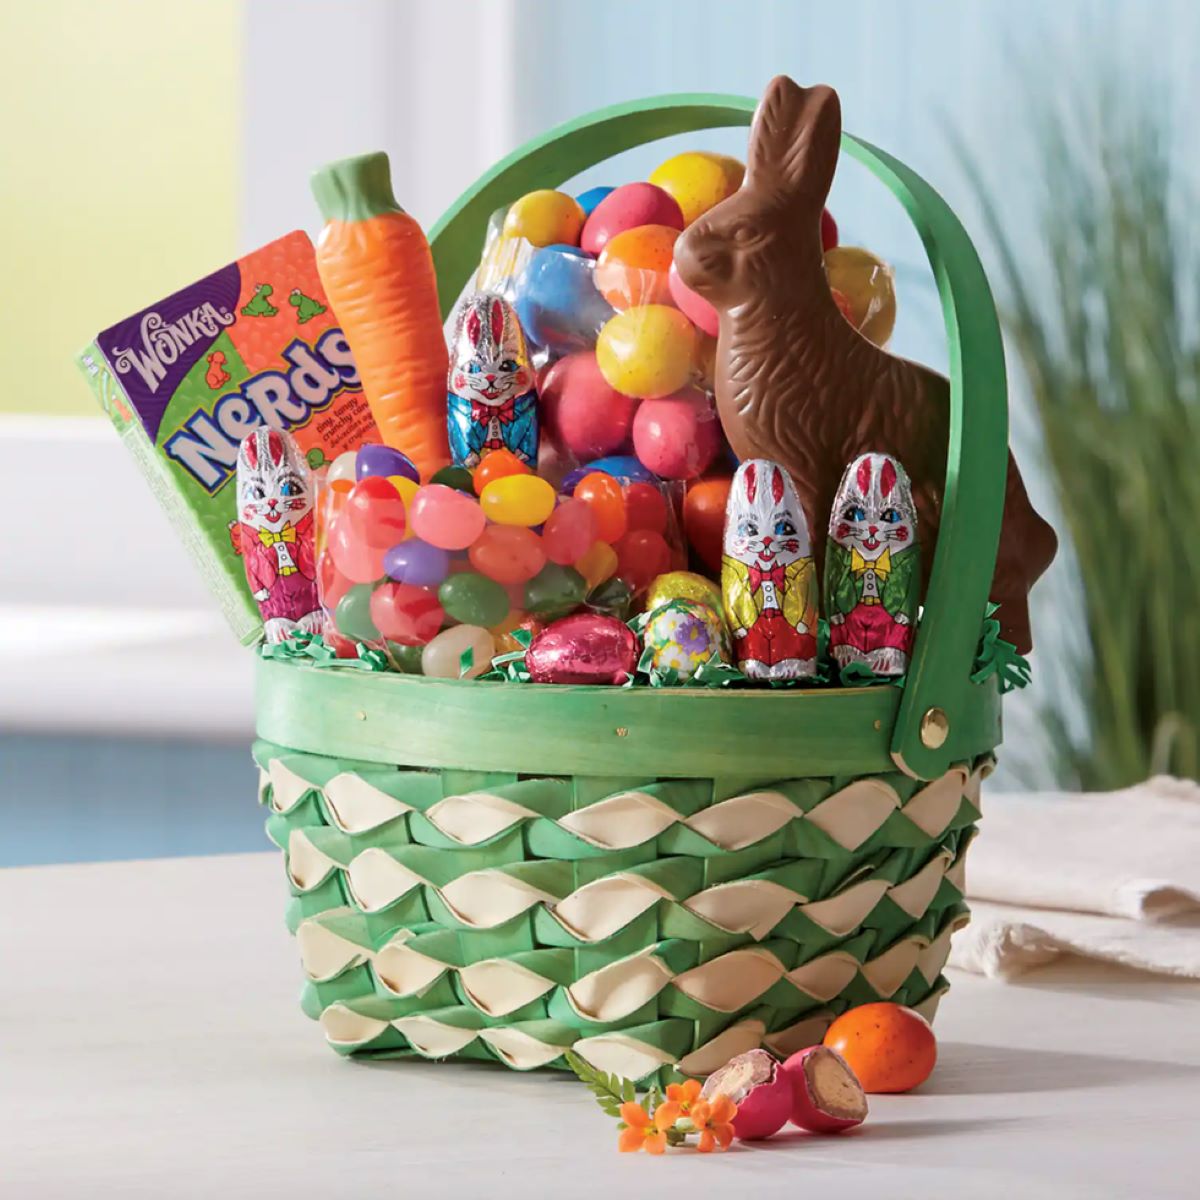
Step 6: Filling the Basket with Easter Goodies
The final step in creating your paper Easter basket is filling it with delightful treats and goodies. Here are some ideas to make your basket extra special:
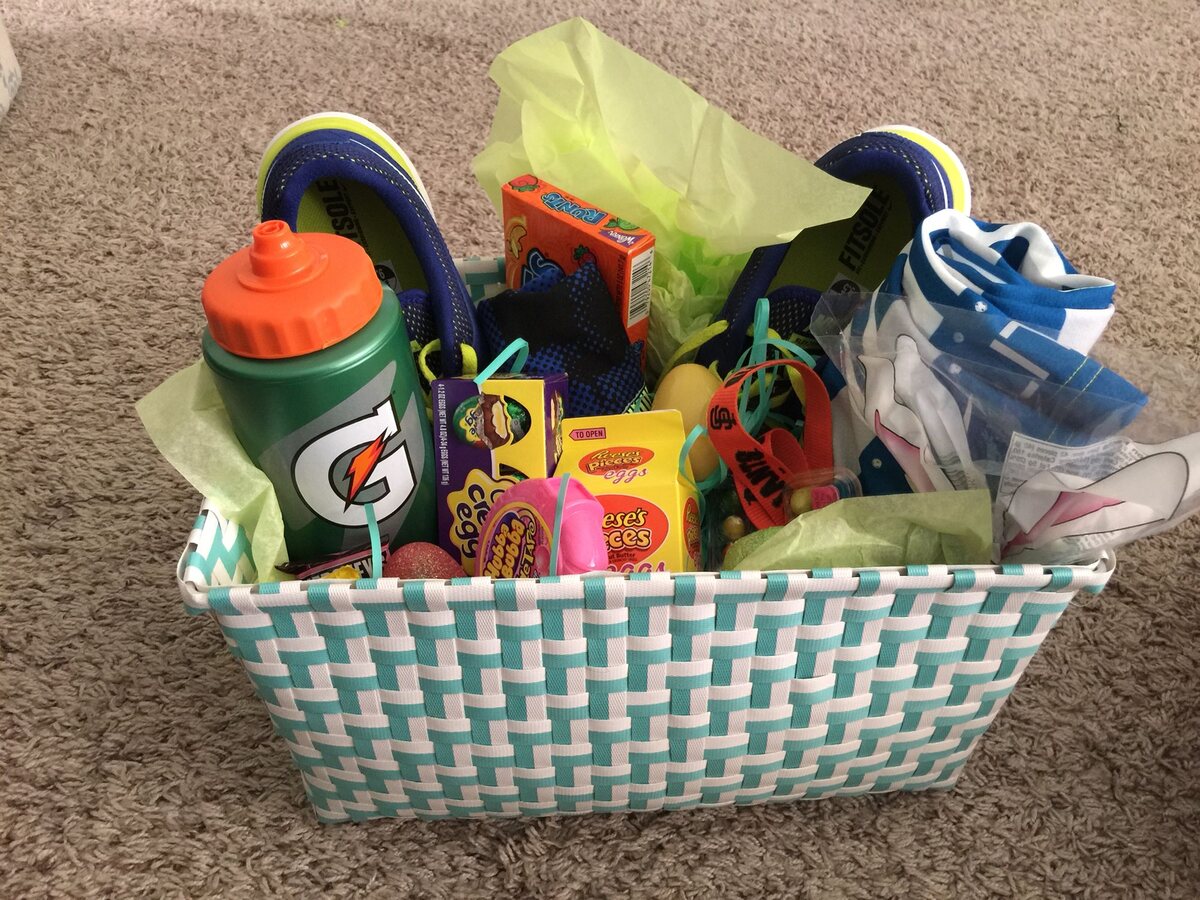
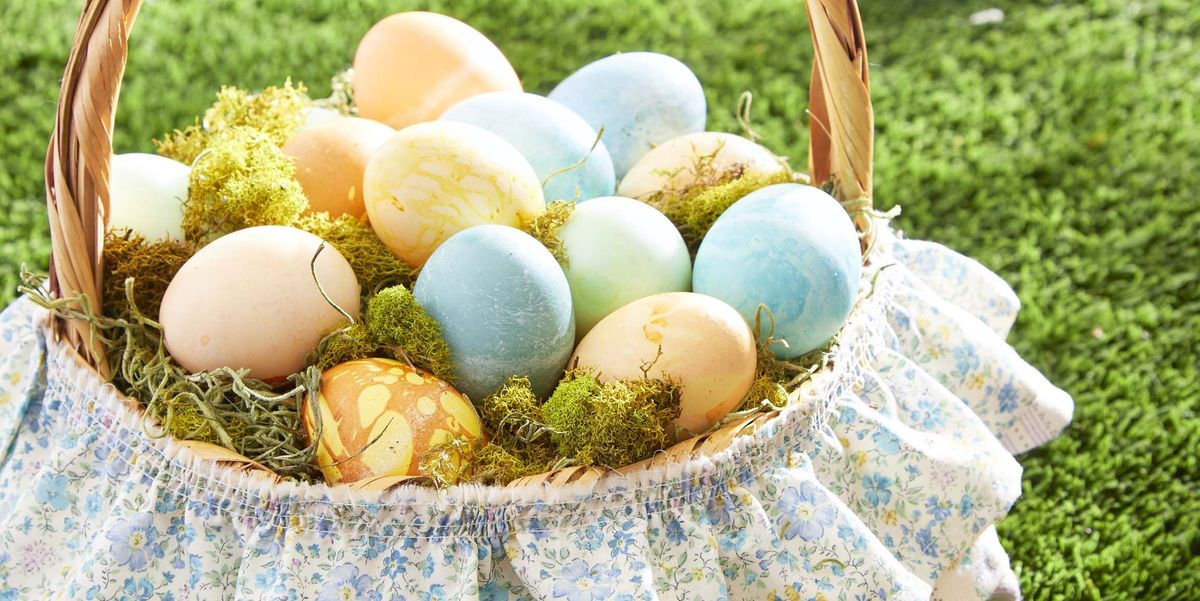
- Chocolate Eggs: Easter wouldn’t be complete without chocolate eggs. Fill your basket with an assortment of chocolate eggs in different flavors and sizes.
- Marshmallow Chicks and Bunnies: Add some adorable marshmallow chicks and bunnies to your basket. These squishy treats are always a hit with children.
- Candy-filled Eggs: Hide small candy-filled eggs inside the basket. You can either purchase pre-filled eggs or fill them yourself with your favorite candies.
- Small Toys or Trinkets: Include small toys or trinkets that are age-appropriate for the recipient. It could be mini puzzles, bubbles, stickers, or small stuffed animals.
- Easter-themed Cookies or Cupcakes: Bake or buy some Easter-themed cookies or cupcakes and place them in colorful cupcake liners to add a sweet treat to the basket.
- Handwritten Notes: Include handwritten notes or Easter-themed cards with personalized messages for a heartfelt touch.
Remember to consider the preferences and dietary restrictions of the person receiving the basket. You can mix and match different treats and goodies to create a customized Easter surprise.
With your basket now filled, wrap the entire basket in clear cellophane or tie a colorful bow around it for an extra festive touch.
Congratulations! You have successfully created a beautiful Easter basket out of paper. Whether it’s for you, your family, or as a gift to someone special, this handmade creation will surely bring joy and excitement to the Easter festivities.
Remember, the beauty of DIY crafts is that you can always add your own personal touch and modify the steps to suit your preferences. So have fun with the process and enjoy the joy of making something special from scratch!
Happy Easter!
Conclusion
Congratulations on completing your DIY paper Easter basket! By following these simple steps, you’ve created a beautiful and personalized Easter basket that is not only eco-friendly but also filled with love and creativity.
Making Easter baskets out of paper is not only a fun craft activity but also a great way to repurpose materials and contribute to a sustainable lifestyle. The joy and satisfaction that comes from creating something with your own hands and giving it to someone special are truly priceless.
Remember, you can modify these steps and get creative with your designs. Feel free to experiment with different colors, patterns, and decorations to make your Easter basket unique and reflect your personal style.
Whether you’re making these paper Easter baskets for your kids, family, friends, or as a DIY project for yourself, these handmade creations will bring a touch of joy and elegance to your Easter celebrations.
So gather your materials, unleash your creativity, and let the Easter spirit inspire you to craft beautiful paper Easter baskets that will delight and surprise everyone.
Wishing you a hoppy and egg-citing Easter filled with happiness and memorable moments!
Frequently Asked Questions about How Do You Make Easter Baskets Out Of Paper?
Was this page helpful?
At Storables.com, we guarantee accurate and reliable information. Our content, validated by Expert Board Contributors, is crafted following stringent Editorial Policies. We're committed to providing you with well-researched, expert-backed insights for all your informational needs.


0 thoughts on “How Do You Make Easter Baskets Out Of Paper?”