Home>Storage Ideas>Storage Baskets>How To Make May Day Baskets Out Of Paper

Storage Baskets
How To Make May Day Baskets Out Of Paper
Modified: February 28, 2024
Learn how to make beautiful May Day baskets out of paper with our step-by-step guide. Perfect for storing your belongings and adding a touch of charm to your space.
(Many of the links in this article redirect to a specific reviewed product. Your purchase of these products through affiliate links helps to generate commission for Storables.com, at no extra cost. Learn more)
Introduction
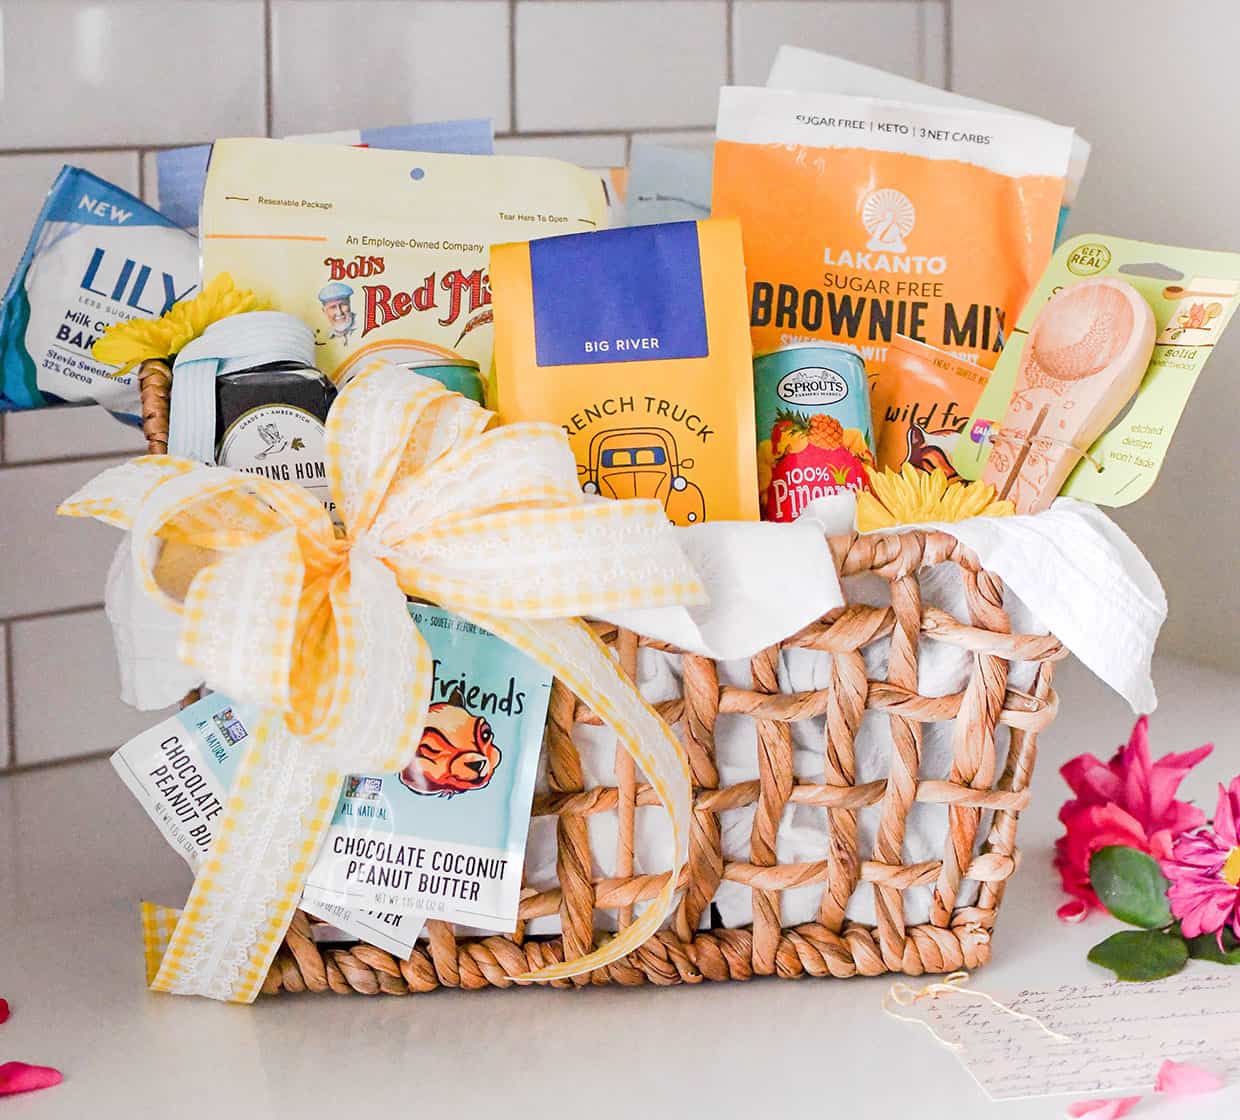
May Day is a traditional celebration that has been observed for centuries as a way to welcome the arrival of spring. One popular tradition during this festive occasion is the giving of May Day baskets. These charming little baskets, often filled with treats or flowers, are meant to be anonymously left on the doorsteps of friends, neighbors, or loved ones. It’s a delightful way to spread joy and bring a touch of enchantment to the day.
In this article, we will explore how to make May Day baskets out of paper. Paper baskets are not only easy to assemble, but they also provide endless opportunities for creativity and customization. So, grab some colorful paper, scissors, and let’s dive into the art of crafting these whimsical May Day baskets.
Key Takeaways:
- Spread joy and celebrate spring by crafting whimsical May Day baskets out of paper. Infuse them with personal creativity and surprise loved ones with delightful treats or flowers.
- Embrace the enchanting tradition of May Day by creating unique paper baskets. Share the magic of spring with handmade gifts that embody the spirit of community and celebration.
Read more: What Is The Purpose Of May Day Baskets?
Materials Needed
Before we start making our May Day baskets, let’s gather all the materials we will need:
- Colored paper or cardstock
- Scissors
- Glue or double-sided tape
- Ruler
- Decorative materials (such as stickers, ribbon, or markers)
- Treats or flowers to fill the baskets
Make sure to choose a variety of colored paper or cardstock to add a vibrant touch to your May Day baskets. You can either opt for pre-cut paper sheets or cut them to the desired size using a ruler and scissors.
Once you’ve gathered all the materials, find a clean and well-lit workspace where you can let your creativity flow.
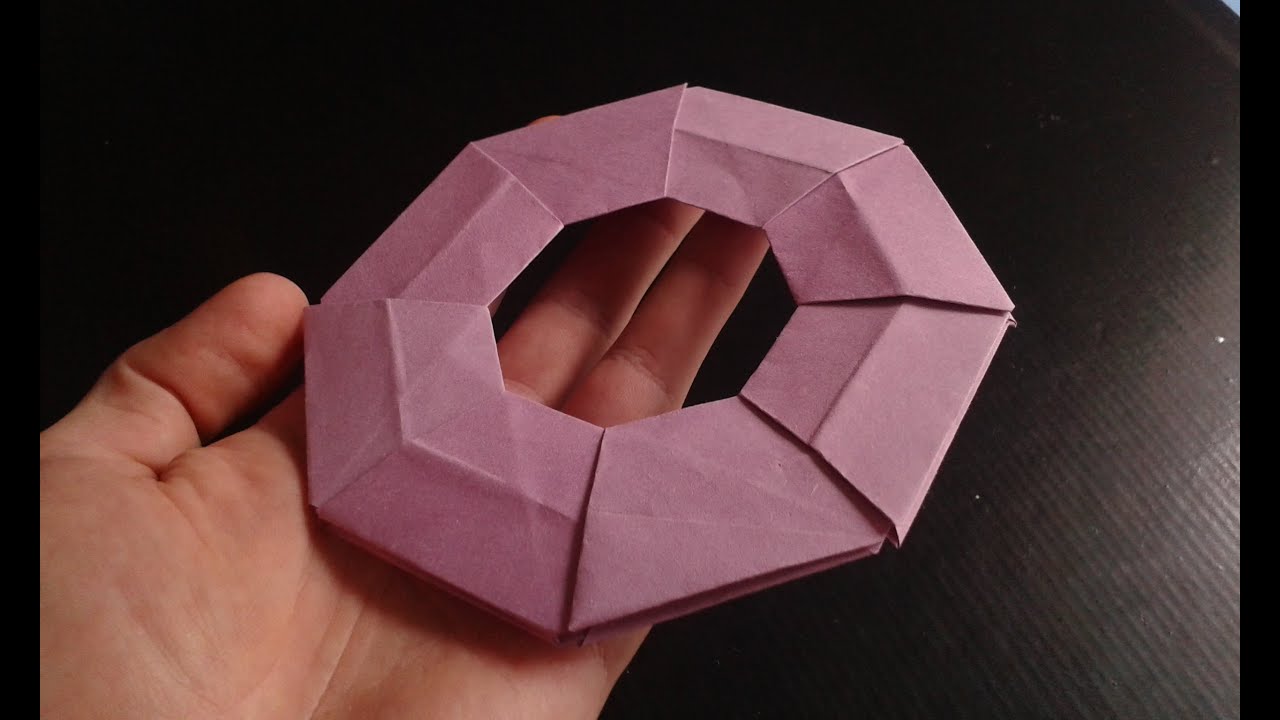
Step 1: Folding the Paper
The first step in creating your May Day basket is to fold the paper into the desired shape. Follow these instructions:
- Take a square sheet of colored paper or cardstock.
- Place the paper in front of you, with one corner pointing upwards.
- Fold the paper diagonally, bringing the bottom corner up to meet the top corner. This will create a triangle shape.
- Crease the fold well and unfold the paper to reveal the crease line.
- Rotate the paper 90 degrees counter-clockwise, so that the crease line is now vertical.
- Take the right corner of the paper and fold it towards the vertical crease line, aligning it with the center of the paper.
- Repeat the previous step with the left corner, bringing it towards the center and overlapping it slightly with the previous fold.
- Crease both folds well.
Once you’ve completed these steps, your paper should now resemble a smaller square shape with two diagonal flaps.
Now that you have successfully folded the paper, it’s time to move on to the next step and create the base of your May Day basket.
Step 2: Cutting the Paper
Now that you have folded the paper into the base shape of the basket, it’s time to make some strategic cuts to create the openings for the basket. Follow these instructions:
- Take your folded paper and turn it so that the diagonal flaps are facing upwards.
- On one side of the paper, measure about one-third of the way down from the top edge and make a small mark with a pencil or pen.
- From that mark, draw a straight line towards the center of the paper, stopping before reaching the vertical crease.
- Repeat the previous step on the opposite side of the paper, creating another line that meets the center.
These lines will serve as guidelines for cutting the paper and creating the openings for the basket.
- With a pair of scissors, carefully cut along the marked lines, stopping just before reaching the vertical crease line. This will create two slits in the paper.
- Once the slits are cut, carefully unfold the paper and lay it flat. You will notice that the slits have created openings on two sides of the basket.
At this point, the basic structure of your May Day basket is taking shape. Now we can move on to the fun part – decorating the basket!
When making May Day baskets out of paper, use colorful and sturdy paper to ensure the basket holds its shape. Consider adding a handle for easy carrying and fill the basket with fresh flowers or small treats for a festive touch.
Step 3: Decorating the Basket
Now that you have the basic structure of your May Day basket, it’s time to add some creative flair and make it truly enchanting. Here’s how you can decorate your basket:
- First, choose the decorative materials you want to use. You can opt for stickers, markers, ribbon, glitter, or any other embellishments that suit your style.
- Start by adding stickers or drawing designs on the outside of the basket. You can create patterns, write messages, or draw spring-themed images like flowers, butterflies, or birds.
- If you have ribbon or colorful string, you can weave it through the slits on the sides of the basket to add an extra decorative touch. Simply thread the ribbon through one slit, across the inside of the basket, and out through the other slit. Tie a bow or a knot on the outside to secure it in place.
- If you’re using markers, you can add details and accents to the edges of the basket or create a border with different colors.
- To make the basket more festive, you can also sprinkle some glitter over the design or add small adhesive gems for a touch of sparkle.
Remember, the possibilities are endless when it comes to decorating your May Day basket. Let your creativity soar and make it unique to your own style and preferences.
Once your basket is beautifully decorated, it’s time to move on to the next step – creating the handle.
Read more: How Do You Make Easter Baskets Out Of Paper?
Step 4: Creating the Handle
Now that your May Day basket is looking fabulous with its decorative touches, it’s time to create a handle for easy carrying. Here’s how you can make a handle:
- Take a strip of colored paper or cardstock. The width of the strip should be about 1 inch.
- Decide on the length of the handle based on your preference. A good starting point is around 7-8 inches.
- Curve the strip of paper into a U-shape, aligning the ends together.
- Place the U-shaped handle against the inside of the basket, near the top edge.
- Using glue or double-sided tape, attach the ends of the handle to the sides of the basket. Ensure it is securely fastened.
Now you have a sturdy handle that allows you to easily carry your May Day basket and surprise someone with a special delivery.
The handle not only serves a functional purpose but also adds a charming touch to the overall design of the basket.
With the handle securely attached, it’s time to move on to the final step – adding treats or flowers to your May Day basket.
Step 5: Adding Treats or Flowers
Now that your May Day basket is complete, it’s time to fill it with delightful treats or beautiful flowers. Here’s how you can add the finishing touches:
- If you want to fill your basket with treats, choose small and lightweight treats that fit within the size of the basket. Some popular options include individually wrapped candies, small chocolates, or homemade cookies.
- If you prefer to use flowers, gather a small bouquet of freshly picked or store-bought blooms. You can choose seasonal flowers or opt for colorful, spring blooms like daisies, tulips, or daffodils.
- Carefully place the treats or flowers inside the basket, arranging them in a way that creates an appealing display.
- If needed, you can use tissue paper or crumpled colorful paper to fill any gaps and provide stability for the treats or flowers.
Once your May Day basket is filled, it’s time to spread some joy! Find a doorstep of a friend, neighbor, or loved one, and deliver the basket as a surprise. Remember, the May Day tradition is to leave the basket anonymously, so keep the mystery alive.
Seeing the joy on someone’s face when they discover a beautifully decorated basket filled with treats or flowers is truly magical and embodies the spirit of May Day.
As you continue to create May Day baskets year after year, you can experiment with different designs, colors, and decorations to make each one unique and special.
Congratulations! You have successfully created a May Day basket out of paper, ready to be shared and cherished.
Conclusion
Making May Day baskets out of paper is a delightful and creative activity that allows you to spread joy and celebrate the arrival of spring. With just a few simple materials and some imagination, you can craft beautiful baskets that are sure to bring a smile to someone’s face.
Throughout this article, we have explored the step-by-step process of creating May Day baskets, from folding the paper to decorating and filling them with treats or flowers. Remember, the key to making these baskets special is to infuse them with your personal touch and creativity.
Whether you choose to make May Day baskets as a solo project or involve friends and family in the process, the act of giving these handmade gifts is a heartwarming gesture that embodies the spirit of community and sharing.
So, why not give it a try? Gather your materials, get creative, and surprise someone with a lovely May Day basket filled with treats or flowers. Embrace the joy of spreading happiness and celebrating the beauty of spring with this timeless tradition.
May Day baskets created with love and care serve as a reminder of the simple pleasures in life and bring a sense of wonder and enchantment to those who receive them. So embrace your creativity and make this May Day a truly memorable one by crafting your very own paper May Day baskets.
Happy crafting and happy May Day!
Frequently Asked Questions about How To Make May Day Baskets Out Of Paper
Was this page helpful?
At Storables.com, we guarantee accurate and reliable information. Our content, validated by Expert Board Contributors, is crafted following stringent Editorial Policies. We're committed to providing you with well-researched, expert-backed insights for all your informational needs.


0 thoughts on “How To Make May Day Baskets Out Of Paper”