Home>Seasonal Storage>How To Make Homemade Easter Baskets For Kids
Seasonal Storage
How To Make Homemade Easter Baskets For Kids
Modified: January 23, 2024
Learn how to make homemade Easter baskets for kids with this step-by-step guide. Discover creative ideas for seasonal storage and enjoy a fun-filled celebration.
(Many of the links in this article redirect to a specific reviewed product. Your purchase of these products through affiliate links helps to generate commission for Storables.com, at no extra cost. Learn more)
Introduction
When it comes to celebrating Easter, nothing brings more joy to kids than a wonderful Easter basket filled with treats and surprises. While store-bought Easter baskets are easily available, why not take it a step further and create a homemade Easter basket for your little ones? Not only is it a fun and engaging activity, but it also allows you to add a personal touch to the basket that will make it truly special.
In this article, we will show you how to make homemade Easter baskets for kids. With a few simple materials and some creative ideas, you can create a unique and memorable Easter basket that your children will love.
So gather your supplies and let’s get started on this delightful DIY project!
Key Takeaways:
- Create personalized homemade Easter baskets for kids using simple materials and creative ideas to make the holiday extra special and memorable for your little ones.
- Enjoy the process of making unique Easter baskets, from choosing the perfect base to adding delightful goodies, and let your creativity soar as you bring joy to your loved ones during the holiday season.
Read more: How Do You Make Easter Baskets Out Of Paper?
Materials Needed
Before you begin creating your homemade Easter basket, it’s essential to gather all the necessary materials. Here’s a handy list of things you’ll need:
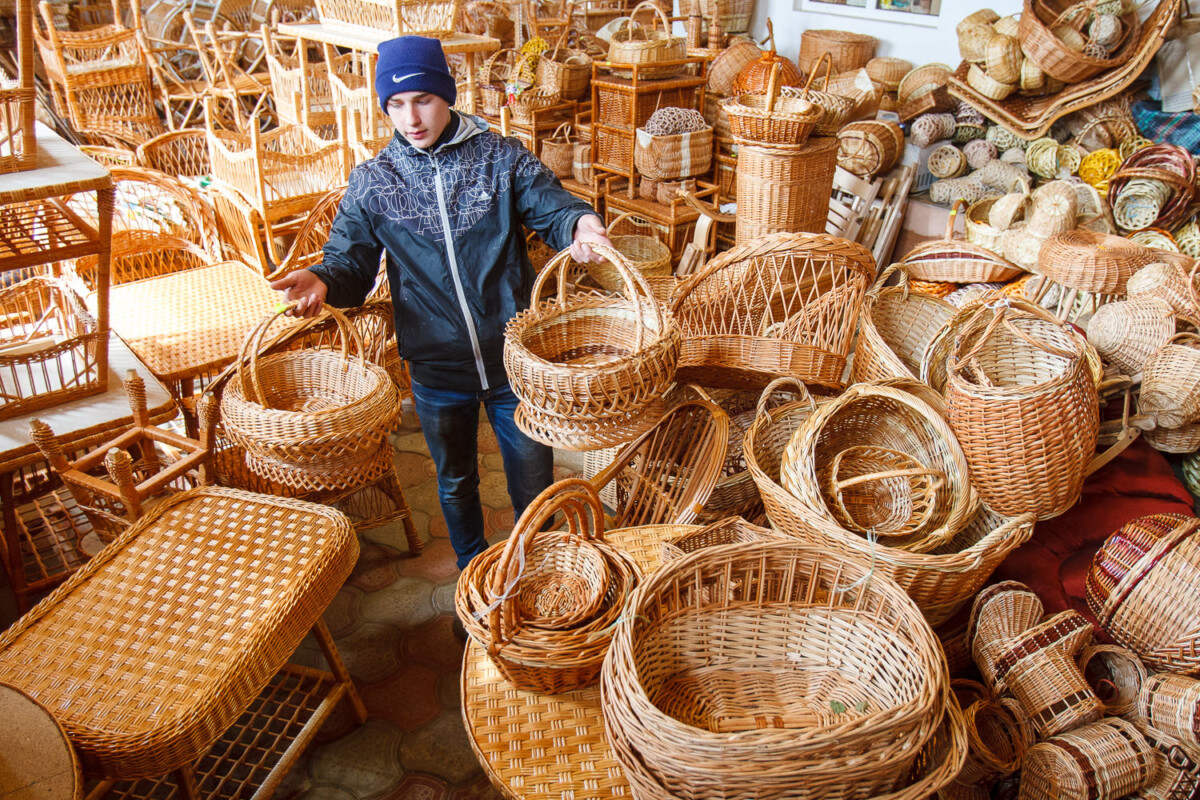
- A basket base – This can be a traditional wicker basket, a plastic basket, or even a fabric bucket. Choose a size that suits your preferences and the amount of goodies you plan to include.
- Decorative paper or fabric – Look for colorful and festive paper or fabric that will serve as the wrapping for the basket.
- Scissors – Make sure you have a sturdy pair of scissors for cutting the paper and other materials.
- Ribbon or bow – Choose a ribbon or bow that complements the colors and theme of your Easter basket.
- Stickers or labels – These will help you personalize the basket with the name or initials of the recipient.
- Tape or glue – Depending on the type of paper or fabric you’re using, you’ll need either tape or glue to secure it to the basket.
- Easter-themed stickers, embellishments, or trinkets – These small decorative items will add an extra touch of charm to your basket.
- Assorted goodies – Fill your basket with an array of Easter treats such as chocolate eggs, jelly beans, marshmallow bunnies, and small toys.
Once you have gathered all your materials, you’re ready to dive into creating your very own homemade Easter baskets!
Step 1: Choose a Basket Base
The first step in making a homemade Easter basket is to select a suitable basket base. There are various options available, and you can choose the one that best fits your style and preferences.
If you want to go for a traditional look, a wicker basket is an excellent choice. Wicker baskets give a classic and rustic feel to the Easter basket. You can find them in different sizes and shapes, ranging from small round baskets to larger rectangular ones.
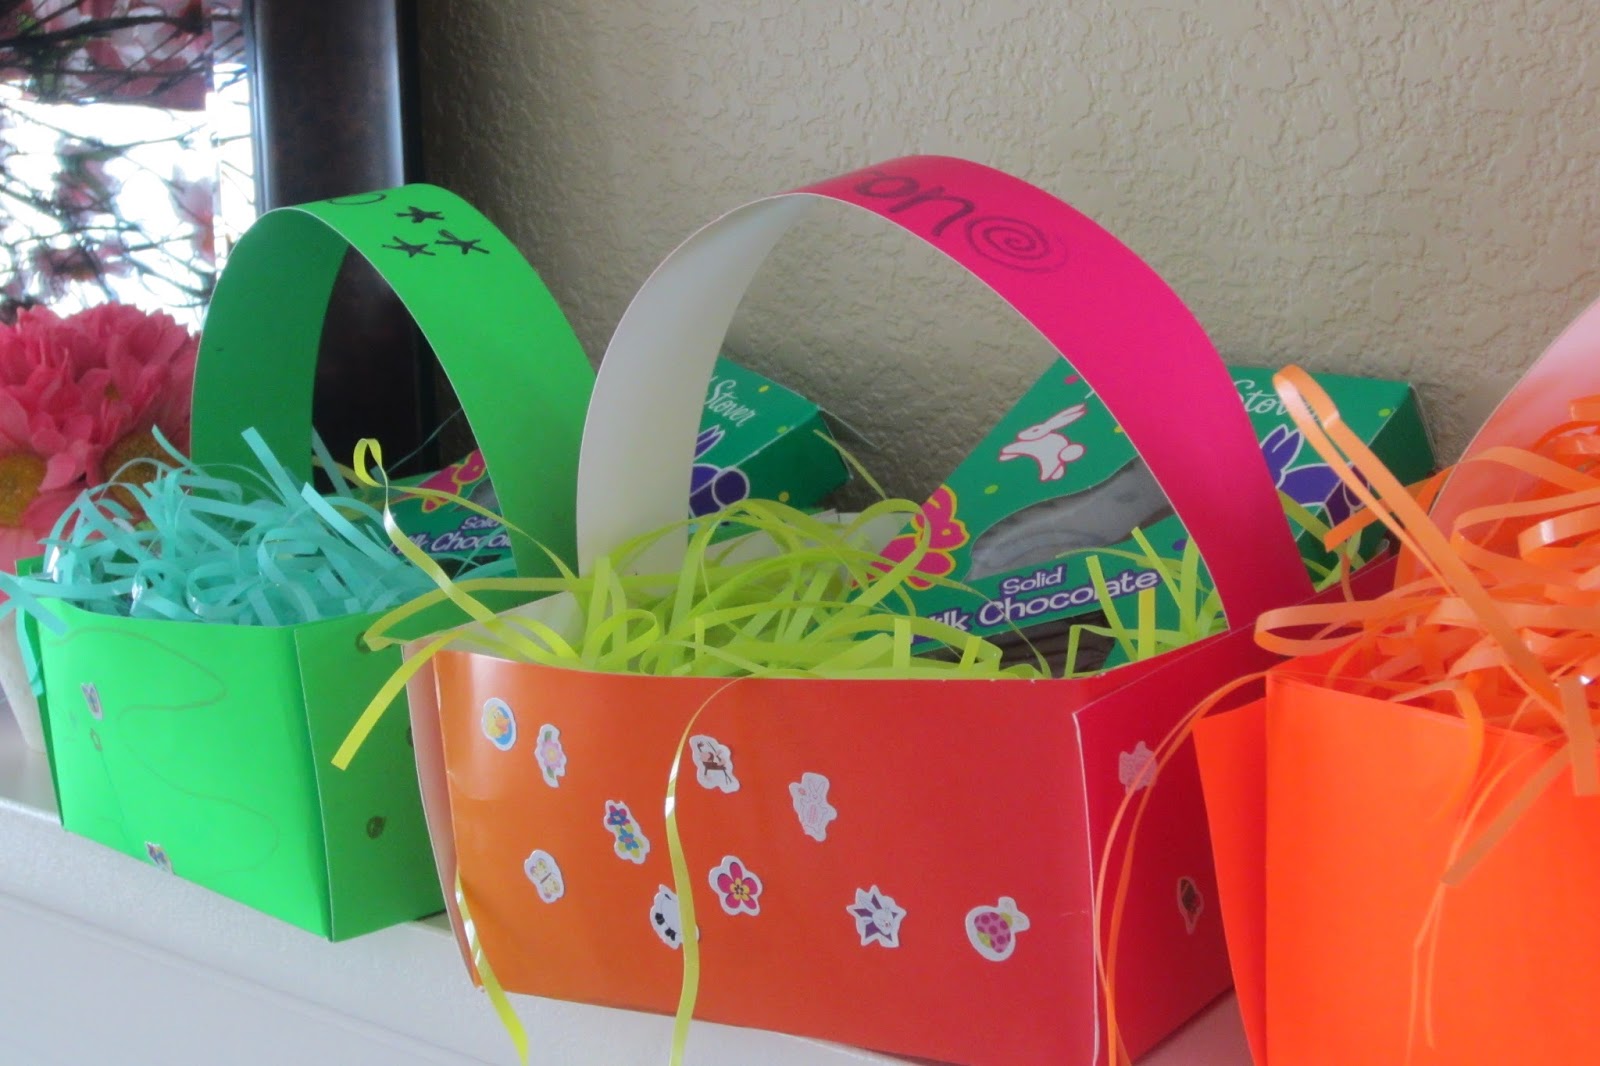
If you prefer a more modern and lightweight option, consider using a plastic basket. Plastic baskets come in vibrant colors, and many even have fun Easter-themed designs. Plus, they are durable and easy to clean, making them a practical choice for younger kids.
For a unique and personalized touch, you can also opt for a fabric basket or bucket. These can be made from fabric scraps or repurposed materials, and they offer endless possibilities for customization. Choose a fabric that matches the theme or color scheme you have in mind for your Easter basket.
Remember to consider the size of the basket you choose. It should be large enough to hold the goodies you plan to include without appearing overstuffed. At the same time, make sure it’s not too big, as you want the basket to look proportional and aesthetically pleasing.
Once you’ve decided on your basket base, move on to the next step: selecting the decorative paper or fabric to wrap it with.
Step 2: Select Decorative Paper
Now that you have chosen the basket base, it’s time to select the decorative paper or fabric that will transform it into a beautiful Easter basket. The choice of paper or fabric will depend on your personal preference and the overall theme you want to achieve.
If you’re going for a traditional Easter look, consider using pastel-colored or patterned wrapping paper. Pastel shades like light pink, baby blue, and mint green are popular choices for Easter-themed designs. You can also find wrapping paper with adorable bunny or egg patterns, which adds a whimsical touch to the basket.
For a more rustic and natural look, you can use kraft paper or burlap fabric. These materials give a cozy and homey feel to the Easter basket. You can further embellish the paper or fabric with ribbons, twine, or small flowers to enhance the rustic vibe.
If you want to inject some glitter and sparkle into the basket, metallic or foil wrapping paper is an excellent choice. This type of paper comes in various shiny shades and can instantly elevate the look of the basket, making it appear more glamorous and eye-catching.
Consider mixing and matching different patterns or textures to create a unique and customized look. You can use multiple layers of paper or fabric, or even combine them with other materials like tissue paper or tulle for added dimension.
Remember to measure the amount of paper or fabric you need to wrap the basket. It’s better to have a bit more material than necessary, as you can always trim the excess later.
Once you have chosen the perfect decorative paper or fabric, it’s time to move on to the next step: cutting and wrapping the base!
Step 3: Cut and Wrap the Base
With your chosen decorative paper or fabric in hand, it’s time to cut and wrap the basket base. This step will transform the plain basket into a beautifully adorned Easter centerpiece.
Start by measuring the dimensions of your basket base. Place the basket on top of the decorative paper or fabric and make sure it is centered. Allow for some overlap, as you’ll need the extra material to secure it in place.
Use a pencil or a pen to mark the cutting lines on the paper or fabric. It’s better to cut slightly larger than necessary so that you can adjust it later. Remember, it’s easier to trim off excess material than to add more.
Once you have marked the cutting lines, use a sturdy pair of scissors to cut along the lines. Take your time and cut carefully to achieve clean and precise edges.
Now that you have the appropriately sized piece of decorative paper or fabric, it’s time to wrap the basket base. Place the cut piece over the basket, making sure it covers all sides and edges.
You have two options for securing the paper or fabric to the basket: tape or glue. If you’re using wrapping paper, tape might be the easier option. Apply a few pieces of tape on the bottom edges first to hold the paper in place.
For fabric or thicker materials, you might prefer using glue. Apply a thin layer of craft glue onto the basket base, then carefully press the fabric onto the glue. Smooth out any wrinkles or bubbles as you go along.
Once you have secured the paper or fabric to the basket, take a moment to adjust and trim any excess material. Cut off any overhanging edges, ensuring a neat and tidy finish.
With the base wrapped, you’re now ready to move on to the next step: adding a ribbon or bow to give your homemade Easter basket an extra touch of charm!
When making homemade Easter baskets for kids, consider using a variety of colorful and fun items such as small toys, candies, and art supplies to create a personalized and enjoyable experience for the child.
Read more: What To Put In Teens’ Easter Baskets
Step 4: Add Ribbon or Bow
Adding a ribbon or bow to your homemade Easter basket is the perfect way to add a pop of color and elegance. It’s a simple yet effective way to elevate the overall look of the basket and make it even more festive.
First, choose a ribbon or bow that complements the colors and theme of your Easter basket. Satin ribbons are a popular choice for their smooth texture and shiny appearance. However, you can also opt for grosgrain ribbons or even printed ribbons with Easter-themed designs.
Measure the length of the ribbon by wrapping it around the basket diagonally or horizontally. Leave enough excess ribbon to tie a bow or create a decorative knot. It’s better to have slightly more ribbon than necessary, as you can always trim off the excess later if needed.
Take the ribbon and loop it around the basket, making sure it is positioned securely on the wrapped base. You can secure it by tying a knot or attaching it with a small piece of double-sided tape or a glue dot.
If you want to add a bow, there are various ways to do it. You can create a classic bow by making two loops and tying them together in the center with another small piece of ribbon. Alternatively, you can make a simple bow by folding the ribbon in an accordion-like manner and securing it in the center with a twist tie or a small piece of wire.
Experiment with different ribbon styles and bow designs to find the one that best suits your basket. You can also add additional embellishments like Easter-themed charms, beads, or small trinkets to enhance the bow and make it more eye-catching.
Remember to fluff and arrange the bow or ribbon loops to ensure they look neat and presentable. The bow should be a focal point on the basket, so take your time to make it look perfect.
With the ribbon or bow in place, your homemade Easter basket is one step closer to being complete. The next step is all about personalization – adding stickers or labels to make the basket truly unique!
Step 5: Personalize with Stickers or Labels
Personalizing your homemade Easter basket adds a special touch and makes it unique to the recipient. One of the easiest and most creative ways to do this is by adding stickers or labels.
Start by considering the recipient’s preferences and interests. For younger children, stickers featuring their favorite cartoon characters or animals are sure to bring a smile to their faces. Older kids might enjoy stickers with their initials or names, along with fun and vibrant designs.
Choose stickers that are appropriate for the Easter theme. Look for stickers with bunnies, chicks, Easter eggs, or spring flowers to capture the spirit of the season. You can find an array of options at craft stores, party supply stores, or even online.
Alternatively, you can create your own personalized labels using paper, markers, and decorative elements like glitter or washi tape. Write the recipient’s name or initials on the labels and embellish them with drawings or designs that reflect their interests.
To apply the stickers or labels, simply peel off the backing and carefully stick them onto the basket. You can place them on the front, sides, or even on the handle of the basket, depending on the design and size of the stickers.
If you’re using labels, attach them with a small piece of double-sided tape or tie them onto the handle with a pretty bow or piece of ribbon.
Don’t be afraid to get creative and experiment with different sticker placements and combinations. You can arrange the stickers in a pattern or create a focal point using a larger sticker or label in the center of the basket.
Adding personalized stickers or labels to your homemade Easter basket is a wonderful way to make it extra special and show the recipient that you put thought and effort into creating something just for them.
Now that you’ve personalized the basket, it’s time to move on to the exciting part – filling it with delightful goodies!
Step 6: Fill the Basket with Goodies
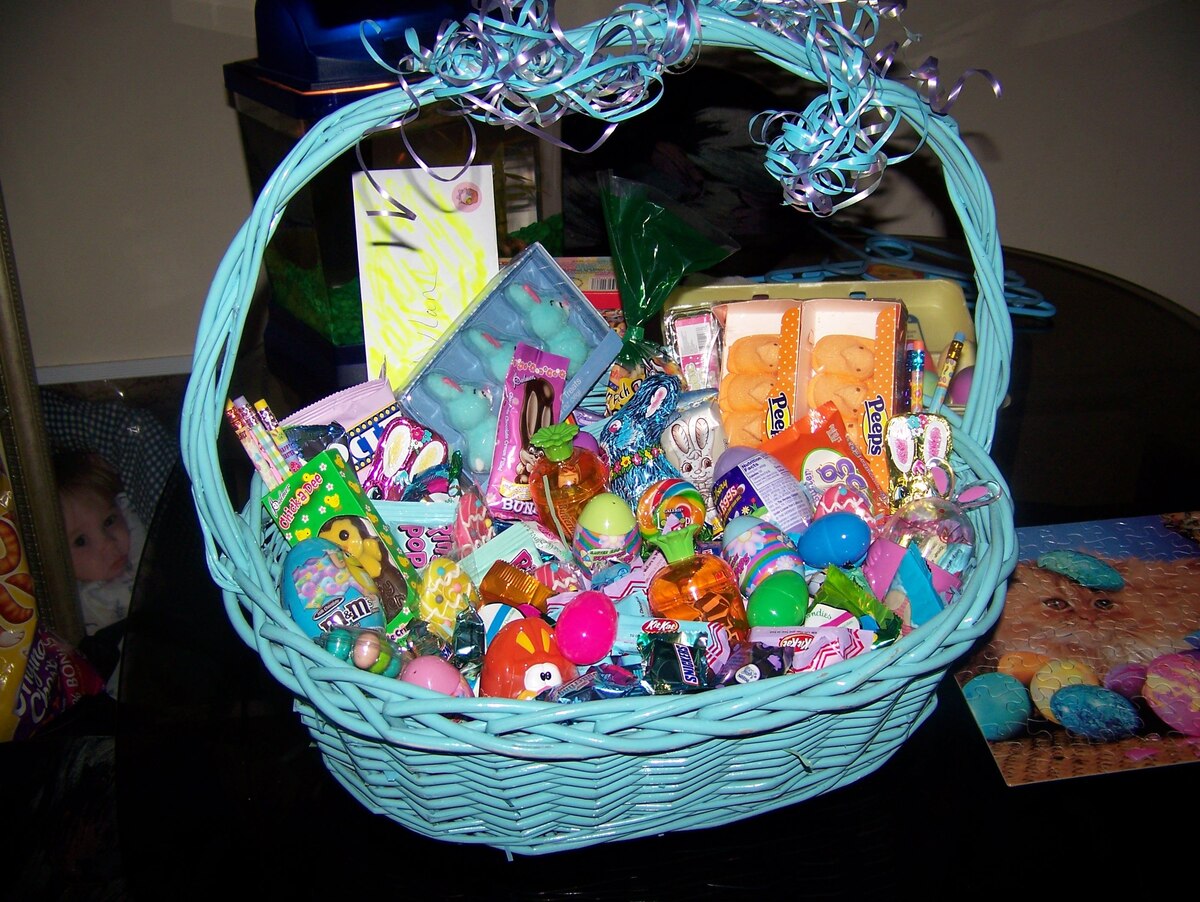
Now that your homemade Easter basket is beautifully decorated and personalized, it’s time to fill it with a delightful assortment of goodies. The treats you choose will depend on the preferences of the recipient and the theme of your basket.
Start by selecting an array of Easter-themed treats. Chocolate eggs, jelly beans, marshmallow chicks, and bunnies are classic choices. You can also include other candies or snacks that the recipient enjoys, such as small packets of gummies or cookies.
If you want to add a touch of healthiness to the basket, consider including some fresh fruits like strawberries or grapes. You can also add small toys or trinkets that are age-appropriate and fit the recipient’s interests.
Consider the color scheme and aesthetics of the basket when choosing the treats. Aim for a balanced and visually appealing arrangement. Mix and match different colors and textures to create an attractive presentation.
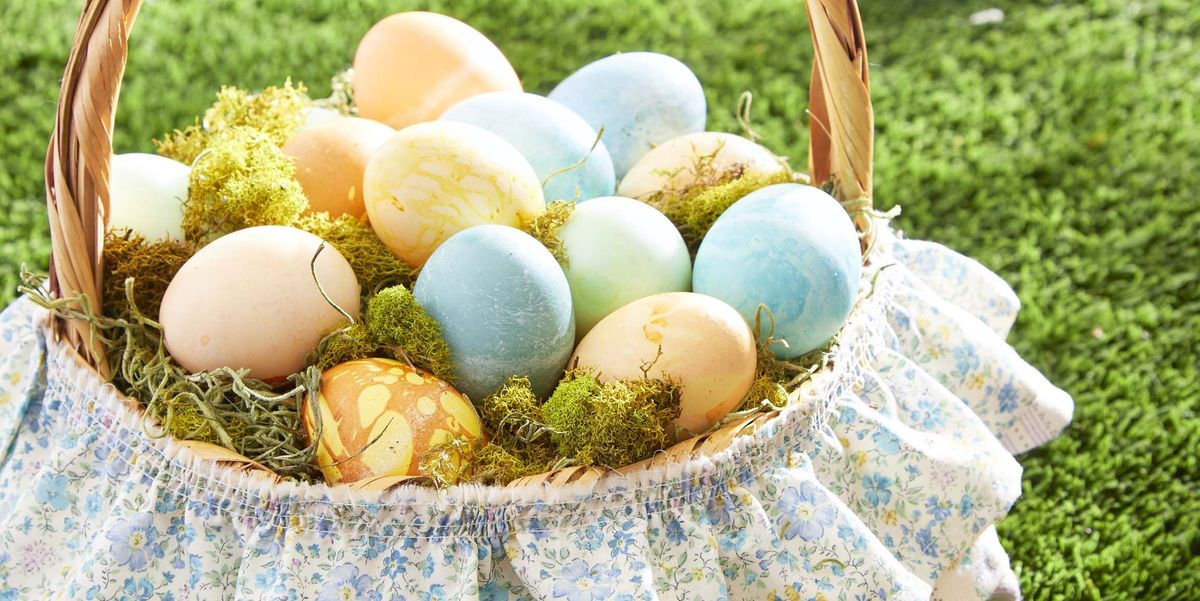
When placing the goodies in the basket, start with a layer of filler material at the bottom. This can be shredded paper, tissue paper, or even grass-like material specifically made for Easter baskets. The filler adds volume and height to the basket, allowing the treats to be displayed nicely.
Arrange the treats in a visually pleasing way, making sure to distribute them evenly throughout the basket. You can create different layers or sections within the basket – for example, placing larger items at the back and smaller treats at the front.
Don’t forget to leave some space for any larger or special items you wish to include. This could be an Easter-themed stuffed animal, a small book, or any other surprise you want to add.
As you fill the basket, step back and assess the overall look to ensure it is balanced and visually appealing. Make any necessary adjustments to create a harmonious arrangement.
With the basket now filled, it’s time for the final touches – adding a few extra embellishments to make it even more festive.
Step 7: Final Touches
Now that your homemade Easter basket is filled with delightful goodies, it’s time to add the final touches to make it truly special.
Consider adding some Easter-themed embellishments to enhance the overall look of the basket. You can attach small Easter stickers, mini decorative eggs, or Easter-themed trinkets to the sides of the basket using a glue gun or adhesive dots.
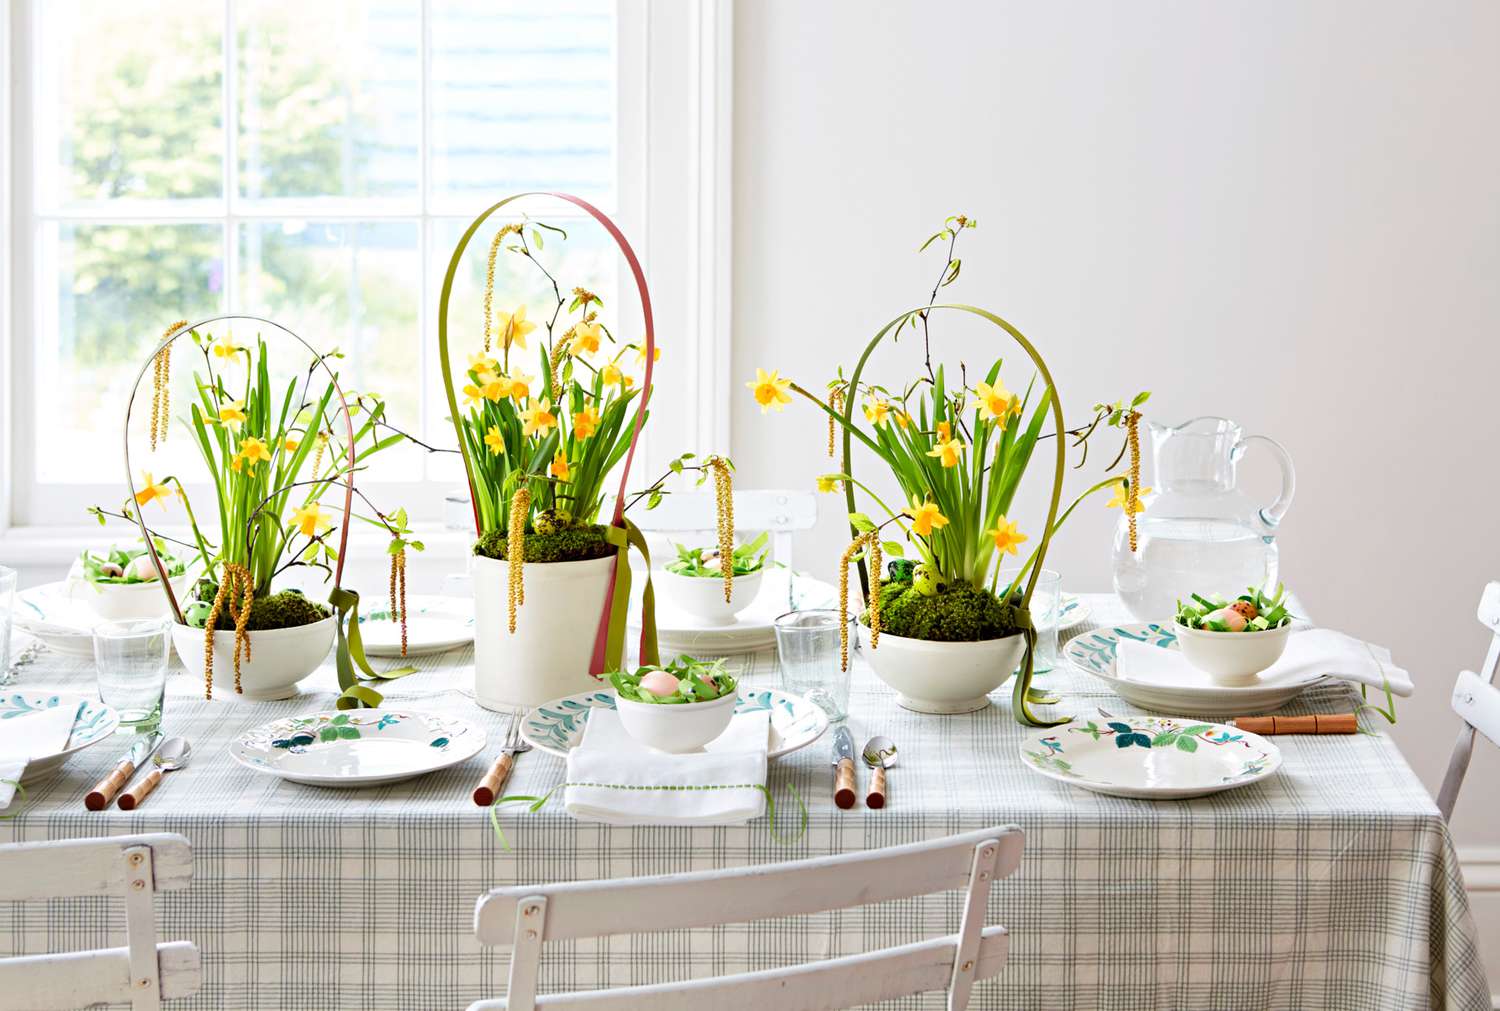
A great way to add even more charm is to tie colorful ribbons or bows around the handle or edges of the basket. Choose ribbons that complement the colors and theme of your Easter basket. You can also intertwine a string of Easter lights or tuck in some fresh flowers or spring foliage around the edges to give it a whimsical and festive touch.
Consider using cellophane or clear wrap to cover the entire basket, securing it with a beautiful ribbon or bow at the top. This not only adds an extra layer of protection but also gives the basket a professional and polished look.
For an added surprise, consider attaching a small note or card to the basket. You can write a personalized message or use a printable Easter-themed tag. This adds a thoughtful touch and makes the basket feel extra special.
Once all the final touches are in place, step back and admire your creation. Your homemade Easter basket is now ready to be gifted and enjoyed!
Remember, the joy of creating a homemade Easter basket is not just in the end result but also in the process. Enjoy the time spent putting love and thought into every detail, knowing that your homemade Easter basket is unique and made with care.
Now that you have learned how to make homemade Easter baskets for kids, you can continue this delightful tradition year after year. Get creative, try new designs, and have fun as you make personalized Easter baskets for your loved ones.
Happy Easter and happy basket-making!
Read also: 9 Superior Easter Baskets for 2025
Conclusion
Celebrating Easter with homemade Easter baskets for kids is a wonderful way to create lasting memories and show your loved ones how much you care. It allows you to unleash your creativity, personalize the basket, and add a touch of love to every detail.
In this article, we’ve taken you through the step-by-step process of creating your very own homemade Easter baskets. From choosing the perfect basket base to wrapping it with decorative paper or fabric, adding a ribbon or bow, personalizing it with stickers or labels, filling it with delightful goodies, and adding the final touches – we’ve covered it all.
Homemade Easter baskets offer the opportunity to exercise your creativity and make something truly unique. Whether you go for a traditional look or prefer a more modern and personalized approach, the end result will be a one-of-a-kind Easter basket that your kids will love.
Remember, the joy of creating a homemade Easter basket goes beyond the final product. The process itself is an opportunity to bond with loved ones, explore your artistic side, and find joy in creating something by hand.
So gather your materials, set aside some time, and let your creativity soar as you embark on the adventure of making homemade Easter baskets for your children. Enjoy the smiles, laughter, and excitement as they receive their personalized baskets filled with goodies and love.
Wishing you a joyous Easter filled with love, warmth, and the delight of homemade Easter baskets!
Frequently Asked Questions about How To Make Homemade Easter Baskets For Kids
Was this page helpful?
At Storables.com, we guarantee accurate and reliable information. Our content, validated by Expert Board Contributors, is crafted following stringent Editorial Policies. We're committed to providing you with well-researched, expert-backed insights for all your informational needs.


0 thoughts on “How To Make Homemade Easter Baskets For Kids”