Home>Storage Ideas>Storage Baskets>How To Make Flower Girl Baskets
Storage Baskets
How To Make Flower Girl Baskets
Modified: December 7, 2023
Learn how to make beautiful flower girl baskets with our step-by-step guide. Create unique storage baskets with our easy DIY instructions. Perfect for weddings and home organization.
(Many of the links in this article redirect to a specific reviewed product. Your purchase of these products through affiliate links helps to generate commission for Storables.com, at no extra cost. Learn more)
Introduction
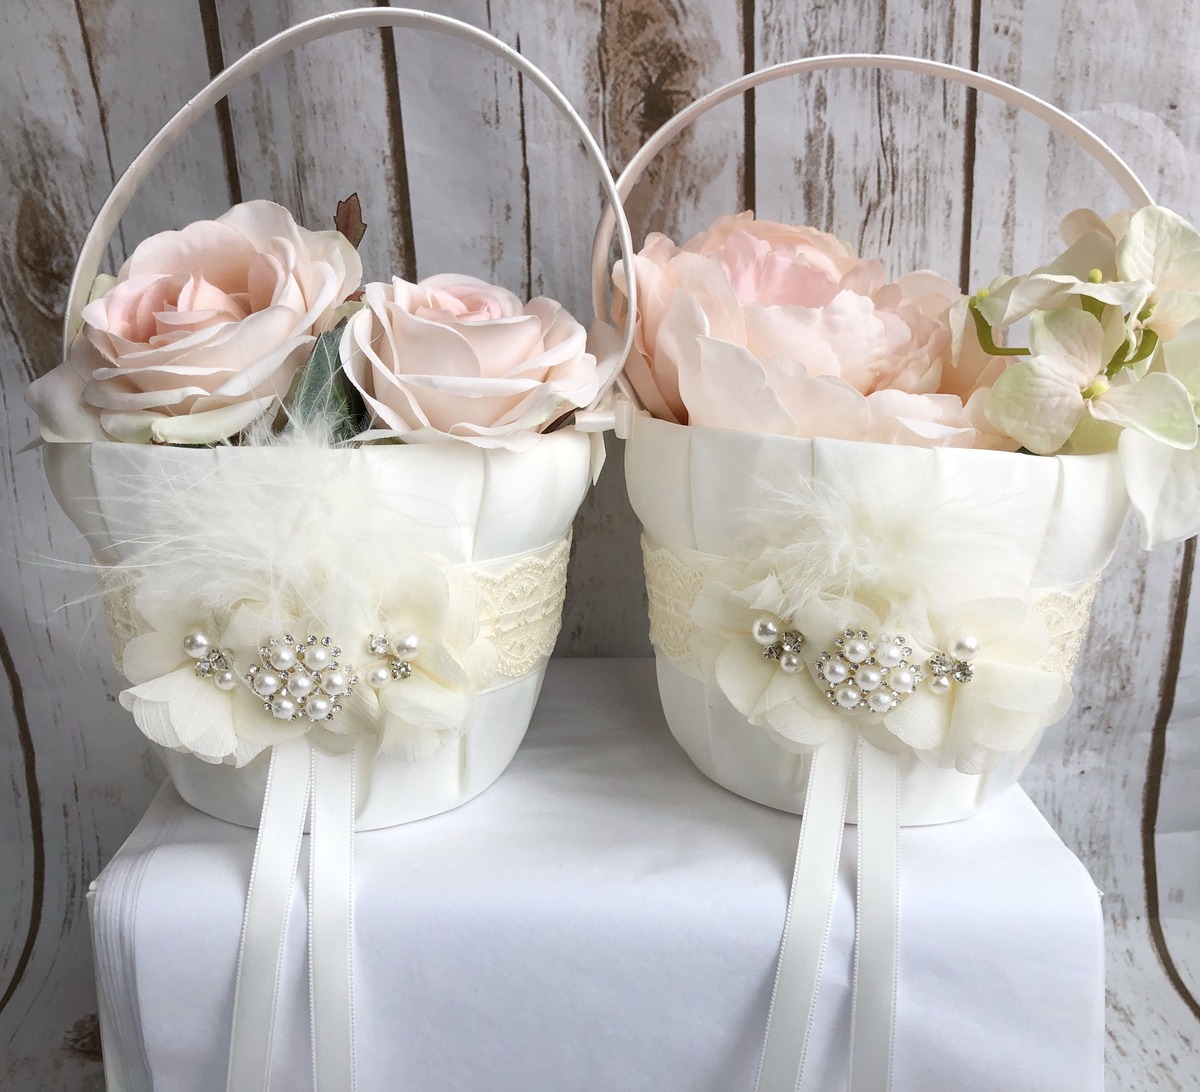
Flower girl baskets are an essential element of any wedding ceremony. These adorable baskets are carried by young girls who scatter flower petals along the aisle, adding a touch of charm and beauty to the procession. While you can easily purchase a flower girl basket from a store, making your own can be a delightful and personalized experience. Not only will it allow you to customize the design to match your wedding theme, but it will also create a special keepsake that the flower girl can cherish.
In this article, we will guide you through the process of creating your own flower girl basket. We will provide step-by-step instructions on choosing the basket, decorating it, adding ribbons and bows, filling it with flowers, securing the flowers, and adding final touches. Whether you have a flair for crafts or simply want to add a personal touch to your wedding, making a flower girl basket is a rewarding and enjoyable project.
Before we begin, let’s gather all the materials you will need for this DIY project.
Key Takeaways:
- Create a personalized flower girl basket to add charm and beauty to your wedding. Follow step-by-step instructions to choose, decorate, and fill the basket with flowers, making it a cherished keepsake for the flower girl.
- Design a stunning flower girl basket that complements your wedding theme. From selecting the perfect basket to adding ribbons, bows, and flowers, each step contributes to a beautiful and memorable ceremony.
Materials Needed
To create your own flower girl basket, you will need the following materials:
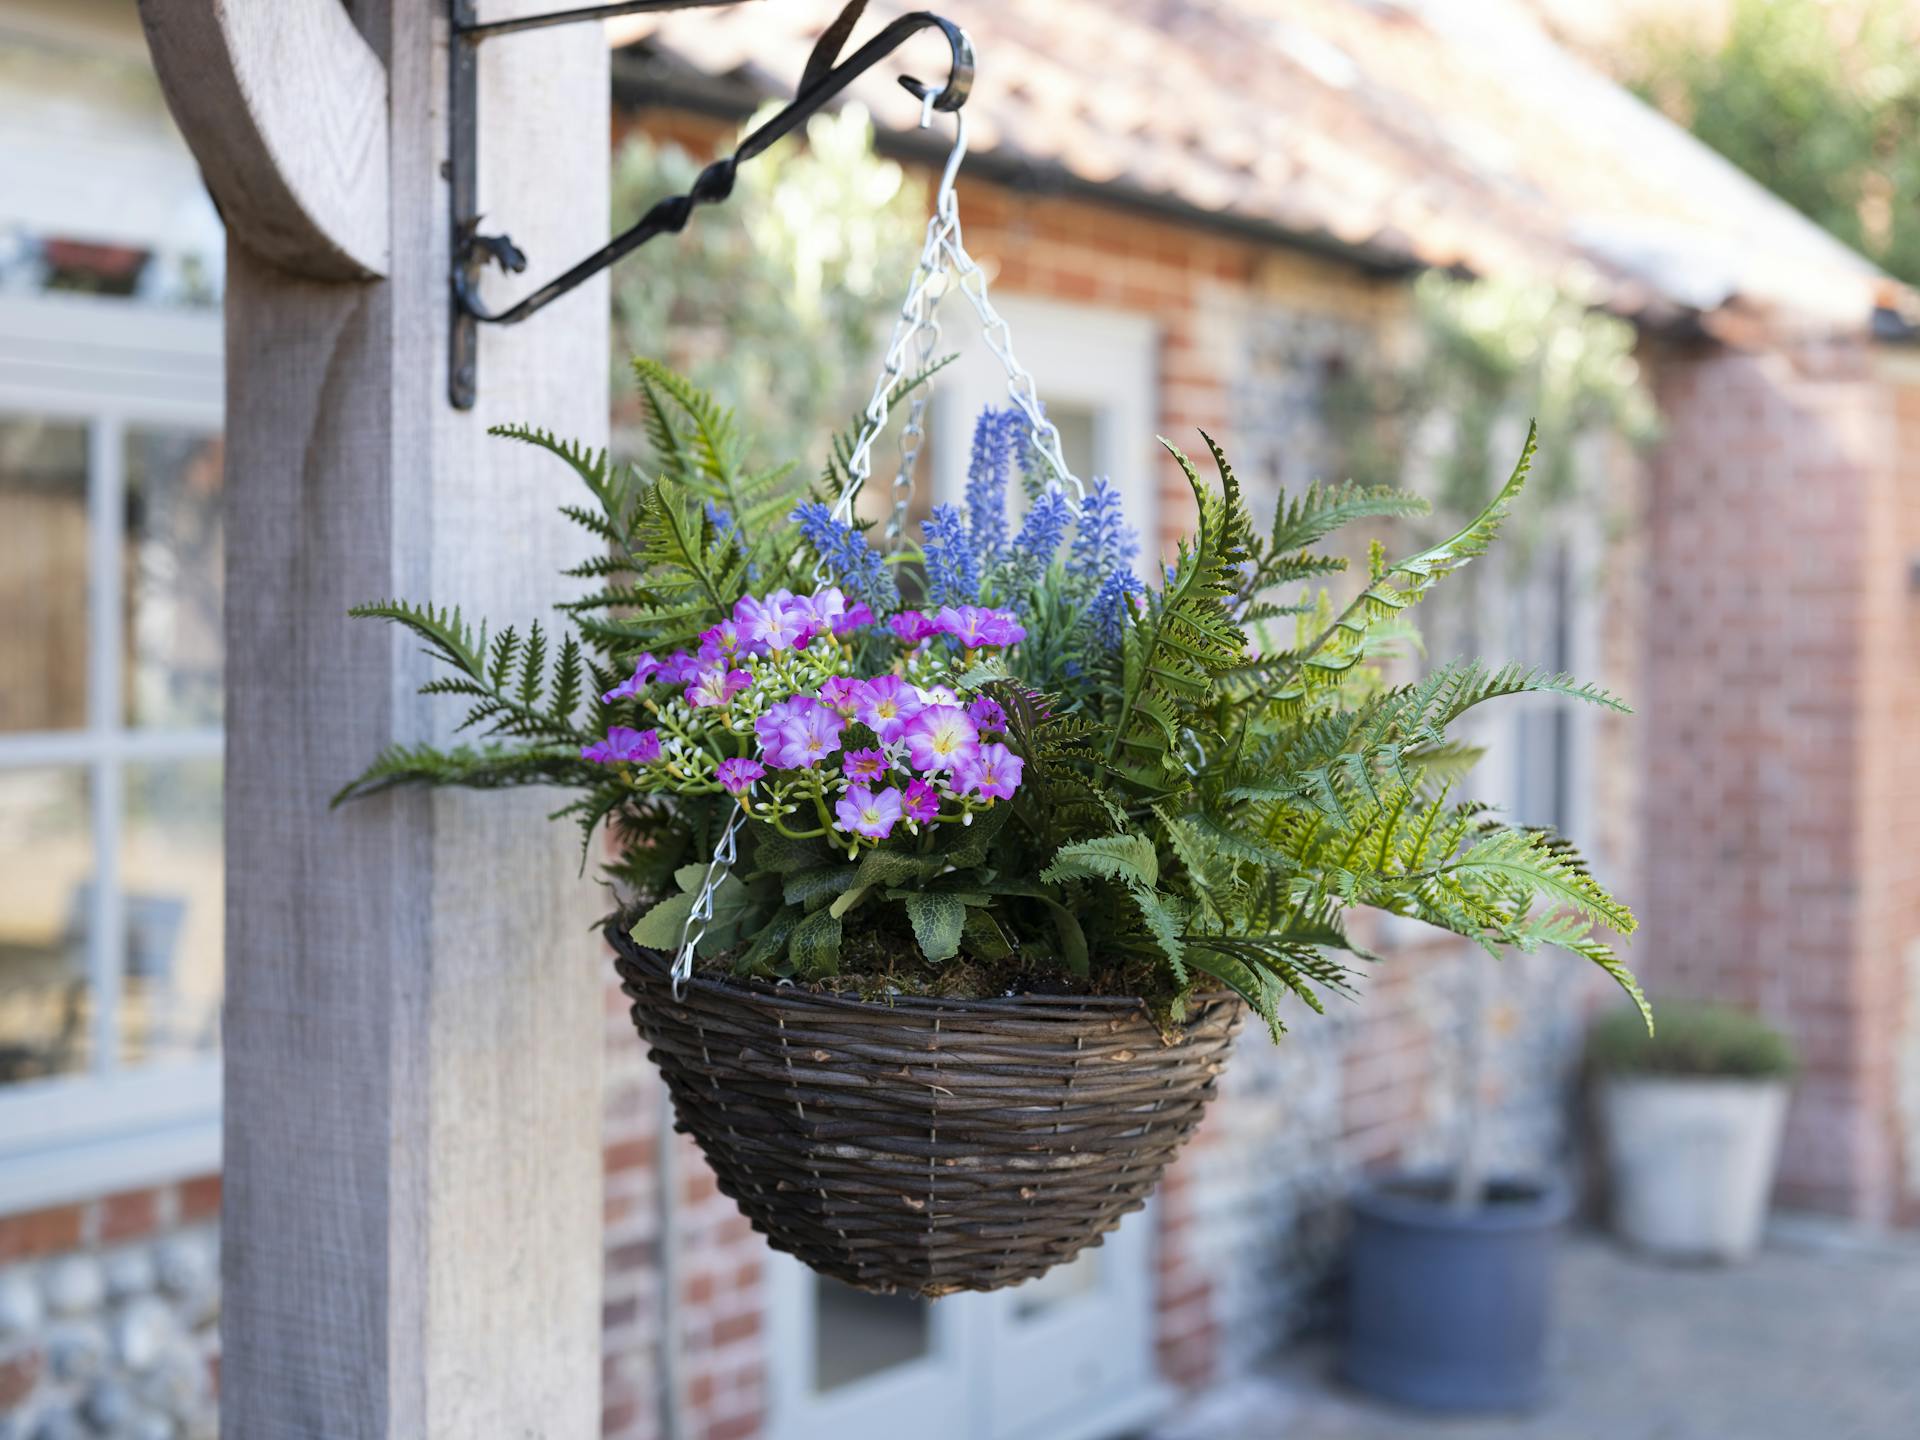
- A basket: Choose a basket that suits your preference and wedding theme. Opt for a lightweight, shallow basket with a handle to make it easier for the flower girl to carry. Consider materials such as wicker, bamboo, or metal.
- Decorative materials: Gather an assortment of decorative materials such as satin or organza fabric, lace trim, ribbons, artificial flowers, embellishments (such as pearls or crystals), and any other elements that match your wedding color scheme.
- Hot glue gun and glue sticks: A hot glue gun is essential for securely attaching the decorations to the basket. Ensure you have plenty of glue sticks to avoid interruptions during the crafting process.
- Scissors: You will need a good pair of scissors to cut the fabric, ribbons, and other materials.
- Floral foam or moss: This is necessary for holding the flower stems in place, ensuring they stay fresh and intact throughout the ceremony.
- Flowers: Choose fresh or faux flowers that coordinate with your wedding flowers. If you prefer real flowers, ensure they are hardy and can withstand the duration of the ceremony.
- Floral tape: This tape is used to secure the flowers to the foam or moss, providing additional stability.
Once you have gathered all the necessary materials, you are ready to embark on the exciting journey of creating your own flower girl basket.
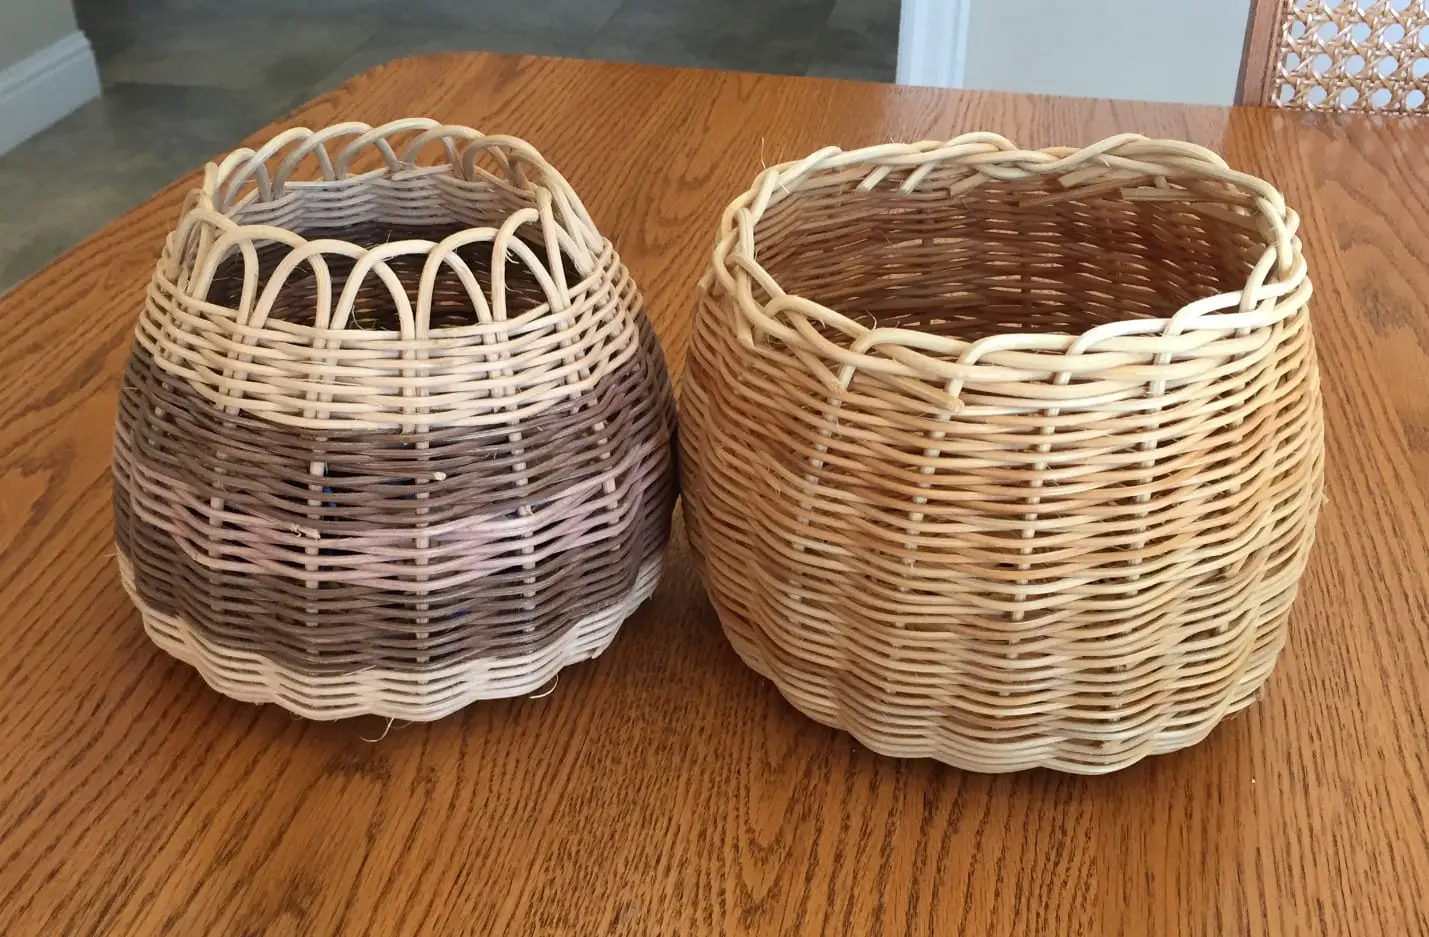
Step 1: Choosing the Basket
The first step in creating a flower girl basket is selecting the perfect basket. Here are some considerations to keep in mind:
- Size: Choose a basket that is appropriate for the size and age of your flower girl. Make sure it is not too heavy or cumbersome for her to carry comfortably.
- Shape: Decide on the shape of the basket that suits your wedding theme. You can opt for a traditional round or oval shape, or explore more unique options such as a heart-shaped or square basket.
- Material: Consider the material of the basket. Wicker baskets are a popular choice, as they give a rustic and natural feel. However, you can also explore alternatives such as bamboo, metal, or even a decorated wooden box.
- Handle: Look for a basket with a sturdy handle that is easy for the flower girl to grip. The handle can be made of the same material as the basket or a contrasting material, depending on your design preference.
As you choose the basket, keep in mind your overall wedding aesthetic and the style you want to achieve. Take into account the flower girl’s outfit and the color palette of your wedding. By considering these factors, you can ensure that the basket complements the overall look and enhances the charm of the flower girl’s role.
Once you have selected the basket, it’s time to move on to the next step: decorating it to match your wedding theme.
Step 2: Decorating the Basket
After choosing the perfect basket, it’s time to unleash your creativity and decorate it to match your wedding theme. Here’s how you can transform a simple basket into a stunning piece:
- Clean the basket: Before starting the decorating process, make sure to clean the basket and remove any dust or debris. This will ensure that the decorations adhere properly.
- Choose your fabrics: Select fabrics that complement your wedding colors and theme. Satin, organza, or lace are popular options. Cut the fabric into strips or squares, depending on your design preference.
- Attach the fabric: Using a hot glue gun, carefully glue the fabric onto the basket. You can wrap the fabric around the handle, cover the sides of the basket, or create a pattern according to your vision. Trim any excess fabric.
- Add trimmings: To enhance the decorative effect, add lace trimmings or other embellishments such as pearls, crystals, or sequins. Apply these using hot glue, ensuring they are securely attached.
- Personalize with initials or names: If desired, you can further customize the basket by attaching initials or the flower girl’s name using wooden or metal letters. Glue them onto the fabric or onto a contrasting ribbon.
- Consider additional accents: To add extra charm and uniqueness, consider incorporating other elements such as ribbons, bows, or small details that represent your wedding theme. Get creative and let your imagination guide you.
Remember to focus on a cohesive and balanced design. Avoid overcrowding the basket with too many decorations, as it may overshadow the flowers or be too cumbersome for the flower girl to carry.
With these decorations in place, your flower girl basket will exude elegance and reflect the style of your wedding. It’s time to move on to the next step: adding ribbons and bows.
Step 3: Adding Ribbons and Bows
Now that you have decorated the flower girl basket, it’s time to add some delightful ribbons and bows to enhance its visual appeal. Follow these steps to create beautiful and eye-catching accents:
- Choose the ribbons: Select ribbons that match your wedding colors and complement the basket’s design. Satin, organza, or grosgrain ribbons are popular choices. Consider using ribbons of different widths for added dimension.
- Cut the ribbons: Measure and cut the ribbons into strips according to your desired length. You can opt for long flowing ribbons or shorter ones, depending on your preference and the overall look you want to achieve.
- Attach the ribbons: Use your hot glue gun to secure the ribbons to the inside or outside of the basket. You can attach them around the handle, along the edges of the basket, or create intricate patterns. Experiment with different placements to find the most appealing arrangement.
- Tie bows: Bows can be a charming addition to the flower girl basket. Use a separate ribbon or the same ribbon used for the basket decoration and tie beautiful bows. Place them strategically on the handle or attach them to the sides of the basket for a lovely finishing touch.
- Trim excess ribbon: After attaching the ribbons and bows, trim any excess length to ensure a neat and tidy appearance. This will prevent the ribbons from tangling or getting in the way during the flower girl’s walk down the aisle.
By adding ribbons and bows, you add a touch of elegance and whimsy to the flower girl basket. These decorative accents will complement the overall design and make the basket even more visually appealing. With this step complete, it’s time to move on to the next phase: filling the basket with flowers.
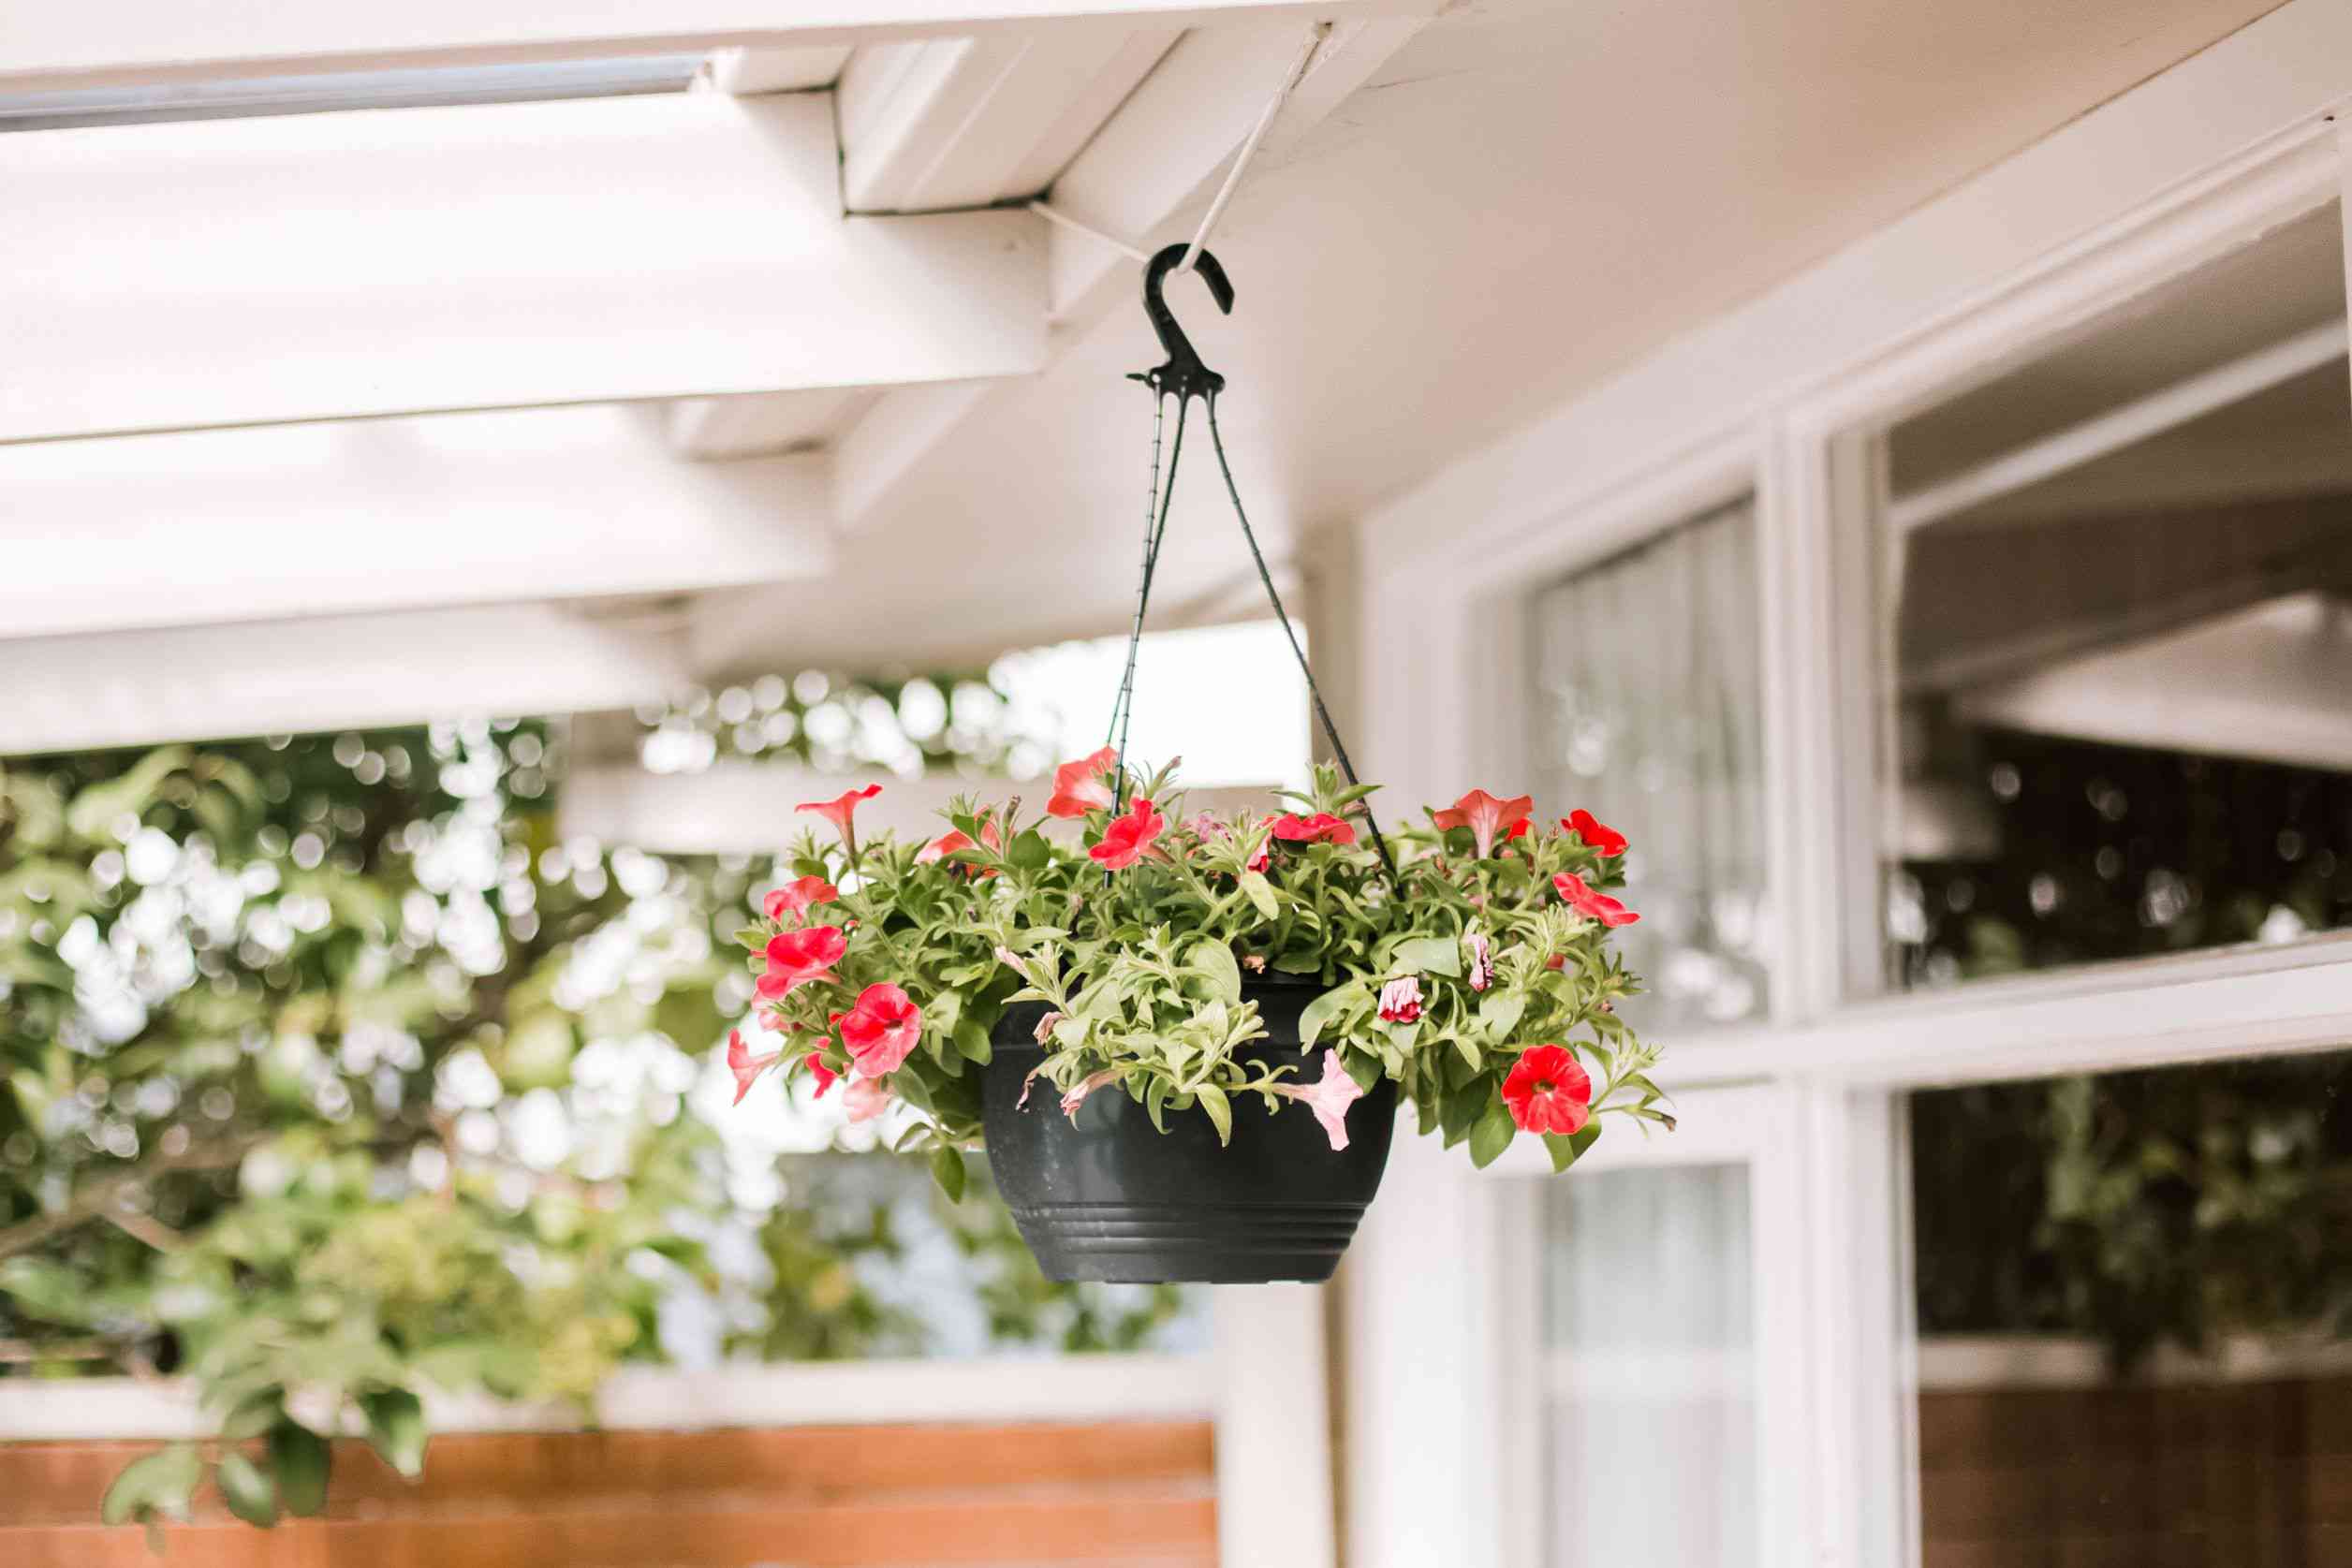
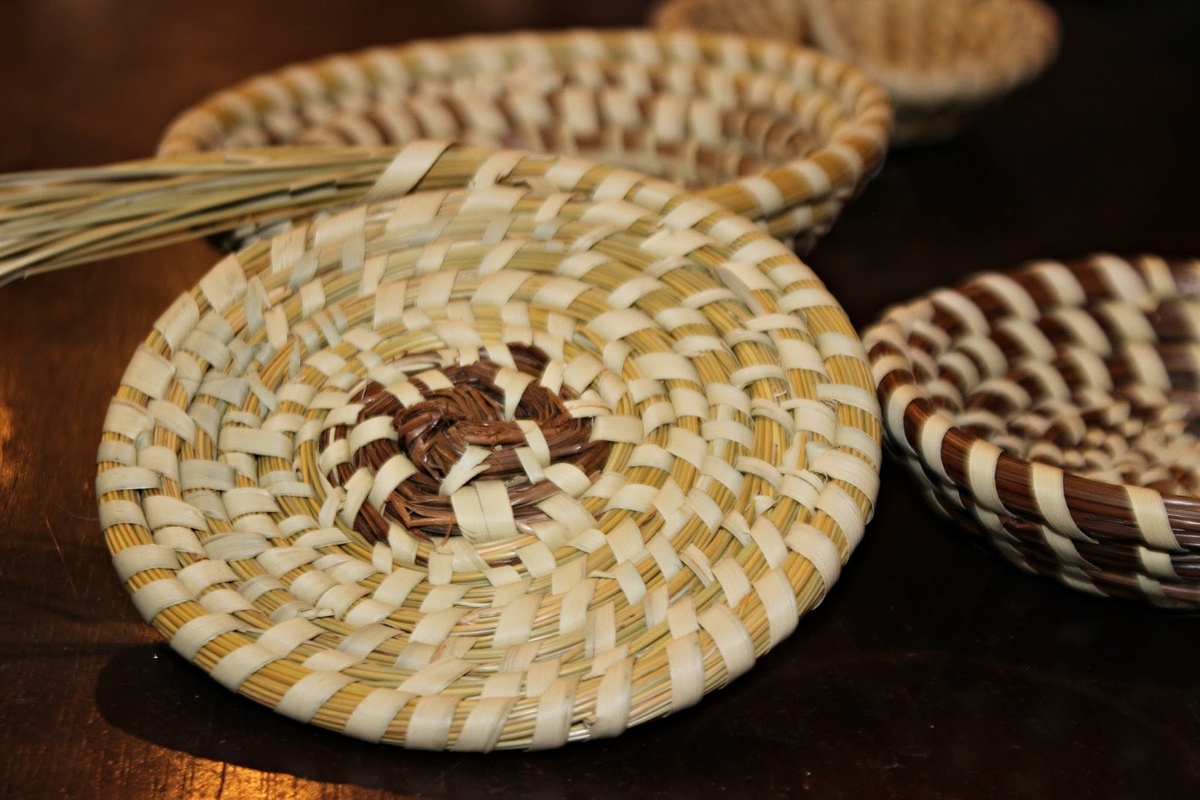
When making flower girl baskets, consider using lightweight materials like wicker or bamboo to ensure easy carrying for the little ones.
Read more: How To Make A Little Girl’s Play Area
Step 4: Filling the Basket with Flowers
Now that you have beautifully decorated the flower girl basket, it’s time to fill it with flowers. Follow these steps to create a stunning floral arrangement:
- Prepare the floral foam or moss: If you are using fresh flowers, soak floral foam in water until it is fully saturated. Alternatively, if you are using artificial flowers or prefer a more natural look, you can use moss to create a base in the basket.
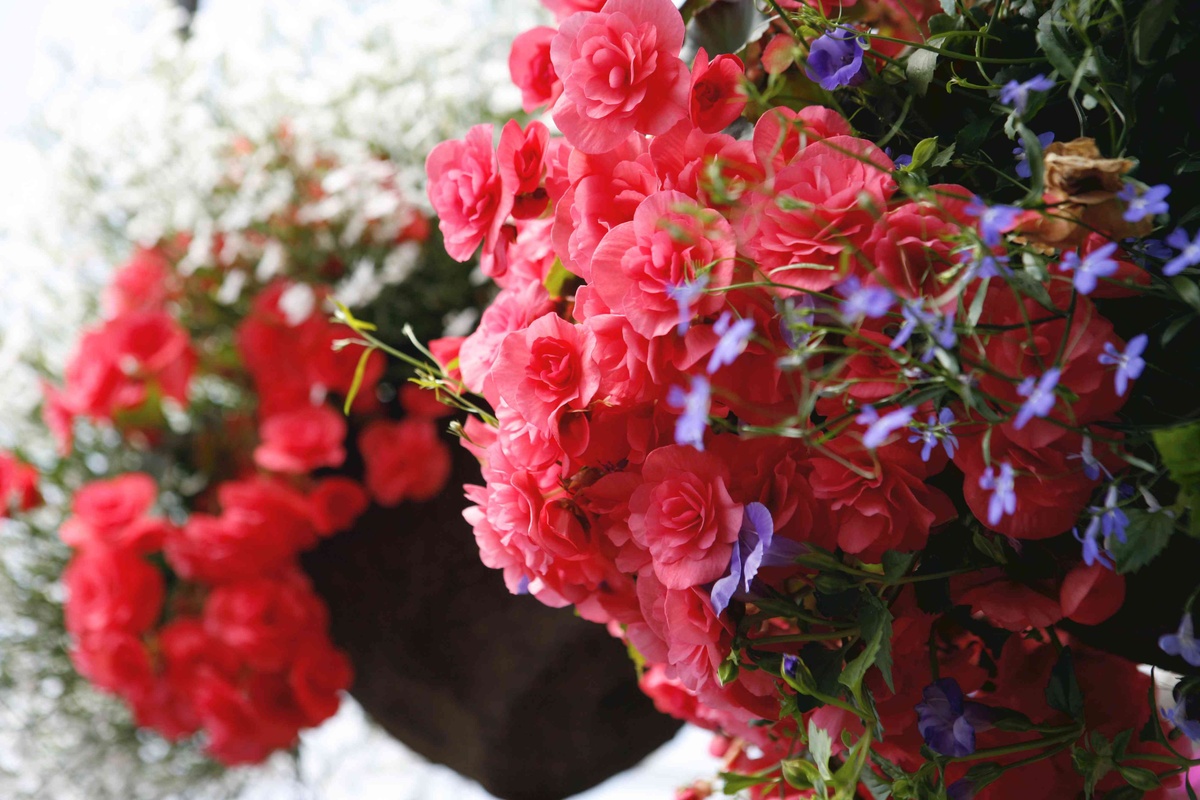
- Arrange the flowers: Start by selecting your desired flowers for the arrangement. Consider using flowers that match the overall wedding theme and color palette. You can opt for a single type of flower or create a mix of different blooms.
- Trim the flower stems: Cut the flower stems to the desired length. It’s a good idea to make them slightly longer than the basket height to create a beautiful cascading effect.
- Insert the flowers: For fresh flowers, carefully insert the stems into the floral foam, making sure they are secure. If you are using artificial flowers, you can simply arrange and position them in the moss or foam.
- Create a balanced arrangement: Arrange the flowers evenly throughout the basket, paying attention to spacing and heights. Create a balanced and visually pleasing composition by distributing the flowers in a harmonious way.
- Fill in gaps: Once the main flowers are in place, you can fill any gaps or spaces with smaller flowers, foliage, or baby’s breath. This will add volume and a softer touch to the arrangement.
As you fill the basket with flowers, keep in mind that the arrangement should be slightly loose and airy. Avoid overcrowding the basket, as this may weigh it down or obstruct the flower girl’s view as she scatters petals along the aisle.
With the flowers beautifully arranged in the basket, it’s time to move on to the next step: securing the flowers to ensure they stay in place during the ceremony.
Step 5: Securing the Flowers
Once you have filled the flower girl basket with a lovely arrangement of flowers, it’s important to secure them to ensure they stay in place during the ceremony. Here’s how you can securely fasten the flowers:
- Check the stability: Before securing the flowers, make sure the arrangement is stable and well-balanced within the basket. Adjust any flowers or stems as needed to achieve the desired look.
- Use floral tape: To provide additional support and stability, wrap floral tape around the stems of the flowers where they meet the floral foam or moss. This will help hold the stems in place and prevent any shifting or movement during the flower girl’s walk.
- Secure with hot glue: Using a hot glue gun, dab a small amount of glue around the base of each flower stem and press it against the foam or moss. This will firmly attach the flowers to the basket, ensuring they do not loosen or fall out during the ceremony.
- Reinforce weak spots: Identify any areas within the arrangement that may feel weak or wobbly. Add extra tape or glue to those areas to reinforce them and provide added stability.
By taking these steps to secure the flowers, you can have peace of mind knowing that the arrangement will remain intact as the flower girl gracefully walks down the aisle, scattering petals along the way.
Now that the flowers are securely in place, it’s time to move on to the final step: adding the finishing touches and making any necessary adjustments.
Step 6: Final Touches and Adjustments
As you near the completion of your flower girl basket, it’s important to add the final touches and make any necessary adjustments to ensure everything is perfect for the big day. Follow these steps for the finishing touches:
- Inspect the arrangement: Take a close look at the flower arrangement in the basket. Check for any loose flowers or stems that may need to be re-secured. Make any necessary adjustments to ensure the flowers are evenly distributed and visually appealing.
- Trim excess foliage: If there are any excess leaves or foliage that are obstructing the view of the flowers, carefully trim them away. This will ensure the flowers take center stage and create a clean and polished look.
- Clean up any glue residue: Inspect the basket for any visible glue residue. Gently remove any excess glue using a small sponge or cloth. This will give the basket a clean and professional appearance.
- Add additional embellishments (optional): If desired, you can add extra embellishments such as decorative butterflies, small fabric flowers, or even a personalized tag with the flower girl’s name. Attach them securely using hot glue or ribbon for an added touch of charm.
- Ensure the handle is secure: Test the handle of the basket to ensure it is sturdy and securely attached. If needed, reinforce the handle by adding extra glue or ribbon.
- Step back and assess the overall appearance: Once you have completed the final touches, step back and assess the overall look of the flower girl basket. Make sure it complements the overall theme and aesthetic of your wedding. If necessary, make additional adjustments to achieve the desired result.
By paying attention to these final touches and making necessary adjustments, you can ensure that your flower girl basket is not only visually appealing but also practical and secure for the flower girl to carry during the ceremony.
With the final touches complete, your flower girl basket is now ready to add a delightful touch to your wedding ceremony. Congratulations on creating a beautiful and personalized piece that will make your flower girl feel extra special!
Conclusion
Creating your own flower girl basket is a wonderful way to add a personal touch and make your wedding ceremony even more memorable. By following the steps outlined in this guide, you can design a stunning basket that perfectly complements your wedding theme and showcases the beauty of the flower girl’s role.
From choosing the right basket to decorating it with ribbons and bows, filling it with flowers, and securing the arrangement, each step plays a crucial role in creating a beautiful and functional flower girl basket. Adding your own unique touches and personal style will make the basket truly special and a cherished keepsake for the flower girl.
Remember to consider the overall aesthetic of your wedding, including colors, themes, and the flower girl’s attire, as you make decisions throughout the process. By doing so, you can ensure that the flower girl and the basket harmoniously fit into the overall vision of your special day.
Whether you are a craft enthusiast or someone seeking a creative outlet, making a flower girl basket will not only showcase your skills but also allow you to create a sentimental piece that your flower girl will treasure for years to come.
So, have fun, get creative, and embrace the joy of crafting your own flower girl basket. It will undoubtedly add an extra touch of beauty and wonder to your wedding day, creating beautiful memories that will last a lifetime.
Frequently Asked Questions about How To Make Flower Girl Baskets
Was this page helpful?
At Storables.com, we guarantee accurate and reliable information. Our content, validated by Expert Board Contributors, is crafted following stringent Editorial Policies. We're committed to providing you with well-researched, expert-backed insights for all your informational needs.
0 thoughts on “How To Make Flower Girl Baskets”