Home>Storage Ideas>Bathroom Storage>Bathroom Wall Ideas: Striking Finishes For Washroom Walls

Bathroom Storage
Bathroom Wall Ideas: Striking Finishes For Washroom Walls
Modified: January 19, 2024
Discover stunning and creative bathroom wall ideas including striking finishes for your washroom walls. Enhance your bathroom storage with these innovative designs.
(Many of the links in this article redirect to a specific reviewed product. Your purchase of these products through affiliate links helps to generate commission for Storables.com, at no extra cost. Learn more)
Introduction
Welcome to the world of bathroom storage! Bathrooms are often one of the smallest rooms in a home, yet they are also one of the most important in terms of functionality and organization. A well-designed bathroom not only offers a space to refresh and rejuvenate but also provides ample storage solutions to keep everything tidy and within reach.
When it comes to bathroom storage, there are various options available to suit different needs and preferences. From innovative storage units to clever space-saving ideas, you can create a bathroom that is not only functional but also stylish.
In this article, we will explore some of the best bathroom storage ideas and how to optimize them for both practicality and aesthetics. Whether you have a small powder room or a spacious master bathroom, these tips and tricks will help you maximize your storage space while adding a touch of beauty to your bathroom.
So, let’s dive in and discover the world of bathroom storage solutions that will transform your washroom into a clutter-free and stunning sanctuary.
Key Takeaways:
- Transform your bathroom walls into stunning focal points with painted accent walls, tile mosaics, wallpaper statements, stone veneers, vintage wood paneling, concrete finishes, glass tile backsplashes, and stenciled walls. Each option brings unique charm and style to your space.
- Infuse your bathroom with personal style and functionality by choosing the right storage solutions. From sleek and modern to rustic and vintage, there are options to suit every taste. Maximize space, maintain cleanliness, and enjoy a visually stunning and organized sanctuary.
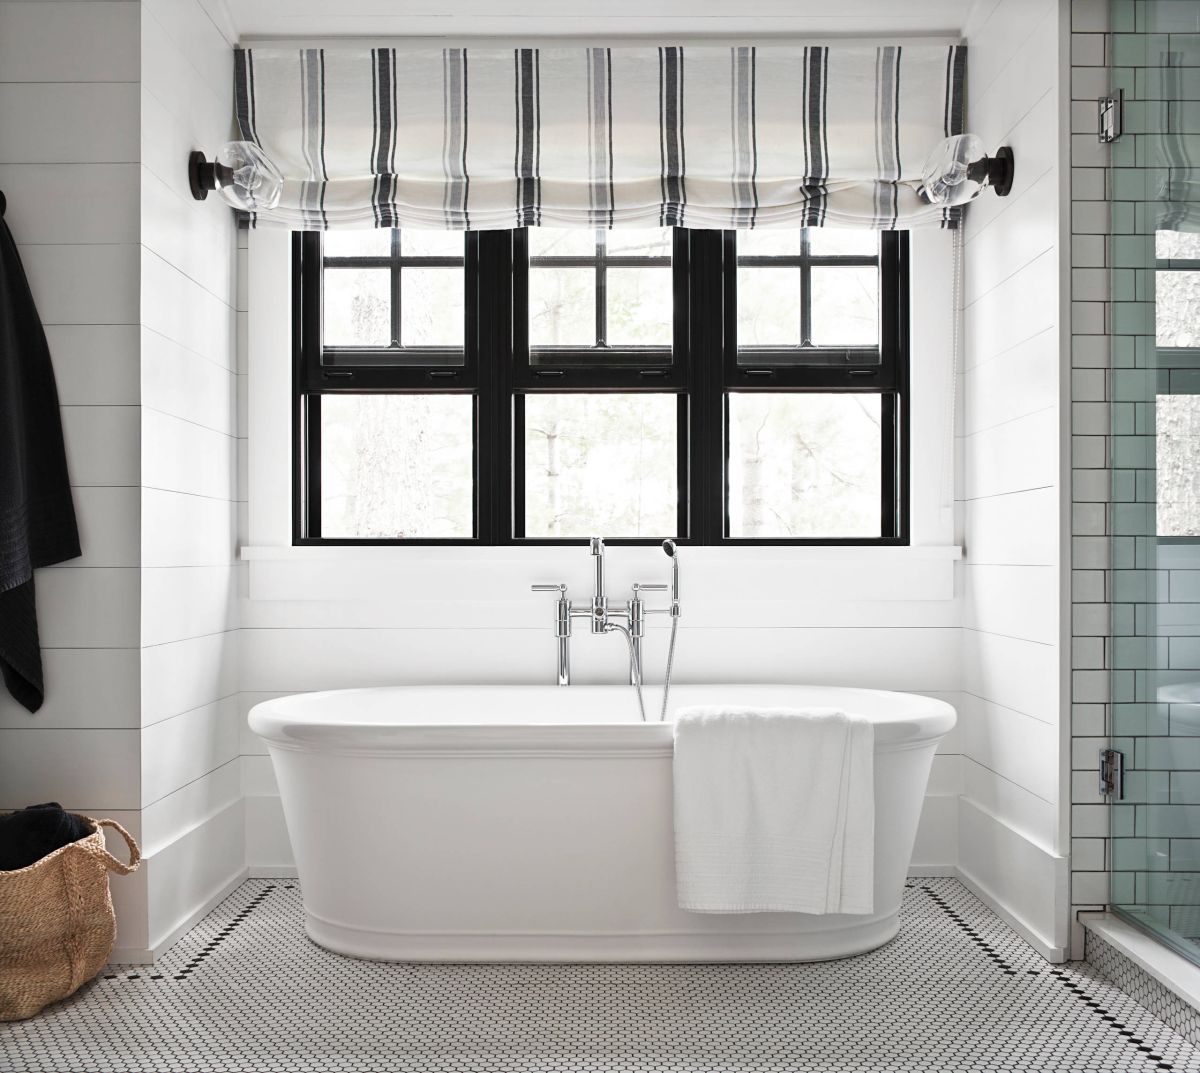
Painted Accent Wall
A painted accent wall can instantly transform the look of your bathroom and add a pop of color or a touch of sophistication. It is a simple yet effective way to create visual interest in the space. However, choosing the right color, utilizing techniques and patterns, and ensuring proper maintenance are key to achieving the desired result.
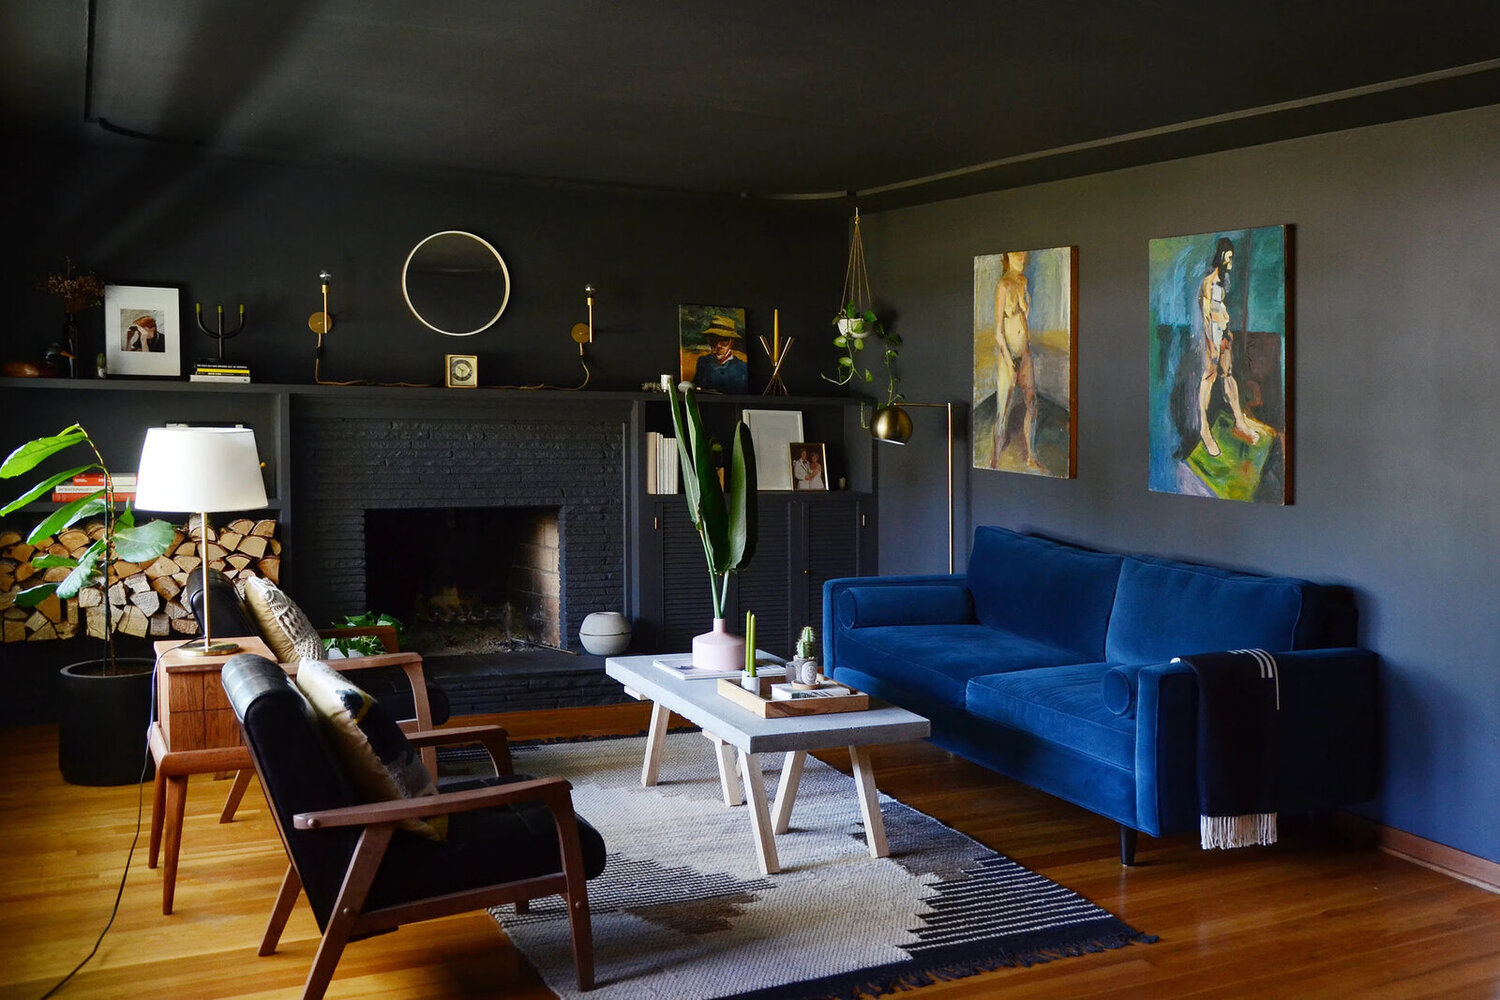
When choosing the color for your painted accent wall, consider the overall color scheme and the mood you want to create. If you want to make a bold statement, opt for vibrant colors like deep blues, rich emeralds, or striking reds. For a more soothing and serene ambiance, pastel tones or neutrals like greys or beige can work well.
Once you have chosen the color, experiment with different techniques and patterns to make your accent wall truly unique. Popular techniques include sponge painting, stenciling, or using painter’s tape to create geometric designs. These techniques can add depth and texture to the wall, giving it an artistic and custom look.
Maintenance and longevity are also important factors to consider when painting an accent wall in your bathroom. Bathrooms are prone to high humidity and moisture, which can affect the durability of the paint. To ensure longevity, use a high-quality, moisture-resistant paint that is specifically designed for bathrooms. Additionally, consider using a primer before painting to create a smooth and even surface.
Regular maintenance is essential to keep your painted accent wall looking fresh and vibrant. Clean the wall regularly with a mild detergent to remove any dirt or grime. Avoid using abrasive cleaners that can damage the paint. If you notice any chips or peeling, touch up the paint as needed to maintain the wall’s aesthetic appeal.
A painted accent wall is a versatile and cost-effective way to add personality and style to your bathroom. By selecting the right color, utilizing techniques and patterns, and properly maintaining the wall, you can create a stunning focal point that enhances the overall ambiance of your space.
Tile Mosaic
A tile mosaic is a beautiful and intricate way to add texture, color, and pattern to your bathroom walls. It offers endless design possibilities and can create a stunning focal point. When considering a tile mosaic for your bathroom, it’s important to explore the different types of tiles available, consider design ideas and patterns, and decide whether to tackle the installation as a DIY project or hire professionals.
There are various types of tiles to choose from when creating a tile mosaic. Ceramic tiles are a popular choice due to their durability and affordability. They come in a wide range of colors and patterns, allowing you to create intricate designs or simple geometric patterns. Glass tiles are another option that adds a luxurious and modern touch to your bathroom. They reflect light and create a stunning, glossy finish. Natural stone tiles, such as marble or travertine, offer a timeless and elegant look but can be more expensive.
When it comes to tile mosaic design ideas and patterns, the possibilities are endless. You can opt for a classic subway tile pattern for a timeless look, create a mosaic mural depicting a scenic view, or experiment with geometric shapes for a modern and artistic touch. Consider the overall aesthetic of your bathroom and choose a design that complements the existing decor and style.
Installing a tile mosaic can be a challenging endeavor. If you have experience in tiling and feel confident in your abilities, you may choose to tackle the installation as a DIY project. However, it’s important to keep in mind that mosaics require precision and attention to detail. You’ll need proper tools and techniques to ensure a seamless and professional finish.
Alternatively, hiring professionals for the installation can provide peace of mind and ensure a high-quality result. Professional installers have the necessary expertise and experience to handle intricate mosaic patterns and ensure that the tiles are properly secured and aligned. They can also offer advice on design choices and provide guidance throughout the process.
Whether you decide to go the DIY route or hire professionals, a tile mosaic in your bathroom can transform the space into a work of art. The careful selection of tiles, thoughtful design ideas, and proper installation can result in a visually stunning and long-lasting addition to your bathroom’s walls.
Wallpaper Statement Wall
A wallpaper statement wall is a fantastic way to add personality, style, and drama to your bathroom. With a wide variety of wallpaper options available, you can showcase your unique taste and create a stunning focal point in the space. When considering a wallpaper statement wall, it’s important to explore the different types of wallpaper, choose bold prints and patterns, and understand how to properly apply and remove wallpaper.
There are several types of wallpaper to choose from, each with its own advantages and considerations. Vinyl wallpaper is a popular choice for bathrooms due to its durability, moisture-resistance, and ease of cleaning. It is available in a wide range of designs and patterns, making it suitable for various bathroom aesthetics. Another option is fabric wallpaper, which adds texture and a luxurious feel to the walls. However, it may require professional installation.
When selecting wallpaper for your statement wall, embrace bold prints and patterns to make a statement. Floral designs, geometric prints, and abstract patterns can add visual interest and create a dynamic focal point. If your bathroom has a minimalist or modern aesthetic, opt for a wallpaper with clean lines and subtle patterns. Alternatively, if you want to create a dramatic and glamorous look, consider metallic or textured wallpapers.
Applying wallpaper requires careful attention to detail to achieve a professional finish. Start by properly preparing the wall surface, ensuring it is clean, smooth, and free of any imperfections. Measure and cut the wallpaper accurately, leaving a slight overlap at the edges. Use a wallpaper paste or adhesive to adhere the wallpaper to the wall, following the manufacturer’s instructions. Smooth out any air bubbles or wrinkles using a wallpaper smoothing tool. Allow the wallpaper to dry completely before enjoying the stunning transformation.
When it comes time to remove the wallpaper, you’ll want to approach the process with care. Start by scoring the wallpaper with a scoring tool to allow the moisture to penetrate. Apply a wallpaper removal solution or a mixture of warm water and fabric softener to help loosen the adhesive. Gently peel off the wallpaper using a scraper or putty knife, being cautious not to damage the wall surface. If needed, repeat the process until all the wallpaper is removed. Finally, clean the wall thoroughly to prepare for any future wall treatments.
A wallpaper statement wall can take your bathroom from ordinary to extraordinary. By exploring different types of wallpaper, embracing bold prints and patterns, and properly applying and removing wallpaper, you can create a visually stunning and unique focal point that reflects your personal style in the bathroom.
Stone Veneer
Adding a stone veneer to your bathroom walls can bring a touch of natural beauty and timeless elegance to the space. Both natural stone and manufactured veneers offer unique advantages and considerations. Understanding the differences, along with installation tips and proper maintenance, will help you make an informed decision when incorporating stone veneer in your bathroom.
When it comes to stone veneer, you have the choice between natural stone and manufactured veneers. Natural stone veneers are crafted from real stones, such as slate, granite, or marble. They offer unique variations in color and texture, creating a truly authentic look. Manufactured veneers, on the other hand, are made from a combination of cement, aggregates, and pigments, designed to mimic the appearance of natural stone.
One advantage of natural stone veneers is their authenticity and natural beauty. The unique characteristics of each stone create a sense of luxury and elegance. On the other hand, manufactured veneers offer more consistency in color and texture, making it easier to match different pieces and create a cohesive look.
There are several advantages and disadvantages to consider when choosing stone veneers. Natural stone veneers are renowned for their durability and longevity. They can withstand high levels of moisture, making them suitable for bathroom environments. However, they can be more expensive and may require professional installation due to their weight. Manufactured veneers are lighter and more affordable, but they may not hold up as well over time, especially in high-moisture areas.
When installing stone veneers, it’s crucial to follow the manufacturer’s instructions and properly prepare the wall surface. Depending on the type of veneer, you may need a specialized adhesive, mortar, or clips for installation. Ensure that the wall is clean, smooth, and structurally sound before beginning the installation process.
Maintenance for stone veneers depends on the type of stone and finish. Generally, you’ll want to regularly clean the surface using a mild detergent and a soft brush or cloth to remove any dirt or grime. Avoid using acidic or abrasive cleaners that can damage the stone. Apply a sealant to protect the veneer and enhance its longevity, especially in high-moisture areas like bathrooms.
With proper installation and maintenance, a stone veneer can elevate the aesthetic appeal of your bathroom and create a stunning backdrop. Whether you choose the authenticity of natural stone or the convenience of manufactured veneers, incorporating this element can bring a touch of elegance and sophistication to your space.
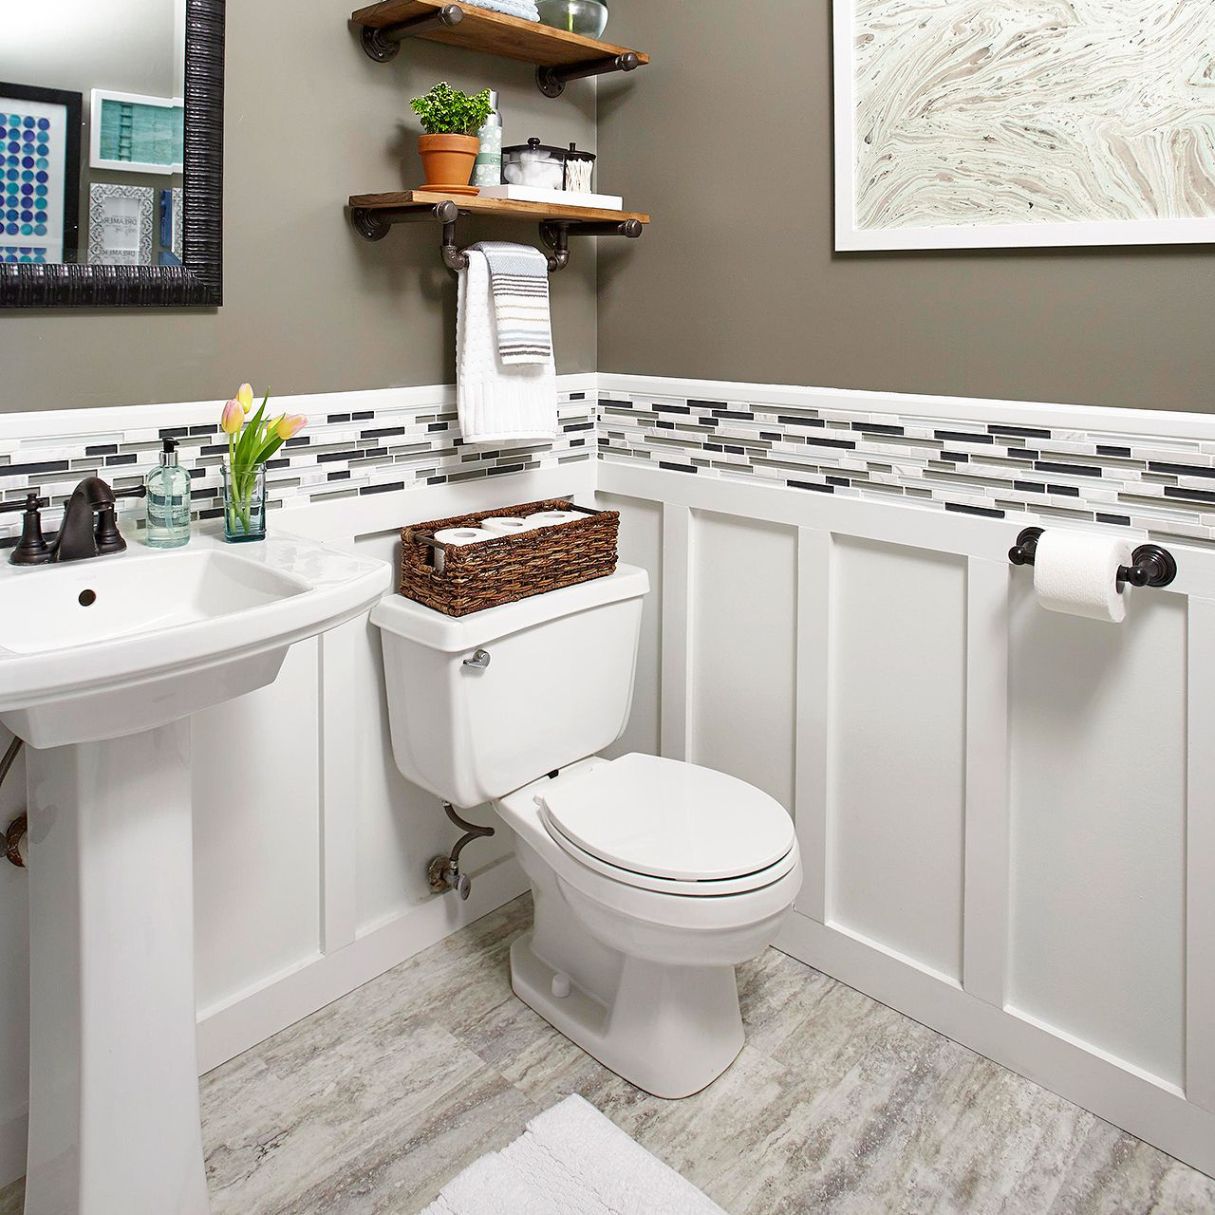
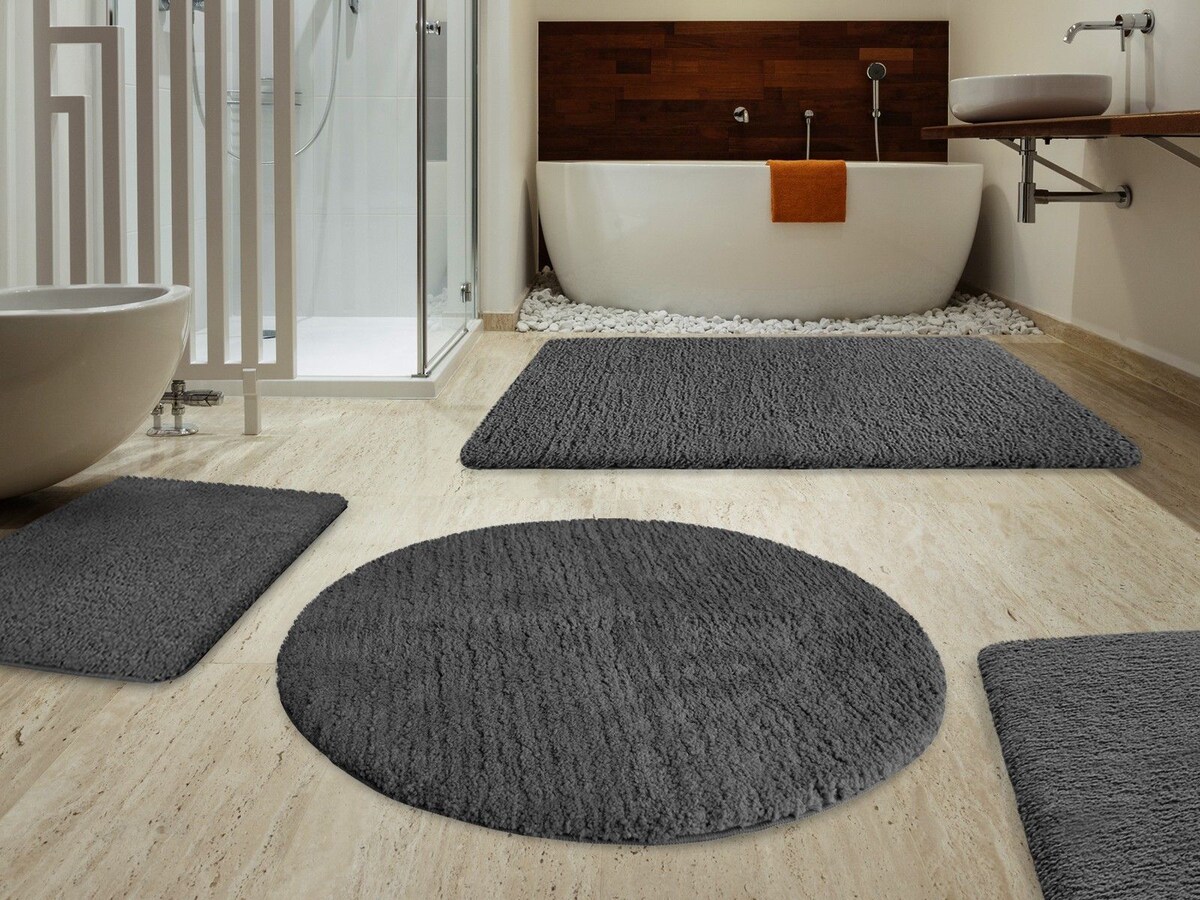
Consider using bold and striking finishes for your bathroom walls, such as textured tiles, waterproof wallpaper, or metallic paint. These finishes can add visual interest and personality to your washroom.
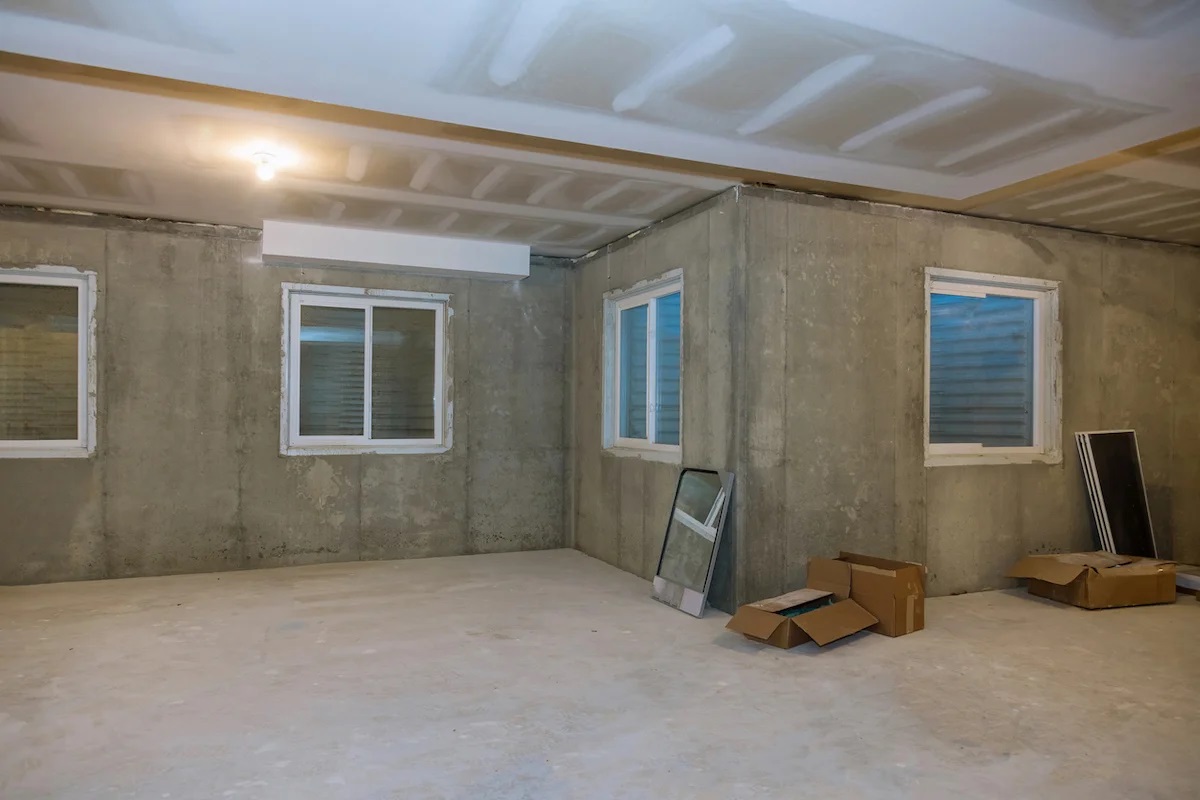
Read more: How To Finish Basement Walls
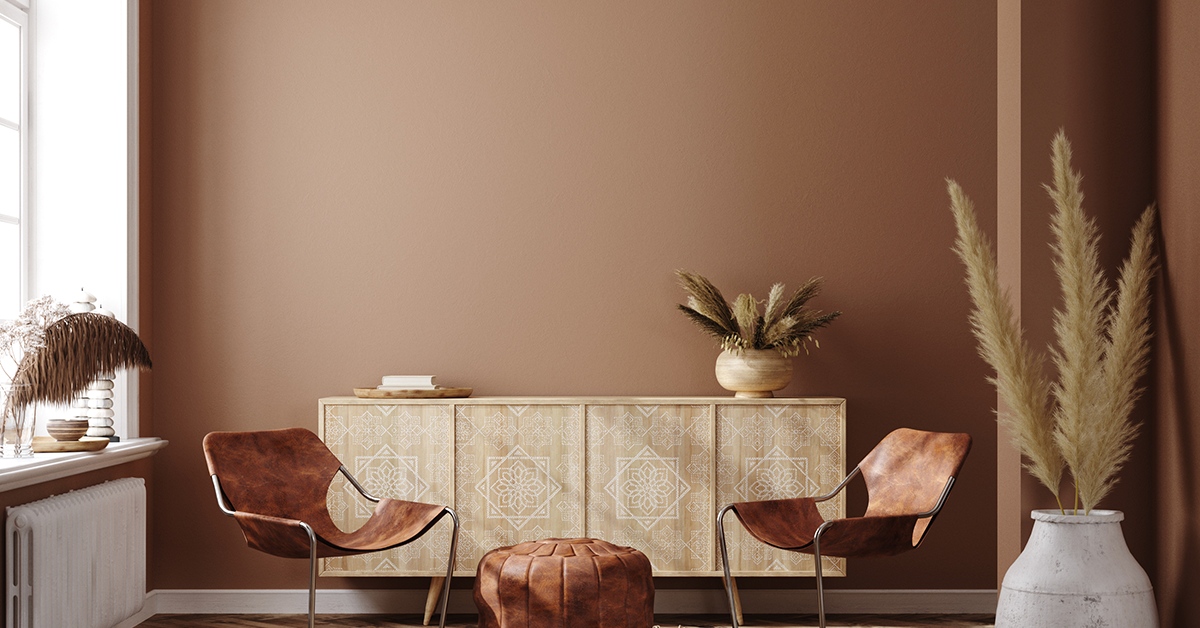
Vintage Wood Paneling
Vintage wood paneling is a charming and versatile option for transforming your bathroom into a rustic retreat. The warmth and character of wood can create a cozy and inviting atmosphere. When choosing vintage wood paneling, it’s essential to select the right type of wood, consider the desired rustic look, and understand how to protect and preserve the wood for long-lasting beauty.
When selecting the right wood for vintage paneling, consider the aesthetic you want to achieve and the level of durability required in a bathroom setting. Popular wood options for vintage paneling include reclaimed barn wood, knotty pine, and cedar. Reclaimed barn wood offers a unique and weathered look with a rich history, while knotty pine exudes a rustic charm with its natural knots and grain patterns. Cedar is known for its natural resistance to moisture, making it an excellent choice for bathroom environments.
Creating a rustic look with vintage wood paneling involves giving the wood a distressed or weathered appearance. You can accomplish this by using various techniques such as sanding, staining, or applying a pickling solution. Sanding can help create a worn and aged look, while staining or pickling can enhance the natural beauty of the wood while adding a touch of vintage charm. Experiment with different techniques to achieve the desired rustic effect.
Protecting and preserving the wood paneling is crucial to maintain its beauty and longevity. Start by properly sealing the wood with a protective finish that is suitable for bathroom humidity. This will prevent moisture from penetrating the wood, reducing the risk of warping or damage. Regularly clean the wood paneling with a mild detergent and avoid using abrasive cleaners that can scratch the surface or strip the protective finish. Additionally, periodically inspect the wood for any signs of wear or damage and address them promptly to prevent further issues.
Vintage wood paneling adds a touch of natural beauty and rustic elegance to your bathroom. By selecting the right wood, creating a desired rustic look, and taking proper measures to protect and preserve the wood, you can create a timeless and inviting space that exudes vintage charm.
Concrete Finish
A concrete finish in your bathroom can create a sleek, modern, and industrial aesthetic. With its versatility and durability, concrete is an excellent choice for both smooth and textured walls. When considering a concrete finish, it’s important to decide between a smooth or textured surface, explore staining and sealing options, and embrace the modern and industrial aesthetics it offers.
One option for a concrete finish is a smooth surface. Smooth concrete walls provide a clean and minimalist look, perfect for a contemporary bathroom design. To achieve a smooth finish, it’s essential to properly prepare the wall surface and apply multiple layers of concrete and finishers to achieve a smooth and even texture.
On the other hand, textured concrete walls can add depth and visual interest to your bathroom. There are various techniques for creating texture on concrete walls, such as using stamps, stencils, or creating unique patterns with trowels or brushes. Textured concrete gives the space a more organic and tactile feel, adding character and dimension to the overall design.
Staining and sealing are crucial steps in the concrete finishing process. Staining options allow you to customize the color of the concrete, creating a unique and personalized look. You can choose from a variety of colors, ranging from earthy tones to vibrant hues, to complement your bathroom’s overall color scheme. Sealing the concrete is essential to protect it from moisture, stains, and wear. A high-quality concrete sealer will not only enhance the durability and longevity of the finish but also add a glossy or matte sheen, depending on your preference.
Concrete finishes are highly versatile and can complement various aesthetics, but they are particularly well-suited to modern and industrial styles. With their sleek and minimalist appearance, concrete walls give a contemporary edge to your bathroom design. Pairing concrete with other materials, such as wood or metal, can enhance the industrial aesthetic, creating a unique contrast and blending of textures.
Whether you opt for a smooth or textured surface, a stained or sealed finish, a concrete finish in your bathroom will make a bold design statement. Embrace the modern and industrial aesthetics that concrete offers, and transform your bathroom into a contemporary, stylish, and visually striking space.
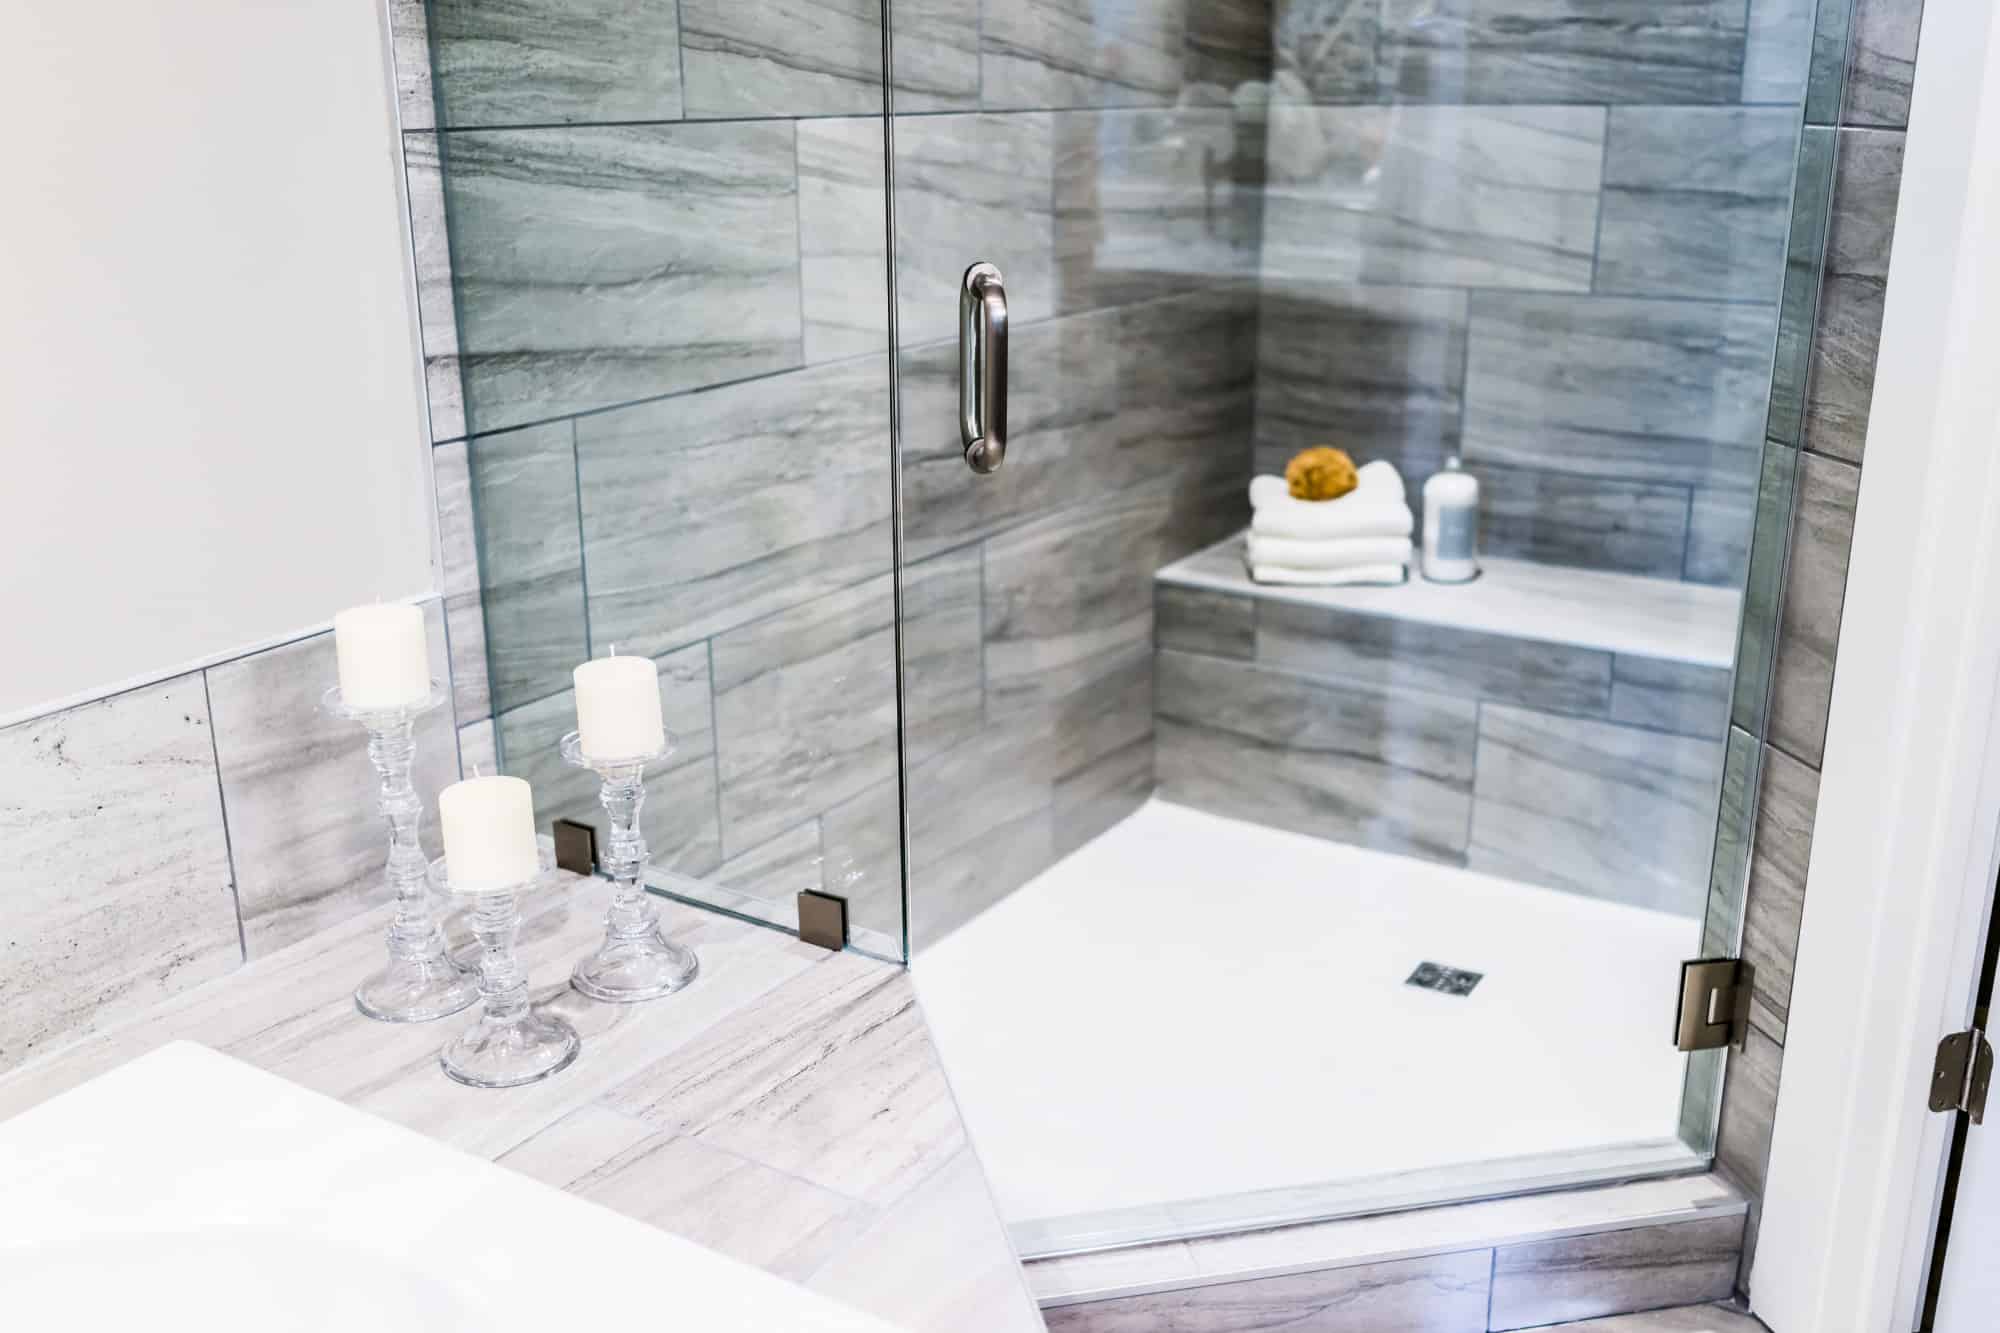
Glass Tile Backsplash
A glass tile backsplash is a stunning and versatile option for adding beauty and elegance to your bathroom walls. Glass tiles offer numerous benefits, allow for the creation of visual interest, and require proper cleaning and maintenance to preserve their beauty over time.
One of the main benefits of glass tiles is their inherent beauty and reflective qualities. Glass tiles can instantly brighten up your bathroom, as they reflect light and create a sense of spaciousness. They are available in a wide range of colors, finishes, and sizes, allowing you to create a custom design that suits your style and complements your existing bathroom decor.
Creating visual interest with a glass tile backsplash is easy due to their translucence and the ability to play with different patterns and layouts. Consider using glass tiles in a mosaic pattern or arranging them in a unique design, such as herringbone or chevron. The interplay of light, color, and texture in glass tiles can create a captivating focal point in your bathroom.
Cleaning and maintaining glass tile backsplashes is relatively simple. Regularly wipe the surface with a mild, non-abrasive cleaner and a soft cloth or sponge to remove any dirt or soap residue. Avoid using harsh chemicals or abrasive materials that can scratch or damage the tiles. Pay special attention to the grout lines, as they can accumulate dirt and grime. Use a grout brush or a toothbrush with a mixture of water and mild detergent to scrub the grout lines and keep them clean.
It’s essential to address any stains or spills on the glass tile backsplash promptly. If you notice any stubborn stains, you can use a mixture of vinegar and water or a specialty glass cleaner to remove them. For tough stains or mineral deposits, consult the manufacturer’s guidelines or seek professional assistance.
Occasionally, check the integrity of the grout and reseal it if necessary. Over time, the grout may become worn or discolored, compromising the aesthetic appeal and durability of the backsplash. By properly maintaining the grout, you can ensure the longevity and beauty of your glass tile backsplash.
A glass tile backsplash is a fabulous choice for adding a touch of elegance and sophistication to your bathroom. With their many benefits, the ability to create visual interest, and the easy cleaning and maintenance requirements, glass tiles can transform your bathroom into a luxurious and visually stunning space.
Stenciled Walls
Stenciled walls are a creative and cost-effective way to add unique patterns and designs to your bathroom. With the right stencil, a step-by-step stenciling process, and some tips for a professional finish, you can transform your walls into works of art.
The first step in stenciled walls is choosing the right stencil. Consider the style and theme of your bathroom and select a stencil that complements the overall aesthetic. Whether you prefer geometric shapes, floral patterns, or intricate designs, there are countless stencil options available to suit your taste.
Before you begin stenciling, prepare the wall surface by cleaning it thoroughly and ensuring it is free from any imperfections. Use a level and a pencil to mark the desired placement of the stencil on the wall, ensuring it is straight and centered.
Next, secure the stencil in place using painter’s tape or stencil adhesive spray to prevent it from shifting during the painting process. Prepare your paint by pouring a small amount onto a palette or a paper plate, and dip a sponge or stencil brush into the paint.
For a seamless and professional finish, remember to use a dry brush or sponge technique. Gently tap the brush or sponge onto the stencil, ensuring even coverage without excess paint. Start at the edges of the stencil and work your way towards the center, gradually filling in the design.
After each section is painted, carefully lift the stencil away from the wall, being cautious not to smudge the design. If there are any areas that require touch-ups, use a small brush to carefully fill them in.
For a more intricate design, you may need to reposition the stencil multiple times to create a repeating pattern. Line up the stencil’s registration marks with the previously painted areas to ensure continuity and uniformity in the design.
Once the stencil is complete and the paint has dried, step back and admire your stenciled walls. To protect the design and enhance its longevity, consider applying a clear coat sealer or varnish over the stenciled area.
For a truly professional finish, pay attention to the spacing and alignment of the stencil, maintain a light touch when applying the paint, and practice good paint management techniques to avoid bleeding or smudging. Take your time and work patiently, allowing each layer to dry before repositioning the stencil or moving on to the next section.
Stenciled walls offer endless creative possibilities, allowing you to personalize your bathroom and make a statement. By choosing the right stencil, following a step-by-step process, and incorporating tips for a professional finish, you can transform your plain walls into stunning works of art.
Conclusion
When it comes to bathroom storage, the options are limitless. By utilizing various storage solutions and optimizing the available space, you can transform your bathroom into a functional and organized oasis. From painted accent walls to tile mosaics, wallpaper statement walls to stone veneers, vintage wood paneling to concrete finishes, and glass tile backsplashes to stenciled walls, each option brings its own unique charm and style.
Choosing the right storage solution depends on your personal preferences, the size and layout of your bathroom, and the overall aesthetic you desire. Consider the functionality and durability of the materials, the maintenance and longevity of the finishes, and how they can seamlessly integrate into your bathroom’s design.
Remember, it’s crucial to infuse your bathroom with your own personal touch and style. Make it a reflection of your personality and create a space that brings you joy and relaxation. Whether you prefer a sleek and modern look, a rustic and vintage vibe, or a vibrant and eclectic atmosphere, there are storage options available to suit every taste.
As you embark on your bathroom storage journey, don’t forget about the power of organization and decluttering. Maximize your storage space by utilizing shelves, cabinets, baskets, and hooks to keep toiletries, towels, and other essentials neatly stored away.
Lastly, maintaining a clean and hygienic bathroom is essential for both functionality and aesthetics. Regular cleaning and proper maintenance of storage units, walls, and fixtures will help preserve their beauty and longevity.
In conclusion, transforming your bathroom storage can be a fun and rewarding project. With the right knowledge and creativity, you can optimize the space while creating a visually stunning and organized bathroom. Explore the various storage options available, experiment with different designs and finishes, and enjoy the transformation of your bathroom into a functional and beautiful sanctuary.
Frequently Asked Questions about Bathroom Wall Ideas: Striking Finishes For Washroom Walls
Was this page helpful?
At Storables.com, we guarantee accurate and reliable information. Our content, validated by Expert Board Contributors, is crafted following stringent Editorial Policies. We're committed to providing you with well-researched, expert-backed insights for all your informational needs.


0 thoughts on “Bathroom Wall Ideas: Striking Finishes For Washroom Walls”