Articles
How To Finish Basement Walls Without Drywall
Modified: January 19, 2024
Discover alternative methods to finish basement walls without drywall in these informative articles. Learn how to transform your space with creative materials and techniques.
(Many of the links in this article redirect to a specific reviewed product. Your purchase of these products through affiliate links helps to generate commission for Storables.com, at no extra cost. Learn more)
Introduction
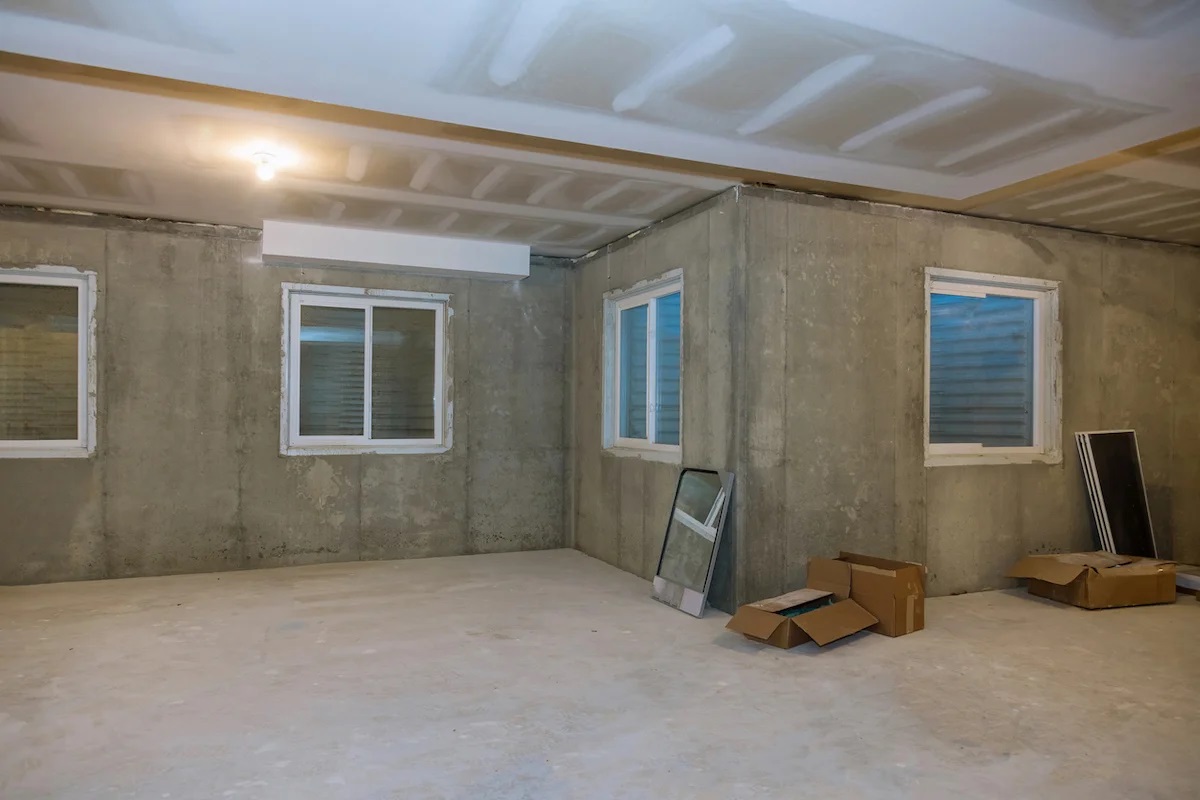
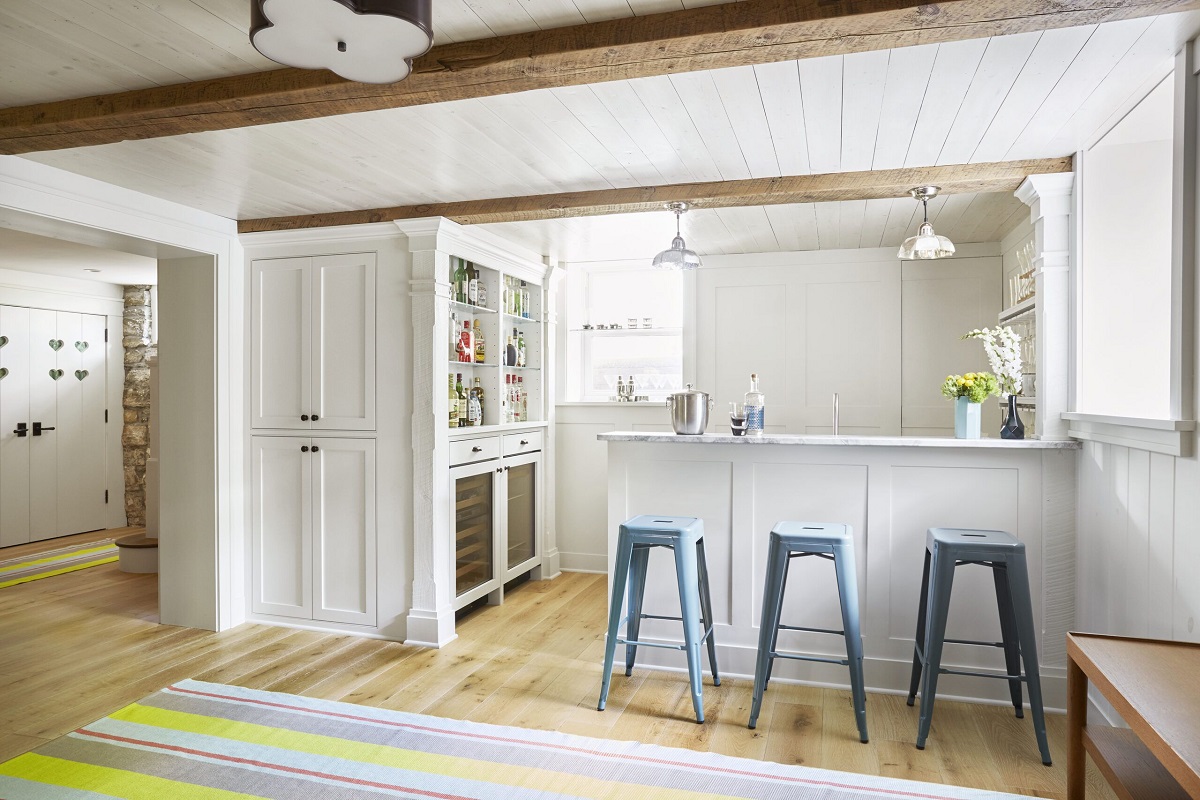
When it comes to finishing the walls in your basement, drywall seems to be the go-to option for many homeowners. However, there are alternative methods that can provide a unique and aesthetically pleasing look to your basement walls. Not only can these alternatives add character and charm, but they can also be more cost-effective and easier to install than traditional drywall.
In this article, we will explore various options for finishing basement walls without drywall. Whether you’re looking to create a cozy retreat, a home office, or a playroom for your kids, these alternatives will help you transform your basement into a functional and inviting space.
Key Takeaways:
- Transform your basement walls with unique alternatives to drywall, such as wall paneling, plywood and trim, stucco or cement finish, beadboard, or brick and stone veneer. Each method offers durability, flexibility, and creative freedom to personalize your space.
- Prepare your basement walls properly, gather the necessary materials, and follow step-by-step instructions to achieve professional and high-quality results. Unleash your creativity and turn your basement into a stunning space that reflects your style and taste.
Read more: How To Finish Drywall Butt Joints
Reasons to Finish Basement Walls Without Drywall
There are several reasons why you might consider finishing your basement walls without using drywall:
- Cost-effectiveness: Drywall can be expensive, especially when you factor in the cost of materials, labor, and any necessary repairs. Choosing alternative methods can help you save money without compromising on quality.
- Durability: While drywall is a popular choice for finishing walls, it can be prone to moisture damage, mold growth, and cracks. Some of the alternatives we will explore offer better resistance to these issues, ensuring long-lasting durability for your basement walls.
- Flexibility: Not all basements have perfectly straight walls, and drywall installation can be challenging in such spaces. Some alternative methods allow for more flexibility in accommodating irregular wall structures.
- Creative Freedom: By opting for unconventional wall finishing methods, you have the opportunity to unleash your creativity and personalize your basement. From rustic paneling to unique textures, these alternatives provide endless possibilities for expressing your style.
- Ease of Installation: Depending on your DIY skills, installing drywall can be a time-consuming and labor-intensive process. Many of the alternative methods mentioned in this article are relatively easy to install, making them more accessible for homeowners with limited construction experience.
Now that you understand the advantages of exploring alternatives to drywall, let’s take a look at the materials you’ll need for these methods.
Materials Needed
Before you begin the process of finishing your basement walls without drywall, it’s important to gather the necessary materials. The specific materials you’ll need will depend on the method you choose, but here are some common items that may be required:
- Wall paneling: If you opt for wall paneling, you’ll need to choose the type of paneling that suits your style, such as wood, PVC, or fiberboard. Make sure to measure the dimensions of your walls so you can purchase the appropriate amount of paneling.
- Plywood: If you plan to use plywood for an alternative approach, you’ll need sheets of plywood that are the appropriate thickness for your walls. Additionally, you’ll need trim pieces to cover the edges and create a finished look.
- Stucco or cement mix: For those considering a stucco or cement finish, you’ll need to purchase the necessary supplies, including stucco or cement mix, a trowel, and sandpaper for smoothing the surface.
- Beadboard: If beadboard appeals to you, gather the required amount of beadboard panels along with adhesive, nails, and trim pieces to finish the edges.
- Brick or stone veneer: For creating a brick or stone accent wall, you’ll need brick or stone veneer panels, adhesive, grout, and a trowel for applying the grout.
- Paint and brushes: Regardless of the method you choose, you’ll likely need paint and brushes to add the finishing touches and give your walls a fresh and polished look.
- Construction adhesives: Depending on the method, you may need construction adhesives to secure the materials to the walls.
- Measuring tape, level, and other basic tools: These tools will come in handy during the installation process, ensuring accuracy and a professional-looking finish.
Remember to consult the specific instructions for your chosen method to determine if there are any additional materials you may need. Now that you’ve gathered all the necessary materials, let’s move on to the preparation steps before starting the actual installation.
Preparation Steps
Before you begin installing the alternative finish for your basement walls, it’s important to properly prepare the space. Here are the essential preparation steps:
- Clean the walls: Begin by removing any dirt, dust, or debris from the walls. Use a broom, vacuum, or damp cloth to ensure a clean surface.
- Inspect for moisture or mold: Check for any signs of moisture or mold on the walls. If you discover any issues, it’s essential to address them before proceeding with the installation.
- Repair any damages: Fix any cracks, holes, or other damage on the walls before applying the alternative finish. Use spackling compound, patching tape, or other suitable materials to ensure a smooth and even surface.
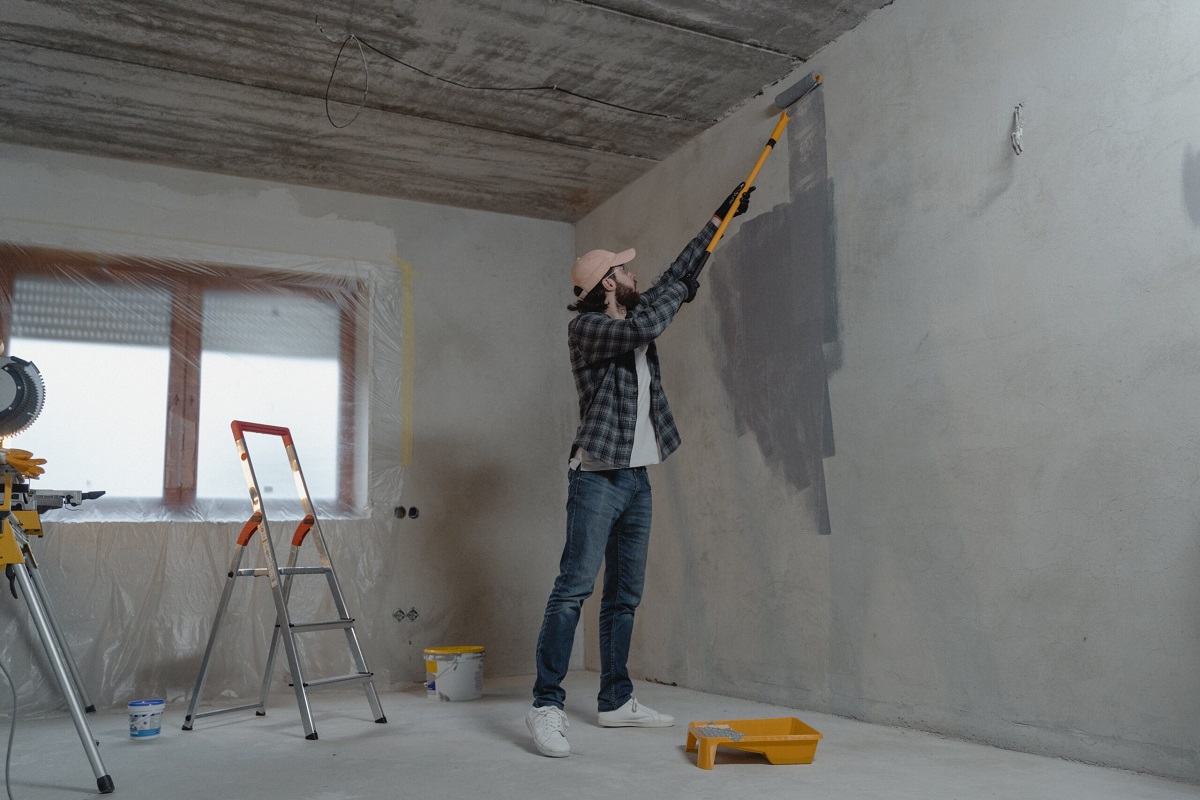
- Prime the walls (if necessary): Depending on the method you choose, you may need to apply a primer to the walls. This step will improve adhesion and help the alternative finish adhere properly.
- Measure and mark: Take accurate measurements of the walls to determine the quantity of materials needed. Use a measuring tape, level, and pencil to mark where the panels, plywood, or other materials will be placed.
- Prepare the workspace: Clear the area around the walls and cover the floor with drop cloths or plastic sheets to protect it from any spills or debris during the installation process.
- Gather the necessary tools: Ensure you have all the tools and equipment required for the installation, such as a saw, drill, adhesive gun, and any specific tools mentioned in the instructions for your chosen method.
By following these preparation steps, you will create a clean and suitable surface for the alternative finish, ensuring a professional-looking result. Now, let’s explore the different options for finishing your basement walls without drywall.
Option 1: Installing Wall Paneling
Wall paneling is a popular alternative to drywall for finishing basement walls. It provides a stylish and customizable look while being relatively easy to install. Here’s a step-by-step guide:
- Measure and cut: Measure the dimensions of the walls and cut the paneling to the appropriate size using a saw. Ensure that the paneling fits snugly against the walls.
- Apply adhesive: Apply construction adhesive to the back of the paneling following the manufacturer’s instructions. Alternatively, you can use paneling nails or screws to attach the paneling directly to the wall studs.
- Install the paneling: Press the paneling firmly against the wall, starting from one corner and working your way across. Make sure the paneling is level and aligned correctly.
- Add trim: To give the paneling a finished look, install trim pieces along the edges and corners. Use a saw to cut the trim to the appropriate lengths and secure them in place with adhesive or nails.
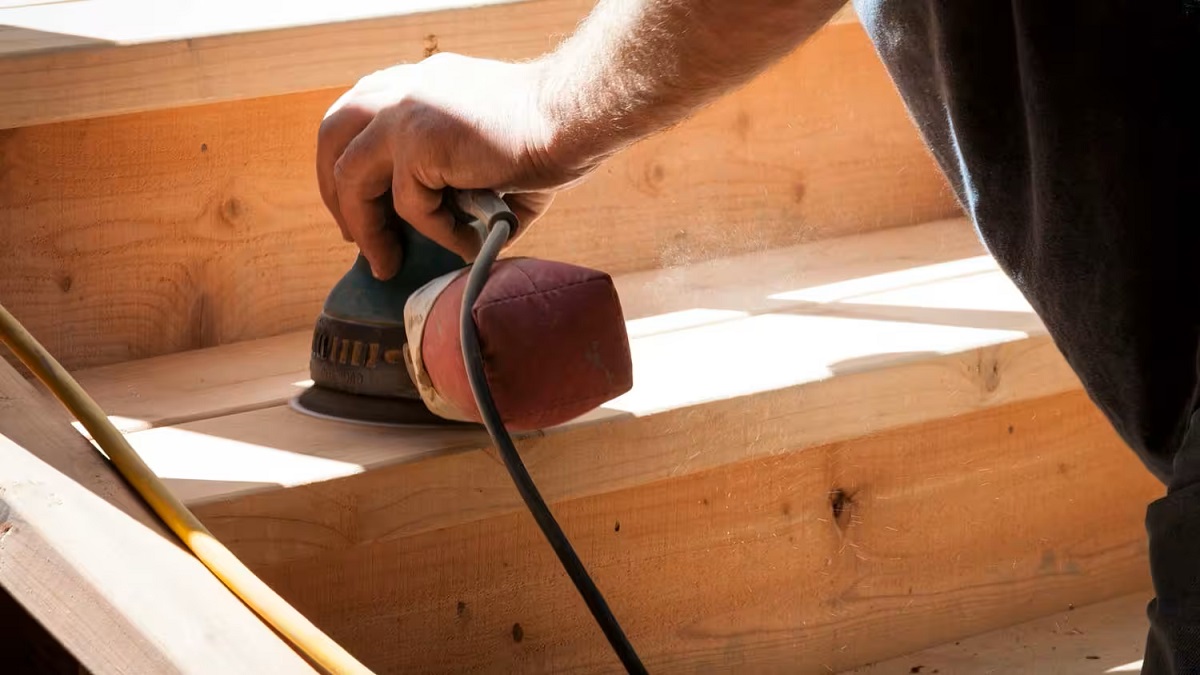
- Fill and sand: If there are any gaps or seams between the paneling, use a filler to fill them in, and then sand the surface for a smooth finish.
- Paint or stain: Apply a coat of paint or stain to the paneling to achieve your desired look. Be sure to use a paint or stain suitable for the type of paneling you’ve chosen.
- Enjoy your finished walls: Once the paint or stain is dry, step back and admire your newly finished basement walls.
Installing wall paneling is a versatile option that allows you to choose from a variety of materials, such as wood, PVC, or fiberboard. This method is a great way to add texture and character to your basement while achieving a polished and professional finish.
Now that you’re familiar with installing wall paneling, let’s move on to the next alternative method: using plywood and trim.
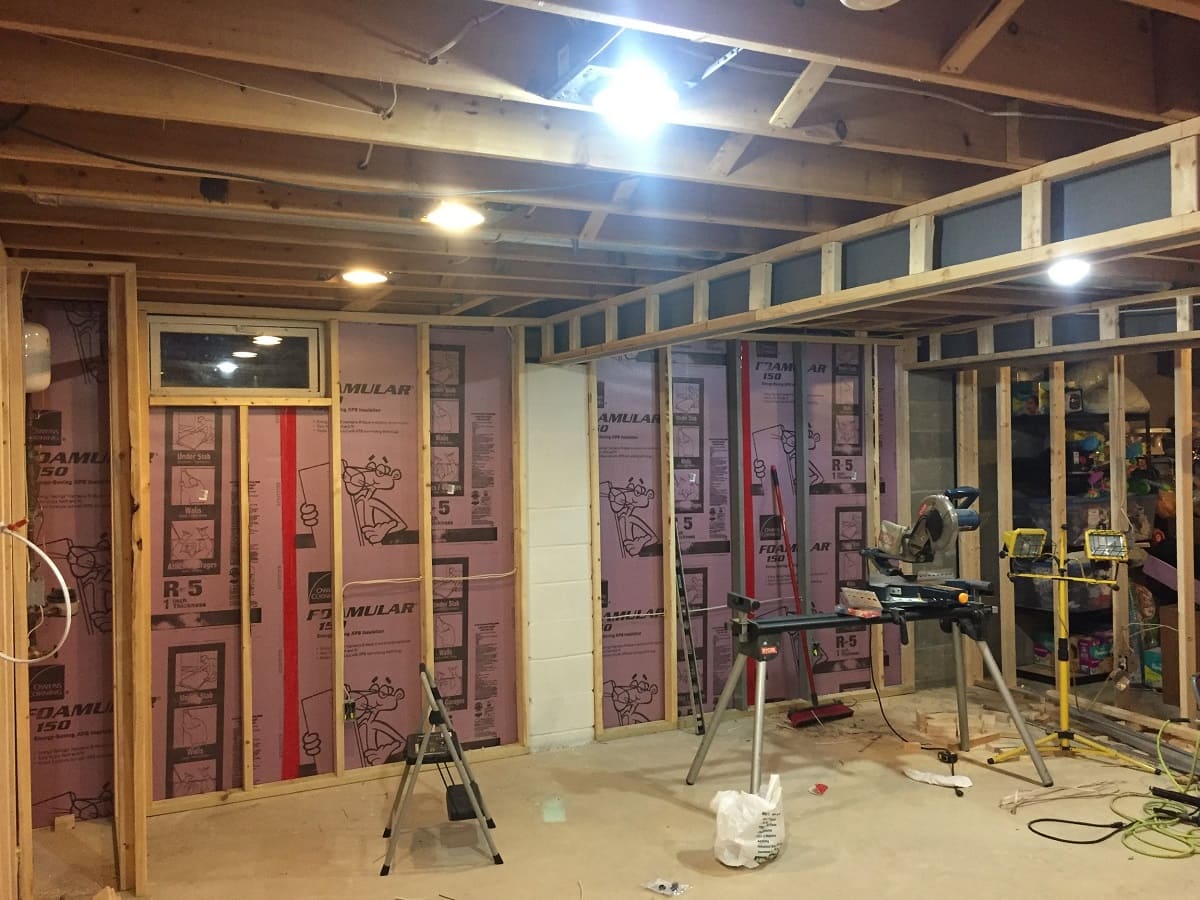
Consider using alternative materials such as plywood, wood paneling, or PVC wall panels to finish basement walls without drywall. These materials are durable, moisture-resistant, and can provide a unique aesthetic to your space.
Option 2: Using Plywood and Trim
Using plywood and trim is another popular method for finishing basement walls without drywall. It provides a durable and rustic look while allowing for easy customization. Here’s how to accomplish this option:
- Measure and cut plywood: Measure the dimensions of the walls and cut the plywood sheets to fit. Ensure that the plywood pieces cover the entire wall surface.
- Attach plywood to the walls: Apply construction adhesive to the back of the plywood sheets, and then press them firmly against the walls. Additionally, you can use screws or nails to secure the plywood to the wall studs for added stability.
- Add trim pieces: Install trim pieces along the edges and corners of the plywood to create a finished look. Cut the trim pieces to the appropriate lengths and secure them in place with adhesive or nails.
- Fill any gaps: If there are any gaps between the plywood sheets or trim pieces, use a filler to fill them in. Smooth out the surface with a putty knife and sand it down once the filler has dried.
- Prime and paint: Prime the plywood surface to ensure proper paint adhesion. Once the primer has dried, apply a coat of paint in your desired color. You can also choose to stain the plywood for a more natural look.
- Apply a protective finish: To enhance the durability and protect the plywood surface, consider applying a clear protective finish, such as polyurethane or varnish.
- Step back and enjoy: Once the paint or finish has dried, step back and admire your finished basement walls, showcasing the beauty of the plywood’s texture.
Using plywood and trim offers a rustic and warm aesthetic to your basement, making it an excellent choice for those seeking a cozy and inviting atmosphere. This method provides flexibility as you can select the type of plywood and trim that best complements your personal style.
Now that you’re familiar with using plywood and trim, let’s explore another option: applying stucco or cement finish to the walls.
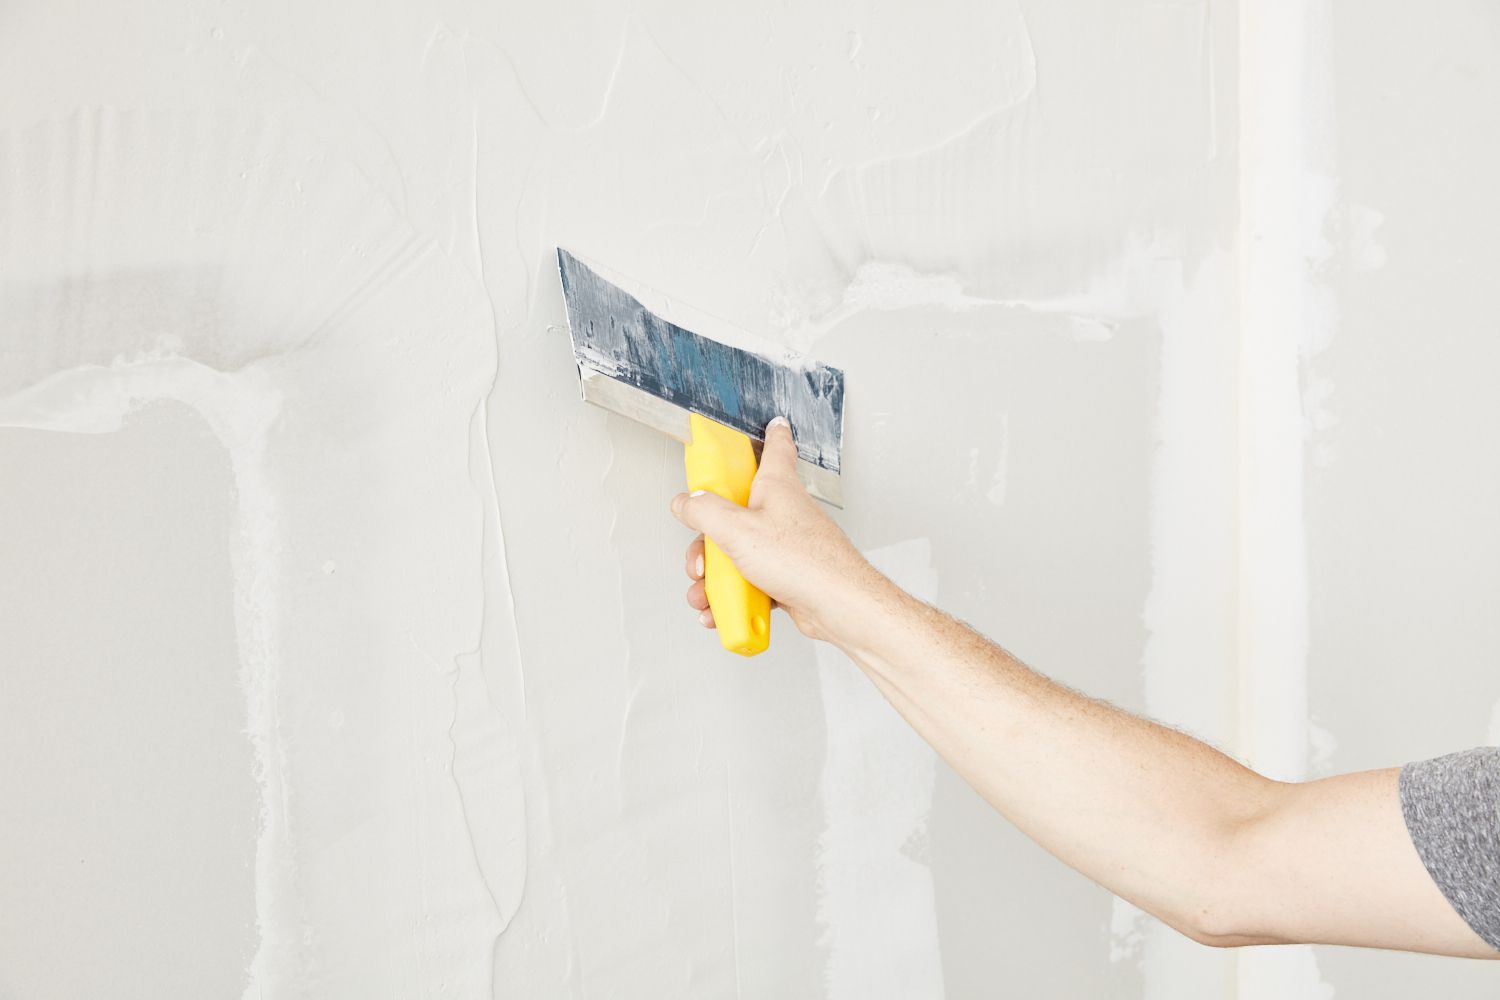
Option 3: Applying Stucco or Cement Finish
If you’re looking to achieve a textured and durable finish for your basement walls, applying a stucco or cement finish is an excellent choice. This method creates a unique and industrial look that can elevate the aesthetic of your space. Here’s a step-by-step guide:
- Prepare the walls: Clean the walls thoroughly and repair any cracks or damages. If there are any moisture or mold issues, address them before proceeding.
- Apply a scratch coat: Mix the stucco or cement mix with water according to the manufacturer’s instructions. Using a trowel, apply a scratch coat to the walls, creating a rough and textured surface. Ensure the thickness of the coat is even throughout.
- Create the desired texture: While the scratch coat is still wet, use a brush, sponge, or trowel to create the desired texture. You can experiment with different techniques to achieve the look you desire, such as swirls, stipples, or grooves.
- Allow the scratch coat to dry: Follow the manufacturer’s instructions regarding the drying time for the scratch coat. It typically takes several hours or overnight for the coat to fully dry and cure.
- Apply the finish coat: Mix a batch of stucco or cement mix, following the manufacturer’s instructions. Use a trowel to apply the finish coat evenly over the entire wall surface. Work in small sections to ensure a consistent finish.
- Smooth the surface: Use a trowel or float to smooth the surface of the finish coat, removing any excess material and creating an even and polished look.
- Allow the finish coat to dry and cure: Once again, follow the manufacturer’s instructions regarding the drying and curing time for the finish coat. It may take several days for the coat to fully dry and harden.
- Paint or seal: If desired, you can paint the stucco or cement finish to add color and further enhance the look of your basement walls. Alternatively, you can choose to leave the finish in its natural state and apply a sealant to protect it.
- Admire your textured walls: Step back and enjoy the unique and textured beauty of your finished basement walls, achieved through the application of stucco or cement finish.
Applying a stucco or cement finish can transform your basement walls into an architectural feature, adding depth and character to the space. This method requires a bit more time and effort than others, but the result is certainly worth it for those seeking an industrial and eye-catching aesthetic.
Now that you’re familiar with applying stucco or cement finish, let’s move on to another alternative: finishing your basement walls with beadboard.
Option 4: Finishing with Beadboard
Beadboard is a classic and versatile option for finishing basement walls. It adds a touch of elegance and charm to the space while being relatively easy to install. Follow these steps to achieve a polished look with beadboard:
- Measure and cut the beadboard: Measure the dimensions of the walls and cut the beadboard panels to fit. Use a saw to ensure precise cuts that align with the wall measurements.
- Apply construction adhesive: Apply construction adhesive to the back of the beadboard panels following the manufacturer’s instructions. Press the panels firmly against the walls, ensuring they are level and aligned correctly.
- Secure the panels: Use finishing nails or paneling nails to secure the beadboard panels to the wall studs. Drive the nails through the grooves of the beadboard to hide them from view.
- Fill the nail holes: After the panels are installed, use wood filler to fill any nail holes or gaps between the panels. Smooth the surface with a putty knife and allow the filler to dry completely.
- Add trim: Install trim pieces along the top and bottom of the beadboard panels to create a finished look. Cut the trim to the appropriate lengths and attach them with nails or adhesive.
- Prime and paint: Apply a coat of primer to the beadboard surface to ensure proper paint adhesion. Once the primer dries, apply one or more coats of paint in the color of your choice. Consider using a semi-gloss or satin finish for easy maintenance.
- Step back and enjoy: Once the paint has dried, step back and admire the elegance and timeless appeal of your finished basement walls adorned with beautiful beadboard.
Beadboard offers a versatile and classic look, adding texture and visual interest to your basement walls. Whether you opt for a traditional white finish or experiment with different colors, beadboard brings a touch of sophistication to any space.
Now that you’re familiar with finishing your basement walls with beadboard, let’s explore another option: creating a brick or stone accent wall.
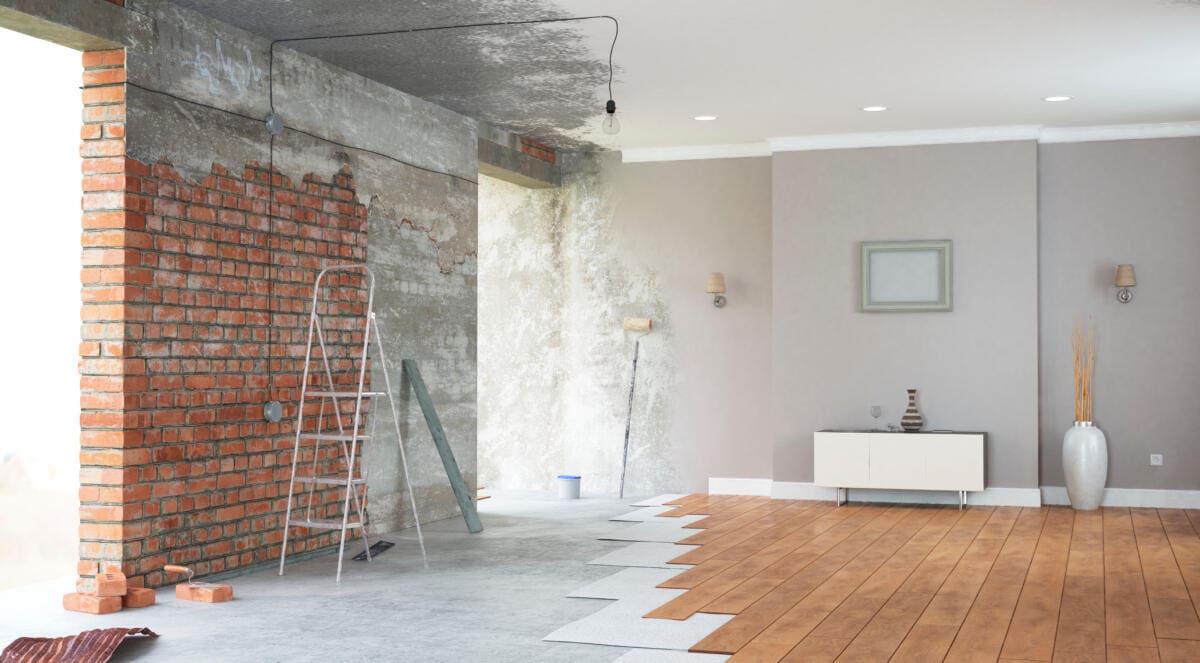
Option 5: Creating a Brick or Stone Accent Wall
Creating a brick or stone accent wall is an excellent choice if you want to add a touch of natural beauty and warmth to your basement. It can create a striking focal point and bring a rustic yet elegant feel to the space. Follow these steps to create a stunning brick or stone accent wall:
- Choose your bricks or stone veneer: Select the type of bricks or stone veneer that aligns with your desired aesthetic. Consider factors such as color, texture, and size to ensure the perfect fit for your basement walls.
- Prepare the walls: Clean the walls thoroughly and ensure they are free from any dust or debris. If necessary, apply a layer of waterproofing membrane to protect the walls from moisture.
- Apply adhesive: Use a trowel to apply a generous amount of construction adhesive to the back of each brick or stone veneer piece. Make sure the adhesive covers the entire back surface to ensure proper adhesion to the wall.
- Install the bricks or stone veneer: Press each brick or stone veneer piece firmly against the wall, starting from the bottom and working your way up. Use a level to ensure the pieces are straight and properly aligned.
- Fill the gaps: Once all the bricks or stone veneer pieces are installed, use mortar or grout to fill in the gaps between them. Smooth out the mortar or grout using a trowel or a grout tool, and wipe away any excess with a damp cloth.
- Allow the bricks or stone veneer to set: Follow the manufacturer’s instructions regarding the drying and setting time for the adhesive and mortar/grout. It may take several hours or days for the bricks or stone veneer to fully set and harden.
- Seal the accent wall: To enhance the durability and protect the bricks or stone veneer, apply a sealant suitable for the material. This will help prevent moisture penetration and make the accent wall easier to clean.
- Step back and admire your accent wall: Once the sealant has dried, step back and appreciate the natural beauty and visual impact of your completed brick or stone accent wall.
A brick or stone accent wall adds a timeless charm and a touch of nature to your basement. It can instantly elevate the ambiance of the space and become a captivating focal point that enhances the overall aesthetics of the room.
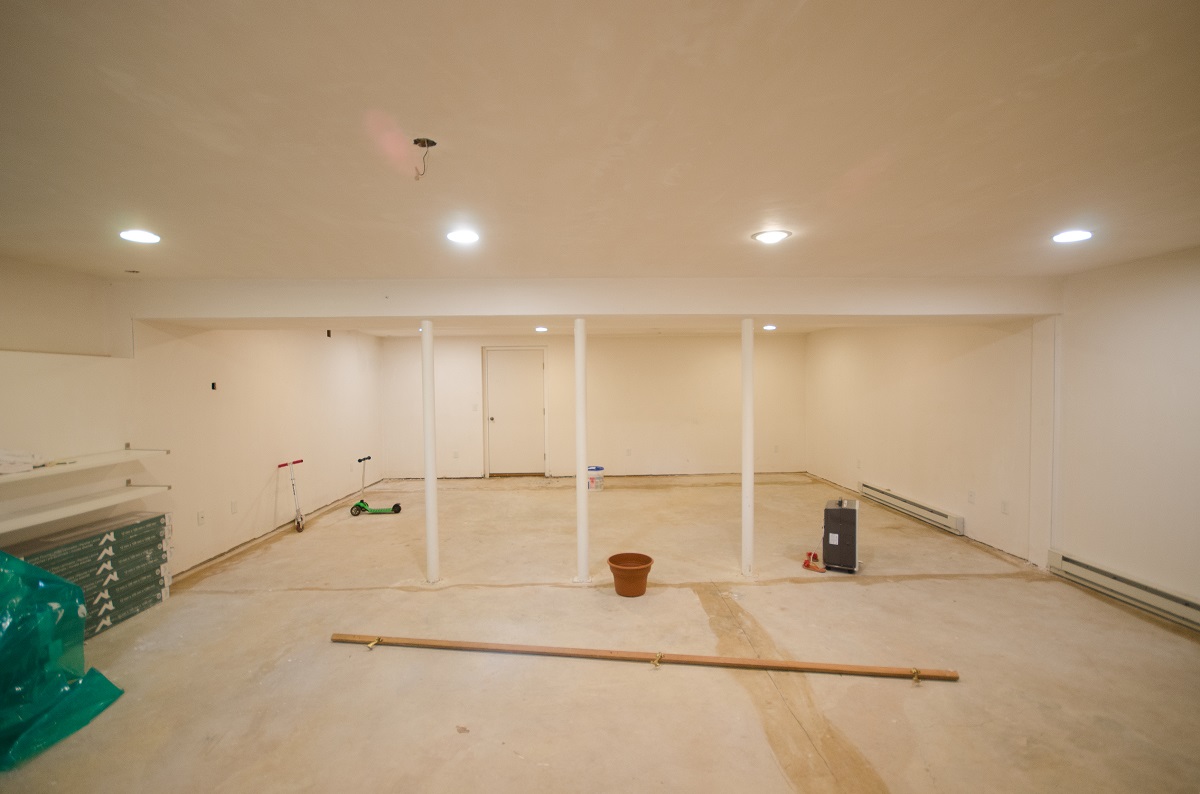
Now that you’re familiar with the different options for finishing basement walls without drywall, you can choose the method that best suits your style and preferences. Transform your basement into a functional and inviting space with these alternative wall finishing options.
Read more: How To Drywall A Basement Ceiling
Conclusion
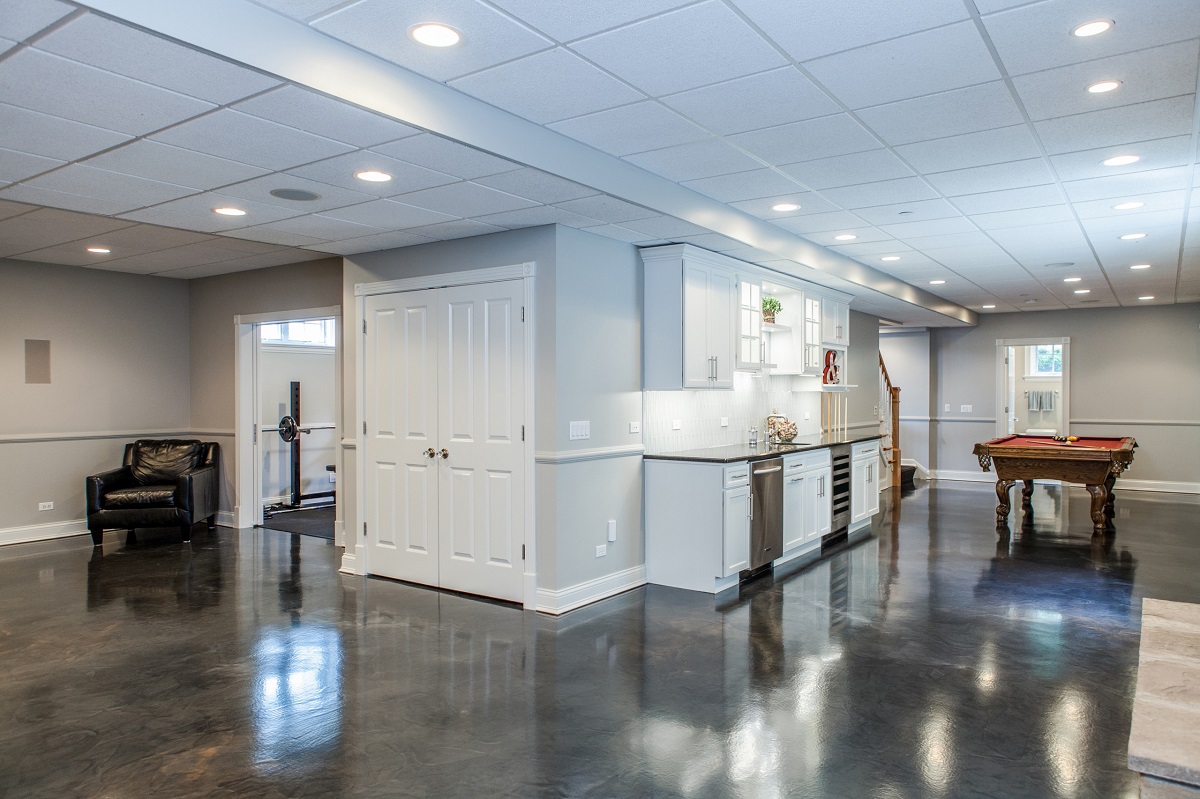
Finishing basement walls without drywall opens up a world of possibilities for transforming your space into a functional and visually appealing area. Whether you’re looking for a cost-effective solution, durability, creative freedom, or ease of installation, the alternative methods discussed in this article offer a range of options to suit your needs.
From installing wall paneling to using plywood and trim, applying stucco or cement finish, finishing with beadboard, or creating a brick or stone accent wall, each method brings its own unique charm and character to your basement walls.
By planning and preparing your walls properly, ensuring accurate measurements, and following the recommended installation techniques, you can achieve professional and high-quality results. Remember to select the materials that align with your personal style and preferences and consider adding finishing touches such as paint or sealants to protect and enhance the appearance of the finished walls.
Whether you’re seeking a cozy retreat, a stylish home office, or a vibrant playroom, these alternative wall finishing options allow you to personalize your basement and create a space that reflects your style and taste.
Take the time to explore the various methods, gather the necessary materials, and follow the step-by-step instructions provided. With a bit of creativity and effort, you can transform your basement walls into a stunning feature that adds value and enjoyment to your home.
So go ahead, unleash your creativity, and turn your basement into a space you’ll love spending time in.
Frequently Asked Questions about How To Finish Basement Walls Without Drywall
Was this page helpful?
At Storables.com, we guarantee accurate and reliable information. Our content, validated by Expert Board Contributors, is crafted following stringent Editorial Policies. We're committed to providing you with well-researched, expert-backed insights for all your informational needs.


0 thoughts on “How To Finish Basement Walls Without Drywall”