Home>Storage Ideas>Bathroom Storage>How To Clean Bathroom Countertops And Keep Them Sparkling

Bathroom Storage
How To Clean Bathroom Countertops And Keep Them Sparkling
Modified: October 20, 2024
Discover effective tips for cleaning and maintaining bathroom countertops to achieve a sparkling finish. Maximize bathroom storage with our expert advice!
(Many of the links in this article redirect to a specific reviewed product. Your purchase of these products through affiliate links helps to generate commission for Storables.com, at no extra cost. Learn more)
Introduction
Welcome to the ultimate guide on how to clean bathroom countertops and keep them sparkling. The bathroom is one of the most frequently used spaces in any home, and the countertops are prone to accumulating dirt, grime, and stains over time. But with the right cleaning techniques and regular maintenance, you can ensure that your bathroom countertops stay clean, hygienic, and visually appealing.
Keeping your bathroom countertops clean goes beyond just aesthetics – it’s also essential for maintaining a healthy and sanitary environment. Countertops harbor bacteria, mold, and mildew, which can lead to unpleasant odors and potential health risks. By following the steps outlined in this guide, you’ll not only achieve a pristine appearance but also create a healthier space for you and your family.
Before we dive into the cleaning process, gather your cleaning supplies to ensure you have everything you need at hand. This will save you time and allow for a more efficient cleaning experience. Here are some essential supplies you will need:
- All-purpose cleaner
- Mild dish soap
- Vinegar
- Baking soda
- Microfiber cloths or soft sponges
- Soft-bristle brush
- Glass cleaner (if applicable)
Now that you have your supplies ready, it’s time to move on to the next step, which is removing items from the countertop.
Key Takeaways:
- Keep your bathroom countertops sparkling by using appropriate cleaners and gentle scrubbing techniques tailored to your countertop material. Regular maintenance and organization will ensure a pristine and hygienic space for years to come.
- Establish a simple maintenance routine to prevent future stains and maintain the cleanliness of your bathroom countertop. Wipe up spills promptly, use protective accessories, and keep cleaning supplies organized for a sparkling and inviting space.
Gather Your Cleaning Supplies
Before you begin cleaning your bathroom countertops, it’s important to gather all the necessary cleaning supplies to ensure a smooth and effective cleaning process. Having everything you need at hand will save you time and effort, allowing you to tackle the task efficiently. Here are the essential cleaning supplies you’ll need:
- All-purpose cleaner: Choose a gentle, non-abrasive all-purpose cleaner suitable for your specific countertop material. Avoid using harsh chemicals or abrasive cleaners that can damage the surface.
- Mild dish soap: This is an excellent alternative to all-purpose cleaner, especially for delicate or natural stone countertops. Dilute a small amount of dish soap in warm water for an effective cleaning solution.
- Vinegar: Vinegar is a natural cleaning agent that can effectively tackle stains and disinfect the countertop. Mix equal parts vinegar and water in a spray bottle for an eco-friendly cleaning solution.
- Baking soda: Baking soda is a versatile and gentle abrasive that can help remove stubborn stains and grime from bathroom countertops. It’s especially useful for tackling tough stains on porcelain or ceramic surfaces.
- Microfiber cloths or soft sponges: These non-abrasive cleaning tools are gentle on the countertop and effective at wiping away dirt and debris without leaving scratches or streaks.
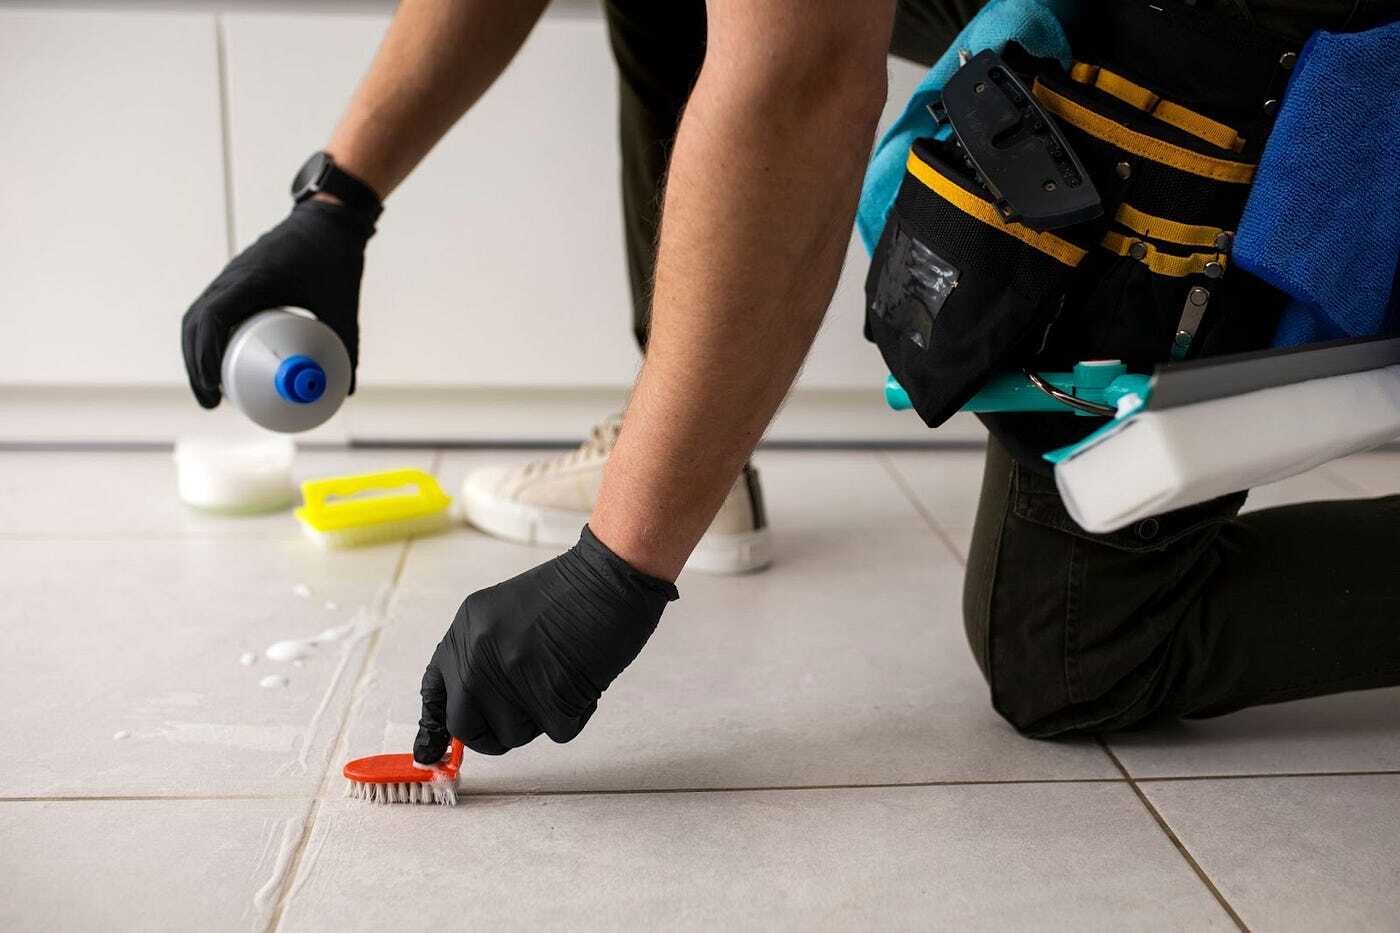
- Soft-bristle brush: A soft-bristle brush or an old toothbrush is handy for reaching into crevices and cleaning hard-to-reach areas, such as around faucets or in grout lines.
- Glass cleaner (if applicable): If you have glass elements or mirrors on your bathroom countertops, a glass cleaner will help ensure a streak-free shine.
Once you have gathered all your cleaning supplies, place them in a tray or bucket to keep them organized and easily accessible during the cleaning process. This way, you won’t waste time searching for tools or solutions while cleaning. Now that you have your supplies ready, it’s time to move on to the next step – removing items from the countertop.
Remove Items from the Countertop
Before you begin cleaning your bathroom countertop, it’s important to clear the surface by removing any items that might obstruct the cleaning process. This includes toiletries, cosmetics, toothbrushes, soap dispensers, and any other personal items that are typically kept on the countertop.
Start by gathering all the items and placing them in a safe and temporary location. Find a designated space nearby, such as a tray, basket, or small table, where you can temporarily store these items. This way, they will be easily accessible once the cleaning is complete.
While removing the items from the countertop, take the opportunity to declutter and organize. Discard any empty or expired products, and consider finding alternative storage options for items that don’t necessarily need to be kept on the countertop. By decluttering and organizing, you’ll not only create a cleaner look but also make future cleaning tasks more manageable.
Remember to remove any loose debris or crumbs from the countertop surface as well. Using a dry microfiber cloth or a soft-bristle brush, gently sweep away any dirt, dust, or particles that may have accumulated on the countertop. This step will prevent these particles from spreading around or scratching the surface during the cleaning process.
Once you have cleared the countertop of all items and debris, you’re ready to move on to the next step – wiping down the surface.
Wipe Down the Surface
Now that you have removed all items from your bathroom countertop, it’s time to give the surface a thorough wipe down. This step will help remove any loose dirt, dust, and grime, preparing the countertop for a deeper clean.
Start by dampening a clean microfiber cloth or a soft sponge with warm water. Wring out any excess water, ensuring that the cloth is only damp and not dripping wet. This will prevent water from seeping into the countertop seams or causing any damage.
Beginning at one end of the countertop, gently wipe the cloth or sponge across the surface in a back-and-forth motion. Pay close attention to the corners, edges, and any grooves or crevices. This will help capture any surface-level dirt or debris.
If you encounter any stubborn spots or sticky residue, apply a small amount of mild dish soap or all-purpose cleaner to the cloth and gently rub the affected area. Avoid applying excessive pressure, as this can cause surface scratches or damage. Instead, let the cleaning solution do the work and allow it to sit for a few minutes to help break down the residue.
As you wipe down the surface, periodically rinse the cloth or sponge to remove any collected dirt and cleaning residue. This will ensure that you are working with a clean cloth throughout the process. If necessary, you can also switch to a new cloth to prevent transferring dirt from one area to another.
Continue wiping down the entire countertop surface, moving from one end to the other, until you have covered the entire area. Take your time and be thorough, focusing on each section as you go along.
Once you have thoroughly wiped down the surface, take a moment to inspect the countertop for any remaining dirt or stains. If you notice any areas that require additional attention, don’t worry – we’ll address those in the next step. But first, let’s move on to cleaning the countertop with an appropriate cleaner.
Clean with Appropriate Cleaner
After wiping down the bathroom countertop to remove loose dirt and debris, it’s time to tackle any remaining stains or build-up with an appropriate cleaner. The type of cleaner you use will depend on the material of your countertop, as different surfaces require specific cleaning methods to ensure their longevity and appearance.
Here are some common bathroom countertop materials and the appropriate cleaners to use:
- Laminate: Laminate countertops are best cleaned using mild dish soap or a non-abrasive all-purpose cleaner. Avoid abrasive cleaners or scrub brushes that can scratch the surface.
- Quartz: Quartz countertops are non-porous and resistant to stains, making them relatively low-maintenance. For daily cleaning, a mixture of mild dish soap and water or a gentle all-purpose cleaner is sufficient.
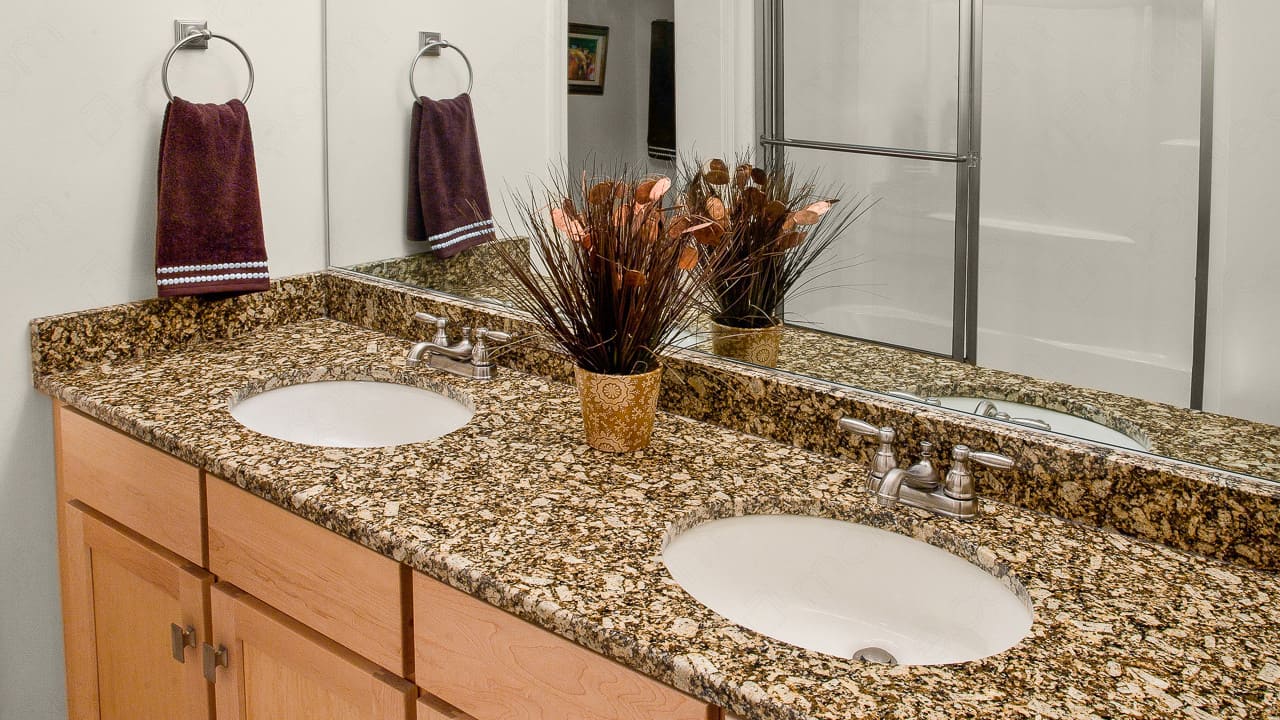
- Granite: Granite countertops are porous and require a pH-neutral stone cleaner specifically designed for granite. Avoid acidic or abrasive cleaners that can strip away the sealant and cause damage.
- Marble: Marble countertops are delicate and require a pH-neutral cleaner specifically formulated for marble. Avoid acidic cleaners, including vinegar or lemon juice, as they can etch and damage the surface.
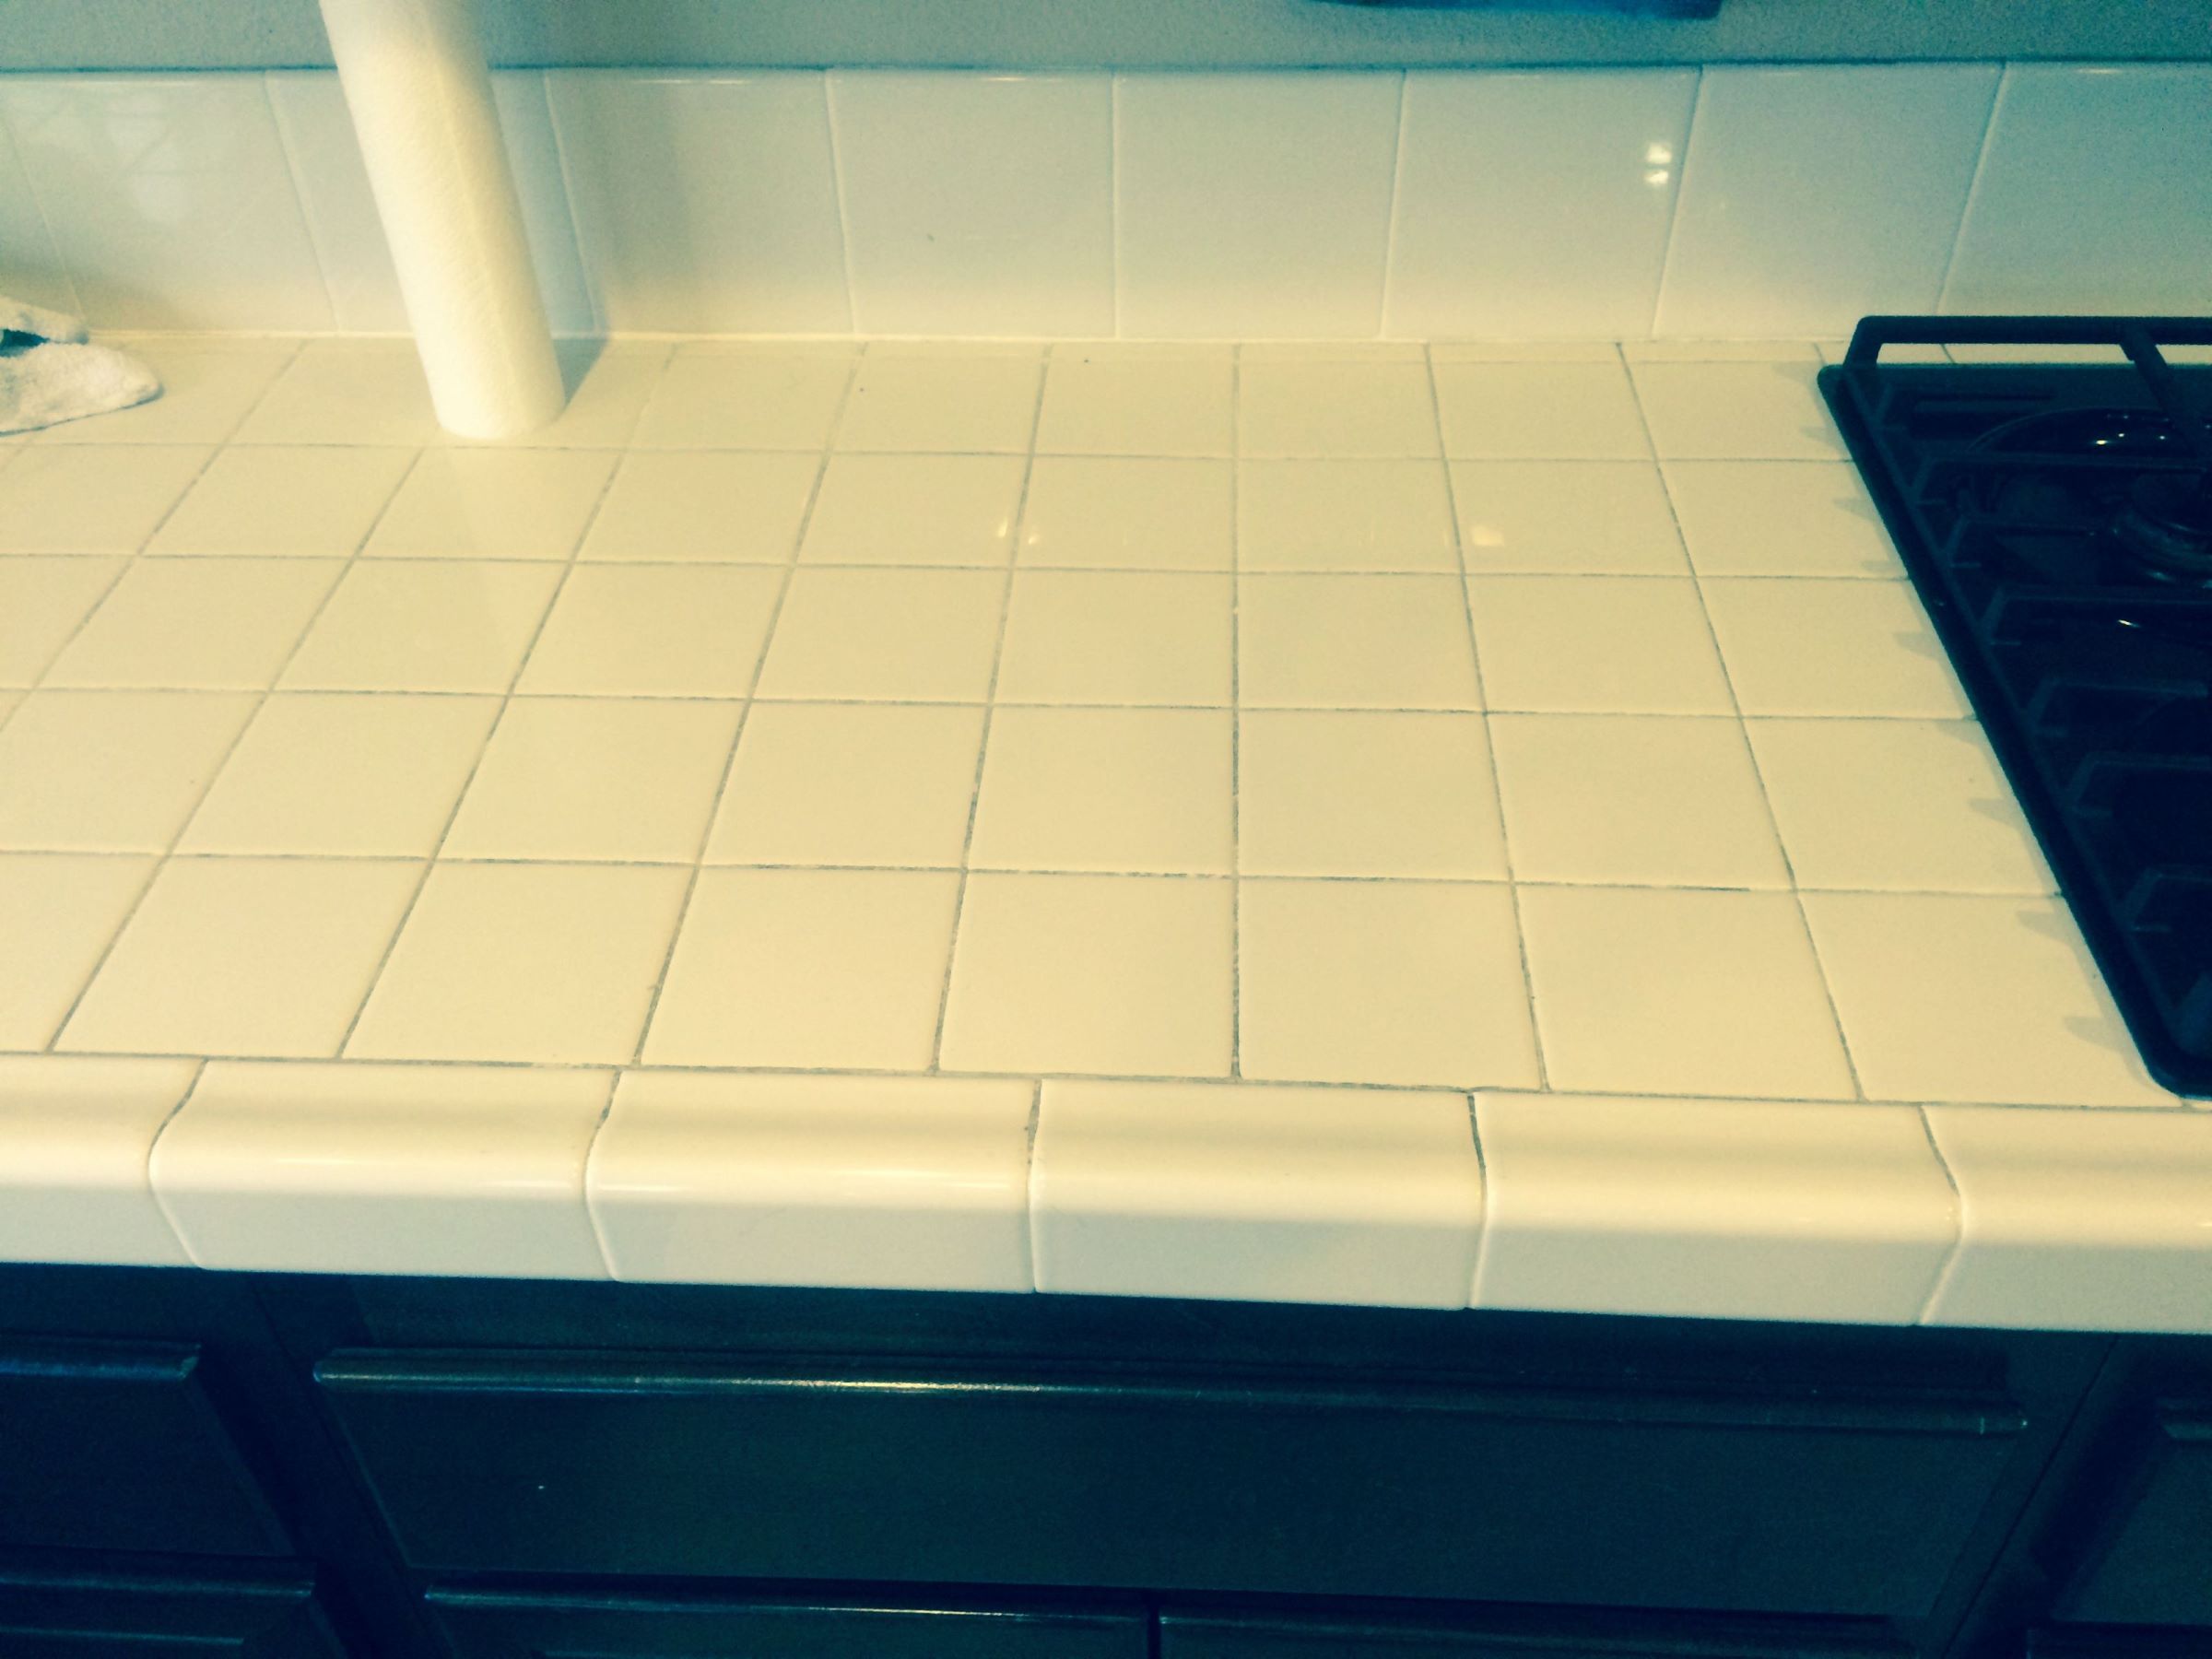
- Tile: Tile countertops can be cleaned with a neutral all-purpose cleaner or a mixture of water and vinegar. Use a soft bristle brush or an old toothbrush to scrub any grout lines gently.
Before applying the cleaner, dampen a clean microfiber cloth or sponge with water. If using an all-purpose cleaner, follow the instructions on the label for the appropriate dilution ratio. Apply the cleaner to the cloth or sponge, rather than directly on the countertop, to prevent over-saturation.
Starting at one end of the countertop, gently wipe the surface with the cloth or sponge, using circular or back-and-forth motions. Pay extra attention to any stained or dirty areas, applying gentle pressure as needed. Let the cleaner sit on the surface for a few moments to allow it to penetrate and break down any stubborn grime.
If you encounter any particularly difficult stains or residue, such as toothpaste or makeup spills, it may require additional scrubbing. Use a soft-bristle brush or an old toothbrush to gently scrub the affected areas in a circular motion. Be careful not to apply too much pressure or scrub too vigorously, as this can damage delicate surfaces.
Continue cleaning the entire countertop surface, section by section, until you have covered the entire area. If necessary, reapply the cleaner or switch to a new cloth or sponge if it becomes too soiled. Take your time and be thorough to ensure that all dirt, stains, and grime are effectively removed.
Once you have finished cleaning with the appropriate cleaner, it’s time to tackle any remaining stains or grime with a gentle scrub. We will cover this step in detail in the next section.
Scrub Stains and Grime
After cleaning your bathroom countertop with an appropriate cleaner, there may still be some stubborn stains or grime that require a little extra attention. In this step, we’ll focus on scrubbing away these tough stains and ensuring your countertop looks fresh and spotless.
Before you begin scrubbing, it’s important to assess the type of stain you’re dealing with and choose the appropriate method or cleaning product. Here are some common types of stains and the corresponding cleaning techniques:
- Soap scum: Soap scum is a common problem on bathroom countertops. To remove it, make a paste using a mixture of baking soda and water. Apply the paste to the affected area and let it sit for a few minutes. Then, use a soft-bristle brush or sponge to gently scrub the surface in a circular motion.
- Hard water stains: Hard water stains can leave mineral deposits on the countertop, making it appear dull or discolored. Mix equal parts white vinegar and water in a spray bottle and spray the solution onto the stained area. Let it sit for a few minutes, then scrub with a soft-bristle brush or sponge.
- Rust stains: Rust stains can be difficult to remove, especially on certain countertop materials. For gentle surfaces like laminate or quartz, use a mixture of lemon juice and salt to create a paste. Apply the paste to the stain, let it sit for a few minutes, then scrub with a soft-bristle brush. For tougher stains on non-porous surfaces like granite or tile, use a rust remover specifically designed for those materials.
- Makeup stains: Makeup stains like foundation or lipstick can be stubborn. For non-porous countertops, use a non-abrasive all-purpose cleaner or a mixture of dish soap and water. Apply the solution to the stain and gently scrub with a soft cloth or sponge. For porous surfaces, such as marble or granite, use a mild dish soap and water solution and gently blot the stain with a clean cloth.
Once you’ve determined the appropriate cleaning method for the specific stain you’re dealing with, proceed by applying the cleaning solution and using a soft-bristle brush, sponge, or cloth to scrub the affected area. Work in gentle circular or back-and-forth motions, applying enough pressure to remove the stain without causing any damage to the countertop surface.
If the stain is particularly stubborn, you may need to repeat the scrubbing process a few times or let the cleaning solution sit on the stain for a longer period. Patience and persistence are key when dealing with tough stains.
After you’ve successfully scrubbed away the stains and grime, rinse the countertop with warm water to remove any leftover cleaning solution. Use a clean and damp cloth or sponge to wipe away the residue, ensuring that no cleaning products are left behind on the surface.
Now that you’ve tackled the stains and grime, it’s time to move on to the next step: rinsing and drying the countertop.
Use a mild cleaner and soft cloth to wipe down bathroom countertops regularly. Avoid abrasive cleaners that can damage the surface. After cleaning, dry the countertops to prevent water spots and keep them sparkling.
Rinse and Dry the Countertop
After scrubbing away tough stains and grime from your bathroom countertop, it’s important to thoroughly rinse and dry the surface to ensure a clean and residue-free finish. This step will not only remove any remaining cleaning solution but also help restore the countertop’s natural shine.
To begin, use clean, warm water to rinse the countertop. You can either use a spray bottle or a damp cloth to apply the water evenly across the surface. Make sure to reach all areas, including corners, edges, and any crevices where cleaning residue may have accumulated.
As you rinse, be mindful of using excessive water, especially if your countertop is made of porous materials like granite or marble. Avoid letting water pool on the surface or seep into joints or seams, as this can cause damage over time. Instead, aim for a light and even rinse that removes any remaining cleaning solution without saturating the countertop.
Once the countertop is thoroughly rinsed, use a clean and dry microfiber cloth or a soft towel to gently dry the surface. Pat dry the countertop, paying attention to any moisture in corners or edges. Drying the surface helps prevent water spots and streaks, leaving your countertop looking clean and shiny.
If your countertop has intricate designs, crevices, or grout lines, you may need to use a soft-bristle brush or an old toothbrush to remove any water trapped in these areas. Be gentle to avoid scratching or damaging the surface, and ensure that all moisture is completely removed.
During the drying process, take a moment to inspect the countertop for any remaining water spots or streaks. If you notice any, simply rewet the cloth or towel and gently buff the problem areas until they disappear. This step will give your countertop that final touch of cleanliness and ensure a polished finish.
Once you’ve rinsed and dried the countertop, take a moment to admire the freshly cleaned and sparkling surface. But our work isn’t done just yet! In the next step, we’ll delve into polishing the countertop to achieve an extra shine.
Polish for Extra Shine
To elevate the appearance of your newly cleaned bathroom countertop, polishing is the final step. Polishing not only adds an extra shine but also helps to protect the surface and keep it looking its best for longer. Let’s dive into how to polish your countertop for that dazzling finish.
Before you begin polishing, ensure that the countertop surface is clean and dry. This will prevent any dirt, debris, or moisture from interfering with the polishing process. If needed, go back and re-wipe the surface with a clean, dry microfiber cloth or towel.
The type of countertop material you have will determine the appropriate polishing method and product. Here are some common countertop materials and their recommended polishing techniques:
- Laminate: For laminate countertops, use a non-abrasive countertop polish or a mixture of water and vinegar. Apply a small amount of the polish to a clean cloth and gently buff the countertop surface in circular motions. Wipe away any excess polish with a dry cloth.
- Quartz: Quartz countertops are known for their low maintenance and resistance to staining. In most cases, a simple wipe down with a clean, damp microfiber cloth is sufficient for a polished look.
- Granite: Granite countertops can benefit from a specialist granite polish or a mixture of water and isopropyl alcohol. Apply the polish to a clean cloth and use gentle circular motions to buff the countertop surface. Wipe away any excess polish with a dry cloth.
- Marble: Marble countertops require a special marble polish that is specifically formulated for use on this delicate stone. Apply a small amount of polish to a clean cloth and gently buff the countertop surface. Follow the manufacturer’s instructions for best results.
- Tile: Tile countertops can be polished using a non-abrasive tile and grout cleaner or a mixture of vinegar and water. Apply the cleaner to a clean cloth and gently buff the tile surface. For grout lines, use a soft-bristle brush or an old toothbrush to scrub gently.
When applying the polish, remember to follow the manufacturer’s instructions and use the appropriate amount. Using too much polish can result in a greasy residue or a dull appearance. Less is often more when it comes to polishing.
Gently buff the countertop surface in circular or back-and-forth motions, working in small sections. Take your time and be thorough, ensuring that the polish is evenly applied and the surface is buffed to a beautiful shine.
After polishing the entire countertop, use a clean, dry microfiber cloth or towel to wipe away any excess polish or residue. This step will leave your countertop with a brilliant shine and a smooth, polished finish.
Remember, polishing is not a task that needs to be done on a daily basis. Depending on the material and use of your countertop, polishing once every few months is typically sufficient to maintain its shine and protect its surface.
Now that your bathroom countertop is impeccably clean and polished, it’s time to turn your attention to the accessories that adorn the countertop. We’ll cover cleaning and maintaining these accessories in the next step.
Clean Countertop Accessories
Now that your bathroom countertop is sparkling clean and polished, it’s important not to overlook the accessories that adorn the surface. From soap dispensers to toothbrush holders, these accessories can accumulate grime and dirt over time, detracting from the overall appearance of your countertop. Cleaning these accessories regularly will ensure that they not only complement the cleanliness of your countertop but also maintain their functionality. Let’s dive into how to clean countertop accessories effectively.
Start by gathering all the countertop accessories, such as toothbrush holders, soap dishes, and lotion dispensers. Remove any contents, such as toothbrushes, soap bars, or lotions, and set them aside to clean separately.
Fill your sink or a basin with warm water and add a small amount of mild dish soap or all-purpose cleaner. Dip a soft cloth or sponge into the soapy water and gently scrub the accessories, paying attention to any built-up residue or visible dirt. For items with intricate designs or hard-to-reach corners, use a soft-bristle brush or an old toothbrush to clean these areas thoroughly.
Rinse each accessory under warm water to remove any soapy residue, ensuring that all surfaces are clean. Inspect each item for any remaining dirt or stains. If necessary, repeat the cleaning process or spot clean with a gentle stain remover or baking soda paste for more stubborn stains.
Once the accessories are clean, wipe away any excess moisture with a clean, dry cloth or towel. For items with crevices or hard-to-reach areas, use a soft-bristle brush or a cotton swab to ensure they are completely dried to prevent mold or mildew growth.
Before returning the accessories to the countertop, take a moment to clean and dry the items they hold, such as toothbrushes or soap bars. Rinse toothbrushes under warm water, ensuring that bristles are free from any leftover toothpaste or debris. For soap bars, rinse them under running water and pat them dry with a towel or air-dry them on a clean surface.
Once the accessories and their contents are completely dry, return them to the countertop. Arrange them in a visually pleasing manner, ensuring that they are easily accessible and organized.
Regularly cleaning and maintaining your countertop accessories will not only keep your bathroom countertop looking its best but also contribute to a clean and hygienic environment. Aim to clean these accessories at least once a week, or more frequently if necessary, to prevent the buildup of grime and bacteria.
Now that you’ve tackled cleaning the countertop and accessories, it’s time to explore how to maintain the cleanliness of your bathroom countertop and prevent future stains and grime buildup.
Maintain and Prevent Stains
After dedicating time and effort to clean and polish your bathroom countertop, it’s essential to establish a maintenance routine to keep it looking pristine and prevent future stains and grime buildup. By implementing a few simple steps, you can maintain the cleanliness of your countertop and ensure its longevity. Let’s explore how to maintain and prevent stains on your bathroom countertop.
1. Wipe up spills immediately: Whether it’s toothpaste, makeup, or any other product, make it a habit to wipe up spills as soon as they occur. Promptly cleaning spills prevents the substances from penetrating the surface and causing stains or damage.
2. Use coasters and trays: Place coasters under cups and glasses and use trays or organizers for toiletries and cosmetics. These protective accessories will prevent water rings, stains, and product residue from coming into direct contact with the countertop surface.
3. Avoid using abrasive cleaners or tools: Harsh chemicals, scrub brushes, or scouring pads can scratch or dull the surface of your countertop. Stick to gentle cleaning agents and soft cloths or sponges to prevent damage.
4. Regularly clean and dry the countertop: Incorporate frequent cleaning into your routine by wiping down the countertop with a damp cloth or sponge. This will remove any surface-level dirt and prevent it from accumulating over time. Follow up with a dry cloth or towel to ensure the countertop is completely dry, preventing the growth of mold or mildew.
5. Seal porous countertops: If your bathroom countertop is made of a porous material like granite or marble, it’s important to apply a sealant regularly to protect it from stains and moisture. Follow the manufacturer’s recommendations for sealant application frequency.
6. Use cutting boards and trivets: When preparing food or using hot styling tools, place cutting boards or trivets on your countertop surface. These protective barriers prevent scratches, burns, and heat damage.
7. Avoid leaving wet or damp items on the countertop: Moisture can seep into the countertop surface and lead to staining or damage. Ensure that items like wet towels or bathmats are hung or placed elsewhere to dry, rather than being left directly on the countertop.
8. Keep cleaning supplies organized: Store your cleaning supplies in a designated area near the bathroom for easy access. This will encourage regular cleaning and prevent dirt or spills from accumulating on the countertop.
By incorporating these maintenance practices into your routine, you can prevent stains, keep your bathroom countertop clean, and extend its lifespan. Remember, consistency is key when it comes to maintaining the cleanliness and appearance of your countertop.
Now that you’re equipped with the knowledge to clean, maintain, and prevent stains on your bathroom countertop, your space will stay fresh and inviting. By following these guidelines, you can enjoy a sparkling and hygienic bathroom for years to come.
Conclusion
Congratulations! You’ve reached the end of our comprehensive guide on how to clean bathroom countertops and keep them sparkling. By following the step-by-step instructions and incorporating the maintenance tips provided, you can maintain a pristine and hygienic bathroom countertop that enhances the overall appearance of your space.
Remember to gather your cleaning supplies before you begin, ensuring that you have all the necessary tools and products at hand. Remove items from the countertop and wipe down the surface to eliminate loose dirt and debris. Clean the countertop with an appropriate cleaner, taking into account the specific material of your countertop to avoid any damage. Scrub away tough stains and grime using the appropriate cleaning methods for your countertop material.
After scrubbing, rinse the countertop with warm water and then dry it thoroughly to prevent water spots and streaks. Polish the countertop for that extra shine and protection, using the recommended polishing techniques based on your countertop material. Clean the countertop accessories regularly to maintain their cleanliness and organization.
To prevent future stains and maintain the pristine condition of your countertop, establish a simple maintenance routine. Wipe up spills immediately, use protective coasters and trays, avoid harsh cleaners, regularly clean and dry the countertop, seal porous countertops, use cutting boards and trivets, avoid leaving wet items on the countertop, and keep cleaning supplies organized.
By incorporating these cleaning and maintenance practices into your routine, your bathroom countertop will remain sparkling and visually appealing, creating a clean and inviting space in your home.
Thank you for joining us on this journey to master the art of cleaning bathroom countertops. We hope you found this guide informative and helpful. May your bathroom countertops shine bright for many years to come!
Frequently Asked Questions about How To Clean Bathroom Countertops And Keep Them Sparkling
Was this page helpful?
At Storables.com, we guarantee accurate and reliable information. Our content, validated by Expert Board Contributors, is crafted following stringent Editorial Policies. We're committed to providing you with well-researched, expert-backed insights for all your informational needs.



0 thoughts on “How To Clean Bathroom Countertops And Keep Them Sparkling”