Home>Storage Ideas>Living Room Storage>Use Our 30-Day Cleaning Checklist For A Sparkling Home
Living Room Storage
Use Our 30-Day Cleaning Checklist For A Sparkling Home
Modified: October 20, 2024
Get a sparkling and clutter-free home with our 30-Day Cleaning Checklist. Organize your living room with smart storage solutions.
(Many of the links in this article redirect to a specific reviewed product. Your purchase of these products through affiliate links helps to generate commission for Storables.com, at no extra cost. Learn more)
Introduction
Welcome to our 30-day cleaning checklist, designed to help you achieve a sparkling and organized home. We understand that keeping your living space clean and clutter-free can be challenging, especially when you’re juggling work, family, and other responsibilities. However, with our comprehensive plan, you can break down the cleaning tasks over the course of a month, making it more manageable and less overwhelming.
A clean and organized home not only creates a more pleasant living environment but also contributes to your overall well-being. Studies have shown that a tidy and clutter-free space can reduce stress, improve productivity, and promote a sense of calmness. So, let’s kickstart this cleaning journey and transform your living room into a sanctuary of tidiness and relaxation.
In this article, we have divided the cleaning tasks into four weeks, each focusing on a specific area of your house. Week one will revolve around the kitchen, week two will be dedicated to the bathroom, week three will tackle the living room, and week four will focus on the bedrooms. By following this structured approach, you’ll ensure that every corner of your home receives the attention it needs.
Throughout the four-week period, we will provide you with step-by-step instructions, helpful tips, and expert advice to make your cleaning experience more efficient and enjoyable. We’ll cover everything from decluttering and organizing to deep cleaning and surface maintenance. Along the way, we’ll also share some creative solutions and DIY hacks to help you optimize your space and storage capabilities.
Remember, this cleaning checklist is flexible, and you can adjust it to your own schedule and priorities. If you prefer to complete the tasks in a different order or need to spread them out over a longer period, feel free to adapt the plan to suit your needs. The key is to stay consistent and dedicated to your cleaning routine in order to achieve the results you desire.
So, are you ready to embark on this cleaning journey? Grab your cleaning supplies, put on some energetic music, and let’s start transforming your living room into a clean and organized haven where you can unwind and relax.
Key Takeaways:
- Transform your home into a sparkling sanctuary with our 30-day cleaning checklist. From the kitchen to the bedrooms, declutter, deep clean, and organize for a stress-free and inviting living space.
- Embrace the sense of accomplishment and well-being that comes with maintaining a clean and organized home. Incorporate good habits, storage solutions, and regular deep cleaning for a clutter-free and tranquil living environment.
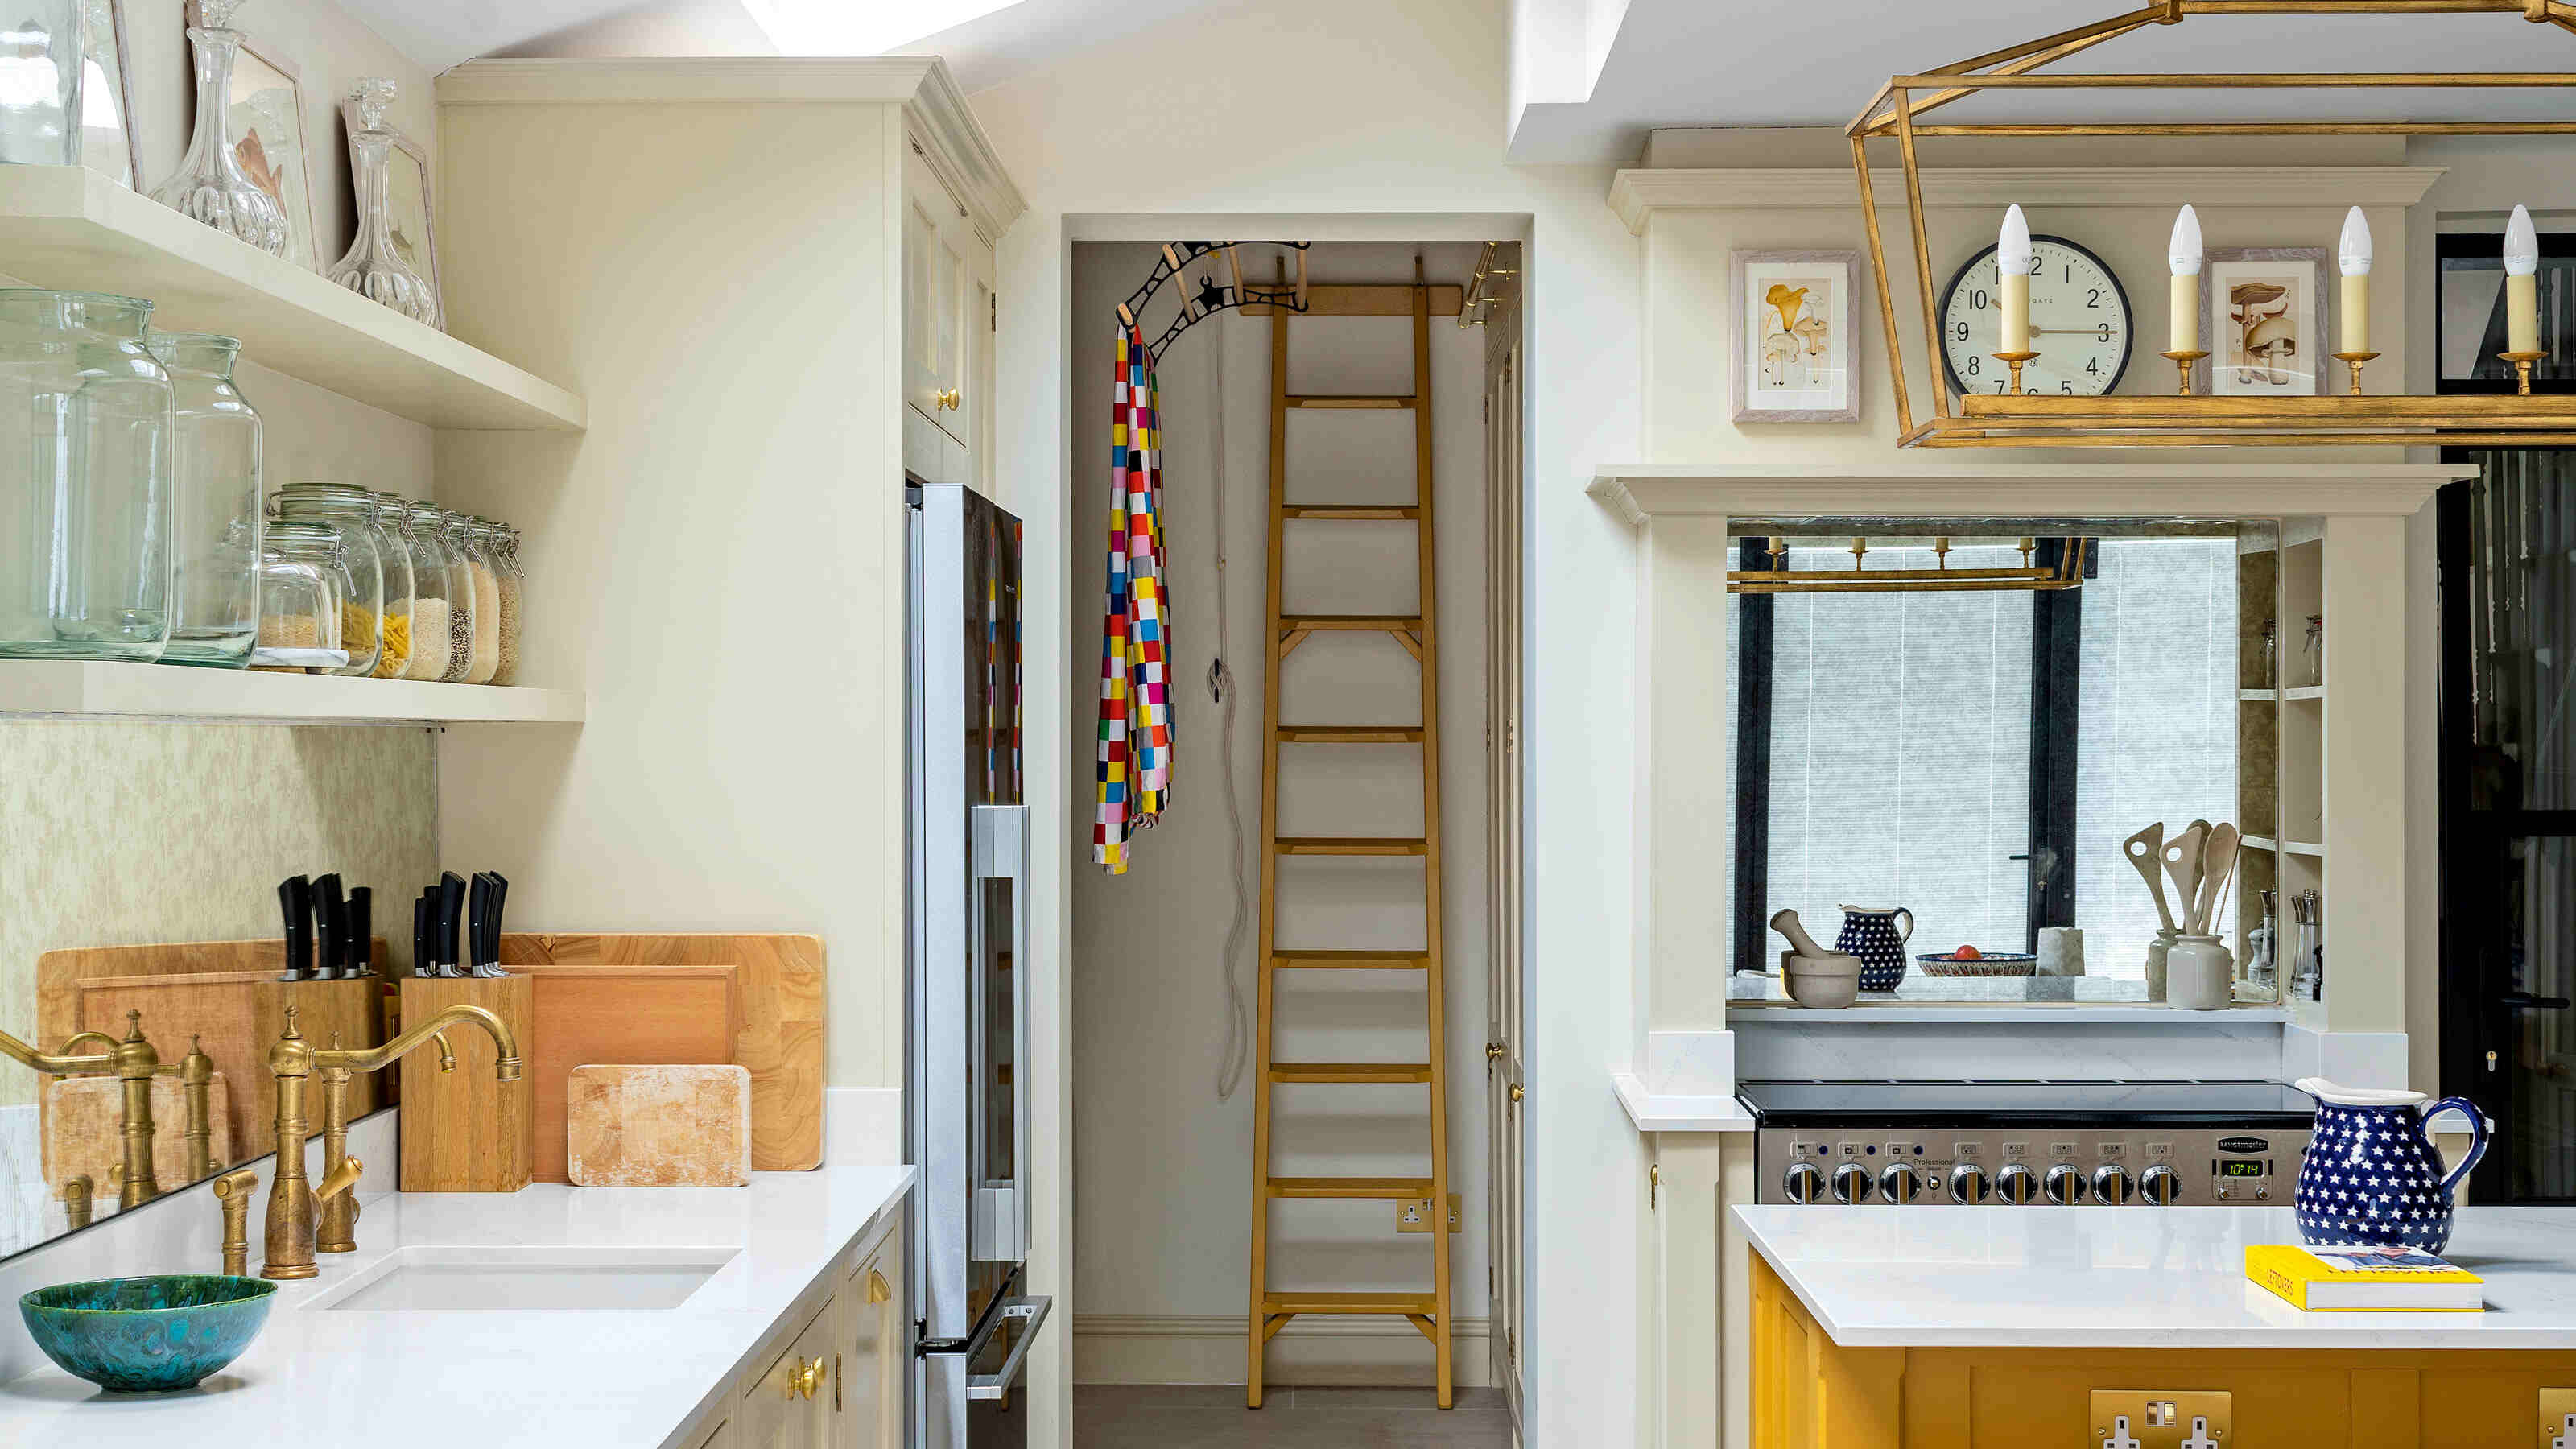
Week 1: Kitchen
The kitchen is often considered the heart of the home, where delicious meals are prepared and cherished memories are made. However, it is also a space that can quickly become cluttered and messy. In week one of our cleaning checklist, we will focus on revamping your kitchen and transforming it into a clean and organized space.
The first task on the list is to clean and organize your pantry. Start by emptying out the shelves and inspecting each item for expiration dates or signs of spoilage. Dispose of any expired or unwanted food items. Wipe down the shelves, and consider using organizers or storage containers to keep similar items grouped together. This will not only make it easier to find what you need but also help maximize shelf space.
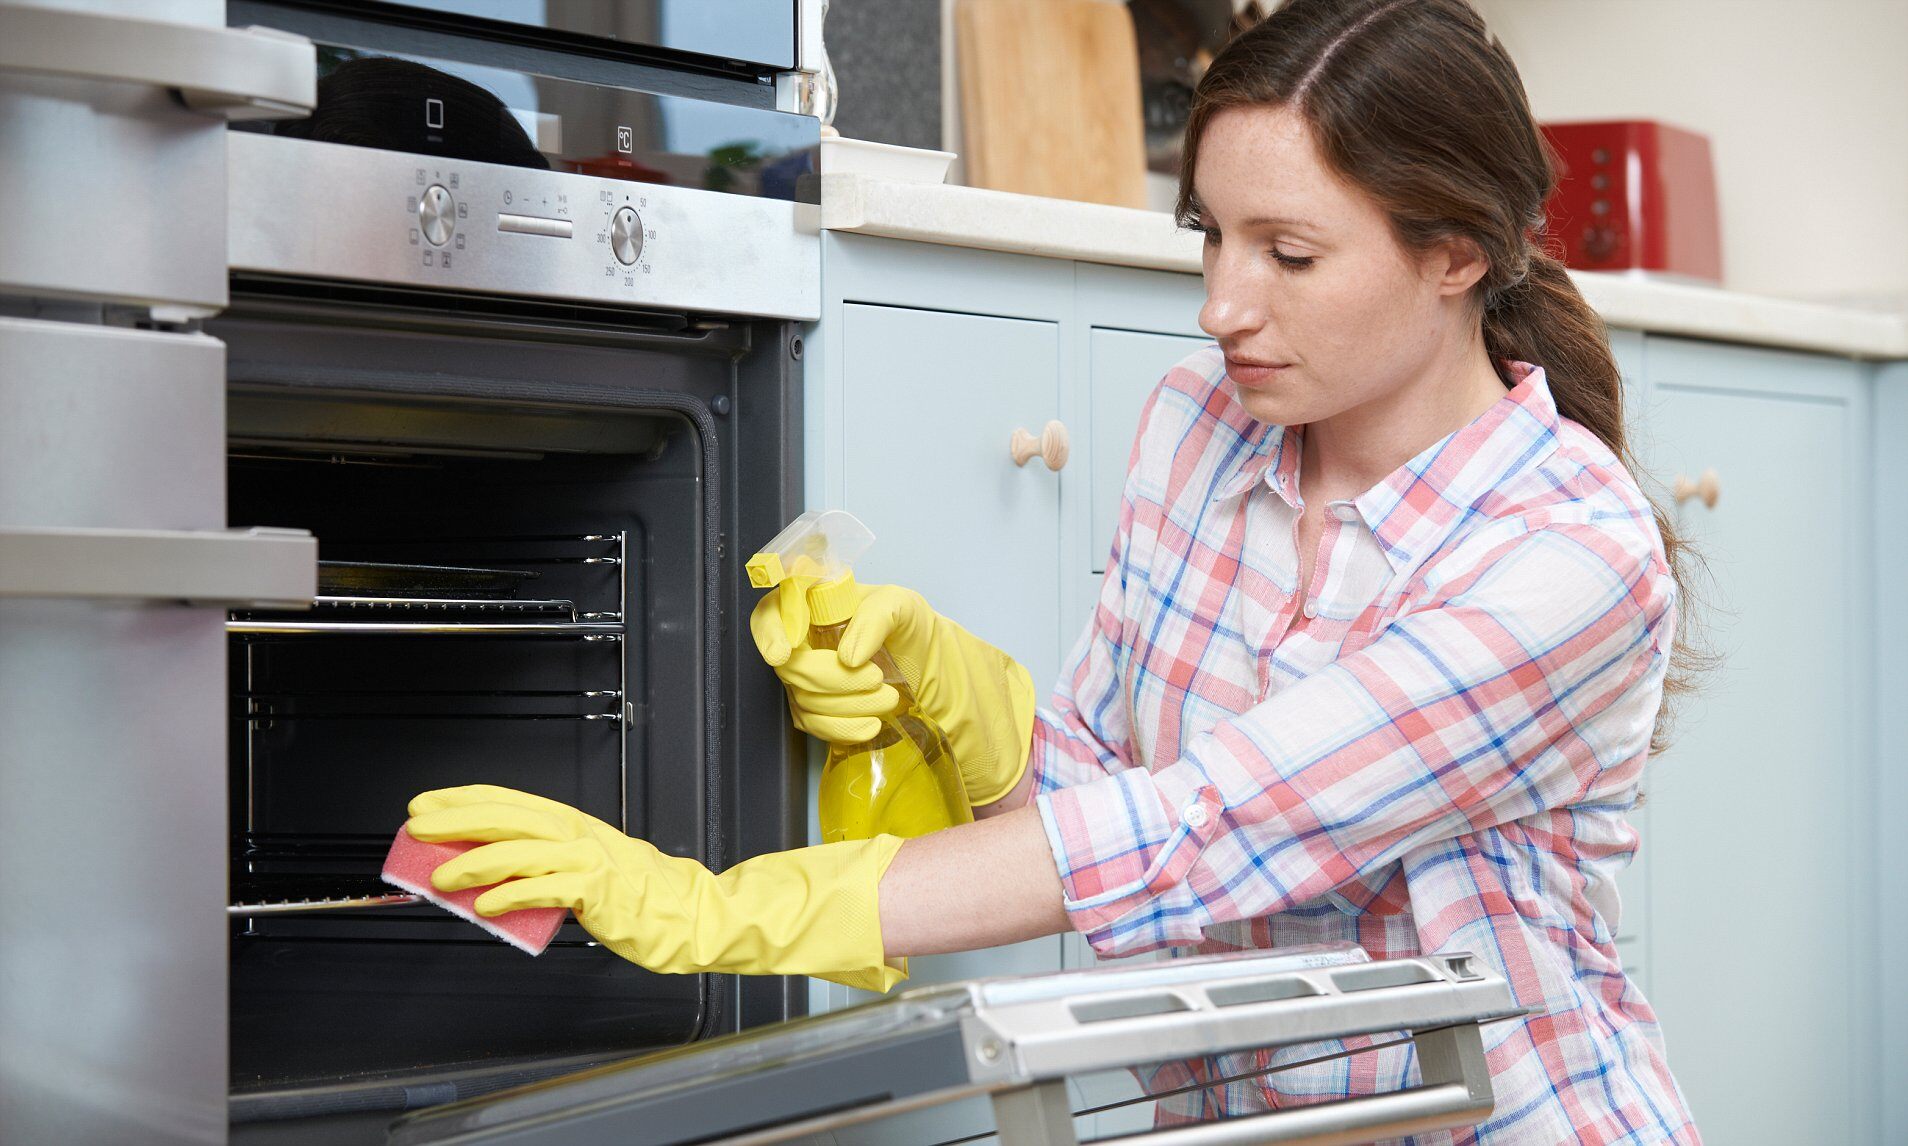
Next, tackle the oven and stovetop. These appliances often accumulate grease and grime, which can affect their performance and even create unpleasant odors. Remove the oven racks and soak them in warm soapy water. While they soak, use an oven cleaner or a mixture of baking soda and vinegar to thoroughly clean the interior of the oven. Scrub the stovetop with a non-abrasive cleaner to remove any stains or residue. Once everything is clean, dry the racks and replace them.
Now it’s time to declutter and clean your refrigerator. Start by removing all items from the fridge and sorting them into categories. Discard any expired or moldy food items. Wipe down the interior of the fridge with a mixture of vinegar and water, paying attention to spills and sticky spots. Don’t forget to also clean the shelves and drawers. As you put the food back into the fridge, consider using clear plastic bins or organizers to keep things separated and easily accessible.
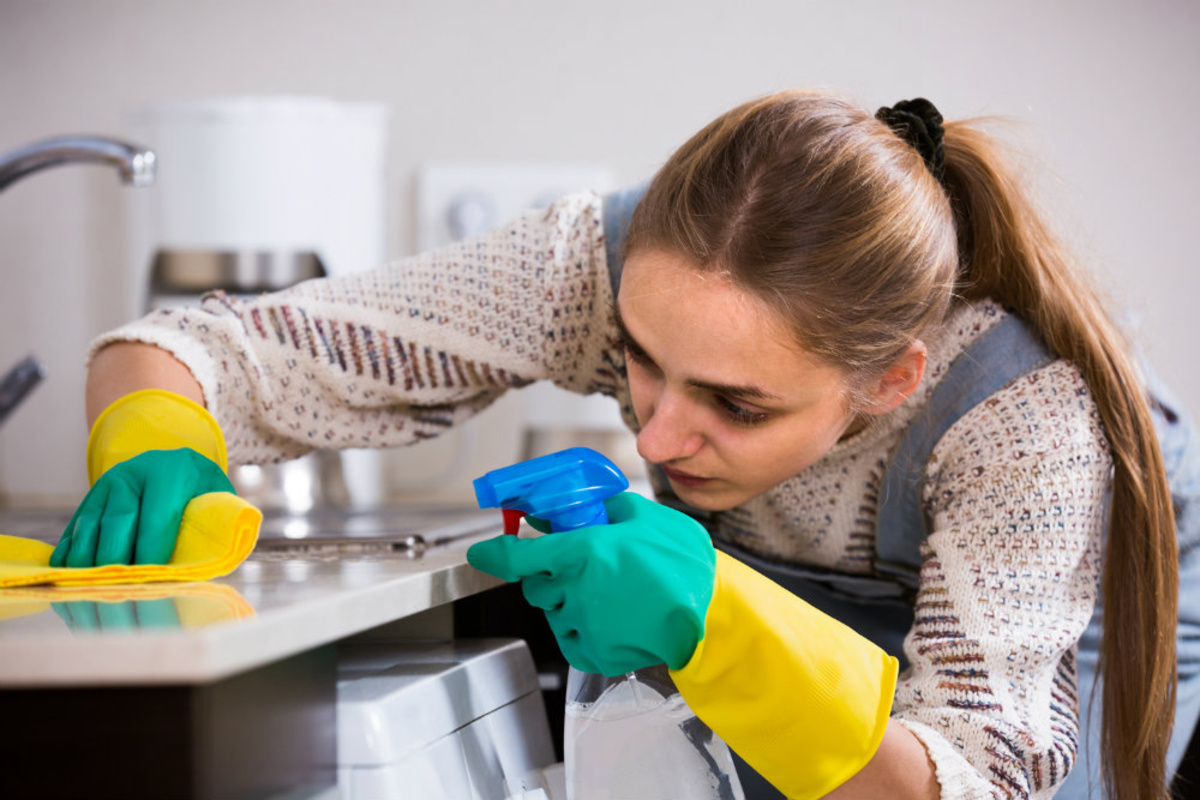
The next task on the list is to scrub your kitchen sink and faucets. Over time, sinks can accumulate stains and build-up. Start by removing any dishes or debris from the sink. Sprinkle baking soda liberally over the surface of the sink and faucet, and then spray with vinegar. Use a sponge or cloth to scrub the surfaces, paying extra attention to any hard-to-reach areas. Rinse thoroughly with warm water. Finish off by polishing the sink and faucet with a stainless steel cleaner, if needed.
Finally, clean and organize your kitchen cabinets. Begin by removing all items from the cabinets and organizing them into groups such as pots and pans, dishes, and food storage containers. Wipe down the interior of the cabinets, removing any crumbs or spills. Consider using shelf liners to protect the cabinet surfaces and make them easier to clean in the future. As you put items back into the cabinets, arrange them in a way that makes sense and is convenient for your daily routine.
Completing these tasks will give your kitchen a fresh start and make it a more inviting and functional space. Stay tuned for the next week of our cleaning checklist, where we will focus on revitalizing your bathroom!
Week 2: Bathroom
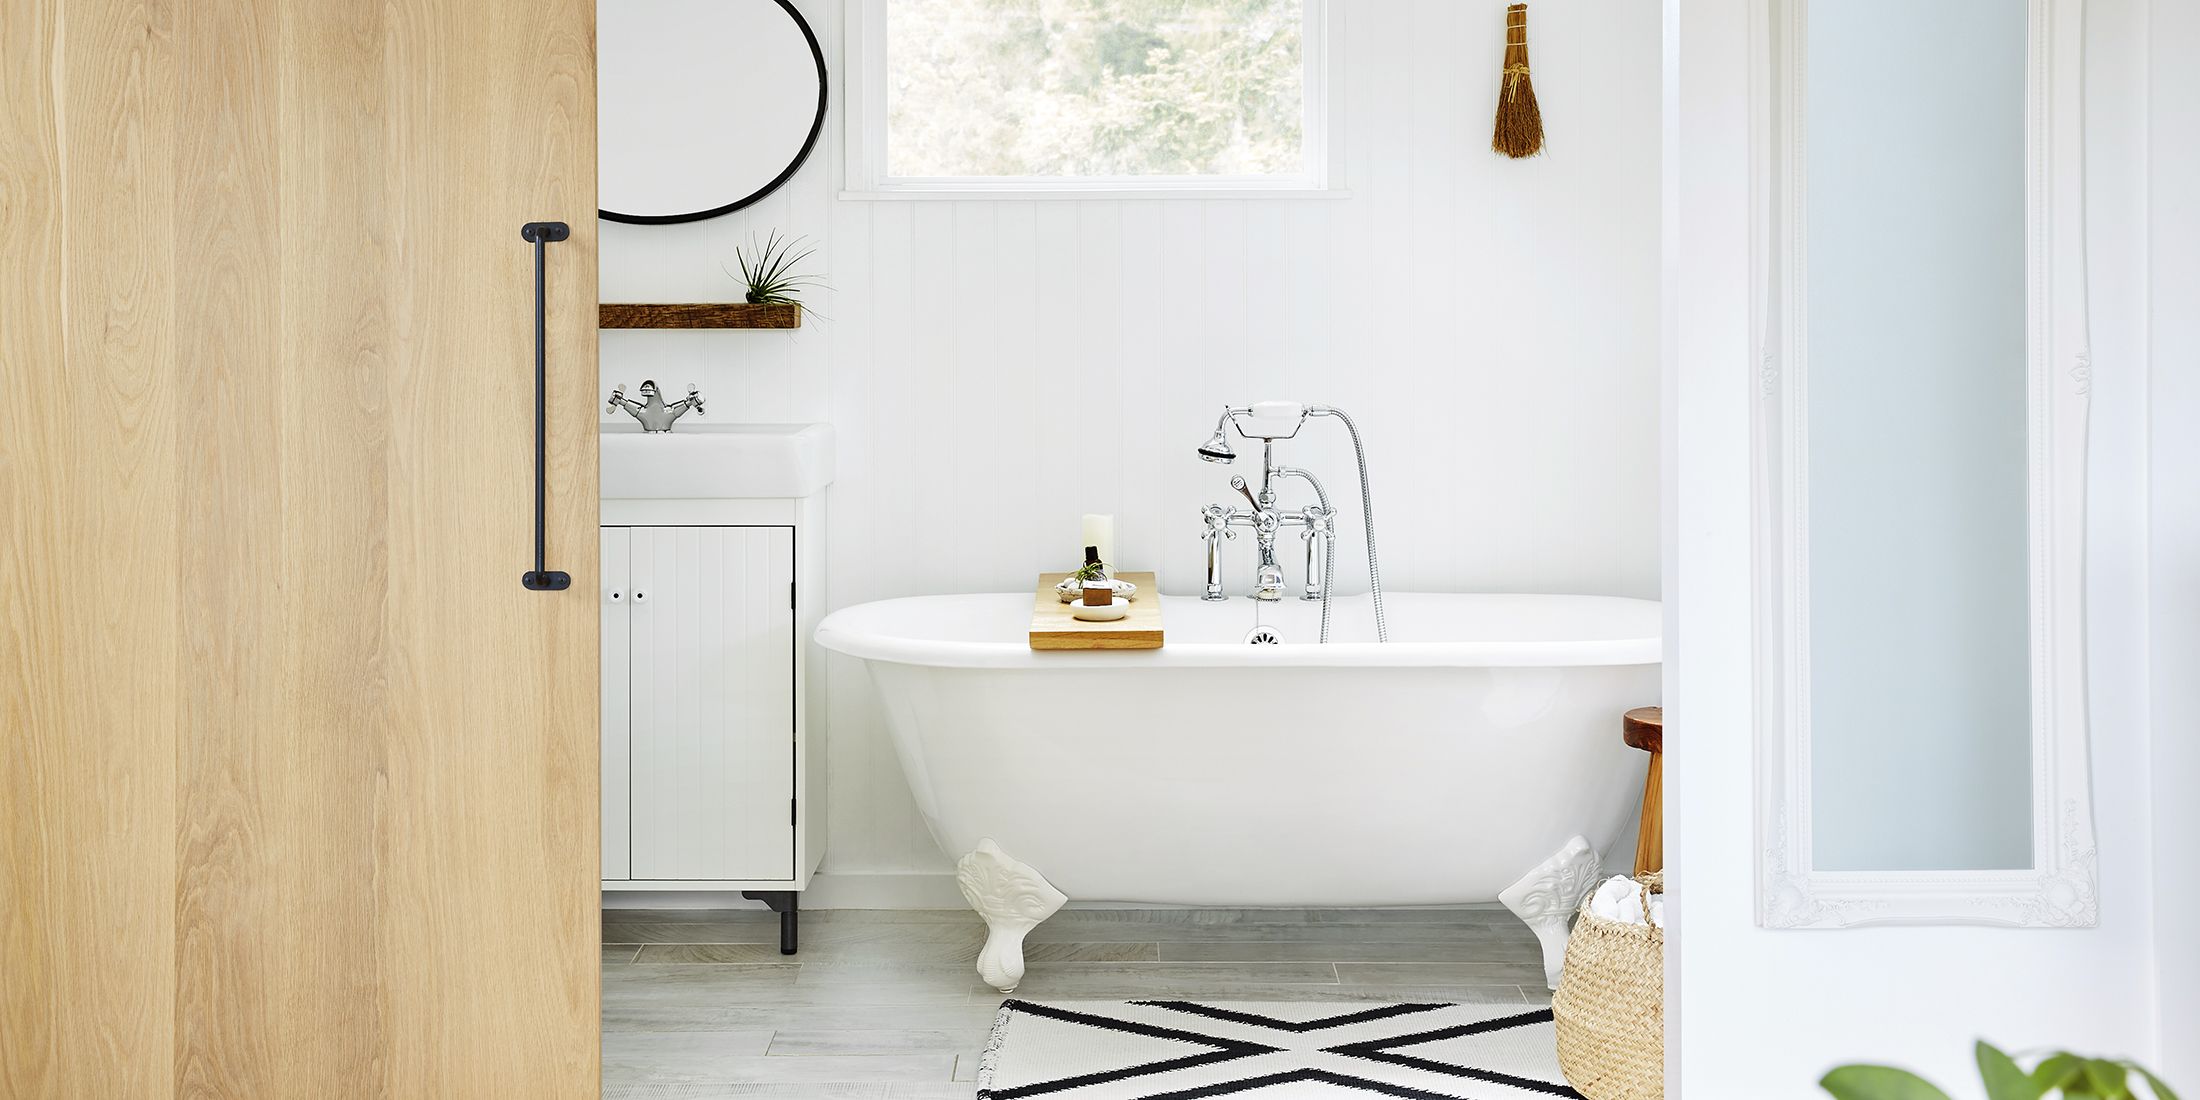
The bathroom is a place of relaxation and personal care, but it’s also prone to collecting dirt, grime, and clutter. In week two of our cleaning checklist, we will focus on deep cleaning and organizing your bathroom to create a fresh and inviting space.
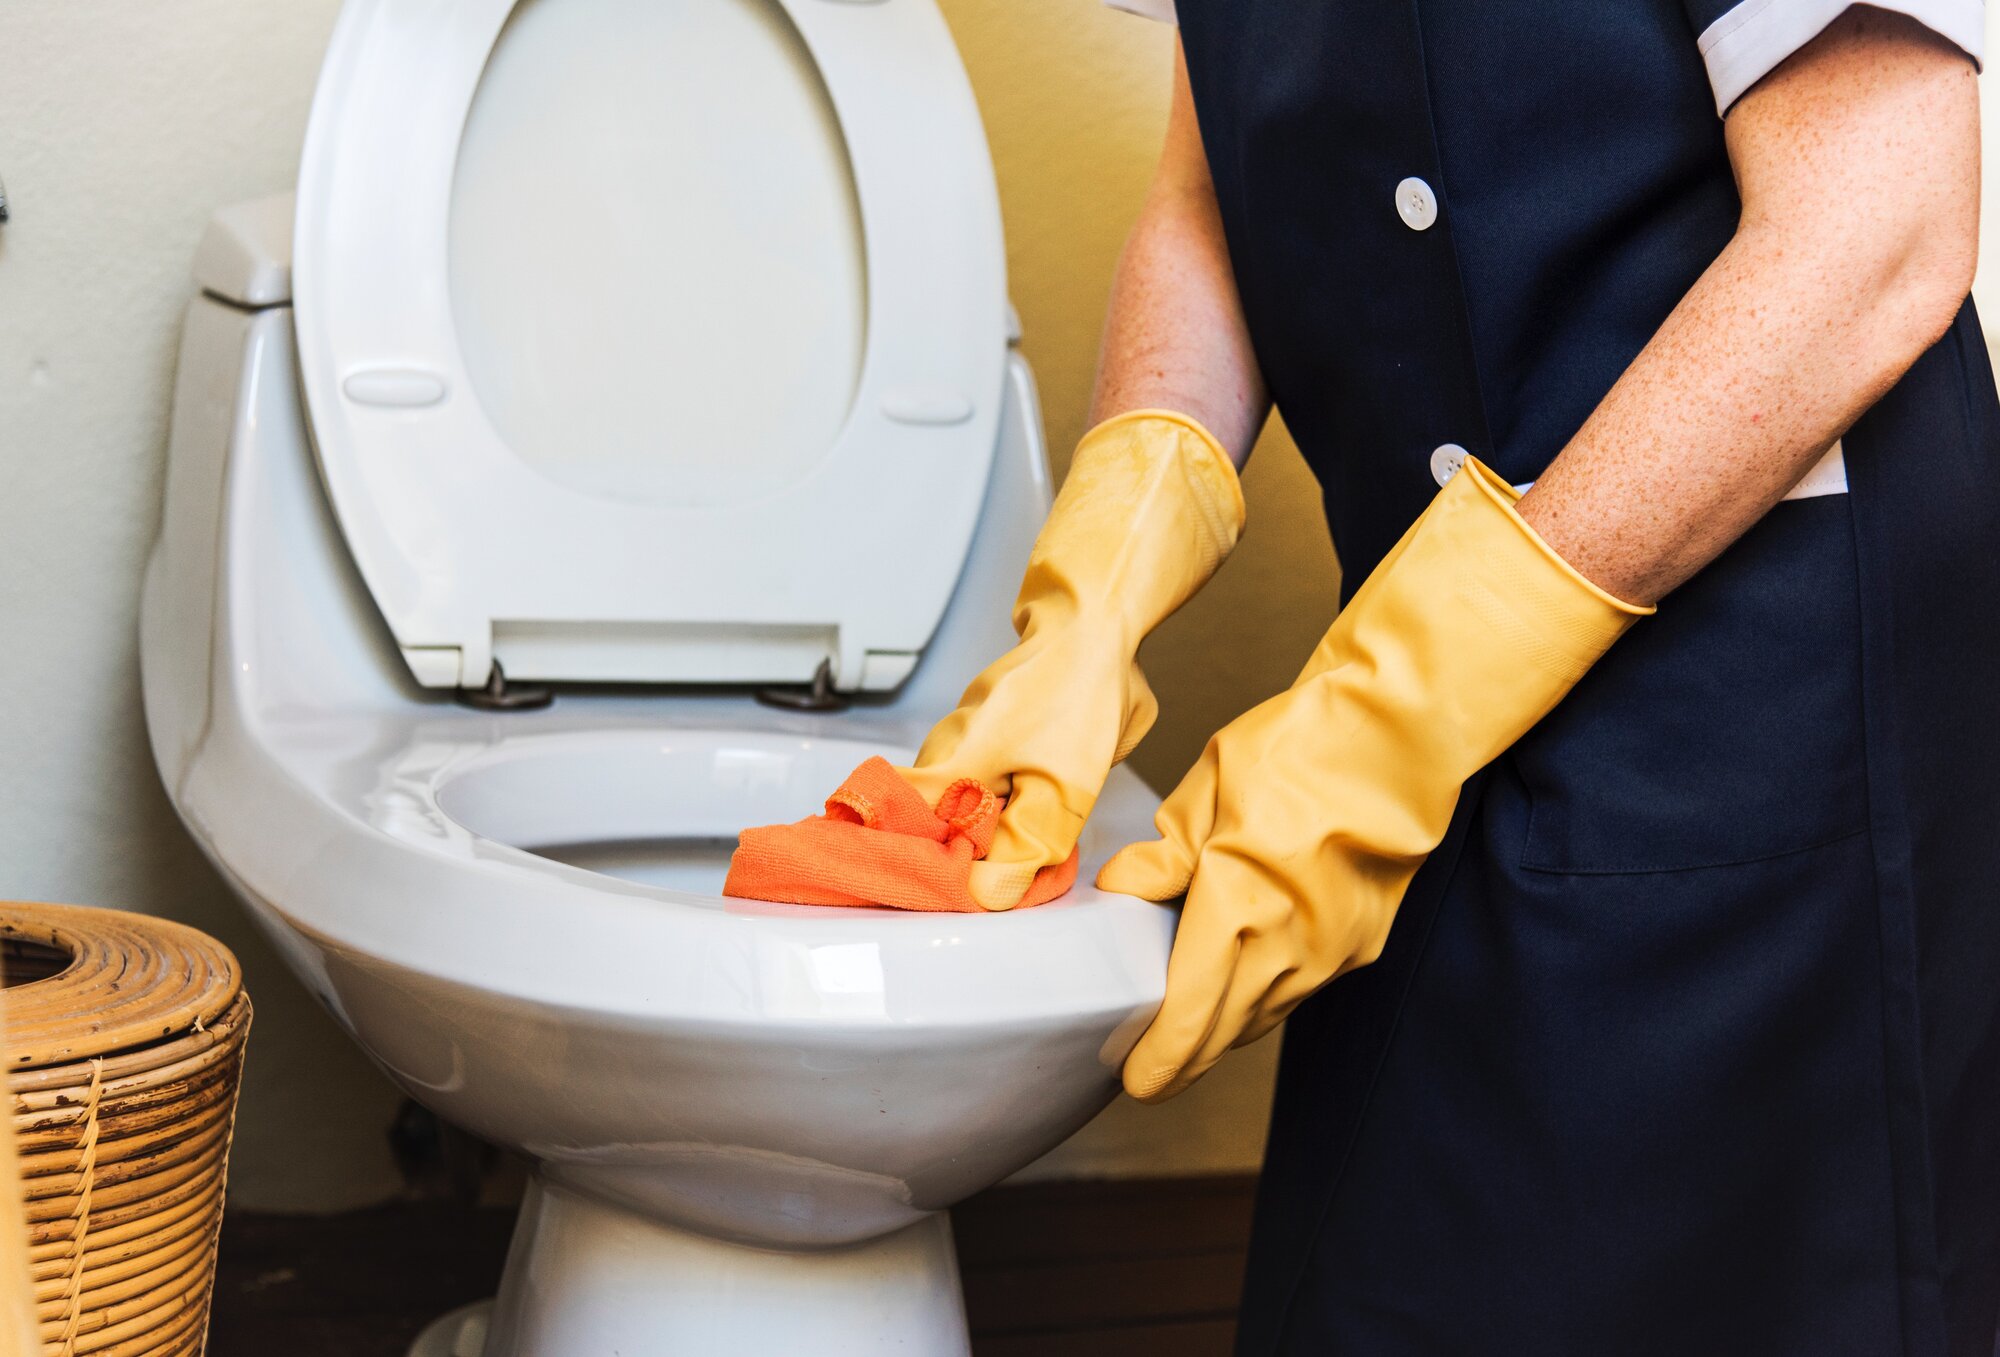
The first task on the list is to clean and disinfect the toilet. Start by applying a toilet bowl cleaner to the inside of the bowl, letting it sit for a few minutes. Use a toilet brush to scrub the bowl, paying attention to the waterline and under the rim. Flush the toilet to rinse away the cleaner. Use a disinfectant spray or wipes to clean the exterior of the toilet, including the handle and seat.
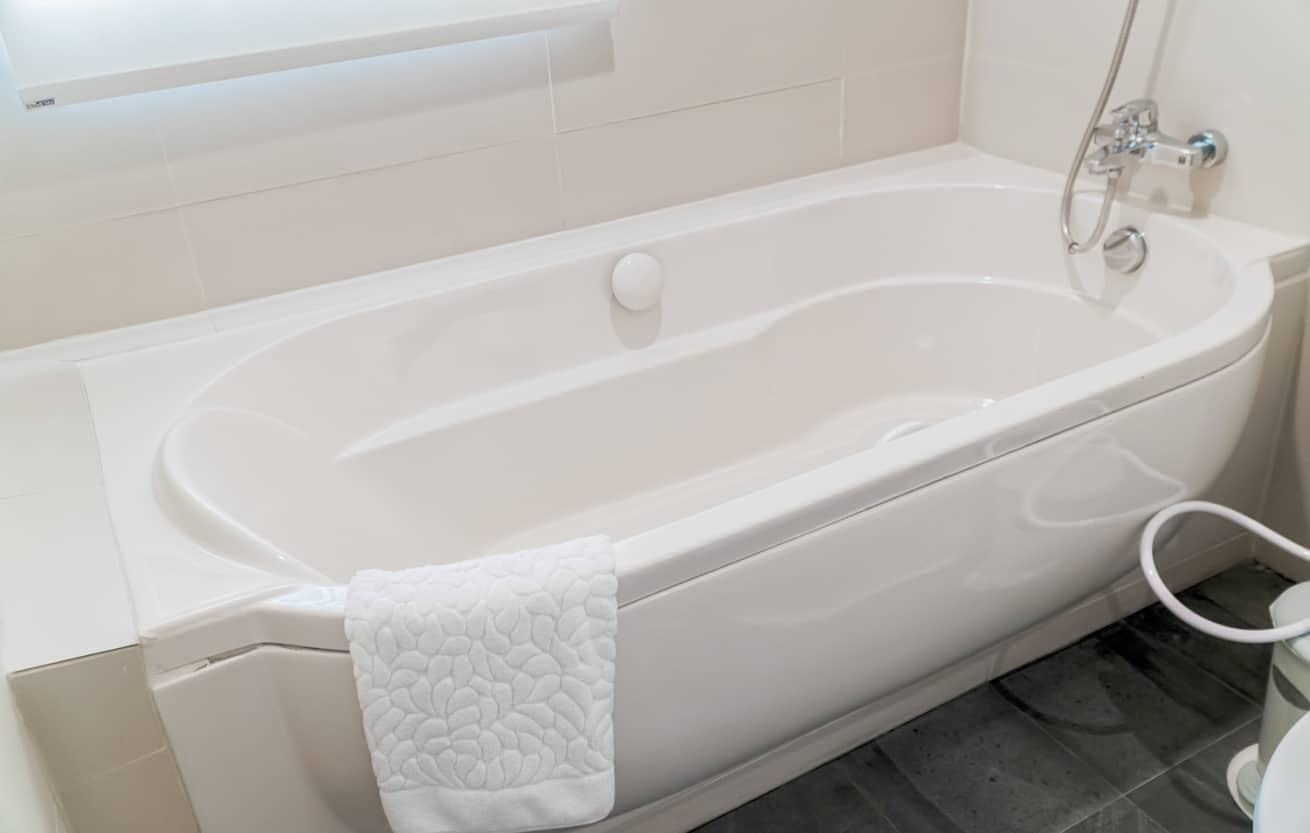
Next, give your bathtub and shower a thorough scrub. Begin by removing any shampoo bottles, soap dishes, and other shower accessories. Use a bathroom cleaner or a mixture of vinegar and water to clean the surfaces of your bathtub and shower walls. Pay special attention to areas where soap scum and hard water stains may have built up. Rinse everything thoroughly with water and replace the shower accessories.
After cleaning the main fixtures, shift your attention to the bathroom vanity. Empty out all drawers and cabinets and declutter any unused or expired products. Wipe down the interior and exterior of the vanity with a damp cloth or an appropriate cleaning solution. Consider using drawer dividers or small containers to keep your toiletries and beauty products neatly organized. This will not only make it easier to find what you need but also give your vanity a cleaner and more spacious appearance.
Don’t forget to give your bathroom mirrors some attention. Wipe down the mirror’s surface with a microfiber cloth or glass cleaner to remove any fingerprints, smudges, or toothpaste splatters. Pay attention to the edges of the mirror as well. A clean and sparkly mirror not only enhances the overall appearance of your bathroom but also makes daily grooming tasks more pleasant.
Lastly, it’s time to organize and declutter your bathroom shelves. Remove all items from the shelves and assess what you really need and what can be tossed or donated. Consider using storage bins or baskets to group similar items together and make it easier to keep the shelves tidy moving forward. Before placing items back on the shelves, give them a quick wipe-down to remove any dust or dirt.
By completing these tasks, your bathroom will feel fresh, clean, and well-organized. Stay tuned for the next week of our cleaning checklist, where we will focus on refreshing your living room!
Set aside dedicated time each day to tackle one task on the cleaning checklist. Breaking it down into smaller, manageable tasks will make it less overwhelming and more achievable.
Week 3: Living Room
The living room serves as a gathering space for family and friends, making it one of the most important areas to keep clean and comfortable. In week three of our cleaning checklist, we will focus on revitalizing your living room, creating a cozy and inviting atmosphere.
Begin by dusting and vacuuming the upholstery in your living room. Use a soft brush attachment on your vacuum cleaner to gently remove dust and debris from sofas, chairs, and cushions. Pay attention to the crevices and seams where dust tends to accumulate. If there are any stains on your upholstery, address them with an appropriate cleaner or follow the manufacturer’s instructions for spot cleaning.
Next, give your coffee table some love and attention. Clear off any clutter and wipe down the surface with a gentle cleaner suitable for the material of your table. If you have a wooden coffee table, consider using a wood polish to restore its shine. Not only will this make your living room look more polished, but it will also create a clean and inviting space for entertaining or relaxing.
Take a look at your entertainment center and assess its organization. Declutter any unnecessary items and group similar items together. Use storage baskets or organizers to keep remote controls, cables, and other smaller items organized and out of sight. This will not only create a cleaner and more streamlined appearance but also make it easier to find what you need when you’re ready to relax and enjoy your favorite shows or movies.
Don’t overlook your TV screen; it’s a focal point in most living rooms. Use a microfiber cloth to gently dust the screen, removing any fingerprints or smudges. If necessary, dampen the cloth slightly with water or a screen-cleaning solution. Avoid using harsh chemicals or abrasive materials as they can damage the screen. A clean and smudge-free TV screen will enhance your viewing experience.
Lastly, brighten up your living room by cleaning the windows and window sills. Wipe down the window frames, tracks, and sills with a damp cloth or appropriate cleaning solution. Use a glass cleaner and a lint-free cloth to clean the windows, removing any streaks or smudges. Natural light streaming through clean windows creates a fresh and airy atmosphere in your living room.
Completing these tasks will revitalize your living room, creating a clean and relaxing environment for you and your guests. Stay tuned for the next week of our cleaning checklist, where we will focus on refreshing your bedrooms!
Week 4: Bedrooms
Our bedrooms are our sanctuaries, a place to unwind, rest, and rejuvenate. In the final week of our cleaning checklist, we will focus on transforming your bedrooms into clean and peaceful retreats.
Start by washing all bedding, including sheets, pillowcases, and duvet covers. Follow the care instructions on the labels for optimal results. Laundering your bedding not only keeps it fresh and clean but also eliminates any allergens or dust mites that may have accumulated over time. Don’t forget to fluff your pillows and consider giving them a gentle machine wash as well.
Next, dust and vacuum your bedroom furniture. Remove any personal items or clutter from dressers, nightstands, and other surfaces. Use a microfiber cloth or a duster to remove dust from the furniture, paying attention to the corners and crevices. Follow up by vacuuming the floors around the furniture, using a brush attachment to tackle any hard-to-reach areas. This will leave your bedroom feeling clean and airy.
Take some time to clean and organize your closets. Start by decluttering and removing any clothing items or accessories that you no longer wear or need. Consider donating or selling them. Wipe down the closet shelves and rods, removing any dust or debris. Utilize storage bins, hangers, or organizers to keep your clothes neatly arranged and easily accessible. An organized closet not only simplifies your daily routine but also contributes to a clutter-free and relaxing bedroom environment.
Give your bedroom mirrors and dressers a good wipe-down. Use a glass cleaner or a mixture of vinegar and water to remove any smudges or fingerprints from the mirror surfaces. Consider using a furniture polish appropriate for the material of your dressers to restore their shine. Clean and shiny mirrors and dressers not only enhance the overall aesthetics of your bedroom but also contribute to a brighter and more inviting atmosphere.
Lastly, declutter and tidy up your bedside tables. Remove any unnecessary items that may have accumulated, such as books, magazines, or charging cables. Wipe down the surfaces with a damp cloth and consider using small baskets or organizers to manage smaller items like lip balm, hand cream, or reading glasses. This will free up space and create a more serene and clutter-free sleeping environment.
Completing these tasks will give your bedroom a fresh and clean makeover, allowing you to relax and unwind in a clean and peaceful space. Congratulations on completing our 30-day cleaning checklist! Remember, maintaining a clean and organized living space is an ongoing process, so try to incorporate these habits into your regular routine to enjoy a tidy and stress-free home.
Conclusion
Congratulations on completing our 30-day cleaning checklist and transforming your home into a sparkling and organized haven. By following this comprehensive plan, you have taken significant steps to create a clean and inviting living space that promotes a sense of calm and well-being.
Throughout the four weeks, we tackled various areas of your home, from the kitchen to the bathroom, living room, and bedrooms. We focused on decluttering, deep cleaning, and organizing, ensuring that no corner was left untouched. By breaking down the tasks into manageable chunks, you were able to maintain momentum and achieve remarkable results.
Maintaining a clean and organized home is an ongoing process and requires consistent effort. However, the benefits are worth it. A tidy living space not only improves the aesthetics of your home but also promotes a healthier and more functional environment. Studies have shown that a clean home can reduce stress levels, enhance productivity, and improve overall well-being.
As you continue your cleaning journey beyond this checklist, remember to incorporate good habits into your daily routine. Take a few minutes each day to tidy up, declutter, or wipe down surfaces. Create designated spaces for frequently used items to keep them easily accessible and prevent clutter from accumulating. Regularly deep clean different areas of your home to maintain a fresh and hygienic environment.
Additionally, consider implementing storage solutions that suit your lifestyle and space. Look for creative ways to maximize storage capabilities, such as using vertical space, utilizing storage bins or baskets, and investing in furniture with built-in storage options. These strategies will help you stay organized and maintain a clutter-free home in the long run.
Remember, a clean and organized home not only benefits your physical environment but also has a positive impact on your mental and emotional well-being. Embrace the sense of accomplishment that comes with maintaining a clean living space and enjoy the peace and tranquility it provides.
Thank you for joining us on this cleaning journey. We hope our 30-day cleaning checklist has been valuable and insightful, empowering you to create the clean and organized home you deserve. Here’s to a sparkling and clutter-free future!
Frequently Asked Questions about Use Our 30-Day Cleaning Checklist For A Sparkling Home
Was this page helpful?
At Storables.com, we guarantee accurate and reliable information. Our content, validated by Expert Board Contributors, is crafted following stringent Editorial Policies. We're committed to providing you with well-researched, expert-backed insights for all your informational needs.


0 thoughts on “Use Our 30-Day Cleaning Checklist For A Sparkling Home”