Home>Storage Ideas>Bathroom Storage>How To Clean A Shower So It Sparkles From Top To Bottom
Bathroom Storage
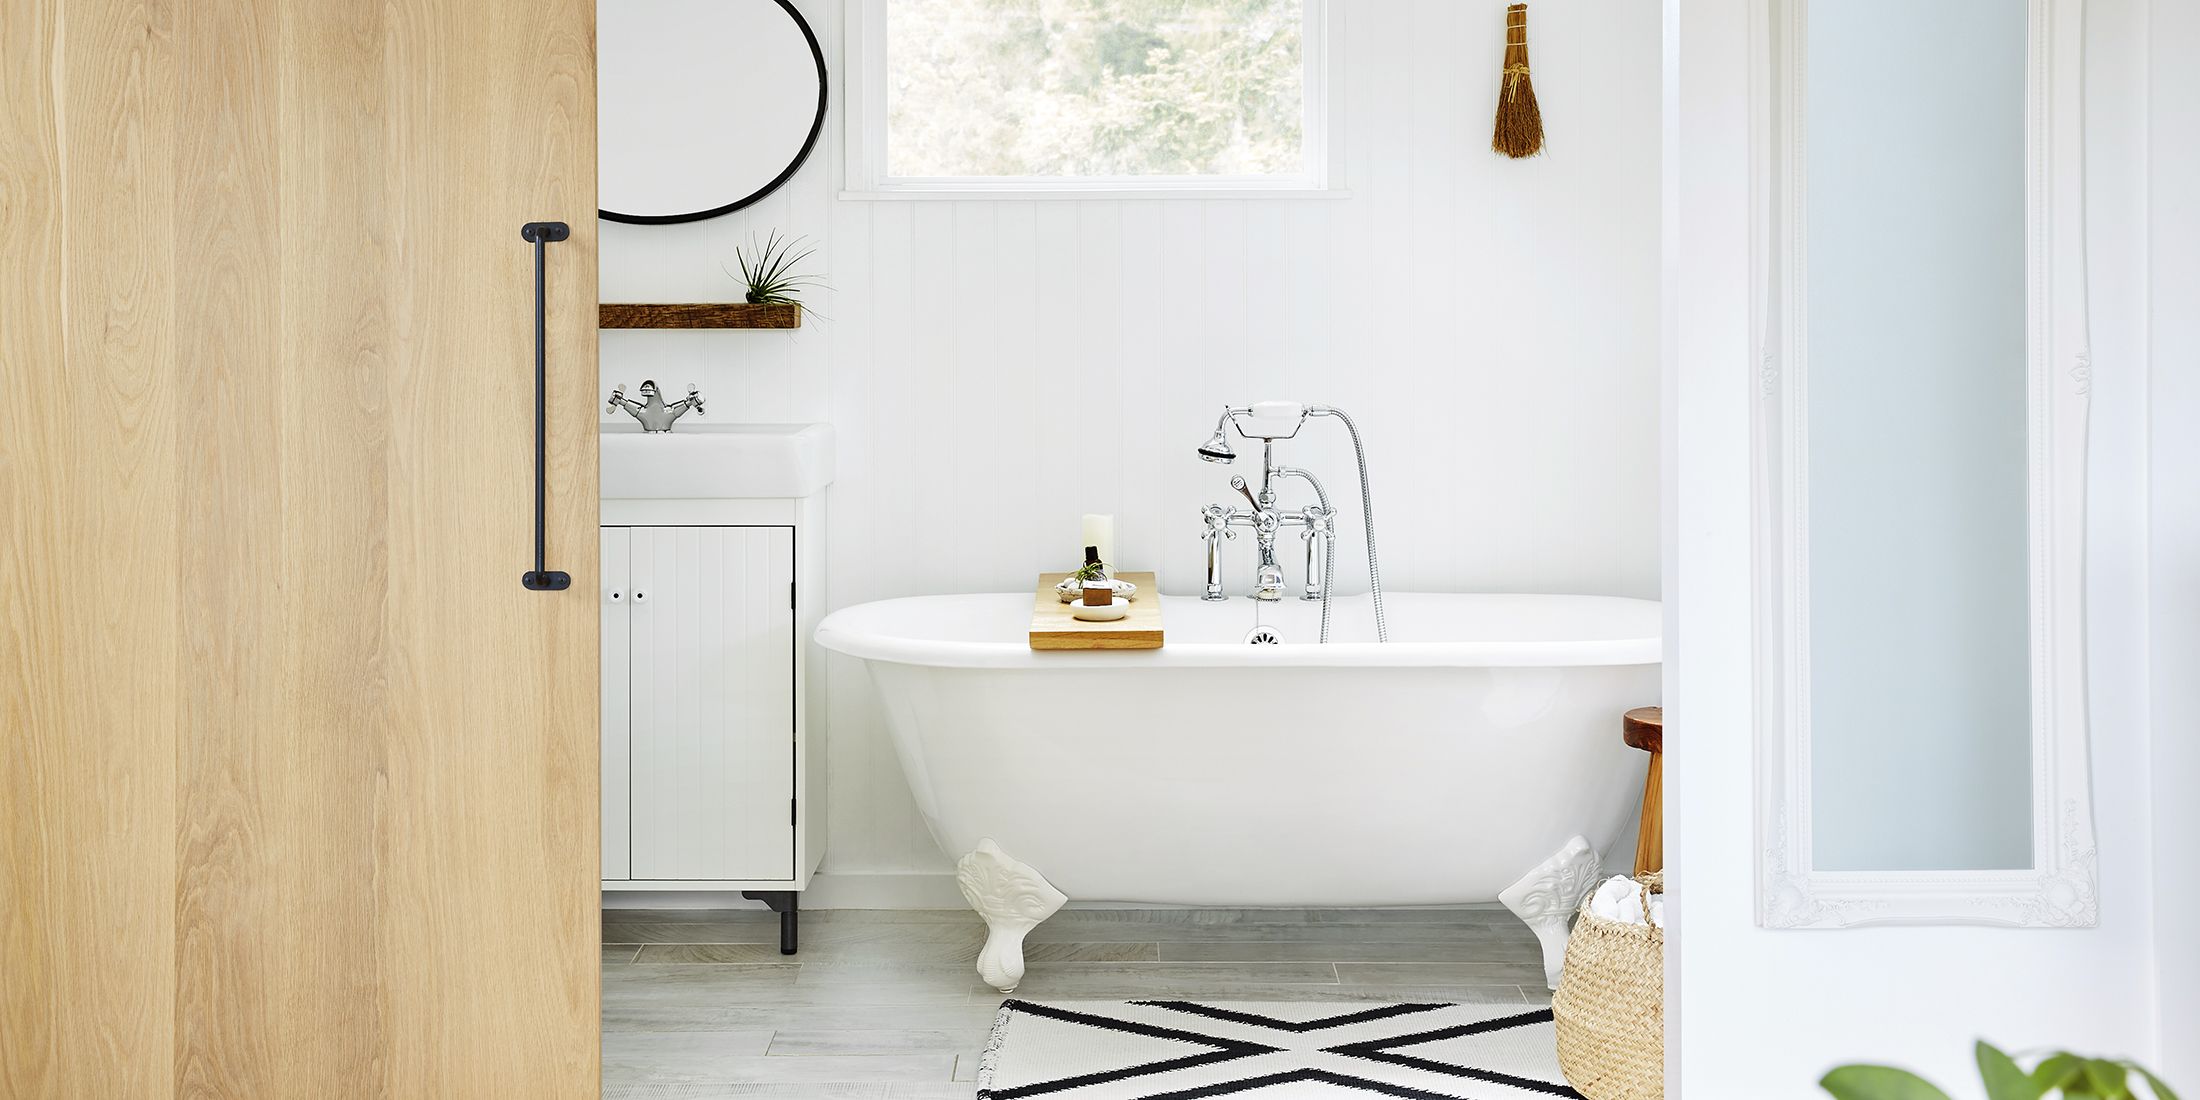
How To Clean A Shower So It Sparkles From Top To Bottom
Modified: October 20, 2024
Discover the ultimate guide on how to clean your shower for a sparkling, spotless finish from top to bottom. Check out our expert tips on maximizing bathroom storage.
(Many of the links in this article redirect to a specific reviewed product. Your purchase of these products through affiliate links helps to generate commission for Storables.com, at no extra cost. Learn more)
Introduction
Welcome to the ultimate guide to cleaning your shower and making it sparkle from top to bottom! Your bathroom is an important space in your home, and keeping it clean and well-maintained not only ensures its longevity but also contributes to a healthy and pleasant environment. One of the key areas in your bathroom that requires regular cleaning is your shower.
A clean shower not only looks great but also helps to prevent the buildup of mold, mildew, and soap scum. Regular cleaning not only maintains the aesthetics of your bathroom but also promotes a hygienic and relaxing showering experience. So, grab your cleaning supplies and get ready to transform your shower into a sparkling oasis!
Before we dive into the cleaning process, let’s gather the materials you’ll need to tackle this task efficiently and effectively:
Key Takeaways:
- Transform your shower into a sparkling oasis by following a comprehensive cleaning guide. Gather the necessary materials and tackle each step with care to maintain a hygienic and inviting shower space.
- Regular cleaning and maintenance are essential for keeping your shower in optimal condition. With the right approach and materials, you can ensure a clean, inviting, and visually appealing shower for years to come.
Materials Needed
- All-purpose cleaner or mild bathroom cleaner
- White vinegar
- Baking soda
- Microfiber cloths or soft sponges
- Toothbrush or small scrub brush
- Rubber gloves
- Squeegee
Now that we have our materials, let’s start by preparing the shower for the cleaning process.
Key Takeaways:
- Transform your shower into a sparkling oasis by following a comprehensive cleaning guide. Gather the necessary materials and tackle each step with care to maintain a hygienic and inviting shower space.
- Regular cleaning and maintenance are essential for keeping your shower in optimal condition. With the right approach and materials, you can ensure a clean, inviting, and visually appealing shower for years to come.
Materials Needed
Before you embark on your shower-cleaning journey, it’s essential to gather the necessary materials to make the process smooth and effective. Here are the key materials you’ll need:
- All-purpose cleaner or mild bathroom cleaner: This will serve as the primary cleaning agent for most surfaces in your shower. Opt for a cleaner that is suitable for your specific shower materials, such as porcelain, ceramic, or glass.
- White vinegar: Vinegar is a natural and effective ingredient for removing tough stains, soap scum, and mineral deposits. Its acidity helps break down grime and leave your shower looking pristine.
- Baking soda: Baking soda is a versatile ingredient that serves as a gentle abrasive and deodorizer. It works wonders in lifting stains and eliminating odors from surfaces.
- Microfiber cloths or soft sponges: These are essential for wiping down surfaces without scratching or leaving behind lint. Microfiber cloths are particularly effective in capturing dirt and grime.
- Toothbrush or small scrub brush: A small brush with firm bristles is incredibly helpful for reaching those tight corners and crevices where grime tends to accumulate. A toothbrush works wonders for scrubbing grout, shower tracks, and small fixtures.
- Rubber gloves: Protect your hands from harsh chemicals and hot water by wearing rubber gloves throughout the cleaning process.
- Squeegee: A squeegee is a handy tool for preventing water spots and streaks on your shower glass. Regular use will help maintain the clarity and shine of your shower doors and walls.
By equipping yourself with these materials, you’ll be well-prepared to tackle even the toughest shower cleaning challenges. Now let’s move on to the step-by-step cleaning process!
Step 1: Preparing the Shower
Before diving into the cleaning process, it’s important to prepare your shower properly. By taking a few minutes to prepare, you’ll ensure a more efficient and effective cleaning session. Here’s what you need to do:
- Remove any items: Take out any bottles, soap dishes, or accessories from the shower area. This will give you better access to all surfaces and prevent any accidental damage to the items.
- Clear the drain: Ensure that the shower drain is free from any hair or debris that may hinder the water flow during the cleaning process. You can use a small brush or your gloved fingers to remove any buildup around the drain.
- Pre-soak the shower: For an extra boost in tackling stubborn dirt and grime, consider pre-soaking the shower surfaces with a mixture of warm water and a mild bathroom cleaner. This will help to loosen any buildup and make the cleaning process easier.
- Open windows or turn on the ventilation: To prevent the buildup of fumes from cleaning products, ensure proper ventilation in the bathroom. Open windows or turn on the exhaust fan to promote fresh air circulation.
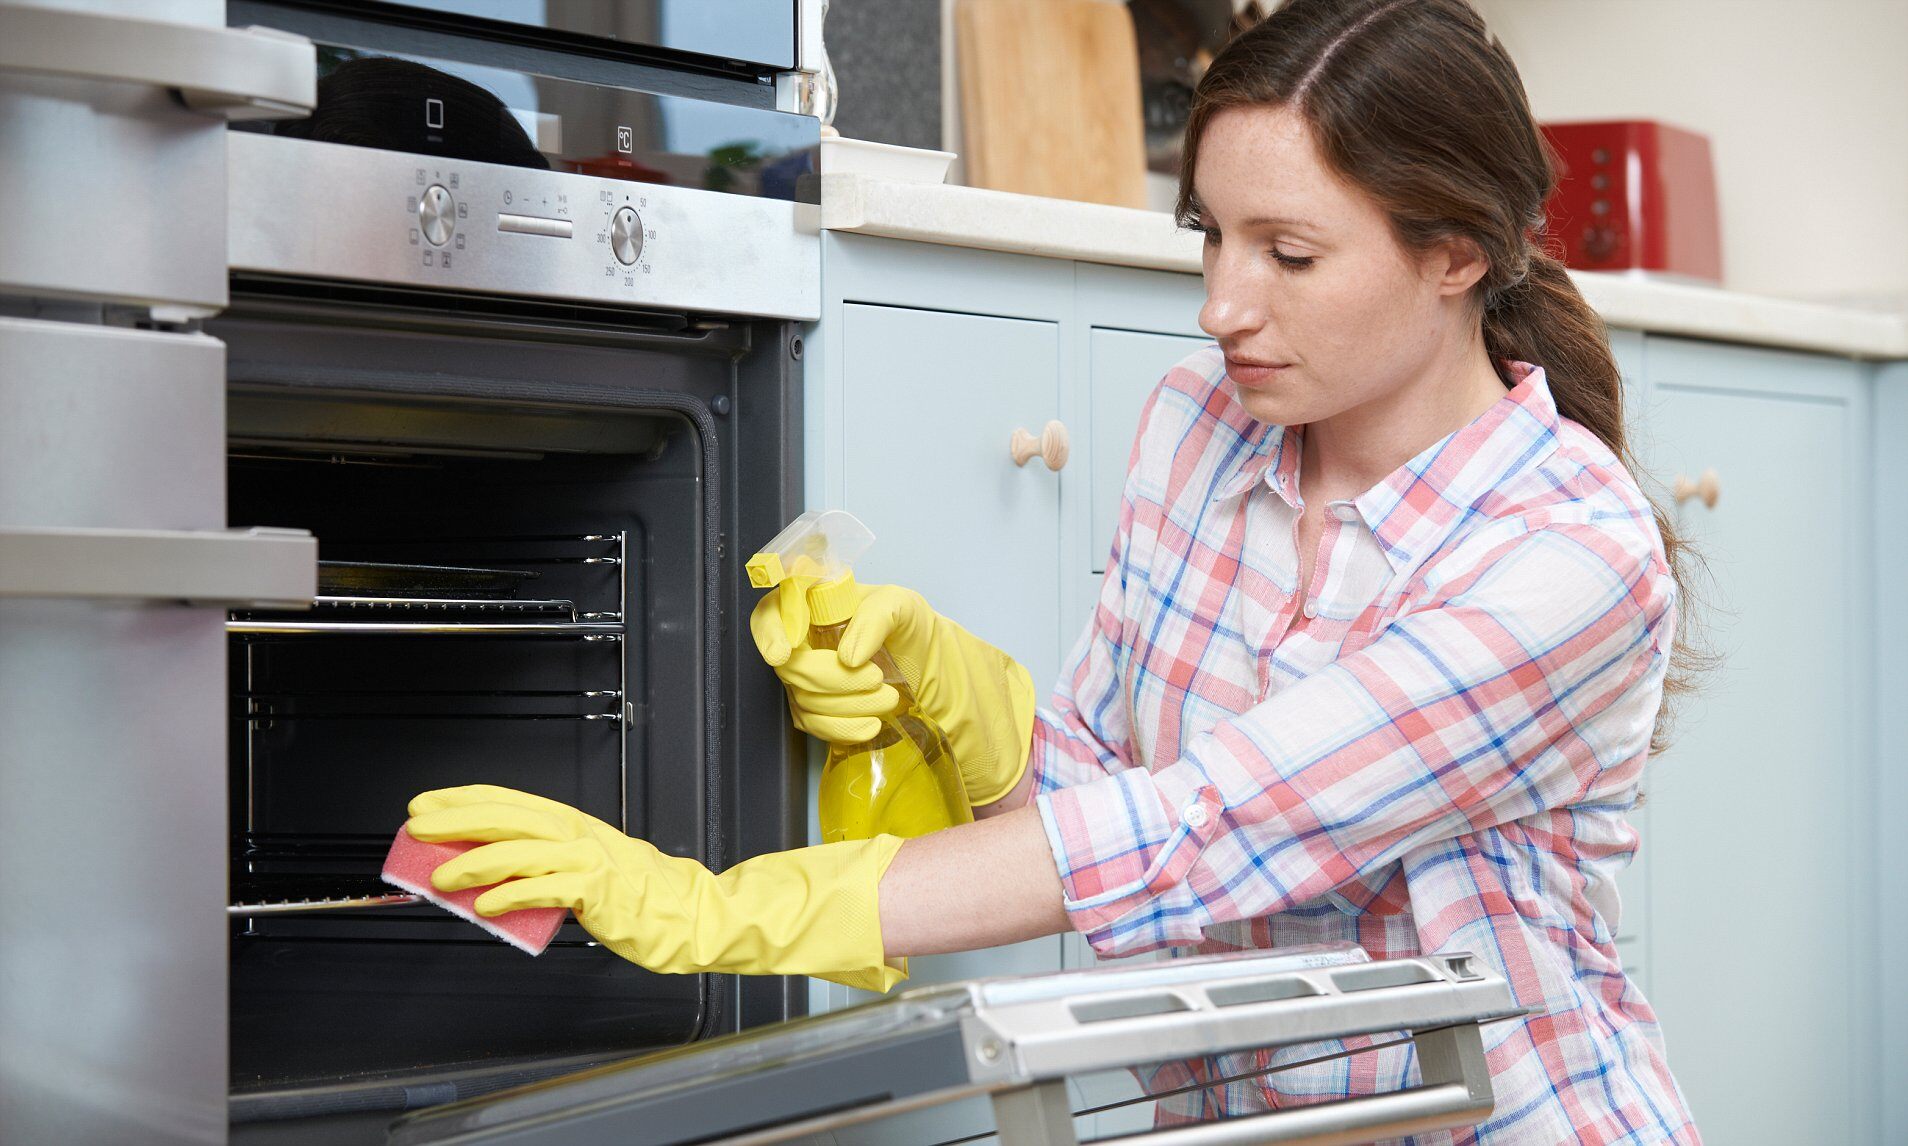
- Put on your rubber gloves: Protect your hands from harsh chemicals by wearing rubber gloves throughout the cleaning process. This will also provide added grip when scrubbing surfaces.
By following these simple preparation steps, you’ll create an ideal environment for a successful cleaning session. Now that your shower is ready, let’s proceed to the next step: cleaning the shower tiles!
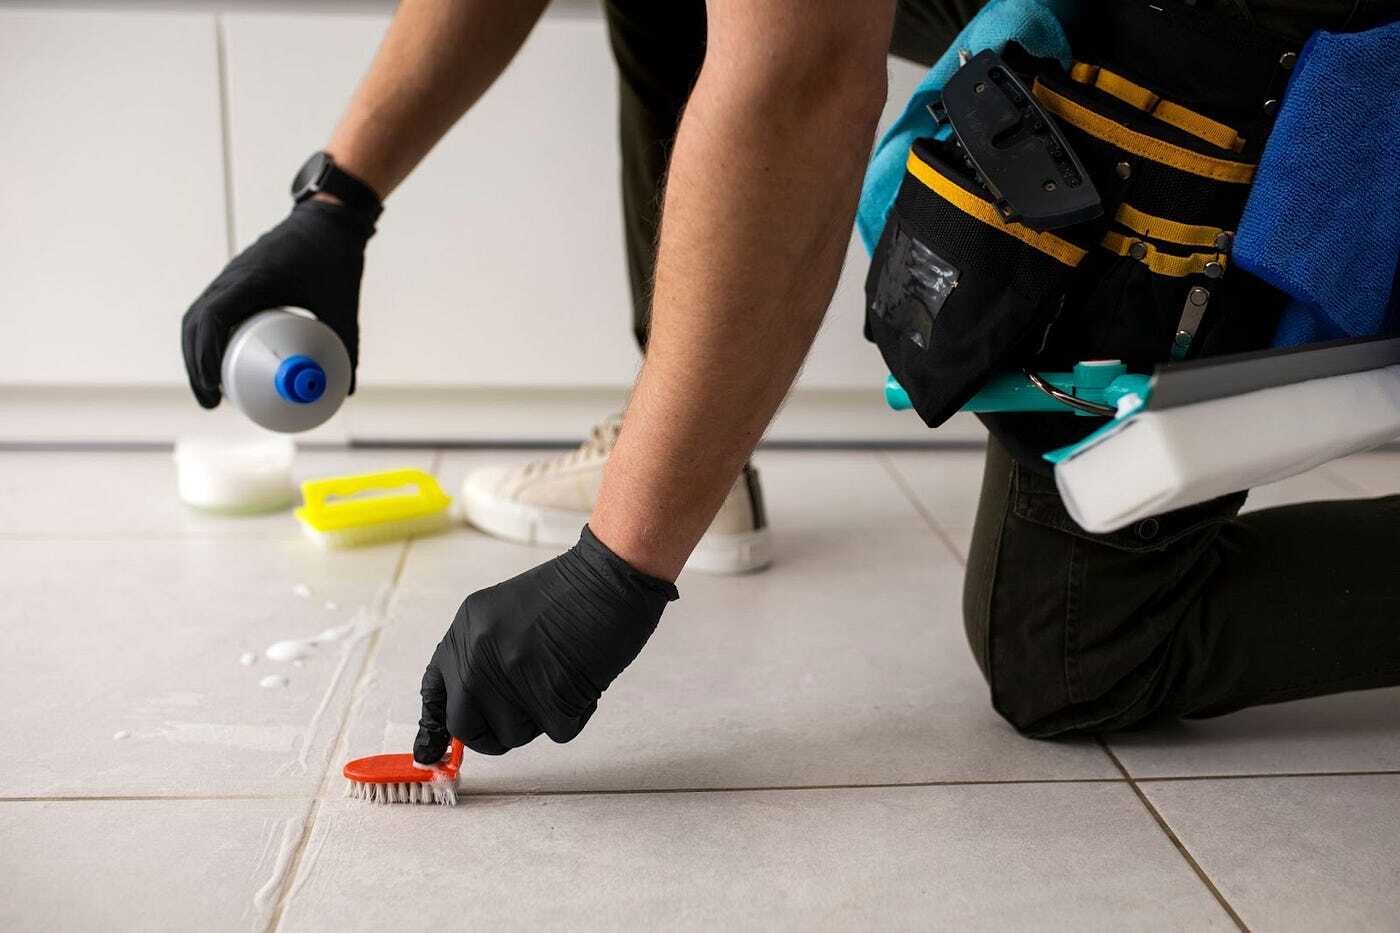
Step 2: Cleaning the Shower Tiles
Now that your shower is prepared, it’s time to tackle the tiles. The tiles in your shower can accumulate dirt, grime, and soap scum over time. With the right approach, you can bring them back to their sparkling glory. Here’s how to clean your shower tiles:
- Start with a general cleaning: Begin by spraying an all-purpose cleaner or a mild bathroom cleaner onto the tiles. Make sure to cover all the surfaces, including the walls and floor. Allow the cleaner to sit for a few minutes to loosen any dirt and grime.
- Scrub the tiles: Using a soft sponge or a microfiber cloth, start scrubbing the tiles in a circular motion. Pay extra attention to areas with visible stains or buildup. For stubborn stains or grout lines, use a toothbrush or small scrub brush to get into the crevices.
- Rinse thoroughly: Once you’ve scrubbed the tiles, rinse them thoroughly with warm water. Use a handheld showerhead or a bucket to ensure all the cleaner and dirt are washed away. Be sure to check for any remaining residue and rinse again if needed.
If you’re dealing with particularly stubborn stains or soap scum, you can use a mixture of white vinegar and warm water. Spray or sponge the vinegar solution onto the affected areas, let it sit for a few minutes, then scrub and rinse as usual.
Remember to always follow the manufacturer’s instructions when using cleaning products, especially if you have specific tile materials such as natural stone. Some materials may require specific cleaners or gentle approaches to avoid damage.
Now that your shower tiles are clean and refreshed, let’s move on to the next step: scrubbing the shower floor!
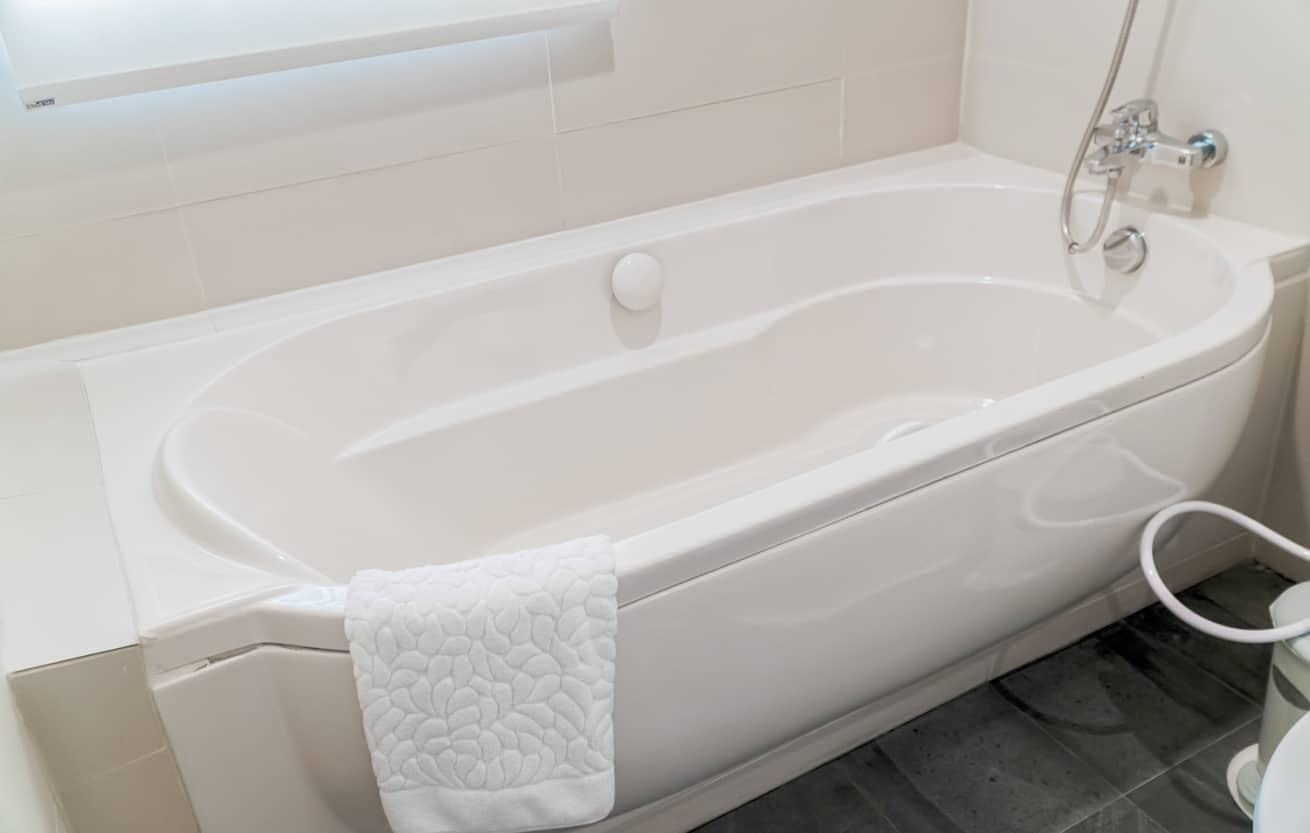
Step 3: Scrubbing the Shower Floor
The shower floor is an area that requires special attention as it is constantly exposed to water, dirt, and soap residue. Cleaning the shower floor not only ensures a clean and safe surface but also helps prevent the growth of mold and mildew. Here’s how to effectively scrub your shower floor:
- Remove any loose debris: Before starting the cleaning process, remove any loose debris such as hair, dirt, or small objects from the shower floor. You can use a paper towel or gloved hand to pick up these items.
- Apply a cleaning solution: Depending on the material of your shower floor, choose an appropriate cleaner. For tiled or stone floors, a mild detergent or all-purpose cleaner will do the job. For acrylic or fiberglass floors, use a non-abrasive cleaner to prevent scratching.
- Scrub the floor: With a soft sponge or brush, start scrubbing the shower floor in a circular motion. Pay extra attention to any stained or heavily soiled areas. For grout lines, use a toothbrush or small scrub brush to ensure thorough cleaning. Be mindful of the pressure you apply to avoid damaging the floor surface.
- Rinse thoroughly: Once you’ve scrubbed the entire shower floor, rinse it thoroughly with warm water. Ensure that all the cleaning solution and grime are completely washed away. Use a handheld showerhead or a bucket to rinse effectively.
- Dry the floor: After rinsing, dry the shower floor with a clean and absorbent towel to prevent water spots and the growth of mold or mildew. Pay extra attention to corners and crevices where water tends to accumulate.
If your shower floor has stubborn stains or mineral deposits, you can try using a mixture of white vinegar and warm water. Apply the solution to the affected areas, let it sit for a few minutes, then scrub and rinse thoroughly.
Now that your shower floor is scrubbed clean, it’s time to move on to the next step: removing soap scum and mildew.
Use a mixture of equal parts white vinegar and dish soap to scrub the shower walls and glass doors. Let it sit for a few minutes before rinsing with hot water for a sparkling clean shower.
Step 4: Removing Soap Scum and Mildew
Soap scum and mildew are common problems in showers that can make surfaces look dull and dirty. It’s important to effectively remove soap scum and prevent the growth of mildew to maintain a clean and hygienic shower. Here’s how you can tackle these issues:
- Identify the problem areas: Inspect the shower walls, doors, and fixtures for any visible soap scum or mildew. These areas are prone to buildup due to frequent exposure to soap and water.
- Prepare a cleaning solution: Mix equal parts of white vinegar and water in a spray bottle. This natural solution is highly effective in breaking down soap scum and killing mildew.
- Spray the solution: Liberally spray the vinegar and water solution onto the affected areas. Make sure to cover all the soap scum and mildew, allowing the solution to penetrate and loosen the buildup.
- Let it sit: Allow the solution to sit for about 10-15 minutes, giving it time to work its magic on the soap scum and mildew.
- Scrub the surfaces: Using a scrub brush or a sponge, scrub the treated areas in a circular motion. Focus on the stubborn soap scum or mildew spots, applying slightly more pressure if needed. For tight corners or grout lines, use a toothbrush or small scrub brush.
- Rinse and wipe clean: Once you’ve thoroughly scrubbed the surfaces, rinse them with warm water to remove the solution and loosened buildup. Use a clean microfiber cloth or sponge to wipe the surfaces dry.
- Prevent future buildup: To reduce the likelihood of soap scum and mildew returning, consider using a squeegee to remove excess water from walls and glass doors after each shower. Regularly cleaning your shower and ensuring proper ventilation in the bathroom can also help prevent buildup.
By following these steps, you’ll effectively tackle soap scum and mildew, keeping your shower surfaces clean and pristine. Now let’s proceed to the next step: cleaning the shower fixtures.
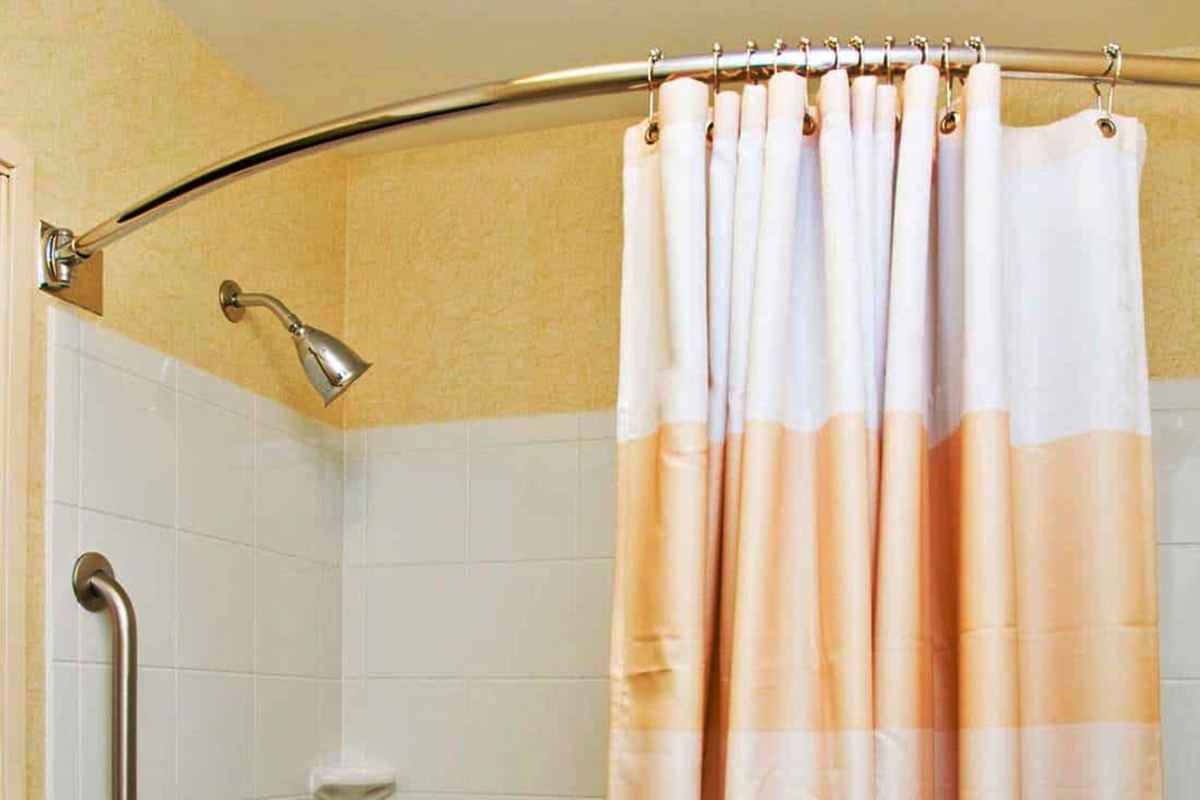
Step 5: Cleaning the Shower Fixtures
The shower fixtures, such as faucets, handles, and showerheads, also require regular cleaning to maintain their functionality and appearance. Over time, these fixtures can accumulate mineral deposits, soap residue, and dirt. Here’s how you can effectively clean your shower fixtures:
- Assess the condition: Inspect the fixtures for any visible buildup or stains. Pay attention to areas that come into direct contact with water, as they are more prone to mineral deposits.
- Prepare a cleaning solution: Mix equal parts of white vinegar and water in a small bowl or container. The acidic nature of vinegar helps dissolve mineral deposits and remove stubborn stains.
- Apply the solution: Immerse a soft cloth or sponge into the vinegar and water solution. Gently apply the solution to the fixtures, ensuring all surfaces are coated. Leave the solution on for a few minutes to allow it to penetrate and loosen the buildup.
- Scrub and rinse: Using the cloth or sponge, gently scrub the fixtures in circular motions. Pay extra attention to areas with heavy buildup. For smaller fixtures or intricate details, use a toothbrush to get into hard-to-reach areas. Rinse the fixtures thoroughly with warm water to remove the cleaning solution and any loosened deposits.
- Dry and shine: Once the fixtures are rinsed, use a clean microfiber cloth to dry and shine them. This will help prevent the formation of water spots and add a polished finish.
If you encounter stubborn mineral deposits that are difficult to remove with vinegar, you can try using a mixture of baking soda and water. Form a paste, gently apply it to the fixtures, and scrub in circular motions. Rinse thoroughly with warm water after scrubbing.
Remember to follow any specific cleaning instructions provided by the manufacturer for your fixtures. Different materials may require different cleaning approaches to avoid damage or discoloration.
Now that your shower fixtures are clean and shining, let’s move on to the next step: cleaning the shower glass.
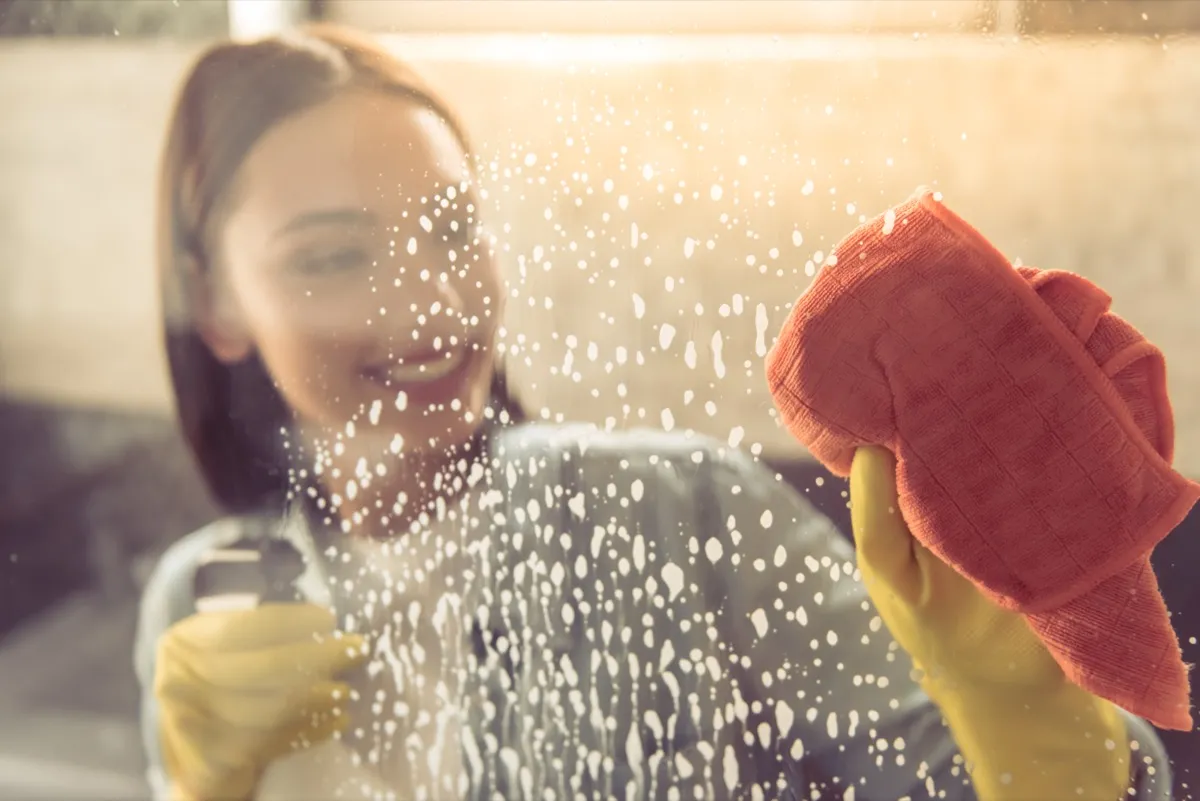
Step 6: Cleaning the Shower Glass
Shower glass adds a touch of elegance to your bathroom, but it can quickly become covered in water spots, soap scum, and fingerprints. To keep the glass looking clear and pristine, regular cleaning is essential. Here’s how you can effectively clean your shower glass:
- Gather your supplies: Grab a spray bottle, white vinegar, water, and a microfiber cloth or squeegee.
- Create a cleaning solution: Mix equal parts of white vinegar and water in the spray bottle. The acidity of vinegar helps dissolve mineral deposits and remove stubborn stains.
- Spray the solution: Mist the cleaning solution onto the shower glass, ensuring full coverage.
- Let it sit: Allow the solution to sit on the glass for a few minutes, giving it time to break down the soap scum and water spots.
- Scrub or wipe: Using a microfiber cloth or sponge, gently scrub the glass in a circular motion. Pay extra attention to any areas with stubborn stains or buildup. For larger glass surfaces, you can use a squeegee to remove the cleaning solution and loosen any remaining residue.
- Rinse thoroughly: Rinse the shower glass with warm water to remove the cleaning solution and any loosened dirt or grime.
- Dry and shine: To prevent water spots, use a clean, dry microfiber cloth to dry the glass. Ensure all excess water is removed, leaving a streak-free finish.
If you have particularly stubborn spots or mineral deposits on the glass, you can apply a paste made of baking soda and water. Gently scrub the affected areas with the paste using a microfiber cloth or sponge, then rinse and dry as usual.
Regular maintenance is key to keeping your shower glass clean and sparkling. Consider using a shower spray or daily cleaner specifically formulated for glass to minimize the buildup of soap scum and water spots.
Now that your shower glass is clear and shiny, let’s move on to the final step: rinse and dry.
Step 7: Rinse and Dry
The final step in the shower cleaning process is to rinse and dry all surfaces to ensure a sparkling finish. This step is essential to remove any remaining cleaning solutions, dirt, or residue from the previous steps. Here’s how to effectively rinse and dry your shower:
- Rinse all surfaces: Use a handheld showerhead or a bucket to thoroughly rinse all surfaces, including the tiles, shower floor, fixtures, and glass. Be sure to remove any lingering cleaning solutions or soap residue.
- Pay attention to corners and crevices: Use a cloth or sponge to reach into tight corners, grout lines, and other areas that may collect water or cleaning solutions. Taking the time to thoroughly rinse these areas will help prevent the formation of water spots or streaks.
- Dry all surfaces: Grab a clean microfiber cloth or towel and carefully dry all the surfaces in your shower. Pay close attention to the fixtures, glass, and any areas prone to water pooling. Ensuring that the shower is completely dry will prevent the growth of mold, mildew, and water stains.
By thoroughly rinsing and drying your shower, you’ll not only enhance its appearance but also prolong its life by preventing water damage and the growth of harmful bacteria. Incorporate this step into your regular cleaning routine to maintain a clean and inviting shower space.
With the completion of this final step, you have successfully followed the comprehensive guide to cleaning your shower and making it sparkle from top to bottom. Enjoy your clean and refreshed shower!
Remember that regular cleaning and maintenance are key to keeping your shower in optimal condition. By adopting good cleaning practices and using appropriate cleaning products, you can ensure a hygienic and inviting shower for years to come.
Conclusion
Cleaning your shower doesn’t have to be a daunting task. With the right approach and materials, you can transform your shower into a sparkling and inviting space. By following the steps outlined in this guide, you now have a comprehensive understanding of how to clean your shower from top to bottom.
Remember to gather the necessary materials before you begin, including an all-purpose cleaner, white vinegar, baking soda, microfiber cloths, a toothbrush, rubber gloves, and a squeegee. Preparing the shower, cleaning the tiles, scrubbing the floor, removing soap scum and mildew, cleaning the fixtures, and tackling the shower glass are key steps in the process.
Throughout the cleaning process, it’s important to maintain a balance between effective cleaning techniques and the preservation of your shower’s materials. Be cautious when using cleaning solutions and scrubbing tools, ensuring they are suitable for your specific shower surfaces.
By following these steps and incorporating them into your regular cleaning routine, you can keep your shower in top-notch condition. Not only will a clean shower enhance the aesthetics of your bathroom, but it will also create a more hygienic and enjoyable showering experience for you and your family.
So put on your rubber gloves, grab your cleaning supplies, and embark on the journey to a sparkling shower. With a little effort and consistency, you can maintain a bathroom space that is both functional and visually appealing.
Remember, a clean shower is more than just a reflection of your tidiness; it contributes to the overall well-being of your home. Enjoy your freshly cleaned shower and all the benefits it brings!
Frequently Asked Questions about How To Clean A Shower So It Sparkles From Top To Bottom
Was this page helpful?
At Storables.com, we guarantee accurate and reliable information. Our content, validated by Expert Board Contributors, is crafted following stringent Editorial Policies. We're committed to providing you with well-researched, expert-backed insights for all your informational needs.


0 thoughts on “How To Clean A Shower So It Sparkles From Top To Bottom”