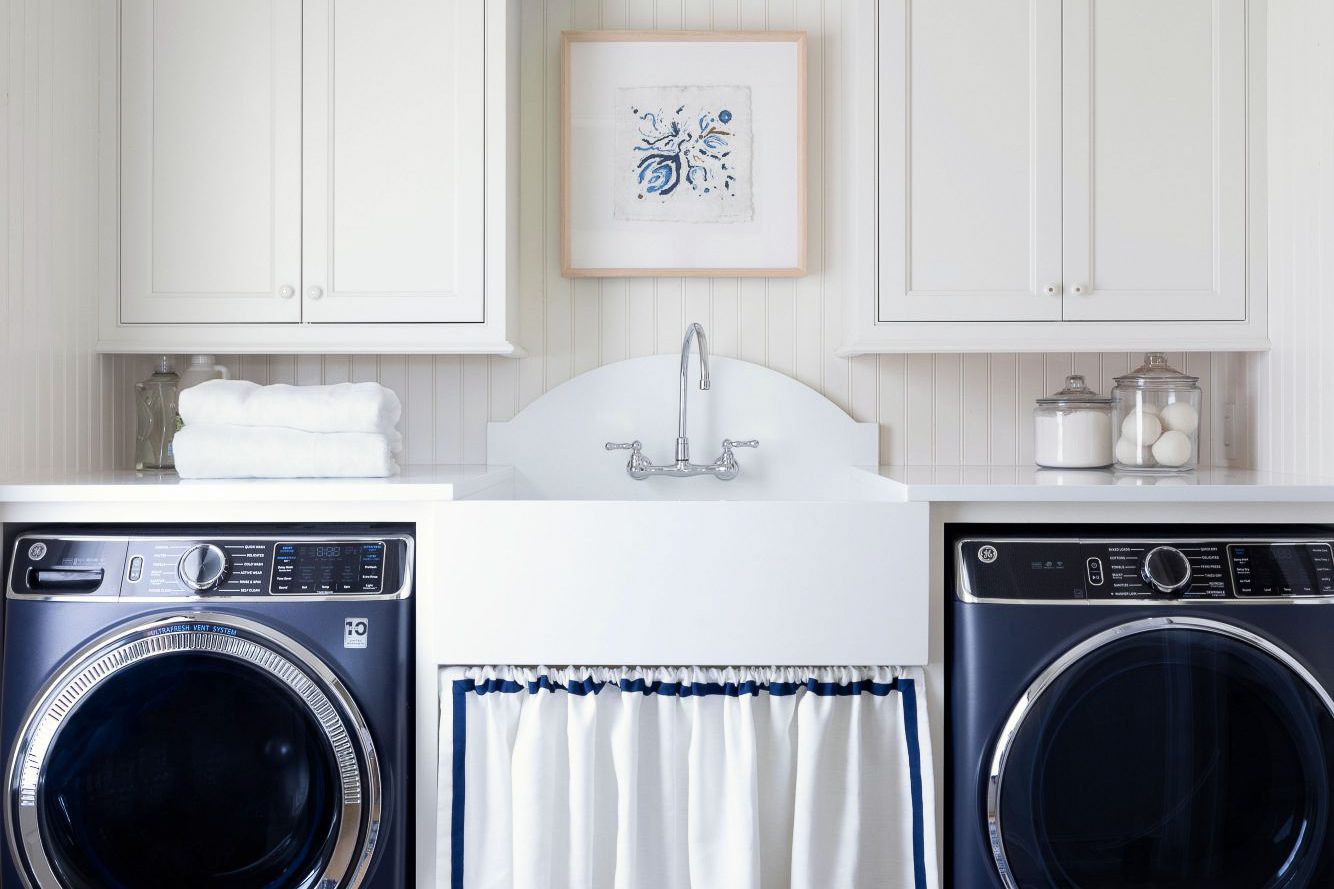
Home>Storage Ideas>Bedroom Storage>16 Laundry Hacks That Make Wash Day So Much Easier
Bedroom Storage
16 Laundry Hacks That Make Wash Day So Much Easier
Modified: October 20, 2024
Discover 16 genius laundry hacks that will revolutionize wash day and make it a breeze. From sorting to folding, these bedroom storage solutions will make your life so much easier.
(Many of the links in this article redirect to a specific reviewed product. Your purchase of these products through affiliate links helps to generate commission for Storables.com, at no extra cost. Learn more)
Introduction
Welcome to the world of laundry hacks! If you’re tired of spending hours on wash day, struggling with stains, or dealing with dull and dingy clothes, then you’ve come to the right place. In this article, we’ll explore 16 ingenious laundry hacks that will make your laundry routine not only easier but also more efficient and effective.
Laundry is a chore that most of us can’t escape, but with the right techniques and tips, it doesn’t have to be a tedious task. By incorporating these hacks into your laundry routine, you’ll be able to save time, money, and even extend the life of your clothes.
From sorting techniques to stain removal tricks and everything in between, we’ve got you covered. So, let’s dive in and discover how to revolutionize your wash day experience!
Key Takeaways:
- Laundry doesn’t have to be daunting. With 16 ingenious hacks, you can simplify your routine, tackle stains effectively, and keep clothes looking and smelling fresh. Embrace these tips for a more enjoyable laundry experience!
- From sorting techniques to natural ingredients, discover the power of essential oils, and maximize the efficiency of dryer balls. Say goodbye to static cling, keep socks paired, prevent color bleeding, and remove pet hair. These hacks will save time, money, and energy while achieving cleaner, fresher, and more vibrant laundry results.
Read more: How To Make A Patio Door Slide Easier
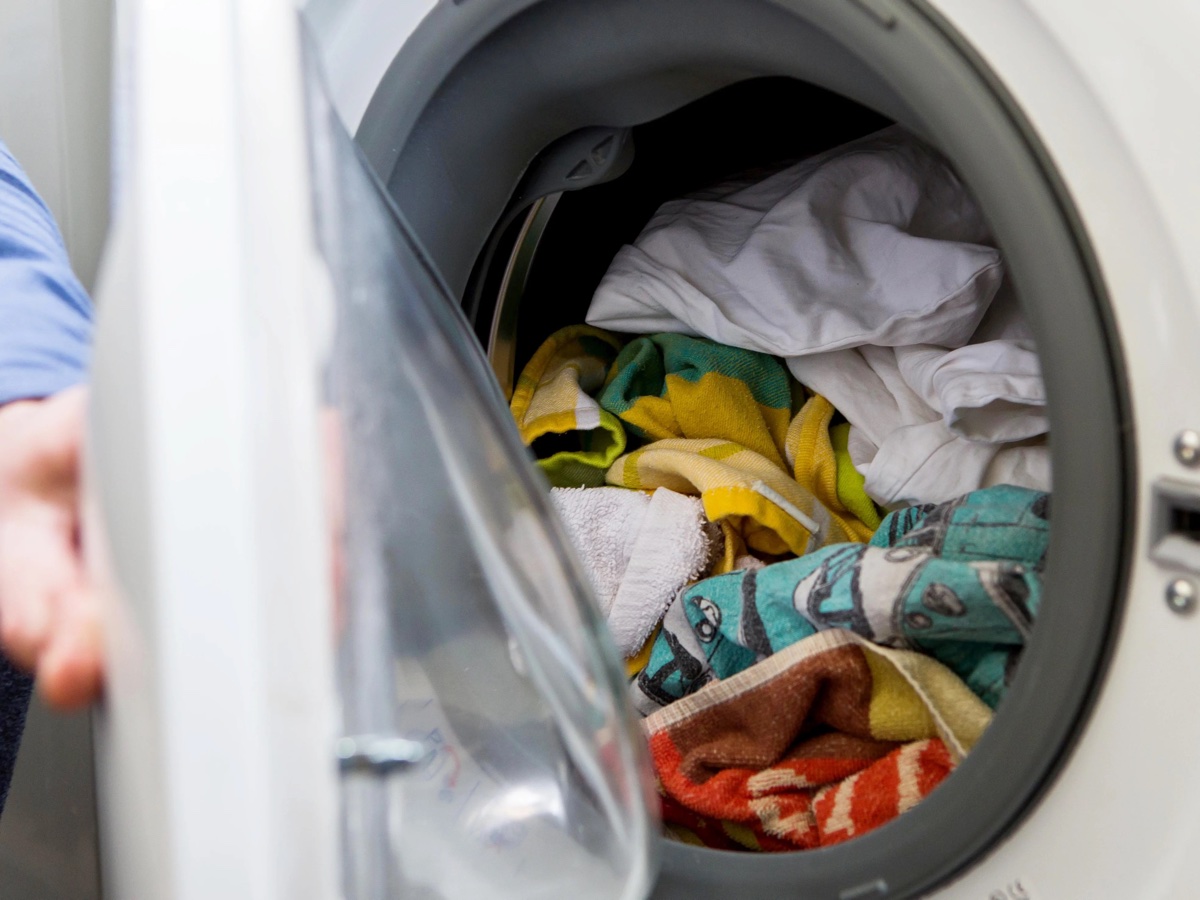
Sorting techniques for efficient laundry
Sorting your laundry may seem like a basic step, but it can greatly impact the effectiveness of your wash. By properly sorting your clothes, you can prevent color bleeding, maintain fabric quality, and ensure better overall cleanliness.
Start by separating your laundry into different categories such as whites, darks, colors, delicates, and heavily soiled items. This will prevent colors from bleeding onto lighter garments and protect delicate fabrics from damage.
Sorting also allows you to customize your wash cycles and water temperature settings. Whites and heavily soiled items may require hot water and a longer wash cycle, while delicate fabrics and colors might benefit from cool water and a shorter cycle.
As you sort your laundry, check for any stains that need pre-treating. This will help ensure that the stains are thoroughly treated before they enter the washing machine, resulting in better stain removal.
A helpful tip is to keep separate laundry baskets or hampers for each sorting category. This makes it easier to keep your laundry organized and ensures that you don’t mix up items before they enter the wash.
By taking the time to sort your laundry properly, you’ll achieve more efficient and effective cleaning results. Plus, you’ll avoid any color mishaps or fabric damage that can occur when different items are washed together.
Pre-treating stains effectively
We all know the frustration of discovering stubborn stains on our favorite clothes. But fear not, there are effective pre-treating methods that can help you tackle even the toughest stains.
The key to successful stain removal is to act quickly. As soon as you notice a stain, pre-treat it before tossing the garment into the washing machine. This will give the stain-fighting agents enough time to penetrate the fabric and break down the stain.
There are various pre-treating methods depending on the type of stain:
- Oil-based stains: For greasy stains like oil, butter, or makeup, apply a small amount of dishwashing liquid or laundry detergent directly to the stain. Gently rub it in, then let it sit for a few minutes before washing.
- Protein-based stains: Stains from blood, sweat, or food can be pre-treated with cold water and enzyme-based stain removers. Soak the stained area in cold water and then apply the stain remover, following the instructions on the product.
- Tannin-based stains: Tannin stains from coffee, tea, or red wine can be treated by pouring boiling water on the stain from a height. If the stain persists, create a paste with water and oxygen-based bleach, apply it to the stain, and let it sit for a few minutes.
Remember to always check the care label of the garment before using any stain-removing products, as some fabrics may require specific treatment methods.
Additionally, avoid using hot water when pre-treating stains, as it can set the stain and make it more difficult to remove. Stick to cold water or room temperature for the best results.
By pre-treating stains effectively, you’ll improve the chances of complete stain removal and eliminate the need for multiple wash cycles. Say goodbye to stubborn stains and hello to fresh, clean clothes!
Utilizing the power of vinegar in laundry
Vinegar is a versatile and affordable household product that can work wonders in your laundry routine. Not only does it have natural cleaning properties, but it also helps with odor removal and fabric softening. Here are a few ways to incorporate vinegar into your laundry:
Fabric softener substitute: Instead of using conventional fabric softeners that can leave a residue on your clothes, add half a cup of white vinegar to the rinse cycle. The vinegar will help to remove soap residue, leaving your clothes softer and fresher without any lingering scent.
Odor neutralizer: If you have clothes that are particularly smelly, such as workout gear or towels, add half a cup of vinegar to the wash cycle. The vinegar will break down and neutralize odors, leaving your clothes smelling clean and fresh.
Stain remover: Vinegar can also be used as a natural stain remover. Mix equal parts vinegar and water, then apply the solution directly to the stain. Let it sit for a few minutes before washing as usual. The acidic properties of vinegar help to break down and lift stains, providing an effective and natural solution.
Color brightener: If your colored clothes are looking dull, add half a cup of vinegar to the rinse cycle. This will help to remove any residue, restore brightness, and keep colors vibrant.
When using vinegar in your laundry, it is important to note that it should not be used with bleach or hydrogen peroxide, as it can create harmful fumes. Always check garment labels and follow the care instructions to ensure compatibility.
By harnessing the power of vinegar, you can enhance your laundry results and eliminate the need for harsh chemicals. So, reach for the vinegar bottle and experience the benefits it brings to your laundry routine!
Using baking soda for fresher and brighter clothes
Baking soda, also known as sodium bicarbonate, is a natural and affordable household ingredient that can work wonders in your laundry routine. It has many benefits, including neutralizing odors, brightening fabrics, and even acting as a gentle cleaner. Here’s how to use baking soda for fresher and brighter clothes:
Odor eliminator: If you have clothes that have stubborn odors, such as sweat or mildew, baking soda can help neutralize them. Simply add half a cup of baking soda to the wash cycle along with your regular detergent. The baking soda will help absorb and eliminate odors, leaving your clothes smelling fresh.
Brightening agent: Over time, clothes can become dull and lose their brightness. To restore their vibrancy, add half a cup of baking soda to the wash cycle. Baking soda helps to remove built-up residue and dirt, resulting in brighter and fresher clothes.
Stain remover: Baking soda can also be used as a natural stain remover. Create a paste by mixing baking soda with a small amount of water and apply it to the stained area. Gently rub the paste into the fabric, then let it sit for a few minutes before washing as usual. Baking soda’s gentle abrasion and natural cleaning properties can help lift and remove stains effectively.
Fabric softener boost: If you’re looking to make your clothes feel softer, add half a cup of baking soda to the rinse cycle. It can help balance the pH level of the water, resulting in softer and more comfortable fabrics.
Baking soda is safe to use on most fabrics, but it’s always a good idea to test it on a small, inconspicuous area of the garment first to ensure there are no adverse effects.
By incorporating baking soda into your laundry routine, you can enjoy fresher, brighter, and cleaner clothes without relying on harsh chemicals. Give it a try and experience the natural power of baking soda for laundry!
Read more: Why Is My Laundry Room So Dusty
Employing the magic of hydrogen peroxide
Hydrogen peroxide is a powerful and versatile household product that can be a game-changer in your laundry routine. It’s known for its ability to remove stains, brighten whites, and disinfect fabrics. Here’s how you can harness the magic of hydrogen peroxide in your laundry:
Stain remover: Hydrogen peroxide is highly effective at removing tough stains, especially those caused by blood, wine, or sweat. Simply pour a small amount of hydrogen peroxide directly onto the stained area and let it sit for a few minutes. Then, wash the garment as usual. For stubborn stains, you can also create a paste by mixing hydrogen peroxide with baking soda and applying it to the stain.
Brightening whites: Over time, white fabrics can become dull and yellowed. To restore their brightness, add half a cup of hydrogen peroxide to the wash cycle when washing whites. Hydrogen peroxide acts as a natural bleaching agent that helps remove stains and brighten fabrics without the use of harsh chemicals.
Disinfectant: Hydrogen peroxide has natural disinfecting properties, making it an excellent choice for cleaning and sanitizing your laundry. It can help eliminate odor-causing bacteria and germs. Add half a cup of hydrogen peroxide to the wash cycle when washing towels, bedding, or any other items that need a thorough disinfecting.
It’s important to note that hydrogen peroxide can act as a bleaching agent, so it’s best to test it on a small, inconspicuous area of colored fabrics before using it extensively.
Hydrogen peroxide is a safe and affordable alternative to harsh bleach and chemical stain removers. By incorporating it into your laundry routine, you can enjoy stain-free, brighter, and fresher clothes. Unlock the magic of hydrogen peroxide and experience its transformative power in your laundry!
Harnessing the benefits of lemon juice
Lemon juice is a natural and citrusy powerhouse that offers a range of benefits when it comes to laundry. It’s known for its stain-fighting properties, fresh scent, and ability to brighten fabrics. Here’s how you can harness the benefits of lemon juice in your laundry routine:
Natural stain remover: Lemon juice acts as a natural bleaching agent and can help remove stubborn stains. For small stains, you can squeeze fresh lemon juice directly onto the stained area and rub it in. Let it sit for a few minutes, then wash the garment as usual. For larger stains or tough stains, you can create a paste by mixing lemon juice with salt or baking soda and applying it to the stain.
Brightening whites: Lemon juice is excellent for brightening white fabrics. Add half a cup of lemon juice to the wash cycle when washing white clothes or linens. The natural acidity of lemon juice can help remove yellow discoloration and make your whites appear brighter and fresher.
Fresh scent booster: If you want your laundry to have a fresh and citrusy scent, add a few tablespoons of lemon juice to the rinse cycle. Not only will this infuse your clothes with a delightful smell, but it can also help eliminate any lingering odors.
It’s essential to note that lemon juice can have a slight bleaching effect, so it’s best to avoid using it on colored fabrics. Additionally, always test lemon juice on a small, inconspicuous area of the fabric before using it extensively.
By harnessing the benefits of lemon juice, you can enjoy stain-free, brighter, and great-smelling laundry. Incorporate lemon juice into your laundry routine and experience its natural cleaning power!
Enhancing laundry with essential oils
Essential oils are not only prized for their aromatic qualities but can also be used to enhance your laundry routine. They can add a delightful scent to your clothes, provide antibacterial properties, and even help with relaxation. Here’s how to enhance your laundry with essential oils:
Fragrant laundry: Add a few drops of your favorite essential oil to a clean cloth or dryer ball and toss it in the dryer with your laundry. As the clothes tumble, the heat will release the fragrance of the essential oil, leaving your clothes smelling divine. Lavender, citrus, and eucalyptus oils are popular choices for their refreshing and calming scents.
Natural antibacterial properties: Some essential oils, such as tea tree oil, have natural antibacterial properties that can help eliminate odor-causing bacteria. Add a few drops of tea tree oil to your detergent or to the rinse cycle to freshen and disinfect your laundry.
Relaxing bedtime sheets: To create a soothing environment for sleep, add a few drops of calming essential oils, such as chamomile or lavender, to your sheets before bedtime. The gentle scent will help promote relaxation and a restful night’s sleep.
When using essential oils in your laundry, it’s essential to dilute them and not apply them directly onto your clothes, as they can stain or cause skin irritation. Always follow the specific instructions and recommended dilution ratios for each essential oil.
Enhancing your laundry with essential oils not only adds a pleasant scent to your clothes but can also provide additional benefits such as antibacterial properties and relaxation. Experiment with different essential oils and create a customized laundry experience that suits your preferences.
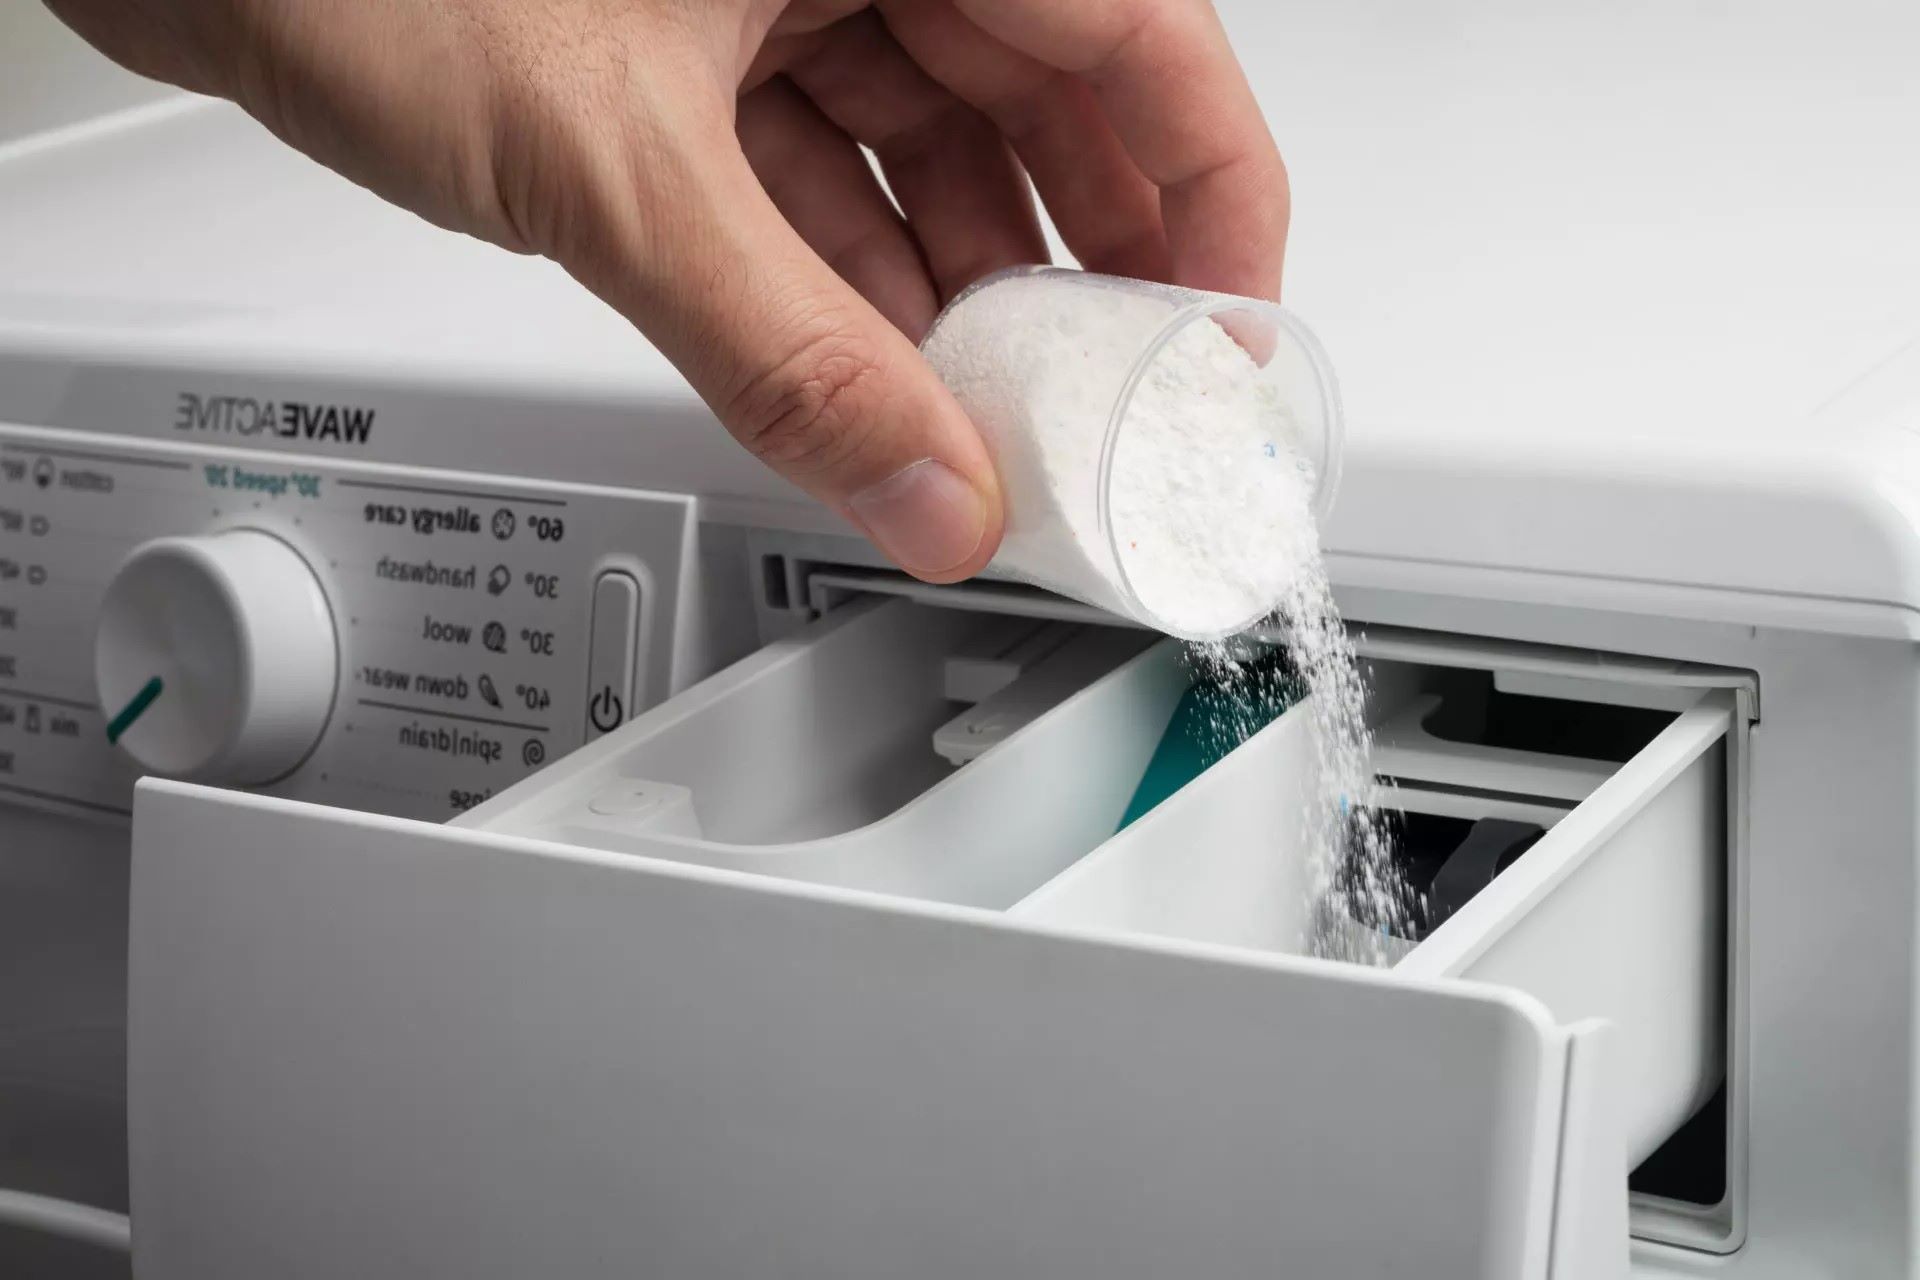
Making homemade laundry detergent
Making your own laundry detergent is not only cost-effective but also gives you the freedom to customize the ingredients to suit your preferences and specific laundry needs. Here’s a simple recipe to create your homemade laundry detergent:
Ingredients:
- 1 cup of washing soda
- 1 cup of borax
- 1 bar of grated castile soap
- Optional: Essential oils for scent
Instructions:
- In a large bowl, combine the washing soda, borax, and grated castile soap. Mix well to ensure even distribution of the ingredients.
- If desired, add a few drops of your favorite essential oil to the mixture. This will provide a pleasant scent to your laundry.
- Transfer the mixture to an airtight container, such as a glass jar or a plastic container with a tightly sealed lid.
- To use, add 1-2 tablespoons of the homemade detergent to each load of laundry, depending on the size of the load and the level of dirtiness.
- For particularly tough stains, you can create a paste by mixing a small amount of the homemade detergent with water and applying it directly to the stain before washing.
Homemade laundry detergent is gentle on fabrics and suitable for both top-loading and front-loading washing machines. It’s important to note that this homemade detergent may not produce as much lather as commercial detergents, but it is still highly effective in cleaning your clothes.
By making your own laundry detergent, you not only save money but also have control over the ingredients that come in contact with your clothes. It’s a simple and rewarding way to create a more environmentally friendly laundry routine.
Use vinegar as a natural fabric softener by adding 1/2 cup to the rinse cycle. It helps to soften clothes, reduce static, and remove any lingering odors.
Read more: How Much Is 3 Day Blinds
Utilizing dryer sheets innovatively
Dryer sheets are commonly used to reduce static, soften fabrics, and add a fresh scent to laundry. However, their usefulness extends beyond the dryer. Here are some innovative ways to utilize dryer sheets:
Remove static from clothing: The primary purpose of dryer sheets is to reduce static cling in the dryer. But did you know they can also be used to eliminate static on clothing outside of the dryer? Simply rub a dryer sheet along the surface of your clothing to reduce static and prevent your clothes from clinging to your body.
Deodorize shoes and gym bags: Place a dryer sheet in smelly shoes or gym bags overnight to help absorb unpleasant odors. The fresh scent of the dryer sheet will help neutralize the odor and leave your items smelling fresh.
Repel insects: Dryer sheets can be a handy tool to repel insects. Place a few sheets in drawers, closets, or other areas where you want to deter pests like moths or ants. The scent of the dryer sheet can help keep them away.
Clean stubborn stains: For small stains on clothing or household surfaces, use a damp dryer sheet to gently scrub the stain. The texture of the sheet can help lift the stain without causing damage or leaving behind residue.
Freshen up luggage: Before storing your luggage, place a dryer sheet inside to keep it smelling fresh. The dryer sheet will also help repel musty odors that can develop over time.
When using dryer sheets in these innovative ways, it’s important to replace them regularly to ensure maximum effectiveness.
By thinking outside the dryer, you can find creative and useful ways to utilize dryer sheets throughout your home. Give these innovative ideas a try and make the most out of your dryer sheets!
Eliminating static from clothes
Static cling can be frustrating, causing clothes to stick together and cling to the body. Fortunately, there are several effective methods to eliminate static from clothes:
1. Use fabric softener: Adding fabric softener to your wash cycle or using dryer sheets can help reduce static. Fabric softeners contain ingredients that coat fabric fibers, preventing them from rubbing against each other and creating static electricity.
2. Dampen clothes: Before drying, lightly dampen your clothes by misting them with water from a spray bottle or tossing them in the dryer with a damp towel. The moisture will help reduce static and prevent clothes from sticking together.
3. Vinegar solution: Create a solution by mixing equal parts water and vinegar, then spray it onto your clothes before drying. Vinegar helps to neutralize static electricity and leaves clothes soft and static-free.
4. Aluminum foil ball: Make a ball out of aluminum foil and toss it in the dryer with your clothes. The foil discharges static electricity during the drying process, effectively reducing static cling.
5. Hairspray: Lightly spray a small amount of hairspray onto your clothes before wearing them. The hairspray will create a thin layer of residue, reducing the build-up of static electricity.
6. Humidify the air: Dry air can exacerbate static cling. Increase moisture in the air by using a humidifier or placing a bowl of water near a heat source. This helps to balance the humidity level and reduce static in your clothes.
7. Natural fiber clothing: Synthetic fabrics like polyester are more prone to static cling. Opt for clothes made from natural fibers like cotton or linen, as they are less likely to generate static electricity.
By using these methods, you can effectively eliminate static from your clothes and prevent the annoyance of garments sticking together. Experiment with different techniques to find the one that works best for you and enjoy static-free clothing!
Maximizing the efficiency of dryer balls
Dryer balls are a great alternative to traditional dryer sheets as they are environmentally friendly, reusable, and can help reduce drying time. To maximize their efficiency and get the most out of your dryer balls, follow these tips:
Use an adequate number of balls: Most dryer ball sets come with a recommended number of balls to use per load. Follow the instructions provided to ensure optimal performance. For larger loads, you may need to use more balls to facilitate better airflow and distribution.
Separate heavy and lightweight fabrics: When drying a mixed load of heavy and lightweight fabrics, separate them into different loads. This allows the dryer balls to work more efficiently by reducing tangling and promoting better circulation of heat and air.
Add a few drops of essential oil: To add a pleasant scent to your laundry, place a few drops of your favorite essential oil onto the dryer balls before each cycle. This will infuse your clothes with a fresh fragrance, without the use of chemical-laden dryer sheets.
Avoid overloading the dryer: Overloading the dryer can hinder the movement and effectiveness of the dryer balls. Ensure there is enough space for the balls and the clothes to move around freely during the drying process. This allows the balls to make better contact with the fabrics, reducing static and softening the laundry.
Regularly clean the balls: Over time, dryer balls can accumulate lint and fabric fibers, which may affect their efficiency. Clean them by running them through a warm water cycle in the washing machine or by hand-washing them with soap and water. This helps to restore their gripping ability and ensures they continue to work effectively.
Consider wool or silicone dryer balls: Wool dryer balls are known for their ability to absorb moisture and reduce drying time. Silicone dryer balls, on the other hand, can help soften fabrics without the need for additional fabric softeners. Explore different types of dryer balls to find the ones that best suit your needs.
By implementing these tips, you can maximize the efficiency of your dryer balls and enjoy shorter drying times, reduced static, and softer laundry. Say goodbye to single-use dryer sheets and embrace the benefits of reusable dryer balls!
Utilizing ice cubes for quicker ironing
Ironing can be a time-consuming chore, but there’s a handy trick you can use to speed up the process – ice cubes! By utilizing ice cubes, you can achieve quicker and more efficient ironing. Here’s how:
Preparation:
- Start by filling a few ice cubes in a small bowl or container.
- Check the care labels of your garments to ensure they are safe to be steamed or dampened. Some delicate fabrics may require alternative methods.
- Set up your ironing board with the necessary equipment, including your iron and a clean cloth or pressing cloth.
Procedure:
- Take one ice cube at a time and hold it against any stubborn wrinkles or creases on your garment. The ice cube will melt slowly and create steam.
- While holding the ice cube, press the iron over the area without applying too much pressure. The heat from the iron, combined with the steam from the melting ice cube, will help loosen the wrinkles.
- Remove the ice cube once it has melted completely, and quickly run the hot iron over the dampened area to smooth out the wrinkles.
- Continue this process on the remaining areas of your garment, using a new ice cube for each wrinkled section.
- For delicate fabrics or fabrics that cannot be steamed, you can place the ice cube in a thin cloth or plastic bag and glide it gently over the fabric. The cold temperature will help relax the fibers and make ironing easier.
Tips and precautions:
- Always test the ice cube method on a small, inconspicuous area of your garment before applying it to the entire fabric, especially on delicate or sensitive materials.
- Avoid using too much water or excessive amounts of ice cubes, as this may result in your garment becoming too wet, creating water stains or damage.
- Remember to adjust your iron’s temperature settings according to the fabric you are ironing.
- If your iron has a steam function, make sure it is turned off during this process to avoid excessive moisture.
- For best results, hang or lay the garment flat to dry after ironing.
By utilizing ice cubes during your ironing routine, you can achieve quicker and more effective results. Give this time-saving technique a try and experience the difference it makes!
Read more: How To Make An Easy Quilt In A Day
Keeping socks together with mesh laundry bags
We’ve all experienced the frustration of losing socks in the laundry. It can be a real mystery as to where those missing socks disappear to. But fear not, there’s a simple solution – mesh laundry bags! By using mesh laundry bags, you can keep socks together and ensure they don’t go missing. Here’s how:
Sorting:
- Set aside a dedicated mesh laundry bag specifically for socks or assign one for each family member to make sorting easier.
- Designate a specific location, like a laundry basket or hamper, for everyone to deposit their dirty socks.
Preparation:
- Instruct everyone to pair their socks together before placing them in the mesh laundry bag.
- Encourage family members to secure the pairs by folding the socks or using sock clips if desired.
- If you have delicate or small-sized socks, consider using a smaller-sized mesh laundry bag to prevent them from getting tangled or lost.
Washing:
- Once the mesh laundry bag is filled with paired socks, zip or secure the bag.
- Place the bag in the washing machine along with the rest of your laundry.
Drying:
- After the wash cycle, transfer the mesh bag to the dryer. The socks will remain secure and won’t get separated from each other or lost in the dryer.
- Once the socks are dry, simply unzip or unfasten the mesh bag and return the clean, paired socks to their respective owners.
Using mesh laundry bags for socks not only keeps them together but also protects them from snagging, stretching, or getting caught in other garments. Additionally, it simplifies the task of sorting and folding socks, making laundry day more efficient.
Remember to periodically check the mesh bags for any socks that may have slipped out of the pairs. This way, you can reunite any lost socks with their rightful partners.
Whether you’re doing laundry for yourself or an entire household, keeping socks together with mesh laundry bags is a simple yet effective way to eliminate the mystery of missing socks. Give it a try and bid farewell to the sock-ocalypse!
Preventing color bleeding in laundry
Color bleeding in the laundry can be frustrating, especially when your favorite clothes end up with blotchy patches or unexpected color changes. However, with a few preventive measures, you can minimize the risk of color bleeding and keep your garments looking vibrant and fresh. Here’s how to prevent color bleeding in your laundry:
Sort your laundry:
- Separate your laundry into different loads based on color groups. Categorize your clothes into whites, lights, darks, and brights.
- Pay extra attention to heavily dyed or bold-colored items that are more prone to bleeding, such as new jeans or vibrant red garments. Wash these items separately or with similar colors to avoid color transfer.
Check garment labels:
- Always read and follow the care instructions on the garment labels. They provide valuable information on washing temperatures, colorfastness, and specific precautions for each item.
- Look for any specific instructions related to color bleeding prevention, such as washing the garment separately or avoiding hot water.
Pre-treat and test colors:
- Before washing a new or heavily dyed garment, consider pre-treating it to set the color and minimize bleeding. Follow the manufacturer’s instructions or soak the item in a mixture of cold water and salt or vinegar for about 30 minutes before washing.
- If you’re unsure about the colorfastness of a particular garment, perform a colorfastness test before washing. Dampen a small, inconspicuous area of the fabric and blot it with a white cloth. If there is no color transfer, the garment should be safe to wash with like colors.
Use cold water:
Washing your laundry in cold water helps prevent color bleeding, especially for items that are more likely to bleed. Cold water minimizes color transfer and helps preserve the vibrancy of your clothing.
Avoid overloading the washing machine:
Overloading the washing machine prevents proper water and detergent circulation, increasing the risk of color bleeding. Leave enough space for your clothes to move freely and ensure adequate water flow.
Consider color-catching sheets or dye absorbers:
Color-catching sheets or dye absorbers are specially designed to trap loose dyes in the wash, preventing them from transferring onto other garments. Include one or more of these sheets in the washing machine to help prevent color bleeding.
By following these preventative measures, you can greatly reduce the risk of color bleeding in your laundry. Keeping your colors vibrant and preserving the quality of your garments will help them last longer and remain in great condition. Enjoy doing your laundry with peace of mind!
Removing pet hair from clothes and sheets
Pet hair can be a common nuisance, especially for pet owners. It seems to find its way onto our clothes and sheets no matter how much we try to keep it contained. But fret not, there are effective methods to remove pet hair and keep your garments and bedding fur-free. Here’s how:
Lint rollers:
Lint rollers are a go-to tool for quick and easy removal of pet hair. Simply roll the sticky surface of the lint roller over your clothes or sheets, and it will pick up and remove the pet hair. Keep a lint roller handy near your wardrobe or laundry area for convenient use.
Velvet brushes:
Velvet brushes or pet hair removal brushes are specifically designed to attract and lift pet hair from fabrics. Brush the surface of your clothes or sheets in one direction using short, brisk strokes. The fine bristles will help collect and remove the pet hair effectively.
Duct tape or masking tape:
In the absence of a lint roller or pet hair removal brush, duct tape or masking tape can be used as a makeshift solution. Wrap the tape around your hand with the sticky side facing out, then pat and press it onto the fabric to lift the pet hair. Repeat until you’ve removed the majority of the hair.
Damp rubber gloves:
Dampen a pair of rubber gloves and rub them over your clothes or sheets in a sweeping motion. The damp surface creates static, which attracts and lifts the pet hair. Rinse off the gloves between uses to remove the collected hair, and continue until you’ve achieved the desired result.
Washing machine and dryer:
Incorporate a pre-wash routine by shaking out your clothes or giving them a gentle brushing outdoors before tossing them into the washing machine. This helps to remove loose pet hair before it ends up in the wash. Additionally, consider using a dryer sheet or dryer balls during the drying process, as they can help collect and trap pet hair.
Lint brushes:
Lint brushes with adhesive or sticky surfaces are another effective tool for removing pet hair. Swipe the brush over your clothes or sheets to pick up and remove the fur. Remember to clean the brush periodically to ensure optimal performance.
Regular pet grooming:
Regularly grooming your pets, especially brushing or combing their coats, helps minimize the amount of loose hair they shed. This, in turn, reduces the amount of pet hair that ends up on your clothes and bedding.
By utilizing these methods and incorporating them into your routine, you can effectively remove pet hair from your clothes and sheets. Say goodbye to unsightly fur and enjoy fresh, fur-free fabrics!
Decoding laundry symbols for better care
Laundry symbols can be confusing, but they hold valuable information that guides us on how to properly care for our clothes. By decoding these symbols, you can ensure that your garments receive the right treatment, helping them last longer and maintain their quality. Here’s a guide to decoding laundry symbols for better care:
Washing symbols:
- Machine wash: A tub filled with water indicates that the garment can be machine washed. The number inside the tub refers to the recommended maximum water temperature (e.g., 30°C, 40°C, etc.).
- Hand wash: A tub with a hand indicates that the garment should be hand washed. Wash it gently in a sink or basin with mild detergent and lukewarm water.
- Do not wash: A crossed-out tub signifies that the garment should not be washed. Dry cleaning or other specialized cleaning methods may be required.
Drying symbols:
- Tumble dry: A square with a circle in it indicates that the garment can be tumble dried. The dots inside the circle represent the recommended drying temperature and setting.
- Line dry: A square with a horizontal line in the middle signifies that the garment should be dried on a clothesline or flat surface away from direct sunlight.
- Hang to dry: A square with a vertical line and a curved line beneath it means that the garment should be hung up to air dry.
- Do not tumble dry: A square with a crossed-out circle indicates that the garment should not be tumble dried. Hang it up or lay it flat to dry naturally.
Ironing symbols:
- Iron: An iron symbol indicates if the garment can be ironed. The dots inside the symbol represent the recommended ironing temperature or setting.
- Do not iron: An iron symbol with a crossed-out line signifies that the garment should not be ironed. It may be too delicate or made of materials that can be damaged by heat.
Additional symbols:
- Bleach: A triangle symbol indicates whether or not the garment can be treated with bleach. If the triangle is empty, chlorine or oxygen bleach can be used. If the triangle is crossed out, do not use bleach.
- Dry clean: A circle symbol indicates whether the garment should be dry cleaned. Letters or additional symbols inside the circle provide specific instructions for dry cleaners.
By understanding and following these laundry symbols, you can ensure that your clothes are washed, dried, and ironed correctly. This helps to maintain their appearance, fabric quality, and longevity, ultimately saving you time and money. Keep this guide handy for easy reference and take the guesswork out of caring for your garments!
Conclusion
Laundry doesn’t have to be a daunting task. With the right knowledge and techniques, you can transform your laundry routine into an efficient, effective, and even enjoyable experience. By incorporating the 16 laundry hacks discussed in this article, you can simplify your laundry process, tackle stains effectively, and keep your clothes looking and smelling fresh.
From sorting techniques to pre-treating stains and utilizing natural ingredients like vinegar, baking soda, hydrogen peroxide, and lemon juice, you have a wide range of options to optimize your laundry routine. These hacks not only help improve the cleanliness and appearance of your clothes but also contribute to their longevity by using methods that are gentle yet effective.
Discover the power of essential oils in enhancing your laundry, learn how to make homemade laundry detergent, and maximize the efficiency of dryer balls. Say goodbye to static cling with innovative techniques, and keep your socks paired and organized using mesh laundry bags. Prevent color bleeding, remove pet hair, and decode laundry symbols for better care.
By implementing these hacks, you’ll save time, money, and energy while achieving cleaner, fresher, and more vibrant laundry results. Whether you’re a seasoned laundry expert or just starting out, these tips will help you create a laundry routine that fits your needs, lifestyle, and the well-being of your clothes.
So, why not embrace these hacks and take your laundry game to the next level? No more tedious wash days or unanswered questions about how to care for your clothes. With these 16 laundry hacks, you’ll be well-equipped to tackle any laundry challenge that comes your way. Happy laundering!
Frequently Asked Questions about 16 Laundry Hacks That Make Wash Day So Much Easier
Was this page helpful?
At Storables.com, we guarantee accurate and reliable information. Our content, validated by Expert Board Contributors, is crafted following stringent Editorial Policies. We're committed to providing you with well-researched, expert-backed insights for all your informational needs.


0 thoughts on “16 Laundry Hacks That Make Wash Day So Much Easier”