
Articles
How To Make An Easy Quilt In A Day
Modified: February 24, 2024
Learn the step-by-step process of creating a beautiful quilt in just one day with our comprehensive articles. Master the art of quilting with ease!
(Many of the links in this article redirect to a specific reviewed product. Your purchase of these products through affiliate links helps to generate commission for Storables.com, at no extra cost. Learn more)
Introduction
Welcome to the world of quilting! Making a quilt may seem like a daunting task, but with the right guidance, you can create a beautiful and cozy quilt in just one day. Whether you’re a beginner or an experienced sewist, this article will guide you through the process of making an easy quilt from start to finish.
Quilting is not only a practical skill but also a deeply rewarding creative outlet. The process of selecting fabrics, piecing them together, and quilting the layers can bring a sense of accomplishment and satisfaction. Plus, the end result is a gorgeous, handmade quilt that is perfect for snuggling up on the couch, giving as a gift, or adding a touch of warmth to your home decor.
Before we dive into the steps, let’s gather all the materials you’ll need for this project.
Key Takeaways:
- Discover the joy of quilting by creating a beautiful and cozy quilt in just one day. From gathering materials to quilting the layers, enjoy the rewarding process of making a handmade masterpiece.
- Unleash your creativity and passion for quilting by exploring different patterns and fabrics. With patience and attention to detail, each quilt you make becomes a unique reflection of your individuality and style.
Read more: How To Make A Quilt
Step 1: Gather Materials
Before you begin making your quilt, it’s important to gather all the necessary materials. Here’s a list of items you’ll need:
- Fabric: Choose a variety of fabrics in different colors and patterns to create a visually appealing quilt. Consider selecting fabrics that complement each other and match the overall theme or color scheme you have in mind.
- Batting: Batting is the middle layer of the quilt that provides warmth and loft. There are different types of batting available, such as cotton, polyester, or a blend of both. Choose a batting that suits your preferences and desired level of warmth.
- Quilt backing: This is the fabric that forms the back of the quilt. Select a fabric that coordinates with the front of your quilt. It should be large enough to cover the entire quilt top and batting with a few inches of extra fabric on all sides.
- Rotary cutter: A rotary cutter is a handy tool that allows for accurate and precise fabric cutting. It consists of a circular blade attached to a handle. Make sure you have a sharp blade to ensure clean cuts.
- Cutting mat: A cutting mat provides a protective surface for cutting fabric with a rotary cutter. It has measurements and gridlines that help with accurate cutting.
- Quilting ruler: A quilting ruler is a transparent ruler with marked measurements. It is used in conjunction with the rotary cutter and cutting mat to ensure straight lines and precise measurements while cutting fabric.
- Pins: Pins are used to hold fabric layers together during sewing. Opt for quilting pins that are longer and thicker than regular sewing pins, as they will go through multiple fabric layers more easily.
- Sewing machine: A sewing machine is essential for sewing the fabric squares and quilting the layers together. Make sure you have a machine that is in good working condition and suitable for quilting.
- Thread: Choose a high-quality, sturdy thread that matches or complements your fabric. Consider using a thread specifically designed for quilting for added strength and durability.
- Scissors: You’ll need scissors for various tasks, such as cutting thread, trimming fabric, and snipping loose threads. Make sure you have a sharp pair of scissors dedicated to your quilting projects.
With all your materials gathered, you’re ready to move on to the next step: choosing a quilt pattern.
Step 2: Choose a Quilt Pattern
Now that you have all your materials ready, it’s time to choose a quilt pattern. The pattern you select will determine the overall design and layout of your quilt. Here are a few popular quilt patterns to consider:
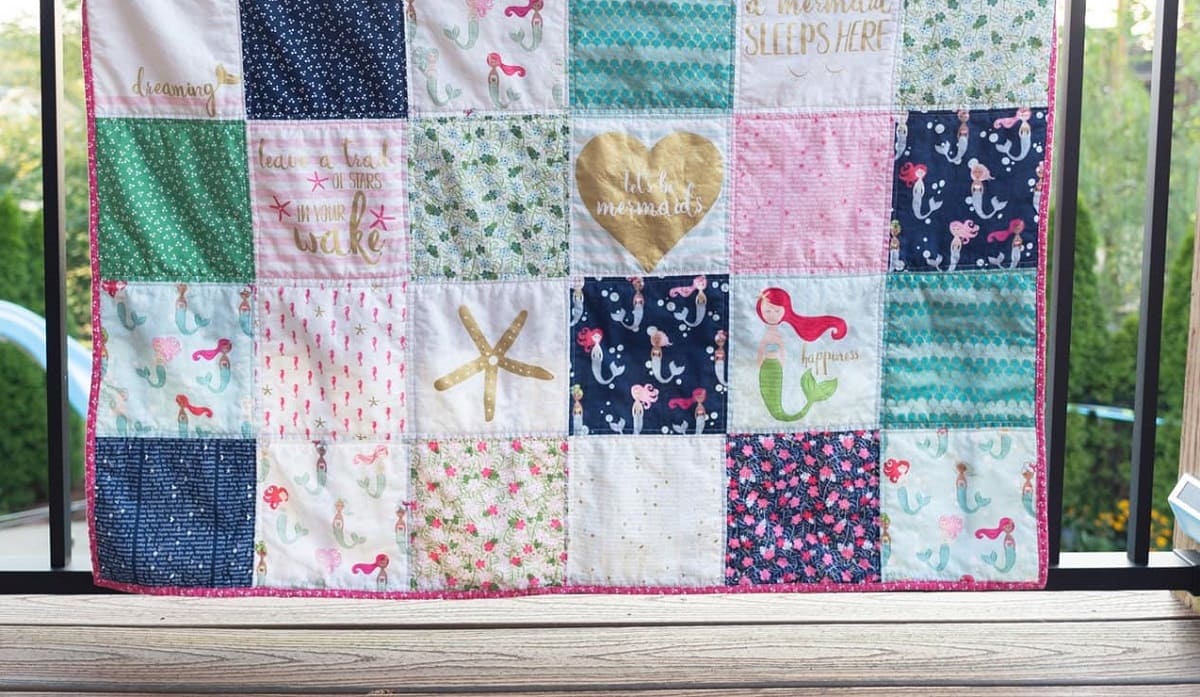
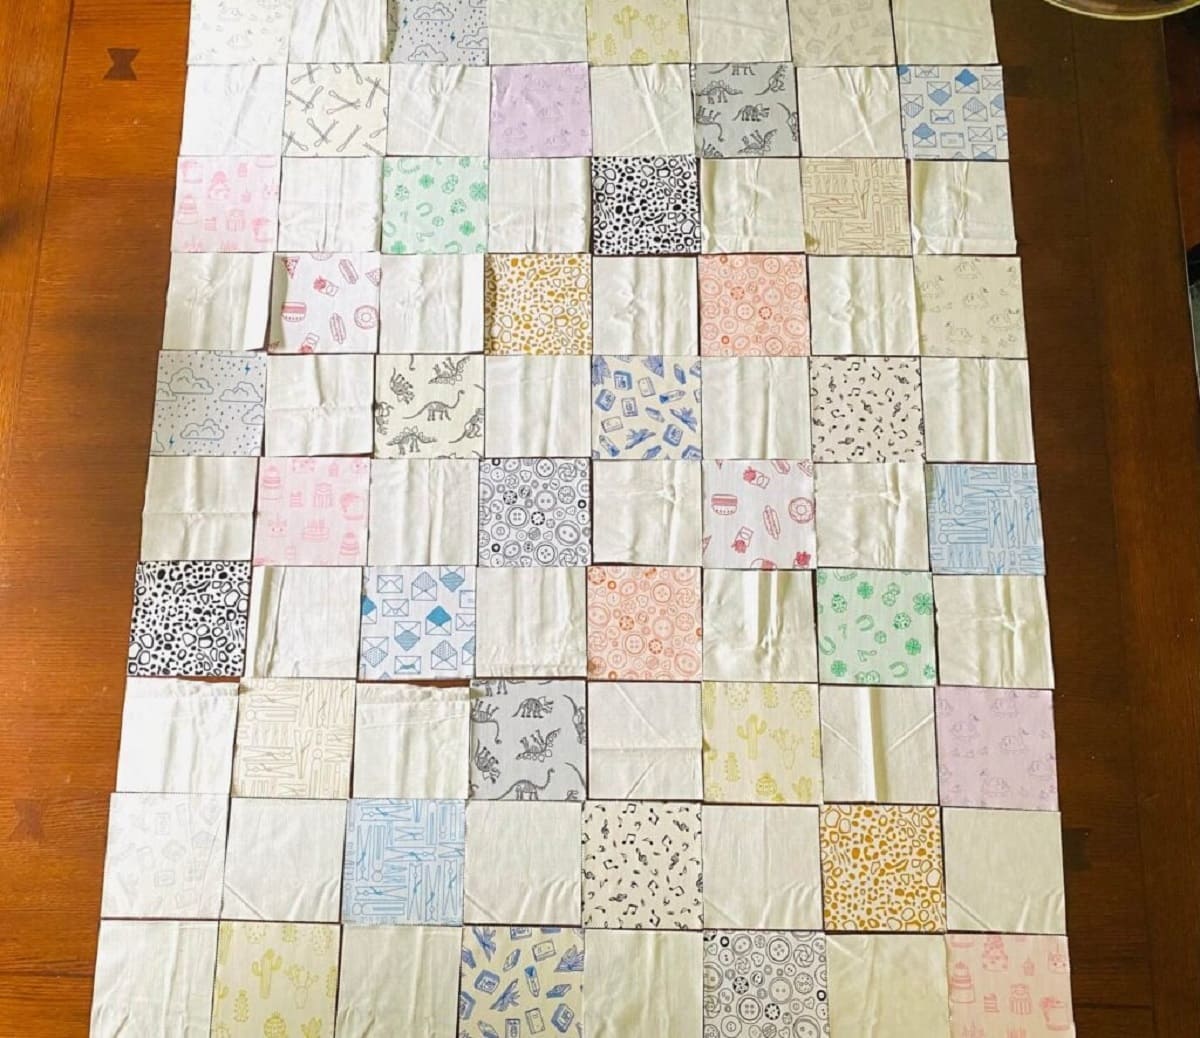
- Simple square pattern: This is a great option for beginners or those looking for a quick and easy quilt. The quilt is made up of squares, with each square showcasing a different fabric. You can arrange the squares in a random or organized pattern, creating a visually appealing and vibrant quilt.
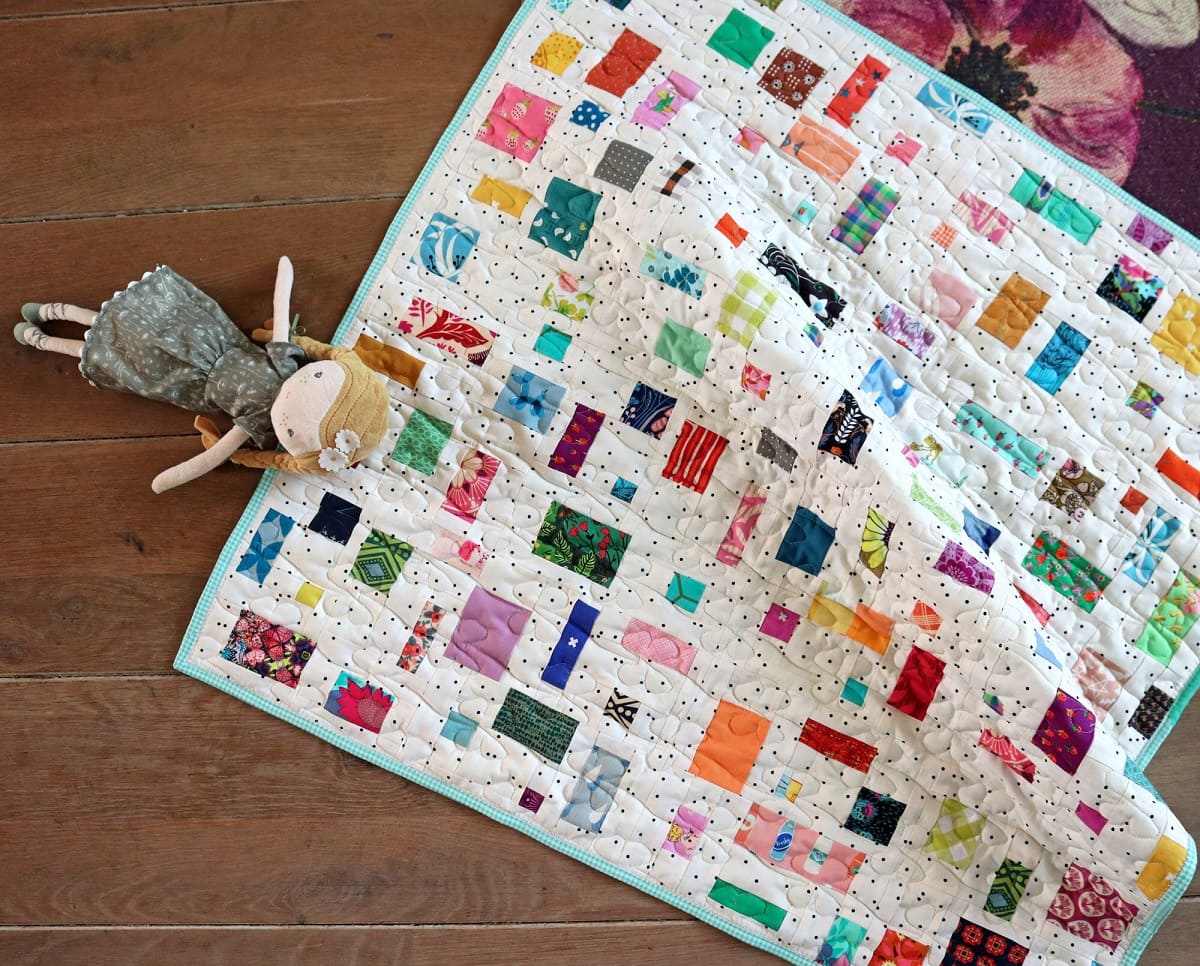
- Patchwork pattern: The patchwork pattern involves sewing together small fabric pieces to create a larger design. This pattern allows for endless possibilities and creativity. You can mix and match fabrics, create intricate designs, or even incorporate geometric shapes.
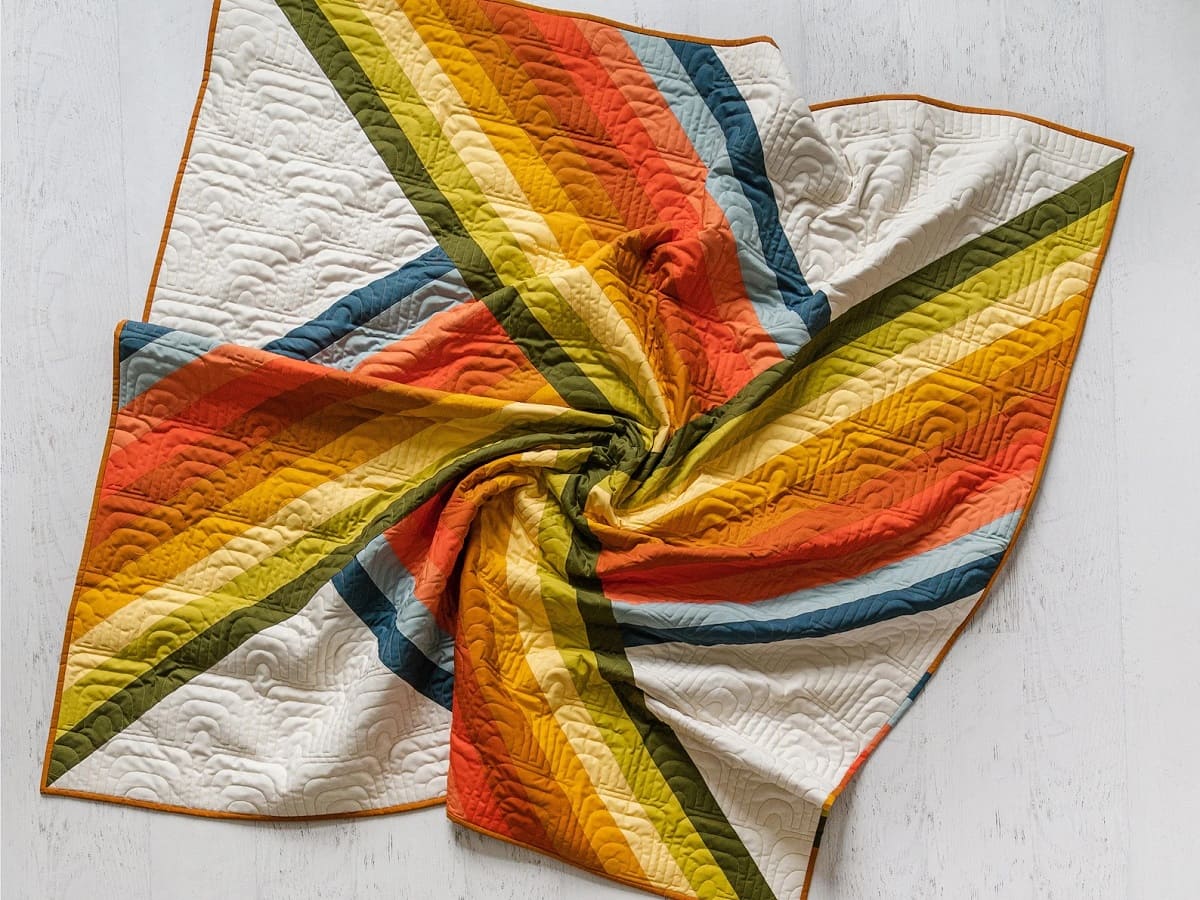
- Chevron pattern: Chevron quilts feature a zigzag design that adds a modern and dynamic touch to your quilt. The pattern can be achieved by sewing together triangles or using pre-cut fabric strips. The chevron pattern is visually striking and creates a sense of movement in the quilt.
- Log cabin pattern: The log cabin pattern is a classic and timeless design that has been cherished for generations. It involves sewing strips of fabric around a central square, creating a log cabin effect. This pattern can be done in a traditional or modern style, using various fabric colors and sizes.
When selecting a quilt pattern, consider your skill level, the amount of time you have available, and your personal preferences. You can also experiment with different patterns and create your own unique design. The key is to choose a pattern that inspires you and makes you excited to start sewing!
Once you’ve chosen your quilt pattern, it’s time to move on to the next step: cutting the fabric squares.
Step 3: Cut Fabric Squares
Now that you have decided on a quilt pattern, it’s time to cut the fabric into squares. The size of your quilt squares will depend on your personal preference and the overall design of your quilt. Here’s how you can cut the fabric squares:
- Determine the desired size of your quilt squares: Measure the width and length of your desired square size. The most common sizes for quilt squares are 4 inches, 5 inches, or 6 inches. Keep in mind that the finished size of the squares will be slightly smaller due to seam allowances.
- Use a rotary cutter, cutting mat, and ruler to cut the fabric into squares: Place your fabric on a secure cutting mat and use a quilting ruler to measure and mark the dimensions of your desired square size. Holding the ruler firmly, use a sharp rotary cutter to cut along the marked lines. Repeat the process until you have enough fabric squares for your quilt.
Remember to be precise and accurate when cutting the fabric squares. Clean and straight cuts will ensure that your quilt pieces fit together neatly when you start sewing.
Once you’ve cut all the fabric squares, you’re ready to move on to the next step: arranging and sewing the rows.
Step 4: Arrange Squares and Sew Rows
With your fabric squares cut and ready, it’s time to start arranging them and sewing the rows together. Follow these steps to create your quilt top:
- Lay out the fabric squares in your desired pattern: Take some time to experiment with different arrangements until you find a layout that you love. You can create a repeating pattern, a random arrangement, or any design that appeals to you.
- Sew the squares together in rows using a 1/4-inch seam allowance: Starting with the first two squares, place them right sides together and sew along one side using a 1/4-inch seam allowance. Press the seam open or to one side. Add the next square to the row, right sides together, and sew along the side. Repeat this process until you have sewn all the squares in the row.
Continue sewing rows in the same manner, following your layout design. Remember to press the seams open or to one side after sewing each row to ensure a flat and professional-looking finish.
As you sew the rows together, the quilt top will start taking shape. Once you have sewn all the rows together, it’s time to move on to the next step: connecting the rows.
When making an easy quilt in a day, pre-cut your fabric and plan your design ahead of time to save time and ensure a smooth process.
Read more: How To Make Easy Christmas Placemats
Step 5: Sew Rows Together
Now that you have sewn all the individual rows, it’s time to connect them and create your quilt top. Follow these steps to sew the rows together:
- Arrange the rows in the desired order: Lay out all the rows on a flat surface, making sure they are in the sequence you want. Take a step back and visually check if the pattern and colors are balanced and pleasing to the eye.
- Sew the rows together using a 1/4-inch seam allowance: Start with the first two rows and place them right sides together, aligning the edges. Pin or use fabric clips to hold the seams securely. Sew along the seam using a 1/4-inch seam allowance, being careful to match the seams as you sew.
Continue sewing the rows together in the same manner until all the rows are connected. After sewing each row, press the seam allowances open or towards one side, alternating the direction with each row to reduce bulk and make the quilt lay flat.
Once you have successfully sewn all the rows together, you’re now ready to move on to the next step: layering the quilt with batting and backing.
Step 6: Add the Batting and Quilt Backing
Now that you have your quilt top sewn together, it’s time to add the batting and quilt backing to create a quilt sandwich. Follow these steps to complete this important step:
- Cut the batting and quilt backing to size: Measure the dimensions of your quilt top and cut the batting and quilt backing fabric slightly larger, leaving a few inches of excess on all sides. This extra fabric will be trimmed later.
- Layer the batting between the quilt top and backing: Place the quilt backing fabric right side down on a flat surface. Smooth it out to remove any wrinkles or creases. Next, place the batting on top of the backing fabric, making sure it is centered and aligned with the edges. Finally, place the quilt top right side up on top of the batting, ensuring all layers are aligned.
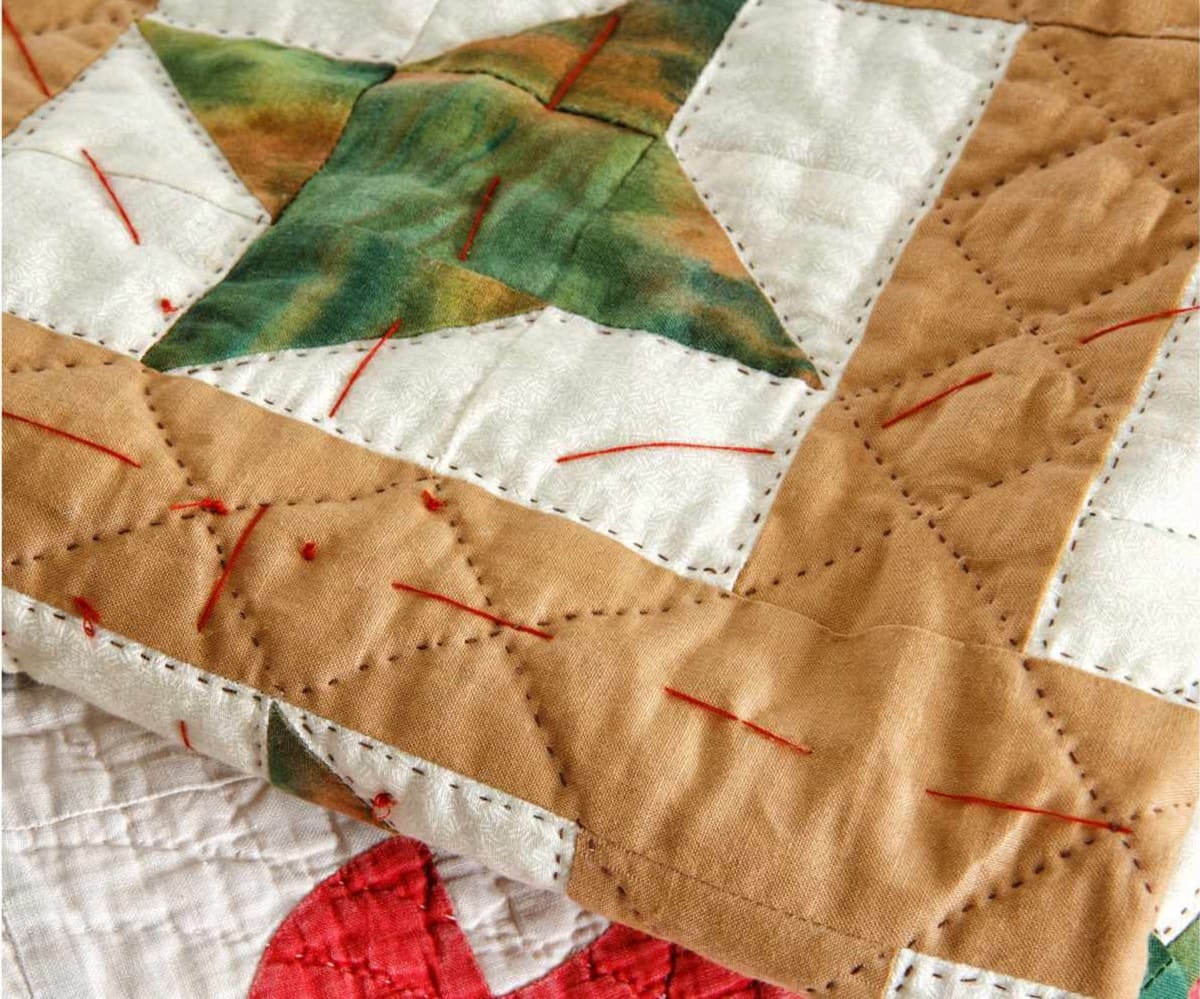
- Pin or baste the layers together to hold them in place: Starting from the center and working your way outwards, use quilting pins or fabric clips to secure all three layers. Alternatively, you can use large basting stitches to temporarily hold the layers together. This will prevent them from shifting during the quilting process.
Take your time to ensure the layers are smooth and flat, without any wrinkles or puckers. This will result in a more professional-looking quilt.
With the quilt sandwich prepared and securely held together, you’re now ready to move on to the next step: quilting the layers together.
Step 7: Quilt the Layers
With the quilt sandwich prepared, it’s time to quilt the layers together. Quilting not only adds decorative elements but also ensures that the layers remain secure over time. Follow these steps to quilt your quilt:
- Use your sewing machine to quilt the layers together: Set up your sewing machine with a quilting needle and thread. Start quilting from the center of the quilt and work your way towards the edges. You can choose to follow the seams of the quilt blocks, create straight lines, or experiment with different quilting designs.
- Choose a quilting design: Consider the overall aesthetic you want to achieve with your quilt and select a quilting design that complements it. Some common quilting designs include straight lines, meandering stitches, stippling, or even free-motion quilting to create unique patterns.
Ensure that your stitches are even and consistent throughout the quilt. Take breaks as needed to adjust the quilt layers and reposition your hands for better maneuverability. The quilting process may take some time, so be patient and enjoy the process.
Once you have completed the quilting, take a moment to admire your beautifully quilted layers. Now it’s time to move on to the final step: trimming and binding the quilt.
Step 8: Trim and Bind the Quilt
After quilting the layers together, it’s time to give your quilt its final finishing touches. Follow these steps to trim and bind the quilt:
- Trim any excess batting and backing fabric: Carefully trim the excess batting and backing fabric, leaving a clean and even edge around the quilt top. Use a quilting ruler and rotary cutter for precise cuts.
- Create and attach binding to finish the edges of the quilt: Binding adds a polished look to the quilt and provides durability. You can use pre-made binding or create your own by cutting fabric strips and stitching them together. The width of the binding strip is usually around 2.5 inches.
- Prepare the binding by folding it in half lengthwise and pressing it with an iron to create a crisp fold. Starting from one edge of the quilt, align the raw edges of the binding with the raw edges of the quilt. Pin or clip the binding in place, leaving a few inches of binding loose at the beginning.
- Sew the binding to the quilt using a 1/4-inch seam allowance. Sew along the entire perimeter of the quilt, mitering the corners for a neat finish. When you reach the starting point, trim the excess binding and fold the loose end into the folded binding. Complete the stitching to secure the binding in place.
Once the binding is attached, press it away from the quilt top, folding it over the raw edges of the quilt. On the backside of the quilt, hand-stitch the folded edge of the binding to the backing fabric using a slip stitch or a blind hem stitch.
Finally, give your quilt a good press to smooth out any wrinkles or creases. Admire your finished quilt, ready to be used or shared with pride!
Congratulations on making an easy quilt in just one day. Enjoy the warmth and beauty that your handmade creation brings.
Now that you’ve mastered the art of making an easy quilt, feel free to explore different patterns, fabrics, and quilting techniques to create unique and personalized quilts. Happy quilting!
Read more: How To Make A Crazy Quilt
Conclusion
Congratulations! You have successfully made an easy quilt in just one day. Through the process of gathering materials, choosing a quilt pattern, cutting fabric squares, arranging and sewing rows, connecting the rows, adding batting and quilt backing, quilting the layers, and finally trimming and binding the quilt, you have created a beautiful and cozy quilt that is ready to be enjoyed.
Quilting is not only a practical skill but also a creative outlet that allows you to express your individuality and personal style. The process of selecting fabrics, arranging patterns, and quilting the layers together is both soothing and fulfilling. Plus, the end result is a handmade masterpiece that can be cherished for years to come.
Remember, the key to a successful quilt is to have patience, attention to detail, and a love for the craft. Don’t be afraid to experiment, try new techniques, and explore different quilt patterns. Each quilt you make will be a unique reflection of your creativity and passion.
Whether you choose to keep the quilt for yourself or gift it to someone special, it will undoubtedly bring warmth, comfort, and beauty to any space. Curl up under your quilt with a good book, share it with loved ones, or display it proudly as a work of art.
Now that you have mastered the art of making an easy quilt in a day, you can embark on new quilting projects and continue to refine your skills. The possibilities are endless, from intricate patchwork designs to modern geometric patterns. Explore the world of quilting and let your imagination run wild.
So gather your materials, unleash your creativity, and enjoy the wonderful journey of quilting. With practice, each quilt you make will become more exquisite and refined. Whether you’re a beginner or an experienced quilter, there’s always something new to learn and discover.
Happy quilting!
Frequently Asked Questions about How To Make An Easy Quilt In A Day
Was this page helpful?
At Storables.com, we guarantee accurate and reliable information. Our content, validated by Expert Board Contributors, is crafted following stringent Editorial Policies. We're committed to providing you with well-researched, expert-backed insights for all your informational needs.





0 thoughts on “How To Make An Easy Quilt In A Day”