Home>Storage Ideas>Bedroom Storage>How To Clean An Iron For Perfectly Pressed Clothes And Linens
Bedroom Storage
How To Clean An Iron For Perfectly Pressed Clothes And Linens
Modified: October 19, 2024
Learn the best techniques for cleaning your iron to keep your clothes and linens looking perfectly pressed. Discover how to remove residue and maintain the longevity of your iron. Improve your bedroom storage with these useful tips.
(Many of the links in this article redirect to a specific reviewed product. Your purchase of these products through affiliate links helps to generate commission for Storables.com, at no extra cost. Learn more)
Introduction
Welcome to the world of perfectly pressed clothes and linens! We’ve all experienced the frustration of wrinkled garments and creased bed sheets. But fear not, because the secret to achieving wrinkle-free perfection lies in the cleanliness of your iron. Yes, that’s right – a clean iron is the key to achieving flawless results.
When it comes to ironing, it’s not just about having the right technique or the perfect ironing board. A clean iron is essential for smooth gliding, efficient heat distribution, and preventing stains or residue from transferring onto your clothes. So, if you’re tired of battling with wrinkles and want to take your ironing game to the next level, it’s time to learn how to clean your iron.
In this article, we will guide you through different methods to clean your iron, from simple home remedies to using commercial iron cleaners. We will also provide some handy tips and precautions to ensure you can safely and effectively clean your iron.
Before we dive into the specifics, let’s take a moment to understand the basic components of an iron. Most irons consist of a soleplate, reservoir tank, steam vents, and various temperature settings. Each component plays a crucial role in the ironing process and requires proper care and cleaning to ensure optimal performance.
Now you might be wondering, “Why should I clean my iron? Can’t I just use it as is?” Well, the answer is no. Over time, your iron can accumulate mineral deposits, fabric starch, and other residues that can hinder its performance. These build-ups can cause the iron to stick to fabric, leave stains, and create uneven heat distribution. Cleaning your iron not only removes these obstructions but also helps to prolong its lifespan.
Before you embark on your iron-cleaning journey, let’s go over a few things you need to consider. First and foremost, always consult your iron’s manual for specific instructions and guidelines. Different irons may have unique cleaning requirements, so it’s important to follow the manufacturer’s recommendations to avoid damaging your appliance.
Additionally, make sure your iron is unplugged and completely cooled down before you start cleaning. Safety should always be a top priority, and handling a hot iron can lead to accidents.
Now that we’ve covered the basics, let’s explore various methods to clean your iron and achieve that pristine, wrinkle-free finish.
Key Takeaways:
- Say goodbye to stubborn wrinkles by keeping your iron clean. Choose from vinegar, baking soda, salt, or commercial cleaners to restore your iron’s performance and keep your clothes looking pristine.
- Prioritize safety and follow your iron’s manual to clean effectively. Regular maintenance and proper storage will ensure your iron stays in top-notch condition for perfectly pressed clothes.
Read more: How To Store Table Cloths
Understanding the Iron
Before we dive into the process of cleaning an iron, it’s important to have a basic understanding of its components. In doing so, you’ll be better equipped to effectively clean and maintain your iron, ensuring optimal performance and longevity.
The soleplate is the flat, metal surface at the bottom of the iron that comes into direct contact with your clothes or linens. It’s typically made of materials such as stainless steel, ceramic, or non-stick coating. The soleplate is the most critical part of the iron, as it’s responsible for distributing heat and ensuring a smooth glide over fabrics. To achieve the best ironing results, it’s essential to keep the soleplate clean and free from residue or build-up.
The reservoir tank is where you fill water to produce steam. Steam is a valuable feature that helps to relax fibers, remove stubborn wrinkles, and facilitate easy ironing. However, the use of tap water can lead to mineral build-up over time, especially if you live in an area with hard water. This can clog the steam vents and affect the iron’s performance. Regular cleaning of the reservoir tank is crucial to prevent blockages and maintain optimal steam production.
Steam vents are small holes usually located on the soleplate. These holes release steam when the iron is in use. As mentioned earlier, mineral deposits or fabric starch can accumulate in these vents, obstructing the steam flow. Cleaning the steam vents ensures that steam is distributed evenly and efficiently during ironing.
Temperature settings are another vital component of an iron. Different fabrics require specific temperatures to prevent damage. Most irons have adjustable temperature settings, allowing you to select the appropriate heat level for different types of fabrics. Cleaning the temperature control dial and the surrounding area prevents any residue from interfering with the accuracy of the temperature readings and ensures smooth operation.
Now that you have a clear understanding of the various components of an iron, let’s move on to the importance of cleaning it regularly to maintain its performance and functionality.
Why Should You Clean Your Iron?
Cleaning your iron may not be the most exciting chore, but it is essential for maintaining its performance and extending its lifespan. Here are a few reasons why regular cleaning is crucial:
1. Smooth gliding: The soleplate is the part of the iron that comes into direct contact with your clothes. Over time, it can accumulate residue from fabric starch, spray starch, and other substances. This build-up can cause the iron to drag or stick to the fabric, making it difficult to achieve smooth, effortless gliding. By cleaning the soleplate, you can ensure a frictionless glide, making ironing a breeze.
2. Eliminate stains: At times, minerals from tap water can leave stains on the soleplate. These stains can transfer onto your clothes, resulting in unsightly marks. Regular cleaning removes these stains, ensuring that your iron won’t leave any unwanted spots on your favorite garments.
3. Even heat distribution: A clean iron allows for efficient heat transfer. Any residue or build-up on the soleplate hinders heat distribution, leading to uneven ironing. Cleaning the iron helps to remove these obstructions, ensuring that heat is distributed evenly across the fabric, resulting in wrinkle-free perfection.
4. Prevent fabric damage: Dirty irons can leave behind residue or debris, which can transfer onto your clothes, potentially damaging delicate fabrics. By keeping your iron clean, you minimize the risk of leaving unwanted marks or stains on your garments.
5. Extend the lifespan of your iron: A well-maintained iron lasts longer. By regularly cleaning your iron, you prevent the accumulation of build-up, which can cause clogs, damage internal components, and ultimately lead to the early demise of your iron. Proper maintenance and cleaning can help extend its lifespan, saving you money in the long run.
Now that you understand the importance of cleaning your iron, let’s explore the various methods you can use to restore your iron to its pristine condition.
Before You Begin
Before diving into the process of cleaning your iron, there are a few important steps to take and precautions to keep in mind. By following these guidelines, you can ensure a safe and effective cleaning process:
1. Consult the manual: Different irons may have specific instructions for cleaning. Consult your iron’s manual for any manufacturer-recommended cleaning methods or products. This will help you avoid any potential damage to your iron and ensure that you’re following the manufacturer’s guidelines.
2. Unplug and cool down: Safety should always be your top priority. Make sure your iron is unplugged and completely cooled down before you begin the cleaning process. Handling a hot iron can result in burns or injuries.
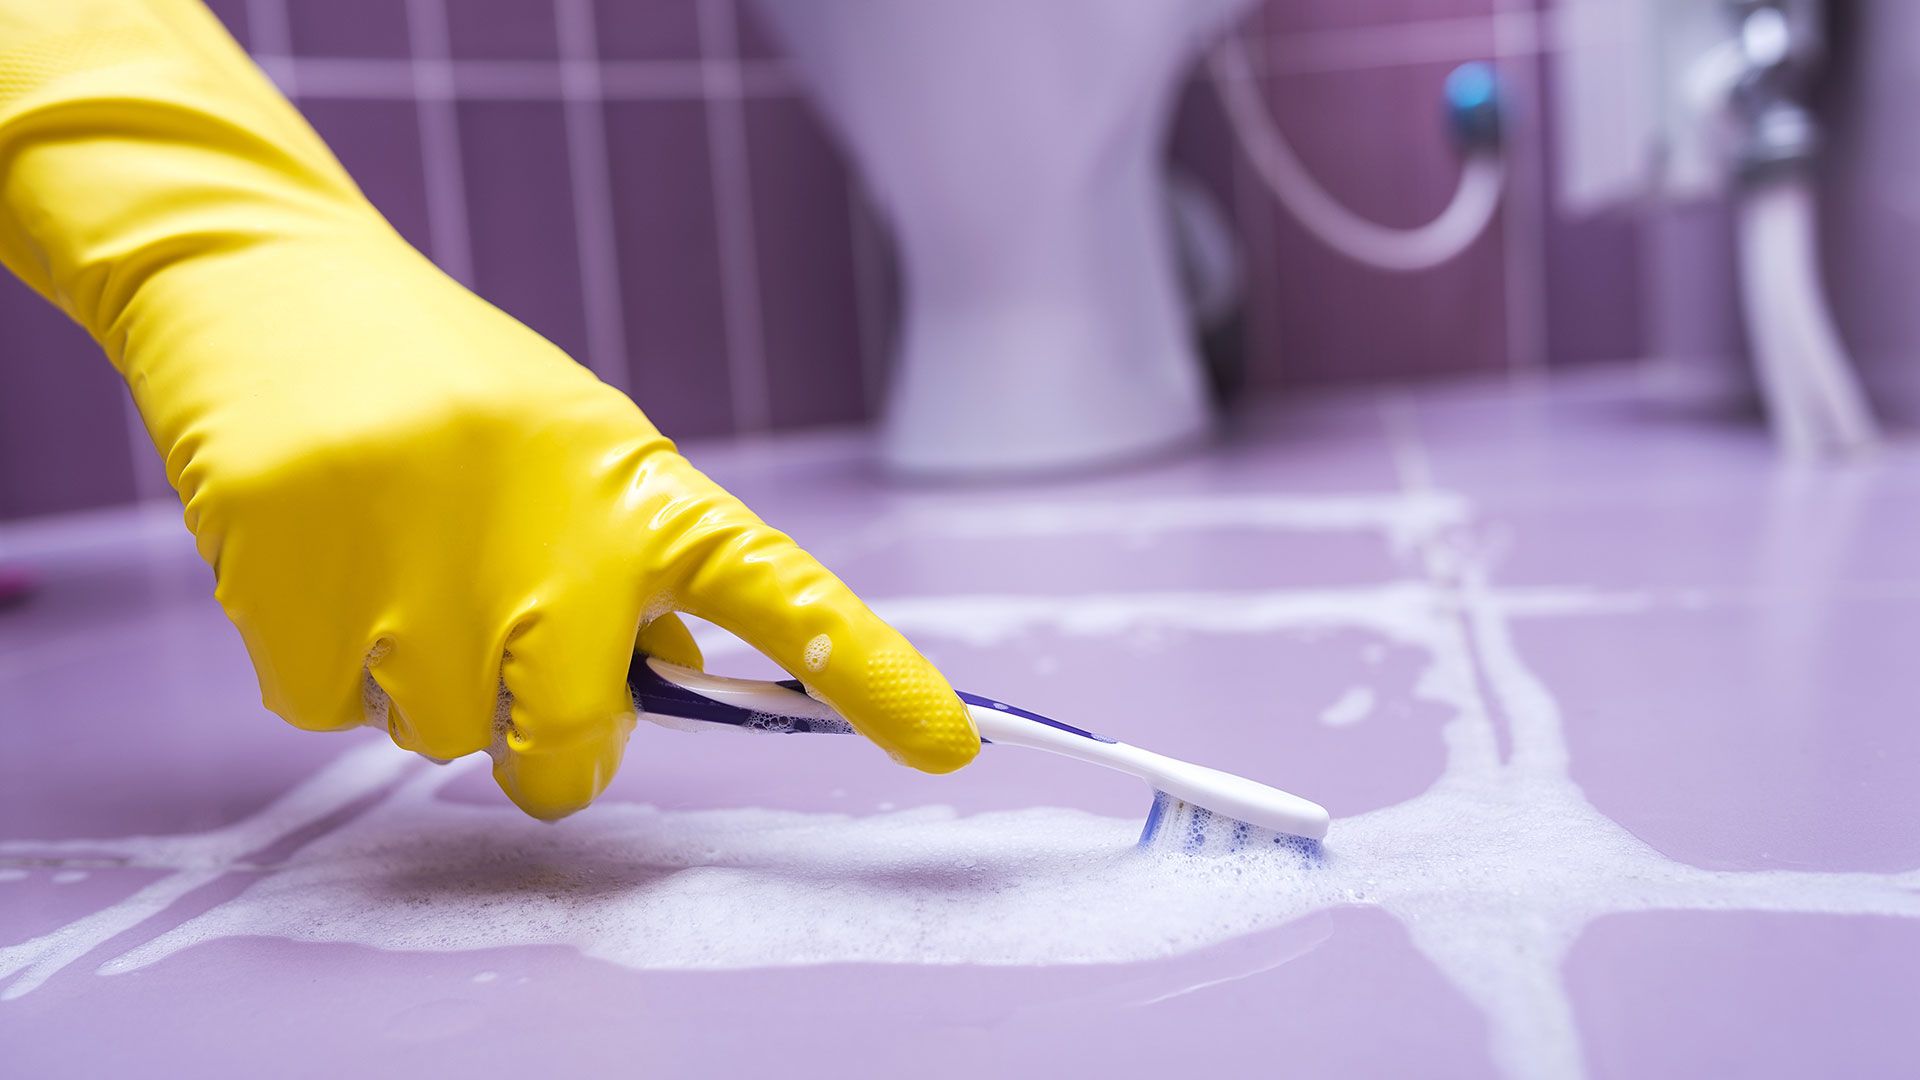
3. Gather your supplies: Depending on the cleaning method you choose, gather the necessary supplies before you start. Commonly used supplies include vinegar, baking soda, salt, water, a clean cloth, cotton swabs, and a toothbrush. Having everything prepared beforehand will make the process smoother and more efficient.
4. Protect your work area: Lay down a clean towel or cloth to protect your work surface. This will prevent any cleaning solutions or residue from staining or damaging the surface.
5. Test a small area: Before applying any cleaning solution or method to your entire iron, perform a spot test on a small, inconspicuous area. This will ensure that the cleaning solution or method doesn’t cause any adverse reactions or damage to the soleplate or other parts of the iron.
6. Take care of the cord: Keep the cord away from water or any cleaning solutions. Protect the cord from getting tangled or damaged during the cleaning process.
7. Choose a well-ventilated area: Cleaning solutions like vinegar may produce strong odors. Choose a well-ventilated area or open a window to allow proper airflow during the cleaning process.
By following these simple yet important steps, you can ensure a smooth and safe cleaning process. Now let’s explore the different effective methods to clean your iron and restore its optimal performance.
Methods to Clean an Iron
When it comes to cleaning your iron, there are several effective methods you can choose from. These methods range from using simple household ingredients to utilizing commercial iron cleaners. Let’s explore four popular methods that can help you achieve a clean and well-functioning iron:
1. Using Vinegar: Vinegar is a versatile and effective cleaning agent that can help remove mineral deposits and stubborn stains from your iron. Start by filling the reservoir tank with equal parts of vinegar and water. Turn on the iron and set it to the steam setting. Once the iron is heated, hold it over the sink or a towel-covered surface and press the steam button to release the vinegar and water mixture. Repeat this process a few times to thoroughly clean the steam vents and remove any residue. Finally, fill the reservoir with plain water and repeat the process to rinse out any remaining vinegar. Remember to refer to your iron’s manual to ensure that using vinegar won’t damage your specific iron model.
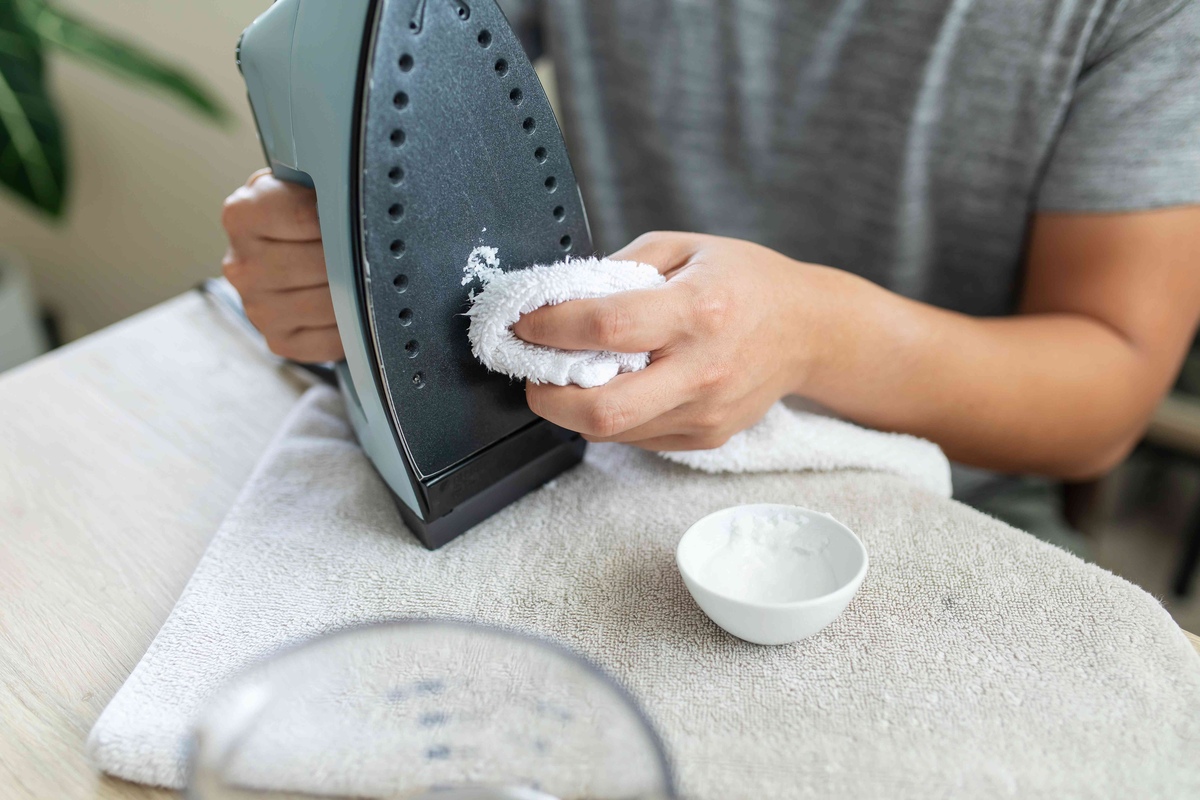
2. Using Baking Soda and Water Paste: Baking soda is another excellent natural cleaner that can help remove residue from your iron. Mix baking soda with a small amount of water to create a paste. Apply the paste to the soleplate and use a soft cloth or sponge to gently scrub the surface. Pay extra attention to any stubborn stains or build-up. Once you’re satisfied with the cleaning, wipe off the paste with a clean, damp cloth. Make sure the soleplate is completely dry before using the iron again.
3. Using Salt and Vinegar: If you’re dealing with particularly stubborn stains or mineral deposits, a combination of salt and vinegar can be effective. Mix equal parts of salt and vinegar to form a paste, then apply it to the soleplate. Use a cloth or sponge to gently scrub the affected areas. The abrasive nature of the salt, combined with the acidity of vinegar, helps to break down and remove tough stains. Once you’ve scrubbed the soleplate, wipe off the paste with a clean, damp cloth and allow it to dry before using the iron.
4. Using Commercial Iron Cleaner: If you prefer a ready-made solution, you can opt for a commercial iron cleaner. These cleaners are specifically formulated to dissolve and remove mineral deposits, stains, and residue from the soleplate. Follow the instructions provided by the manufacturer to ensure proper usage. Apply the cleaner to the soleplate, let it sit for the recommended time, and then wipe it off with a clean cloth. Finish by rinsing the soleplate with water and drying it thoroughly.
By utilizing one of these methods, you can effectively clean your iron and restore its performance. Experiment with different methods to find the one that works best for you. Remember to always follow the instructions, take precautions, and refer to your iron’s manual for specific guidance.
Now that you’re familiar with various cleaning methods, let’s explore some additional tips for cleaning the soleplate and essential precautions to consider.
Read also: 15 Amazing Waffle Iron Panini Press For 2025
Method 1: Using Vinegar
Vinegar is a popular and effective household ingredient that can help remove mineral deposits and stains from the soleplate of your iron. Follow these steps to clean your iron using vinegar:
1. Mix the solution: Start by creating a mixture of equal parts vinegar and water. Distilled white vinegar is recommended for this method, as it is mild yet effective in breaking down residue on the iron.
2. Fill the reservoir: Pour the vinegar and water mixture into the reservoir tank of your iron. Be sure not to overfill the tank, as you don’t want the mixture to spill out during the cleaning process.
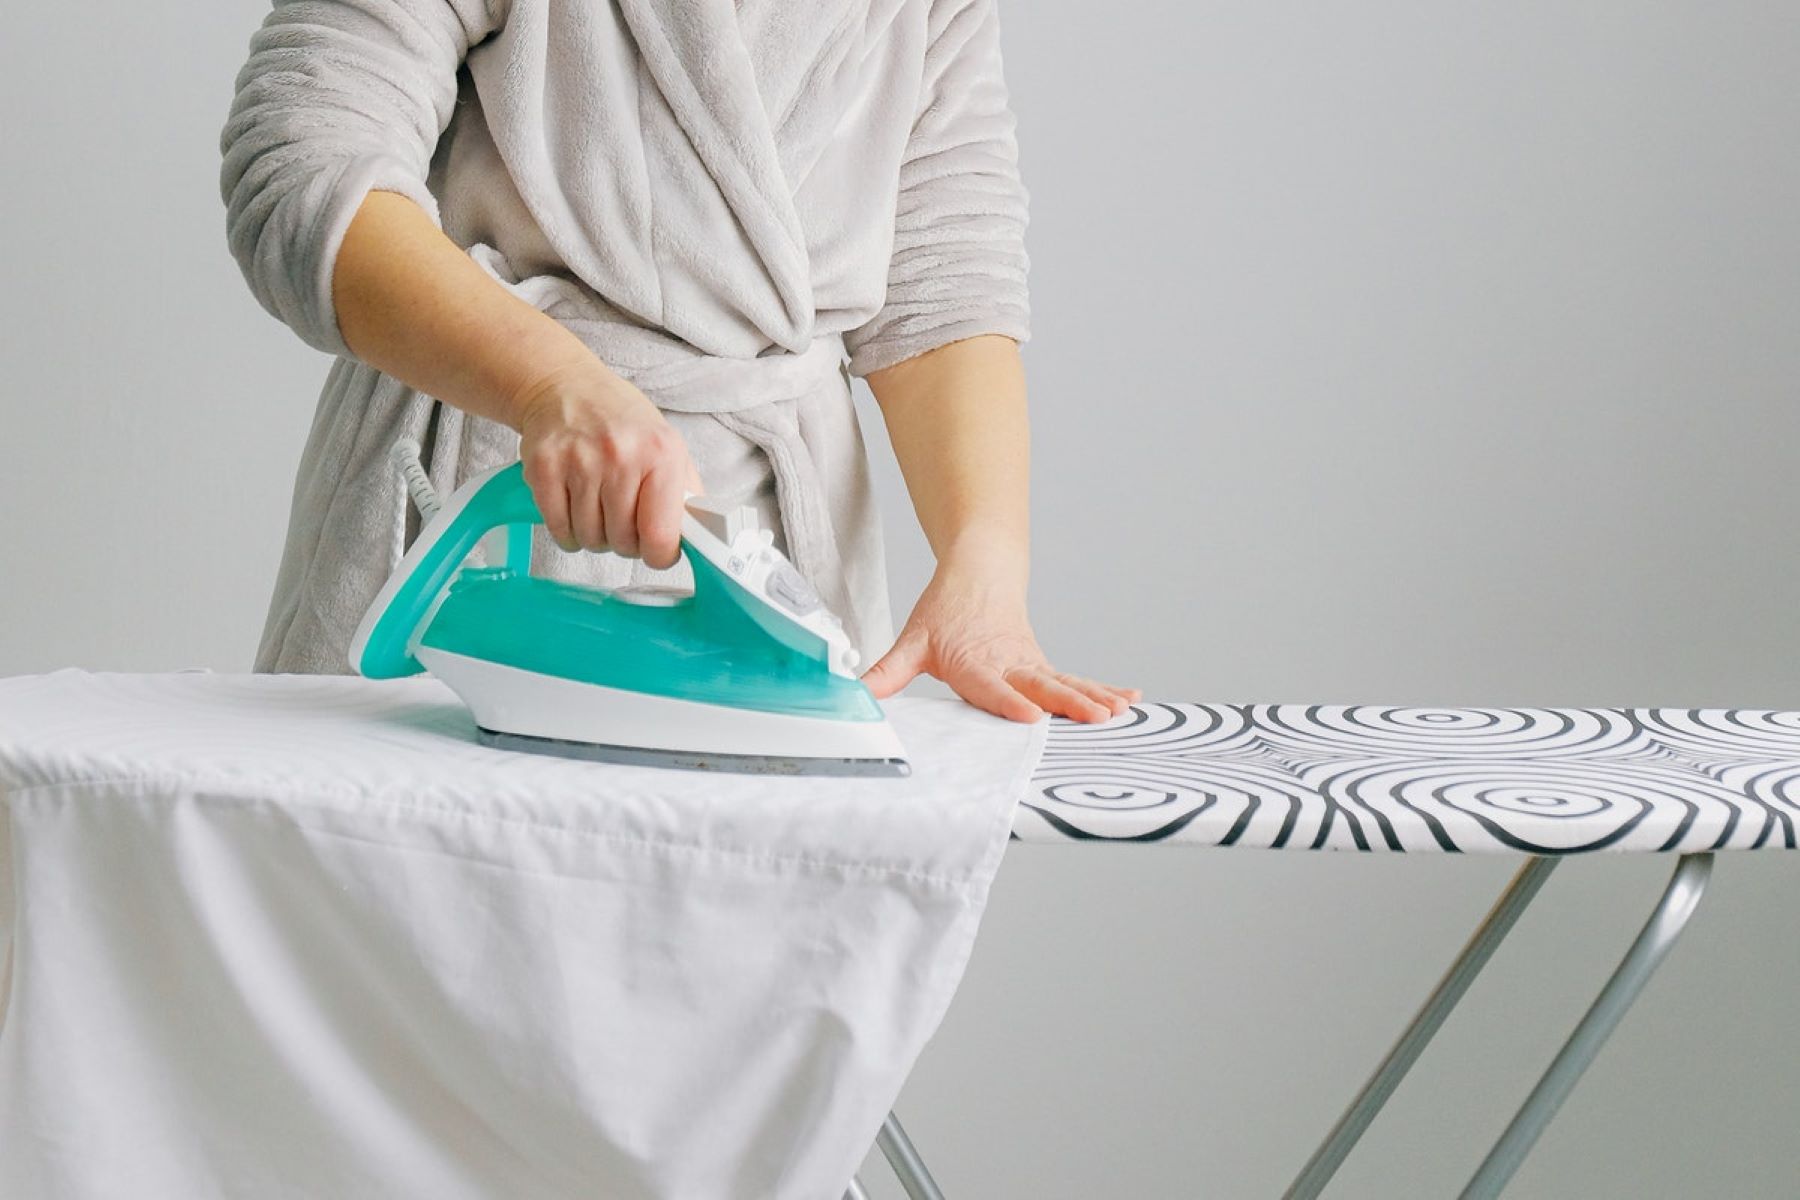
3. Heat the iron: Plug in the iron and turn it on to the highest steam setting. Allow the iron to heat up until it reaches the desired temperature.
4. Clean the steam vents: Hold the iron over a sink or a towel-covered surface, facing downwards. Press and hold the steam button to release the vinegar and water mixture through the steam vents. This helps to clean and unclog the vents, removing any mineral deposits or residue that may have accumulated.
5. Repeat the process: Perform this steaming process a few times to ensure that the vinegar and water mixture thoroughly cleans the steam vents and removes any stubborn residue.
6. Rinse the iron: Once you’re satisfied with the steaming process, empty the remaining vinegar and water mixture from the reservoir tank. Refill the tank with plain water and repeat the steaming process to rinse out any remaining vinegar from the iron. This step is crucial to prevent any lingering vinegar smell or residue on your clothes.
7. Wipe the soleplate: After completing the rinsing process, unplug the iron and wait for it to cool down. Once cool, use a clean, damp cloth or sponge to wipe the soleplate. Gently scrub any stubborn stains or residue, making sure to cover the entire surface of the soleplate.
8. Dry the iron: After wiping the soleplate, allow the iron to air dry completely. Make sure there is no moisture before storing or using the iron again. You can also use a soft, dry cloth to wipe away any remaining moisture.
Following these steps will help you effectively clean your iron using vinegar. Remember to consult your iron’s manual for any specific instructions or precautions related to using vinegar as a cleaning agent. With a clean iron, you’ll be ready to achieve perfectly pressed clothes and linens once again!
Now, let’s move on to Method 2: Using Baking Soda and Water Paste.
To clean an iron, mix equal parts of water and white vinegar, then pour the solution into the iron’s water reservoir. Turn on the iron to the highest setting and steam for 5-10 minutes. Finally, empty the reservoir and refill with clean water to rinse.
Method 2: Using Baking Soda and Water Paste
Baking soda is a versatile household ingredient that can be used for various cleaning purposes, including cleaning the soleplate of your iron. Here’s how you can clean your iron using a baking soda and water paste:
1. Create the paste: In a small bowl, mix baking soda with a small amount of water to create a thick, spreadable paste. Aim for a consistency similar to toothpaste.
2. Apply the paste: Ensure that the soleplate of the iron is cool and unplugged. Using a clean cloth or sponge, apply the baking soda paste to the entire surface of the soleplate. Focus on areas that have stains or residue buildup.
3. Gently scrub the soleplate: Using circular motions, gently scrub the baking soda paste into the soleplate. Pay extra attention to any stubborn stains or residue. The slight abrasiveness of the baking soda helps to break down and remove the dirt and grime.
4. Wipe off the paste: After scrubbing the soleplate, use a clean, damp cloth to wipe off the baking soda paste. Make sure to remove all traces of the paste from the surface of the soleplate.
5. Rinse and dry: Fill a bowl or sink with water and dip a clean cloth or sponge into it. Wring out the excess water so that the cloth or sponge is slightly damp. Use this damp cloth or sponge to wipe the soleplate again, ensuring that any remaining baking soda residue is removed. Once cleaned, dry the soleplate with a soft, dry cloth.
6. Perform a test run: Before using the iron on your delicate clothes or linens, it’s a good idea to test it on an old cloth or fabric scrap first. This will ensure that there are no residual baking soda particles left on the soleplate that could transfer to your garments.
By following these steps, you can effectively clean the soleplate of your iron using a baking soda and water paste. Keep in mind that baking soda is generally safe for most irons, but it’s always a good idea to consult your iron’s manual for any specific recommendations or precautions. With a clean soleplate, you’ll be able to achieve wrinkle-free results and keep your iron in excellent working condition.
Now that we’ve covered the second method, let’s move on to Method 3: Using Salt and Vinegar.
Method 3: Using Salt and Vinegar
If you’re dealing with stubborn stains or mineral deposits on the soleplate of your iron, using a combination of salt and vinegar can be an effective cleaning method. Follow these steps to clean your iron using salt and vinegar:
1. Create the mixture: In a small bowl, mix equal parts of salt and vinegar to form a thick paste. The salt acts as a gentle abrasive, while the vinegar helps to dissolve mineral deposits and stains.
2. Apply the mixture: Ensure that the iron is unplugged and cooled down. Take a clean cloth or sponge and apply the salt and vinegar mixture to the soleplate of the iron. Spread the paste evenly, paying extra attention to any areas with stubborn stains or residue.
3. Gently scrub the soleplate: Using circular motions, gently scrub the soleplate with the cloth or sponge. The salt acts as a mild abrasive, helping to loosen and remove dirt, stains, and mineral deposits. Continue scrubbing until you’re satisfied with the cleanliness of the soleplate.
4. Wipe off the mixture: Take a clean, damp cloth or sponge and wipe off the salt and vinegar mixture from the soleplate. Make sure to remove all traces of the paste, ensuring a clean and residue-free surface.
5. Rinse and dry: To remove any remaining residue, dip a cloth or sponge into plain water and wipe the soleplate again. Make sure to thoroughly rinse off any lingering salt and vinegar mixture. Once cleaned, use a soft, dry cloth to dry the soleplate completely.
6. Perform a test run: After cleaning, it’s a good idea to test the iron on an old cloth or fabric scrap before using it on delicate clothes or linens. This will ensure that there are no residual salt or vinegar particles that could transfer onto your garments.
By following these steps, you can effectively clean your iron using salt and vinegar. Always refer to your iron’s manual for any specific recommendations or precautions when using this cleaning method. With a clean soleplate, your iron will glide smoothly and provide you with perfectly pressed clothes and linens.
Now that we’ve covered the third method, let’s move on to Method 4: Using Commercial Iron Cleaner.
Method 4: Using Commercial Iron Cleaner
If you prefer a ready-made solution, using a commercial iron cleaner is a convenient and effective method to clean your iron. Follow these steps to clean your iron using a commercial cleaner:
1. Select the right cleaner: There are various commercial iron cleaners available in the market. Read the labels and choose a cleaner that is suitable for your specific iron model and the type of residue or stains you need to remove. Follow the instructions provided by the manufacturer to ensure proper usage.
2. Prepare the iron: Unplug the iron and let it cool down completely. Ensure that the iron is dry and free from any water or moisture before proceeding with the cleaning process.
3. Apply the cleaner: Follow the manufacturer’s instructions for applying the commercial cleaner to the soleplate. It is commonly recommended to apply the cleaner using a clean cloth or sponge, covering the entire surface of the soleplate.
4. Let it sit: Allow the cleaner to sit on the soleplate for the recommended amount of time. This will give the cleaner a chance to break down and dissolve any mineral deposits, stains, or residue on the soleplate.
5. Wipe off the cleaner: After the specified time, use a clean, damp cloth or sponge to wipe off the cleaner from the soleplate. Make sure to remove all traces of the cleaner and any dissolved residue or stains.
6. Rinse and dry: To ensure that no residual cleaner remains on the soleplate, rinse it with plain water. You can either dampen a cloth or sponge with water and wipe the soleplate or gently rub it under running water. Once cleaned, use a soft, dry cloth to dry the soleplate completely.
7. Perform a test run: Before using the iron on delicate fabrics, it’s a good idea to test it on an old cloth or fabric scrap. This will ensure that the cleaner has been completely removed and won’t transfer any residue onto your clothes or linens.
By following these steps and using a commercial iron cleaner, you can effectively clean your iron and remove tough stains or residue. Always adhere to the instructions provided by the manufacturer to ensure safe and proper usage of the cleaner.
Now that we’ve covered the fourth method, let’s move on to some tips for cleaning the soleplate and essential precautions to consider.
Read more: Iron Clothes Like A Pro With These Hacks
Tips for Cleaning the Soleplate
When it comes to cleaning the soleplate of your iron, there are several tips and tricks you can follow to ensure effective and efficient cleaning. Here are some helpful tips to consider:
1. Use gentle tools: When scrubbing the soleplate, opt for soft materials such as a cloth, sponge, or soft-bristled brush. Avoid using abrasive materials that could scratch or damage the surface of the soleplate.
2. Choose the right cleaning solution: Depending on the type of residue or stains on your soleplate, choose the appropriate cleaning solution or method. Vinegar, baking soda, salt, or commercial iron cleaners can be effective options. Always follow the manufacturer’s instructions or consult your iron’s manual for any specific recommendations.
3. Scrub in gentle, circular motions: When scrubbing the soleplate, use gentle and circular motions. This will help to distribute the cleaning solution evenly and avoid any unnecessary scratching or damage to the surface.
4. Focus on stubborn stains or residue: If you encounter stubborn stains or residue, spend some extra time and effort to address them. You may need to repeat the cleaning process or utilize more concentrated cleaning solutions to effectively remove the tough stains.
5. Rinse thoroughly: After cleaning the soleplate, ensure that you rinse it thoroughly to remove any residual cleaning solution. Leftover cleaning solution or residue can transfer onto your clothes, affecting their appearance or causing damage.
6. Let the soleplate dry completely: Before using the iron again, it’s essential to allow the soleplate to dry completely. Moisture can cause issues and even damage the iron. Use a clean, dry cloth to wipe off any remaining moisture and ensure the soleplate is completely dry before use.
7. Perform regular maintenance: To prevent build-up and maintain the cleanliness of your iron’s soleplate, incorporate regular maintenance into your ironing routine. This may include wiping the soleplate with a damp cloth after each use and keeping the iron in a clean and dry environment.
By following these tips, you can effectively clean the soleplate of your iron and keep it in excellent condition for many ironing sessions to come.
Now, let’s move on to essential precautions to consider when cleaning your iron.
Precautions to Take
When it comes to cleaning your iron, it’s important to take certain precautions to ensure your safety and prevent damage to the appliance. Here are some essential precautions to consider:
1. Unplug and cool down: Always unplug the iron from the power source and allow it to cool down completely before cleaning. Handling a hot iron can result in burns or injuries. Safety should always be your top priority.
2. Consult the manual: Every iron model may have specific instructions or recommendations for cleaning. Consult your iron’s manual to understand any specific precautions or cleaning methods suggested by the manufacturer.
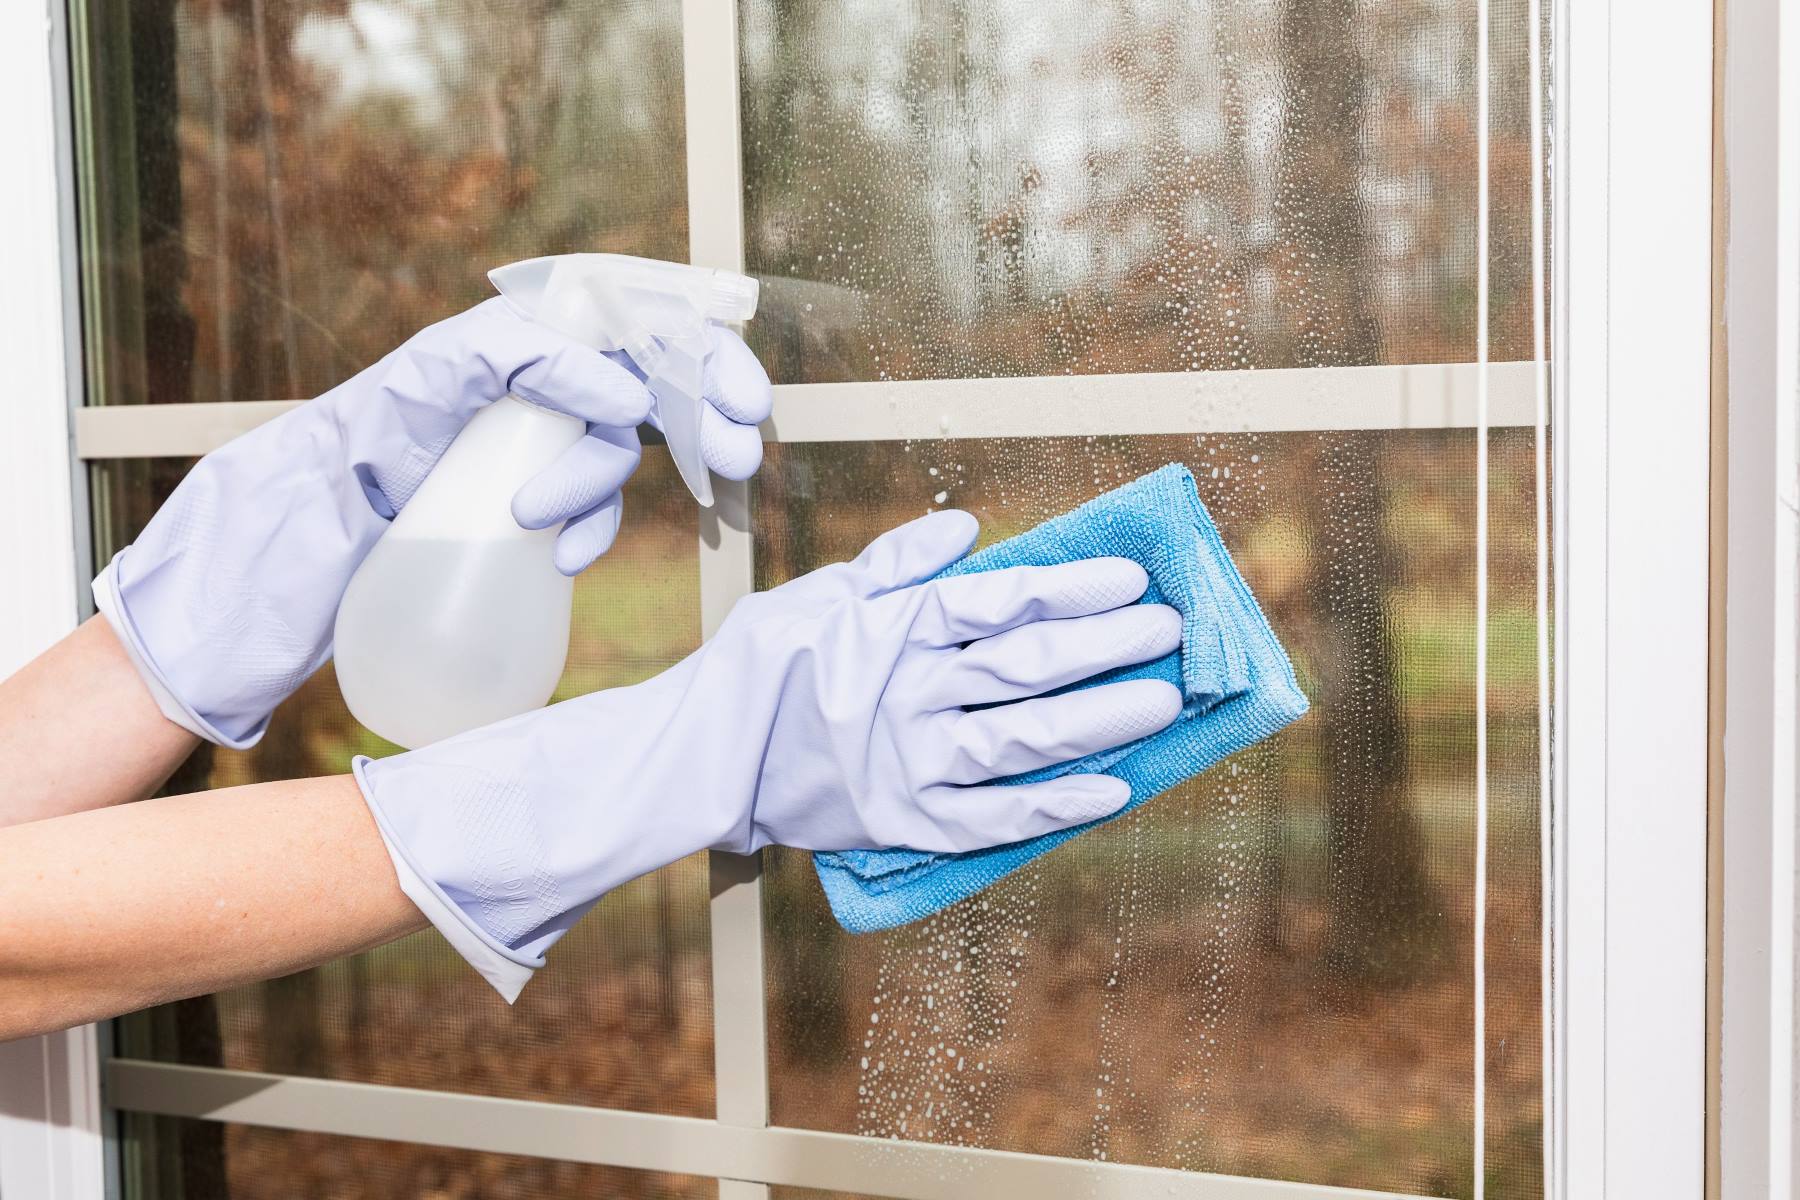
3. Protect your hands: When handling cleaning solutions or hot parts of the iron, protect your hands by wearing cleaning gloves or using a cloth or sponge as a barrier. This will prevent any potential skin irritation or chemical reactions.
4. Choose the right cleaning solution: Different irons may have different cleaning requirements. Choose the appropriate cleaning solution or method based on your iron’s specific recommendations. Using the wrong cleaning solution can potentially damage the soleplate or other parts of the iron.
5. Avoid harsh abrasives: While some gentle scrubbing may be necessary, avoid using harsh or abrasive materials that can scratch or damage the surface of the soleplate. Stick to soft cloths, sponges, or soft-bristled brushes for cleaning.
6. Work in a well-ventilated area: Some cleaning solutions, such as vinegar or commercial cleaners, may produce strong odors or fumes. Work in a well-ventilated area or open a window to allow proper airflow during the cleaning process.
7. Perform spot tests: Before applying any cleaning solution to the entire soleplate, perform a spot test on a small, inconspicuous area. This will ensure that the cleaning solution does not cause any adverse reactions or damage to the soleplate.
8. Read warning labels: If you choose to use a commercial iron cleaner or any other cleaning solution, read the warning labels carefully to understand any potential hazards or precautions. Follow the instructions provided by the manufacturer to ensure safe usage.
9. Keep the iron dry: After cleaning, make sure to thoroughly dry the iron, especially the soleplate, before using it again. Moisture can cause electrical problems or damage the iron.
10. Store the iron properly: Once the iron is completely dry, store it in a cool, dry place. Avoid storing it in a humid or damp environment, as this can lead to the growth of mold or rust.
By following these precautions, you can safely clean your iron and maintain its performance and longevity. Always prioritize safety and adhere to the recommendations provided by your iron’s manufacturer.
Now that you’re equipped with these precautions, you’re ready to clean your iron and achieve wrinkle-free perfection with ease.
Conclusion
Cleaning your iron is an essential part of maintaining its performance and ensuring the longevity of the appliance. A clean iron with a well-maintained soleplate allows for smooth gliding, even heat distribution, and prevents stains or residue from transferring onto your clothes or linens.
In this article, we explored various methods to clean your iron, from using simple household ingredients like vinegar, baking soda, and salt to utilizing commercial iron cleaners. Each method offers an effective way to remove mineral deposits, stains, and residue from the soleplate of your iron.
Before you begin the cleaning process, it’s important to consult your iron’s manual for specific instructions and guidelines. Taking precautions such as unplugging the iron, providing adequate ventilation, and wearing protective gloves can ensure your safety during the cleaning process.
Remember to choose the right cleaning solution or method based on your iron’s recommendations and to perform spot tests before applying any cleaning solution to the entire soleplate. This will help you avoid any potential damage to the iron and ensure the best cleaning results.
After cleaning, be sure to thoroughly rinse the soleplate and allow it to dry completely before using the iron again. Regular maintenance, such as wiping the soleplate after each use and storing the iron in a cool, dry place, can also help prevent build-up and keep your iron in excellent working condition.
By following these cleaning methods, tips, and precautions, you can achieve a clean and well-functioning iron that will provide you with perfectly pressed clothes and linens time after time.
So, say goodbye to wrinkled garments and creased bed sheets, and welcome the world of wrinkle-free perfection with a well-maintained and sparkling clean iron!
Frequently Asked Questions about How To Clean An Iron For Perfectly Pressed Clothes And Linens
Was this page helpful?
At Storables.com, we guarantee accurate and reliable information. Our content, validated by Expert Board Contributors, is crafted following stringent Editorial Policies. We're committed to providing you with well-researched, expert-backed insights for all your informational needs.


0 thoughts on “How To Clean An Iron For Perfectly Pressed Clothes And Linens”