Home>Storage Ideas>Kitchen Storage>How To Clean A Microwave: Easy Ways To Get A Spotless Finish
Kitchen Storage
How To Clean A Microwave: Easy Ways To Get A Spotless Finish
Modified: August 27, 2024
Learn how to clean your microwave effortlessly with these simple and effective techniques. Achieve a spotless finish for your kitchen storage ideas.
(Many of the links in this article redirect to a specific reviewed product. Your purchase of these products through affiliate links helps to generate commission for Storables.com, at no extra cost. Learn more)
Introduction
Having a clean and spotless microwave not only ensures its longevity but also promotes food safety and hygiene in your kitchen. Over time, spills, splatters, and stains can accumulate inside and outside of your microwave, making it look unsightly and possibly affecting its performance. But fret not, because cleaning a microwave is easier than you might think.
In this article, we will guide you through the step-by-step process of cleaning your microwave with easy and effective methods. We will also share tips and tricks to help you maintain its cleanliness and keep it odor-free.
Before we jump into the cleaning process, it is important to emphasize the importance of safety precautions. Remember to always unplug your microwave before cleaning and avoid using harsh chemicals or abrasive materials that could damage the surface. Now, let’s gather the necessary materials and get started on transforming your microwave into a sparkling appliance.
Key Takeaways:
- Easily clean and maintain a spotless microwave by following simple safety precautions, using natural cleaning solutions, and establishing regular cleaning routines. Enjoy a fresh and odor-free appliance for safe and hygienic cooking.
- Optimize kitchen storage and organization with practical tips such as utilizing vertical space, investing in storage containers, and maximizing drawer space. Create a clutter-free environment for an efficient and enjoyable cooking experience.
Safety Precautions
Before you begin cleaning your microwave, it is crucial to take some safety precautions to protect yourself and your appliance:
- Unplug the microwave: Always start by unplugging your microwave from the power source to avoid any electrical accidents.
- Allow the microwave to cool: If you have recently used your microwave, give it some time to cool down before cleaning to prevent accidental burns.
- Protect your hands: Wear protective gloves to shield your hands from harsh chemicals and hot surfaces.
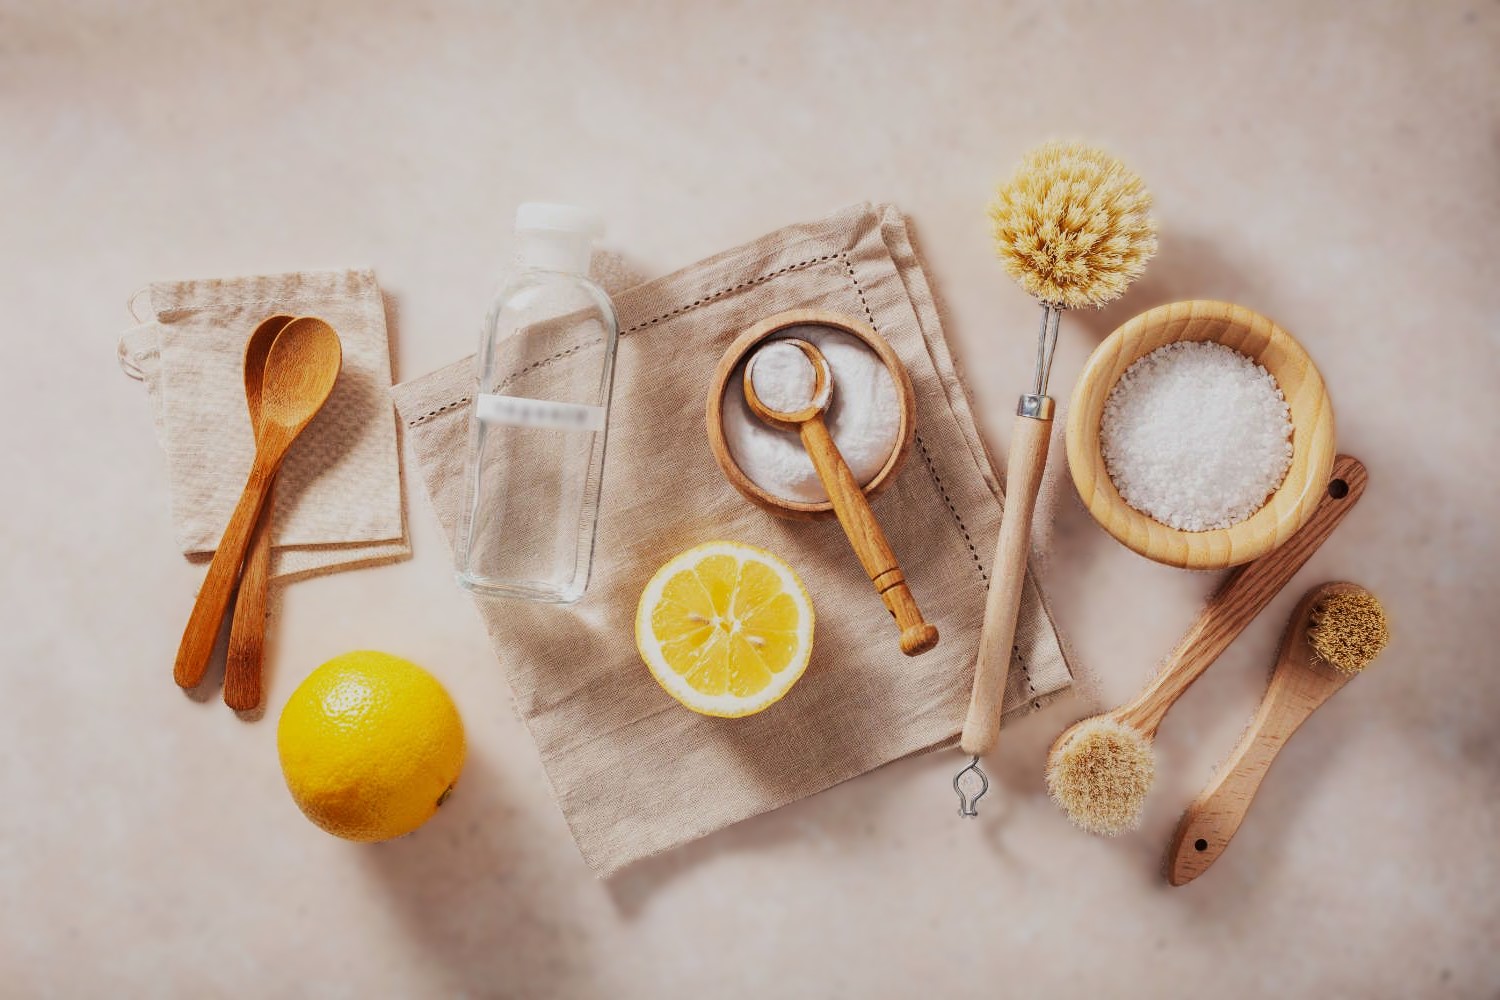
- Use safe cleaning products: Avoid using harsh chemicals or abrasive materials that could scratch or damage the interior or exterior of your microwave. Opt for mild dish soap, vinegar, or baking soda as safe alternatives.
- Remove any food debris: Check the microwave for any leftover food or liquid spills. Carefully remove any debris before cleaning to prevent further mess or foul odors.
By following these safety precautions, you can ensure that the cleaning process goes smoothly and without any unwanted accidents. Now, let’s move on to gathering the materials that you will need to clean your microwave effectively.
Gather the Necessary Materials
Before you begin the cleaning process, make sure to gather all the necessary materials. Having everything prepared in advance will save you time and ensure a smooth cleaning experience. Here’s what you’ll need:
- Microwave-safe bowl: Find a medium-sized microwave-safe bowl that can hold water and other cleaning ingredients.
- Water: You’ll need water to create steam for loosening stains and food residue inside the microwave.
- Dish soap: Choose a mild dish soap to clean both the interior and exterior surfaces of your microwave.
- Vinegar: Vinegar is a versatile and natural cleaner that can help remove stains and eliminate odors.
- Baking soda: Baking soda is another effective and natural cleaning agent that can tackle tough stains and neutralize odors.
- Microfiber cloth or sponge: Use a soft microfiber cloth or sponge for wiping and cleaning both the interior and exterior surfaces.
- Toothpick or small brush: A toothpick or small brush will come in handy for removing stubborn food particles from crevices and corners.
- Cleaning gloves: Protect your hands by wearing cleaning gloves while working with cleaning agents and hot surfaces.
Once you have gathered all the necessary materials, you’re ready to start the step-by-step cleaning process. Keep the safety precautions in mind and let’s dive into transforming your microwave into a fresh and spotless appliance.
Step-by-Step Cleaning Process
Now that you have everything prepared, let’s dive into the step-by-step cleaning process for your microwave. We’ll cover cleaning the interior and exterior separately to ensure a thorough and effective clean.
3.1 Cleaning the Interior
- Remove any loose debris: Start by removing any removable parts, such as the turntable and microwave racks. Wipe them clean with a damp cloth and set them aside.
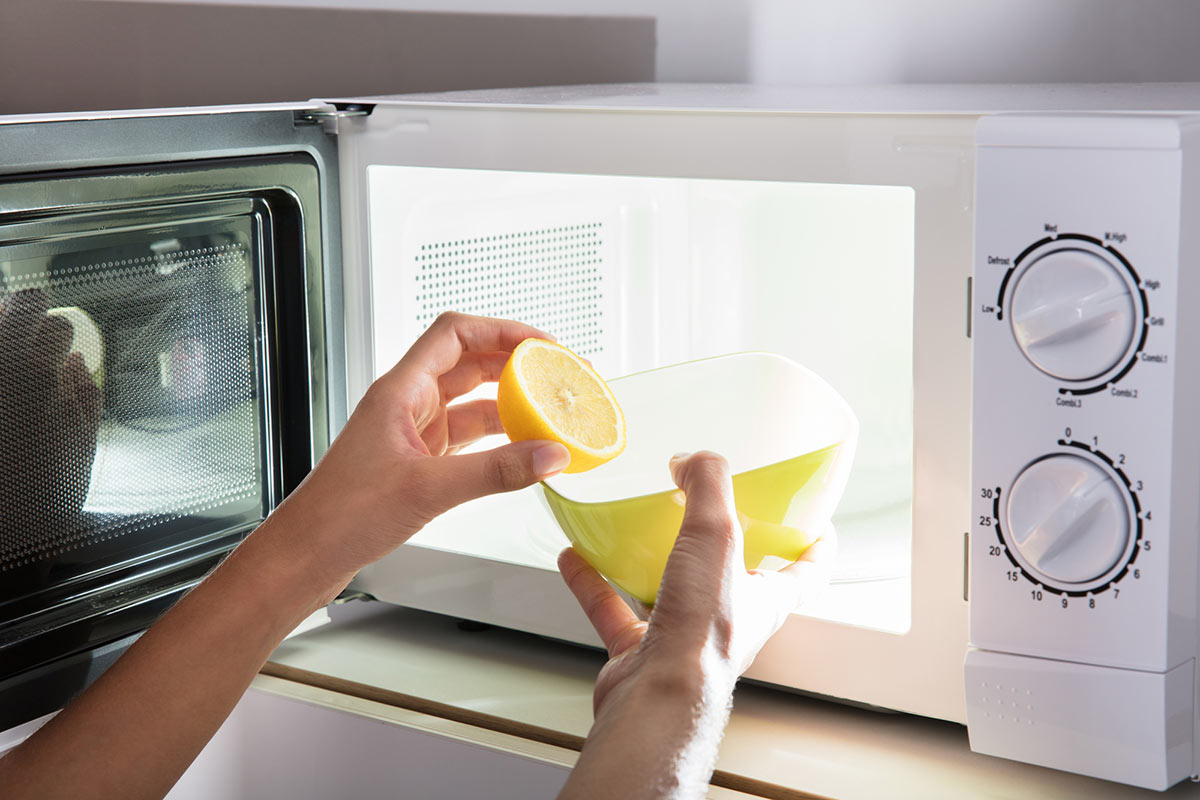
- Create a cleaning solution: In a microwave-safe bowl, mix one cup of water with one tablespoon of vinegar or a squeeze of lemon juice. These natural ingredients help break down grime and eliminate odors.
- Microwave the cleaning solution: Place the bowl with the cleaning solution inside the microwave. Microwave on high for 4-5 minutes, or until the solution comes to a boil and steam is generated.
- Let the steam work its magic: Keep the microwave door closed for a few minutes to allow the steam to soften and loosen any dried-on stains or food particles.
- Wipe down the interior: After the steam has worked its magic, carefully remove the bowl using oven mitts or gloves. Wipe down the interior surfaces with a soft microfiber cloth or sponge, focusing on any tough stains or residue. Use a toothpick or small brush to clean hard-to-reach areas.
- Clean the turntable and racks: Scrub the turntable and racks with dish soap and water. Rinse them thoroughly and make sure they are completely dry before placing them back into the microwave.
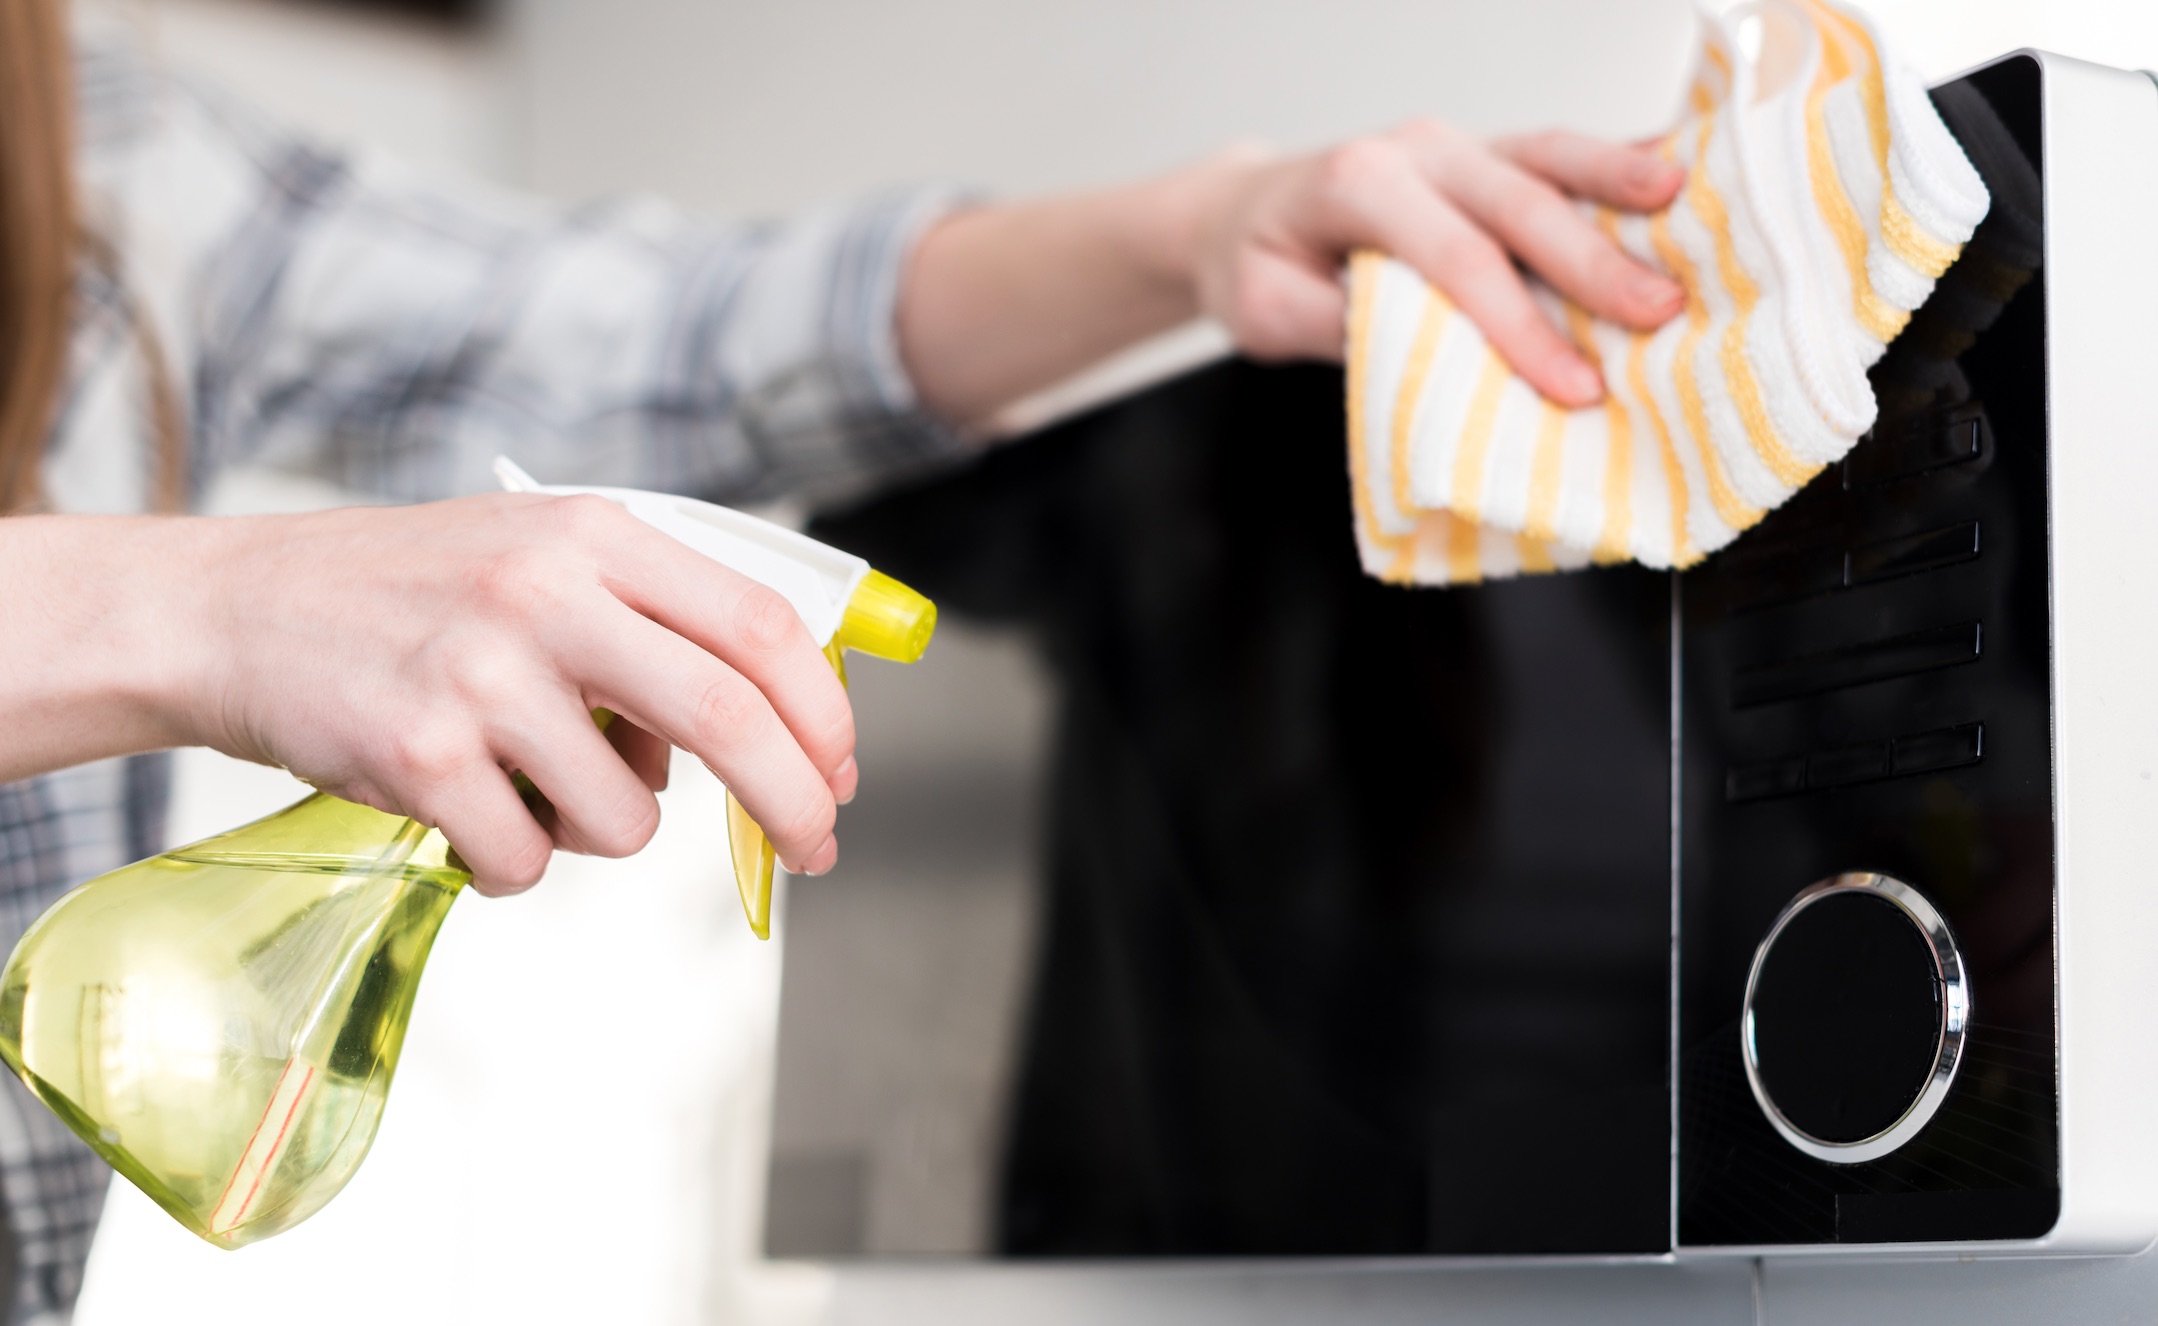
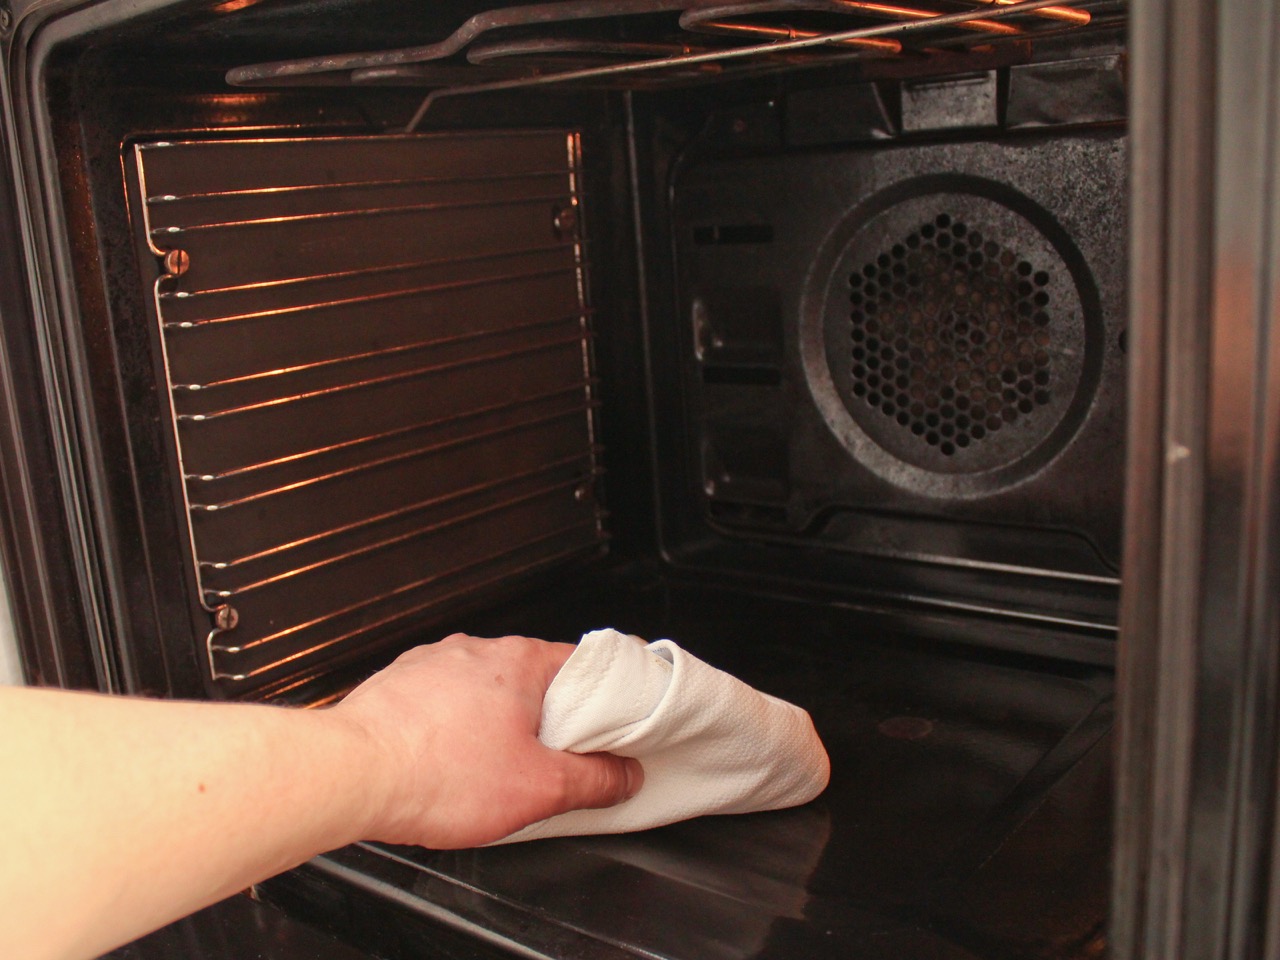
3.2 Cleaning the Exterior
- Mix a cleaning solution: In a bowl, combine warm water with a few drops of dish soap.
- Dip a cloth or sponge: Dip a cloth or sponge into the cleaning solution and wring out any excess liquid.
- Wipe the exterior surfaces: Gently wipe down the exterior surfaces of the microwave, including the control panel and door. Pay extra attention to any stains or splatters, using a toothbrush or small brush to scrub them if necessary.
- Rinse and dry: Rinse the cloth or sponge with clean water and wring out any excess liquid. Wipe down the surfaces again to remove any soapy residue. Finally, dry the exterior with a clean, dry cloth.
Following these step-by-step instructions will ensure that your microwave is thoroughly cleaned, both inside and out. However, there may be stubborn stains or lingering odors that require additional attention. Let’s explore how to tackle those in the next section.
1 Cleaning the Interior
When it comes to cleaning the interior of your microwave, it’s important to remove any loose debris and then focus on breaking down tough stains and food residue. Here’s a step-by-step guide on how to clean the interior of your microwave effectively:
- Remove any loose debris: Start by removing any removable parts, such as the turntable and microwave racks. These can be washed separately.
- Create a cleaning solution: In a microwave-safe bowl, combine one cup of water with one tablespoon of vinegar or a squeeze of lemon juice. The acidity in these ingredients helps break down grime and eliminate odors.
- Microwave the cleaning solution: Place the bowl with the cleaning solution inside the microwave. Microwave on high for 4-5 minutes, or until the solution comes to a boil and generates steam. The steam will help to soften and loosen any dried-on stains or food particles.
- Let the steam work its magic: Keep the microwave door closed for a few minutes to allow the steam to circulate and work its magic. The steam will help to further soften the grime, making it easier to wipe away.
- Wipe down the interior: After the steam treatment, carefully remove the bowl using oven mitts or gloves, as it will be hot. Take a soft microfiber cloth or sponge and start wiping down the interior surfaces of the microwave. Pay extra attention to any tough stains or residue. For stubborn spots, use a toothpick or small brush to gently scrub them away. Be careful not to scratch the surface while doing so.
- Clean the turntable and racks: While cleaning the interior, also take the opportunity to clean the turntable and microwave racks. Wash them separately with dish soap and warm water. Rinse them thoroughly and make sure they are completely dry before placing them back into the microwave.
By following these steps, you’ll be able to effectively clean the interior of your microwave, removing built-up grime, stains, and food residue. However, if you’re dealing with particularly stubborn stains or persistent odors, keep reading to discover some additional tips and tricks.
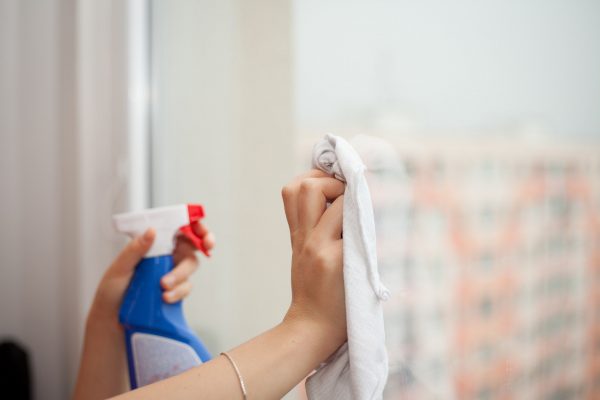
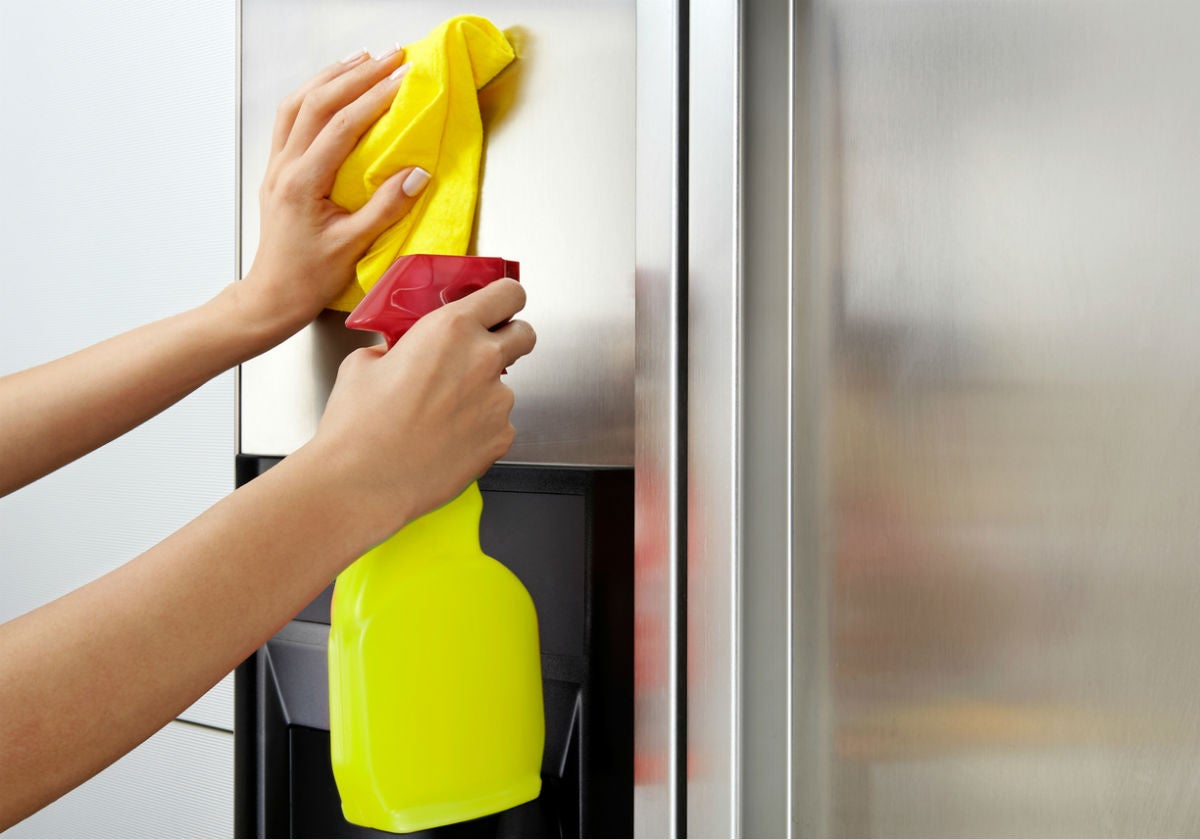
2 Cleaning the Exterior
While it’s important to focus on the interior of your microwave, don’t forget about the exterior surfaces as well. Here are the steps to effectively clean the exterior of your microwave:
- Mix a cleaning solution: In a bowl, combine warm water with a few drops of dish soap. This gentle yet effective solution will help remove dirt, grease, and smudges from the surface of your microwave.
- Dip a cloth or sponge: Dip a soft cloth or sponge into the cleaning solution and wring out any excess liquid. You want the cloth or sponge to be damp, but not soaked.
- Wipe the exterior surfaces: Gently wipe down the exterior surfaces of your microwave, including the control panel, sides, top, and door. Pay extra attention to any stains or splatters, as well as any areas that may accumulate dirt or grease.
- Tackle stubborn stains: If you encounter any stubborn stains or dried-on food particles, use a toothbrush or small brush to scrub them gently. Be careful not to apply too much pressure, as you don’t want to scratch the surface of your microwave.
- Rinse and dry: Once you’ve wiped down all the exterior surfaces, rinse the cloth or sponge with clean water and wring out any excess liquid. Go over the surfaces again to remove any soapy residue. Finally, use a clean, dry cloth to dry the exterior of your microwave.
By following these steps, you’ll be able to restore the exterior of your microwave to its original shine. Remember to avoid using abrasive materials or harsh chemicals, as they can damage the surface. With a clean interior and exterior, your microwave will not only look great but also function optimally for your cooking needs.
Now that you know how to clean both the interior and exterior of your microwave, let’s move on to the next section, where we’ll discuss how to tackle stubborn stains and odors that may linger even after cleaning.
Place a microwave-safe bowl with water and a few slices of lemon or a splash of vinegar inside the microwave. Heat for 3-5 minutes, then wipe down the interior with a damp cloth for an easy clean.
Removing Stubborn Stains and Odors
Despite your best efforts, you may encounter stubborn stains or lingering odors in your microwave. Don’t worry – we have some effective solutions to help you tackle these issues:
1. Baking Soda Paste: Create a paste by mixing baking soda with a small amount of water. Apply the paste to the stubborn stains and let it sit for 15-20 minutes. Then, gently scrub the stains with a soft cloth or sponge and rinse thoroughly.
2. Lemon Juice: Lemon juice is a natural stain remover and deodorizer. Squeeze the juice of a lemon into a microwave-safe bowl and add some water. Place the bowl in the microwave and heat it for a few minutes until the mixture steams. Let it sit for a few more minutes to allow the lemony steam to work its magic. Then, wipe down the interior with a damp cloth.
3. Vinegar Steam: Fill a microwave-safe bowl with equal parts water and vinegar. Microwave the bowl for a few minutes until the solution boils and creates steam. Keep the microwave door closed for a few more minutes to allow the steam to loosen the stains. Afterwards, wipe down the interior with a cloth or sponge.
4. Charcoal Odor Absorber: If you’re dealing with persistent odors in your microwave, place a small bowl of activated charcoal on one of the shelves and leave it overnight. The charcoal will absorb the odors, leaving your microwave smelling fresh.
5. Baking Soda and Vinegar Combination: For stubborn stains and odors, create a solution by mixing baking soda and vinegar. Apply the mixture to the affected areas and let it sit for a few minutes. Then, scrub with a soft cloth or sponge and rinse thoroughly.
Remember to test any cleaning solution on a small, inconspicuous area of your microwave before applying it to the entire surface to ensure it doesn’t cause any damage or discoloration. Additionally, proper ventilation while cleaning and leaving the microwave door open for a while after cleaning can help eliminate any residual odors.
Now that you have learned how to remove stubborn stains and odors, it’s important to implement some habits to maintain a clean and fresh-smelling microwave.
Maintaining a Clean Microwave
To keep your microwave looking and smelling fresh, it’s essential to establish a regular cleaning routine and practice a few maintenance habits. Here are some tips to help you maintain a clean and spotless microwave:
- Cover food when heating: Use microwave-safe covers or microwave-safe wraps to prevent food from splattering inside the microwave. This will help minimize the need for deep cleaning sessions.
- Wipe down spills immediately: If you notice any spills or splatters inside the microwave, wipe them down immediately, even if they seem minor. This will prevent stains and odors from setting in and becoming harder to remove.
- Use microwave-safe containers: Always use microwave-safe containers and utensils when heating or cooking food. Avoid using materials such as aluminum foil or plastic wrap that can melt or cause damage to the microwave.
- Clean the interior regularly: Set a monthly schedule to deep clean the interior of your microwave using the vinegar or lemon juice steam method mentioned earlier. This will help remove any buildup and prevent stubborn stains from forming.
- Wipe down the exterior: Include wiping down the exterior of the microwave as part of your regular cleaning routine. Use a gentle cleaning solution and a soft cloth to remove any dirt, fingerprints, or smudges.
- Keep the microwave dry: After cleaning or using the microwave, make sure to dry the interior and exterior surfaces thoroughly. Moisture can lead to the growth of mold or mildew.
- Avoid strong odors: Be cautious when heating pungent or strongly aromatic foods, as the smell can linger in the microwave. If necessary, place a small, microwave-safe bowl with a mixture of water and lemon juice to eliminate any lingering odors.
- Regularly clean the turntable: Remove the turntable and wash it separately as needed, or include it in your monthly deep cleaning routine. This will help prevent the accumulation of food particles and ensure even heating.
By implementing these maintenance habits, you can keep your microwave looking clean and functioning optimally for years to come. Remember, a little bit of regular effort goes a long way in maintaining the cleanliness and hygiene of your kitchen appliances.
Now that you have a clean and well-maintained microwave, let’s explore some additional tips and tricks to enhance your overall kitchen storage and organization.
Additional Tips and Tricks
When it comes to kitchen storage and organization, there are plenty of tips and tricks to help you maximize space and keep your kitchen tidy. Here are some additional tips to consider:
- Utilize vertical space: Install shelves or hanging racks to utilize vertical space in your kitchen. This can help create additional storage for items such as pots, pans, and small appliances.
- Invest in storage containers: Use a variety of storage containers to keep your pantry, cabinets, and drawers organized. Clear containers are particularly useful as they allow you to see the contents at a glance.
- Label everything: Labeling containers and shelves will help you find items more easily and maintain an organized system. Consider using a label maker or adhesive labels for a neat and uniform look.
- Maximize drawer space: Use drawer dividers or organizers to separate and categorize items within your drawers. This will help prevent clutter and make it easier to locate specific items when needed.
- Use hooks and magnets: Install hooks or magnetic strips on the inside of cabinet doors to hang small utensils, measuring spoons, and pot holders. This will free up drawer space and keep items within easy reach.
- Optimize pantry storage: Arrange your pantry items based on priority and frequency of use. Keep frequently used items at eye level and place less frequently used items on higher or lower shelves.
- Organize spices: Use spice racks or drawer inserts to keep your spices organized and easily accessible. Arrange them alphabetically or based on usage to streamline your cooking process.
- Purge regularly: Regularly go through your kitchen storage spaces and discard expired items or those you no longer use. This will free up space and keep your kitchen clutter-free.
By implementing these additional tips and tricks, you can create a well-organized and efficient kitchen storage system that will make your cooking and meal preparation more enjoyable.
With a clean and organized kitchen, including a spotless microwave and optimized storage solutions, you’ll have a functional and inviting space to explore your culinary creativity.
Now that you have a wealth of knowledge on kitchen storage ideas, it’s time to put these tips into action and transform your kitchen into a haven of organization and efficiency!
Remember, a clean and well-organized kitchen is the foundation of a joyful and stress-free cooking experience.
Conclusion
Cleaning and organizing your kitchen, particularly your microwave, is essential for maintaining a clean and functional space. With the step-by-step cleaning process and additional tips and tricks shared in this article, you now have the knowledge to keep your microwave spotless and your kitchen storage optimized.
By following safety precautions, gathering the necessary materials, and implementing a regular cleaning routine, you can ensure a thorough and effective cleaning process for both the interior and exterior of your microwave. Removing stubborn stains and odors becomes easier with the help of natural ingredients like vinegar, lemon juice, and baking soda.
Maintaining a clean microwave involves developing good habits such as covering food when heating, promptly wiping down spills, and using microwave-safe containers. By implementing these habits, you can prevent stains and odors from becoming deeply embedded and keep your microwave in tip-top shape.
Furthermore, organizing your kitchen storage by utilizing vertical space, investing in storage containers, and maximizing drawer space will help you create a clutter-free environment that enhances your cooking experience.
Remember, a clean and well-organized kitchen not only promotes food safety and hygiene but also brings joy and efficiency to your everyday cooking endeavors.
So, put these kitchen storage ideas and cleaning techniques into practice, and enjoy the benefits of a clean and organized space that inspires culinary creativity and allows you to fully enjoy your time in the kitchen.
Here’s to a sparkling microwave and a beautifully organized kitchen!
Frequently Asked Questions about How To Clean A Microwave: Easy Ways To Get A Spotless Finish
Was this page helpful?
At Storables.com, we guarantee accurate and reliable information. Our content, validated by Expert Board Contributors, is crafted following stringent Editorial Policies. We're committed to providing you with well-researched, expert-backed insights for all your informational needs.


0 thoughts on “How To Clean A Microwave: Easy Ways To Get A Spotless Finish”