
Articles
How To Clean Microwave Oven Inside
Modified: February 29, 2024
Learn how to clean the inside of your microwave oven effectively with these informative articles. Keep your appliance spotless and odor-free.
(Many of the links in this article redirect to a specific reviewed product. Your purchase of these products through affiliate links helps to generate commission for Storables.com, at no extra cost. Learn more)
Introduction
Welcome to our guide on how to clean the inside of your microwave oven! Over time, the interior of your microwave can accumulate spills, stains, and food debris, which not only affects its performance but can also lead to unpleasant odors. Regularly cleaning your microwave not only helps to maintain its functionality but also ensures a hygienic cooking environment.
Before we dive into the cleaning process, it’s important to understand some safety precautions to avoid any accidents. Cleaning a microwave involves working with water and cleaning solutions, so it’s crucial to take the necessary steps to protect yourself.
In this comprehensive guide, we will walk you through the step-by-step process of cleaning the inside of your microwave oven. From removing loose debris to deodorizing the microwave, we’ve got you covered. So let’s get started!
Key Takeaways:
- Regularly cleaning your microwave oven not only maintains its functionality and hygiene but also ensures a fresh and pleasant cooking environment, extending the lifespan of your appliance.
- Safety precautions, proper materials, and a step-by-step cleaning process are essential for effectively cleaning the inside of your microwave oven, from removing debris to deodorizing the interior.
Read more: How To Paint The Inside Of A Microwave Oven
Safety Precautions
Before you begin cleaning your microwave, it’s important to take certain safety precautions to avoid any mishaps. Follow these guidelines to ensure a safe cleaning process:
- Switch off and unplug the microwave: Before you start cleaning, make sure the microwave is turned off and unplugged. This will help prevent any accidental activation or electrical shocks.
- Allow the microwave to cool down: If you have recently used the microwave, wait for it to cool down before starting the cleaning process. This will help avoid burns from hot surfaces.
- Wear protective gloves: To protect your hands from any cleaning solutions or hot surfaces, it’s advisable to wear a pair of gloves throughout the cleaning process.
- Use caution with water and cleaning solutions: Water and cleaning solutions can cause surfaces to become slippery. Be careful when handling wet cloths or utensils inside the microwave to prevent accidental slips or falls.
- Avoid abrasive materials: Do not use abrasive materials, such as steel wool or rough scrub brushes, as they can scratch or damage the surface of your microwave. Opt for soft cloths or sponges instead.
- Read the manufacturer’s instructions: Different microwaves may have specific cleaning instructions provided by the manufacturer. It’s important to read and follow these instructions to ensure safe and effective cleaning.
By following these safety precautions, you can ensure a safe cleaning experience and minimize the risk of accidents. Now that we have covered the safety aspects, let’s move on to the materials you will need for the cleaning process.
Materials Needed
Before you start cleaning the inside of your microwave oven, gather the following materials:
- Mild dish soap or microwave cleaner: Choose a mild dish soap or a specialized microwave cleaner. Avoid using harsh chemicals or abrasive cleaners that can damage the interior of your microwave.
- Water: You will need water for creating a cleaning solution and for rinsing out the microwave.
- Microwave-safe bowl or cup: Select a microwave-safe bowl or cup to hold the cleaning solution. Make sure it is large enough to accommodate enough water for the cleaning process.
- Soft cloths or sponges: Use soft cloths or sponges for wiping down the interior of the microwave. These should be non-abrasive to avoid scratching the surfaces.
- Rubber gloves: It’s a good idea to wear rubber gloves to protect your hands from any cleaning solutions or hot surfaces during the process.
- Toothpick or q-tip: These small tools can be handy for removing stubborn debris or food particles from hard-to-reach corners of the microwave.
- Microfiber cloth or towel: A microfiber cloth or towel can be used for cleaning the exterior surface of the microwave.
- Vinegar or lemon juice (optional): If you have stubborn stains or odors, you can use vinegar or lemon juice to help remove them. These natural ingredients work as effective cleaning agents.
Having these materials ready before you begin will ensure a smooth cleaning process without any interruptions. Now that you have all the necessary materials, let’s proceed to the step-by-step process of cleaning the inside of your microwave oven.
Step 1: Removing Loose Debris
Before you start deep-cleaning your microwave, it’s important to remove any loose debris or food particles that may have accumulated. Here’s how you can do it:
- Open the microwave door and remove the turntable: Carefully remove the turntable and any other removable parts from inside the microwave. Set them aside for cleaning later.
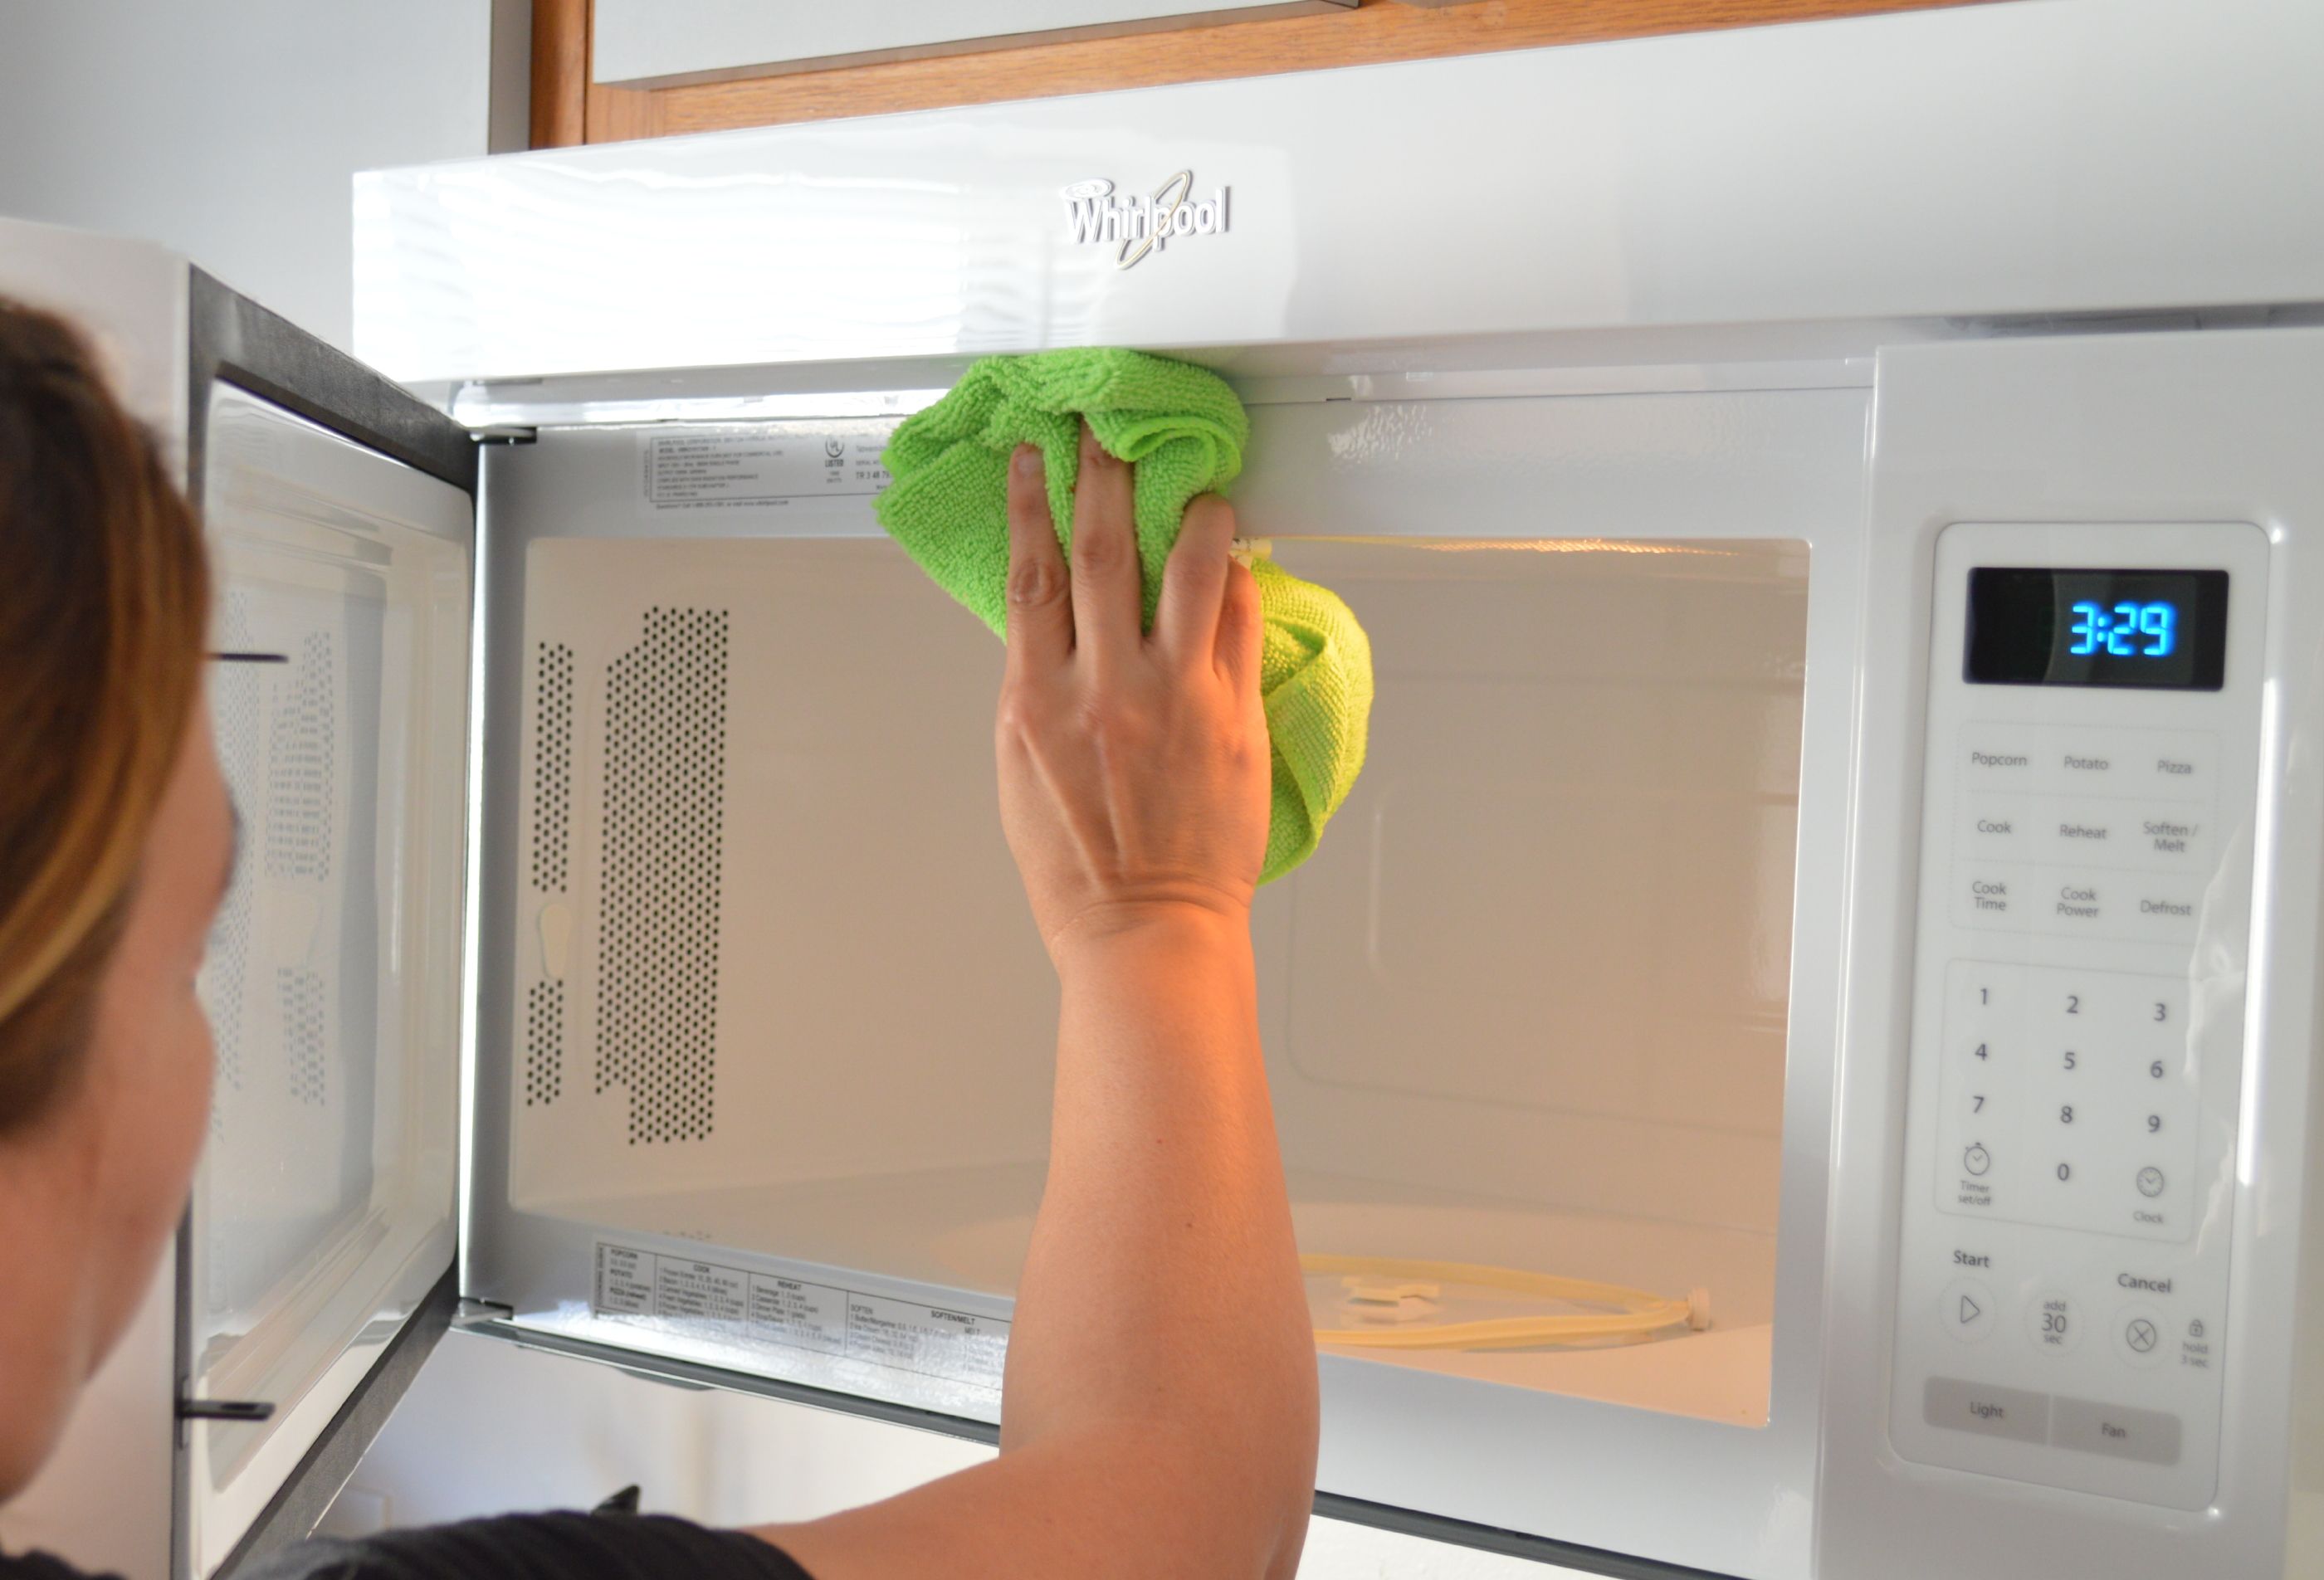
- Wipe down the interior: Take a soft cloth or sponge and gently wipe down the interior surfaces of the microwave. Pay special attention to the ceiling, walls, and bottom where food debris tends to accumulate.
- Remove stubborn debris: If you notice any stubborn debris stuck to the surfaces, use a toothpick or q-tip to gently dislodge them. Be careful not to scratch the interior surfaces.
- Empty and clean the crumb tray: Some microwaves have a removable crumb tray at the bottom. Remove the crumb tray and empty it in the sink. Clean the crumb tray with warm, soapy water, rinse, and dry it thoroughly before placing it back in the microwave.
By removing loose debris from the microwave, you can ensure a cleaner working space and minimize the risk of any unpleasant odors. Now let’s move on to the next step where we will prepare a cleaning solution.
Step 2: Preparing Cleaning Solution
Now that you have removed the loose debris from your microwave, it’s time to prepare the cleaning solution. The cleaning solution will help to loosen up stains and remove any lingering odors. Here’s how you can do it:
- Fill a microwave-safe bowl or cup with water: Take a microwave-safe bowl or cup and fill it about halfway with water. This will ensure that you have enough liquid to create the cleaning solution.
- Add dish soap or microwave cleaner: Add a small amount of mild dish soap or microwave cleaner to the water. Follow the instructions on the cleaner or use a few drops of dish soap to create a soapy solution. Stir the mixture gently to ensure it is well blended.
- Optional: If you have stubborn stains or odors, you can add a tablespoon of vinegar or lemon juice to the cleaning solution. These natural ingredients can help to break down stains and eliminate odors.
- Place the bowl or cup in the microwave: Put the bowl or cup with the cleaning solution into the microwave. Make sure it is placed in the center and is not obstructing the rotating plate.
Once you have prepared the cleaning solution, you are ready to move on to the next step of wiping down the interior of the microwave. This step will help to remove any grime and stains from the surfaces.
Read more: How To Clean Convection Microwave Oven
Step 3: Wiping Down the Interior
With the cleaning solution ready, it’s time to start wiping down the interior of your microwave oven. This step will help to remove stains, grime, and food residue from the surfaces. Follow these steps:
- Place the bowl or cup with the cleaning solution in the center of the microwave.
- Close the microwave door and run it on high power for 2-3 minutes. The steam generated from the solution will help to loosen any dirt or stains.
- After the time is up, let the steam sit for a few more minutes. This will allow the steam to penetrate the stains and make them easier to wipe off.
- Using a soft cloth or sponge, carefully remove the bowl or cup from the microwave. Be cautious as the solution may still be hot.
- Dip the cloth or sponge into the cleaning solution and start wiping down the interior surfaces of the microwave. Focus on areas with visible stains and hardened food debris.
- For stubborn stains, gently scrub the affected areas using a circular motion. Avoid excessive pressure that may damage the surface.
- Rinse the cloth or sponge frequently in the cleaning solution to effectively remove dirt and grime.
- Once you have wiped down the entire interior, use a clean, damp cloth or sponge to rinse off any remaining cleaning solution.
- Dry the interior surfaces with a clean towel or let them air dry before proceeding to the next step.
By following these steps and wiping down the interior, you will be able to remove most of the stains and food residue. However, if there are any stubborn stains that are still present, don’t worry! We will address those in the next step.
Place a microwave-safe bowl with water and a few tablespoons of vinegar inside the microwave. Heat for 5 minutes, then let it sit for 2 minutes. The steam will loosen any food splatters, making it easier to wipe clean.
Step 4: Cleaning the Turntable
The turntable is an essential part of the microwave oven that rotates the food for even heating. It can accumulate food debris and stains over time, so it’s important to clean it regularly. Follow these steps to clean the turntable:
- Remove the turntable from the microwave: Take out the turntable carefully from inside the microwave. It is usually located on a rotating base or support.
- Wash the turntable with dish soap and water: Fill your sink or a basin with warm water and add a few drops of dish soap. Submerge the turntable in the soapy water and scrub it gently with a sponge or cloth to remove any dirt or stains.
- Rinse and dry the turntable: Once you have washed the turntable, rinse it thoroughly with clean water to remove any soap residue. Use a clean towel to dry it completely before placing it back in the microwave.
- Clean the rotating base or support: While the turntable is drying, wipe down the rotating base or support with a damp cloth. Remove any debris or stains that may have accumulated. Dry it thoroughly before reassembling the turntable.
By cleaning the turntable regularly, you ensure that it remains hygienic and free from food particles that can affect the cooking performance of your microwave. Now, let’s move on to the next step where we will clean the exterior of your microwave.
Step 5: Cleaning the Microwave Exterior
While cleaning the interior of your microwave is important, it’s equally essential to keep the exterior clean and presentable. Follow these steps to clean the exterior of your microwave:
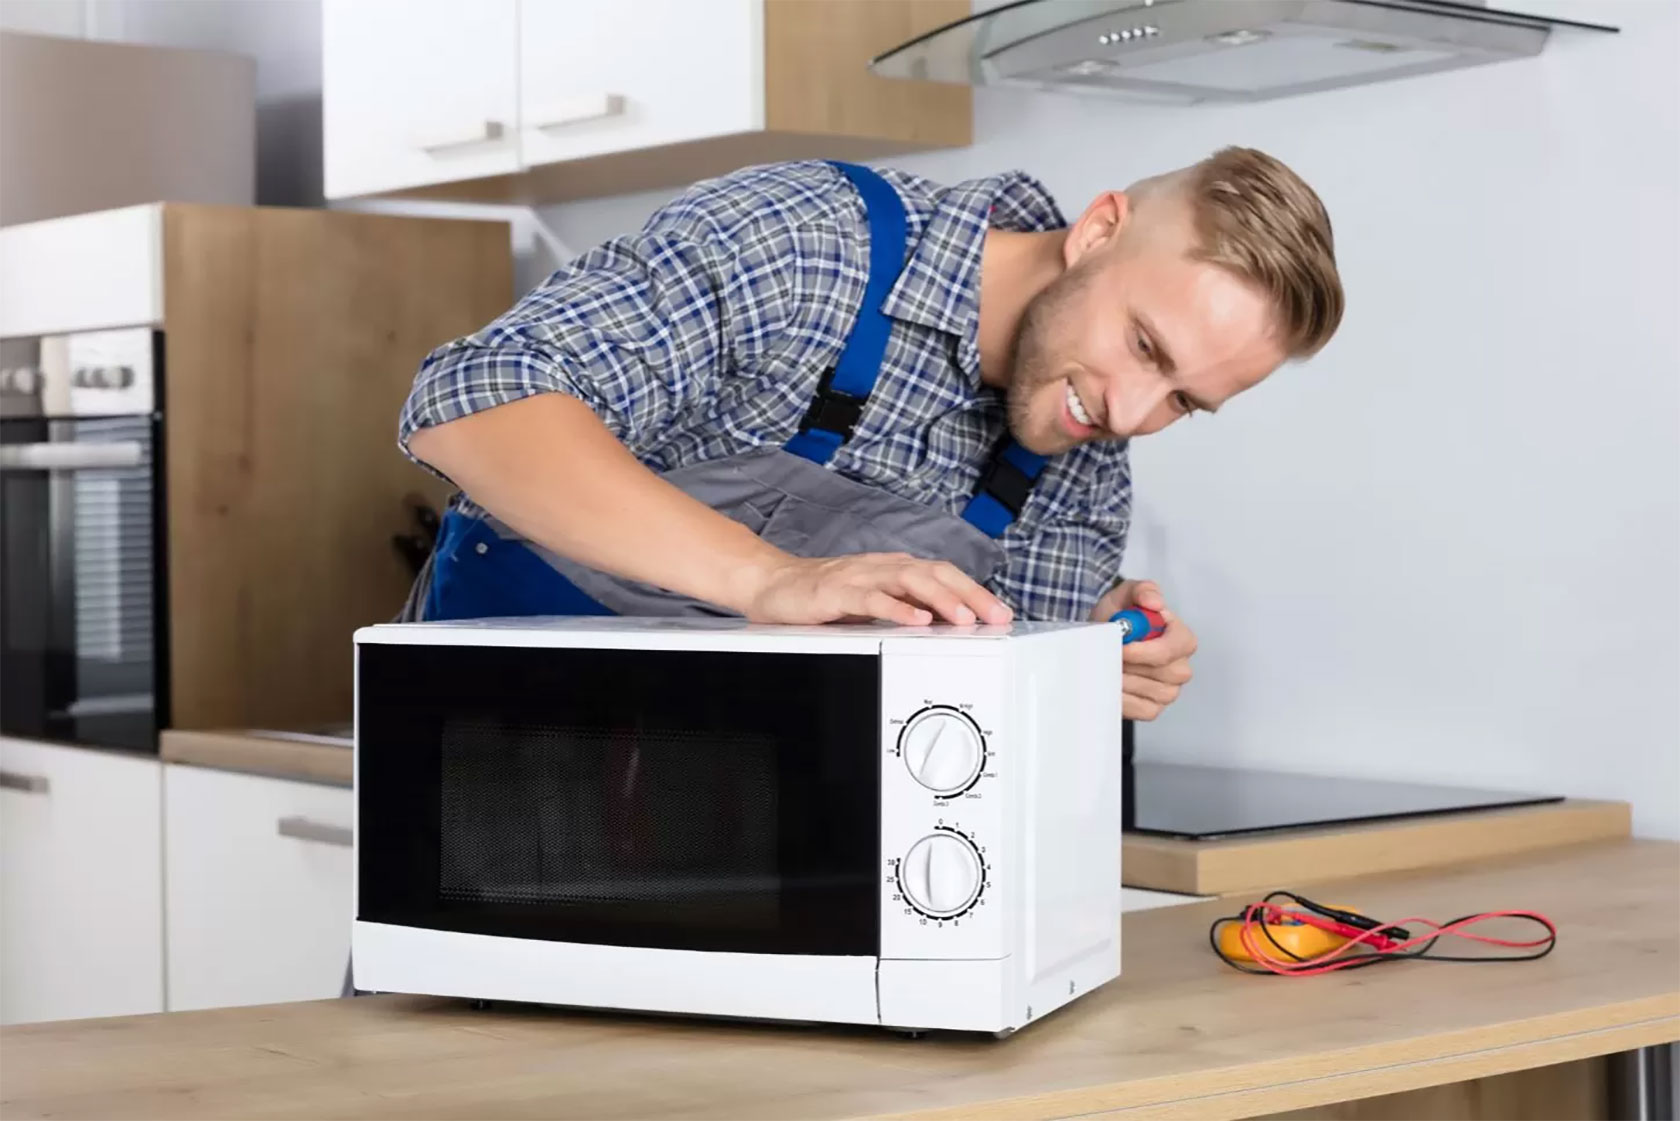
- Unplug the microwave: Before cleaning the exterior, make sure to unplug the microwave from the power source to avoid any electrical hazards.
- Prepare a cleaning solution: Mix a small amount of mild dish soap with warm water in a bowl or a spray bottle. This will be used to clean the surfaces of the microwave.
- Dampen a microfiber cloth or sponge: Dip a microfiber cloth or sponge into the cleaning solution and wring out any excess liquid. The cloth should be damp, not soaking wet.
- Wipe down the exterior surfaces: Gently wipe down the exterior surfaces of the microwave, including the front, sides, and top. Pay attention to areas that may have accumulated dust, grease, or fingerprints.
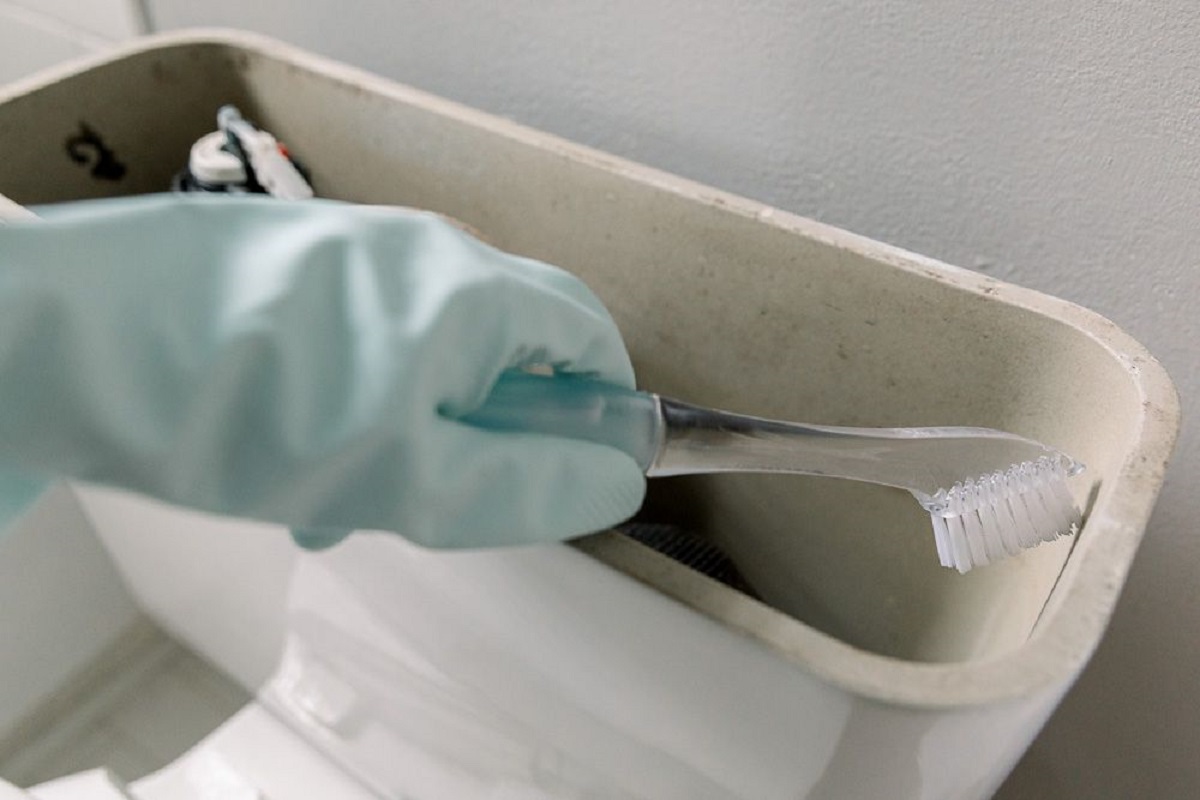
- Use a toothbrush for crevices: For hard-to-reach areas or tight crevices on the exterior of the microwave, use a toothbrush dipped in the cleaning solution to scrub away dirt or grime.
- Rinse and dry: Once you have cleaned all the surfaces, use a clean damp cloth to rinse off any remaining cleaning solution. Then, use a dry cloth or towel to thoroughly dry the exterior of the microwave.
- Polish with a stainless steel cleaner (if applicable): If your microwave has a stainless steel exterior, you can use a specialized stainless steel cleaner or a mixture of equal parts vinegar and water to polish and restore its shine.
Regularly cleaning the exterior of your microwave not only keeps it looking new but also helps to maintain its overall hygiene. In the next step, we will look at how to tackle stubborn stains that may still be present inside the microwave.
Step 6: Removing Stubborn Stains
Despite your best efforts, you may still encounter stubborn stains that are difficult to remove from the interior of your microwave. Here are some methods you can try to tackle those stubborn stains:
- Vinegar and water solution: Mix equal parts white vinegar and water in a microwave-safe bowl. Place the bowl in the microwave and heat it on high power for a few minutes until the solution boils and produces steam. Let the steam sit for a few more minutes to loosen the stains. Carefully remove the bowl and wipe down the interior with a soft cloth or sponge.
- Baking soda paste: Make a paste by mixing baking soda with a small amount of water. Apply the paste to the stained areas and let it sit for about 15 minutes. Then, gently scrub the stains with a soft cloth or sponge. Rinse and wipe dry.
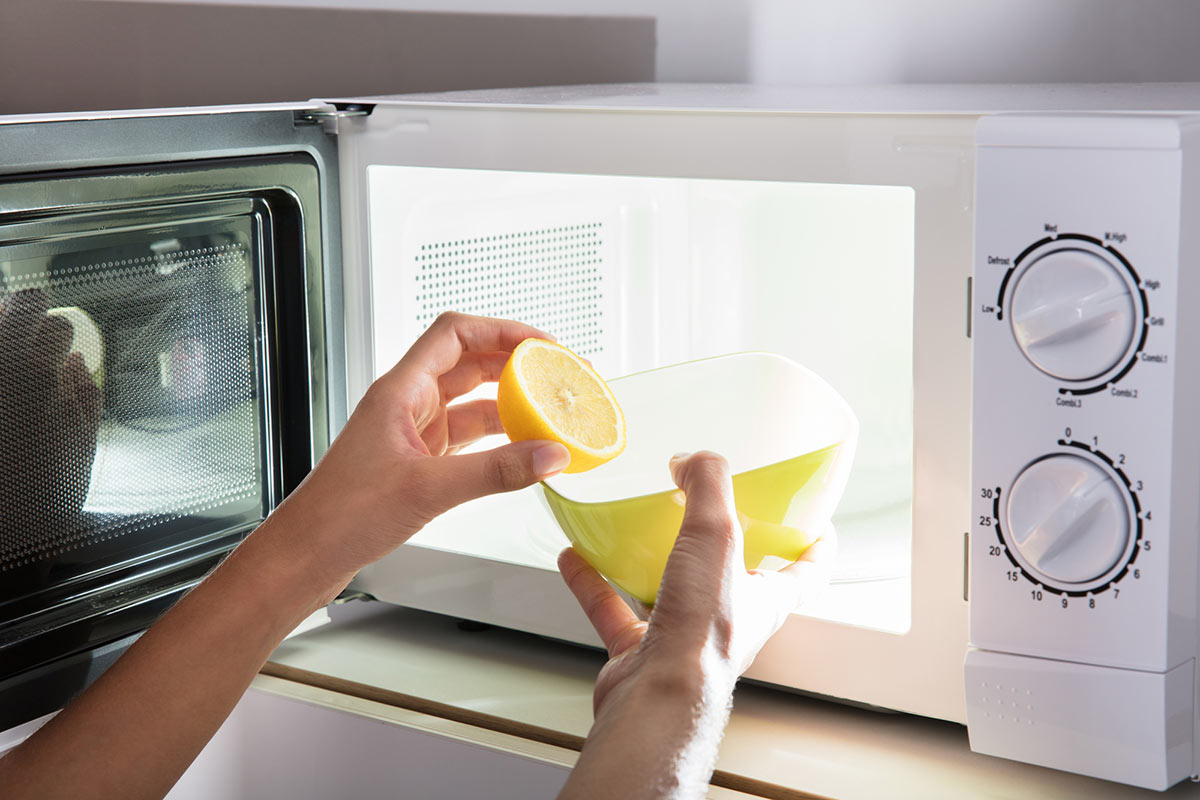
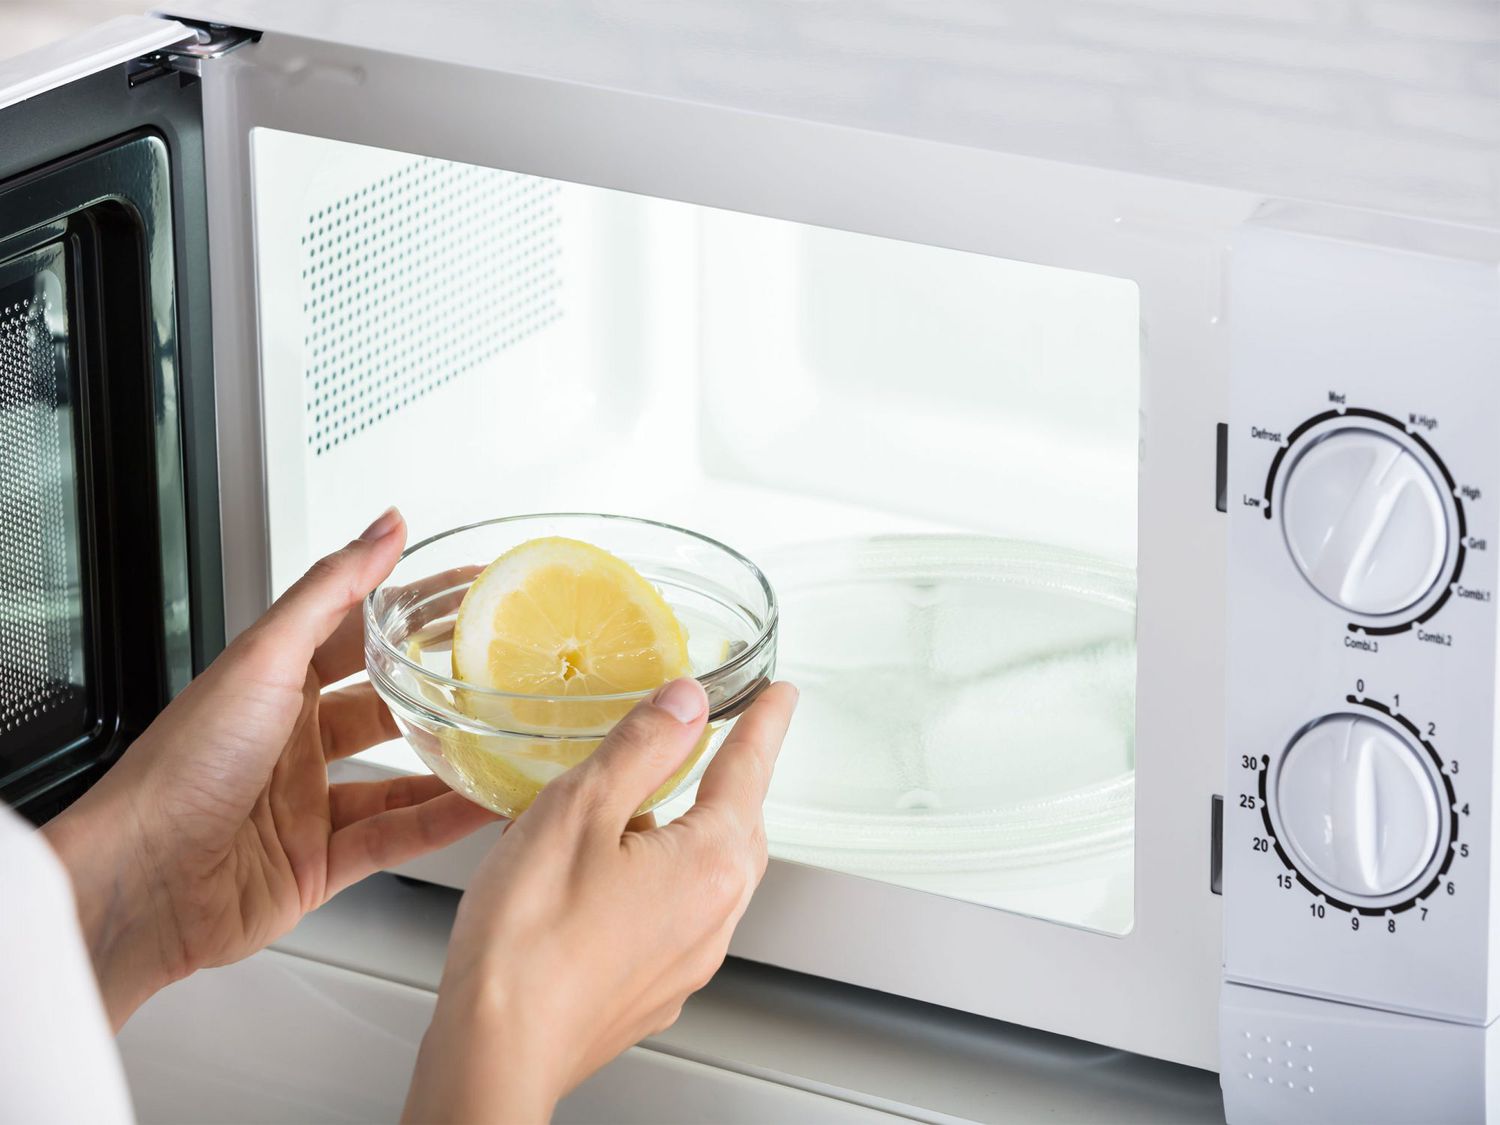
- Lemon juice: Slice a lemon in half and squeeze the juice into a microwave-safe bowl. Add a splash of water. Place the bowl in the microwave and heat it on high power for a couple of minutes until it creates steam. Let the steam sit for a few more minutes to help loosen the stains. Carefully remove the bowl and wipe the interior with a soft cloth or sponge.
- Commercial cleaners: If the above methods do not work, you can also consider using commercial microwave cleaners. Follow the instructions provided on the product label for the best results. Make sure to ventilate the area properly while using the cleaner.
Remember to always refer to the manufacturer’s guidelines for your specific microwave model and avoid using abrasive materials that may damage the interior surfaces. With these techniques, you can effectively remove most stubborn stains and enjoy a clean microwave interior.
Step 7: Deodorizing the Microwave
After cleaning the interior of your microwave, it’s important to remove any lingering odors to ensure a fresh and pleasant cooking environment. Here’s how you can deodorize your microwave:
- Prepare a citrus solution: Cut a lemon into slices or squeeze the juice of a lemon into a microwave-safe bowl. Add a cup of water to the bowl.
- Place the bowl in the microwave: Put the bowl with the lemon and water solution into the microwave. Make sure it is placed in the center and is not obstructing the rotating plate.
- Run the microwave on high power: Turn on the microwave and set the timer for 3-5 minutes, depending on the strength of your microwave. Allow the solution to come to a boil and produce steam.
- Let the steam sit: After the time is up, leave the bowl inside the microwave with the door closed for another 5-10 minutes. This allows the steam to circulate and deodorize the surfaces.
- Remove the bowl and wipe down the interior: Carefully remove the bowl from the microwave (it may still be hot, so use oven mitts or a towel). Take a clean cloth or sponge and wipe down the interior surfaces, including the walls and ceiling, to remove any leftover odors.
- Air out the microwave: Leave the microwave door open for a while to allow any remaining odors to dissipate. This will help fresh air circulate and eliminate any lingering smells.
By deodorizing your microwave, you can ensure that any food odors are eliminated and your microwave stays fresh. This step is particularly useful if you have cooked strong-smelling foods like fish or garlic.
Step 8: Reassembling and Final Steps
Now that you have cleaned the inside of your microwave and deodorized it, it’s time to reassemble it and complete the final steps. Follow these steps to finish the cleaning process:
- Reassemble the turntable and other parts: Take the thoroughly cleaned turntable and any other removable parts and place them back inside the microwave. Make sure they are correctly positioned and securely in place.
- Wipe down the exterior: Use a clean, damp cloth to wipe down the exterior surfaces of the microwave one final time. Pay attention to any areas that may have been overlooked during the earlier cleaning process.
- Plug in the microwave: Once you are certain that the exterior and interior of the microwave are clean and dry, plug it back into the power source.
- Run a test: Turn on the microwave and run it for a short duration to ensure that it is working properly and that there are no issues after the cleaning process.
- Keep it clean: To maintain a clean microwave, it’s important to practice good habits. Avoid leaving food debris or spills inside. Wipe up any spills or splatters immediately, and regularly give the inside and outside a quick wipe down to prevent buildup.
Congratulations! You have successfully cleaned the inside of your microwave oven. By following these steps, you can ensure that your microwave is clean, odor-free, and ready for the next cooking adventure.
Conclusion
Cleaning the inside of your microwave oven is an essential task to maintain its functionality, hygiene, and to prevent any unpleasant odors. By following the step-by-step guide outlined in this article, you can easily and effectively clean your microwave, from removing loose debris to deodorizing the interior.
Remember to prioritize safety by taking the necessary precautions, such as unplugging the microwave, wearing gloves, and using caution when working with water and cleaning solutions. Additionally, gather the materials needed for the cleaning process, including mild dish soap or a specialized microwave cleaner, water, a microwave-safe bowl or cup, soft cloths or sponges, and rubber gloves.
The cleaning process involves removing loose debris, preparing a cleaning solution, wiping down the interior, cleaning the turntable, addressing stubborn stains, cleaning the exterior, deodorizing the microwave, and reassembling it. Each step is important in ensuring a thorough cleaning and maintaining a fresh cooking environment.
Remember to use alternative methods like vinegar, baking soda, or lemon juice for stubborn stains and consider using specialized stainless steel cleaner for stainless steel surfaces. It’s also crucial to read the manufacturer’s guidelines specific to your microwave model for accurate cleaning instructions.
By regularly cleaning your microwave and practicing good habits, such as promptly wiping up spills and keeping the interior and exterior clean, you can extend the lifespan of your appliance and enjoy a more efficient cooking experience.
So don your gloves, gather your cleaning materials, and give your microwave oven the thorough cleaning it deserves. With these steps, you can ensure a sparkling clean and odor-free microwave for all your future cooking endeavors!
Frequently Asked Questions about How To Clean Microwave Oven Inside
Was this page helpful?
At Storables.com, we guarantee accurate and reliable information. Our content, validated by Expert Board Contributors, is crafted following stringent Editorial Policies. We're committed to providing you with well-researched, expert-backed insights for all your informational needs.



0 thoughts on “How To Clean Microwave Oven Inside”