Home>Technology>Home Entertainment Systems>How To Connect A Projector To An AV Receiver
Home Entertainment Systems
How To Connect A Projector To An AV Receiver
Modified: August 23, 2024
Learn how to connect a projector to an AV receiver for a seamless home entertainment system setup. Get expert tips and troubleshooting advice now!
(Many of the links in this article redirect to a specific reviewed product. Your purchase of these products through affiliate links helps to generate commission for Storables.com, at no extra cost. Learn more)
Introduction
Welcome to the ultimate guide on how to connect a projector to an AV receiver! Whether you're a movie enthusiast, a gaming aficionado, or a professional looking to set up a stunning presentation system, the seamless integration of a projector with an AV receiver is a game-changer. This comprehensive tutorial will walk you through the process, providing you with the knowledge and confidence to achieve a flawless connection.
Imagine the thrill of watching your favorite blockbuster movie on a massive screen with theater-quality sound, or the excitement of immersing yourself in the captivating world of gaming with larger-than-life visuals and surround sound that transports you to another dimension. With the right setup, you can transform any space into a dynamic entertainment hub that elevates your viewing and listening experience to unprecedented levels.
In this guide, we will cover everything you need to know, from gathering the necessary cables and equipment to configuring the settings on your AV receiver. By the end of this journey, you will be equipped with the expertise to seamlessly connect your projector to an AV receiver, unlocking a world of immersive entertainment and professional presentation possibilities.
So, let's embark on this enlightening expedition and unravel the secrets of connecting a projector to an AV receiver. Get ready to elevate your audiovisual experience and unleash the full potential of your home entertainment system!
Key Takeaways:
- Elevate your entertainment with a seamless connection between your projector and AV receiver. Immerse yourself in larger-than-life visuals and enveloping sound for an unforgettable audiovisual experience.
- Unleash the potential of your home entertainment system by seamlessly integrating your projector and AV receiver. From movies to gaming, elevate your experience with captivating visuals and immersive sound.
Read more: What Is AV On A Projector
Step 1: Gather the Necessary Cables and Equipment
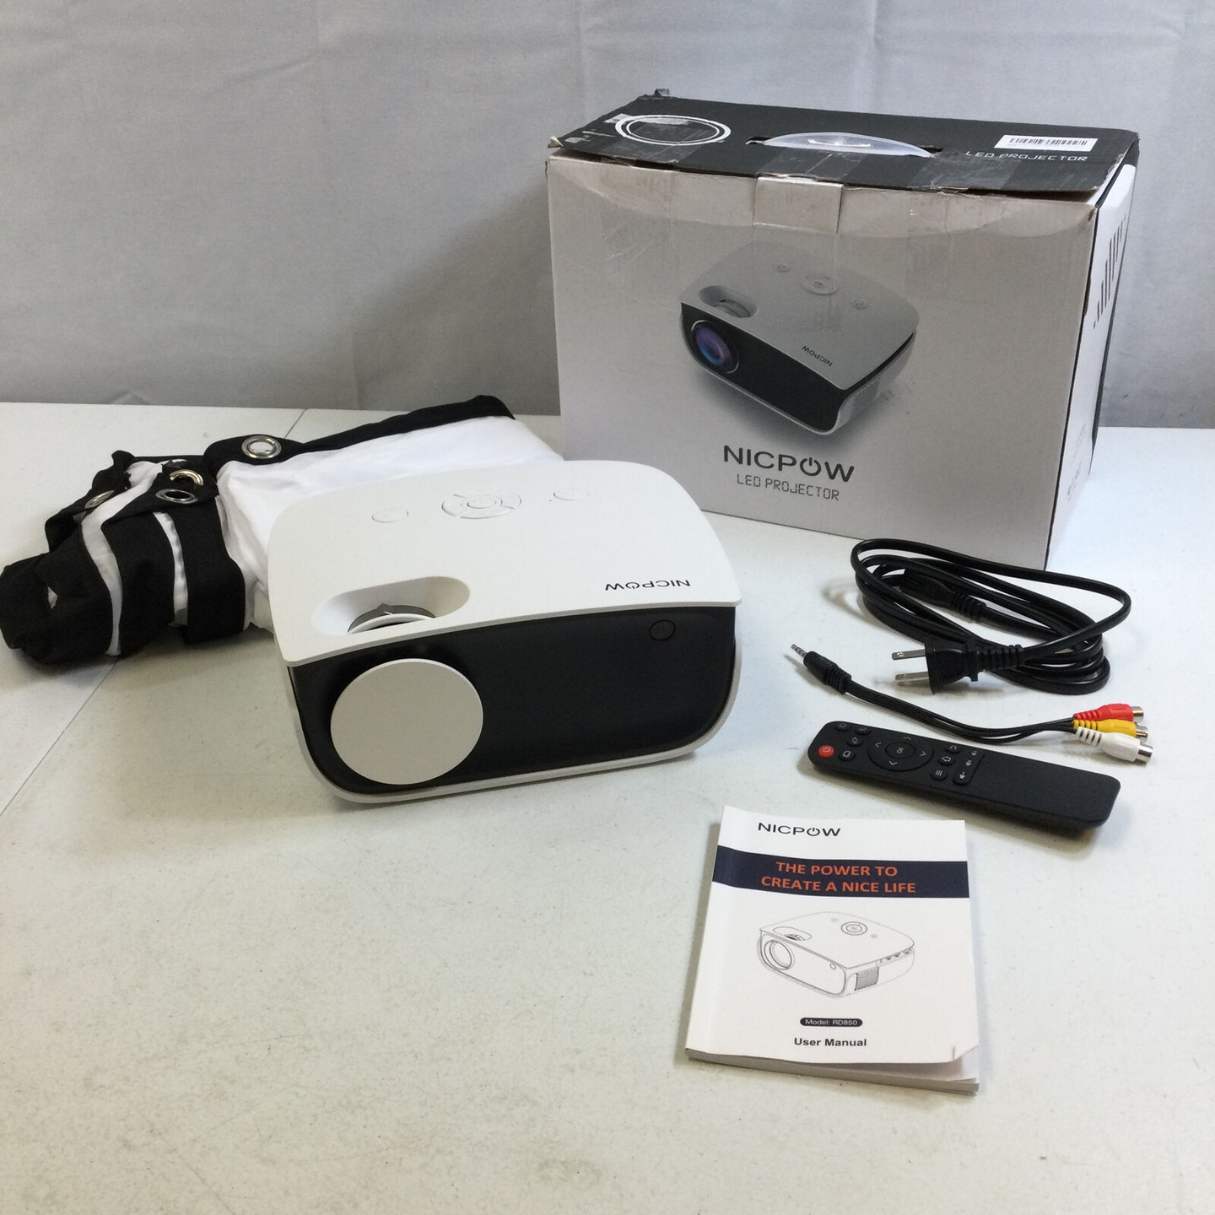
Before diving into the process of connecting your projector to an AV receiver, it’s essential to gather the requisite cables and equipment to ensure a smooth and efficient setup. Here’s a comprehensive list of the items you’ll need:
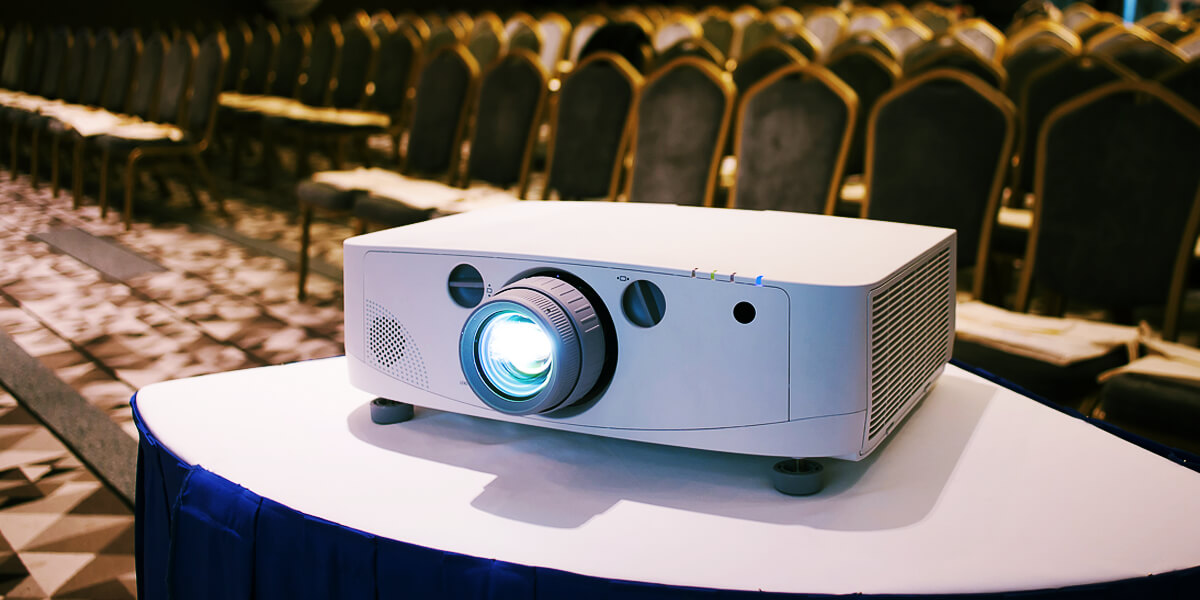
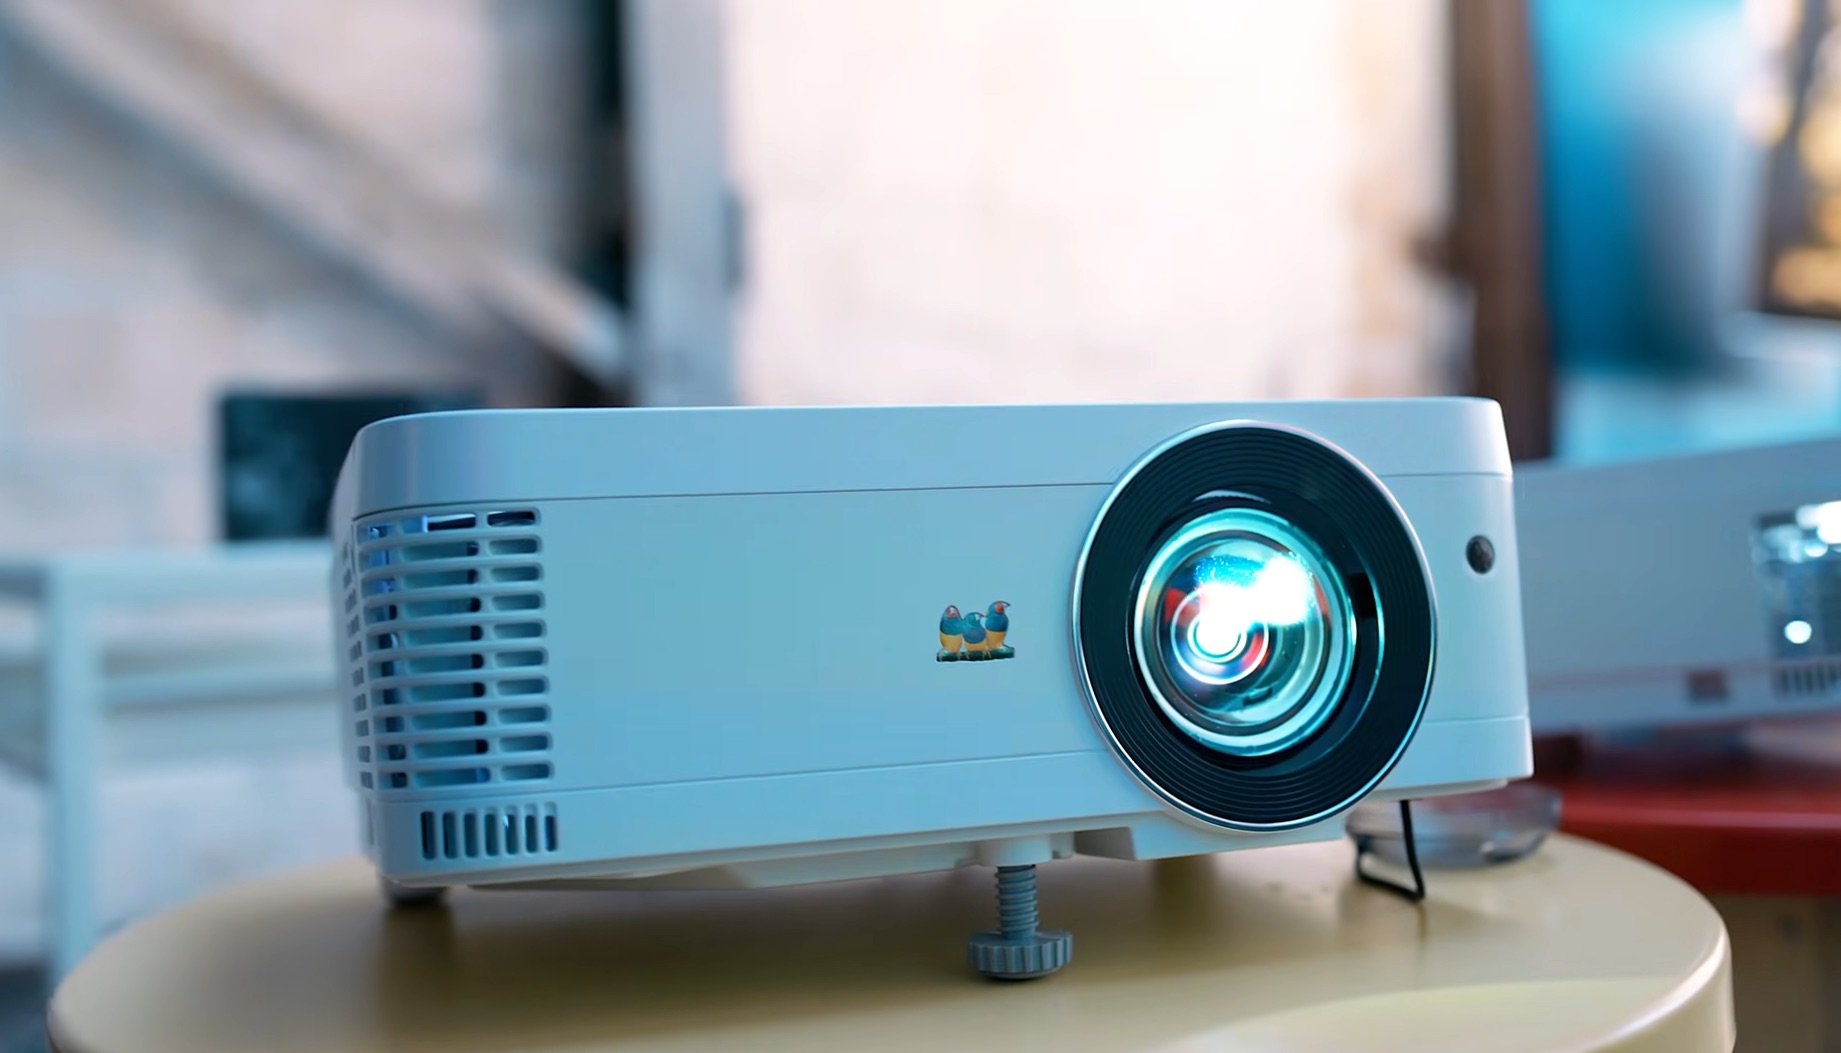
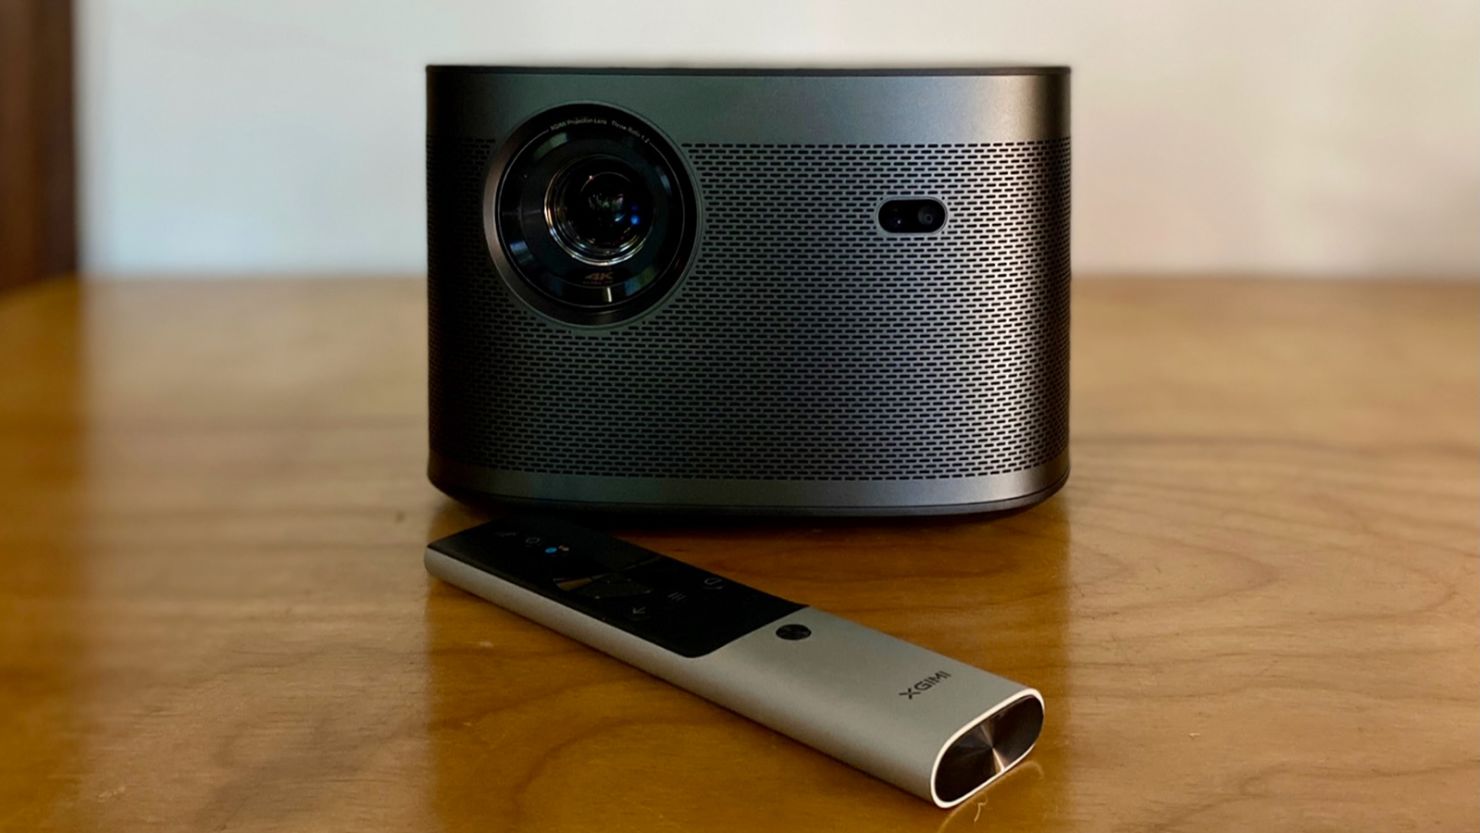
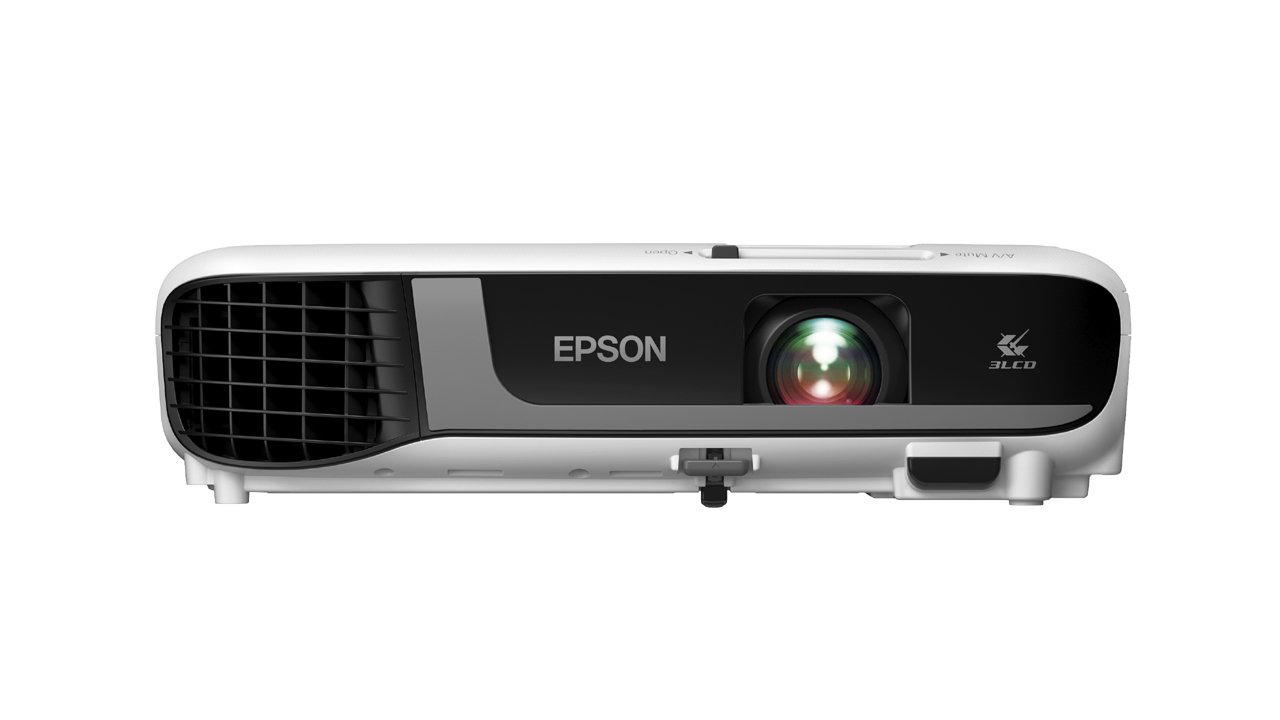
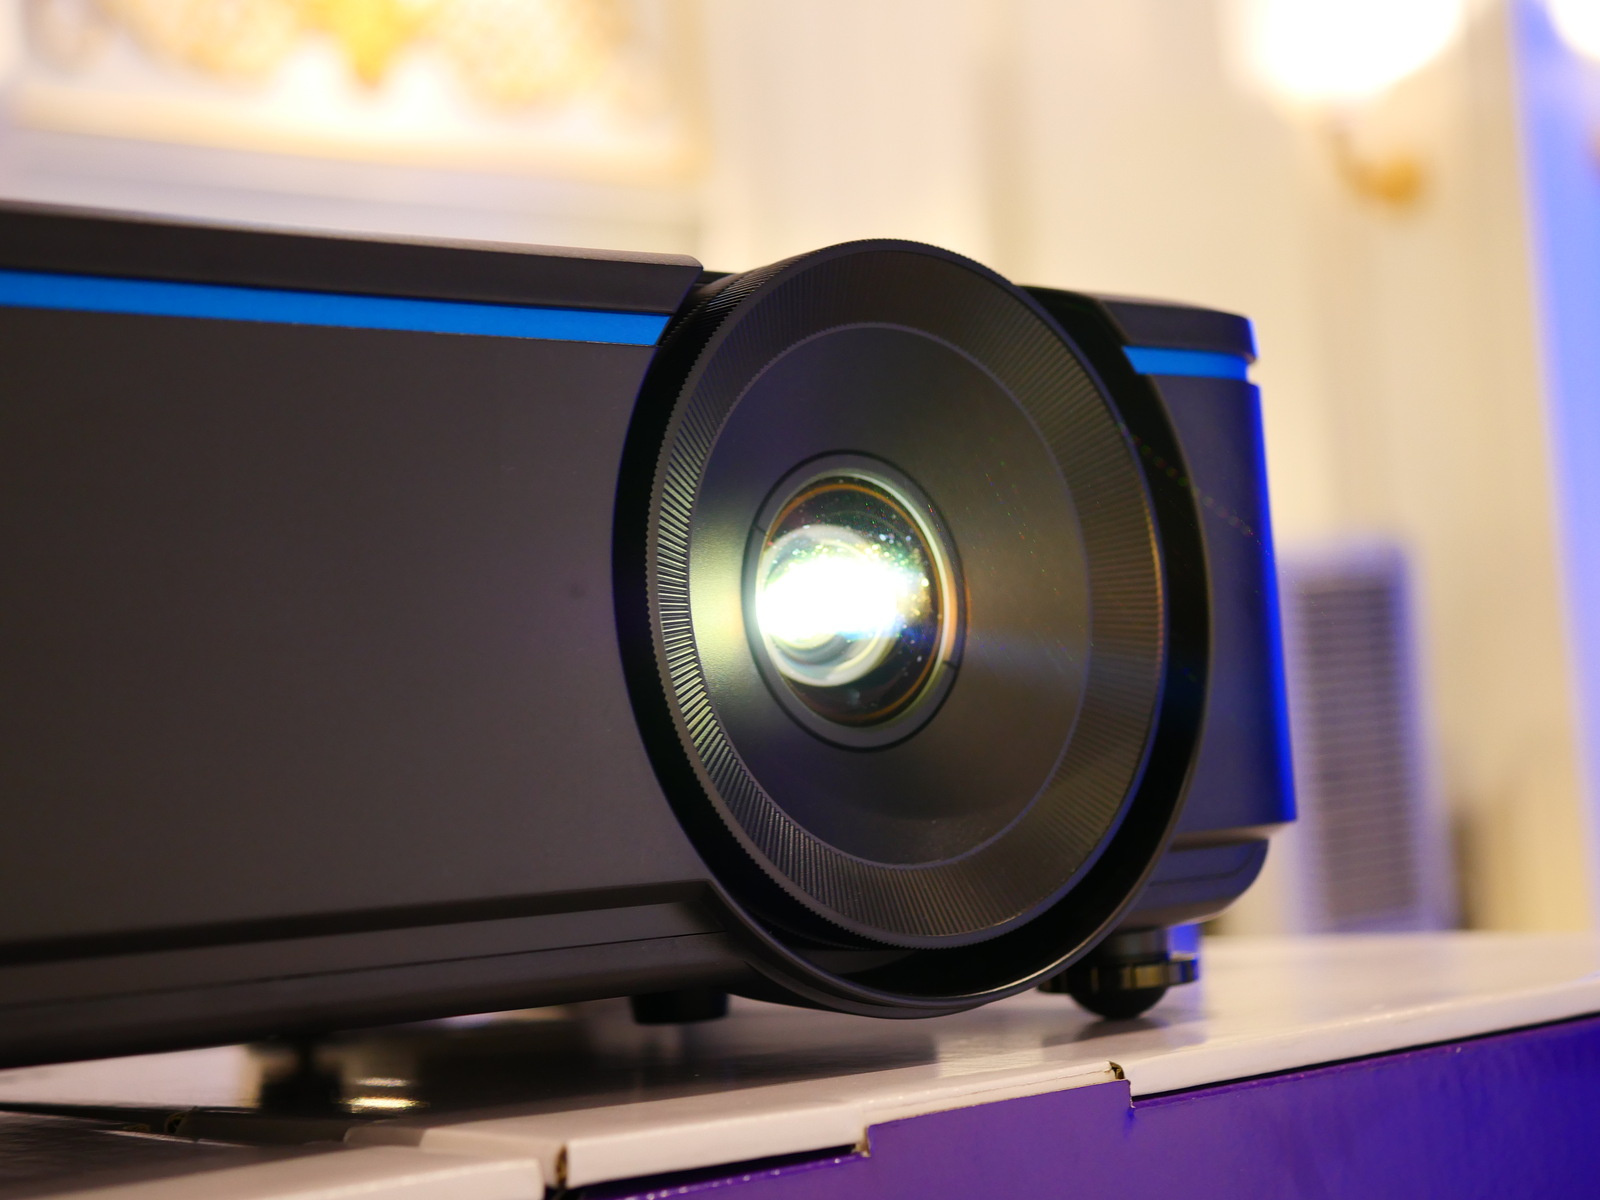
- Projector: The centerpiece of your visual experience, the projector will serve as the conduit for larger-than-life imagery, bringing your favorite movies, games, and presentations to life on the big screen.
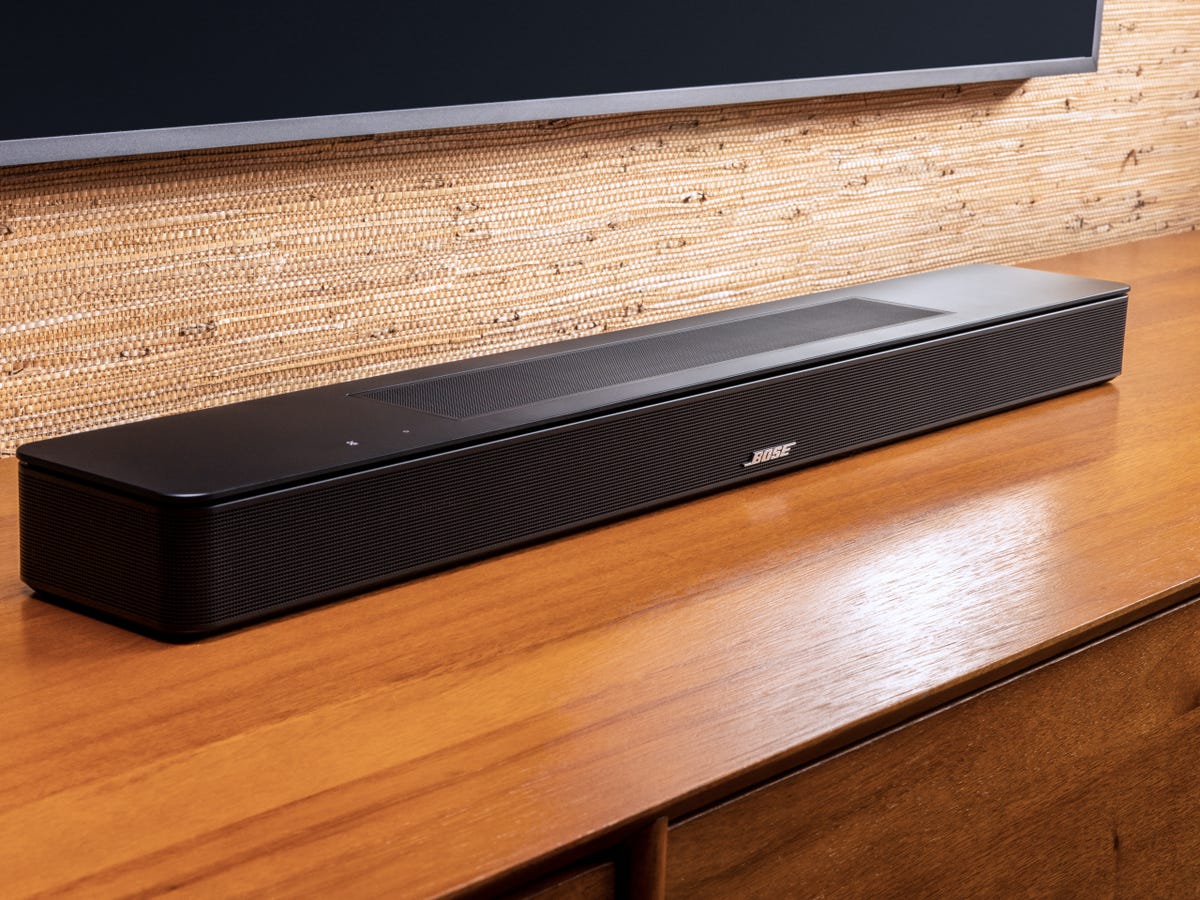
- AV Receiver: This crucial component acts as the nerve center of your audio setup, processing and amplifying sound signals from various input sources and delivering immersive, high-fidelity audio to your speakers.
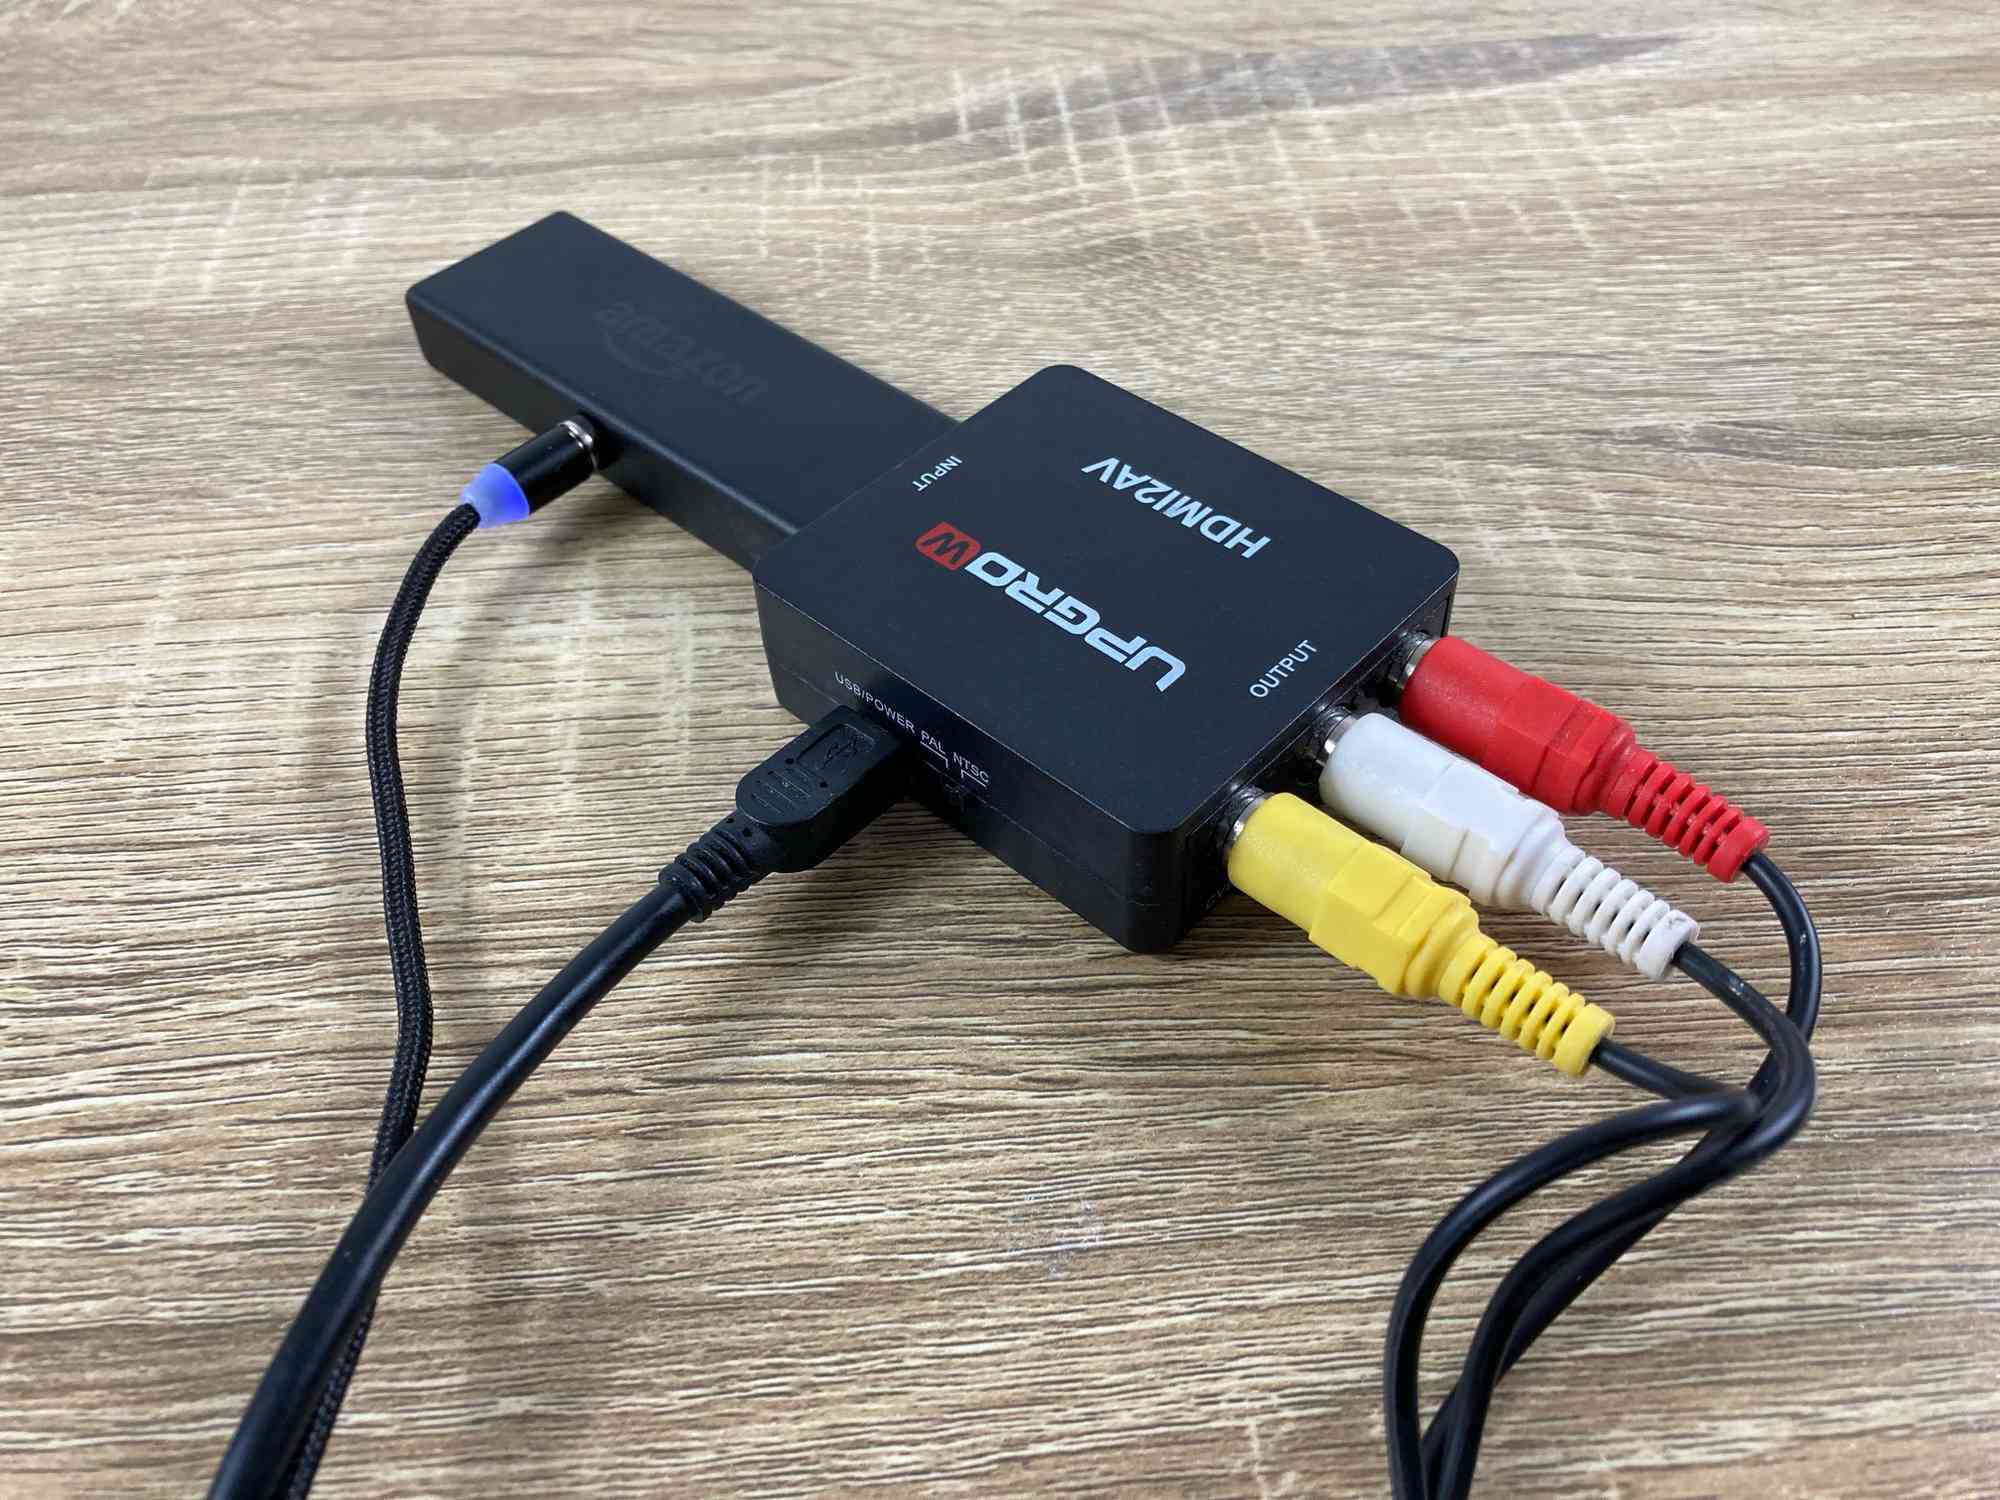
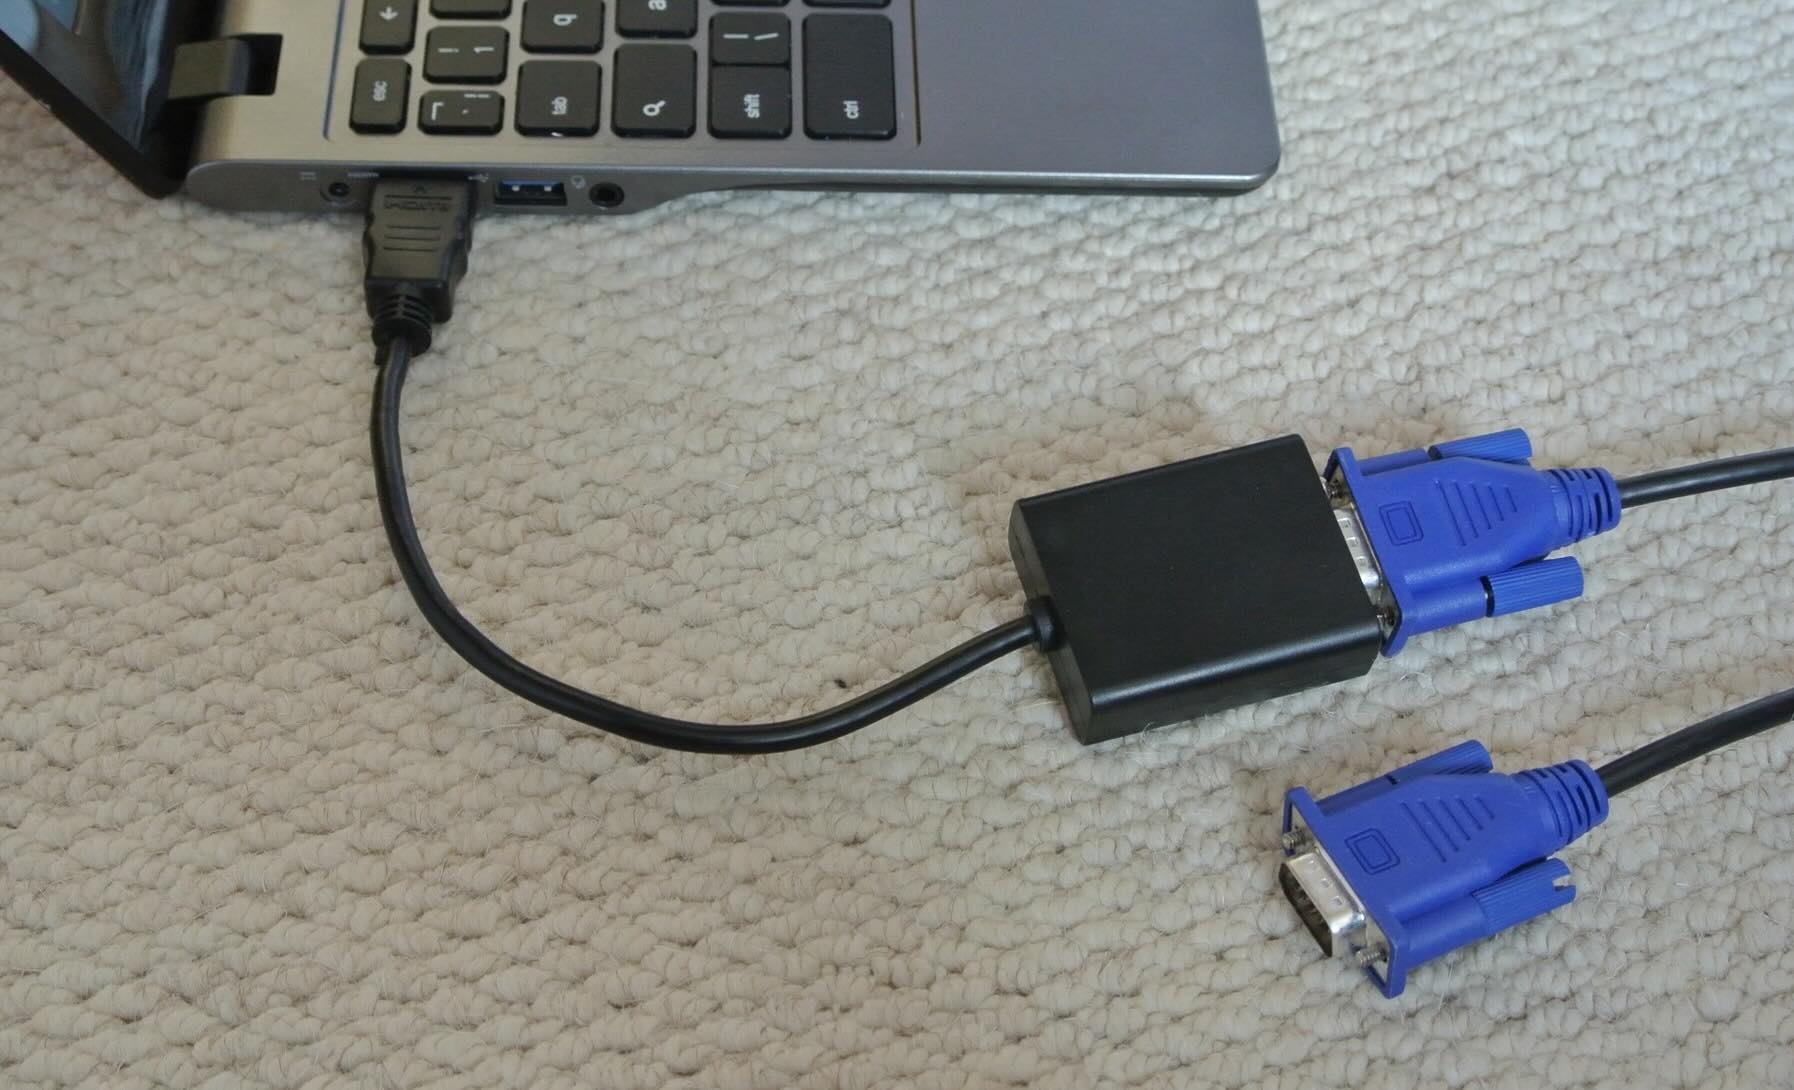
- HDMI Cable: A high-quality HDMI cable is indispensable for transmitting both high-definition video and audio signals between your projector and AV receiver. Look for a cable with sufficient length to accommodate the distance between the two devices.
- Speaker System: Whether you opt for a 5.1, 7.1, or immersive Dolby Atmos setup, a compatible speaker system is vital for delivering enveloping, multidimensional sound that complements the stunning visuals from your projector.
- Power Cables: Ensure that you have power cables for both the projector and AV receiver, as well as any additional components in your setup. A surge protector or power strip with ample outlets can help streamline cable management and provide protection against power fluctuations.
- Remote Control: The remote control for your AV receiver will be instrumental in configuring audio settings, input sources, and other essential parameters to optimize your viewing and listening experience.
- Optional: Optical or Coaxial Cable: Depending on your specific audio setup, you may require an optical or coaxial cable to transmit digital audio signals from your AV receiver to compatible speakers or audio devices.
By ensuring that you have all the necessary cables and equipment at your disposal, you’ll be well-prepared to proceed with the seamless integration of your projector and AV receiver. With the foundational elements in place, you’re poised to embark on the next steps toward creating an immersive audiovisual environment that will redefine your entertainment and presentation capabilities.
Step 2: Connect the Projector to the AV Receiver
With the essential cables and equipment gathered, it’s time to embark on the pivotal stage of physically connecting your projector to the AV receiver. Follow these step-by-step instructions to ensure a seamless integration:
- Positioning the Devices: Identify suitable locations for both the projector and the AV receiver within your entertainment or presentation space. Ensure that there is adequate ventilation and easy access to power outlets for both devices.
- Power Up: Connect the power cables to your projector and AV receiver, and plug them into a reliable power source. Power on both devices and allow them to initialize.
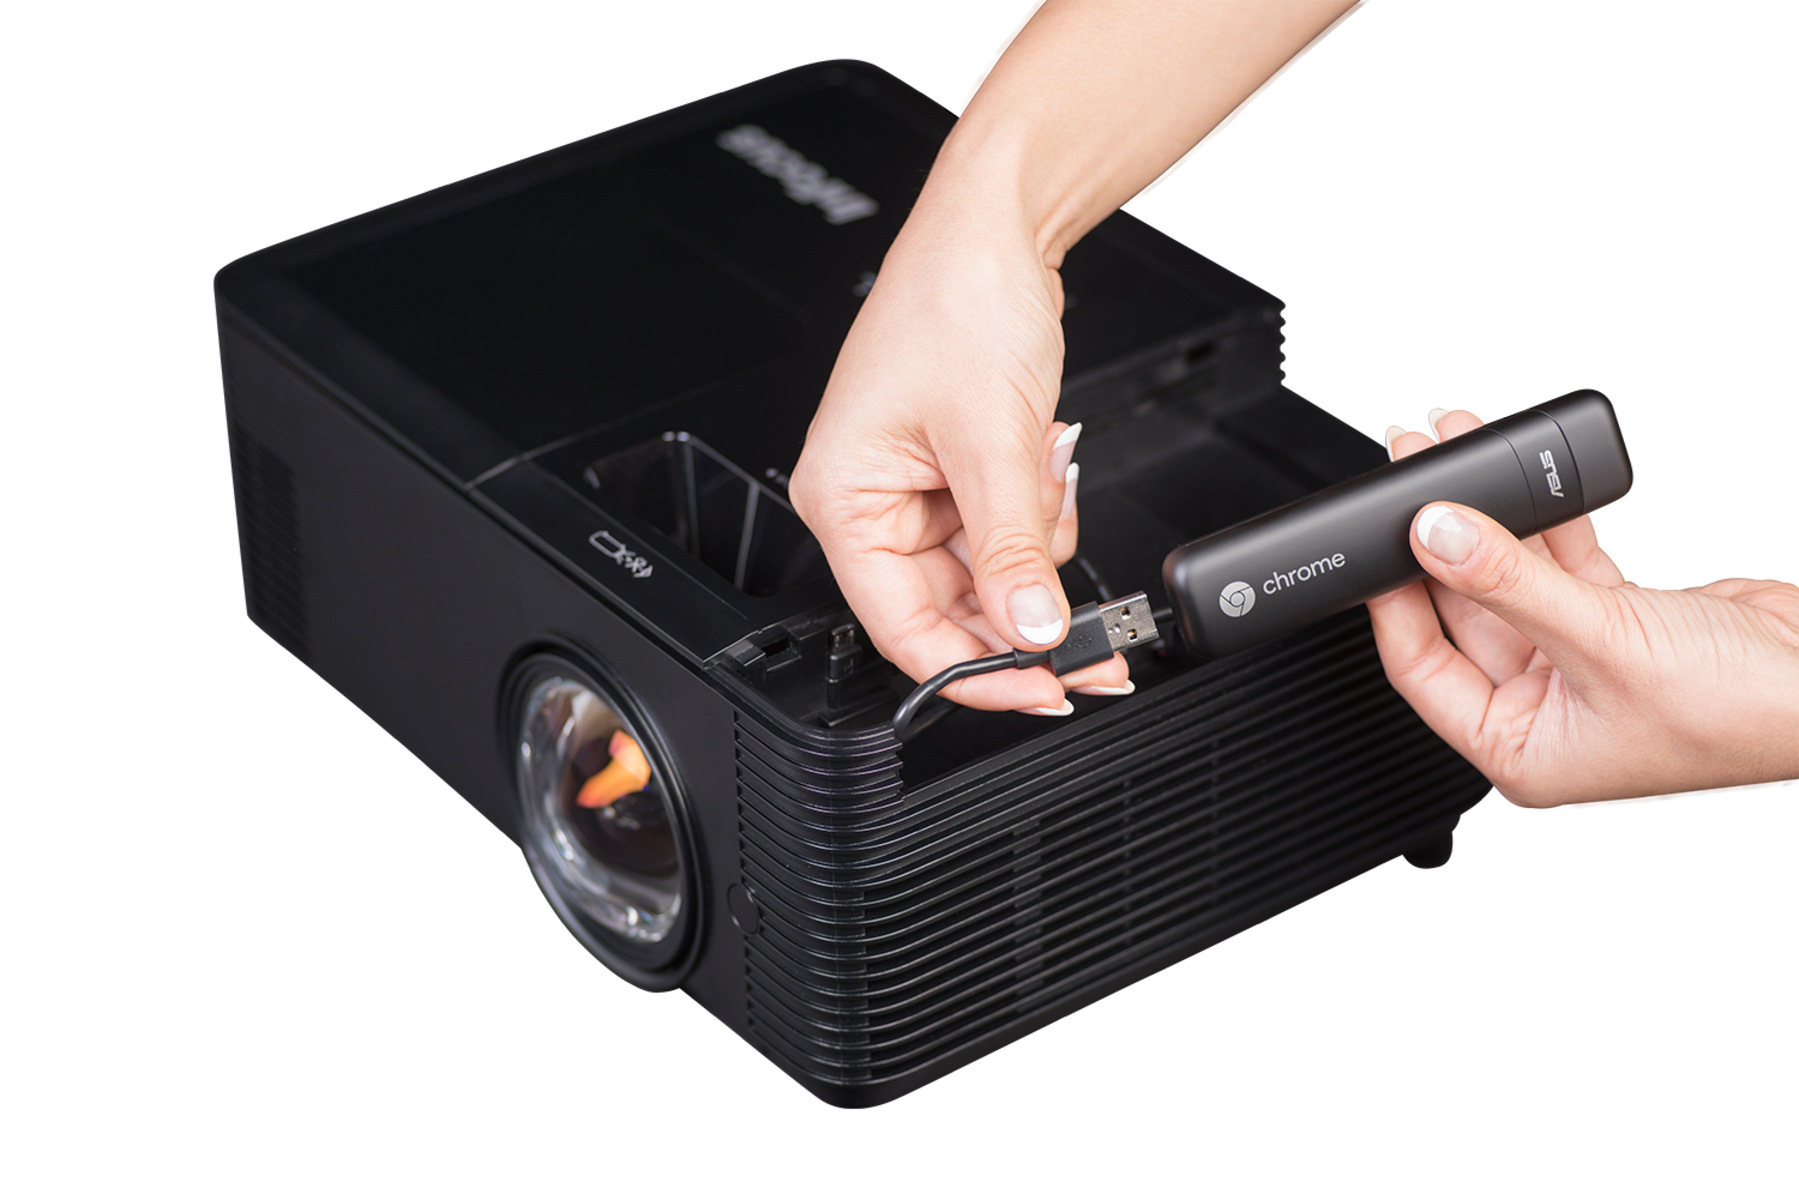
- Locate HDMI Ports: On the back or side of your projector and AV receiver, locate the HDMI input and output ports. These are typically labeled “HDMI In” and “HDMI Out,” respectively.
- Connect the HDMI Cable: Take the HDMI cable and plug one end into the HDMI output port on the AV receiver. Then, connect the other end of the HDMI cable to the HDMI input port on the projector. Ensure a secure connection for optimal signal transmission.
- Secure Additional Audio Connections (Optional): If your AV receiver and projector support additional audio connection options, such as optical or coaxial cables, you may choose to utilize these for enhanced audio capabilities. Follow the specific instructions provided by the manufacturers for these connections.
- Power On and Select Input: Turn on the projector and select the corresponding HDMI input source using the projector’s remote control or onboard controls. Likewise, power on the AV receiver and select the appropriate input source that corresponds to the connected projector.
- Test the Connection: Play a test video or audio content to verify that the signal is successfully transmitted from the AV receiver to the projector. Ensure that both the visuals and audio are functioning as expected, and make any necessary adjustments to the settings on your devices.
By meticulously following these steps, you will establish a robust physical connection between your projector and AV receiver, laying the groundwork for a harmonious integration of visuals and audio that will elevate your entertainment and presentation experiences. With the hardware seamlessly linked, you’re now ready to delve into the next phase of configuring the settings on your AV receiver to optimize the audio output and ensure a truly immersive audiovisual journey.
Use an HDMI cable to connect the projector to the AV receiver’s HDMI output. Make sure to select the correct input on the receiver and projector to see the video and hear the audio from your connected devices.
Step 3: Configure the AV Receiver Settings
Now that the physical connection between your projector and AV receiver has been established, it’s time to delve into the crucial process of configuring the settings on your AV receiver to optimize the audio output and ensure a seamless audiovisual experience. Follow these essential steps to fine-tune your AV receiver settings:
- Access the On-Screen Display (OSD): Using your AV receiver’s remote control, access the on-screen display (OSD) to navigate through the settings and configuration options. This interface allows you to customize various audio parameters to suit your preferences and the capabilities of your speaker system.
- Select Audio Output Configuration: Within the OSD, locate the audio output configuration settings. Depending on your speaker setup, you may need to specify the number of speakers (e.g., 5.1, 7.1, Dolby Atmos) and the corresponding layout to ensure accurate audio processing and distribution.
- Calibrate Speaker Settings: Many AV receivers offer built-in speaker calibration systems that utilize a microphone to analyze and optimize audio output based on your room’s acoustics. Follow the on-screen instructions to run the calibration process, which typically involves measuring speaker distances, adjusting levels, and fine-tuning equalization settings.
- Enable Surround Sound Modes: Explore the available surround sound modes on your AV receiver, such as Dolby Digital, DTS:X, or THX, and select the mode that best complements your content and preferences. These modes enhance the spatial dimension of audio, delivering an immersive listening experience.
- Adjust Audio Delay and Lip Sync: In some instances, you may need to adjust the audio delay or lip sync settings to ensure that audio and video remain perfectly synchronized. This is particularly crucial for maintaining a seamless viewing experience, especially when watching fast-paced action sequences or live performances.
- Customize EQ and Audio Presets: Take advantage of the AV receiver’s equalizer (EQ) settings and audio presets to tailor the sound profile to your liking. Whether you prefer a more pronounced bass response for movies or a balanced, neutral sound for music, these customization options allow you to personalize your audio experience.
By meticulously configuring the settings on your AV receiver, you can unlock the full potential of your audio system, ensuring that every sonic nuance is faithfully reproduced and harmonized with the stunning visuals from your projector. With the audio optimization process complete, you’re poised to embark on the final step: testing the connection and fine-tuning any remaining parameters to achieve a flawless audiovisual synergy.
Step 4: Test the Connection
As you approach the culmination of the integration process, it’s imperative to conduct a comprehensive test of the connection between your projector and AV receiver to ensure that both the visuals and audio are seamlessly synchronized. Follow these essential steps to verify the integrity of the connection and address any potential issues:
- Visual Verification: Initiate a test by playing a high-definition video or visually engaging content through your projector. Observe the projected imagery closely to confirm that the visuals are crisp, vibrant, and free from artifacts or distortions. Pay attention to color accuracy, contrast, and overall image quality to ascertain that the projector is receiving and displaying the video signal accurately.
- Audio Evaluation: Simultaneously, play an audio track or immersive sound clip that showcases the dynamic range and spatial audio capabilities of your speaker system. Listen attentively to the audio output, ensuring that the sound is well-distributed across the speakers, with a balanced tonal quality and accurate localization of sound effects.
- Synchronize Audiovisual Content: Pay close attention to the synchronization of audio and video elements during playback. Verify that there are no perceptible delays or discrepancies between the audio output from the AV receiver and the corresponding visuals from the projector. Address any potential audio lag or synchronization issues through the settings on your AV receiver if necessary.
- Explore Content Variety: Test the connection with a diverse range of content, including movies, games, music, and presentation materials. This comprehensive evaluation allows you to gauge the performance of the integrated system across various media types and identify any specific adjustments required for optimal playback.
- Fine-Tune Settings: Utilize the settings and controls on your AV receiver to fine-tune audio parameters, such as volume levels, surround sound modes, and equalization settings, based on the specific content being played. Make incremental adjustments to achieve the desired audiovisual balance and immersive experience.
By conducting a rigorous test of the connection, you can identify and address any potential issues or discrepancies, ensuring that the integrated system operates flawlessly across a diverse range of content. This meticulous evaluation sets the stage for a truly immersive and captivating audiovisual journey, where every frame and sound cue are faithfully reproduced and harmonized to deliver an unparalleled entertainment and presentation experience.
Read more: How To Connect A Projector
Conclusion
Congratulations on successfully navigating the comprehensive process of connecting a projector to an AV receiver! By following the steps outlined in this guide, you have gained the knowledge and expertise to seamlessly integrate these essential components, unlocking a world of immersive entertainment and professional presentation capabilities.
As you reflect on this enlightening journey, envision the countless possibilities that await you with your newly established audiovisual synergy. Whether you’re indulging in cinematic masterpieces, engaging in exhilarating gaming experiences, or delivering impactful presentations, the seamless connection between your projector and AV receiver sets the stage for unforgettable moments of visual and auditory splendor.
With the physical connection established, the AV receiver settings meticulously configured, and the connection thoroughly tested, you have laid the groundwork for an unparalleled audiovisual experience. The harmonious fusion of stunning visuals from your projector and enveloping sound from your speaker system promises to transport you to the heart of every narrative, every game world, and every presentation slide, immersing you in a realm of boundless possibilities.
As you embark on this new chapter of audiovisual exploration, remember that the journey doesn’t end here. Embrace the opportunity to further refine and personalize your setup, exploring advanced audio processing features, experimenting with diverse content, and discovering the full potential of your projector and AV receiver integration.
Ultimately, the connection between your projector and AV receiver represents more than a mere technical feat; it symbolizes the gateway to a world of captivating experiences and impactful storytelling. Embrace the power of seamless audiovisual integration, and let it elevate your moments of entertainment, inspiration, and connection with others.
Now, armed with the knowledge and confidence gained from this guide, you’re ready to embark on a captivating audiovisual journey, where every frame and sound cue resonates with unparalleled clarity and emotion. Embrace the immersive power of your integrated system, and let it enrich your life in ways beyond imagination.
Frequently Asked Questions about How To Connect A Projector To An AV Receiver
Was this page helpful?
At Storables.com, we guarantee accurate and reliable information. Our content, validated by Expert Board Contributors, is crafted following stringent Editorial Policies. We're committed to providing you with well-researched, expert-backed insights for all your informational needs.


0 thoughts on “How To Connect A Projector To An AV Receiver”