Home>Technology>Home Entertainment Systems>How To Connect A Projector
Home Entertainment Systems
How To Connect A Projector
Modified: February 26, 2024
Learn how to connect a projector to your home entertainment system with our step-by-step guide. Enhance your viewing experience today!
(Many of the links in this article redirect to a specific reviewed product. Your purchase of these products through affiliate links helps to generate commission for Storables.com, at no extra cost. Learn more)
Introduction
Welcome to the world of home entertainment systems, where the magic of big-screen viewing comes to life through the seamless integration of projectors. Whether you're a movie enthusiast, a gaming aficionado, or a professional seeking a larger display for presentations, connecting a projector can elevate your visual experience to new heights. In this guide, we'll delve into the step-by-step process of connecting a projector, demystifying the technical aspects and empowering you to transform any space into a captivating viewing area.
The beauty of projectors lies in their ability to create immersive visuals on a grand scale, transcending the limitations of traditional displays. By following the instructions outlined in this article, you'll gain the confidence to set up your projector with ease, unlocking a world of cinematic possibilities within the comfort of your own home.
Whether you're embarking on a solo movie night, hosting a thrilling gaming tournament, or delivering a captivating presentation, the process of connecting a projector can be a gateway to unforgettable experiences. So, let's embark on this journey together and unravel the secrets of seamless projector connectivity. Get ready to immerse yourself in the captivating world of large-scale visuals as we embark on this enlightening and empowering exploration.
Key Takeaways:
- Elevate your home entertainment experience by connecting a projector with ease. Gather the necessary equipment, power on the projector, and fine-tune settings for captivating visuals in your own space.
- Seamlessly connect your video source to the projector and embark on a journey of immersive visual storytelling. Test the connection and adjust settings for an unforgettable viewing experience.
Read more: How To Connect A Wii To A Projector
Step 1: Gather the necessary equipment
Before embarking on the process of connecting a projector, it’s essential to gather the requisite equipment to ensure a smooth setup. Here’s a comprehensive list of the essential items you’ll need:
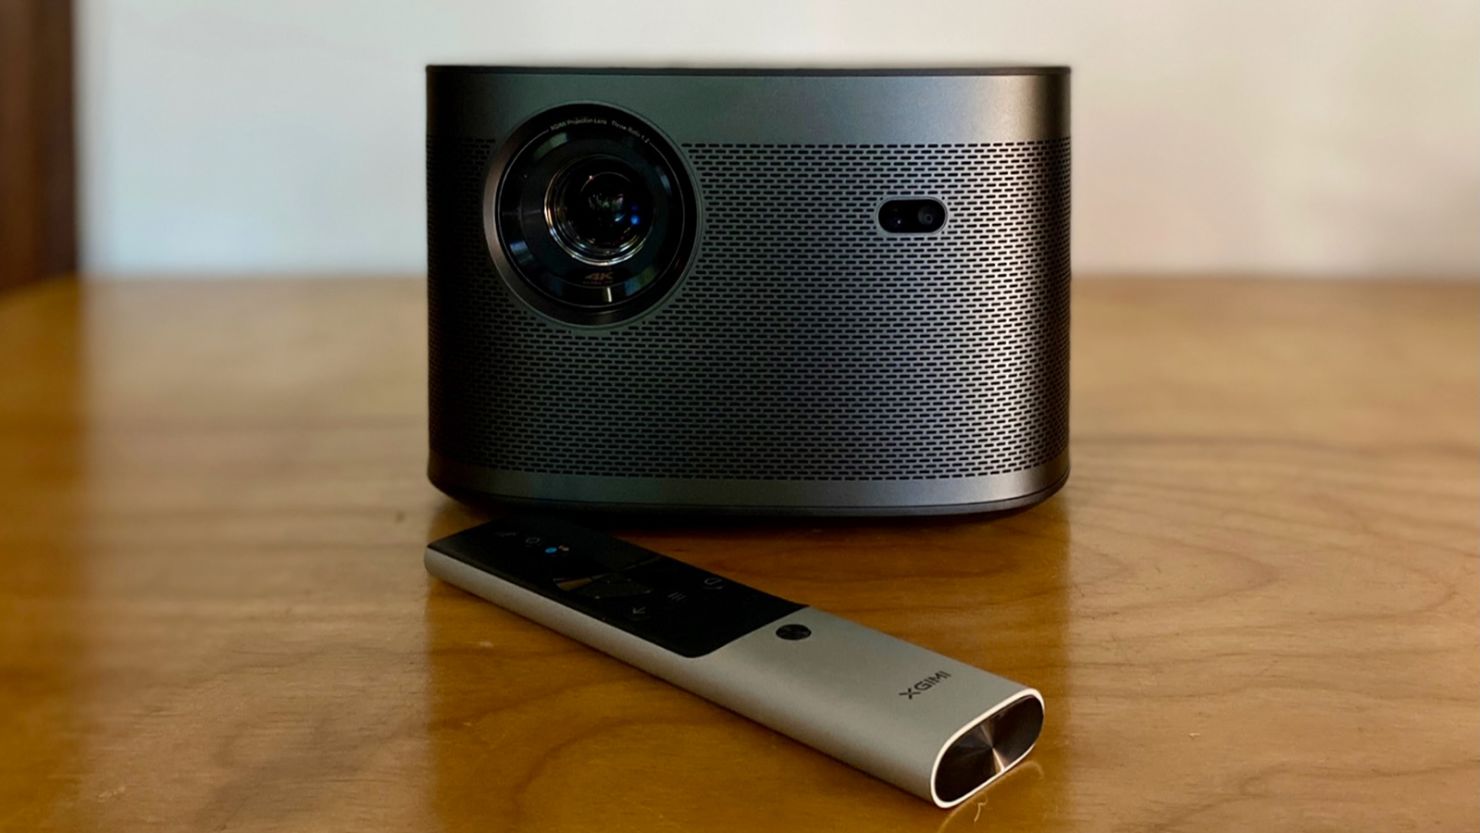
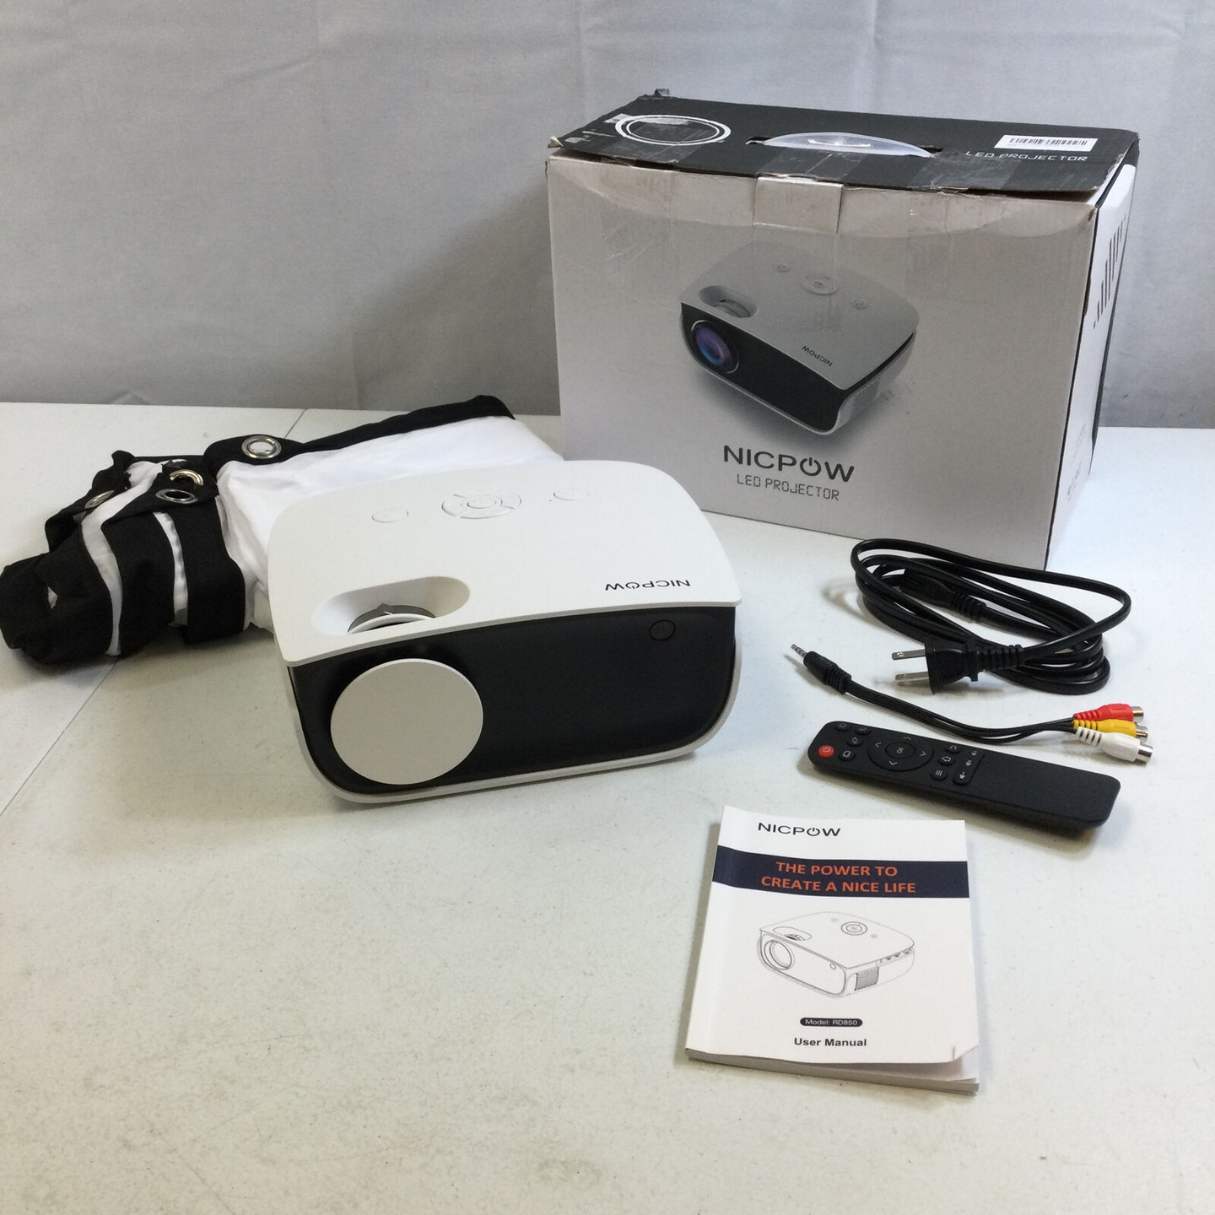
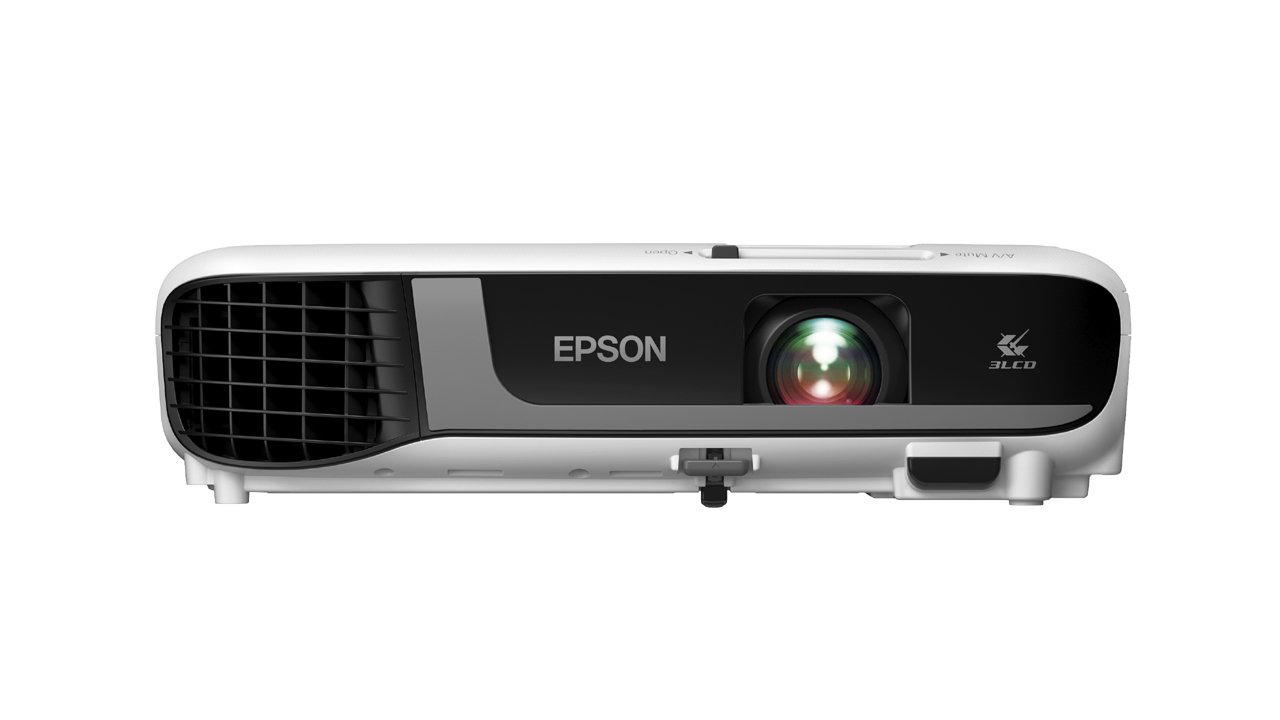
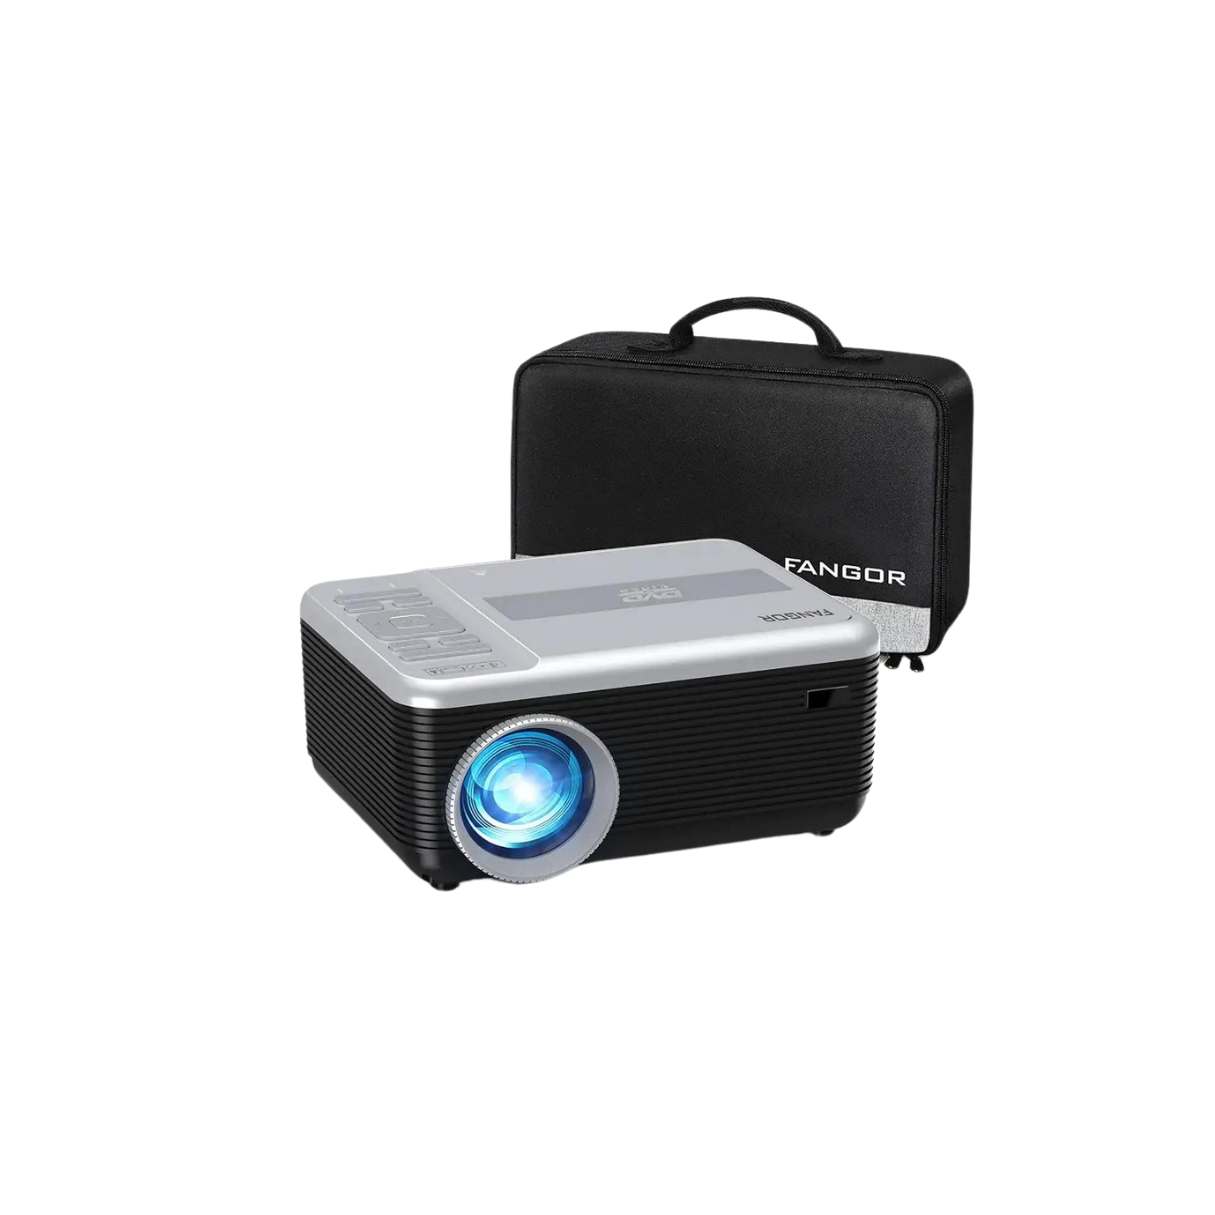
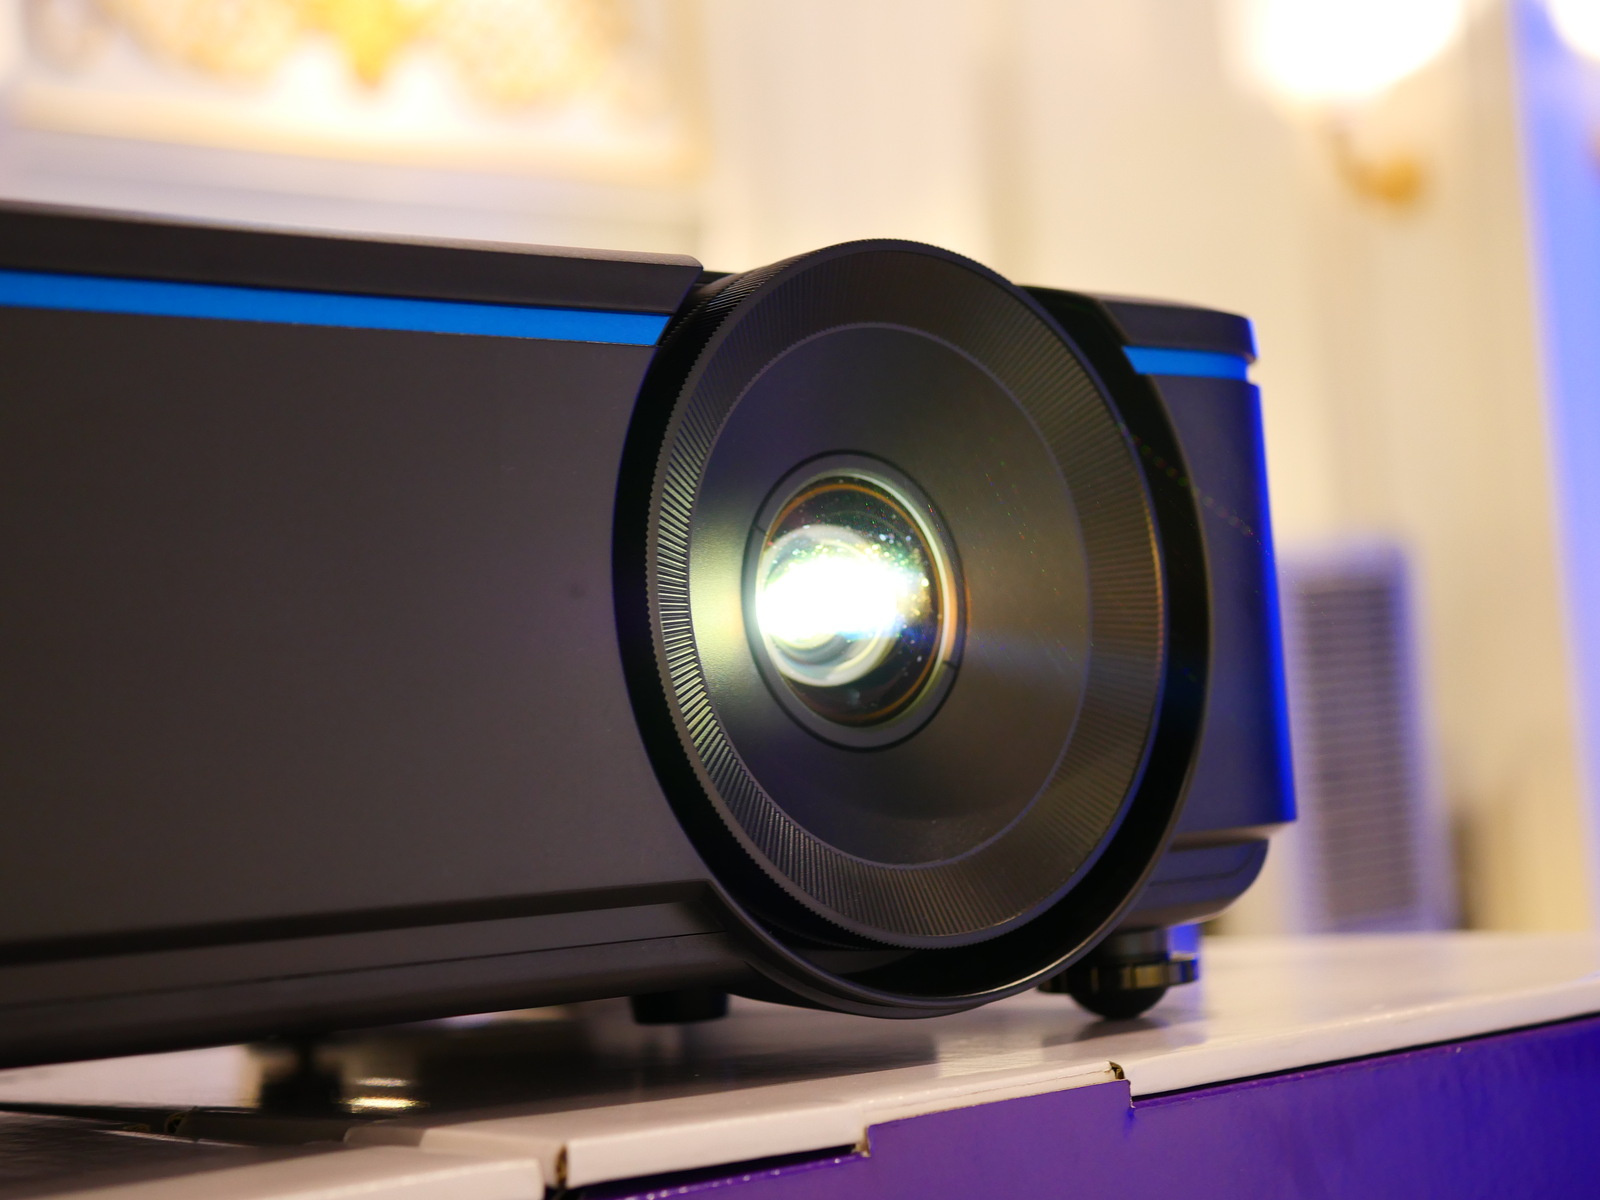
- Projector: The centerpiece of your home entertainment system, the projector serves as the conduit for displaying visuals on a larger canvas. Choose a projector that aligns with your specific viewing requirements, considering factors such as resolution, brightness, and connectivity options.
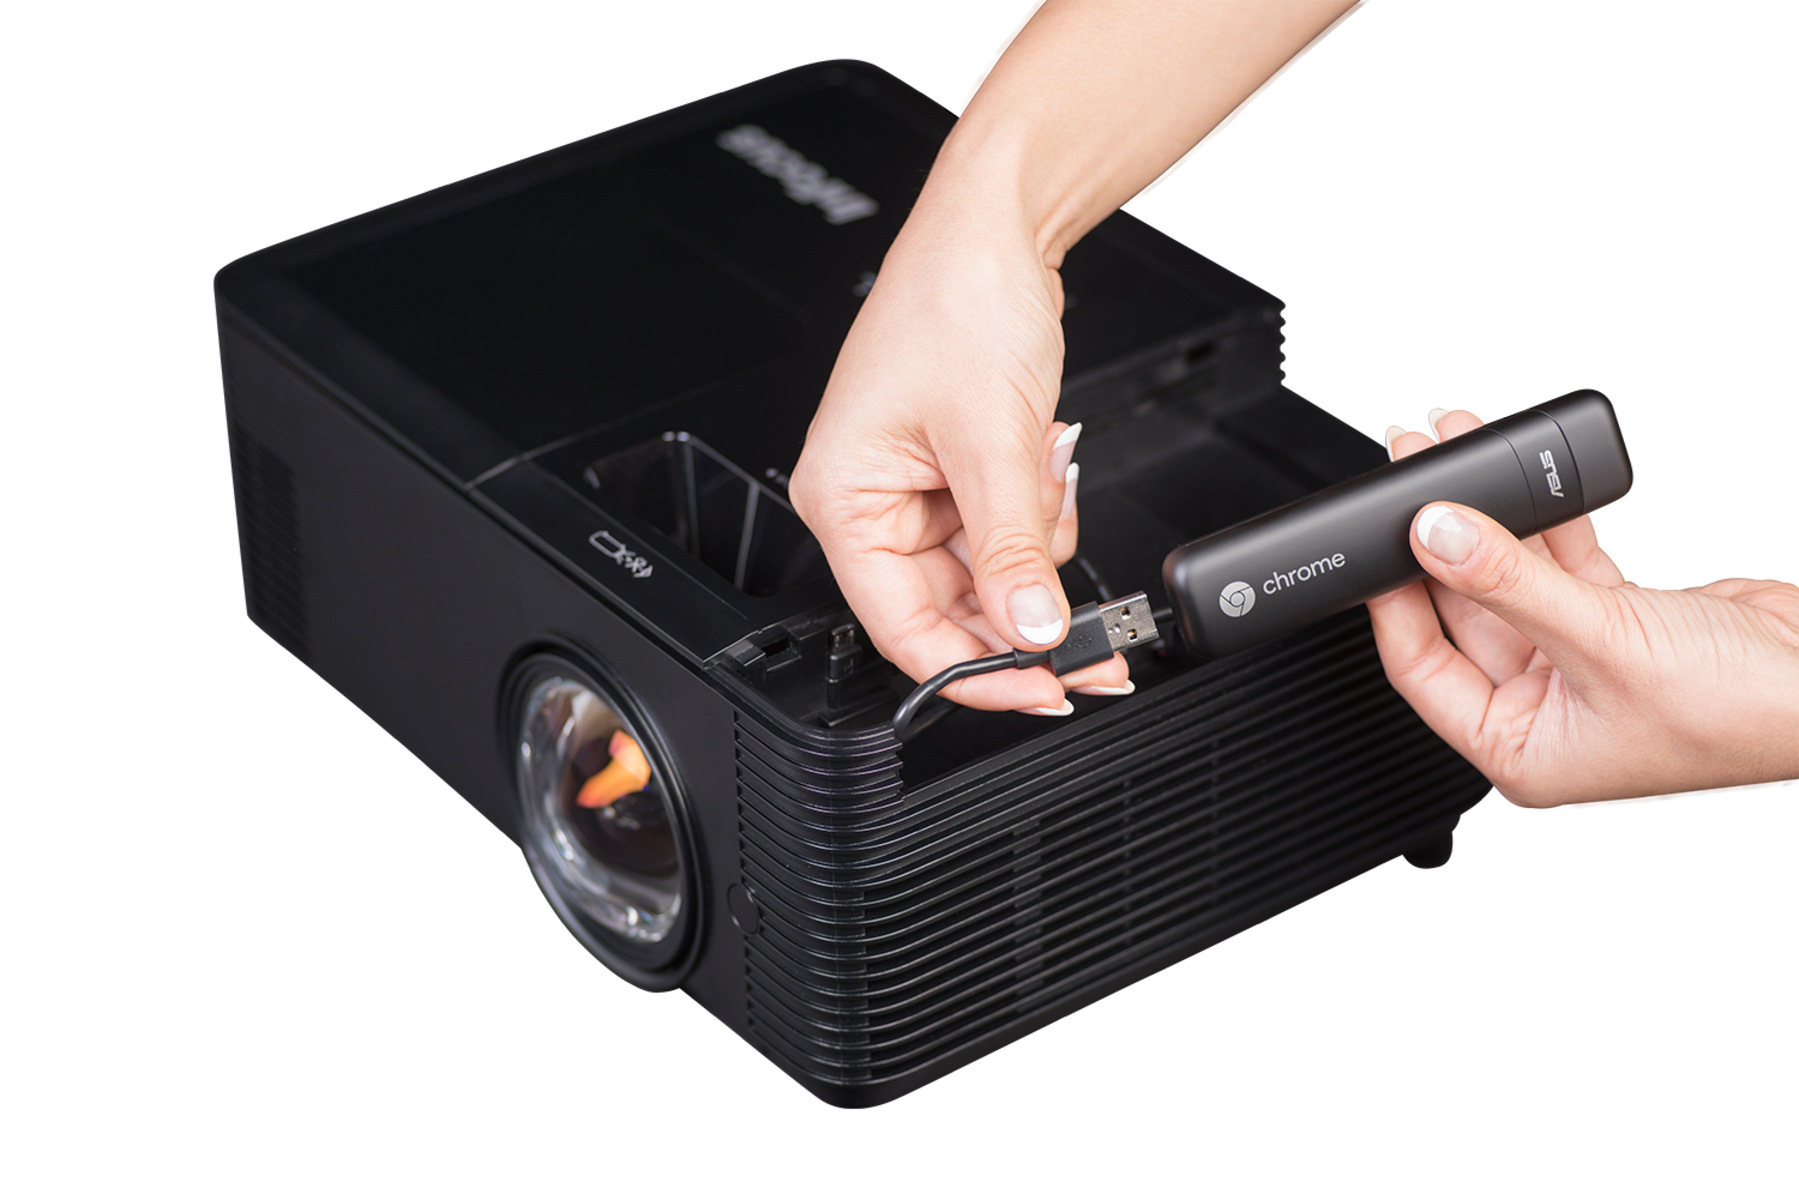
- Video Source: This could be a laptop, desktop computer, Blu-ray player, gaming console, or any other device that serves as the content originator. Ensure that the video source is compatible with the projector and equipped with the necessary output ports.
- Power Cable: A reliable power cable compatible with the projector’s power input is essential to provide the necessary electrical supply.
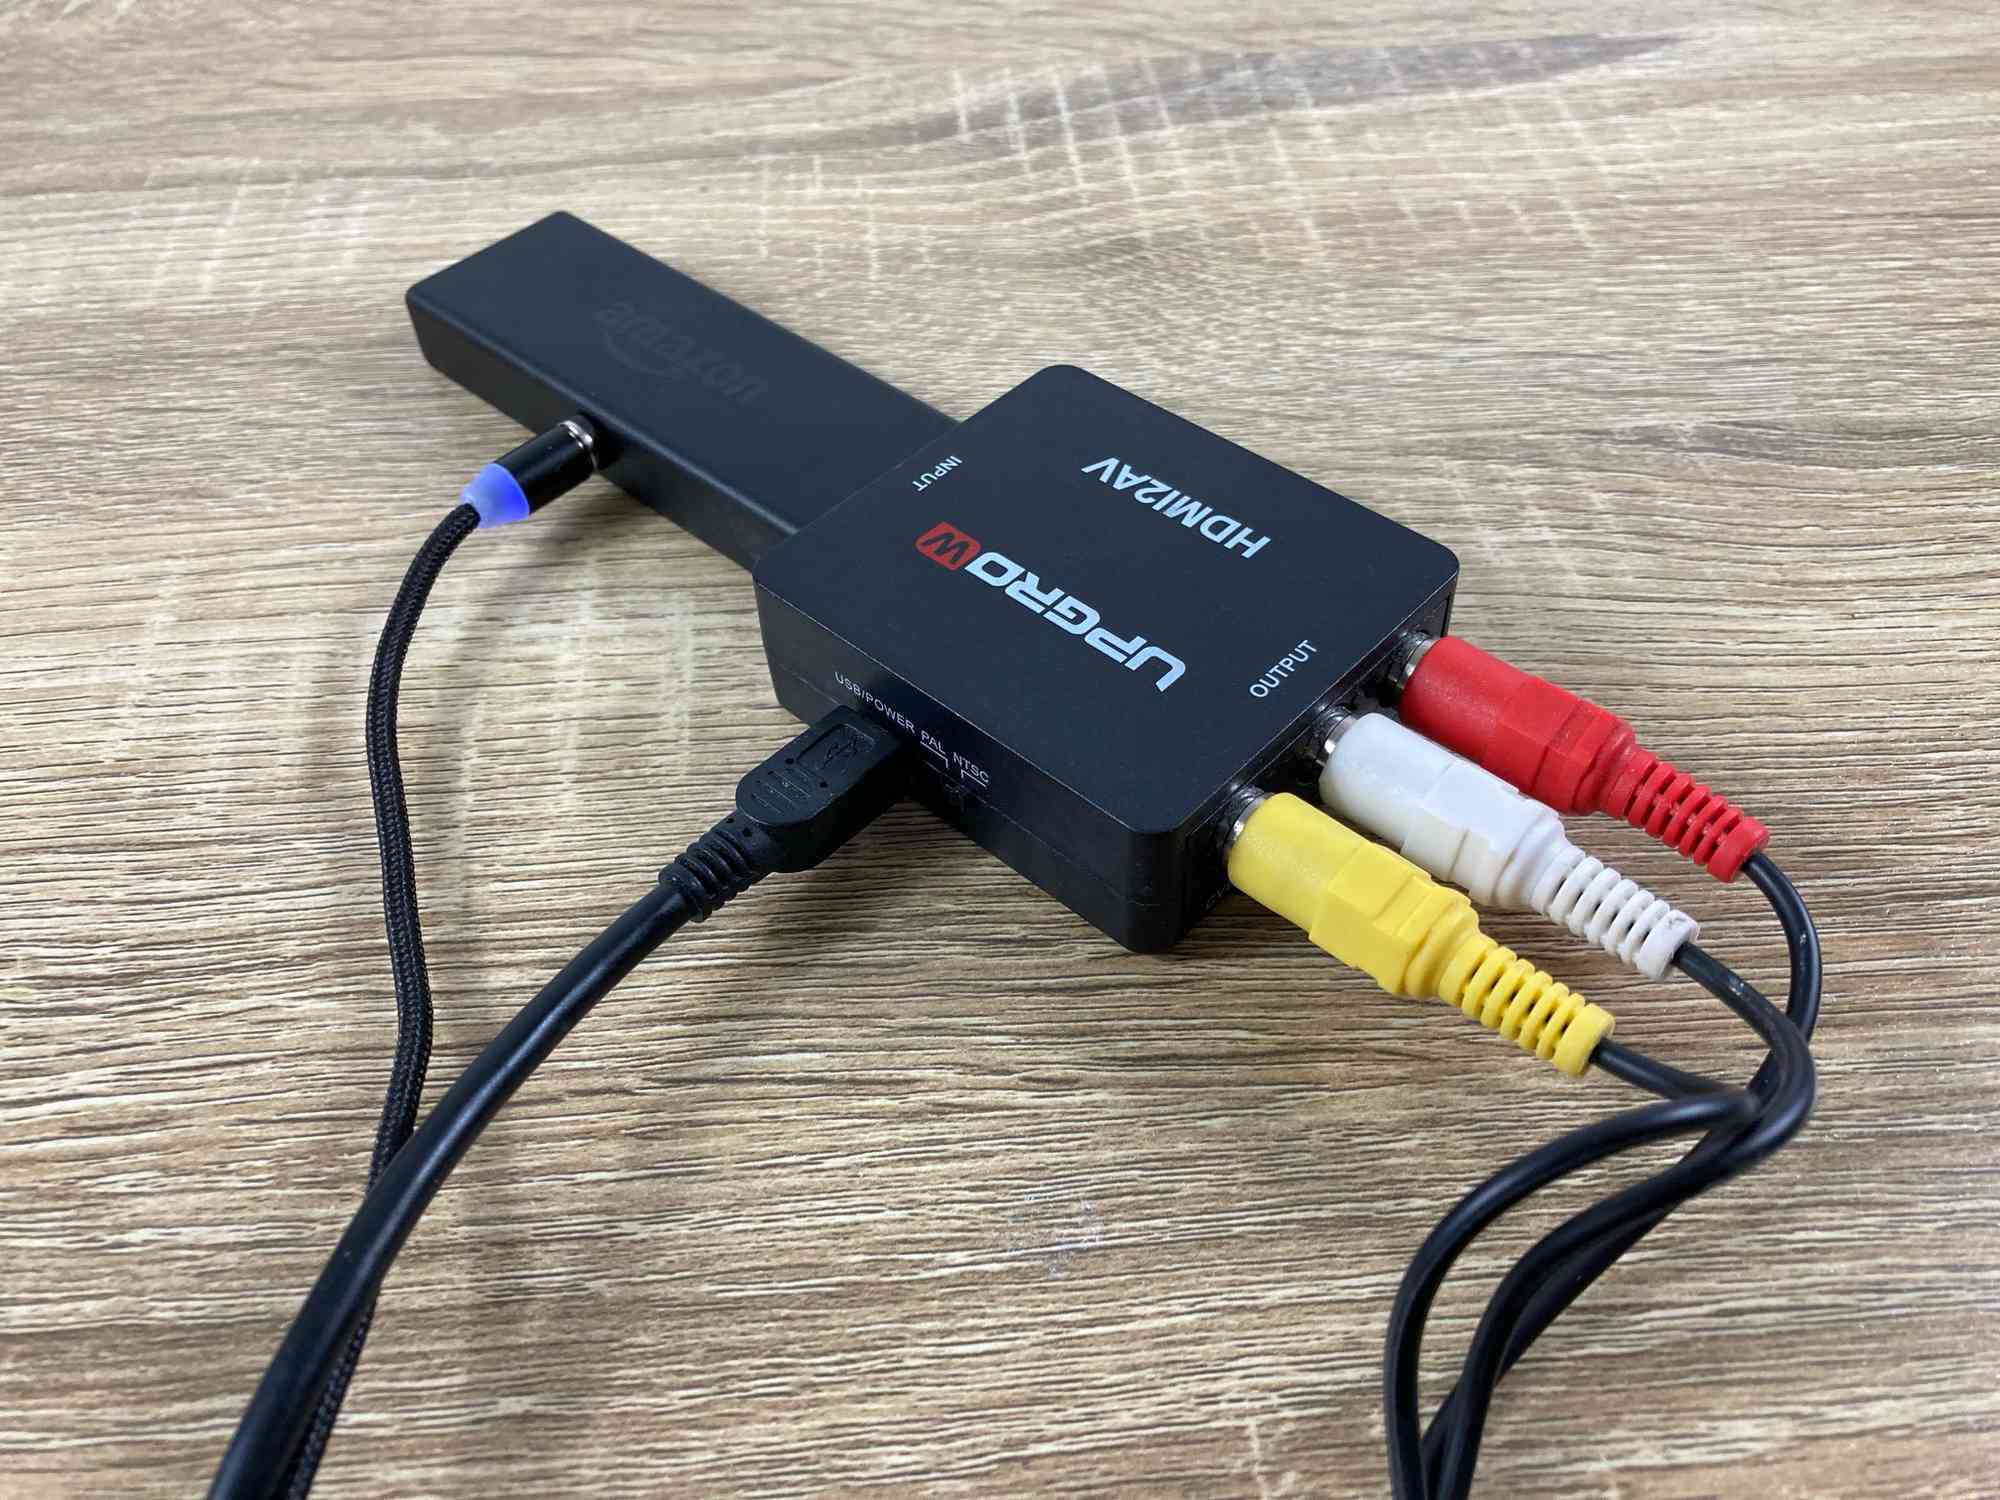
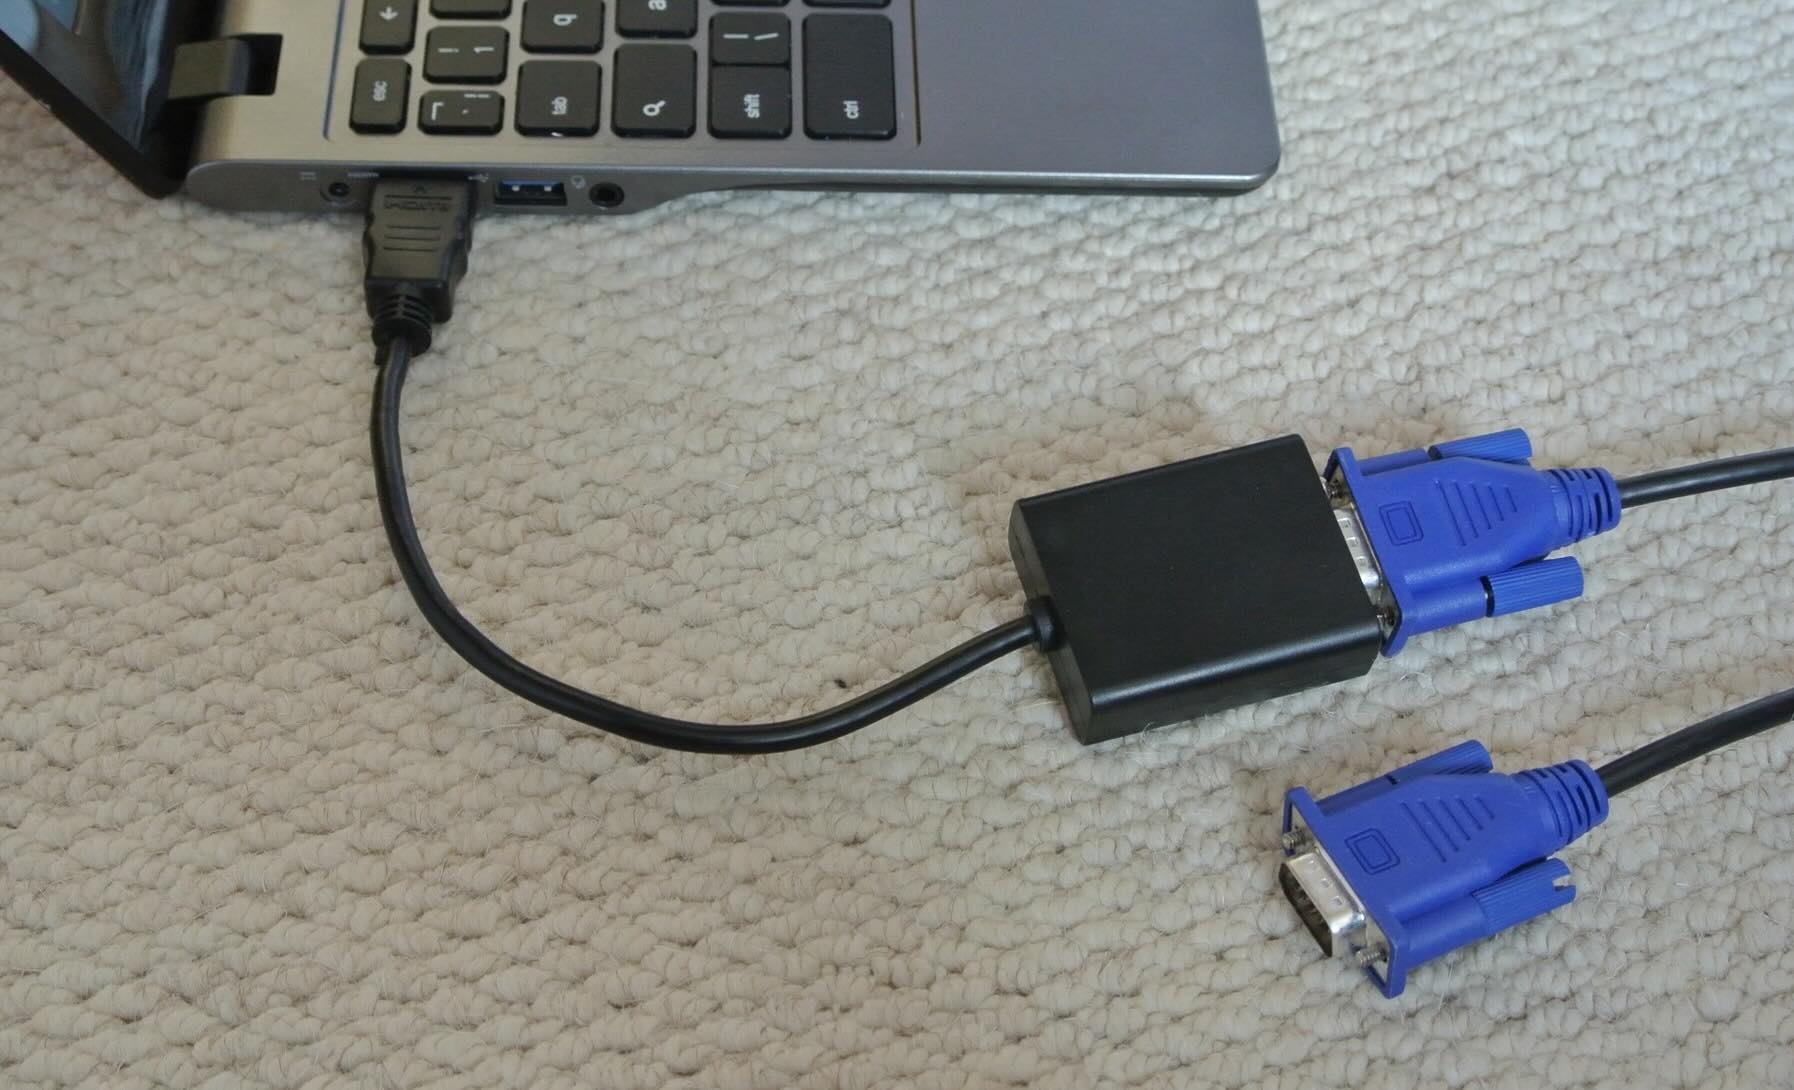
- Connection Cables: Depending on the connectivity options available on your projector and video source, you may need HDMI, VGA, DisplayPort, or other relevant cables to establish the connection.
- Projection Screen or Blank Wall: To fully experience the impact of your projector, you’ll need a designated projection surface. This could be a purpose-built projection screen or a blank, smooth wall free from imperfections that could affect image quality.
- Remote Control (Optional): Some projectors come with remote controls for convenient operation. If your projector includes a remote, ensure that it’s readily available for use.
- User Manual: While not a physical equipment item, having the user manual for both the projector and the video source at hand can provide valuable insights and troubleshooting guidance during the setup process.
By ensuring that you have all the necessary equipment at your disposal, you’ll be well-prepared to proceed with the subsequent steps of connecting and configuring your projector. With the foundational elements in place, you’re poised to embark on a seamless and rewarding projector setup journey.
Step 2: Connect the projector to a power source
With the necessary equipment gathered, the next crucial step in setting up your projector is establishing its power connection. Follow these steps to ensure a secure and reliable power supply for your projector:
- Locate the Power Input: Begin by identifying the power input port on your projector. This port is typically located on the rear or side of the projector, and it may be labeled as “Power In” or simply marked with the power symbol.
- Unpack the Power Cable: Retrieve the power cable that came with your projector or acquire a compatible one. Ensure that the power cable is undamaged and has the appropriate plug for your region’s electrical outlets.
- Connect the Power Cable: Insert one end of the power cable into the power input port on the projector, ensuring a secure fit. Then, plug the other end of the cable into a nearby electrical outlet or a power strip with surge protection.
- Power On the Projector: Once the power cable is securely connected, locate the power button or switch on the projector. Press the power button to turn on the projector and initiate the startup sequence.
- Indicator Lights: Many projectors feature indicator lights that provide visual feedback regarding the power status and operational readiness of the device. Pay attention to these indicators to confirm that the projector is receiving power and initializing correctly.
By successfully connecting your projector to a reliable power source, you’ve laid the foundation for the visual spectacle that awaits. With the projector powered on, you’re now ready to proceed to the next step of connecting the video source and unleashing captivating visuals onto the projection surface.
Remember to exercise caution when handling electrical components, and always refer to the user manual for specific instructions related to power connectivity for your particular projector model. With the projector powered up, the stage is set for the next phase of the setup process, where the convergence of technology and entertainment will take center stage.
Step 3: Connect the video source to the projector
With the projector powered on and ready to receive input, the next pivotal step is to establish a seamless connection between the video source and the projector. Follow these steps to ensure a successful and reliable video signal transmission:
- Identify Video Output Ports on the Source Device: Whether you’re using a laptop, desktop computer, Blu-ray player, gaming console, or another device as the video source, locate the video output ports on the device. Common output ports include HDMI, VGA, DisplayPort, and USB-C.
- Choose the Corresponding Input Port on the Projector: Examine the input options available on your projector and select the port that aligns with the output port on your video source. The projector’s input ports are typically labeled to indicate their respective connection types.
- Select the Appropriate Cable: Based on the output port of your video source and the input port of the projector, choose the corresponding cable for the connection. For example, if both devices feature HDMI ports, an HDMI cable would be the optimal choice for high-definition signal transmission.
- Connect the Cable: Insert one end of the selected cable into the output port of the video source, ensuring a secure connection. Then, plug the other end of the cable into the matching input port on the projector, firmly securing the link between the two devices.
- Adjust Source Device Settings (if necessary): Depending on the video source, you may need to configure the display settings to ensure that the output signal is routed to the projector. This may involve adjusting the display mode, resolution, or external display settings on the source device.
- Power On the Video Source: If the video source is not already powered on, activate the device to initiate the transmission of the visual signal to the projector.
By establishing a robust connection between the video source and the projector, you’ve paved the way for the seamless transfer of visual content onto the projection surface. As the devices sync up, prepare to witness the transformation of your viewing environment into a captivating realm of larger-than-life visuals.
Remember to handle the cables and devices with care, ensuring that all connections are secure and free from any potential obstructions. With the video source and projector in harmony, the stage is set for the next phase of the setup process, where the fusion of technology and visual artistry will come to life in stunning fashion.
Make sure to use the correct cables to connect your projector to your device. HDMI cables are the best option for high-quality video and audio.
Step 4: Power on the projector
With the projector and video source seamlessly connected, the moment has arrived to power on the projector and bring your visual aspirations to life. Follow these steps to initiate the projection and revel in the brilliance of large-scale visuals:
- Locate the Power Button: Confirm the location of the power button or power switch on the projector. This control is typically situated on the top, front, or side of the projector, and it may be clearly labeled for easy identification.
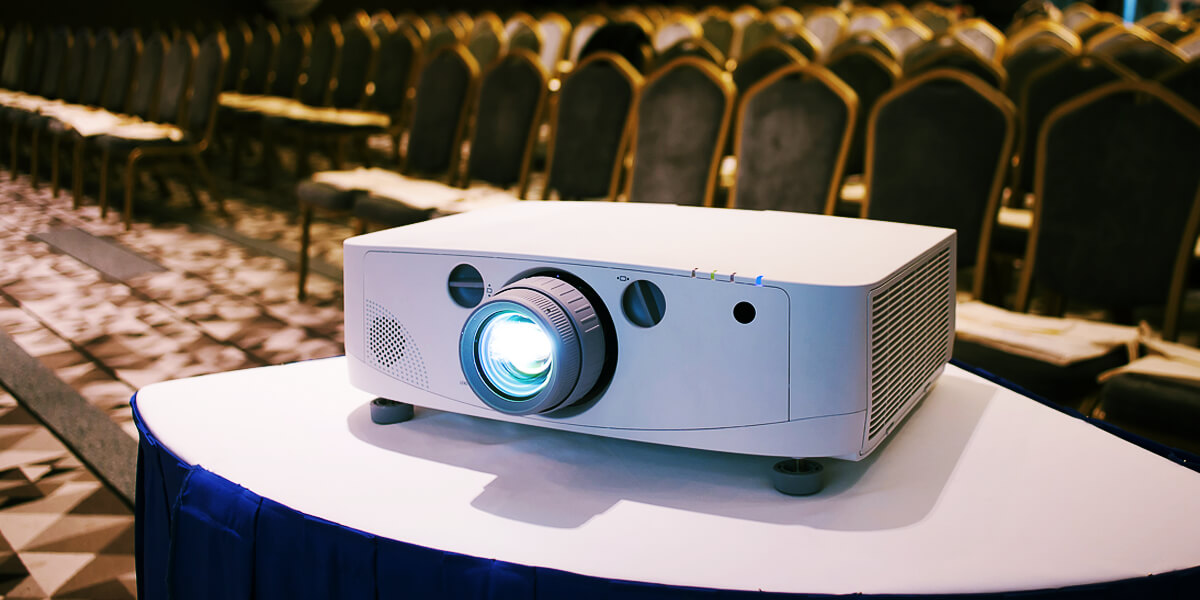
- Prepare the Projection Surface: Ensure that the projection surface, whether it’s a dedicated screen or a blank wall, is free from obstructions and positioned within the projector’s throw range. This ensures optimal image quality and a captivating viewing experience.
- Power On the Projector: Press the power button or toggle the power switch to activate the projector. As the device powers on, listen for any audible indicators of startup, such as fans or internal mechanisms initializing.
- Observe the Startup Sequence: As the projector powers up, pay attention to the projection surface for any signs of the projected image beginning to materialize. Many projectors feature startup animations or logos that indicate the device is operational and ready to receive input.
- Adjust Projection Settings (if necessary): Depending on your specific preferences and the environmental conditions, you may need to make adjustments to the projector’s settings. This could include fine-tuning the focus, adjusting the keystone correction, or optimizing the image for the best visual impact.
As the projector springs to life, you’ll bear witness to the transformation of your viewing space into a realm of boundless visual potential. Whether you’re preparing to immerse yourself in a cinematic masterpiece, engage in thrilling gameplay, or deliver a captivating presentation, the projector’s illumination heralds the dawn of a new era in your home entertainment experience.
Always exercise care when handling the projector and avoid looking directly into the lens when the device is powered on. With the projector activated and the projection surface primed, you’re poised to enter a realm where the convergence of technology and visual storytelling unfolds in breathtaking fashion.
Read more: How To Connect TV To A Projector
Step 5: Adjust the settings
With the projector powered on and the initial projection visible, it’s time to fine-tune the settings to optimize the visual experience and tailor it to your specific preferences. Follow these steps to adjust the projector settings and unlock the full potential of your viewing environment:
- Focus Adjustment: If the projected image appears slightly blurred or out of focus, use the focus adjustment ring or control on the projector to sharpen the clarity of the visuals. Rotate the focus ring gently until the image achieves optimal sharpness.
- Keystone Correction: In instances where the projector is not positioned perpendicular to the projection surface, the image may exhibit trapezoidal distortion. Use the keystone correction feature on the projector to digitally adjust the image and align it parallel to the projection surface, thereby rectifying any distortion.
- Image Mode Selection: Many projectors offer preset image modes, such as “Cinema,” “Gaming,” “Presentation,” or “Dynamic.” Select the mode that best suits your current viewing activity to enhance color accuracy, contrast, and brightness according to the content being displayed.
- Aspect Ratio Adjustment: Depending on the content being projected, you may need to adjust the aspect ratio settings to ensure that the image is displayed in the correct proportions. Common aspect ratios include 4:3, 16:9, and others, catering to various content formats.
- Color Calibration (if available): For advanced users, some projectors offer color calibration settings that allow precise adjustment of color temperature, saturation, and hue. Utilize these controls to fine-tune the color reproduction to your exact specifications.
By carefully adjusting the projector settings, you can tailor the visual output to suit your specific preferences and the nature of the content being displayed. Whether you seek cinematic realism, gaming vibrancy, or professional presentation clarity, the projector’s settings provide the tools to customize the visual experience to your liking.
Always refer to the projector’s user manual for detailed instructions on adjusting specific settings, as different projector models may offer varying features and controls. With the settings optimized, you’re poised to immerse yourself in a world of captivating visuals that reflect your unique vision and preferences.
Step 6: Test the connection
As you near the completion of the projector setup process, it’s essential to verify the integrity of the connection and ensure that the visual transmission between the video source and the projector is seamless. Follow these steps to conduct a comprehensive test of the connection and confirm that the projected visuals meet your expectations:
- Verify Signal Reception: Confirm that the projector is receiving the video signal from the connected source device. This can be indicated by the presence of a clear and stable image on the projection surface.
- Playback Test: Initiate playback of your desired content on the video source device, whether it’s a movie, a game, or a presentation. Observe the projected visuals to ensure that the content is displayed accurately and without any artifacts or distortion.
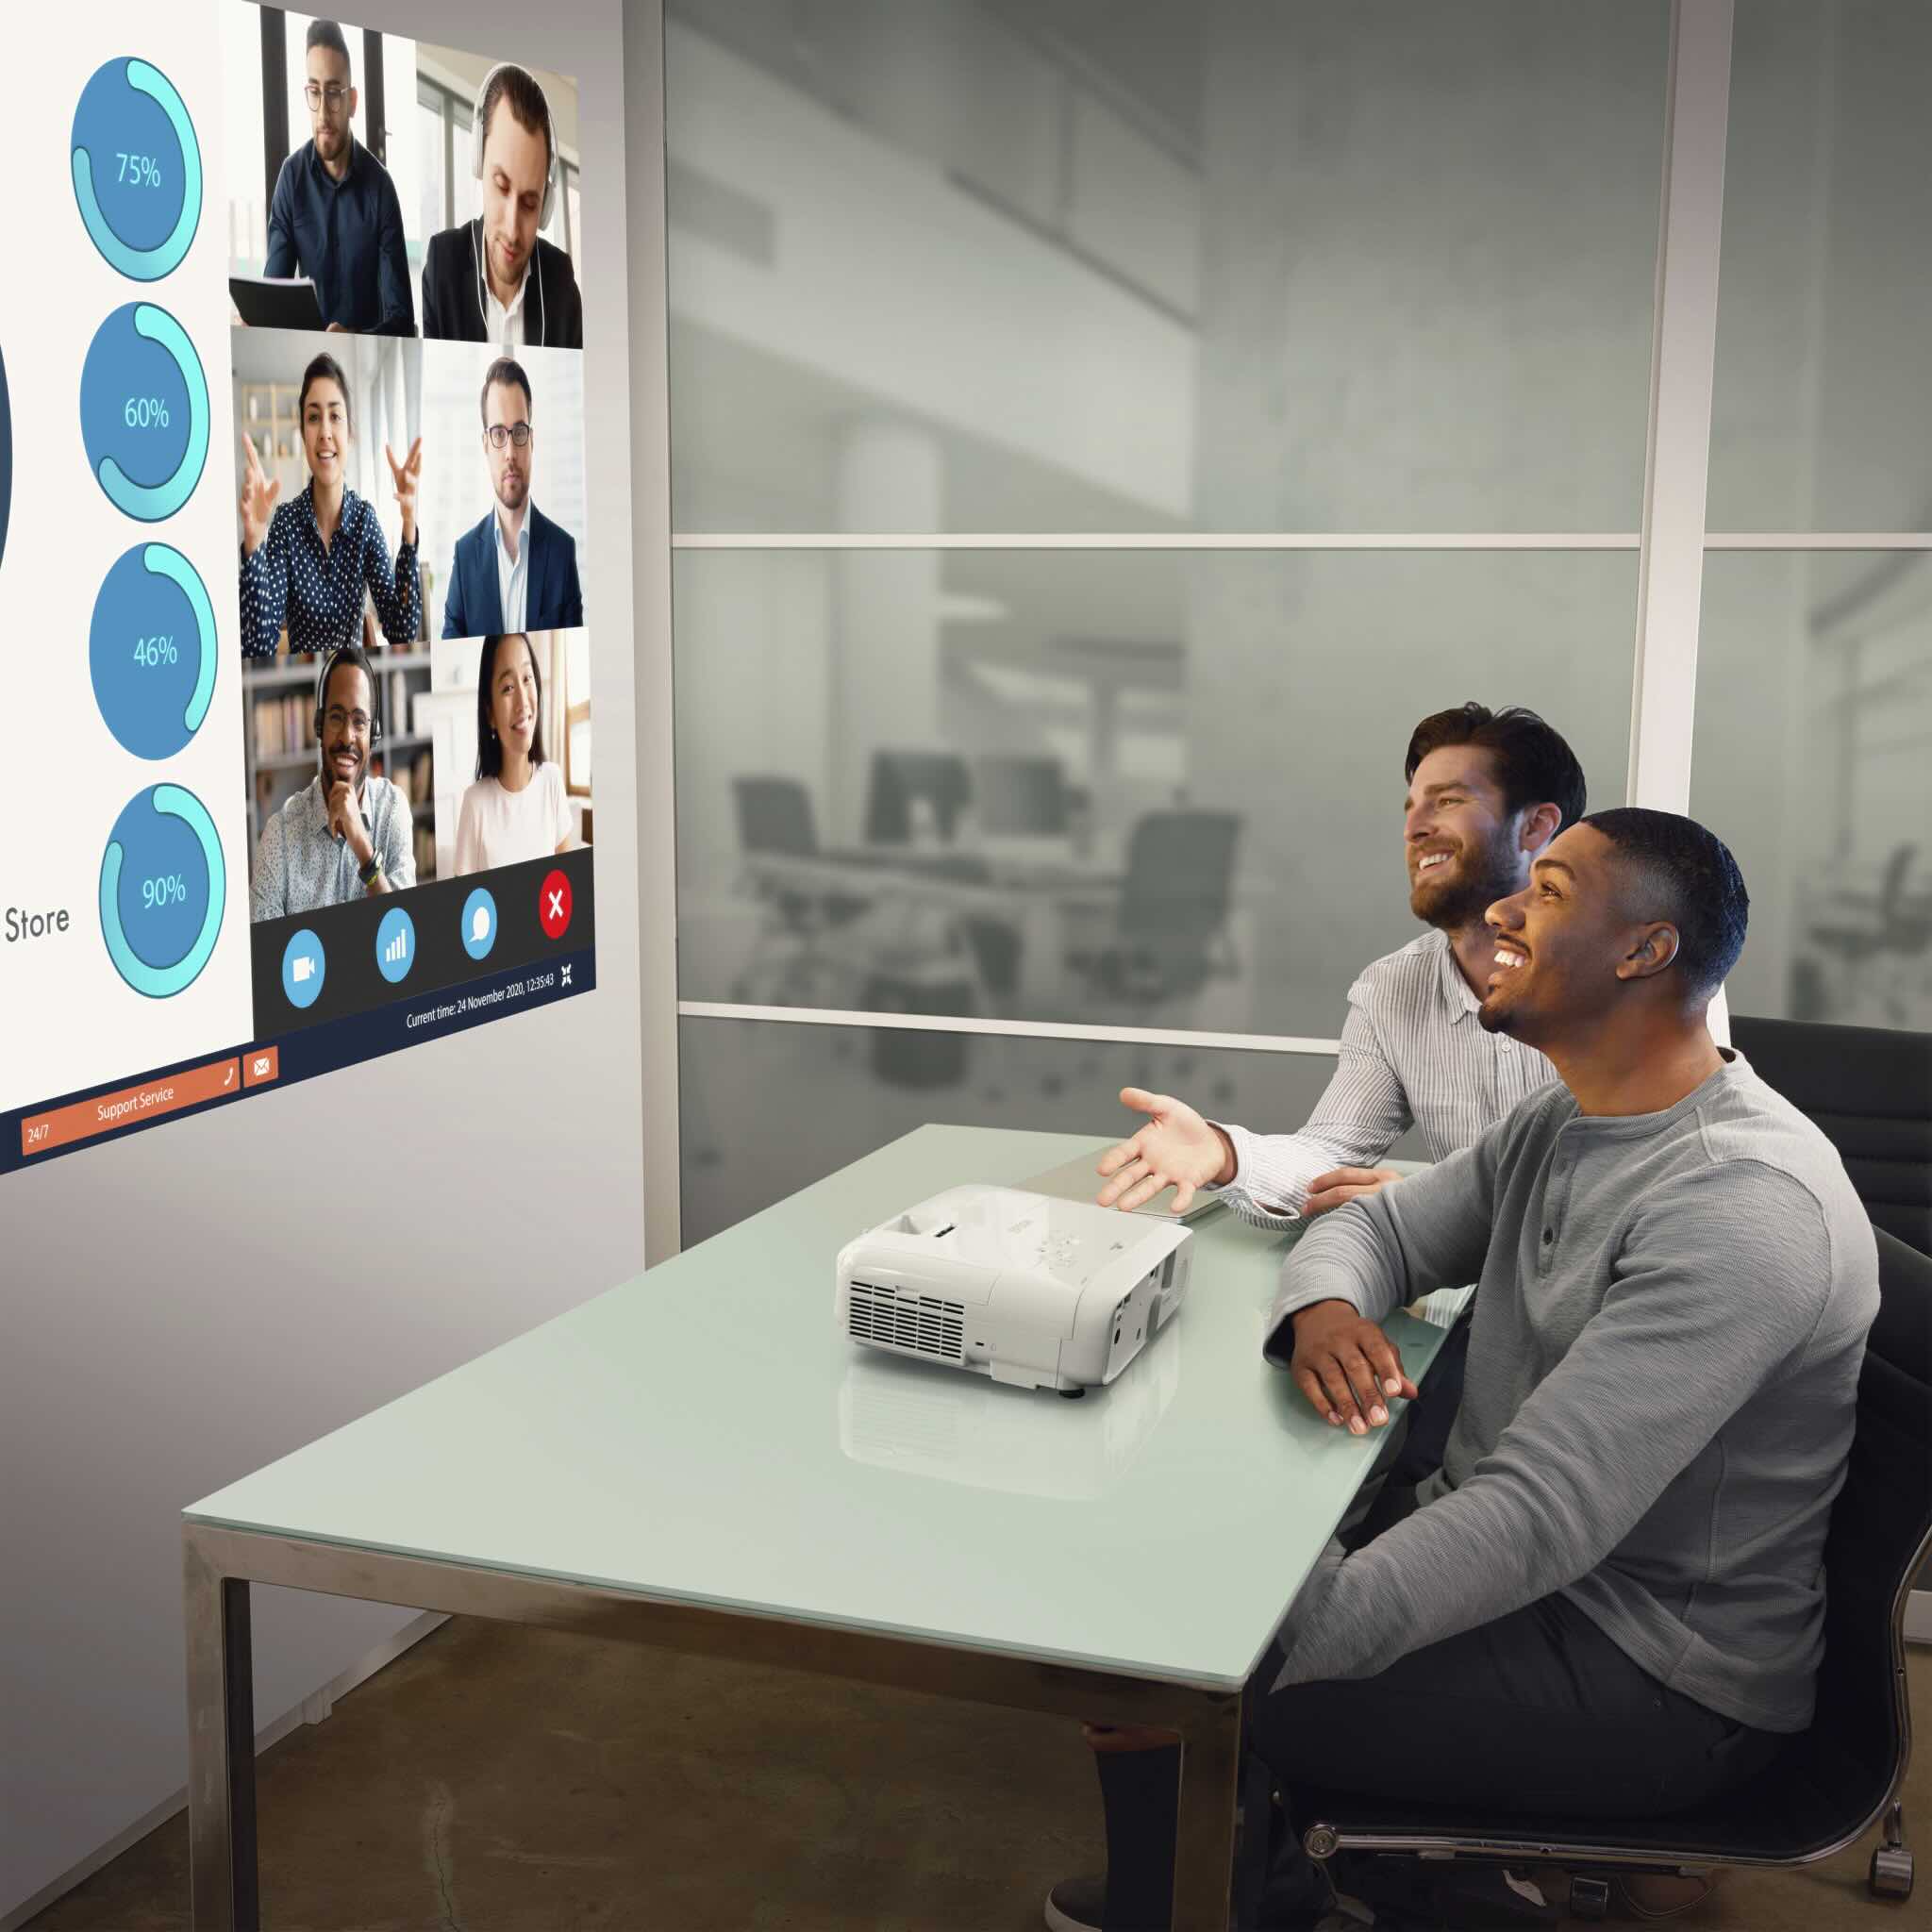
- Audio Output (if applicable): If your setup includes audio playback through the projector, ensure that the audio signal is transmitted correctly and that the projected visuals are accompanied by synchronized sound, enhancing the overall immersive experience.
- Interaction Test (if applicable): If you’re using an interactive projector for touch or pen-based interactions, test the responsiveness and accuracy of the interactive features to ensure seamless engagement with the projected content.
- Environmental Considerations: Assess the ambient lighting conditions and environmental factors that may impact the projected visuals. Make adjustments as necessary to optimize the viewing environment for an enhanced visual experience.
By conducting a thorough test of the connection and the projected visuals, you can address any potential issues and fine-tune the setup to deliver an immersive and seamless viewing experience. Whether you’re preparing for an engaging movie night, an exhilarating gaming session, or a compelling presentation, the successful completion of the connection test signifies that your projector setup is primed for captivating experiences.
Always remain attentive to the details of the projected visuals and sound, ensuring that the connection delivers the high-quality experience you envisioned. With the successful completion of the connection test, you’re now ready to embark on a journey of visual storytelling and immersive entertainment within the expansive canvas of your projection surface.
Conclusion
Congratulations on successfully navigating the process of connecting and setting up your projector, ushering in a realm of boundless visual possibilities within your home entertainment space. As you’ve ventured through the steps outlined in this guide, you’ve embraced the convergence of technology and creativity, transforming any space into a captivating arena for immersive viewing experiences.
By gathering the necessary equipment, establishing a reliable power connection, and seamlessly linking the video source to the projector, you’ve laid the groundwork for a seamless and rewarding projection setup. The meticulous adjustment of settings and the comprehensive testing of the connection have empowered you to fine-tune the visual experience to your precise preferences, ensuring that the projected visuals reflect your unique vision and desired outcomes.
Whether you’re preparing for an enchanting movie night under the stars, immersing yourself in the exhilarating realms of gaming, or delivering impactful presentations that captivate your audience, the successful setup of your projector opens doors to a world of grand-scale visual storytelling and entertainment.
As you embark on your journey with the projector, remember to explore the diverse array of content that can be brought to life on the expansive canvas of your projection surface. From cinematic blockbusters to awe-inspiring gaming adventures and professional presentations, the projector serves as a gateway to unforgettable moments and shared experiences with family, friends, and colleagues.
Embrace the magic of large-scale visuals, and let your imagination soar within the immersive realm of projected storytelling. With the setup process behind you and the projector poised to illuminate your space with captivating visuals, the stage is set for a multitude of unforgettable experiences that unfold within the captivating embrace of your projection surface.
As you continue to explore the endless possibilities of your projector, may each viewing session be filled with wonder, excitement, and the joy of shared experiences that transcend the confines of traditional displays. The world of projection awaits, ready to envelop you in a tapestry of larger-than-life visuals and immersive storytelling.
Frequently Asked Questions about How To Connect A Projector
Was this page helpful?
At Storables.com, we guarantee accurate and reliable information. Our content, validated by Expert Board Contributors, is crafted following stringent Editorial Policies. We're committed to providing you with well-researched, expert-backed insights for all your informational needs.


0 thoughts on “How To Connect A Projector”