Home>Technology>Home Entertainment Systems>How To Turn On A Projector
Home Entertainment Systems
How To Turn On A Projector
Modified: August 28, 2024
Learn how to turn on a projector and set up your home entertainment system with our step-by-step guide. Get the best viewing experience at home.
(Many of the links in this article redirect to a specific reviewed product. Your purchase of these products through affiliate links helps to generate commission for Storables.com, at no extra cost. Learn more)
Introduction
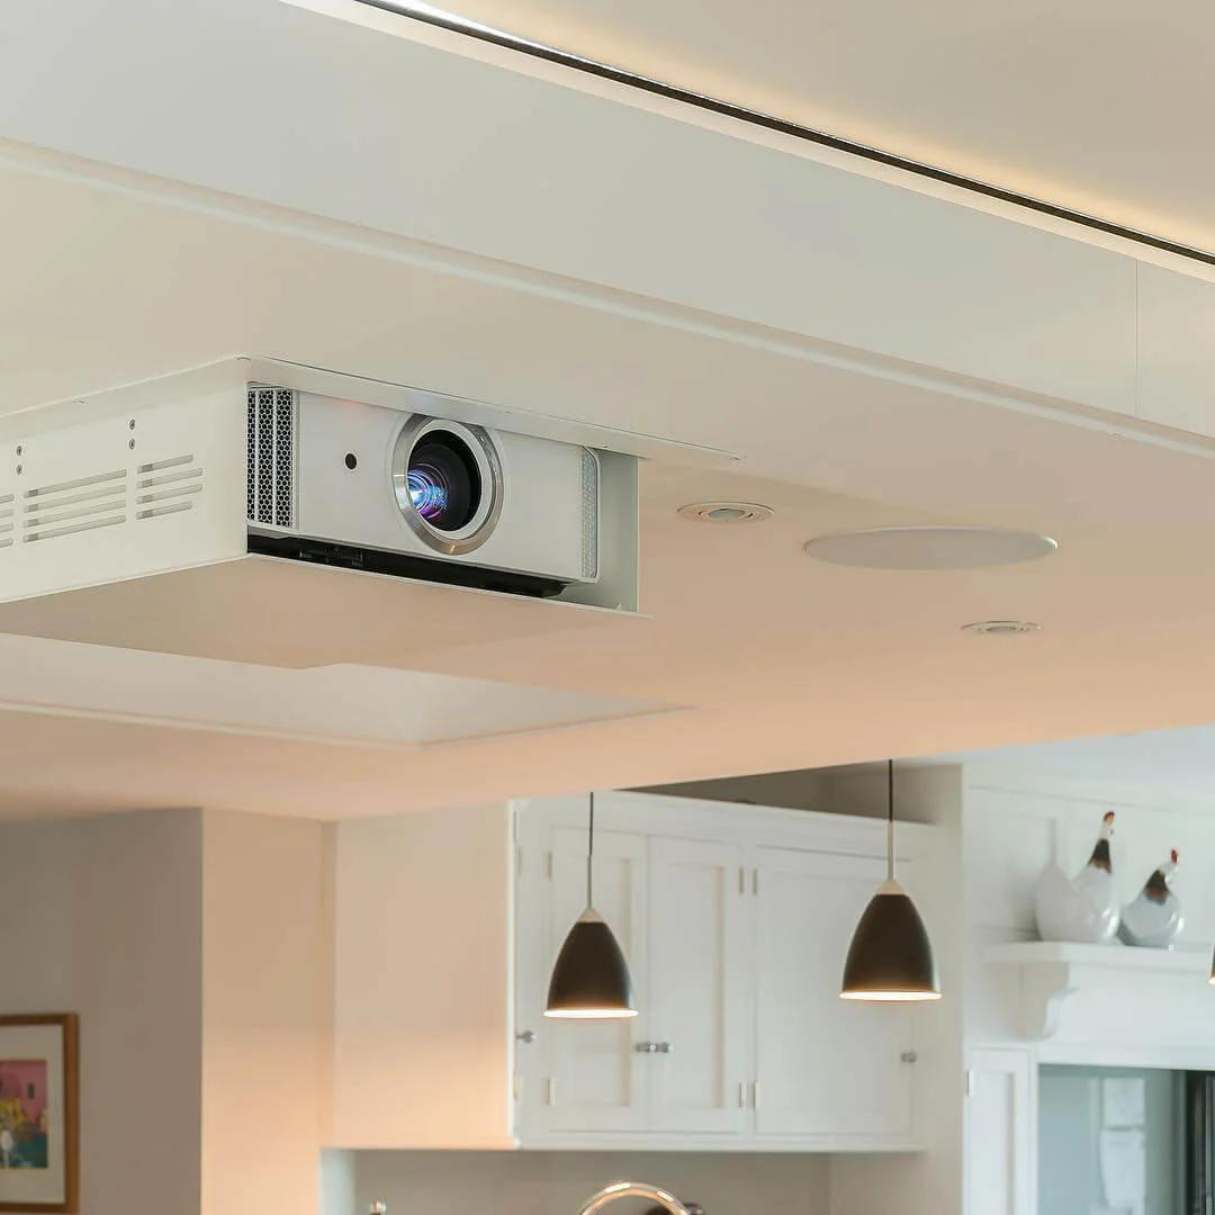
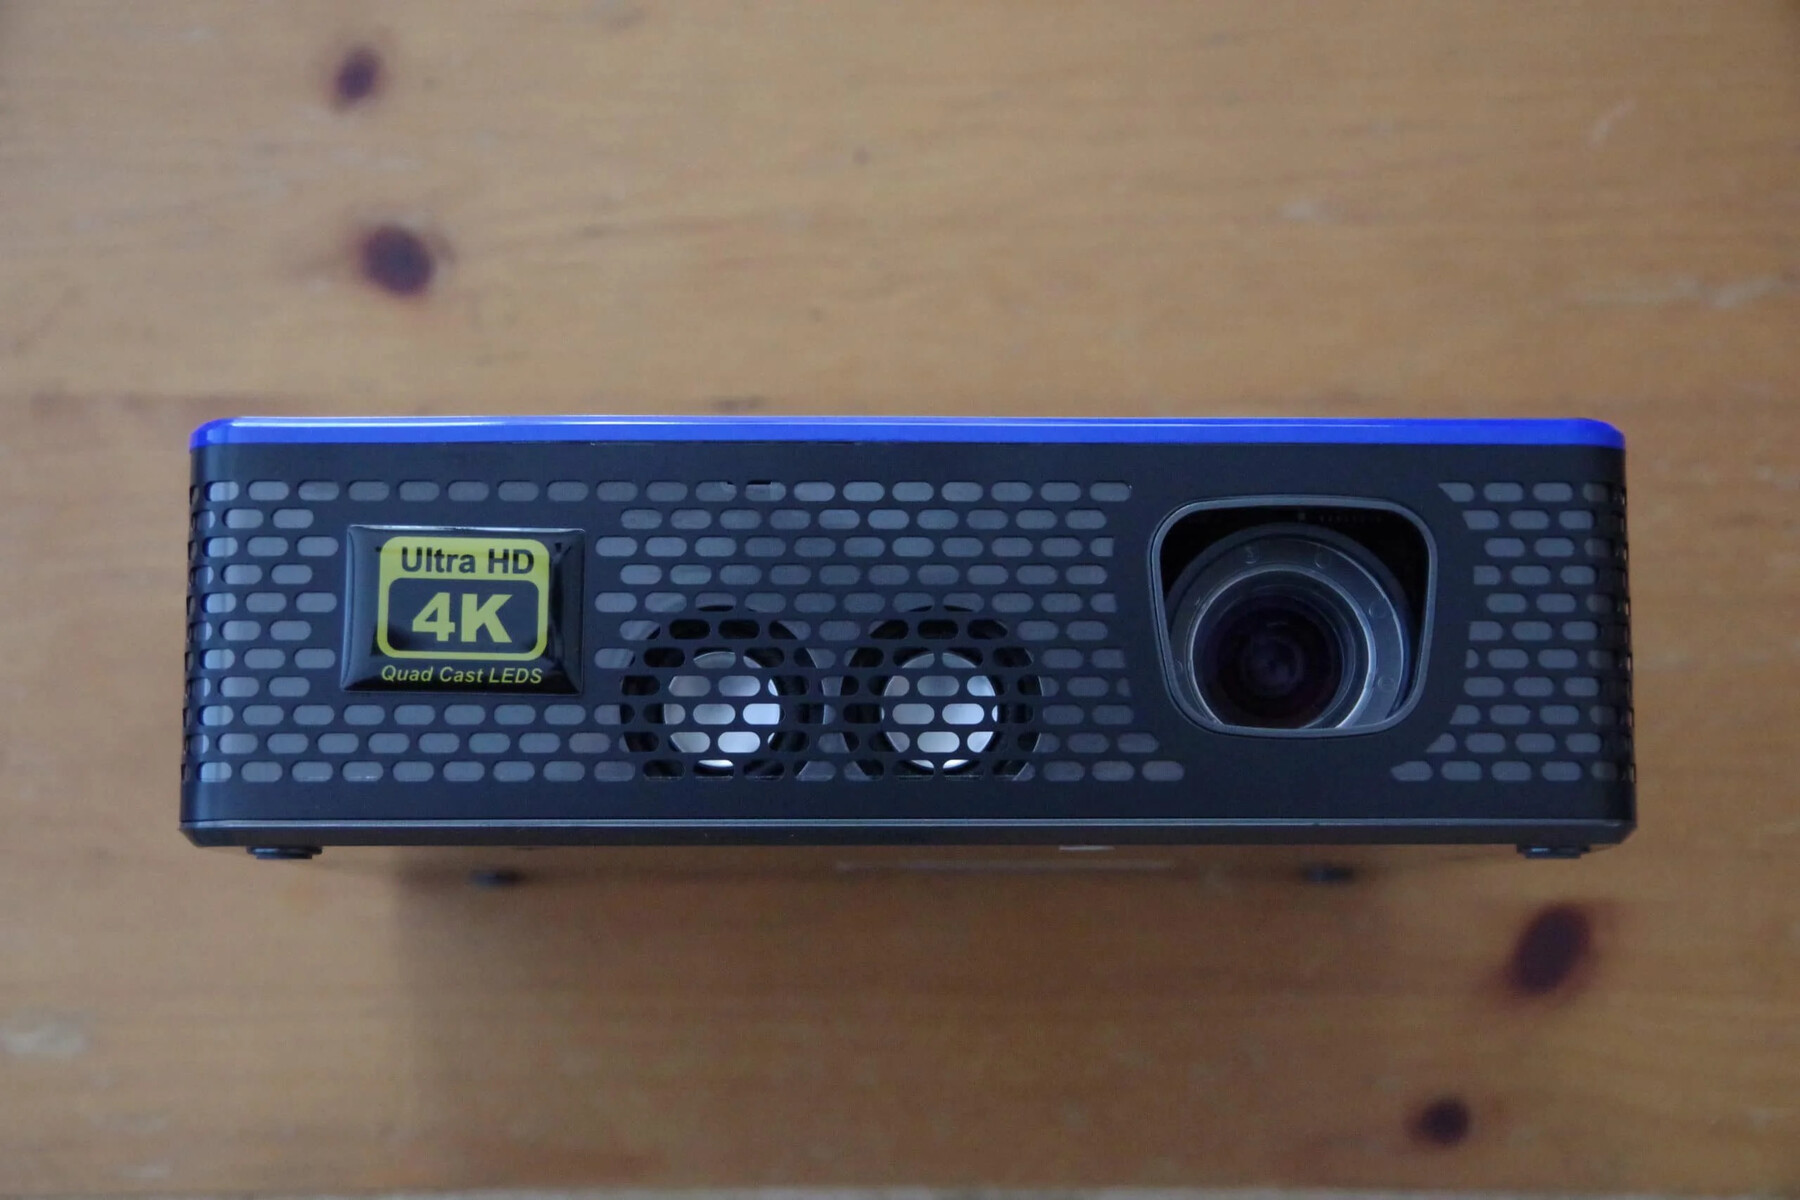
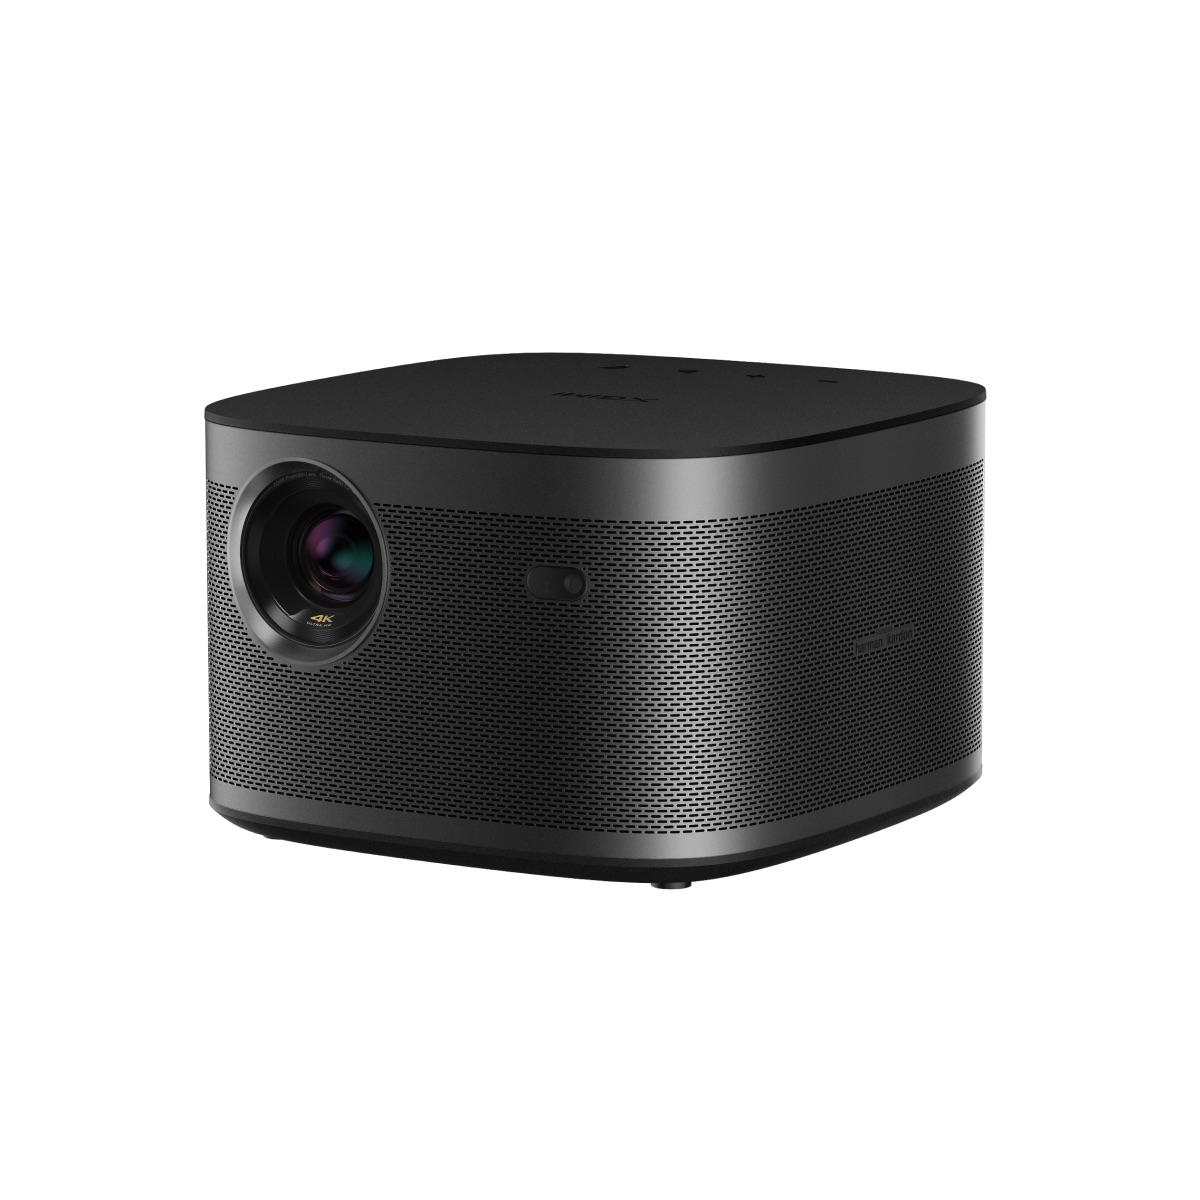
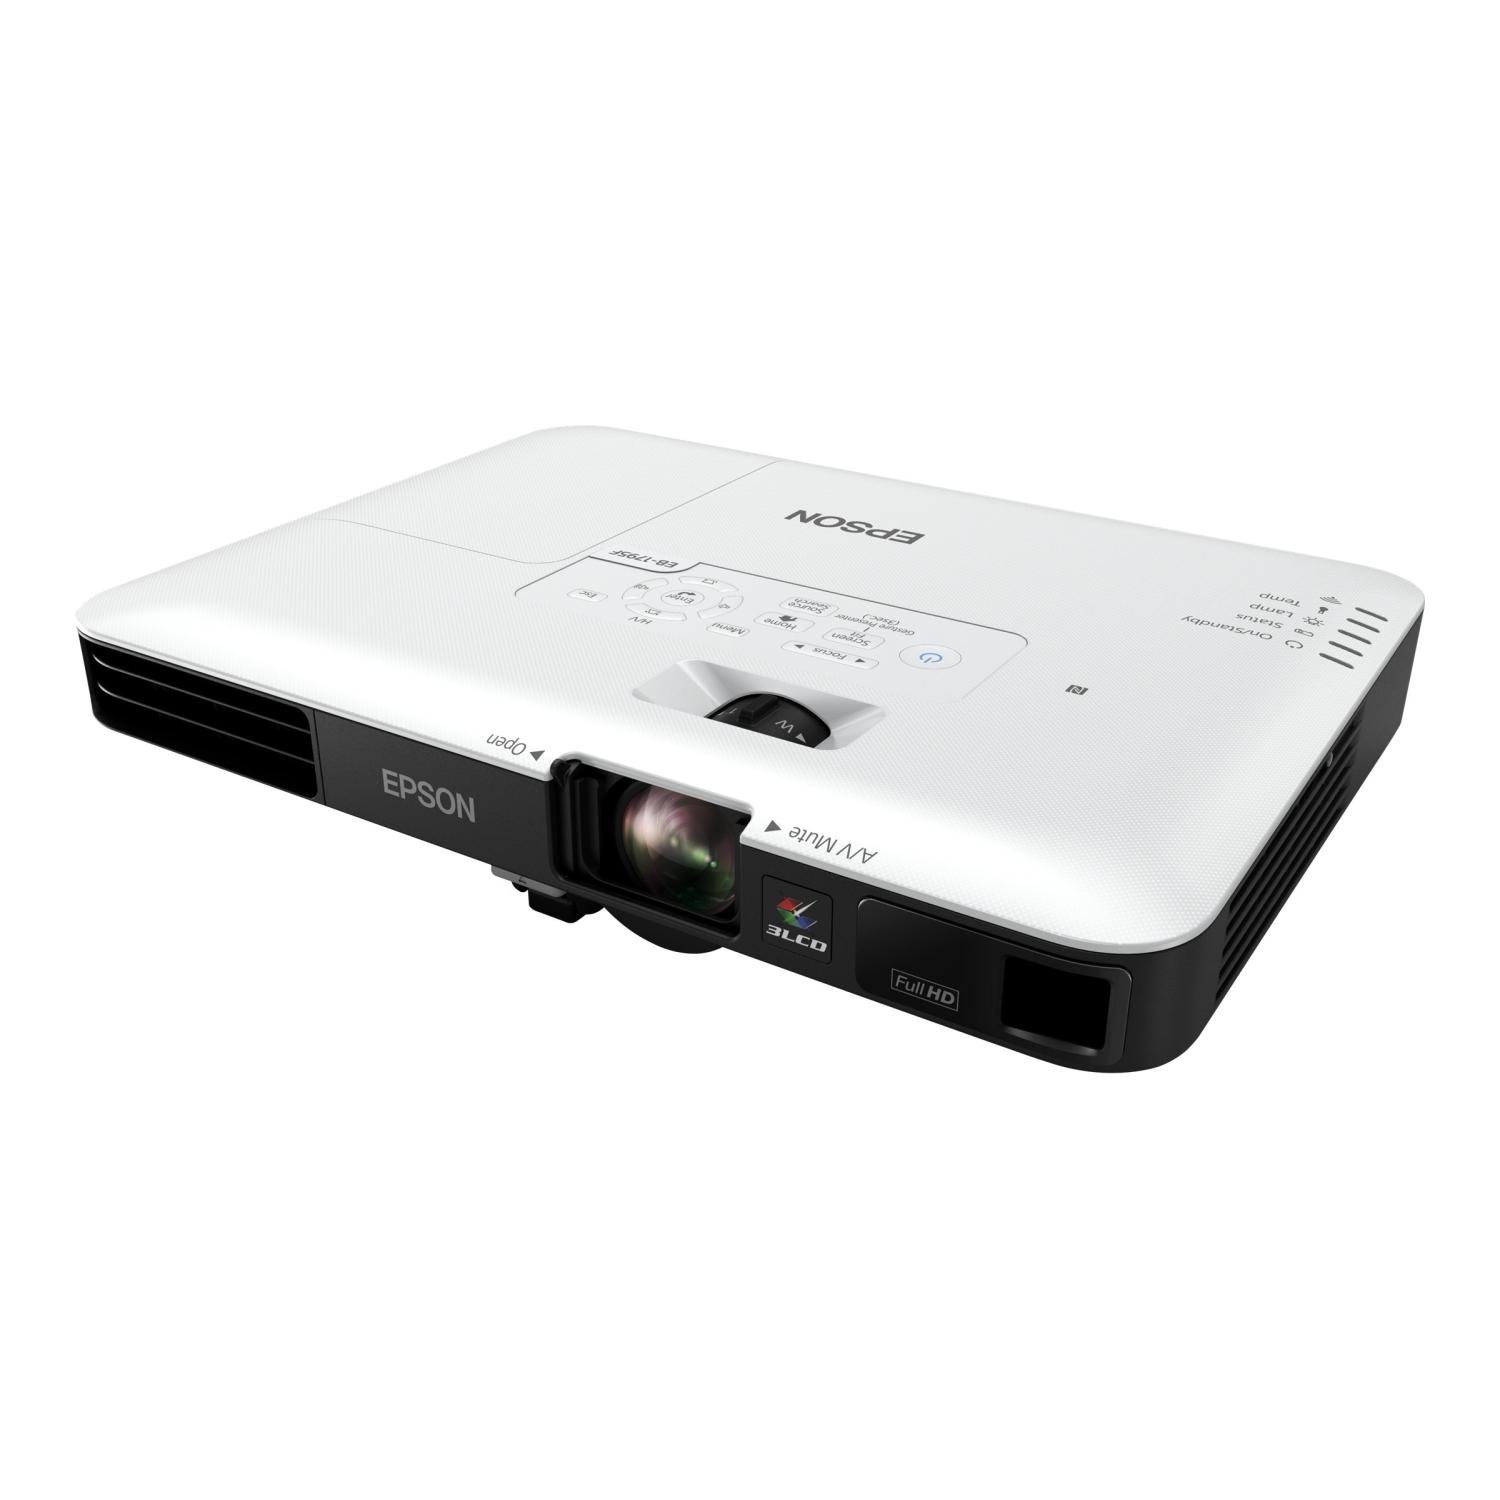
Welcome to the world of home entertainment systems, where the magic of cinema comes to life in the comfort of your living room. If you're looking to elevate your movie nights, gaming sessions, or presentations, a projector is an indispensable addition to your setup. With its ability to transform any blank wall into a larger-than-life display, a projector opens up a realm of possibilities for immersive viewing experiences.
In this comprehensive guide, we'll walk you through the simple yet essential steps to turn on a projector and get ready for an unforgettable visual journey. Whether you're a seasoned projector enthusiast or a newcomer to the realm of projection technology, this article will equip you with the knowledge and confidence to harness the power of your projector effectively.
So, grab your popcorn, dim the lights, and let's embark on a cinematic adventure as we unravel the art of turning on a projector.
Key Takeaways:
- Turning on a projector is like bringing a blank wall to life with big, colorful pictures. Check the power, connect to an outlet, power on, adjust focus, and pick your content source for an awesome movie night or gaming adventure!
- By following simple steps, you can turn on a projector and unlock a world of cinematic wonder in your living room. From powering up to fine-tuning the image, you’re ready for immersive entertainment experiences!
Read more: How To Turn Off A Projector
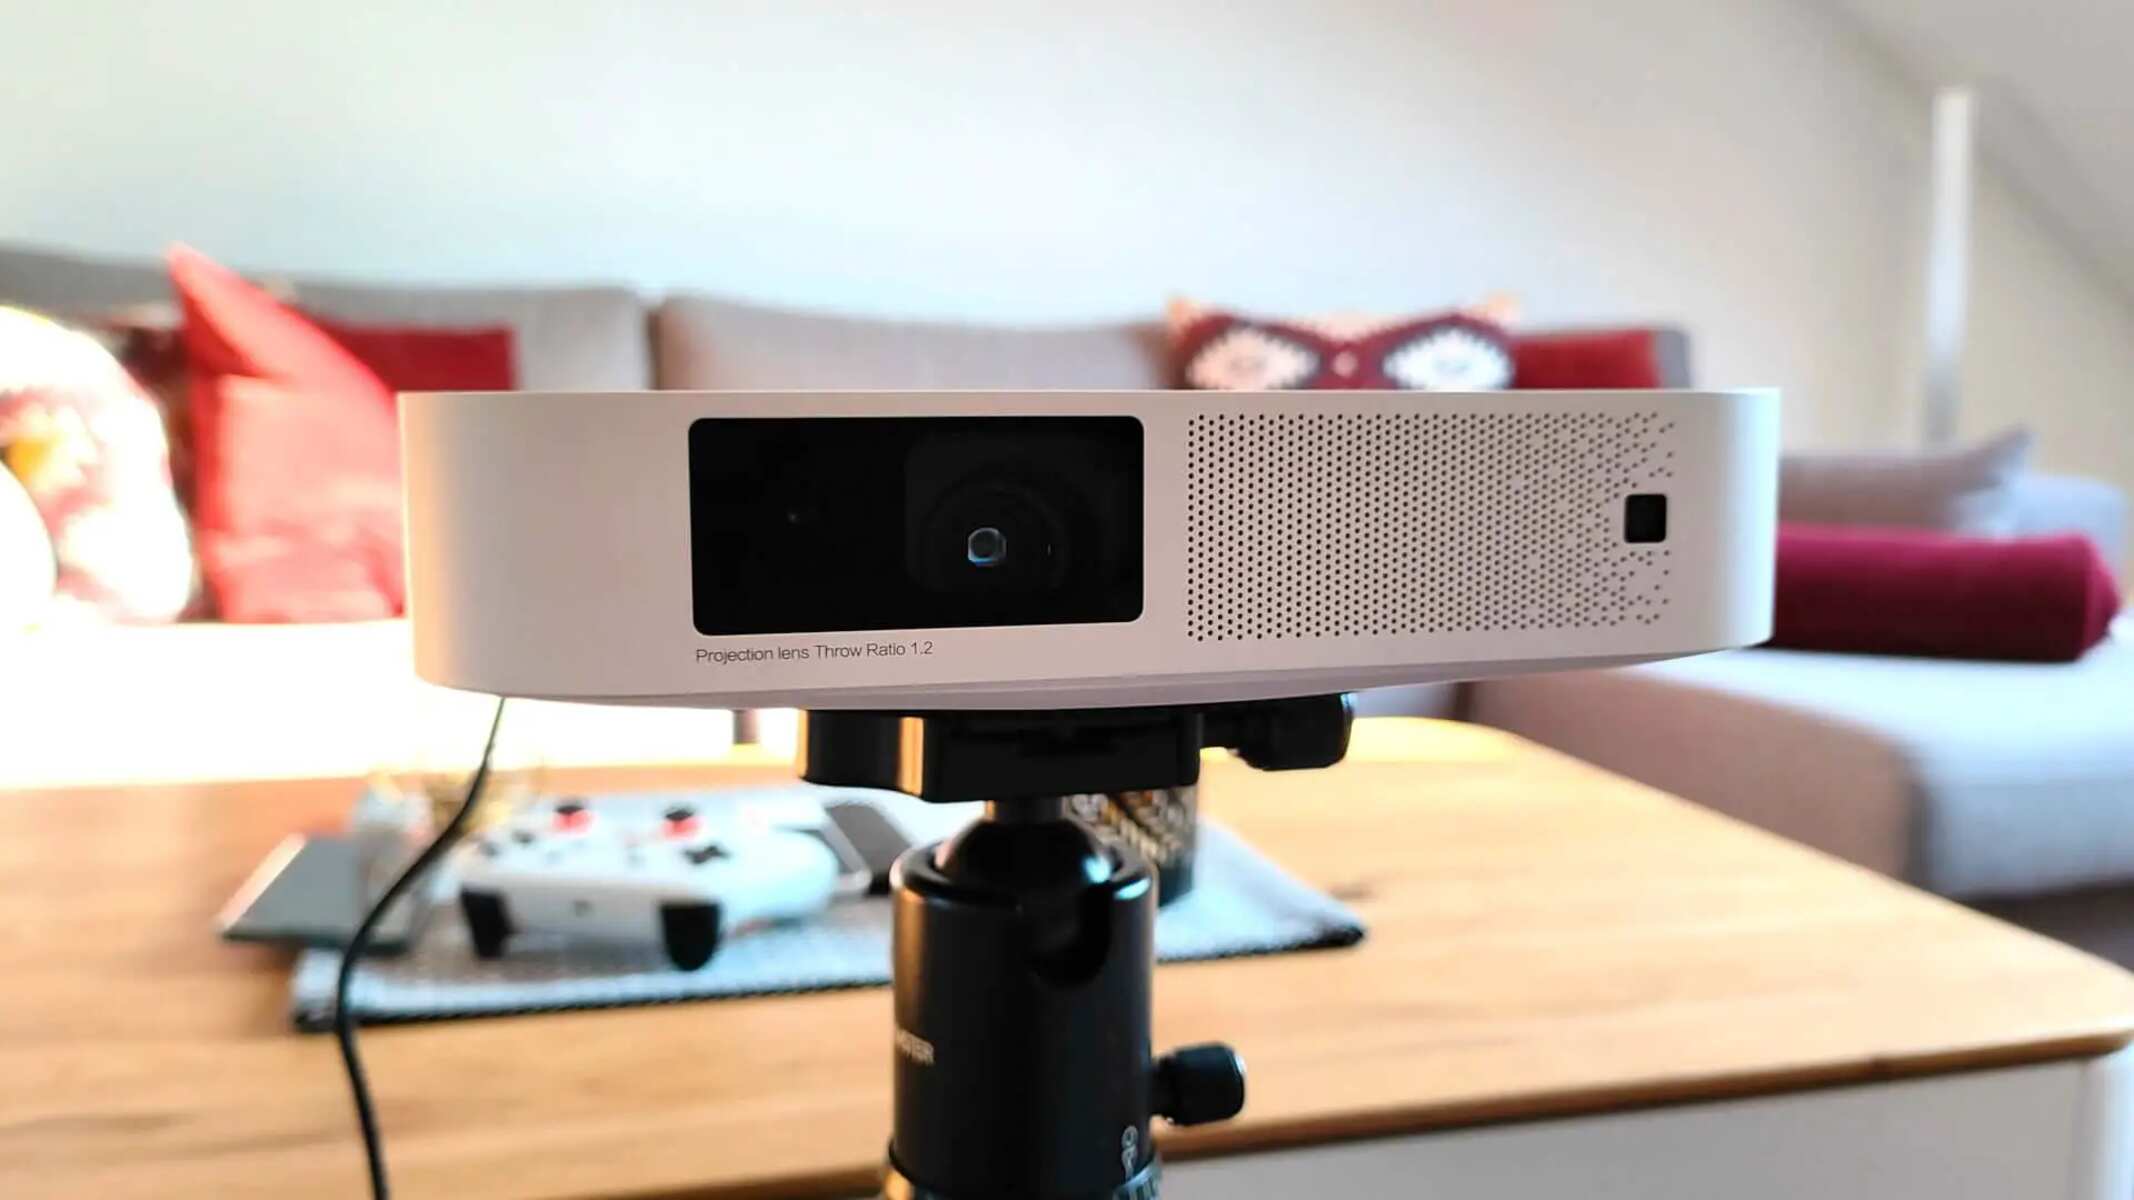
Check the Power Source
Before diving into the world of immersive visuals, it's crucial to ensure that your projector is powered and ready to dazzle. Start by locating a suitable power source near your desired projection area. This could be a power outlet on the wall or an extension cord if the outlet is not within reach.
Inspect the power cord of your projector for any signs of damage, such as fraying or exposed wires. It's essential to prioritize safety and avoid using a damaged power cord, as this could pose a risk of electrical hazards. Once you've verified the integrity of the power cord, proceed to connect it to the projector securely.
Remember, the power source should match the voltage requirements specified for your projector. Most projectors are designed to operate within a specific voltage range, so it's crucial to confirm that the power source aligns with these requirements to prevent electrical issues and ensure optimal performance.
By double-checking the power source and confirming that all connections are secure, you lay a solid foundation for a seamless and uninterrupted projection experience. With the power source in place, you're now ready to bring your projector to life and unlock its captivating potential.
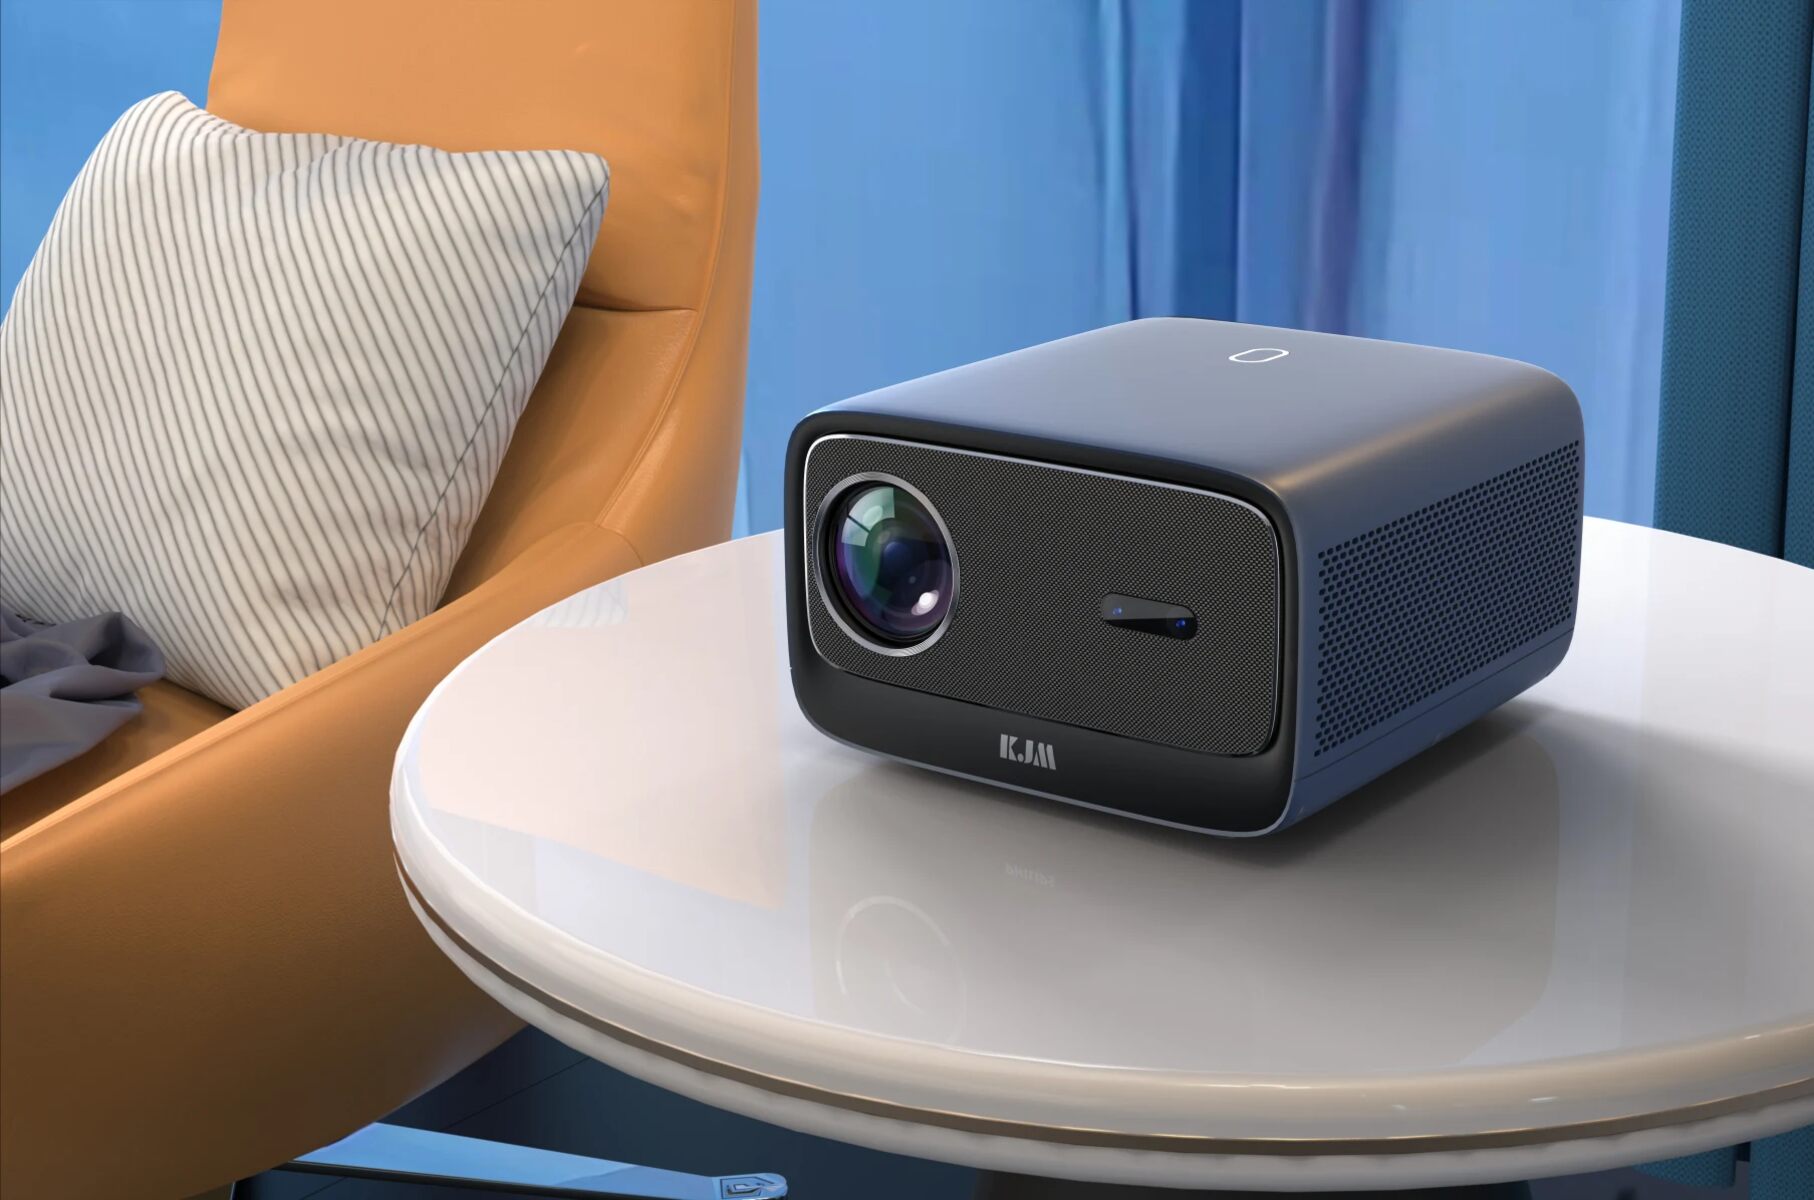
Connect the Projector to a Power Outlet
With the power source confirmed, it’s time to establish a direct connection between your projector and the power outlet. Begin by locating the power input port on your projector, typically situated at the rear or side of the unit. Align the prongs of the power cord with the corresponding slots in the power input port, ensuring a snug fit without forcing the connection.
Once the power cord is securely inserted into the power input port, gently push the plug into place until it is fully seated. Avoid applying excessive force, as this could damage the port or the power cord. With the connection established, you have successfully bridged the gap between the power outlet and your projector, setting the stage for the next pivotal step: powering on the projector.
It’s worth noting that some projectors may feature a power switch near the power input port. If your projector includes this feature, ensure that the power switch is in the “off” position before connecting the power cord. This precautionary measure helps prevent any potential electrical surges during the connection process.
By connecting the projector to a power outlet with precision and care, you lay the groundwork for a seamless power-up process. This step not only ensures that the projector receives the necessary electrical supply but also sets the stage for an uninterrupted visual spectacle that awaits you upon powering on the device.
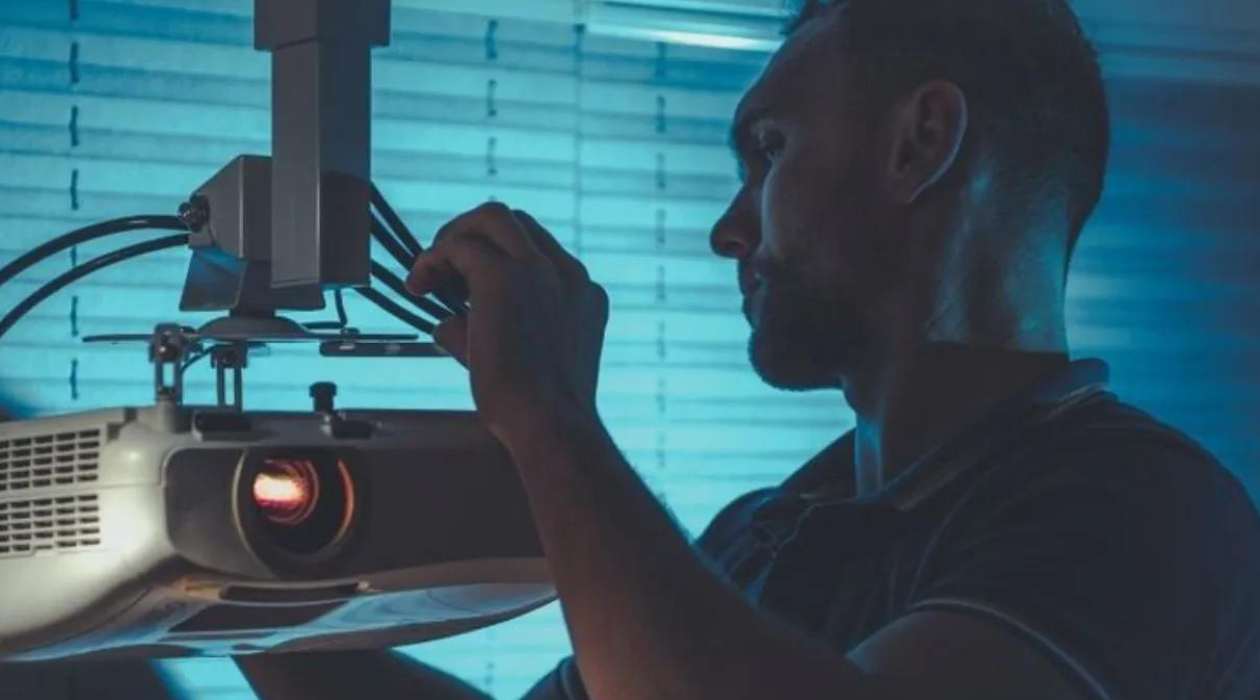
Power On the Projector
With the projector securely connected to the power outlet, the moment has arrived to bring your visual centerpiece to life. Locate the power button on the projector, which is typically positioned on the control panel or near the lens housing. Take a moment to familiarize yourself with the location of the power button, as it serves as the gateway to unleashing the full potential of your projector.
Gently press the power button to initiate the startup sequence. As the projector powers on, you may notice indicator lights or a startup sound, signaling that the device is initializing. Depending on the model of your projector, the startup process may vary in duration, ranging from a few seconds to a minute or more. During this time, the projector’s internal components spring into action, preparing to deliver stunning visuals to your eagerly awaiting audience.
Observe the projection surface as the projector powers on, anticipating the moment when the blank canvas transforms into a canvas of vibrant imagery. The excitement builds as the projector completes its startup routine, culminating in the emergence of a captivating display that sets the stage for an immersive viewing experience.
Upon successfully powering on the projector, take a moment to appreciate the seamless transition from anticipation to realization. The projector is now primed and ready to cast its enchanting visuals, beckoning you to delve into a world of cinematic wonder and boundless entertainment.
By mastering the art of powering on the projector, you have unlocked the gateway to a realm of visual splendor, setting the stage for captivating experiences that await you and your audience.
Make sure the projector is plugged in and the power switch is turned on. Then, press the power button on the projector or the remote control to turn it on. Wait for the projector to warm up and display the image.
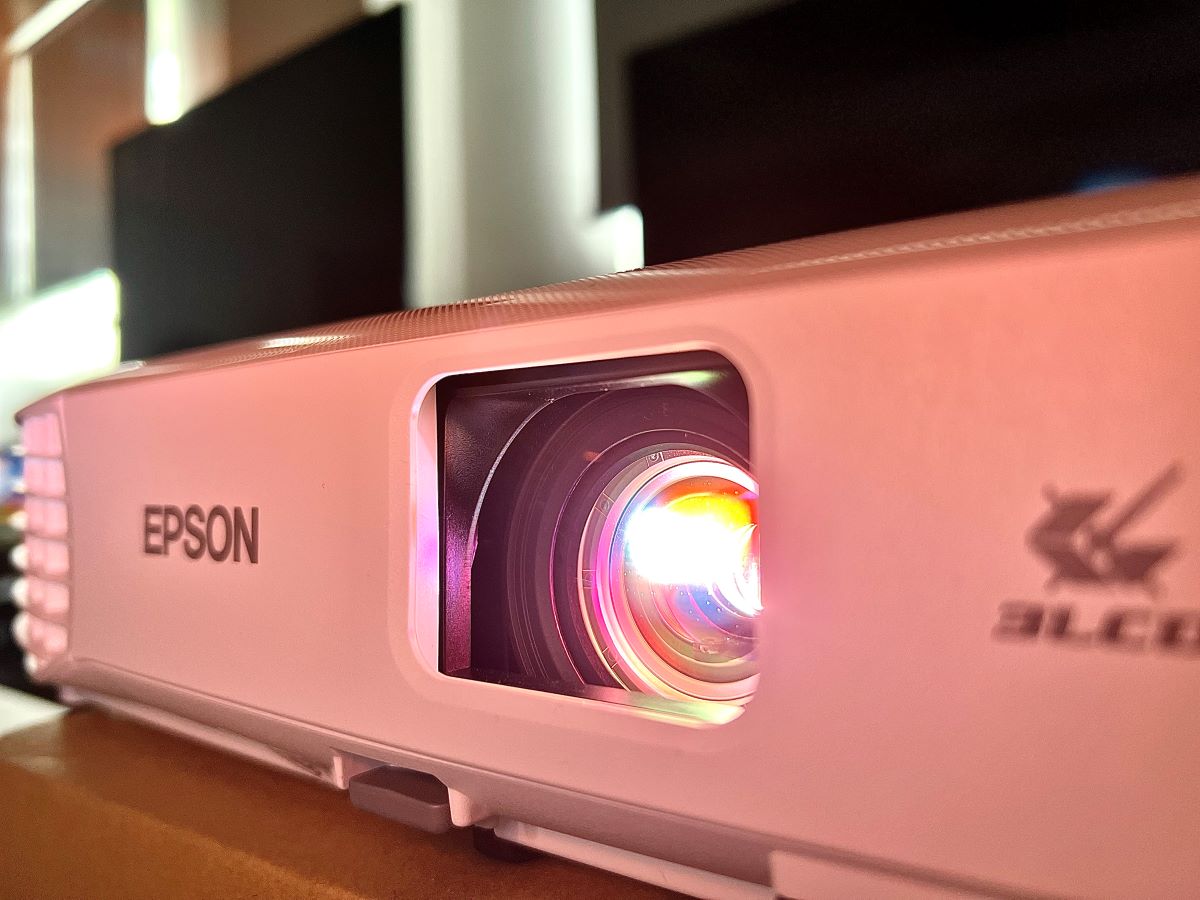
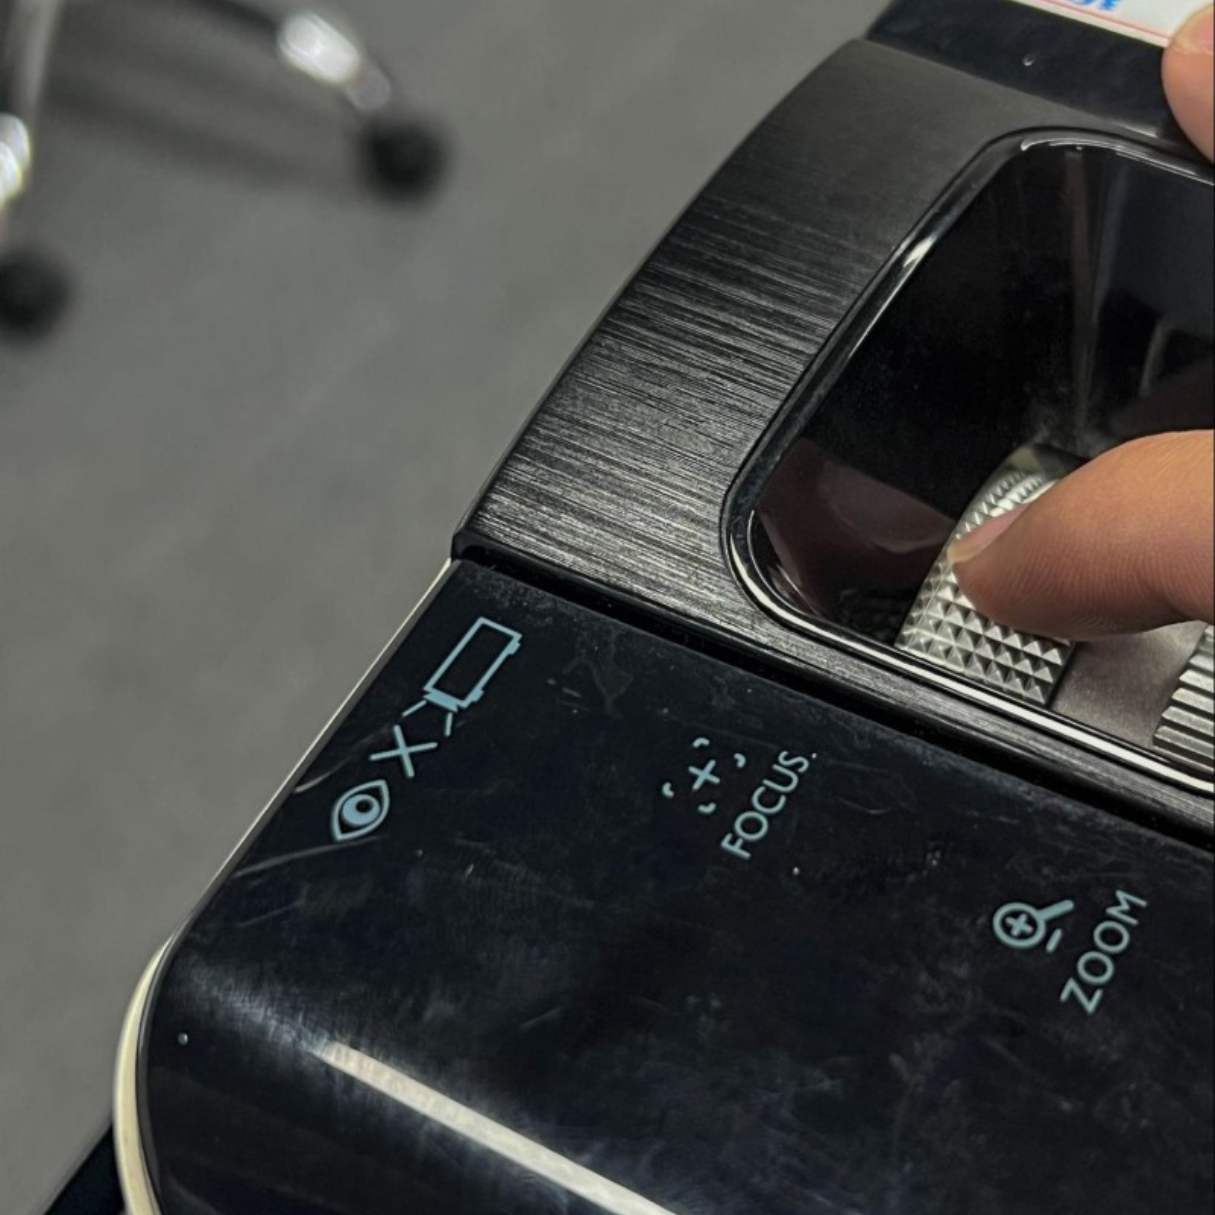
Adjust the Focus and Keystone Correction
With the projector powered on and the initial excitement palpable, it’s time to ensure that the projected image achieves optimal clarity and alignment. Begin by adjusting the focus of the projector to sharpen the projected image. Locate the focus ring, typically positioned around the lens housing, and slowly rotate it in either direction until the projected image attains a crisp and well-defined appearance. Fine-tune the focus until the details within the image emerge with striking clarity, ensuring that every scene and element comes to life with precision.
Next, consider the aspect of keystone correction, a crucial adjustment that rectifies any distortion in the projected image caused by the angle of the projector in relation to the screen or projection surface. Most projectors offer keystone correction controls, either manual or digital, allowing you to align the projected image to achieve a perfectly rectangular and distortion-free display.
If your projector features manual keystone correction, adjust the keystone controls to manipulate the image’s shape and proportions, aligning it with the desired dimensions. Conversely, if your projector offers digital keystone correction, navigate through the on-screen menu to access the keystone adjustment settings, allowing you to fine-tune the image alignment with precision and ease.
By mastering the art of focus adjustment and keystone correction, you ensure that the projected visuals are presented with unparalleled clarity and alignment, transcending the limitations of traditional displays and embracing the full potential of projection technology.
With the focus honed to perfection and the keystone correction dialed in, the stage is set for an immersive visual journey that captivates and enthralls, delivering a viewing experience that transcends the ordinary and transports you to realms of cinematic wonder.
Read more: How To Turn IPhone Into A Projector
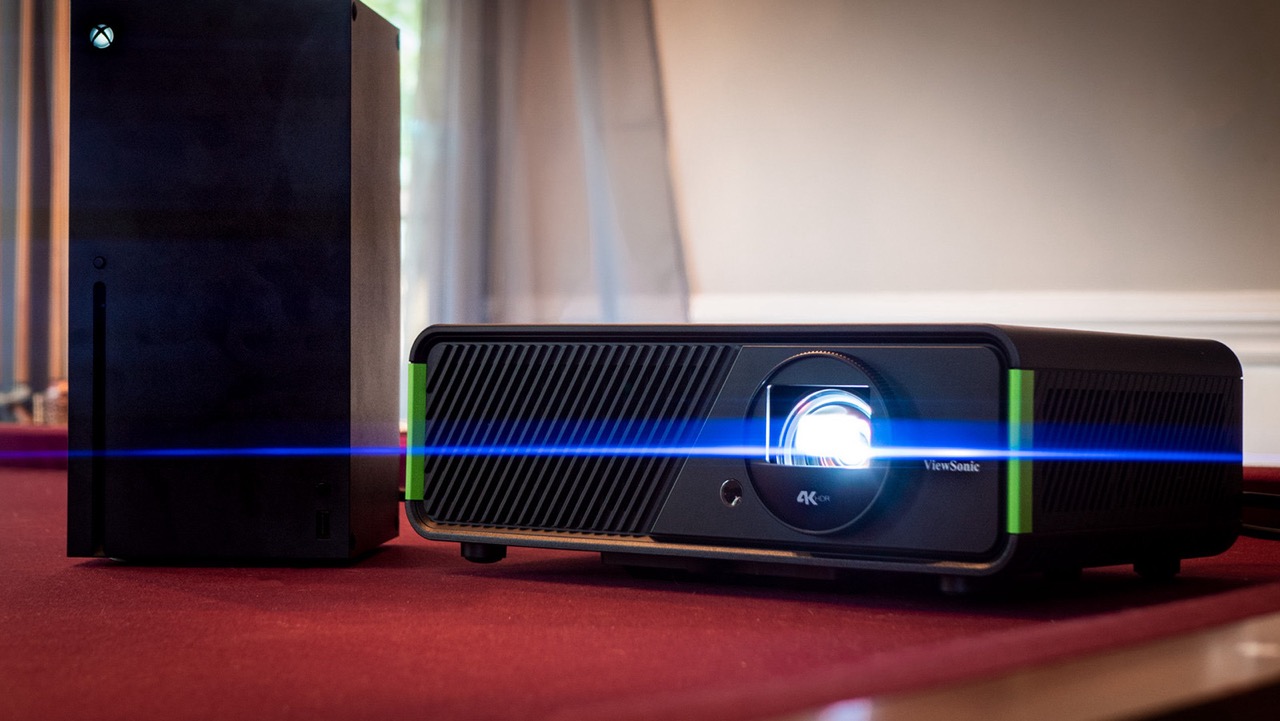
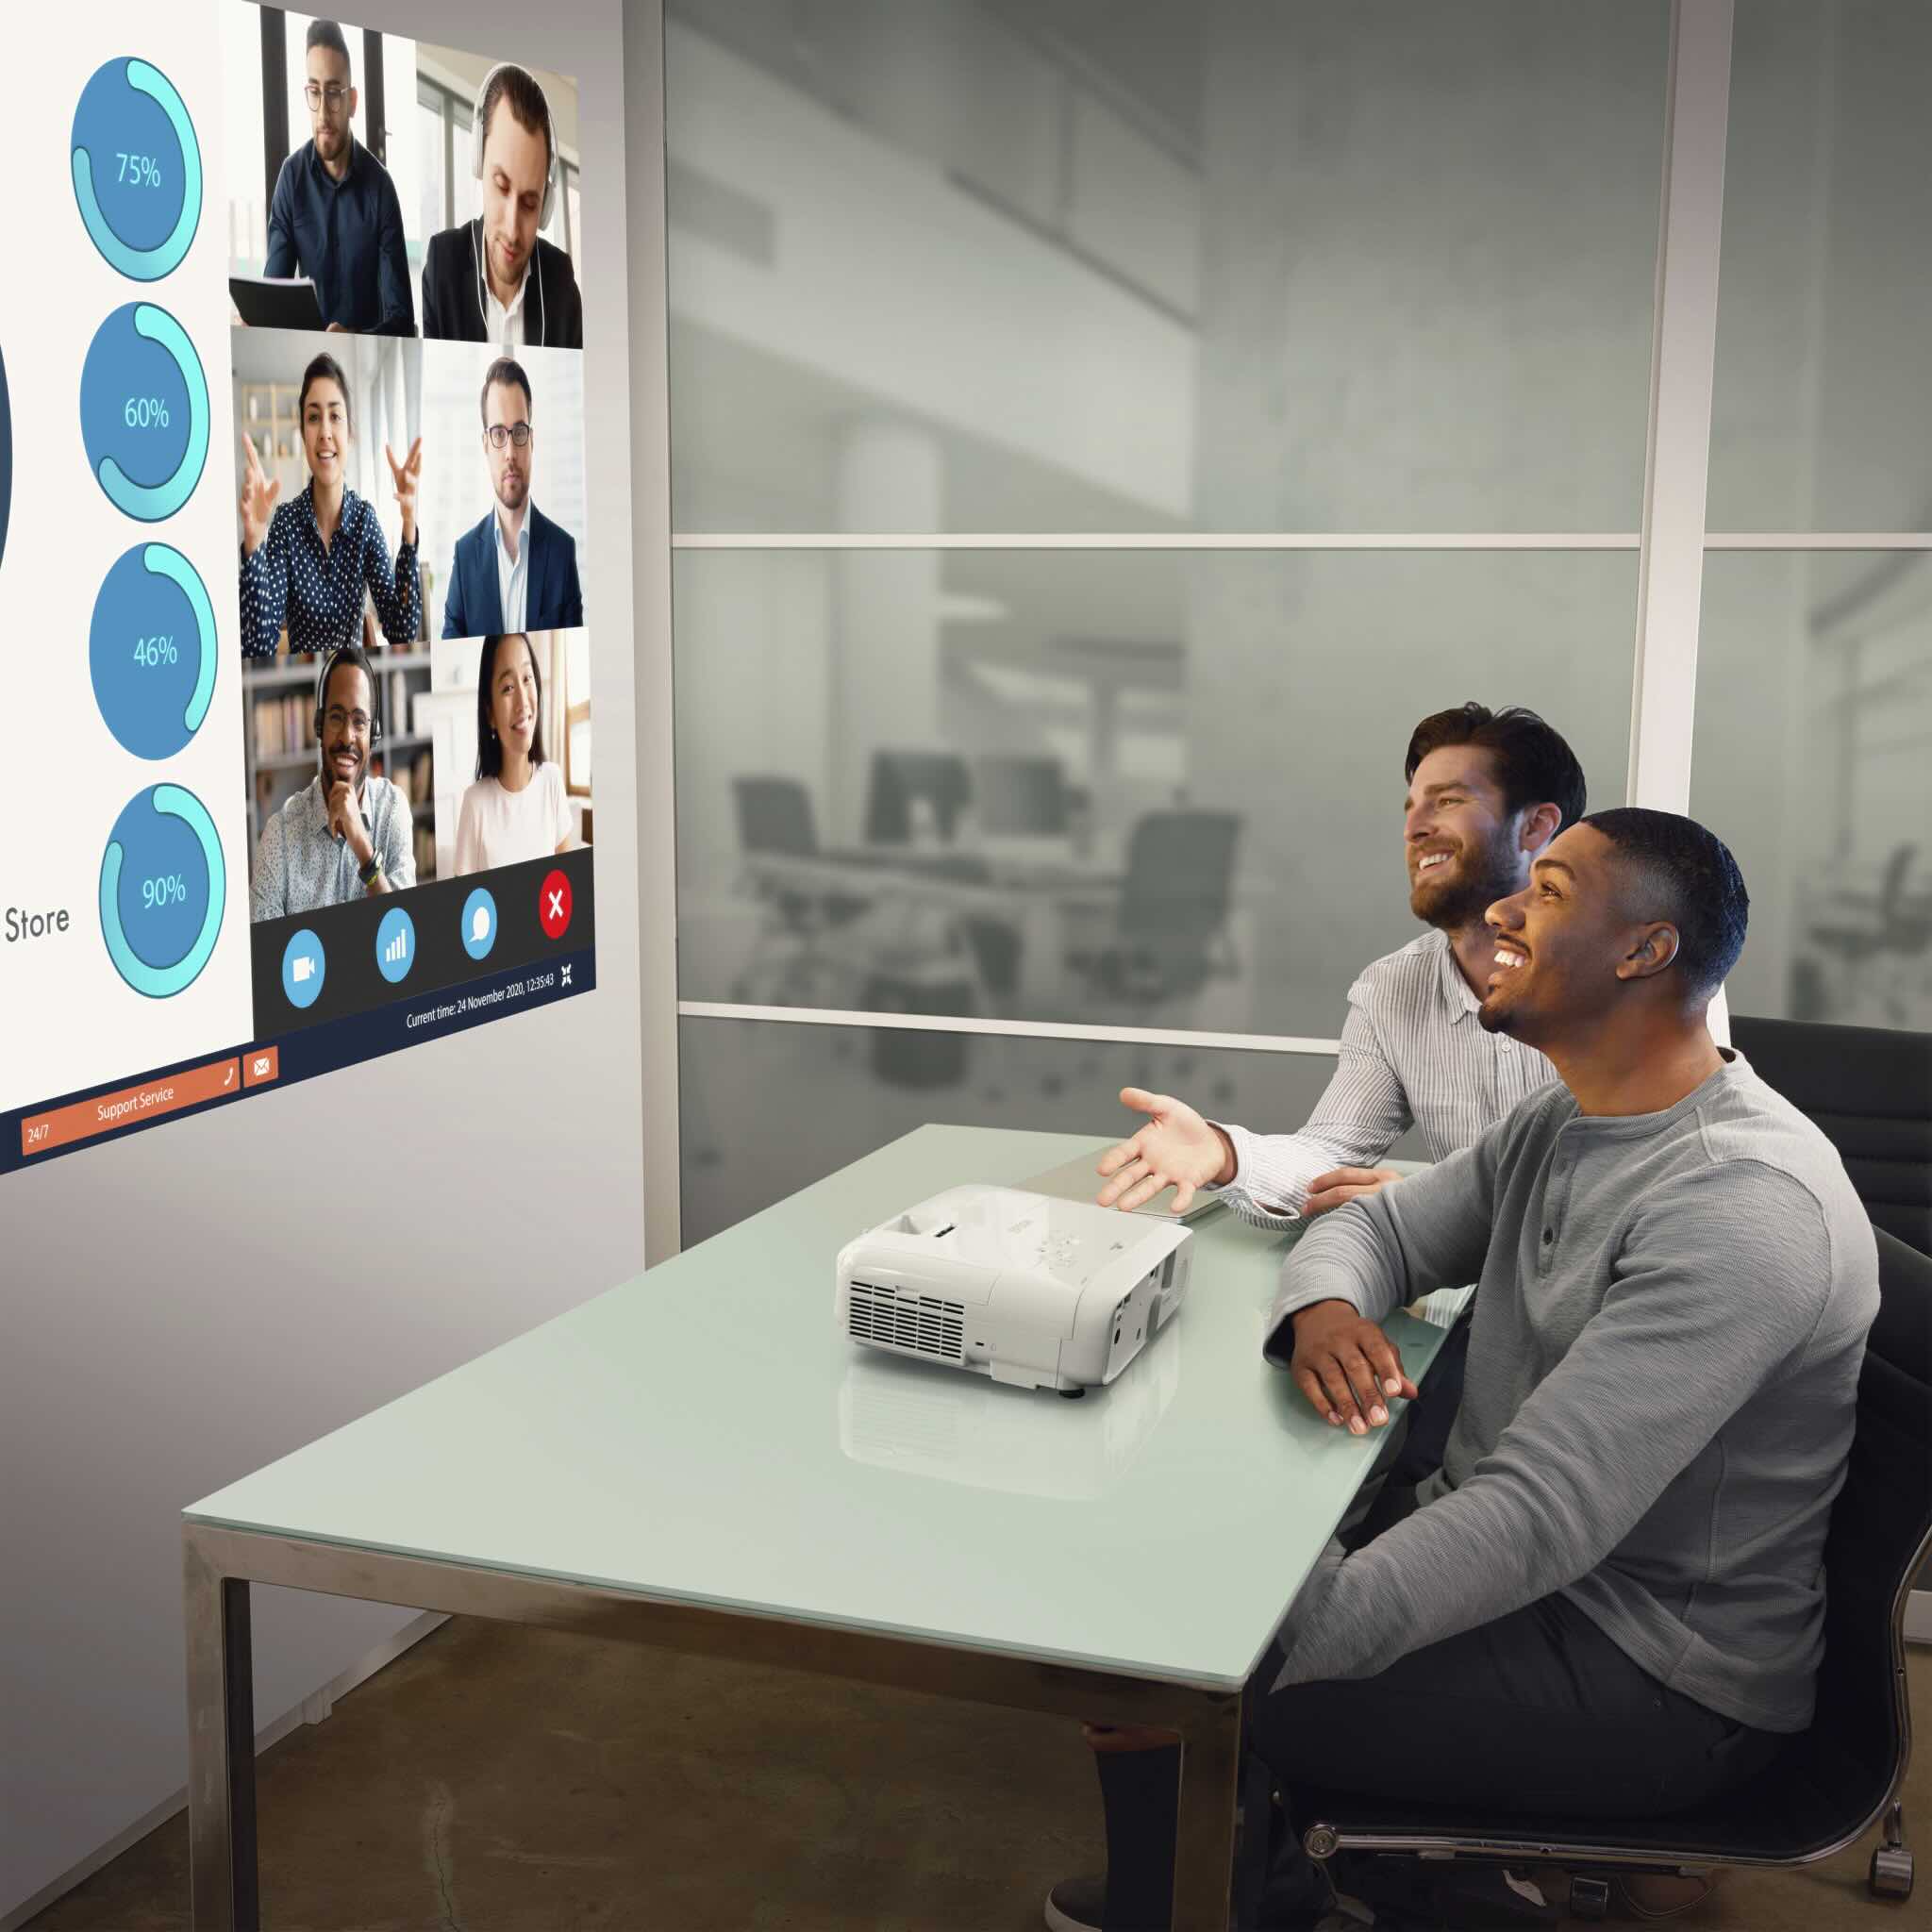
Select the Input Source
As your projector stands ready to illuminate the space with captivating visuals, the next crucial step is to select the input source, determining the origin of the content to be projected. Most projectors offer a variety of input options, ranging from HDMI and VGA to USB and wireless connectivity, empowering you to seamlessly integrate diverse multimedia devices into your projection setup.
Begin by identifying the input ports on your projector, typically located on the rear or side panel. Common input ports include HDMI, VGA, USB, and audio jacks, each catering to specific types of multimedia devices. Depending on the content source, choose the appropriate input port that corresponds to the device you wish to connect, ensuring a seamless and reliable transmission of audio and visual signals to the projector.
If you’re connecting a laptop or desktop computer to the projector, opt for the HDMI or VGA input, depending on the available output ports on your computer. For multimedia players, gaming consoles, or streaming devices, the HDMI input serves as the primary gateway to deliver high-definition content to the projector, enriching the visual experience with vibrant colors and crisp details.
Alternatively, if you’re utilizing USB connectivity, ensure that the multimedia files are stored on a compatible USB drive, ready to be plugged into the projector for direct playback. Some projectors also support wireless connectivity, enabling seamless casting of content from smartphones, tablets, and laptops, adding a layer of convenience and flexibility to your projection setup.
By selecting the appropriate input source, you establish a direct conduit for the flow of multimedia content to the projector, harnessing its transformative power to bring your favorite movies, games, and presentations to life on the grand canvas of the projection surface.
With the input source seamlessly integrated and the projector poised to receive your chosen content, the stage is set for an enthralling visual spectacle that transcends boundaries and transports you to realms of cinematic wonder and boundless entertainment.
Conclusion
Congratulations! You’ve embarked on a journey to unlock the full potential of your projector, mastering the essential steps to bring captivating visuals to life in your home entertainment space. By following the simple yet pivotal process of turning on a projector, you’ve paved the way for immersive viewing experiences that transcend the confines of traditional displays, opening up a realm of cinematic wonder and boundless entertainment possibilities.
From checking the power source and connecting the projector to a power outlet to powering on the device and fine-tuning the focus and keystone correction, you’ve embraced the art of projection technology with confidence and finesse. Each step in the process has brought you closer to the moment when the blank canvas transforms into a captivating display, ready to envelop you in a world of visual splendor.
As you select the input source and seamlessly integrate diverse multimedia devices into your projection setup, you’ve unlocked the gateway to a treasure trove of content, from blockbuster movies and immersive games to dynamic presentations and multimedia experiences that captivate and enthrall.
With the projector poised to cast its enchanting visuals, you stand at the threshold of a visual journey that transcends boundaries and transports you to realms of cinematic wonder. The stage is set for unforgettable movie nights, exhilarating gaming sessions, and impactful presentations that captivate your audience and elevate your home entertainment experience.
So, dim the lights, adjust the focus, and immerse yourself in the captivating world of projection technology. With each power-on sequence, you breathe life into a canvas of possibilities, embracing the transformative power of projection to create moments that linger in the hearts and minds of your audience.
As you continue to explore the endless potential of your projector, remember that the journey doesn’t end with turning on the device. It’s a gateway to a world of visual storytelling and immersive experiences, where every power-on sequence heralds the beginning of a new adventure, a new chapter in the captivating narrative of home entertainment.
So, embrace the magic of projection, and let the visuals transport you to realms where imagination knows no bounds, where every frame unfolds with breathtaking clarity, and where the power of projection technology becomes a conduit for unforgettable moments that define the art of cinematic immersion.
Frequently Asked Questions about How To Turn On A Projector
Was this page helpful?
At Storables.com, we guarantee accurate and reliable information. Our content, validated by Expert Board Contributors, is crafted following stringent Editorial Policies. We're committed to providing you with well-researched, expert-backed insights for all your informational needs.


0 thoughts on “How To Turn On A Projector”