Home>Technology>Home Entertainment Systems>How To Connect Chromecast To A Projector
Home Entertainment Systems
How To Connect Chromecast To A Projector
Modified: August 23, 2024
Learn how to connect Chromecast to a projector and enhance your home entertainment system with this easy step-by-step guide. Discover the best setup for seamless streaming.
(Many of the links in this article redirect to a specific reviewed product. Your purchase of these products through affiliate links helps to generate commission for Storables.com, at no extra cost. Learn more)
Introduction
Welcome to the world of home entertainment systems, where the possibilities for creating a personalized and immersive viewing experience are virtually endless. In this article, we will delve into the exciting realm of connecting a Chromecast device to a projector, unlocking a wealth of entertainment options and transforming any space into a home theater.
Whether you’re a movie buff, a gaming enthusiast, or simply seeking a convenient way to stream your favorite content on a larger screen, the combination of Chromecast and a projector offers a versatile and dynamic solution. By seamlessly integrating these two technologies, you can elevate your entertainment setup and enjoy a cinematic experience from the comfort of your own home.
Throughout this guide, we will explore the essential steps for setting up and connecting Chromecast to a projector, along with valuable tips for optimizing the viewing experience. Additionally, we’ll address common troubleshooting issues that may arise, ensuring that you can fully harness the potential of this powerful pairing.
So, without further ado, let’s embark on this journey to unlock the full potential of your projector by integrating it with the seamless streaming capabilities of Chromecast.
Key Takeaways:
- Transform any space into a home theater by connecting Chromecast to a projector, unlocking a world of streaming possibilities for movies, gaming, and more.
- Ensure a seamless viewing experience by setting up Chromecast, adjusting settings, and troubleshooting common issues, empowering yourself to curate a captivating home entertainment system.
Read more: How To Connect A Projector
What You Need
Before embarking on the process of connecting Chromecast to a projector, it’s essential to gather the necessary components to ensure a smooth and successful setup. Here’s a rundown of the items you’ll need:
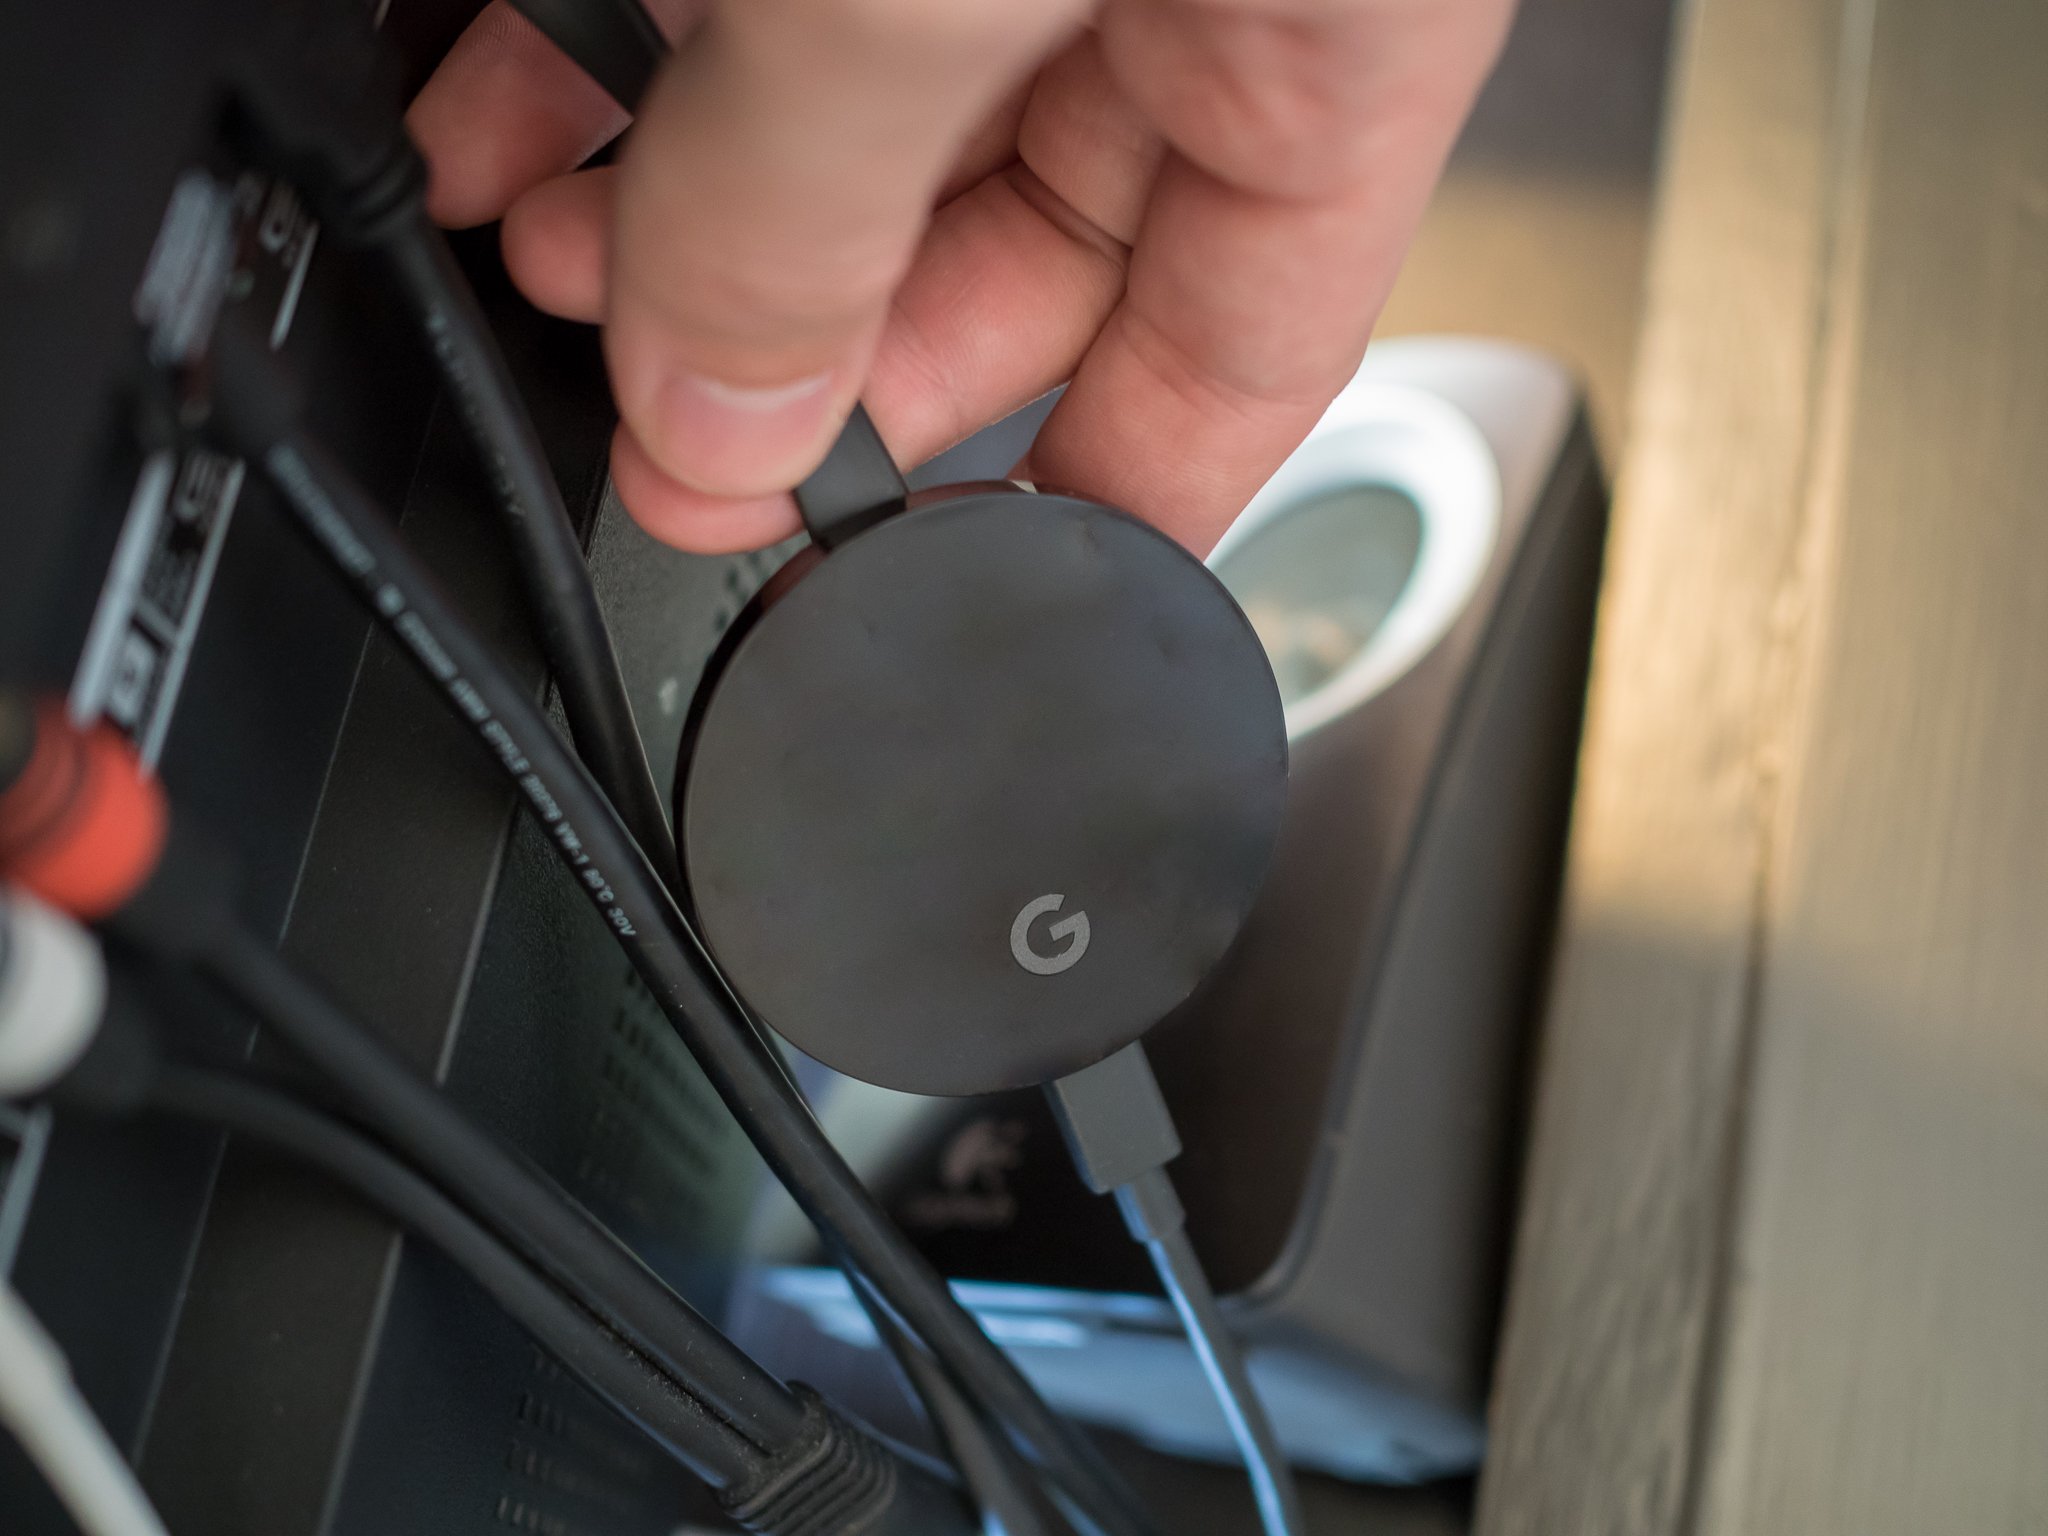
- Chromecast Device: The heart of this setup is, of course, the Chromecast device itself. Whether you opt for the standard Chromecast or the Chromecast Ultra, ensure that it is in good working condition and comes with its accompanying power cable and adapter.
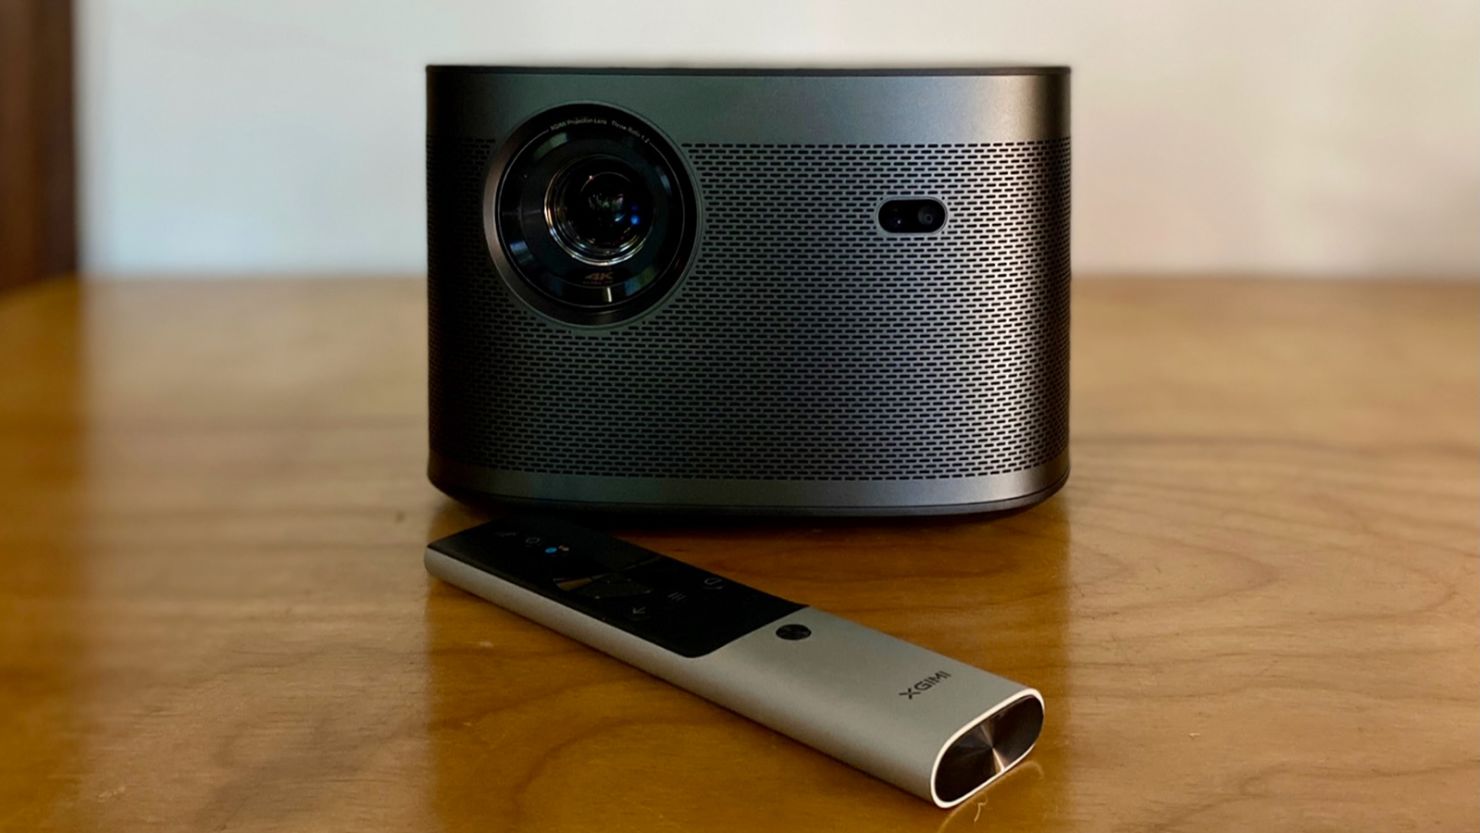
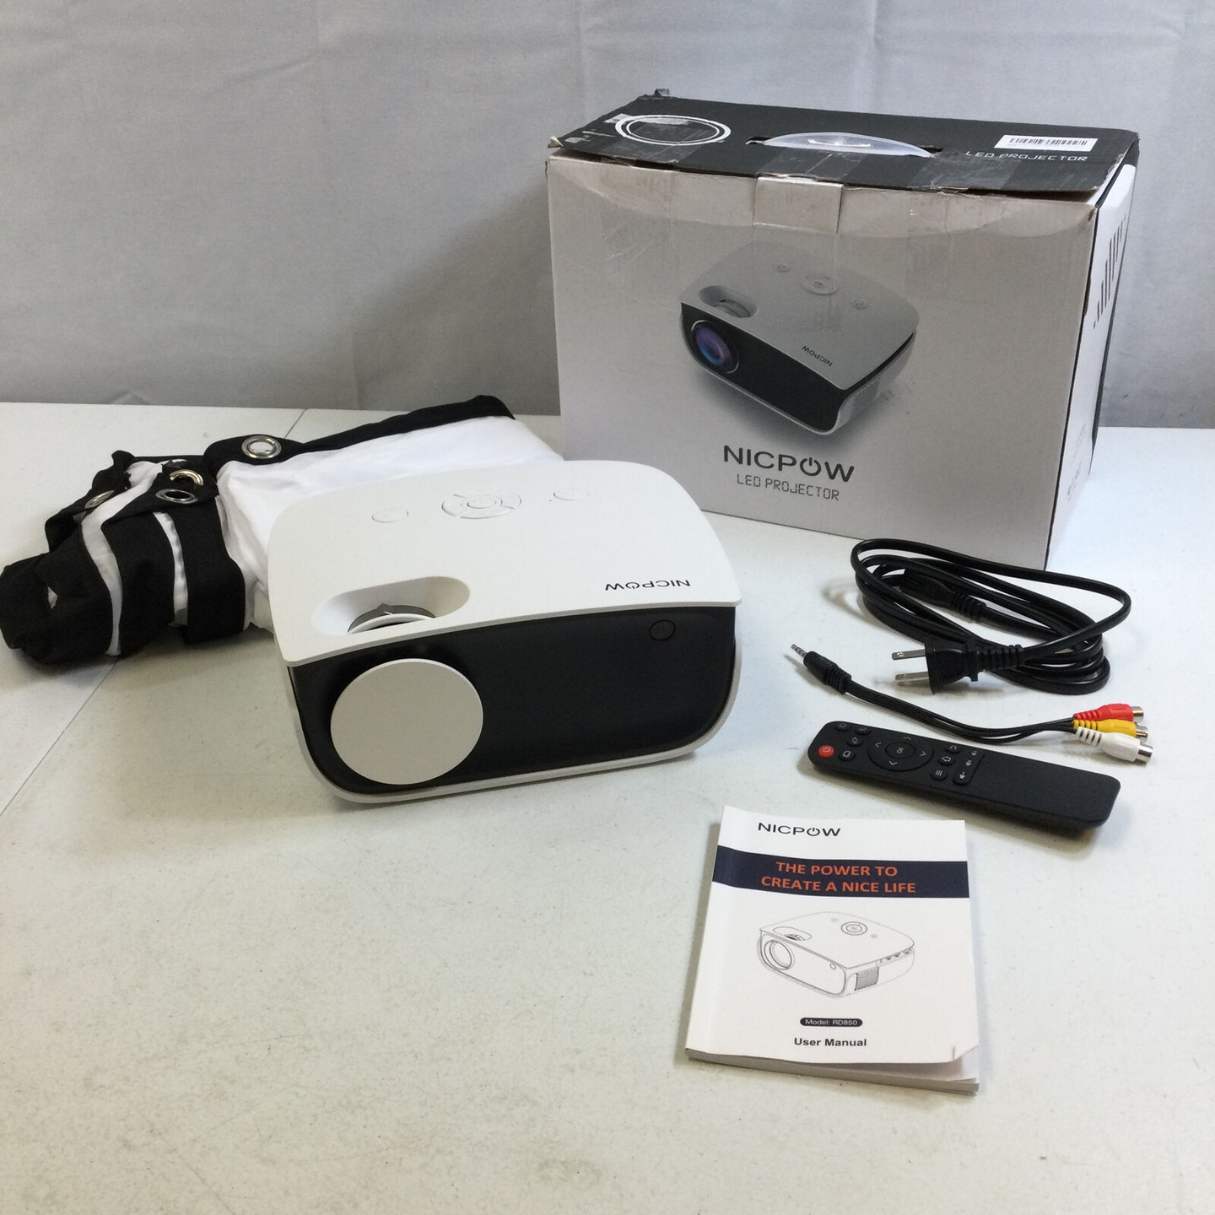
- Projector: Select a projector that aligns with your viewing preferences and space constraints. Consider factors such as resolution, brightness, and connectivity options to find a projector that meets your specific needs.
- Wi-Fi Network: A stable Wi-Fi connection is crucial for streaming content to the Chromecast. Ensure that your home network is operational and that the Chromecast device can connect to it without any issues.
- Mobile Device or Computer: To control the Chromecast and initiate streaming, you’ll need a compatible mobile device or computer. This could be a smartphone, tablet, laptop, or desktop computer equipped with the Google Home app or a compatible web browser.
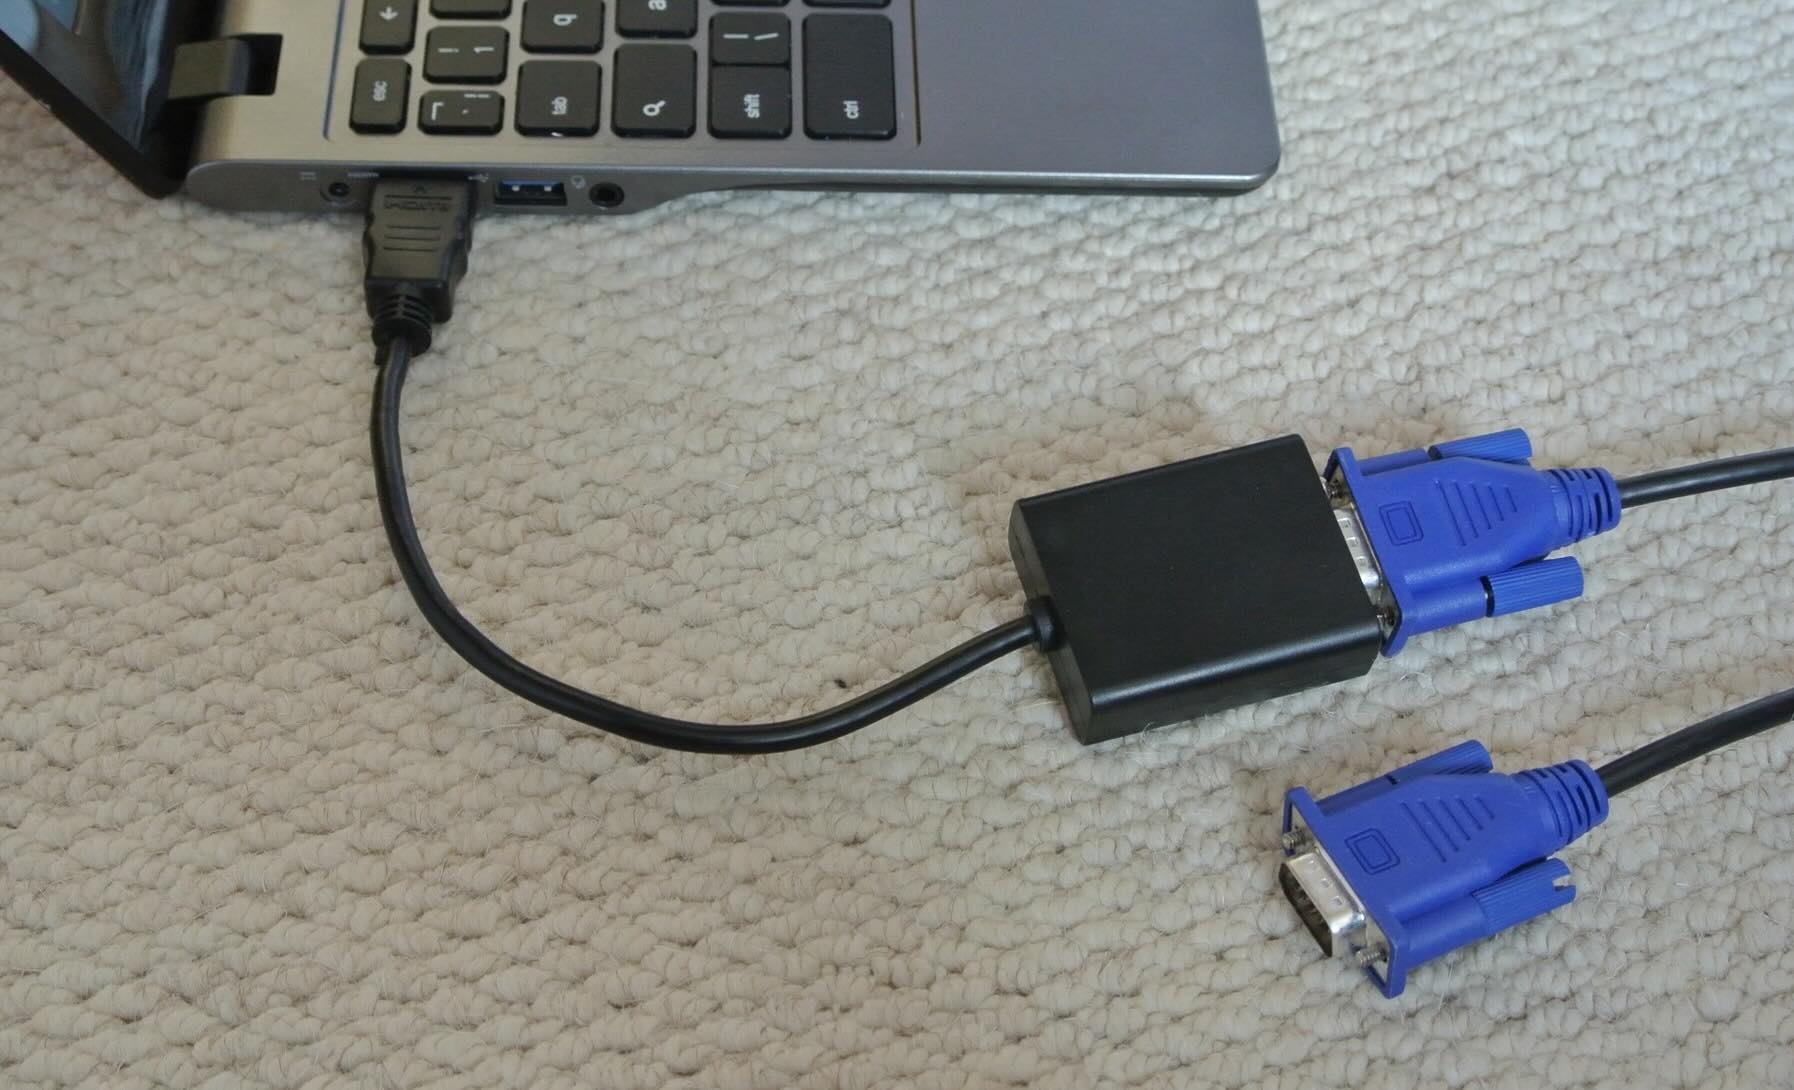
- HDMI Cable: An HDMI cable is essential for establishing the physical connection between the Chromecast device and the projector. Ensure that the cable is of sufficient length to reach from the Chromecast to the projector’s HDMI input port.
- Power Outlets: Make sure that there are accessible power outlets near both the Chromecast device and the projector to provide them with the necessary power supply.
By gathering these essential components, you’ll be well-prepared to embark on the process of integrating Chromecast with your projector, paving the way for an enhanced and versatile home entertainment experience.
Setting Up Chromecast
Before diving into the process of connecting Chromecast to your projector, it’s crucial to ensure that the Chromecast device is properly set up and ready for use. Follow these steps to prepare your Chromecast for seamless integration with your projector:
- Connect to Power: Begin by plugging the Chromecast device into a power outlet using the provided power cable and adapter. Ensure that the device receives a stable power supply to facilitate its operation.
- Connect to HDMI Port: Use the HDMI cable to connect the Chromecast device to an available HDMI input port on your television or monitor. This physical connection will enable the transmission of audio and video signals from the Chromecast to the display device.
- Switch Input Source: Turn on your television or monitor and switch the input source to the HDMI port to which the Chromecast is connected. You should see the initial setup screen prompting you to proceed with the setup process.
- Download Google Home App: On your mobile device or computer, download and install the Google Home app from the respective app store or website. This app will serve as the control center for setting up and managing your Chromecast device.
- Follow Setup Instructions: Open the Google Home app and follow the on-screen instructions to set up your Chromecast. This typically involves connecting the Chromecast to your Wi-Fi network, naming the device, and linking it to your Google account.
- Update Firmware (if necessary): In some cases, the Chromecast device may require a firmware update to ensure optimal performance and compatibility with the latest features. If prompted, proceed with the firmware update as directed within the Google Home app.
- Customize Settings: Once the initial setup is complete, take a moment to explore the settings within the Google Home app. You can customize various preferences, including ambient mode settings, backdrop display options, and more to personalize your Chromecast experience.
By following these steps, you’ll have successfully set up your Chromecast device, laying the foundation for seamless integration with your projector. With the device configured and ready for action, you’re now prepared to move on to the next crucial step: connecting Chromecast to the projector.
Connecting Chromecast to the Projector
Now that your Chromecast device is set up and ready for action, it’s time to establish the physical connection between the Chromecast and your projector. Follow these steps to seamlessly integrate the two devices and unlock a world of streaming possibilities:
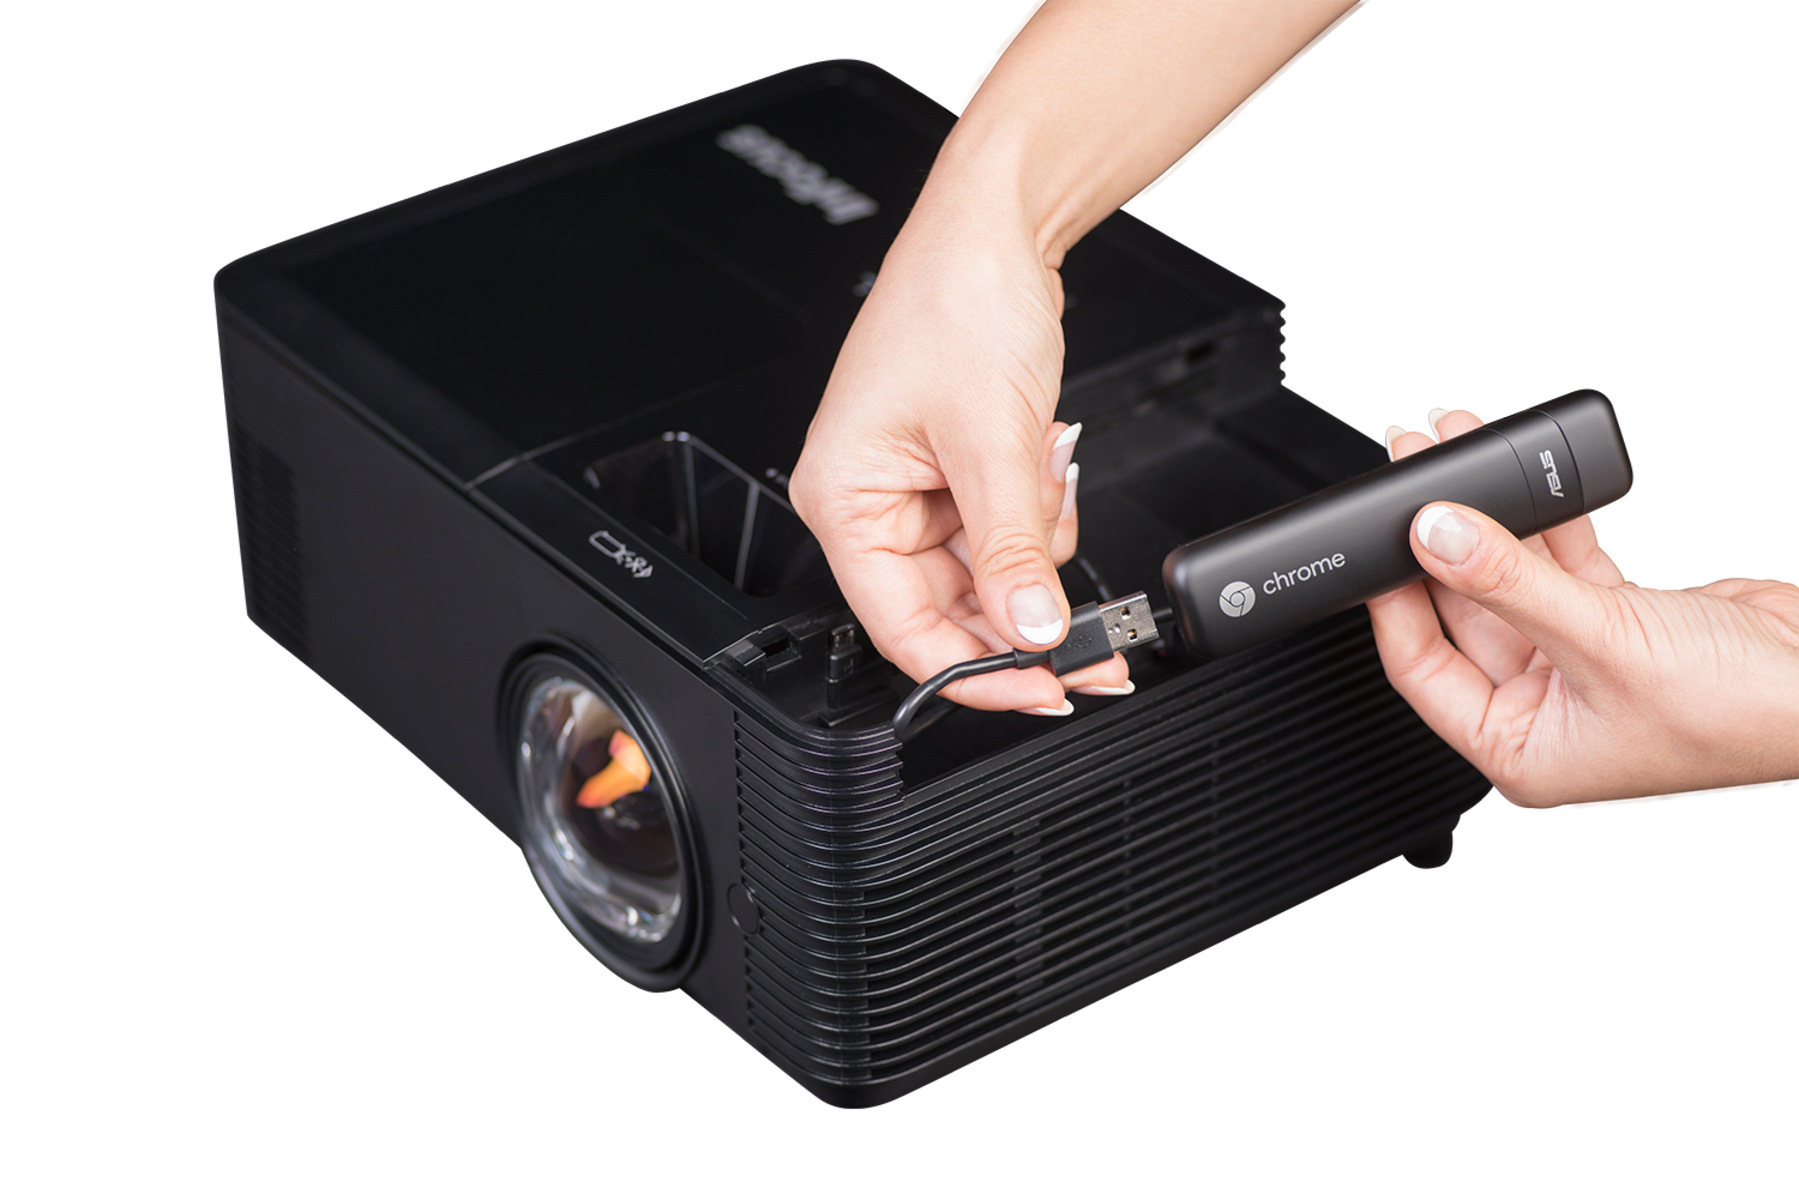
- Locate HDMI Input on Projector: Identify the HDMI input port on your projector where you’ll be connecting the Chromecast. This port is typically located on the rear or side panel of the projector, allowing for the transmission of audio and video signals.
- Connect HDMI Cable: Using the HDMI cable, establish a connection between the HDMI output port of the Chromecast device and the HDMI input port on the projector. Ensure that the cable is securely inserted into both devices to facilitate a stable connection.
- Power on the Projector: Turn on the projector and allow it to boot up to its operational state. Depending on the model, you may need to select the corresponding input source to which the Chromecast is connected, such as “HDMI 1” or “HDMI 2.”
- Power on the Chromecast: With the physical connection in place, power on the Chromecast device if it’s not already powered. The device should start up and establish a connection with your Wi-Fi network, enabling it to receive streaming content from your mobile device or computer.
- Initiate Casting: On your mobile device or computer, open a compatible streaming app or content source that supports casting to Chromecast. Examples include YouTube, Netflix, Hulu, and countless others. Look for the casting icon within the app and select your Chromecast device from the list of available devices to initiate casting.
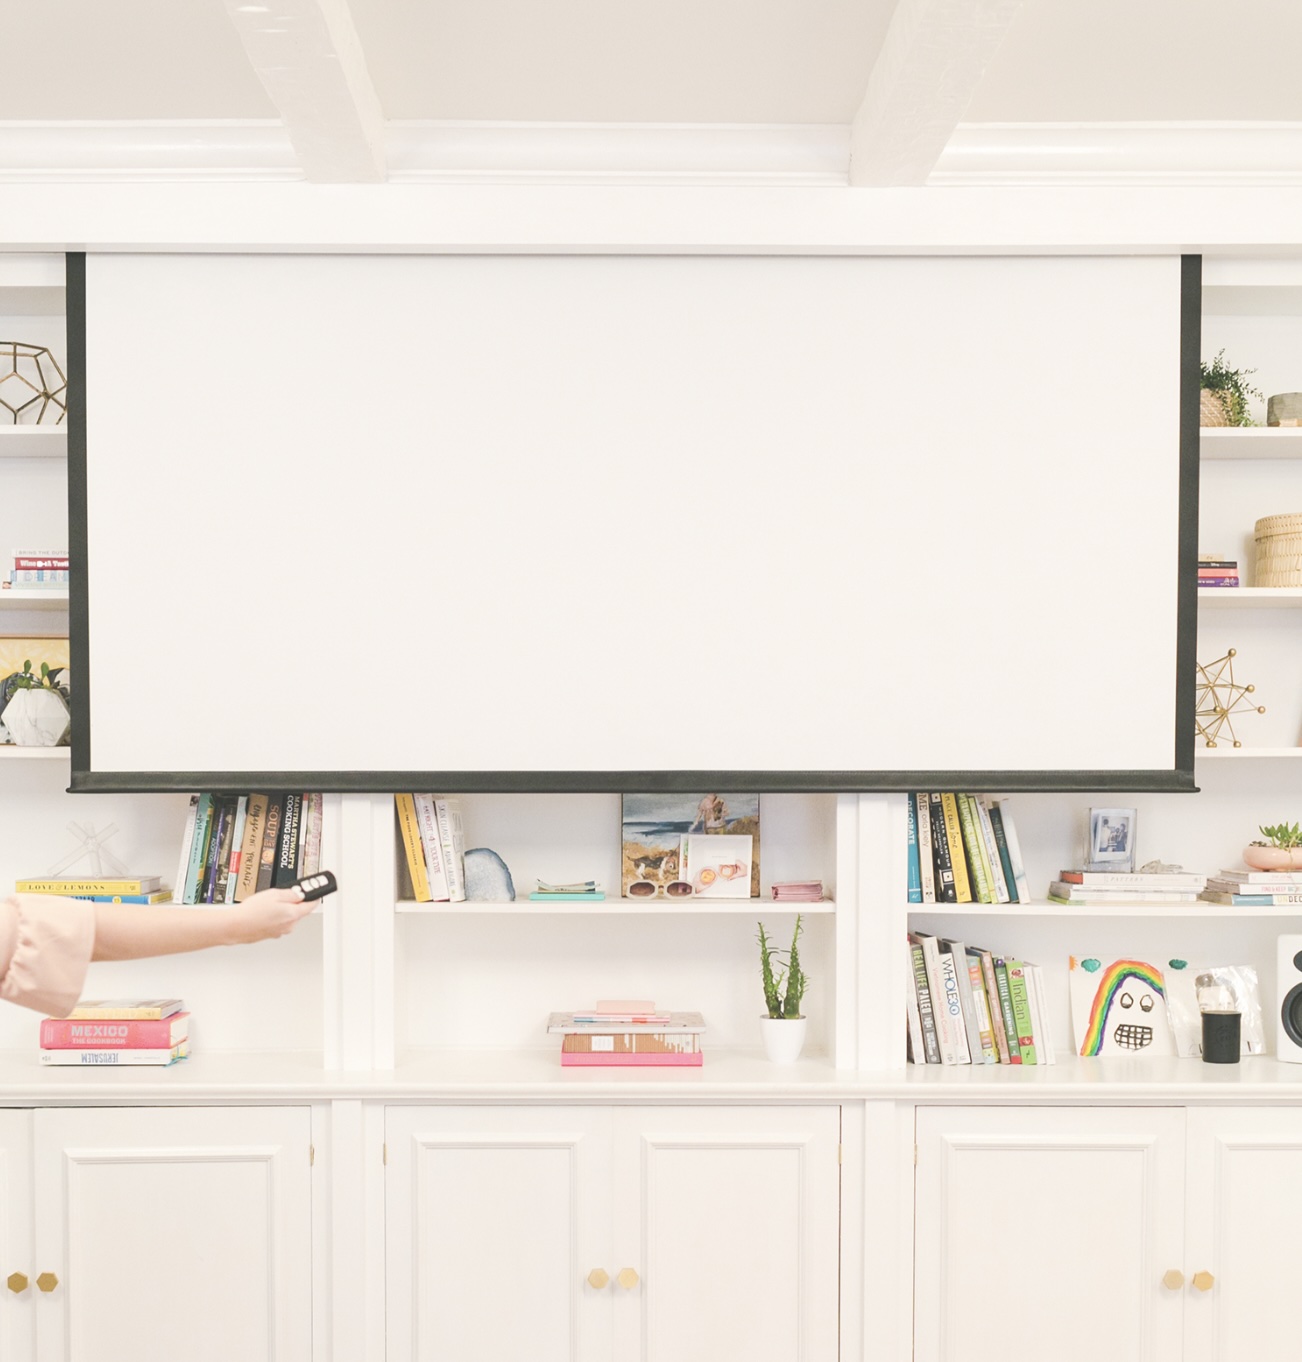
- Enjoy Seamless Streaming: Once the casting process is initiated, you should see the content mirrored or streamed directly to your projector’s display. Sit back, relax, and immerse yourself in your favorite movies, shows, or videos on the big screen, all powered by the seamless integration of Chromecast and your projector.
By following these steps, you’ve successfully connected your Chromecast device to your projector, unlocking a world of streaming possibilities and transforming your viewing experience. With the physical and digital connections in place, you’re now poised to enjoy a diverse range of entertainment content on the expansive canvas of your projector screen.
Make sure your projector has an HDMI input. Connect the Chromecast to the HDMI port on the projector. Power on the Chromecast and follow the on-screen instructions to set it up. Select the Chromecast as the input source on the projector and you’re ready to cast!
Adjusting Settings
After successfully connecting your Chromecast to the projector and enjoying your favorite content, it’s important to explore and adjust certain settings to optimize your viewing experience. Here are some key settings to consider:
- Resolution and Display Settings: Access the settings menu on your projector to adjust the display resolution and other visual parameters. Depending on the capabilities of your projector, you may have options to fine-tune the image quality, aspect ratio, and display mode to suit your preferences.
- Chromecast Display Settings: Within the Google Home app or the device settings on your mobile device or computer, explore the display settings for your Chromecast. You can customize the backdrop display, ambient mode, and other visual elements to enhance the overall viewing experience when the Chromecast is idle.
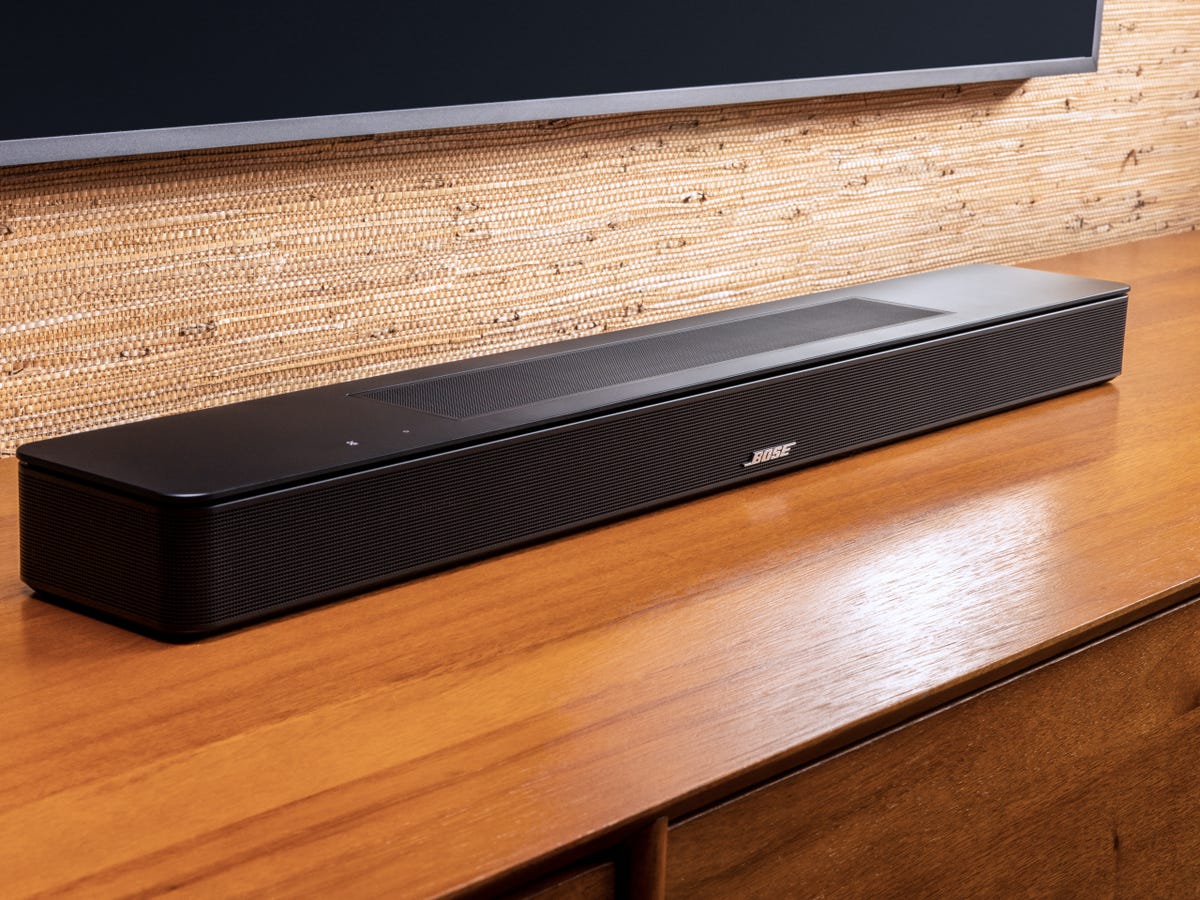
- Audio Output and Configuration: If your projector has built-in speakers or audio output options, ensure that the audio settings are optimized for clear and immersive sound. Additionally, consider connecting external speakers or a sound system to elevate the audio quality for a more cinematic experience.
- Network and Connectivity: Verify the stability and strength of your Wi-Fi network to ensure uninterrupted streaming from your mobile device or computer to the Chromecast. Address any connectivity issues or network optimizations to enhance the reliability of your streaming sessions.
- Power Management: Explore power-saving features or settings on both the Chromecast and the projector to optimize energy efficiency. Adjusting settings related to standby mode, automatic power-off, and other power management features can contribute to a more eco-friendly setup.
- Customization and Personalization: Take advantage of any additional customization options provided by your projector or the Chromecast device. This could include personalized screensavers, themed ambient displays, and other features that allow you to tailor the viewing environment to your liking.
By adjusting these settings, you can fine-tune the integration of Chromecast with your projector, optimizing both the visual and audio aspects of your home entertainment setup. Whether you’re aiming for stunning visuals, immersive audio, or a personalized ambiance, exploring these settings will help you unlock the full potential of your projector and Chromecast combination.
Read more: How To Connect A Wii To A Projector
Troubleshooting
While integrating Chromecast with a projector can open up a world of entertainment possibilities, it’s not uncommon to encounter occasional technical hiccups. Here are some common troubleshooting tips to address potential issues and ensure a seamless viewing experience:
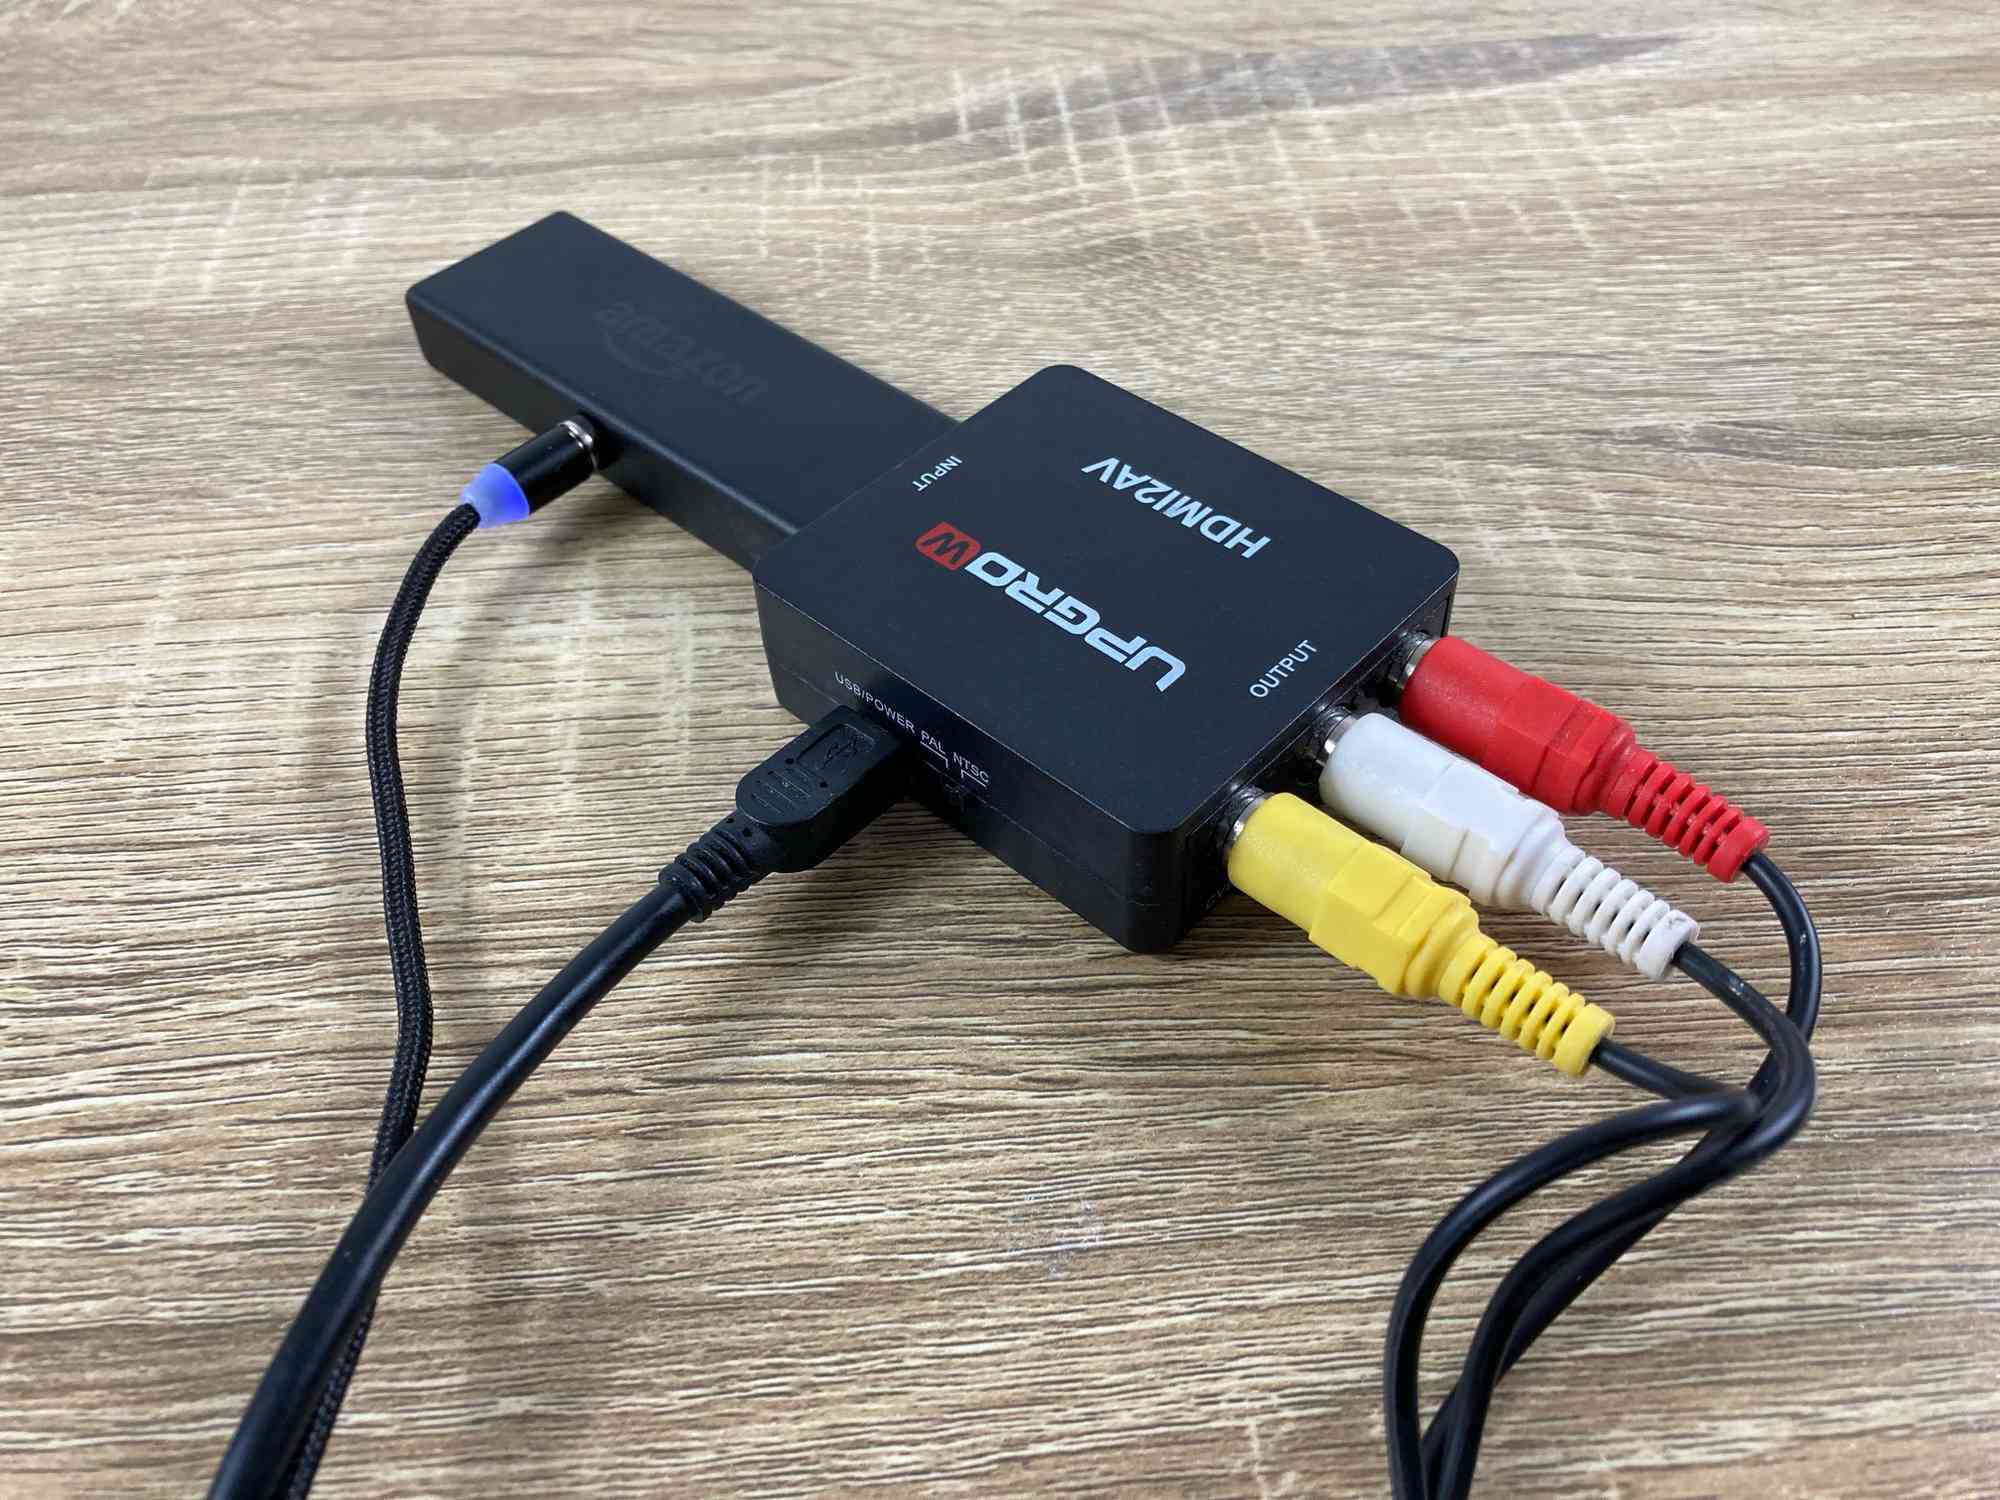
- Check Physical Connections: If you encounter a blank screen or no signal on the projector, double-check the HDMI connections between the Chromecast and the projector. Ensure that the cables are securely connected and that the correct input source is selected on the projector.
- Restart Devices: In the event of connectivity issues or unresponsive behavior, try restarting both the Chromecast device and the projector. Power cycling these devices can often resolve temporary glitches and restore normal operation.
- Wi-Fi Network Stability: If you experience buffering, stuttering, or interruptions during streaming, assess the stability of your Wi-Fi network. Position the router closer to the Chromecast and projector, or consider using a Wi-Fi extender to improve signal strength in the viewing area.
- Update Firmware and Apps: Ensure that both the Chromecast device and the Google Home app on your mobile device or computer are running the latest firmware and app versions. Updating these components can address compatibility issues and introduce performance improvements.
- Audio-Visual Sync: If you notice a delay between the audio and video on the projected content, explore the audio settings on the projector and the Chromecast. Adjust audio synchronization settings if available to align the audio with the video playback.
- Compatibility with Streaming Apps: Some streaming apps may have limitations or compatibility issues when casting to Chromecast. If you encounter issues with specific apps, check for any available updates or alternative methods for streaming content to the Chromecast.
- Device Overheating: Monitor the temperature of the Chromecast and the projector during extended use. Overheating can lead to performance issues and potential damage. Ensure proper ventilation and airflow around both devices to prevent overheating.
- Reset and Reconfigure: If persistent issues persist, consider performing a factory reset on the Chromecast device and reconfiguring it from scratch. This can resolve deep-seated software issues and restore the device to a stable state.
By employing these troubleshooting strategies, you can address common challenges that may arise when integrating Chromecast with a projector. With a proactive approach to resolving technical issues, you can maintain a reliable and enjoyable home entertainment setup that leverages the seamless streaming capabilities of Chromecast.
Conclusion
Congratulations on successfully navigating the process of connecting Chromecast to a projector, unlocking a wealth of entertainment possibilities and transforming your viewing experience. By seamlessly integrating these two technologies, you’ve gained the ability to stream a diverse range of content on a larger canvas, creating a personalized home theater environment that caters to your entertainment preferences.
Throughout this guide, you’ve learned how to set up and configure your Chromecast device, establish the physical connection with your projector, and optimize the settings to enhance the overall viewing experience. By addressing potential troubleshooting scenarios, you’ve also equipped yourself with the knowledge to overcome technical challenges and maintain a seamless streaming environment.
As you continue to explore the capabilities of your Chromecast and projector combination, consider experimenting with various streaming apps, adjusting visual and audio settings, and customizing the environment to suit your preferences. Whether you’re indulging in movie marathons, immersing yourself in gaming adventures, or simply enjoying multimedia content with loved ones, the integrated setup offers endless possibilities for entertainment and relaxation.
Remember to stay informed about firmware updates, app enhancements, and new features that may further enrich your streaming experience. Additionally, don’t hesitate to explore additional accessories, such as external speakers or mounting solutions, to tailor your home entertainment setup to your liking.
By embracing the seamless integration of Chromecast and your projector, you’ve empowered yourself to curate a captivating and versatile home entertainment system that adapts to your preferences and elevates your leisure time. Embrace the immersive potential of your projector screen, powered by the seamless streaming capabilities of Chromecast, and embark on a journey of cinematic experiences within the comfort of your own home.
Here’s to countless hours of captivating entertainment and memorable viewing experiences in your personalized home theater environment!
Frequently Asked Questions about How To Connect Chromecast To A Projector
Was this page helpful?
At Storables.com, we guarantee accurate and reliable information. Our content, validated by Expert Board Contributors, is crafted following stringent Editorial Policies. We're committed to providing you with well-researched, expert-backed insights for all your informational needs.


0 thoughts on “How To Connect Chromecast To A Projector”