Home>Technology>Home Entertainment Systems>How To Connect Computer To Projector With HDMI
Home Entertainment Systems
How To Connect Computer To Projector With HDMI
Modified: August 23, 2024
Learn how to easily connect your computer to a projector using HDMI for seamless home entertainment systems. Follow our step-by-step guide now!
(Many of the links in this article redirect to a specific reviewed product. Your purchase of these products through affiliate links helps to generate commission for Storables.com, at no extra cost. Learn more)
Introduction
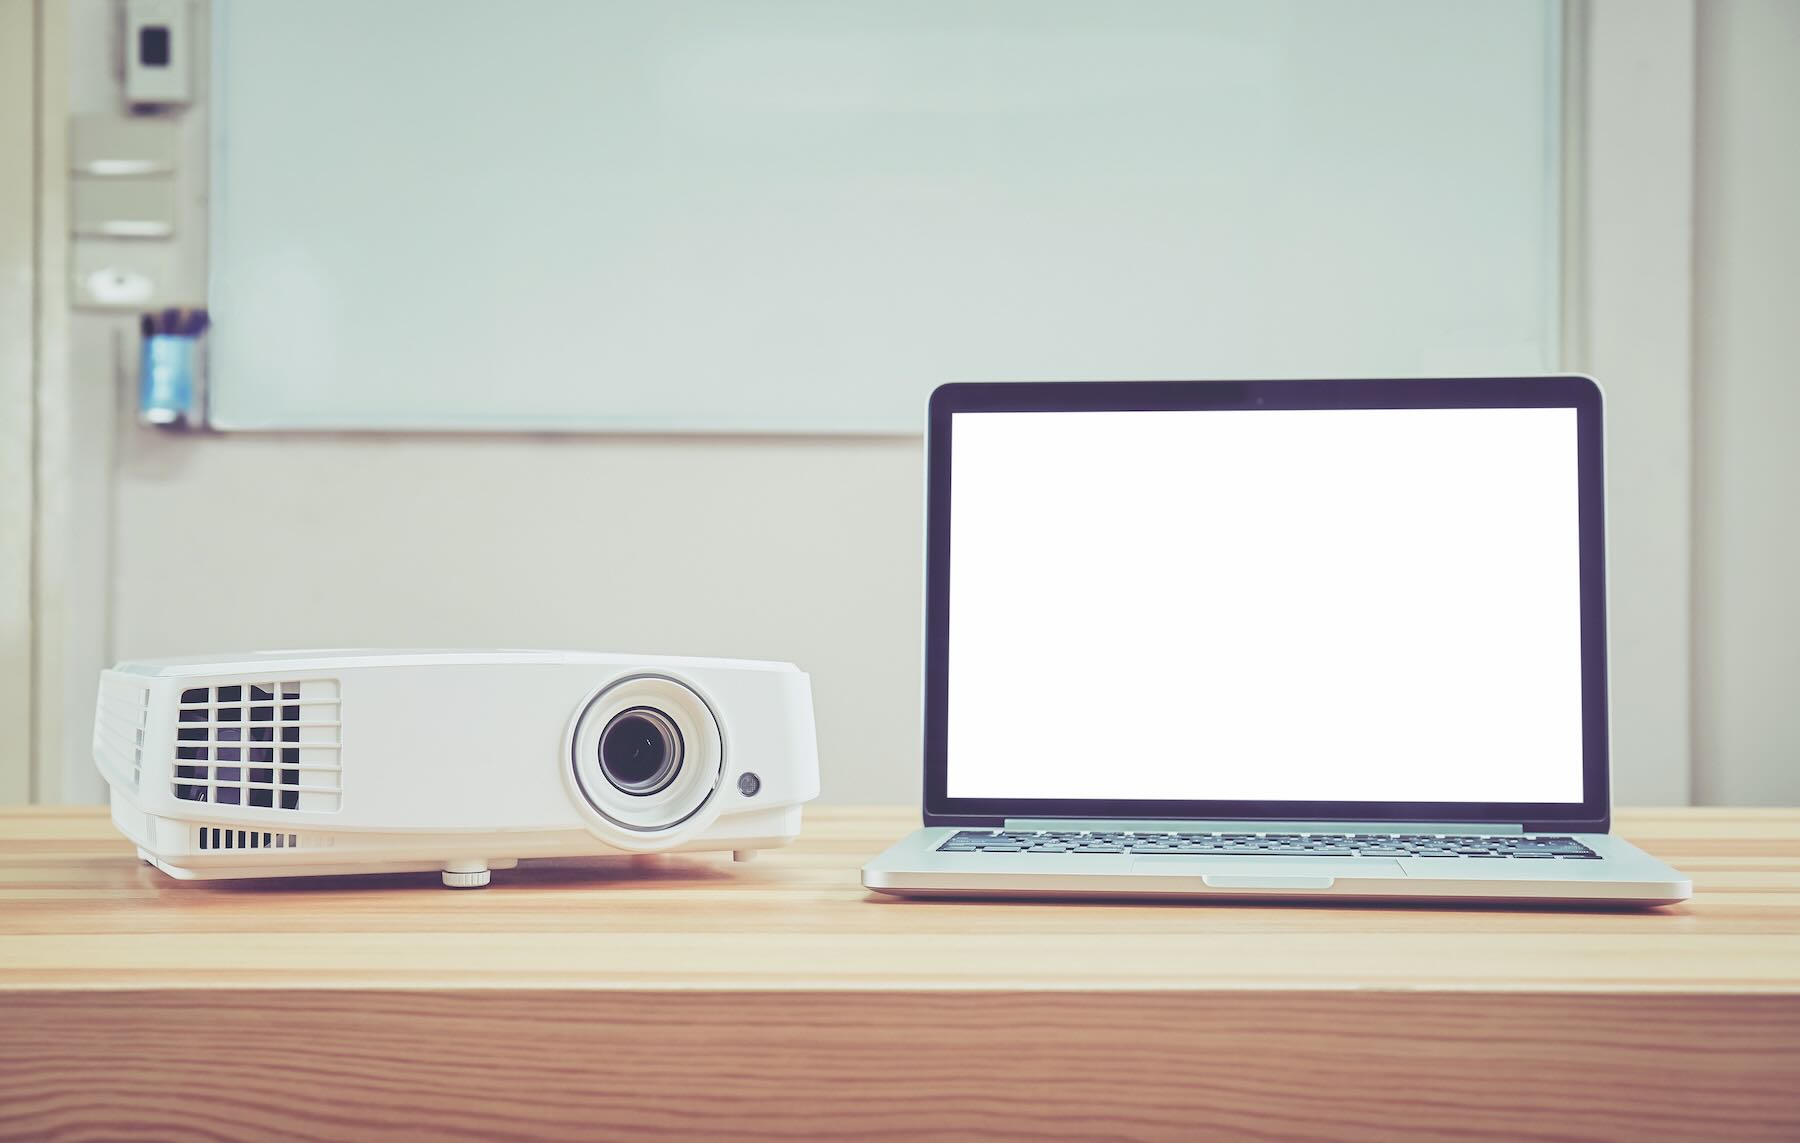
In today's fast-paced digital age, the ability to seamlessly connect a computer to a projector using an HDMI cable has become an indispensable skill. Whether you're gearing up for a captivating presentation, an immersive gaming experience, or a thrilling movie night, understanding the process of connecting your computer to a projector can elevate your entertainment and productivity to new heights.
The advent of HDMI (High-Definition Multimedia Interface) technology has revolutionized the way we transmit high-quality audio and video signals. With its ability to deliver crystal-clear, high-definition content, HDMI has emerged as the go-to standard for connecting a wide array of devices, including computers and projectors. By harnessing the power of HDMI, you can unlock a world of possibilities, from sharing compelling visual content in a professional setting to enjoying a cinematic experience in the comfort of your own home.
In this comprehensive guide, we will delve into the step-by-step process of connecting your computer to a projector using an HDMI cable. Whether you're a tech enthusiast looking to optimize your home entertainment system or a professional seeking to deliver impactful presentations, mastering this fundamental connection method will equip you with the tools to seamlessly integrate your computer with a projector, unleashing a realm of boundless potential.
So, grab your HDMI cable and get ready to embark on a journey toward seamless connectivity and immersive visual experiences. Let's dive into the intricacies of linking your computer to a projector, unlocking a world of captivating multimedia possibilities.
Key Takeaways:
- Connecting your computer to a projector with an HDMI cable is easy! Just find the ports, connect the cable, adjust the settings, and enjoy seamless audio and video for presentations, gaming, or movie nights.
- If you encounter issues, troubleshoot by checking cable connections, display settings, and audio output. With HDMI technology, you can unlock a world of captivating multimedia experiences for work and play.
Read more: How To Connect A Projector
Step 1: Check the Ports
Before embarking on the process of connecting your computer to a projector via an HDMI cable, it’s essential to familiarize yourself with the ports available on both your computer and the projector. This preliminary step lays the foundation for a successful connection and ensures that you can identify the necessary interfaces for establishing the link.
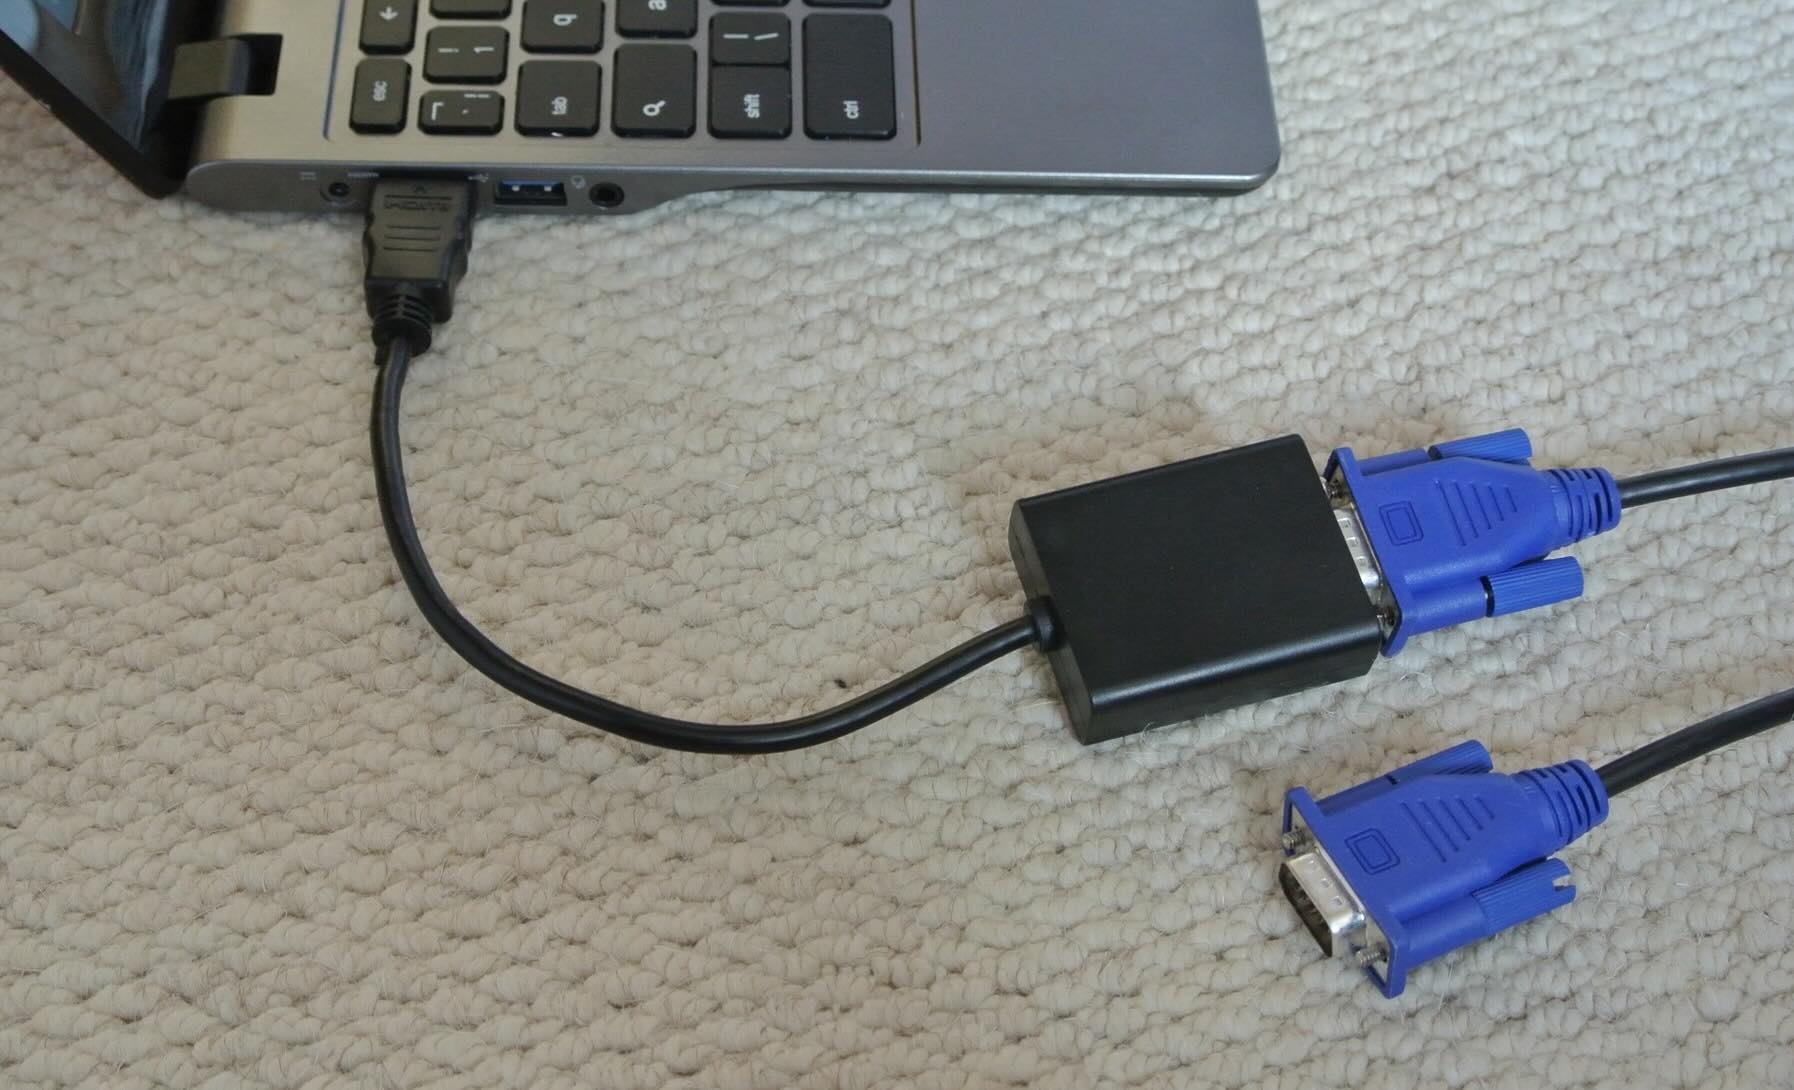
On your computer, locate the HDMI output port, which is typically found on the side or back of the device. This port is designed to transmit high-definition audio and video signals and is crucial for establishing a seamless connection to the projector. In addition to the HDMI port, some computers may feature alternative display outputs, such as VGA or DisplayPort. While these ports can also be used to connect to a projector, HDMI is often preferred for its ability to deliver superior audio and video quality.
Next, turn your attention to the projector and identify the HDMI input port. This port is where the HDMI cable will be connected to facilitate the transmission of audio and video signals from your computer to the projector. In addition to the HDMI input, projectors may offer a range of other input options, including VGA, DVI, and USB. However, for optimal high-definition connectivity, the HDMI input is the preferred choice.
Once you have located the HDMI output port on your computer and the HDMI input port on the projector, you have successfully completed the first crucial step in the process of connecting the two devices. Familiarizing yourself with these ports sets the stage for a seamless and efficient connection, ensuring that you can proceed with confidence as you prepare to link your computer to the projector using an HDMI cable.
With the ports duly identified and ready for action, it’s time to move on to the next step in the process: connecting the HDMI cable to establish a direct link between your computer and the projector.
Step 2: Connect the HDMI Cable
With the HDMI output port on your computer and the HDMI input port on the projector identified, the next step involves physically connecting the two devices using an HDMI cable. This straightforward yet pivotal process forms the core of establishing a direct link between your computer and the projector, enabling the seamless transmission of high-definition audio and video signals.
Begin by obtaining a high-quality HDMI cable that is of sufficient length to span the distance between your computer and the projector. It’s important to select a cable that meets the required specifications for transmitting high-definition content, ensuring that you can enjoy a crisp and vibrant display without compromising on audio quality.
Once you have the HDMI cable at the ready, carefully insert one end of the cable into the HDMI output port on your computer. Take care to align the HDMI connector with the port, applying gentle pressure to secure a snug fit without forcing the connection. The secure insertion of the HDMI cable into the computer’s output port forms the initial link in the chain, setting the stage for the seamless transmission of audio and video signals to the projector.
With the HDMI cable firmly connected to your computer, turn your attention to the projector and insert the other end of the HDMI cable into the HDMI input port. As with the computer connection, ensure that the HDMI cable is securely and properly inserted into the projector’s HDMI input, establishing a robust physical link that paves the way for the transmission of high-definition content.
Upon successfully connecting the HDMI cable to both the computer and the projector, you have effectively bridged the gap between the two devices, laying the groundwork for a seamless audiovisual experience. This critical step forms the backbone of the connection process, heralding the imminent transmission of captivating multimedia content from your computer to the projector.
With the HDMI cable serving as the conduit for transmitting high-definition signals, you are now poised to move on to the next phase of the connection process: adjusting the display settings to optimize the visual output and ensure a captivating viewing experience.
Step 3: Adjust Display Settings
After successfully connecting your computer to the projector using an HDMI cable, the next pivotal step involves fine-tuning the display settings to ensure optimal visual output. By customizing the display settings on your computer, you can tailor the resolution, aspect ratio, and other parameters to align with the capabilities of the projector, thereby unlocking a captivating and immersive viewing experience.
Commence this step by navigating to the display settings on your computer. Depending on your operating system, this can typically be accessed through the control panel, system preferences, or display settings menu. Once within the display settings interface, you will be presented with a range of options to customize the visual output to suit the specifications of the projector.
Begin by selecting the appropriate display mode, which allows you to choose how the content will be showcased on the projector. This may include options such as mirroring the computer screen on the projector or extending the display to create an expanded desktop space. By selecting the desired display mode, you can tailor the viewing experience to suit your specific requirements, whether it’s delivering a presentation, gaming, or enjoying multimedia content.
Next, pay attention to the resolution settings, which dictate the clarity and sharpness of the visual output. Ensure that the resolution is set to an optimal level supported by both your computer and the projector, allowing for the seamless transmission of high-definition content without compromising on visual fidelity. Additionally, consider adjusting the refresh rate and aspect ratio to further enhance the viewing experience and ensure compatibility with the projector’s capabilities.
As you fine-tune the display settings, take the time to preview the changes on the projector to gauge the impact of your adjustments. This iterative process allows you to make real-time modifications and refine the visual output to achieve an immersive and captivating display that aligns with your preferences and the capabilities of the projector.
By meticulously adjusting the display settings to harmonize with the projector, you pave the way for a visually stunning and seamless viewing experience. With the display settings optimized to perfection, you are now primed to delve into the next phase of the connection process: setting up audio to complement the captivating visual content.
Make sure both the computer and the projector are turned off before connecting the HDMI cable. Once connected, turn on the projector first, then the computer. Select the HDMI input on the projector to see your computer screen.
Step 4: Set up Audio (if necessary)
As you progress through the process of connecting your computer to a projector using an HDMI cable, it’s essential to consider the audio component, especially if you intend to incorporate sound into your multimedia experience. While HDMI cables are renowned for their ability to transmit high-definition video and audio signals through a single cable, it’s important to ensure that the audio output is seamlessly integrated with the visual display for a truly immersive experience.
Begin by confirming whether the audio signal will be transmitted through the HDMI cable. Many modern computers and projectors are equipped to transmit audio signals via HDMI, eliminating the need for separate audio connections. However, it’s prudent to verify this capability to ensure that the audio output from your computer will be seamlessly channeled to the projector for a synchronized audiovisual experience.
If your computer and projector support audio transmission through HDMI, the setup process is streamlined, requiring no additional audio connections. Once the HDMI cable is connected, the audio signals will be automatically routed through the cable, delivering high-quality sound to the projector’s audio output. This seamless integration ensures that the captivating visual content is complemented by immersive audio, enriching your multimedia experience.
However, in scenarios where the audio signals need to be routed separately, it’s important to ascertain the audio output options available on your computer and the corresponding audio input ports on the projector. This may involve connecting auxiliary audio cables, such as 3.5mm audio jacks or optical cables, to establish a dedicated audio link between the computer and the projector. By leveraging these audio connections, you can ensure that the audio output from your computer is seamlessly integrated with the visual display on the projector, creating a harmonious audiovisual experience.
Upon successfully establishing the audio connections, whether through HDMI or auxiliary audio cables, take a moment to test the audio output to confirm that the sound is being transmitted and played back through the projector’s audio system. This verification process allows you to fine-tune the audio settings and ensure that the audio output is synchronized with the visual content, culminating in a captivating multimedia experience.
With the audio seamlessly integrated into the multimedia setup, you are now poised to explore the final phase of the connection process: troubleshooting any potential issues that may arise during the setup, ensuring a seamless and uninterrupted multimedia experience.
Step 5: Troubleshooting
As you navigate the process of connecting your computer to a projector using an HDMI cable, it’s important to be prepared to address potential challenges that may arise during the setup. By familiarizing yourself with common troubleshooting techniques, you can swiftly overcome any obstacles and ensure a seamless and uninterrupted multimedia experience.
If you encounter issues with the visual output on the projector after connecting the HDMI cable, begin by verifying that the HDMI cable is securely connected to both the computer and the projector. Ensure that the cable is inserted into the respective HDMI ports with a snug fit, as a loose connection can impede the transmission of audio and video signals. Additionally, inspect the HDMI cable for any signs of damage or wear that may compromise its functionality.
Next, confirm that the display settings on your computer are configured to output the visual content to the projector. Check the display mode and resolution settings to ensure that they align with the capabilities of the projector, allowing for a seamless transmission of high-definition content. Additionally, consider restarting the computer and the projector to reset the connection and resolve any potential software-related issues.
If you encounter challenges with audio output, particularly if the sound is not being transmitted to the projector, verify that the audio settings on your computer are configured to route the audio signals through the HDMI output. Ensure that the audio output is not muted or set to a low volume, and consider testing the audio playback with alternative devices to isolate the source of the issue.
In the event that the projector fails to detect the computer’s signal, check the input source settings on the projector to ensure that the HDMI input is selected. Some projectors offer multiple input sources, and manually selecting the HDMI input can resolve issues related to signal detection and compatibility.
If troubleshooting the aforementioned steps does not resolve the issues, consider testing the HDMI cable with alternative devices to determine if the cable itself is the source of the problem. Additionally, consult the user manuals for your computer and projector to explore specific troubleshooting guidance provided by the manufacturers.
By adeptly troubleshooting potential issues that may arise during the connection process, you can swiftly address technical challenges and ensure a seamless and immersive multimedia experience. With the troubleshooting steps at your disposal, you are well-equipped to overcome any obstacles and unlock the full potential of connecting your computer to a projector using an HDMI cable, ushering in a world of captivating visual and audio content.
Conclusion
As we draw the curtains on this comprehensive guide, you have embarked on a journey toward mastering the art of connecting your computer to a projector using an HDMI cable. By navigating through the intricacies of identifying ports, establishing physical connections, adjusting display settings, setting up audio, and troubleshooting potential issues, you have equipped yourself with the knowledge and skills to seamlessly integrate your computer with a projector, unlocking a realm of captivating multimedia experiences.
The process of connecting your computer to a projector via HDMI embodies the convergence of cutting-edge technology and boundless creativity, offering a gateway to immersive presentations, captivating gaming experiences, and cinematic movie nights. As you harness the power of HDMI technology, you open the door to a world of seamless connectivity, where high-definition audio and video signals flow effortlessly between your computer and the projector, enriching your multimedia endeavors.
Whether you are a tech enthusiast seeking to optimize your home entertainment system or a professional aiming to deliver impactful presentations, the ability to connect your computer to a projector using an HDMI cable is a skill that transcends boundaries, empowering you to share compelling visual content and elevate your multimedia experiences to new heights.
As you venture forth, armed with the knowledge gained from this guide, may you embark on a myriad of captivating endeavors, from delivering awe-inspiring presentations in professional settings to immersing yourself in the breathtaking visuals and soundscapes of your favorite movies and games. The seamless connectivity facilitated by HDMI technology serves as a conduit for your creativity and innovation, enabling you to craft unforgettable multimedia experiences that resonate with your audience and elevate your personal enjoyment.
With the foundational understanding and practical insights gleaned from this guide, you are poised to embrace the seamless connectivity and boundless potential of linking your computer to a projector using an HDMI cable. As you embark on this journey, may your multimedia experiences be enriched, your presentations be impactful, and your entertainment be truly immersive, ushering in a new era of seamless connectivity and boundless creativity.
Frequently Asked Questions about How To Connect Computer To Projector With HDMI
Was this page helpful?
At Storables.com, we guarantee accurate and reliable information. Our content, validated by Expert Board Contributors, is crafted following stringent Editorial Policies. We're committed to providing you with well-researched, expert-backed insights for all your informational needs.


0 thoughts on “How To Connect Computer To Projector With HDMI”