Home>Technology>Home Entertainment Systems>How To Connect A Projector To A Soundbar
Home Entertainment Systems
How To Connect A Projector To A Soundbar
Modified: January 3, 2024
Learn how to connect a projector to a soundbar for an immersive home entertainment experience. Get expert tips and troubleshooting advice for home entertainment systems.
(Many of the links in this article redirect to a specific reviewed product. Your purchase of these products through affiliate links helps to generate commission for Storables.com, at no extra cost. Learn more)
Introduction
Welcome to the ultimate guide on how to connect a projector to a soundbar! Whether you're a movie enthusiast, a gaming aficionado, or a music lover, enhancing your home entertainment system with a projector and a soundbar can elevate your audio-visual experience to new heights. By integrating these two components, you can immerse yourself in larger-than-life visuals and rich, cinematic sound, all within the comfort of your own home.
In this comprehensive guide, we'll walk you through the step-by-step process of connecting your projector to a soundbar, unlocking the potential for a truly captivating and immersive home theater experience. From gathering the necessary cables and equipment to adjusting the settings and testing the connection, we've got you covered every step of the way.
Whether you're a tech-savvy enthusiast or a newcomer to the world of home entertainment systems, this guide is designed to provide you with clear, concise instructions that will enable you to seamlessly integrate your projector and soundbar, allowing you to enjoy your favorite movies, games, and music with exceptional audio quality and stunning visuals.
So, grab your popcorn, settle into your favorite spot, and let's embark on this exciting journey to optimize your home entertainment setup by connecting your projector to a soundbar. Get ready to experience the magic of cinema-quality audio and visuals right in your living room!
Key Takeaways:
- Elevate your home entertainment with a projector and soundbar for immersive visuals and cinematic sound. Follow our guide to seamlessly connect, adjust settings, and enjoy captivating experiences right in your living room.
- Gather cables, connect HDMI, adjust settings, and test the connection to create a captivating home theater experience. Enjoy movies, games, and music with stunning visuals and rich, cinematic sound.
Read more: How To Connect Alexa To A Soundbar
Step 1: Gather the Necessary Cables and Equipment
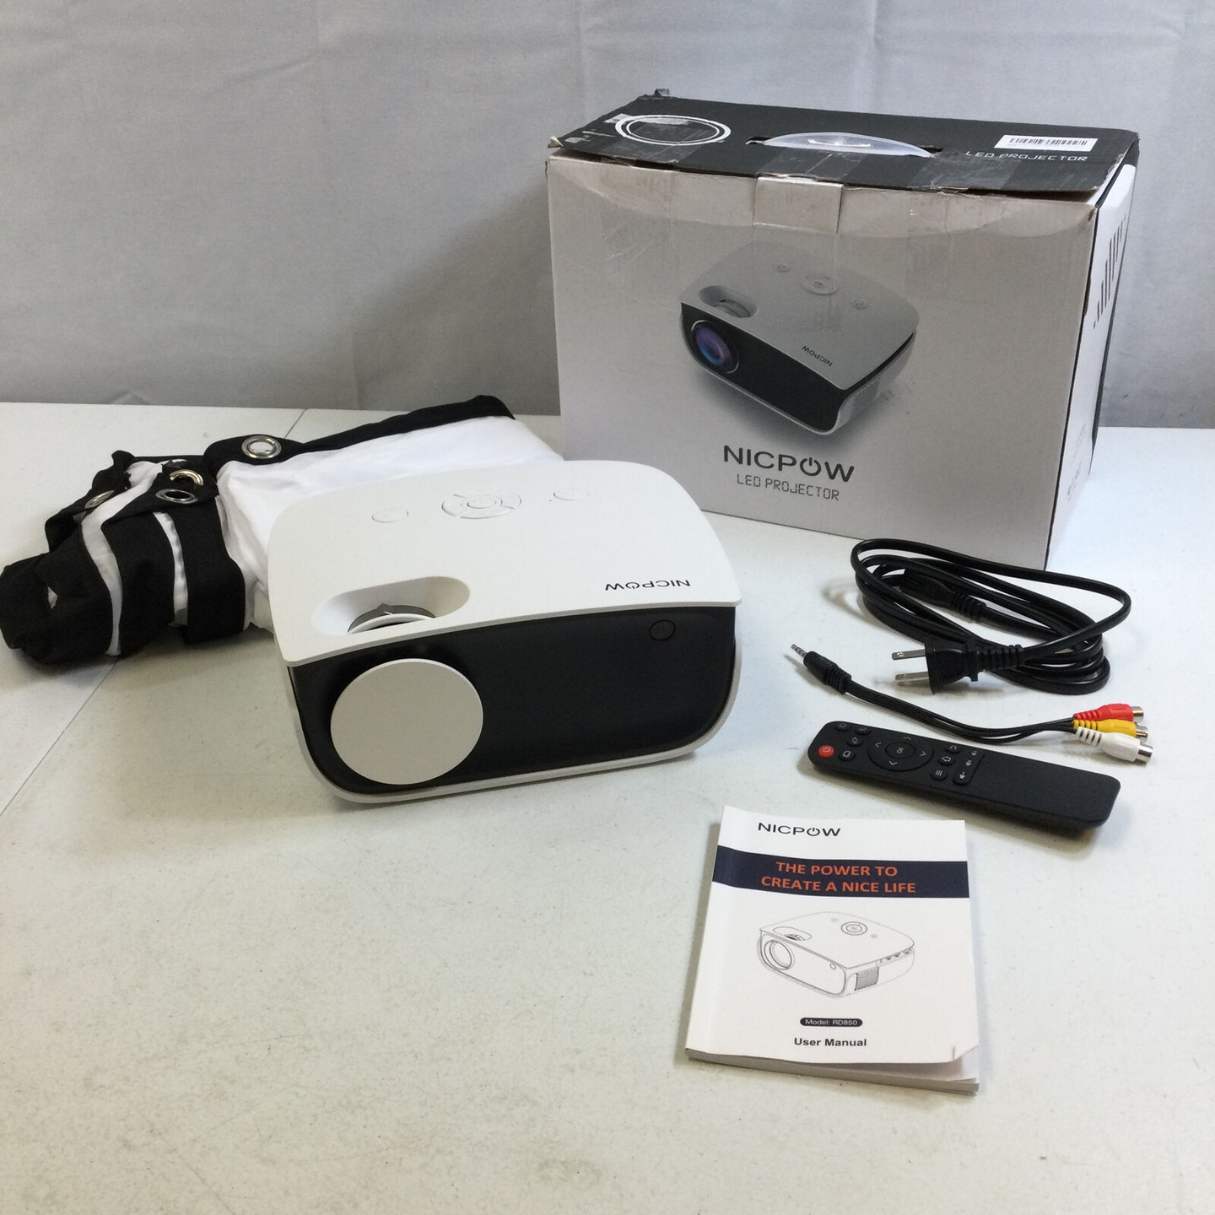
Before diving into the process of connecting your projector to a soundbar, it’s essential to gather all the required cables and equipment. By ensuring that you have everything you need at the outset, you can streamline the setup process and minimize any potential interruptions. Here’s a list of the essential items you’ll need:
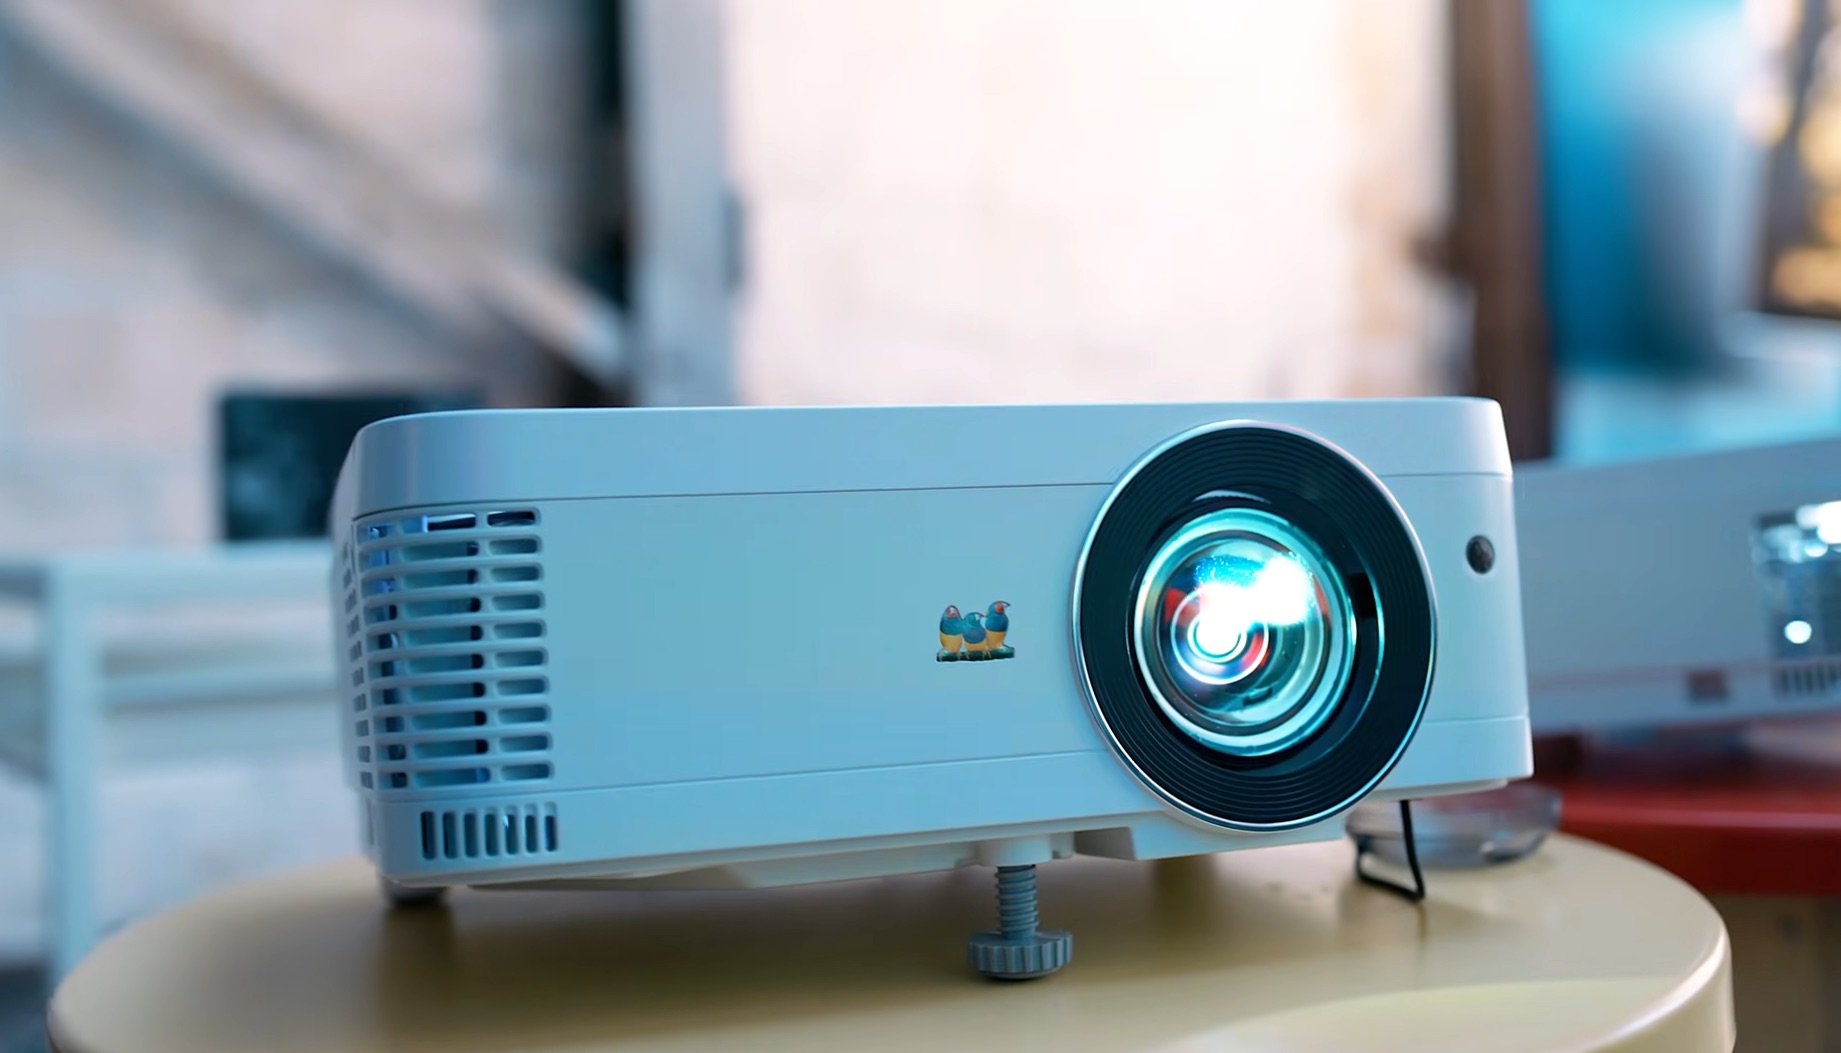
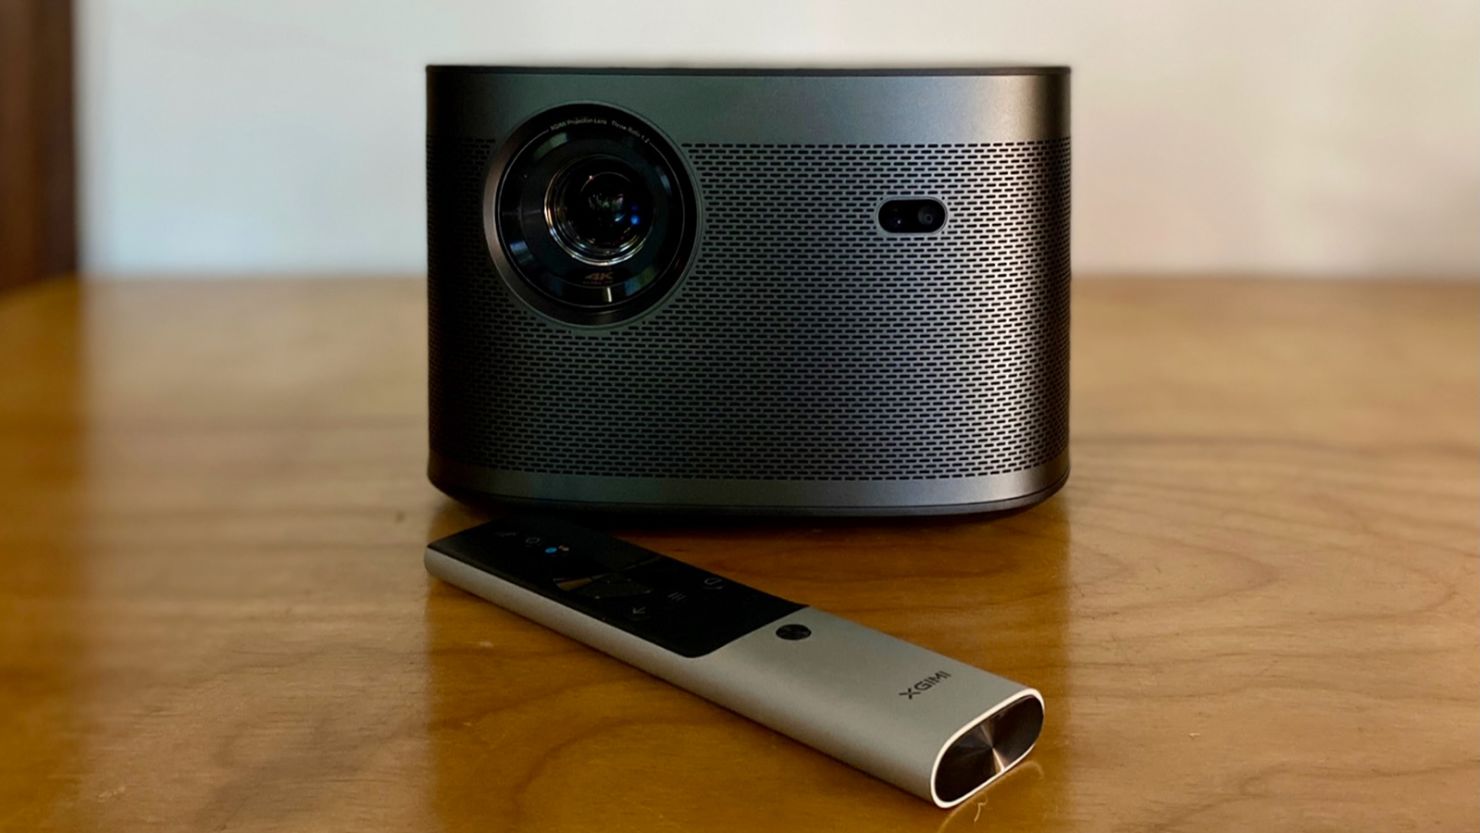
- Projector: The central component of your home theater setup, the projector will serve as the primary source of visuals, providing you with a large, high-definition display for your movies, games, and more.
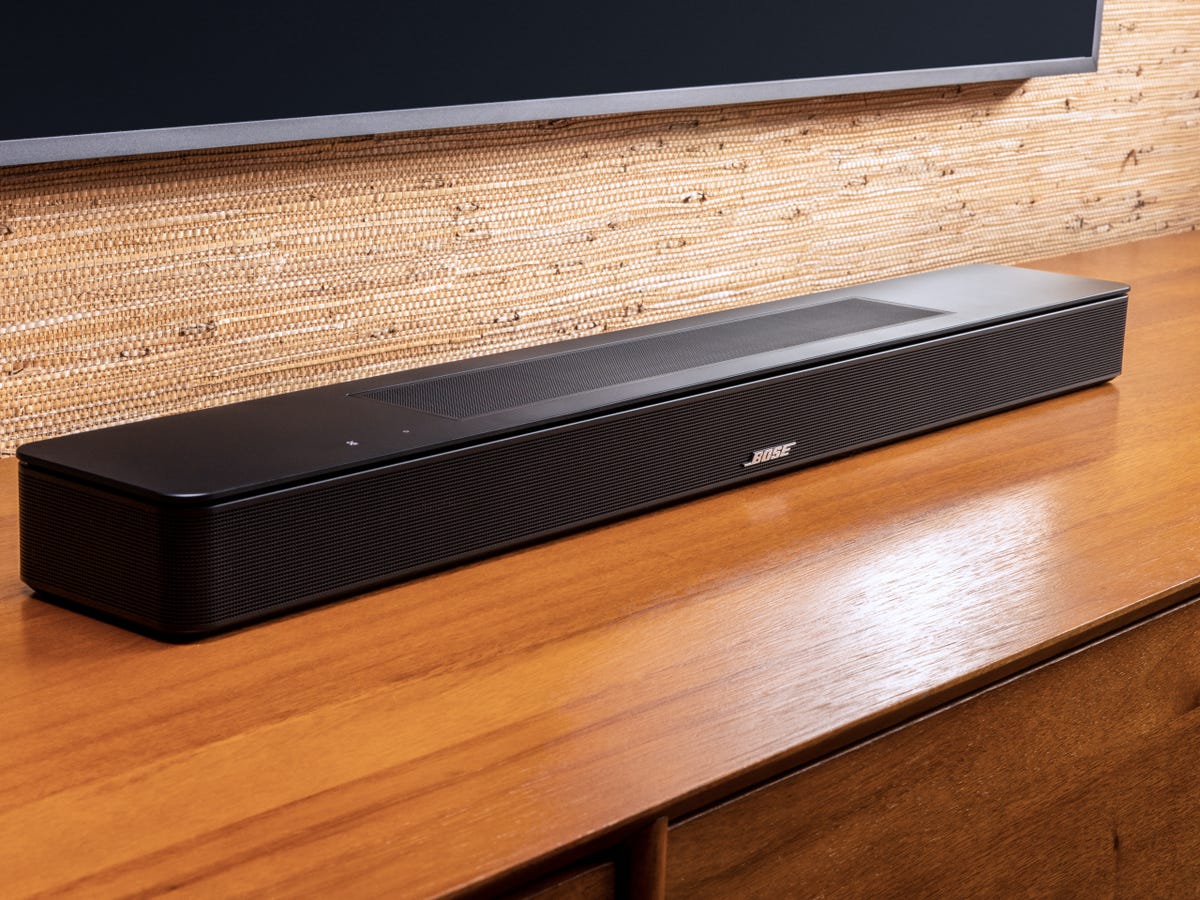
- Soundbar: A sleek and powerful audio solution, the soundbar will deliver immersive, high-fidelity sound to complement the visuals projected by your projector, enhancing your overall viewing and listening experience.
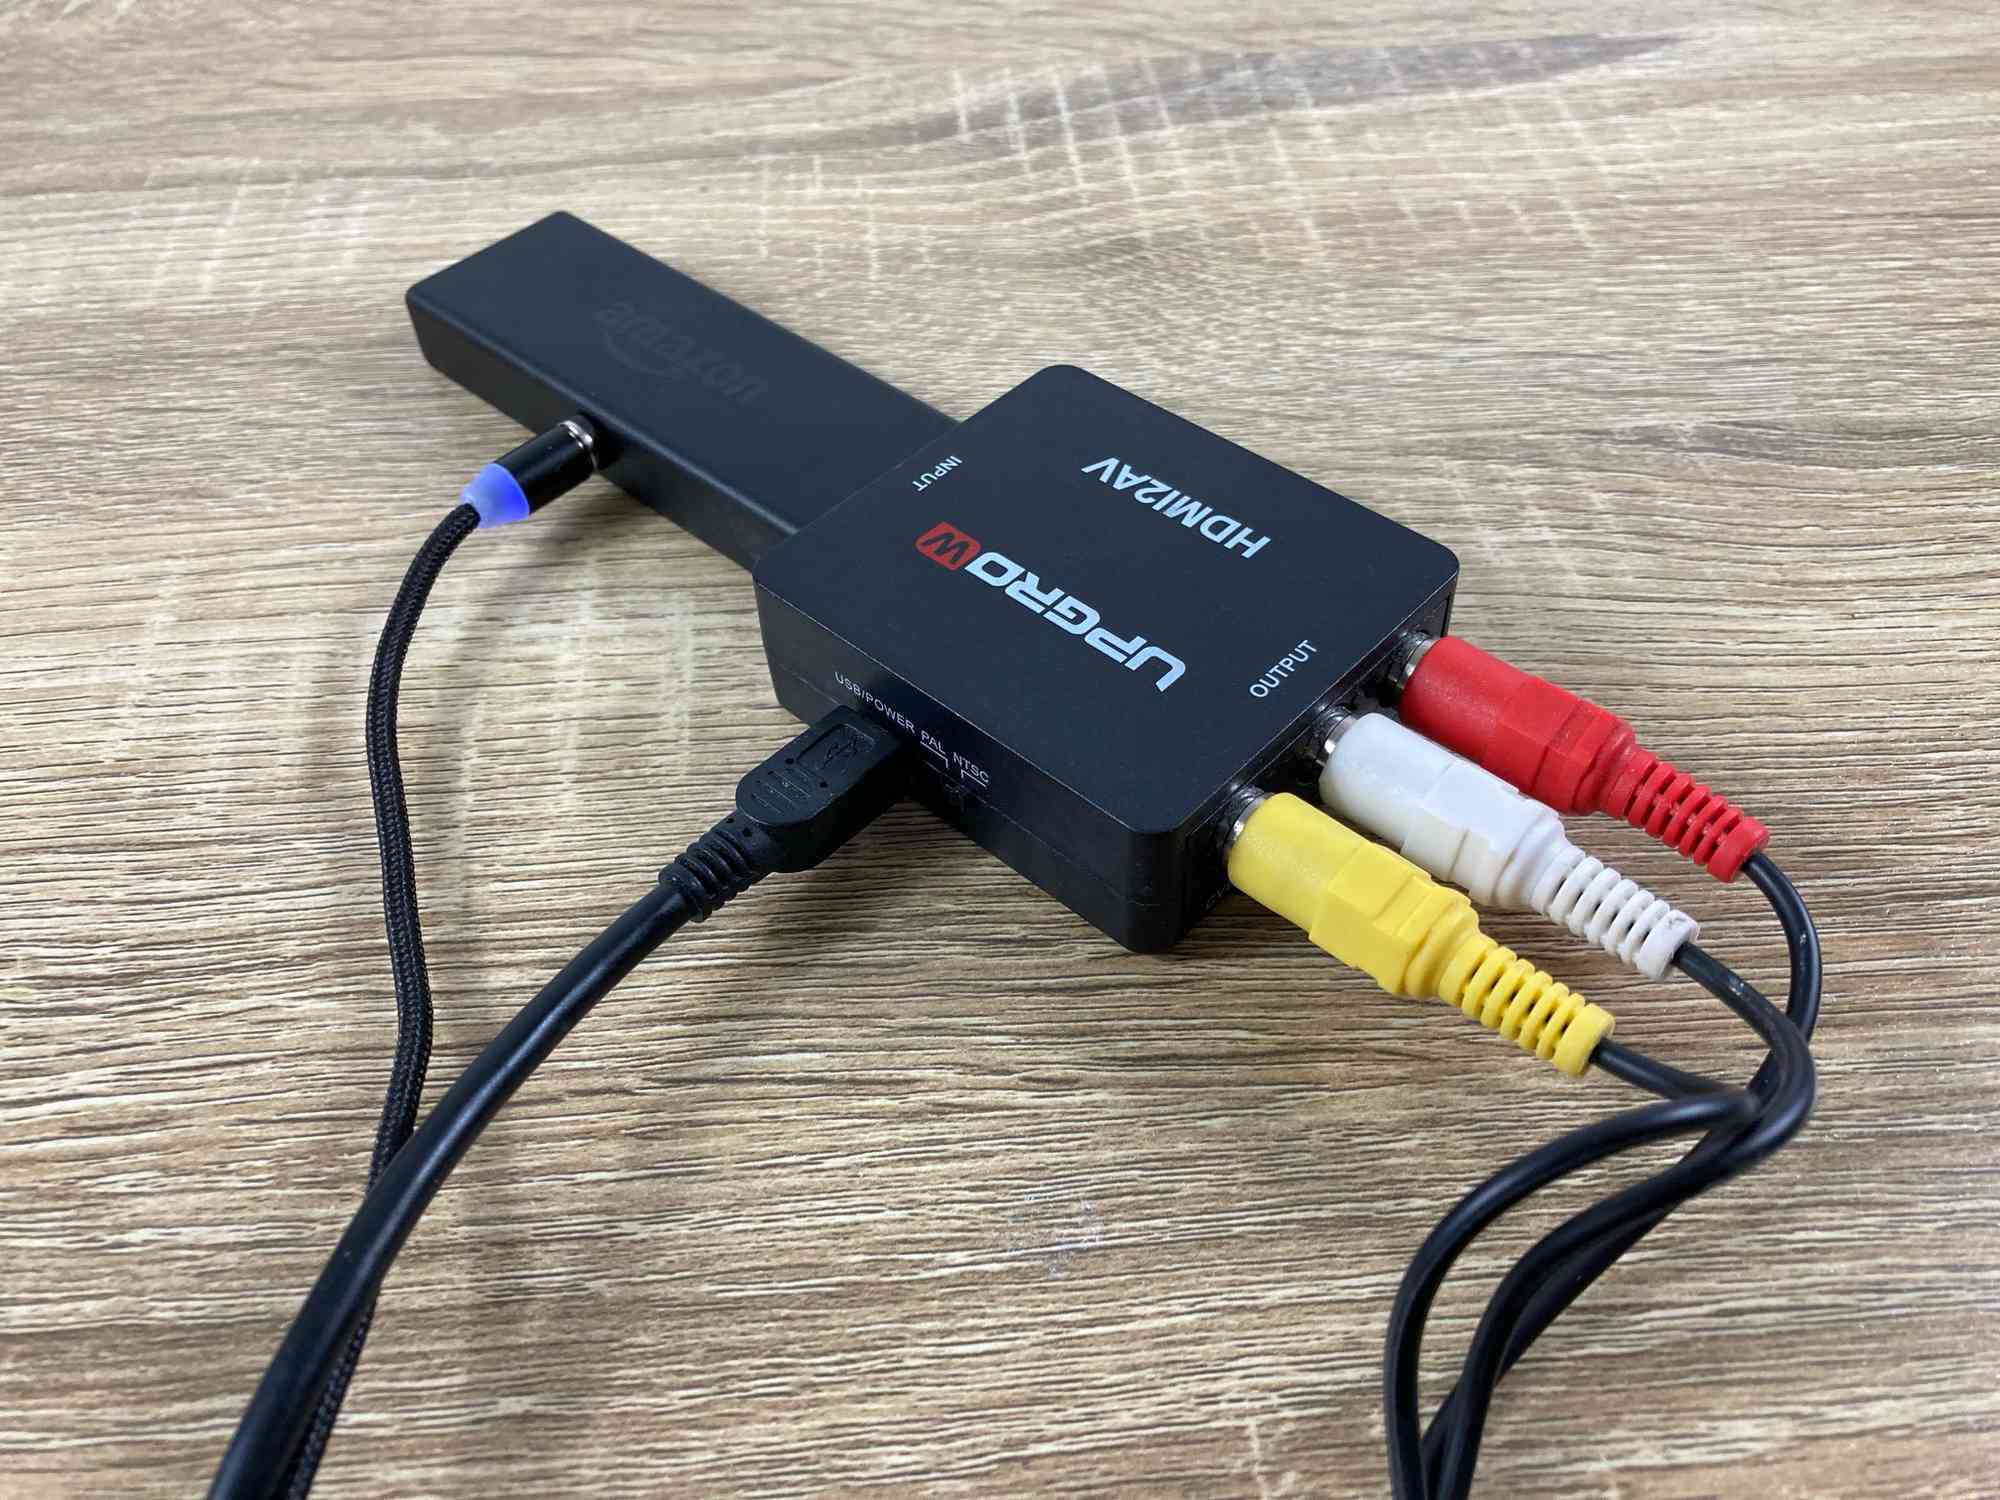
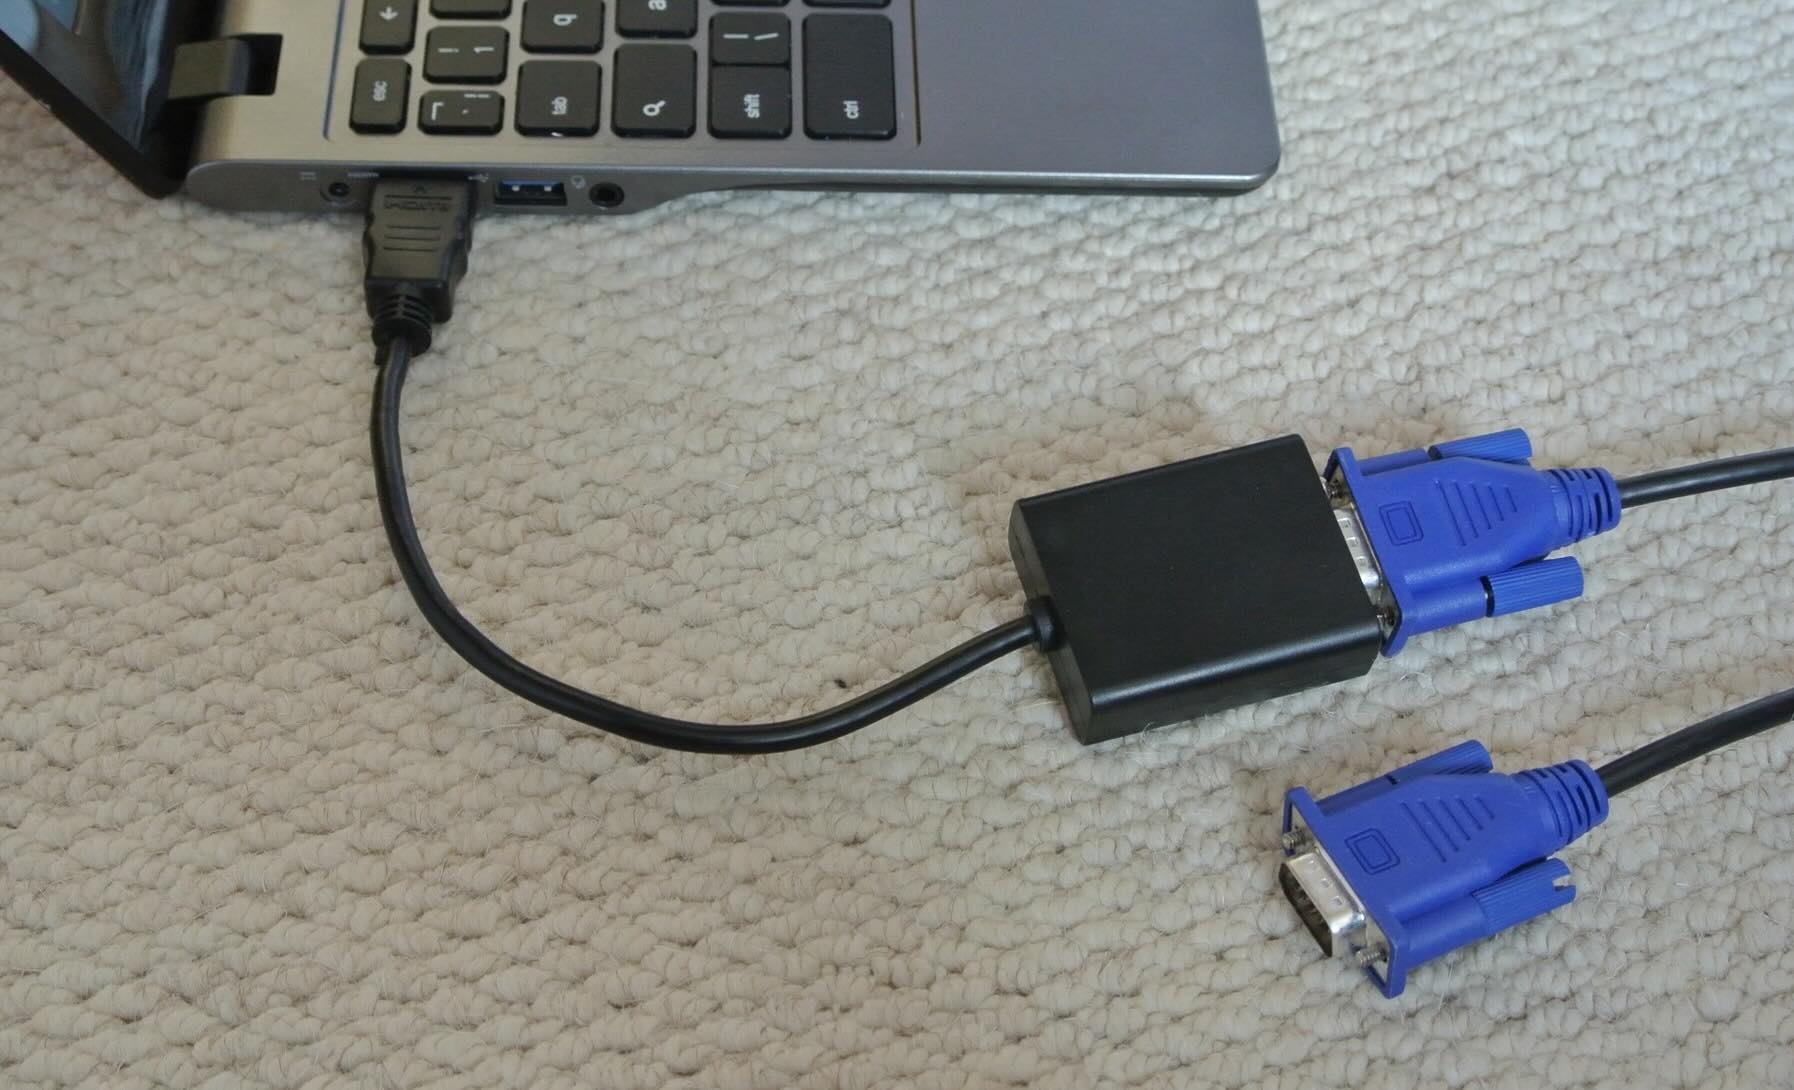
- HDMI Cable: An HDMI cable will be used to establish the connection between the projector and the soundbar, facilitating the transmission of both audio and video signals in high definition.
- Power Cables: Ensure that you have the necessary power cables for both the projector and the soundbar, allowing you to supply them with the required electrical power for operation.
- Remote Controls: The remote controls for the projector and the soundbar will enable you to conveniently adjust settings and manage the audio-visual output from a distance, enhancing your overall user experience.
- User Manuals: It’s always helpful to have the user manuals for your projector and soundbar readily available, as they can provide valuable guidance on setup procedures and troubleshooting, if needed.
By ensuring that you have all of these items on hand, you’ll be well-prepared to proceed with the process of connecting your projector to a soundbar seamlessly. With the necessary cables and equipment at your disposal, you can look forward to creating a captivating home entertainment environment that combines stunning visuals with immersive, theater-quality sound.
Step 2: Connect the Projector to the Soundbar
With all the necessary cables and equipment gathered, you’re now ready to embark on the process of connecting your projector to the soundbar. This crucial step will lay the foundation for a seamless integration of your audio-visual components, allowing you to enjoy a truly immersive home theater experience. Follow these steps to establish the connection:
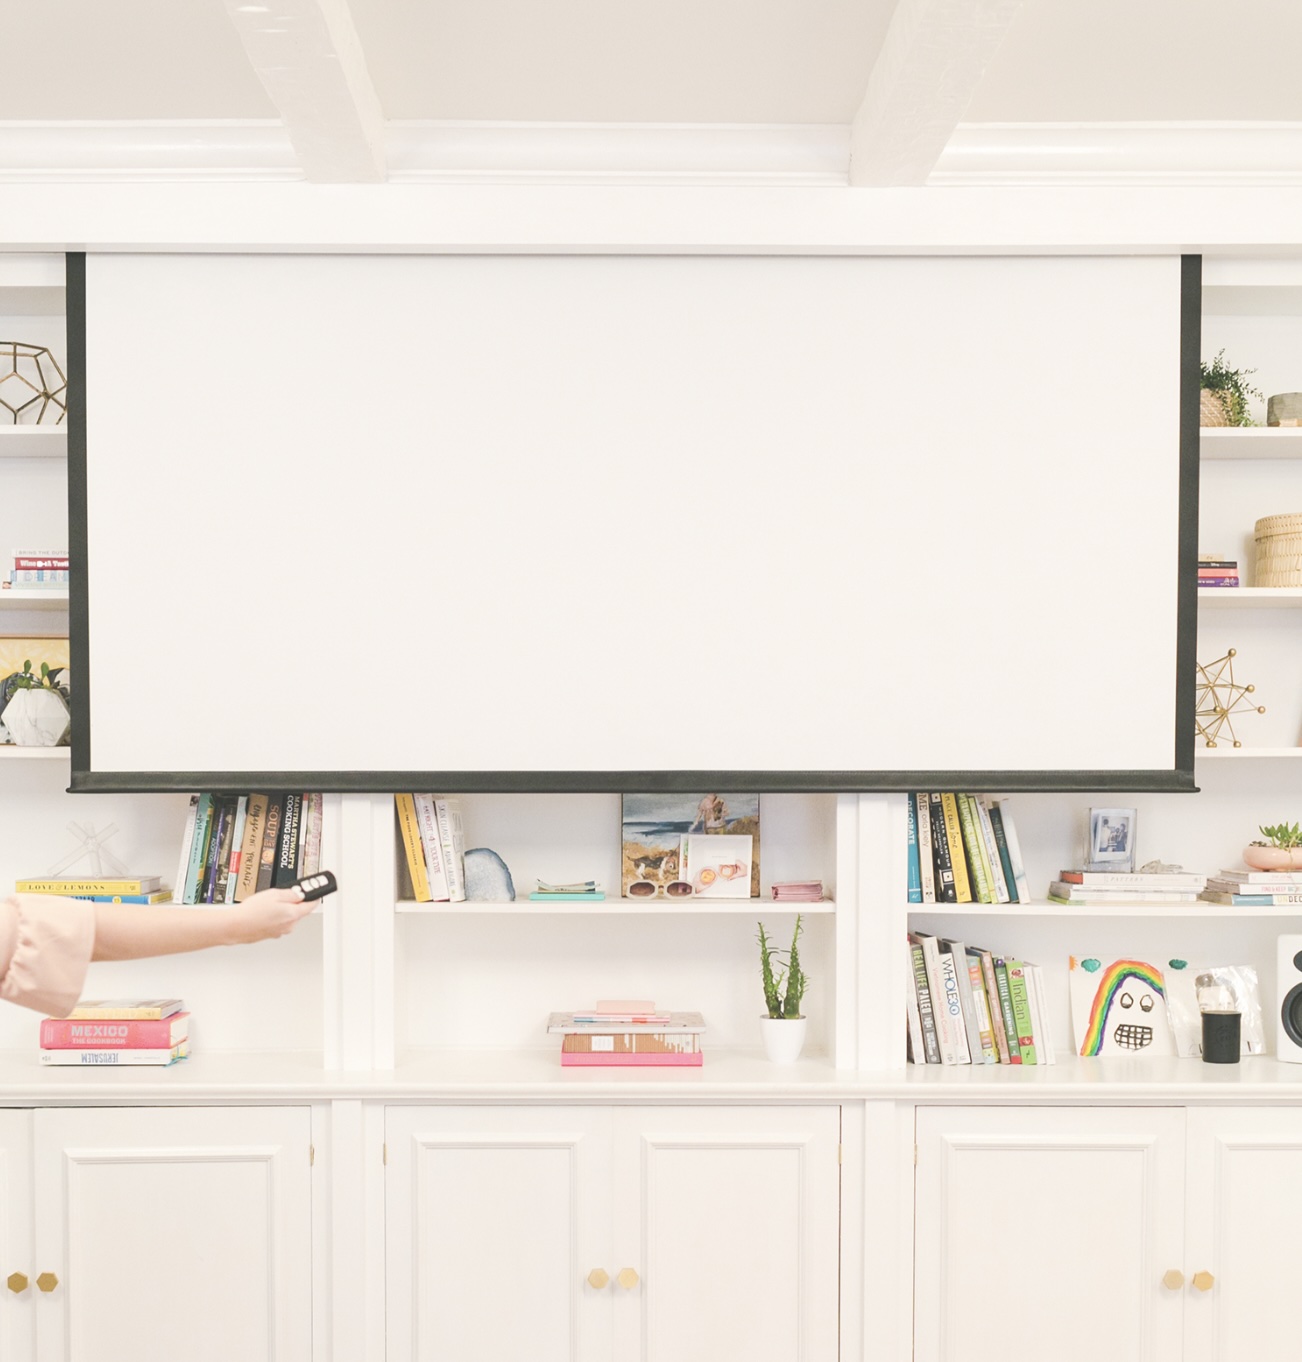
- Positioning: Begin by determining the optimal placement for both the projector and the soundbar within your home entertainment space. Ideally, the projector should be positioned in a location that allows for a clear, unobstructed projection onto a screen or a blank wall. Similarly, the soundbar should be placed in a central position, ensuring that it can effectively distribute sound throughout the room.
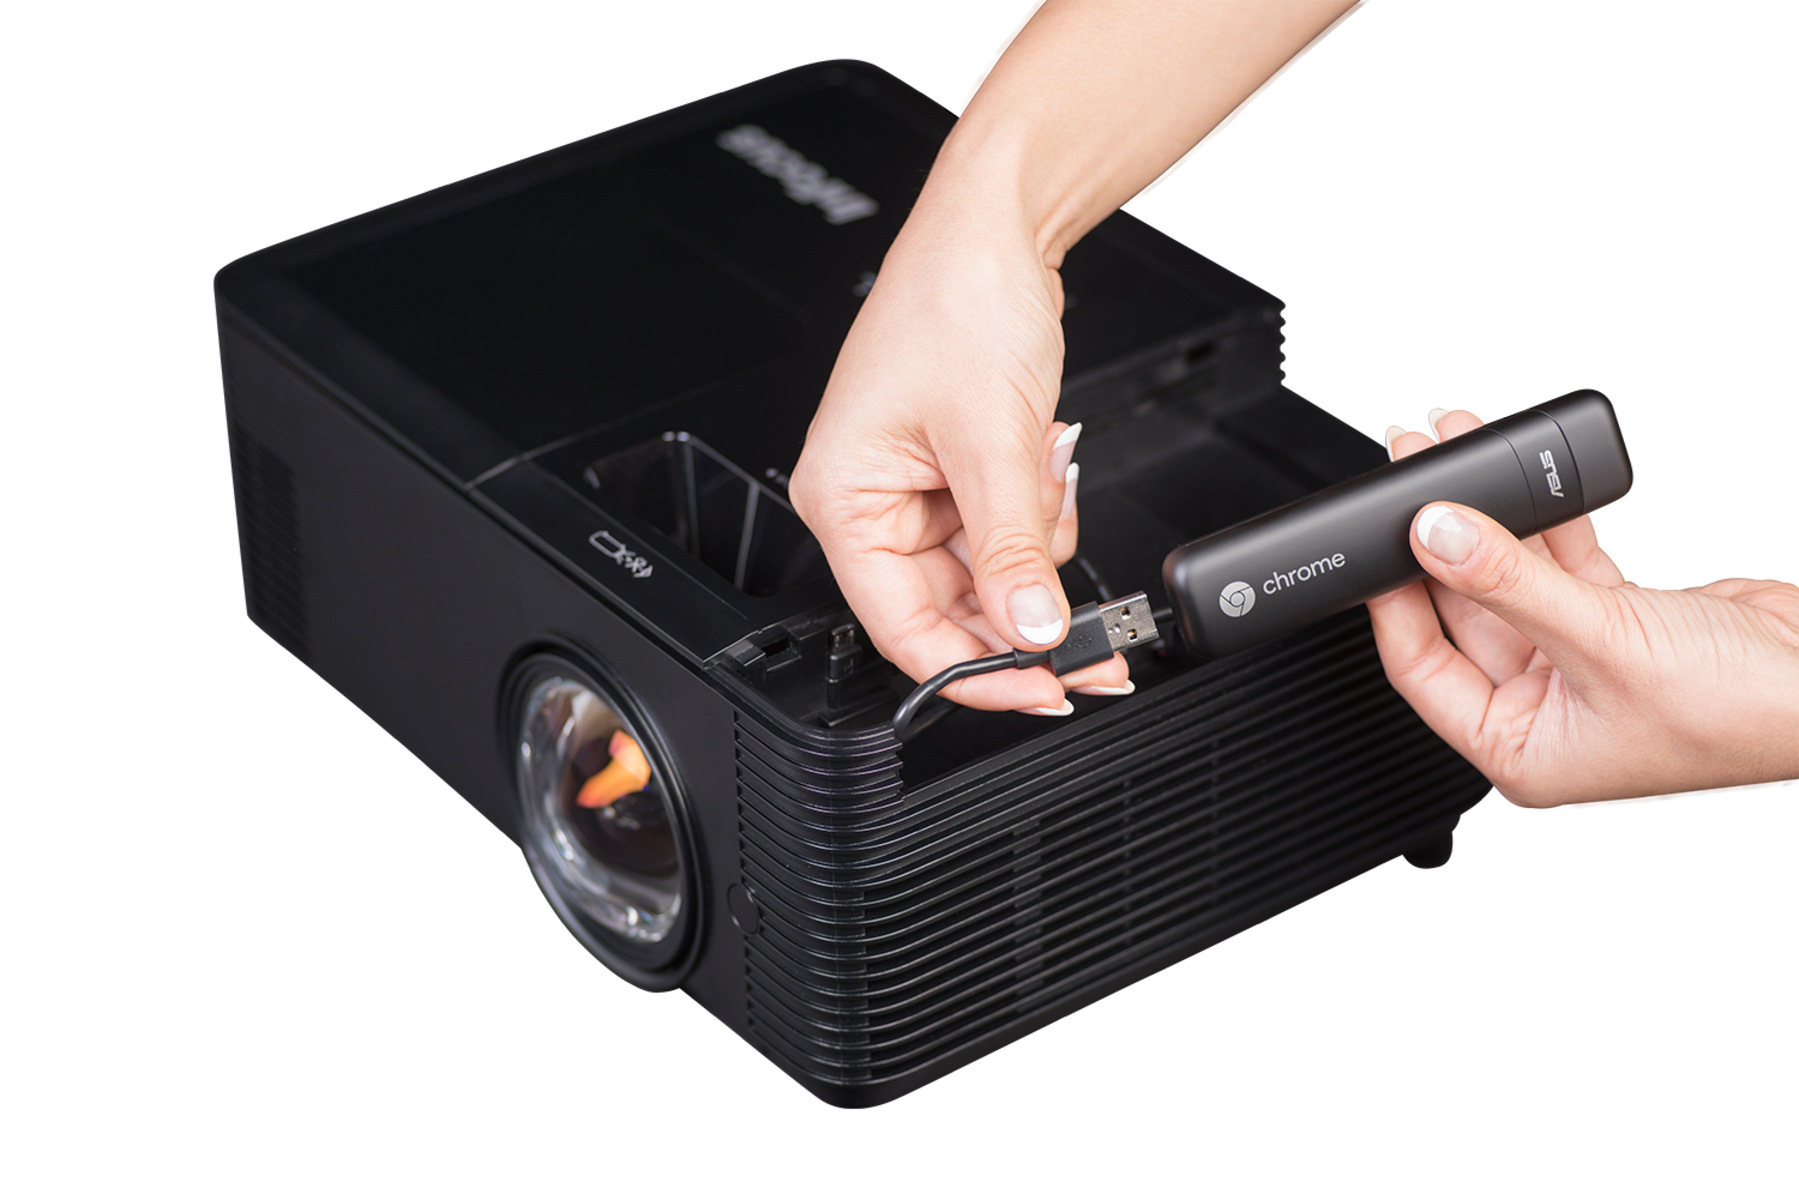
- Connect the HDMI Cable: Take the HDMI cable and connect one end to the HDMI output port on the projector. Then, connect the other end of the HDMI cable to the HDMI input port on the soundbar. This will establish the vital audio and video connection between the two devices, enabling them to work in tandem to deliver an immersive audio-visual experience.
- Power On: Once the HDMI cable is securely connected, power on both the projector and the soundbar. Ensure that they are receiving adequate power and that all necessary indicators, such as power lights or display screens, are functioning as expected.
- Adjust Settings: Access the settings menu on both the projector and the soundbar to configure the audio and video output to your preferences. You may need to select the appropriate input source on the soundbar to ensure that it recognizes the signal coming from the projector. Additionally, adjust the volume levels and any audio settings to achieve the desired sound quality.
- Test the Connection: To confirm that the connection has been successfully established, play a piece of content on your projector, such as a movie, a video game, or a music track. Listen for the audio output from the soundbar and observe the quality of the visuals projected by the projector. Make any necessary adjustments to the settings to optimize the audio-visual experience.
By following these steps, you’ll effectively connect your projector to the soundbar, laying the groundwork for an exceptional home theater experience. With the audio and video signals seamlessly transmitted between the two devices, you can look forward to enjoying your favorite content with immersive visuals and rich, cinematic sound.
Use an HDMI cable to connect the projector to the soundbar’s HDMI ARC port. Make sure to enable HDMI CEC on both devices for seamless control.
Step 3: Adjust the Settings
Now that you’ve successfully connected your projector to the soundbar, it’s time to fine-tune the settings to ensure an optimal audio-visual experience. Adjusting the settings will allow you to customize the output to suit your preferences and the specific characteristics of your home entertainment space. Follow these steps to optimize the settings for your projector and soundbar:
- Video Settings: Access the video settings on your projector to adjust parameters such as brightness, contrast, color saturation, and aspect ratio. These settings can be tailored to enhance the visual quality of the projected images, ensuring that you achieve vibrant, well-balanced visuals that complement your viewing experience.
- Audio Settings: Similarly, navigate to the audio settings on your soundbar to fine-tune the sound output. Adjust the equalizer settings to emphasize specific frequencies, such as bass or treble, based on your audio preferences. Additionally, explore any sound modes or audio enhancement features offered by the soundbar to further customize the audio output.
- Input Selection: Verify that the input source on the soundbar aligns with the port to which the projector is connected. This ensures that the soundbar recognizes the audio signal from the projector and processes it accordingly. Select the appropriate input source using the soundbar’s remote control or interface to establish the connection.
- Volume Calibration: Calibrate the volume levels on the soundbar to achieve a balanced audio output that suits the acoustics of your home entertainment space. Experiment with different volume levels while playing content through the projector to find the optimal balance between dialogue, sound effects, and background music.
- Room Acoustics: Consider the acoustics of your room and make adjustments to the soundbar settings accordingly. Some soundbars offer room calibration features that analyze the acoustic characteristics of the space and optimize the audio output to deliver the best possible sound quality.
By making these adjustments, you can tailor the settings of your projector and soundbar to create a personalized audio-visual environment that caters to your specific preferences and the unique attributes of your home theater space. Fine-tuning the settings will elevate your viewing and listening experience, allowing you to immerse yourself in captivating visuals and rich, cinematic sound.
Step 4: Test the Connection
With the settings adjusted, it’s time to put the connection between your projector and soundbar to the test. Verifying the functionality of the connection will allow you to confirm that both devices are working harmoniously to deliver an immersive audio-visual experience. Follow these steps to ensure that the connection is functioning as intended:
- Playback Test: Select a piece of content to play through your projector, such as a movie, a video game, or a music video. Ensure that the audio output is routed through the soundbar by listening for the sound emanating from the soundbar’s speakers. Verify that the audio is clear, balanced, and synchronized with the visuals projected by the projector.
- Volume Adjustment: During playback, adjust the volume levels on the soundbar to gauge the impact on the audio output. Confirm that the volume controls are responsive and that you can achieve the desired sound levels without distortion or inconsistencies in the audio quality.
- Visual Inspection: Observe the quality of the visuals projected by the projector to ensure that the connection with the soundbar has not compromised the video output. Look for vibrant colors, sharp details, and smooth motion to confirm that the visuals remain captivating and immersive.
- Audio Source Switching: If your projector supports multiple audio sources, such as HDMI and optical audio, test the soundbar’s compatibility with different audio input options. Switch between audio sources on the projector to confirm that the soundbar seamlessly adapts to the changes and continues to deliver high-quality audio.
- Surround Sound Test: If your soundbar supports surround sound or virtual surround technologies, explore content that showcases spatial audio effects. Verify that the soundbar effectively creates an expansive soundstage, enveloping you in immersive audio that enhances the overall viewing experience.
By conducting these tests, you can ensure that the connection between your projector and soundbar is fully functional, delivering exceptional audio-visual performance that enriches your home entertainment experience. Confirming the seamless operation of the connection will provide you with the confidence to enjoy your favorite movies, games, and music with captivating visuals and immersive, theater-quality sound.
Read more: How To Connect LG Soundbar To Alexa
Conclusion
Congratulations! By following this comprehensive guide, you’ve successfully learned how to connect a projector to a soundbar, unlocking the potential for a truly immersive and captivating home entertainment experience. The seamless integration of these two components has empowered you to enjoy your favorite movies, games, and music with stunning visuals and rich, cinematic sound, all within the comfort of your own home.
Through the process of gathering the necessary cables and equipment, connecting the projector to the soundbar, adjusting the settings, and testing the connection, you’ve gained valuable insights into optimizing your home theater setup. By carefully positioning your devices, establishing the audio-visual connection, fine-tuning the settings, and verifying the functionality of the connection, you’ve set the stage for an exceptional audio-visual experience that will elevate your entertainment endeavors.
As you settle into your home entertainment space, you can now revel in the magic of cinema-quality audio and visuals, immersing yourself in larger-than-life experiences that transport you to new realms of entertainment. Whether you’re embarking on a movie marathon, delving into the immersive world of gaming, or simply unwinding with your favorite music, the connection between your projector and soundbar will enrich every moment with captivating sights and enveloping sound.
With your newfound knowledge and expertise, you’re well-equipped to optimize your home entertainment system, creating a space where family and friends can come together to enjoy shared experiences that are brought to life through the seamless integration of audio and visuals. So, sit back, relax, and let the captivating combination of your projector and soundbar transport you to a world of unparalleled entertainment right in the heart of your home.
Here’s to countless hours of immersive viewing, gaming, and listening, all made possible by the seamless connection between your projector and soundbar. Get ready to embark on a journey filled with unforgettable moments and captivating experiences, all enhanced by the power of exceptional audio-visual integration.
Frequently Asked Questions about How To Connect A Projector To A Soundbar
Was this page helpful?
At Storables.com, we guarantee accurate and reliable information. Our content, validated by Expert Board Contributors, is crafted following stringent Editorial Policies. We're committed to providing you with well-researched, expert-backed insights for all your informational needs.


0 thoughts on “How To Connect A Projector To A Soundbar”