Home>Technology>Home Entertainment Systems>How To Fix White Dots On A Projector Screen
Home Entertainment Systems
How To Fix White Dots On A Projector Screen
Modified: May 6, 2024
Learn how to troubleshoot and fix white dots on your projector screen with our expert tips. Enhance your home entertainment system today!
(Many of the links in this article redirect to a specific reviewed product. Your purchase of these products through affiliate links helps to generate commission for Storables.com, at no extra cost. Learn more)
Introduction
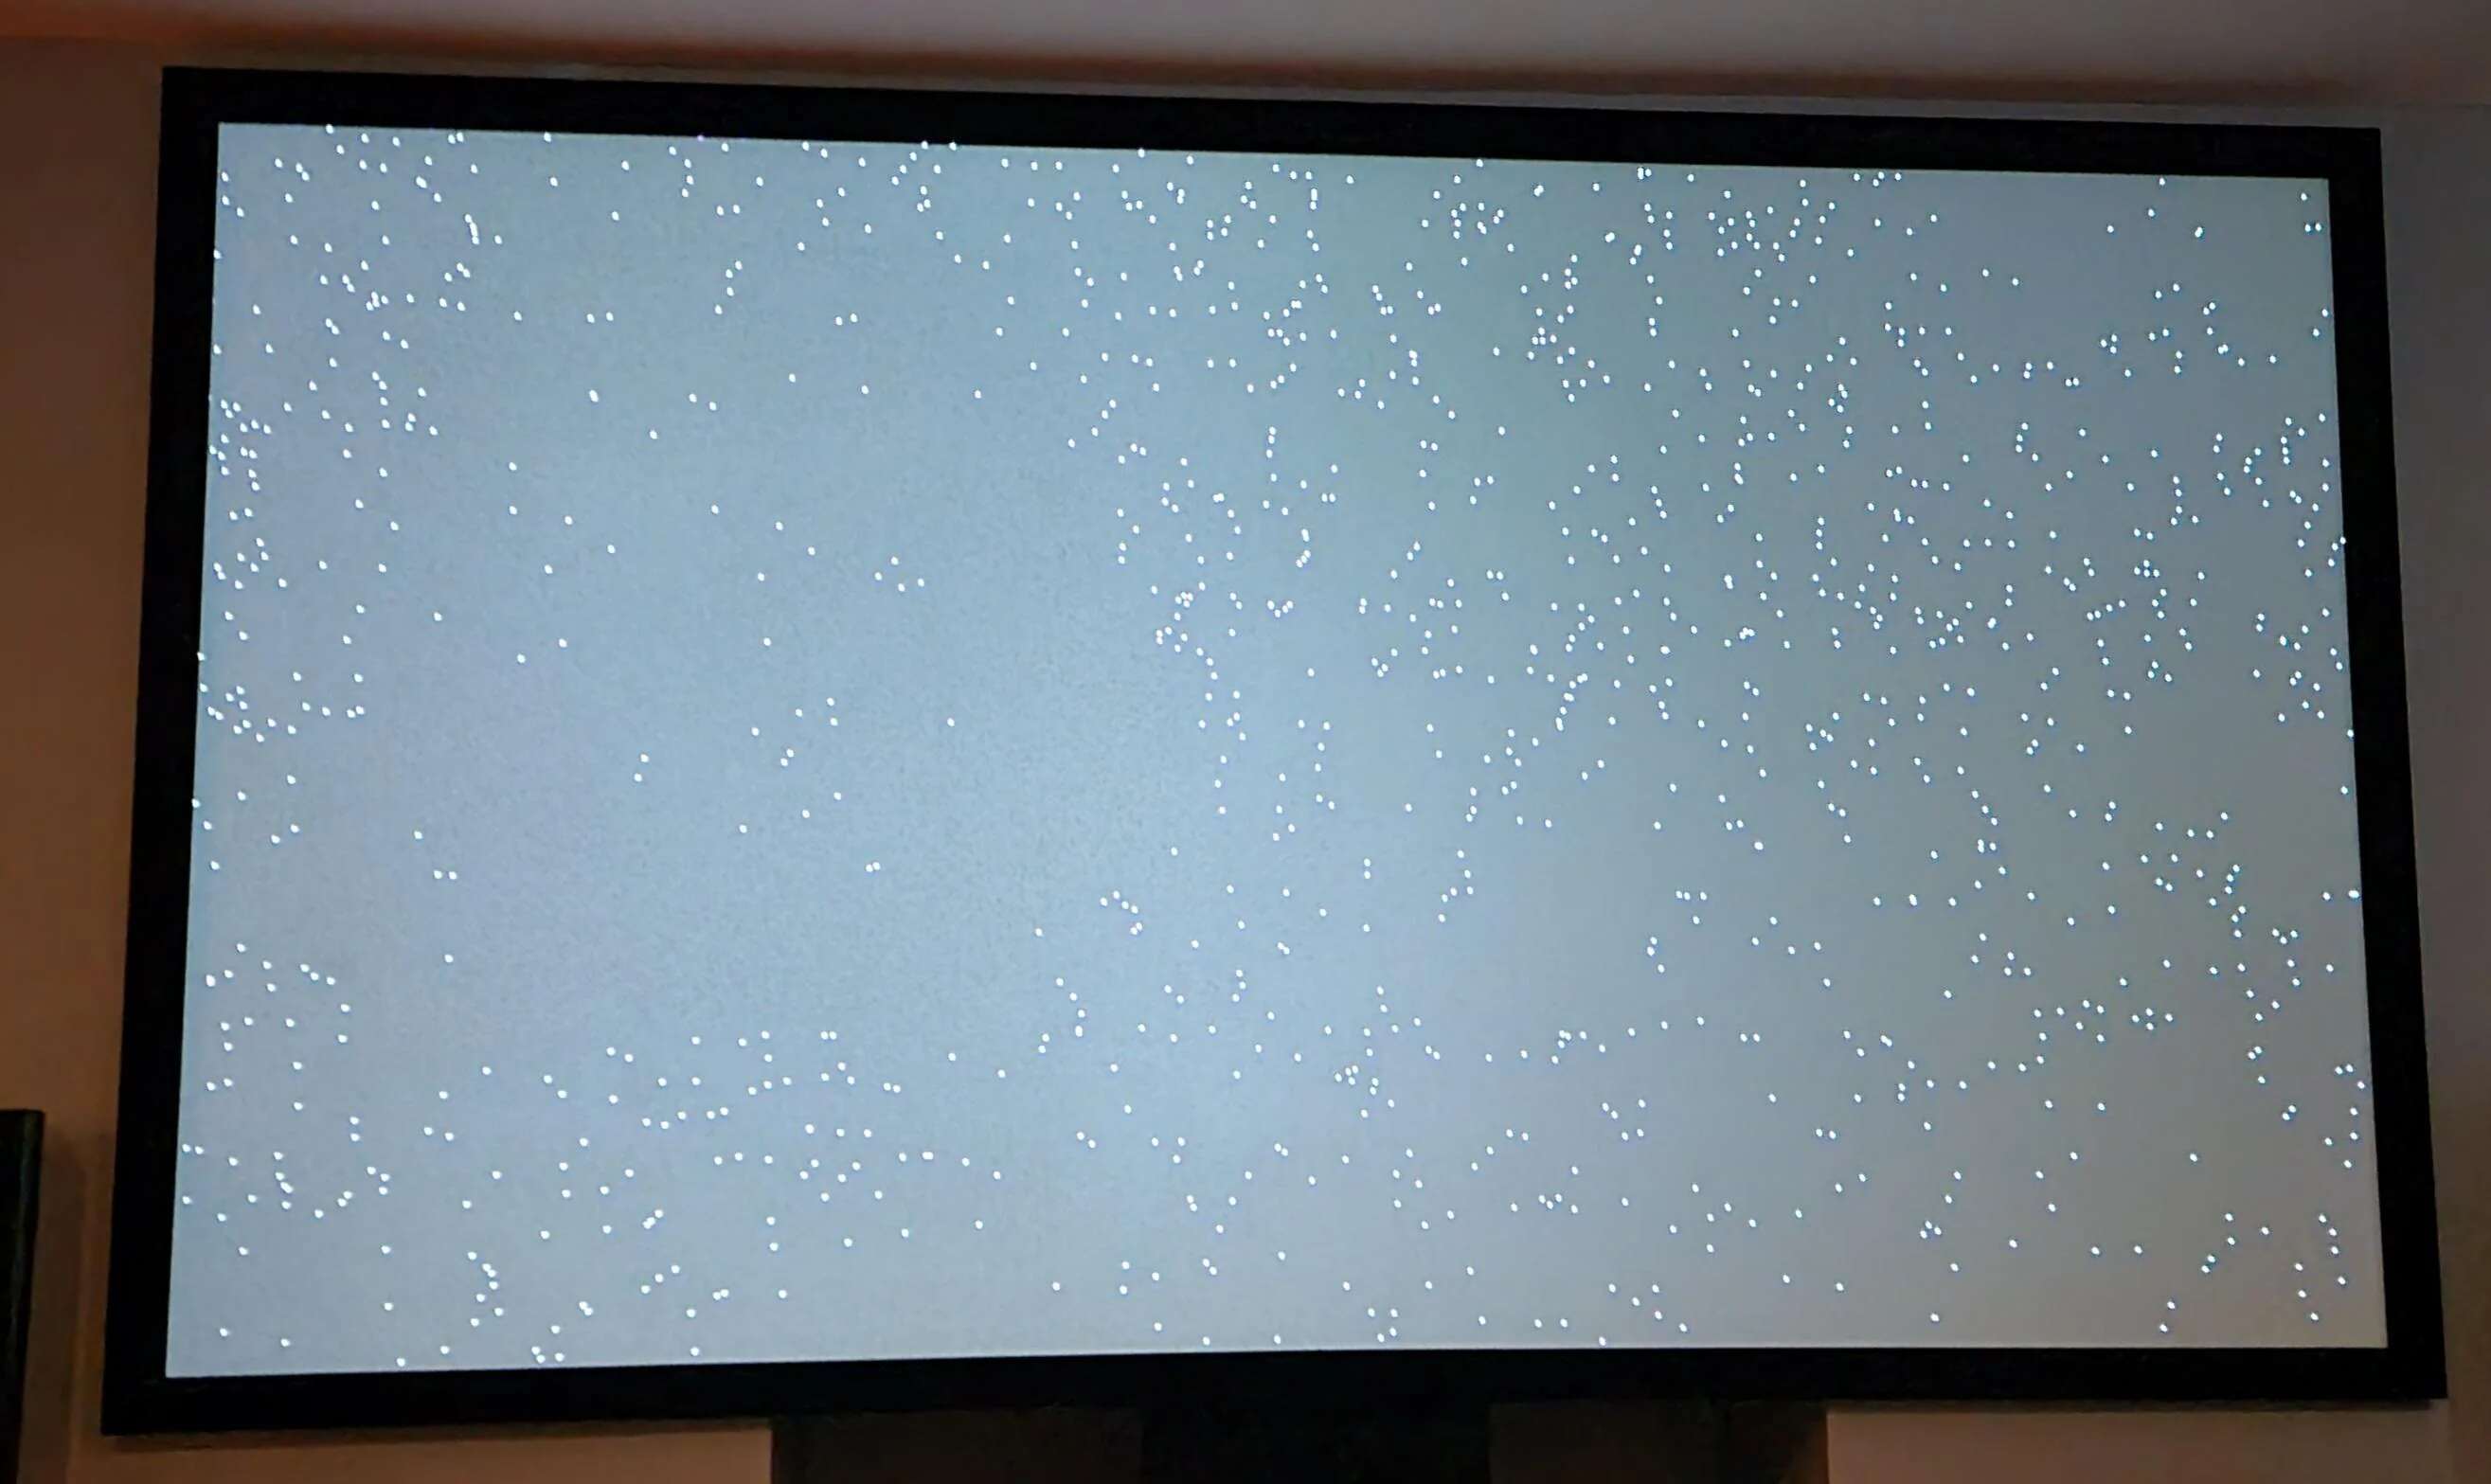
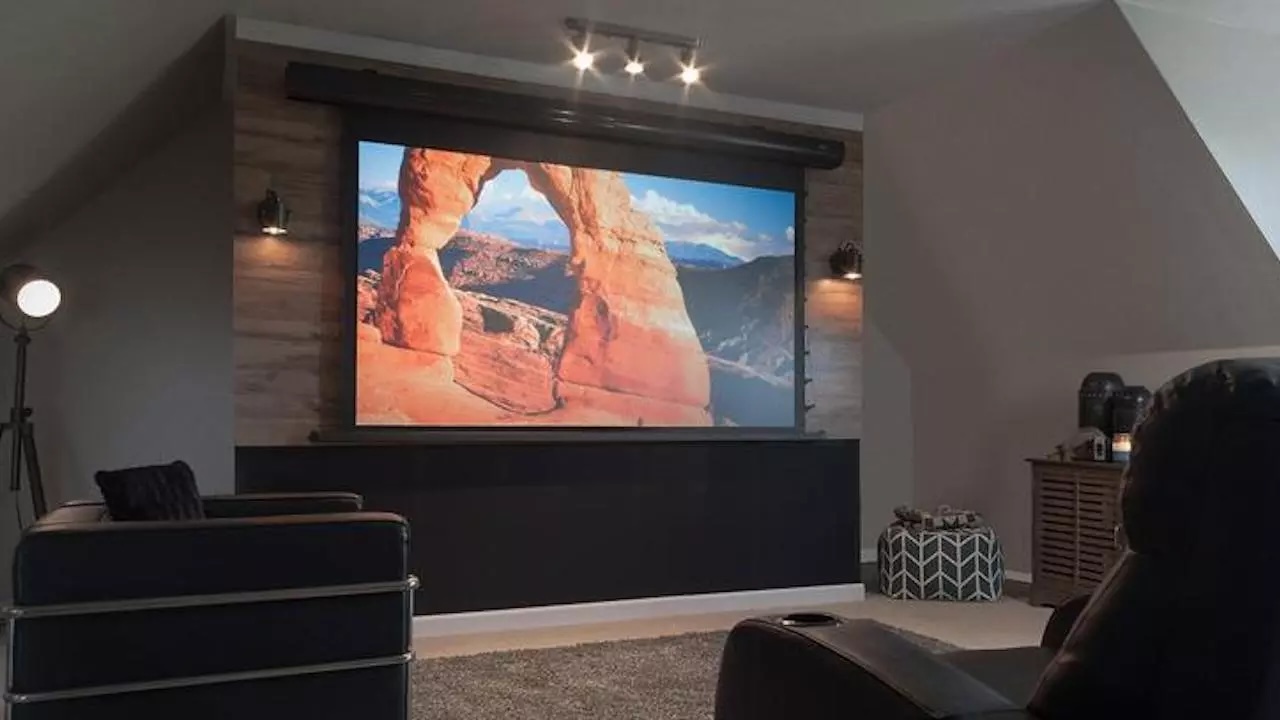
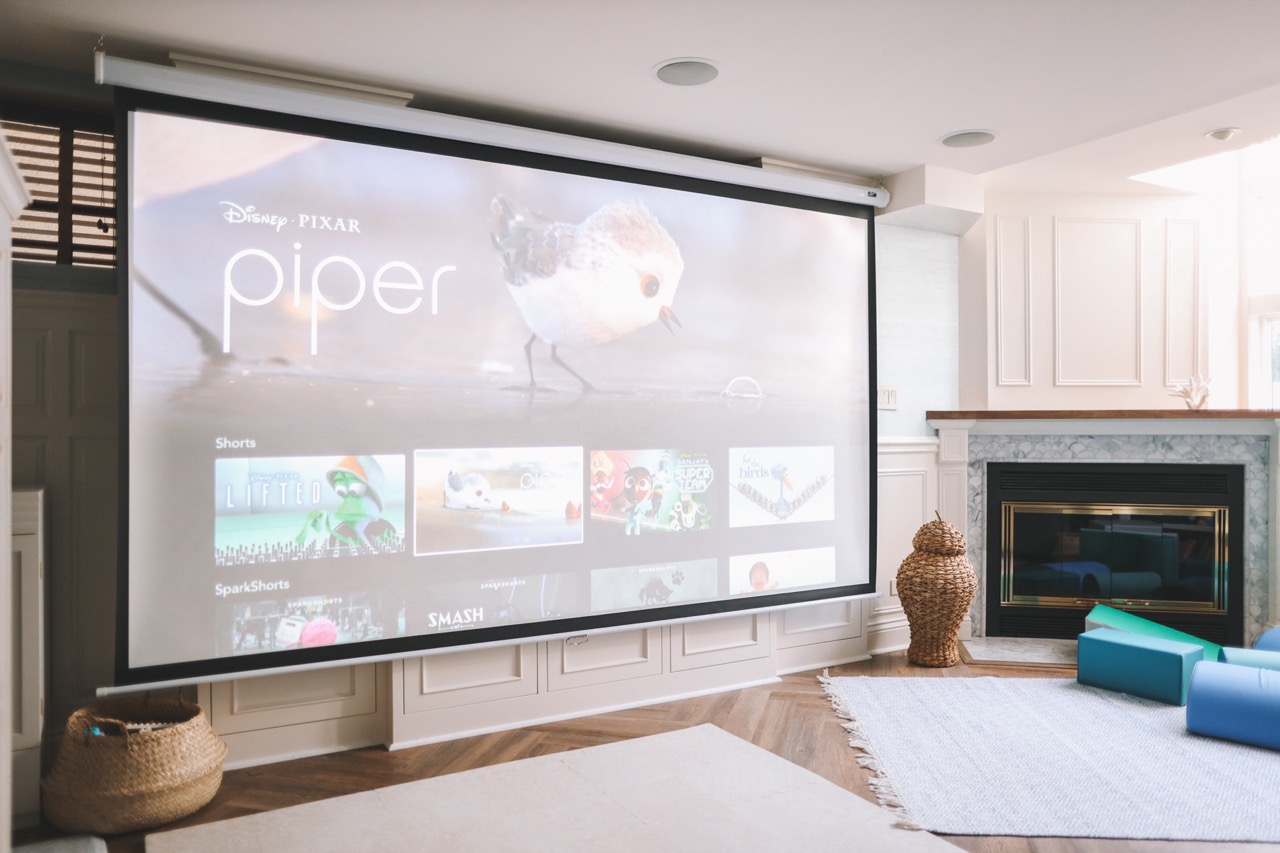
Picture this: you’re settling in for a movie night, ready to immerse yourself in the latest blockbuster, when suddenly, you notice something distracting on the screen. Small, white dots seem to be marring the otherwise pristine image. These pesky imperfections can quickly put a damper on your viewing experience, but fear not – there are several simple and effective ways to address this issue and restore your projector screen to its former glory.
In this guide, we’ll delve into the common causes of white dots on a projector screen and explore the step-by-step solutions to rectify this problem. Whether you’re a seasoned home entertainment enthusiast or a casual movie buff, understanding how to combat this issue will ensure that your viewing sessions remain uninterrupted and visually stunning.
Key Takeaways:
- Regularly clean your projector screen to prevent white dots caused by dust and debris, ensuring consistently clear and vibrant projections for an enhanced viewing experience.
- Adjusting the projector settings and maintaining the lens can help minimize the appearance of white dots, preserving the quality of your projected images and prolonging your projector’s lifespan.
Understanding the Issue
Before diving into the solutions, it’s essential to grasp the underlying causes of white dots appearing on your projector screen. These dots, often referred to as “dead pixels,” can stem from various sources, each requiring a distinct approach to resolution.
One common culprit is dust and debris that has accumulated on the projector screen’s surface. Over time, these particles can create small, noticeable spots, disrupting the smooth projection of images. Additionally, the projector’s settings, particularly the contrast and brightness levels, may contribute to the visibility of these white dots. Furthermore, a dirty or malfunctioning projector lens can also manifest as white spots on the screen, impacting the overall image quality.
Understanding the issue at hand empowers you to take targeted action to address the root cause. By identifying the potential factors behind the appearance of white dots, you can effectively implement the appropriate remedies, ensuring a clear and captivating viewing experience for all your future cinematic endeavors.
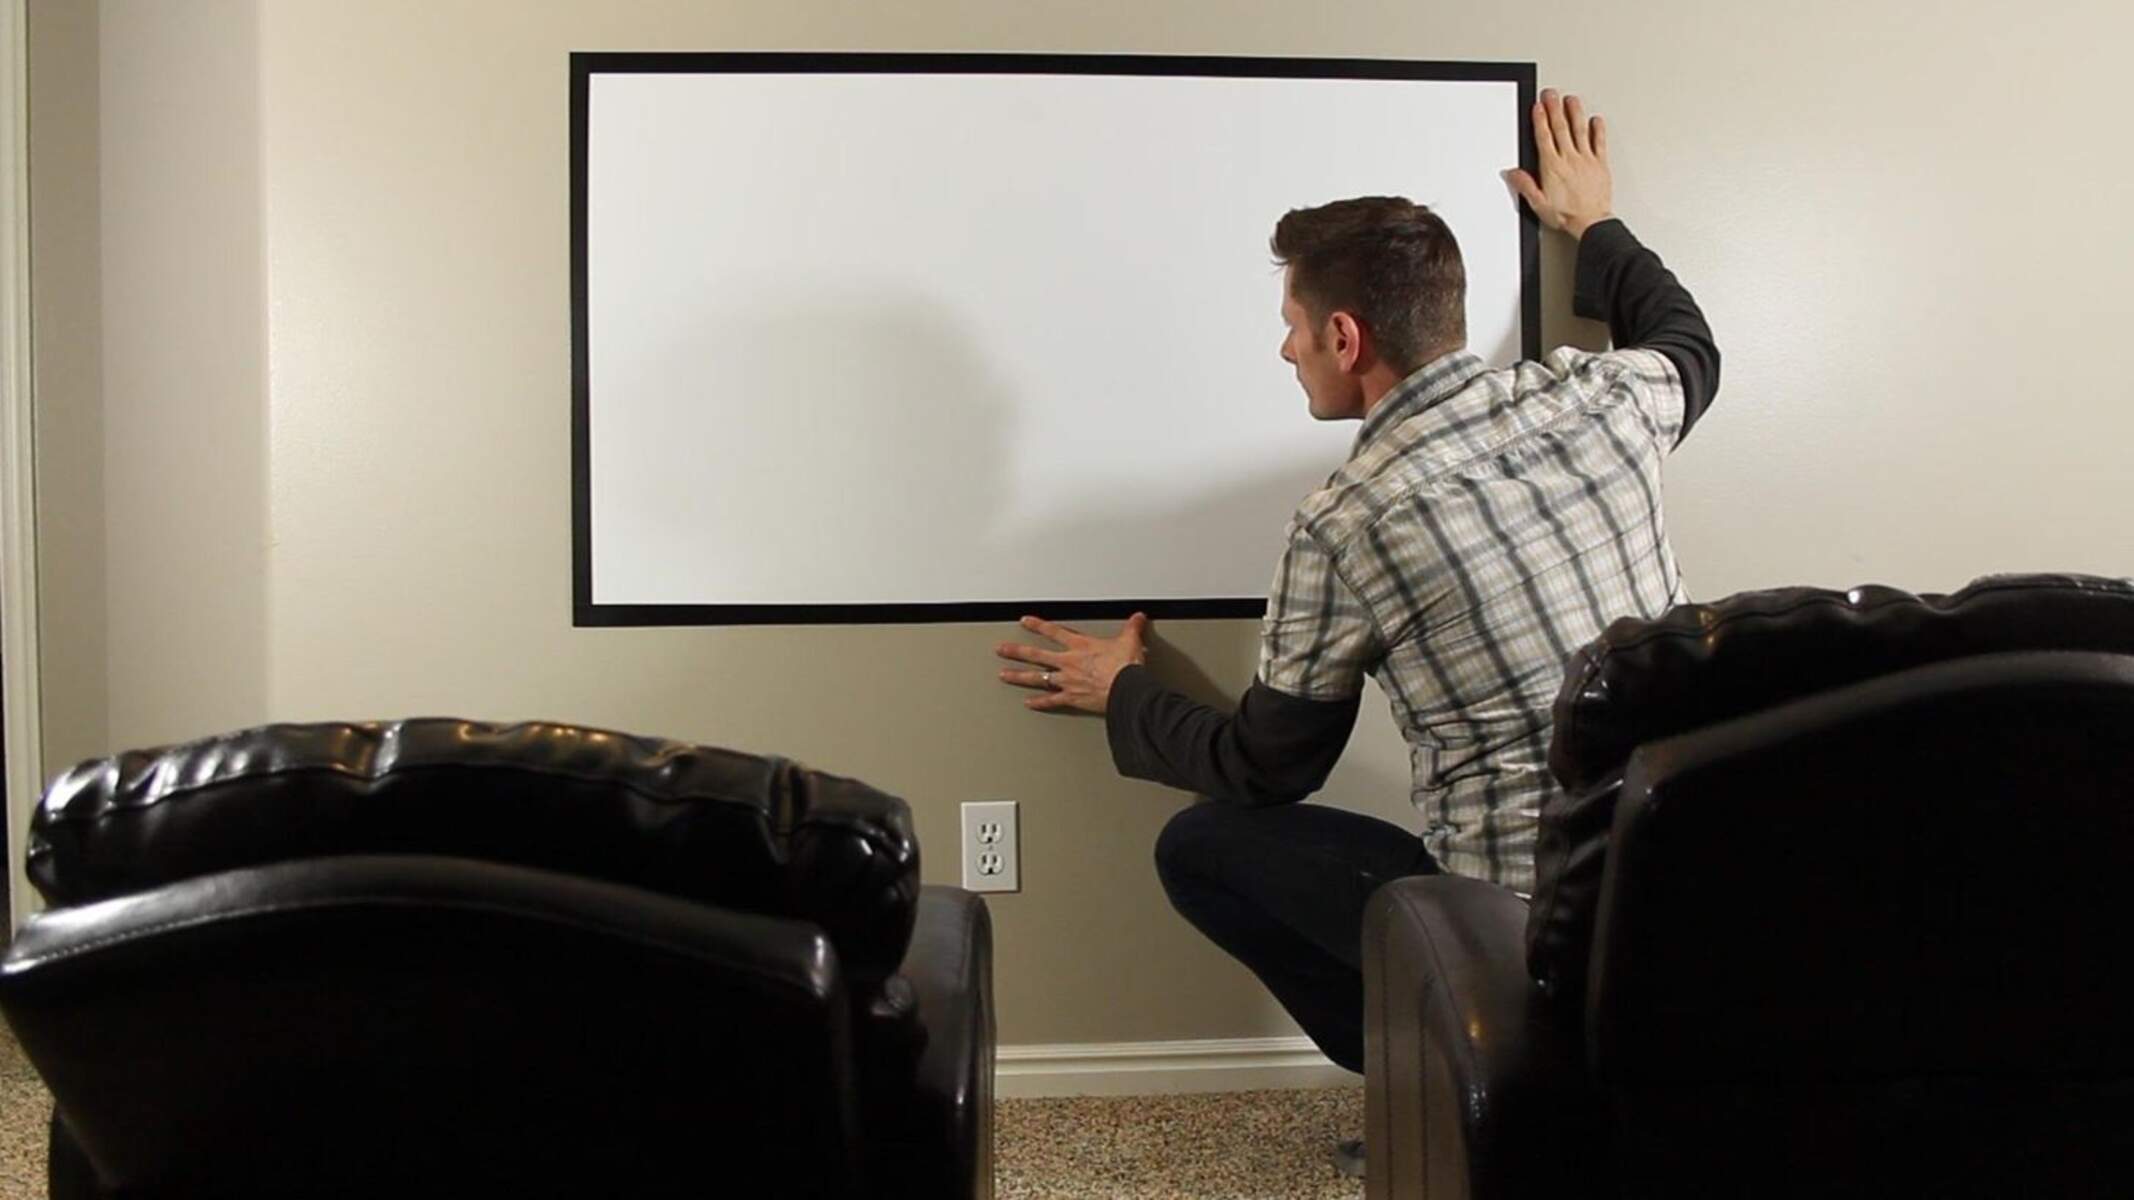
Cleaning the Projector Screen
When white dots begin to mar your projector screen, a simple yet often overlooked solution is to thoroughly clean the screen’s surface. Dust, fingerprints, and other particles can accumulate over time, leading to the formation of these unsightly blemishes. Here’s a step-by-step guide to restoring your screen to its pristine state:
- Power Off and Cool Down: Before commencing the cleaning process, ensure that the projector is turned off and has had sufficient time to cool down.
- Gentle Wiping: Using a microfiber cloth, gently wipe the surface of the screen in a circular motion. Avoid applying excessive pressure, as this could potentially damage the screen.
- Mild Cleaning Solution: For more stubborn stains or marks, lightly dampen the microfiber cloth with a mild cleaning solution suitable for screens. Be sure to use minimal moisture to prevent any liquid from seeping into the screen’s edges.
- Drying Time: After cleaning, allow the screen to air dry completely before powering on the projector again.
Regularly incorporating this cleaning regimen into your maintenance routine can significantly reduce the likelihood of white dots appearing on the screen. By keeping the surface free from debris and smudges, you can enjoy consistently clear and vibrant projections, enhancing your overall viewing experience.
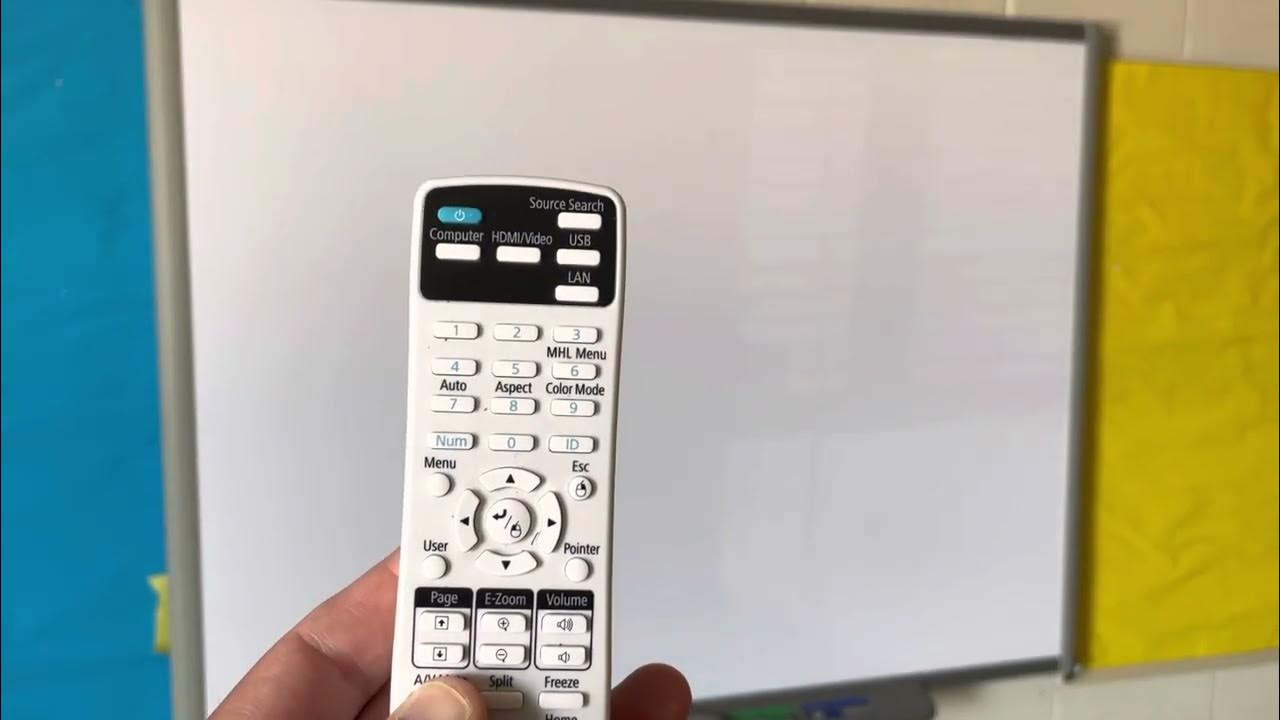
Adjusting the Projector Settings
Another potential cause of white dots on a projector screen can be attributed to the projector’s settings. In some cases, imbalanced or incorrect settings may lead to the manifestation of these distracting anomalies. By making targeted adjustments, you can often mitigate or even eliminate the appearance of white dots. Here’s how to fine-tune your projector settings for optimal performance:
- Contrast and Brightness: Access the projector’s menu and navigate to the contrast and brightness settings. Experiment with reducing the contrast and brightness levels incrementally to see if this diminishes the visibility of the white dots without compromising the overall image quality.
- Color Temperature: Adjusting the color temperature settings can also influence the appearance of white spots. Try modifying the color temperature to a slightly cooler or warmer setting to see if this helps alleviate the issue.
- Keystone Correction: Ensure that the keystone correction feature is properly configured to correct any distortion in the projected image. Misaligned keystone correction can sometimes contribute to the perception of white dots.
By carefully adjusting these settings and observing their impact on the projection, you can potentially mitigate the presence of white dots on the screen. Experimenting with various configurations will allow you to find the optimal balance that minimizes visual imperfections while preserving the overall image quality.
To fix white dots on a projector screen, try cleaning the lens and removing any dust or debris. If the issue persists, the projector may need professional cleaning or maintenance.
Checking the Projector Lens
The projector lens plays a pivotal role in the quality of the projected image, and any issues with the lens can result in the appearance of white dots on the screen. It’s essential to inspect the lens and address any potential sources of distortion or obstruction. Here’s a systematic approach to examining and maintaining the projector lens:
- Inspection: Carefully examine the projector lens for any visible smudges, dust, or scratches. Even minor imperfections can impact the clarity of the projected image.
- Cleaning: If you notice any debris or smudges on the lens, use a specialized lens cleaning solution and a lens cleaning cloth to gently remove any contaminants. Exercise caution to avoid causing any damage to the lens during the cleaning process.
- Alignment: Verify that the lens is securely and correctly positioned within the projector. Any misalignment can lead to distortion and the appearance of white spots on the screen.
- Professional Inspection: If you encounter persistent issues or are unsure about the condition of the lens, consider consulting a professional technician for a comprehensive assessment and potential lens realignment or replacement.
By diligently maintaining the projector lens and promptly addressing any anomalies, you can uphold the integrity of the projected image and minimize the occurrence of white dots on the screen. A well-maintained lens ensures that your viewing experience remains captivating and free from distracting imperfections.
Read more: How To Split Screen On A Projector
Replacing the Projector Bulb
Over time, the projector bulb can undergo wear and tear, leading to a decline in its performance and potentially contributing to the appearance of white dots on the screen. If the projector bulb is nearing the end of its lifespan or exhibiting signs of degradation, replacing it can often resolve issues related to image quality and visual anomalies. Here’s a comprehensive guide to replacing the projector bulb:
- Consult the User Manual: Refer to the projector’s user manual to understand the specific requirements for replacing the bulb. Different projector models may have varying procedures for bulb replacement.
- Power Off and Cool Down: Prior to replacing the bulb, ensure that the projector is powered off and has adequately cooled down to prevent any risk of burns or damage.
- Access the Bulb Compartment: Locate and access the bulb compartment on the projector, following the manufacturer’s instructions for safely opening the housing.
- Remove the Old Bulb: Carefully remove the existing bulb from its socket, taking note of any specific mechanisms or connectors that may be securing it in place.
- Install the New Bulb: Insert the new bulb into the designated socket, ensuring a secure and proper fit. Exercise caution to avoid touching the bulb’s glass surface with bare hands, as this can affect its longevity and performance.
- Secure the Compartment: Once the new bulb is in place, securely close and fasten the bulb compartment according to the manufacturer’s instructions.
- Reset Lamp Timer: If applicable, reset the lamp timer on the projector to accurately track the usage of the new bulb.
By replacing the projector bulb at the appropriate intervals and following the manufacturer’s guidelines, you can sustain optimal image quality and minimize the occurrence of visual imperfections such as white dots on the screen. A fresh, high-quality bulb ensures that your projector delivers captivating and crystal-clear projections for all your entertainment needs.
Conclusion
Encountering white dots on a projector screen can undoubtedly detract from the immersive and captivating experience of enjoying movies, games, or presentations. However, armed with a deeper understanding of the potential causes and effective remedies, you can confidently address this issue and restore your projector screen to its pristine condition.
From diligent cleaning and meticulous adjustments to thorough inspections and timely replacements, the solutions outlined in this guide empower you to proactively maintain your projector and preserve the exceptional quality of its projections. By incorporating these best practices into your maintenance routine, you can ensure that white dots become a thing of the past, allowing you to relish seamless, high-quality visuals with every use of your projector.
Embracing these maintenance strategies not only enhances your viewing experience but also prolongs the lifespan of your projector, safeguarding its performance for countless hours of entertainment and professional use. With a commitment to regular upkeep and the implementation of the recommended solutions, you can savor uninterrupted, crystal-clear projections and revel in the full potential of your home entertainment system.
So, the next time you settle in for a movie night or a compelling presentation, you can do so with the confidence that your projector screen will showcase images free from the distraction of white dots, allowing you to fully immerse yourself in the captivating visuals that your projector was designed to deliver.
Once you've tackled those pesky white dots on your projector screen, why not consider upgrading your viewing experience with the latest technology? If you're hunting for a crisp, vibrant display, our roundup of the best DLP projectors for next year could be just what you need. These projectors promise top-quality visuals and durability, making them perfect for movie nights or presentations at home. Don't miss out on achieving the perfect home theater setup!
Frequently Asked Questions about How To Fix White Dots On A Projector Screen
Was this page helpful?
At Storables.com, we guarantee accurate and reliable information. Our content, validated by Expert Board Contributors, is crafted following stringent Editorial Policies. We're committed to providing you with well-researched, expert-backed insights for all your informational needs.


0 thoughts on “How To Fix White Dots On A Projector Screen”