Home>Technology>Home Entertainment Systems>How To Split Screen On A Projector
Home Entertainment Systems
How To Split Screen On A Projector
Modified: January 4, 2024
Learn how to split screen on a projector for your home entertainment system. Follow our step-by-step guide to enhance your viewing experience. Discover the best setup for your needs.
(Many of the links in this article redirect to a specific reviewed product. Your purchase of these products through affiliate links helps to generate commission for Storables.com, at no extra cost. Learn more)
Introduction
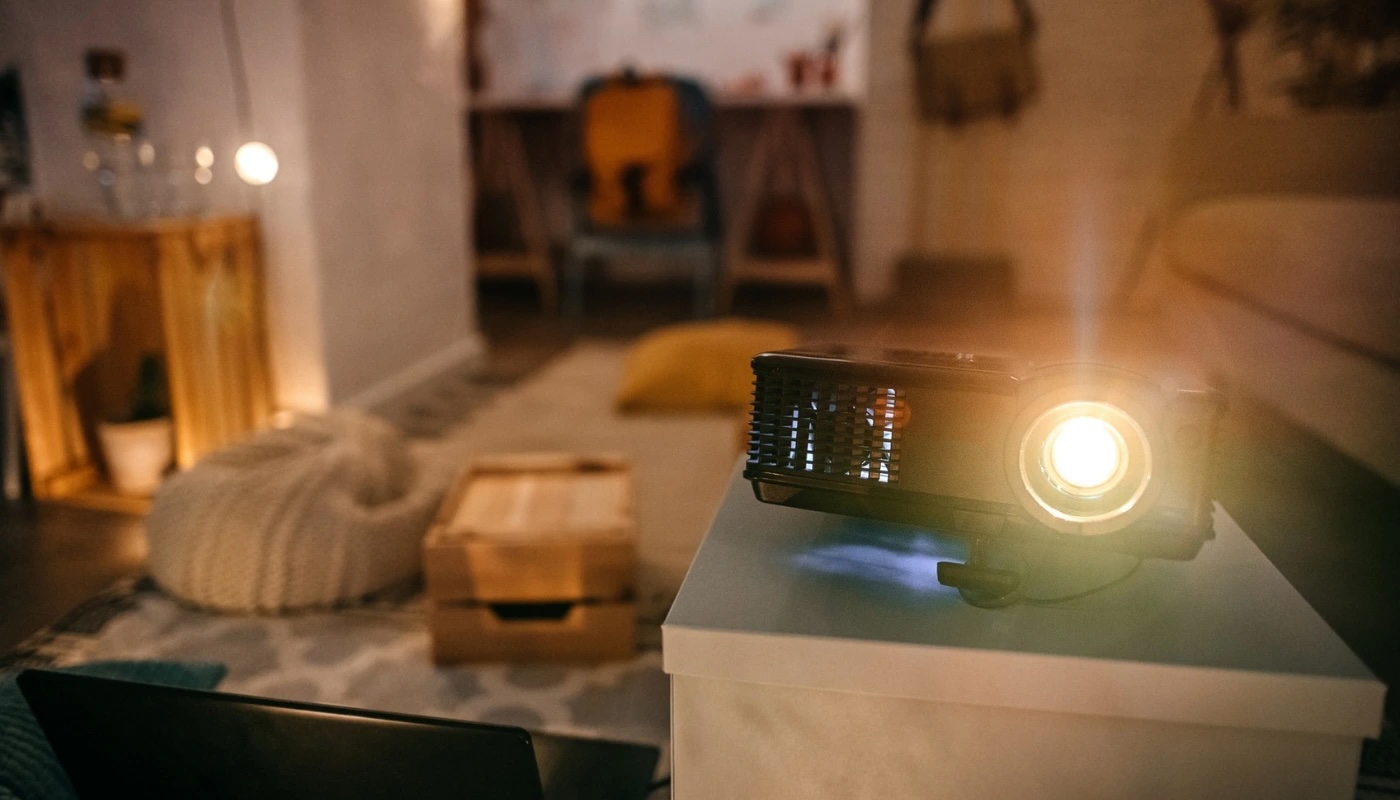
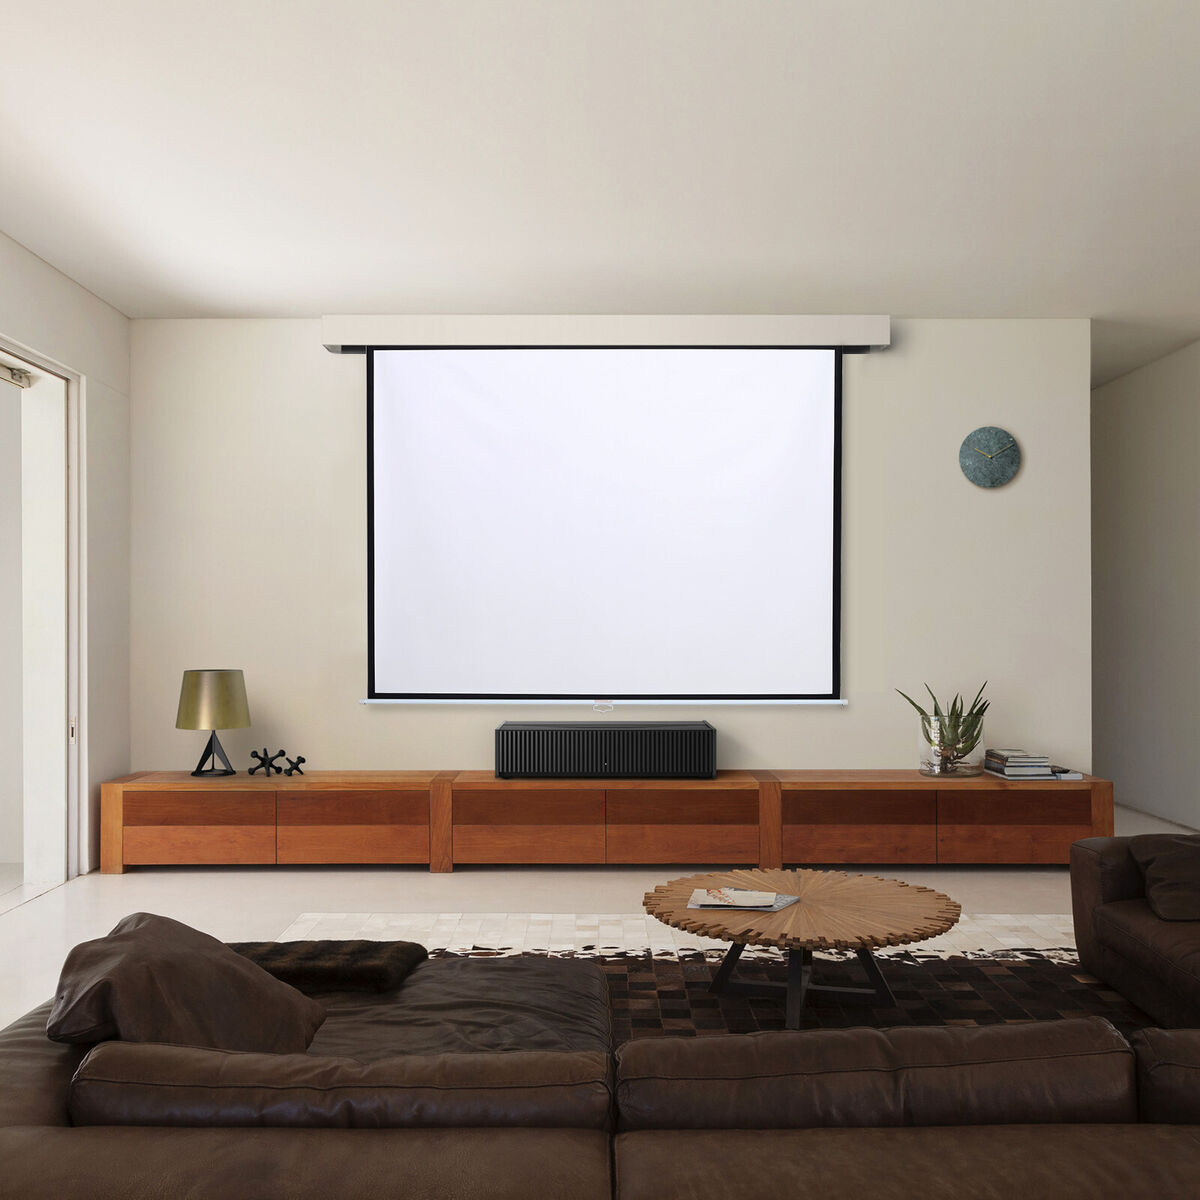
Welcome to the world of split-screen projection! Whether you're a cinephile, a gaming enthusiast, or a professional presenter, the ability to display multiple sources simultaneously on a single projector screen can greatly enhance your viewing or presentation experience. In this guide, we will explore the ins and outs of split-screen projection, providing you with the knowledge and skills to set up and optimize this feature for your specific needs.
Split-screen projection is a versatile and practical tool that allows users to showcase multiple sources, such as laptops, gaming consoles, Blu-ray players, and streaming devices, on a single screen. This capability is particularly valuable in various settings, including home theaters, classrooms, boardrooms, and entertainment venues. By harnessing the power of split-screen projection, you can seamlessly display content from different devices without the need for manual switching or additional displays.
In the following sections, we will delve into the intricacies of split-screen projection, covering everything from the fundamental concepts to the practical steps involved in setting up and adjusting this feature on a projector. Whether you're planning a movie night with friends, delivering a dynamic business presentation, or engaging in immersive gaming sessions, understanding how to effectively utilize split-screen projection can elevate your overall experience and streamline the process of sharing multiple sources on a single screen.
By the end of this guide, you will have a comprehensive understanding of how to leverage split-screen projection to its fullest potential. Additionally, you will gain valuable insights into the best practices for connecting devices to a projector, configuring split-screen settings, and optimizing the display for optimal performance. So, let's embark on this enlightening journey and unlock the full potential of split-screen projection, empowering you to create captivating visual experiences with ease and confidence.
Key Takeaways:
- Embrace the power of split-screen projection to display content from multiple devices on a single screen, enhancing presentations, collaborative activities, and entertainment experiences with seamless visual storytelling.
- Connect devices, set up split-screen mode, and optimize display settings to unlock the full potential of split-screen projection, creating captivating visual experiences for diverse applications.
Read more: How To Make A Projector Screen
Understanding Split Screen Projection
Split-screen projection, also known as split-screen display, is a feature that enables a projector to simultaneously showcase content from multiple input sources on a single screen. This functionality is particularly valuable in scenarios where users need to display and compare different sources of information, such as presentations, videos, images, and data, without the need for manual switching or the use of multiple displays.
At its core, split-screen projection allows for the seamless integration of various input devices, including laptops, desktop computers, smartphones, gaming consoles, and multimedia players, into a unified visual display. This means that users can showcase content from different devices side by side, creating a dynamic and interactive viewing experience that caters to a wide range of applications.
One of the key advantages of split-screen projection is its ability to enhance collaboration and comparison. For example, in educational settings, teachers can display multiple sources of content simultaneously, enabling students to analyze and contrast information in real time. Similarly, in business environments, professionals can showcase data from different sources during meetings or presentations, fostering a more comprehensive understanding of the subject matter.
Furthermore, split-screen projection is a valuable tool for entertainment purposes, allowing users to enjoy a diverse range of content from various devices on a single screen. Whether it’s watching a sports event while keeping an eye on real-time statistics, playing multiplayer video games, or hosting movie nights with friends, split-screen projection adds a new dimension to the viewing experience by seamlessly integrating multiple sources of entertainment.
By understanding the capabilities and benefits of split-screen projection, users can harness the full potential of their projectors, unlocking a world of possibilities for dynamic content sharing and immersive visual experiences. In the following sections, we will explore the practical aspects of setting up and optimizing split-screen projection, empowering you to make the most of this versatile feature in your specific context.
With a solid grasp of the foundational concepts behind split-screen projection, you are now ready to delve into the practical steps involved in connecting devices to the projector and configuring the split-screen settings. By mastering these essential skills, you will be well-equipped to leverage split-screen projection for a diverse array of applications, from professional presentations to recreational entertainment.
Connecting Devices to the Projector
Before you can take full advantage of split-screen projection, it’s essential to understand how to connect your devices to the projector. The process of connecting devices may vary depending on the specific inputs and outputs available on your projector and the devices you intend to connect. Here’s a step-by-step guide to help you seamlessly connect your devices and prepare them for split-screen projection:
- Identify Available Inputs: Begin by identifying the input ports available on your projector. Common input options include HDMI, VGA, USB, and audio jacks. Take note of the available input ports, as this will determine the types of devices you can connect.
- Prepare Your Devices: Ensure that the devices you plan to connect, such as laptops, gaming consoles, or streaming devices, are powered on and ready for use. If necessary, have the appropriate cables and adapters on hand to facilitate the connection process.
- Choose Input Sources: Depending on your projector model, you may need to select the input sources for split-screen projection. This can typically be done through the projector’s menu or remote control. Select the input sources corresponding to the devices you wish to connect.
- Connect Devices to the Projector: Use suitable cables to connect your devices to the projector’s input ports. For example, if you’re connecting a laptop, use an HDMI or VGA cable to establish the connection. Similarly, for gaming consoles or Blu-ray players, utilize HDMI or other compatible cables to establish the link.
- Adjust Display Settings: Once the devices are connected, you may need to adjust the display settings on each device to ensure compatibility with the projector. This may involve configuring the resolution, display mode, and other relevant settings to optimize the output for split-screen projection.
By following these steps, you can effectively connect your devices to the projector, laying the groundwork for seamless split-screen projection. It’s important to consult the user manual for your specific projector model and devices to ensure a smooth and successful connection process.
With your devices successfully connected to the projector, you are now ready to explore the next crucial steps in setting up and configuring split-screen projection, allowing you to harness the full potential of this feature for a wide range of applications.
Setting Up Split Screen Projection
Now that your devices are connected to the projector, it’s time to set up split-screen projection and prepare for a dynamic visual experience. The process of setting up split-screen projection may vary depending on the make and model of your projector, as well as the specific features and functionalities it offers. Here’s a general guide to help you set up split-screen projection on your projector:
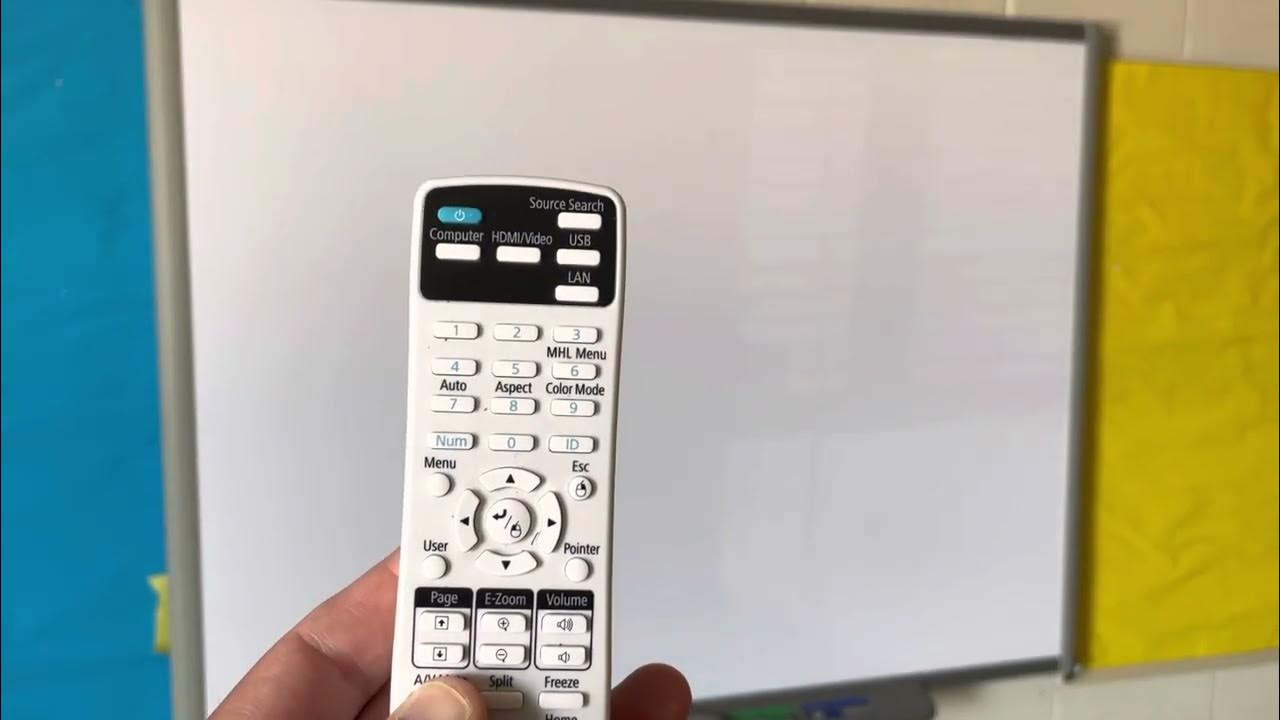
- Access the Projection Menu: Begin by accessing the projector’s menu or settings using the remote control or onboard controls. Look for the option related to display settings or projection modes.
- Select Split-Screen Mode: Within the projection menu, locate the split-screen mode or multi-screen display option. Depending on the projector, you may have the flexibility to choose from different split-screen layouts, such as side-by-side, picture-in-picture, or custom configurations.
- Assign Input Sources: Once you’ve selected the split-screen mode, you will likely have the option to assign specific input sources to each section of the split screen. This allows you to designate which device or input corresponds to each portion of the display.
- Adjust Screen Layout: If your projector offers customizable split-screen layouts, take the opportunity to adjust the screen layout to best suit your preferences. This may involve resizing and positioning the individual sections of the split screen for optimal viewing.
- Save Settings: After configuring the split-screen setup to your liking, be sure to save the settings within the projector’s menu. This ensures that the split-screen configuration is retained for future use, saving you time and effort when setting up split-screen projection in subsequent sessions.
It’s important to refer to the user manual or documentation provided with your projector to familiarize yourself with the specific steps and options related to split-screen projection. Additionally, some projectors may offer advanced features, such as simultaneous audio output from multiple sources, which can further enhance the split-screen experience.
By following these steps, you can effectively set up split-screen projection on your projector, unlocking the ability to showcase content from multiple devices on a single screen. This capability opens up a world of possibilities for collaborative presentations, immersive gaming experiences, and versatile entertainment setups, empowering you to make the most of your projector’s split-screen functionality.
With split-screen projection successfully configured, you are now ready to explore the next phase of optimizing the split-screen settings to ensure a seamless and visually engaging experience.
Most projectors have a “split screen” feature that allows you to display two different sources side by side. To use this feature, simply connect both sources to the projector and select the split screen option from the menu. Adjust the size and position of each source as needed.
Adjusting Split Screen Settings
Once split-screen projection is set up on your projector, it’s important to understand how to adjust the split-screen settings to optimize the visual display and ensure a seamless viewing experience. By fine-tuning the split-screen settings, you can customize the display to suit your specific needs, whether you’re delivering a presentation, engaging in collaborative work, or enjoying multimedia content. Here’s a guide to help you adjust the split-screen settings on your projector:
- Resolution and Aspect Ratio: Check the resolution and aspect ratio settings for each input source to ensure compatibility with the split-screen display. Adjust the settings as needed to achieve a balanced and visually pleasing layout across all sections of the split screen.
- Color and Contrast: Take advantage of the projector’s color and contrast adjustments to optimize the visual output for each input source. This can help maintain consistency in color reproduction and ensure that content displayed in different sections of the split screen appears vibrant and well-balanced.
- Audio Configuration: If your projector supports audio output from multiple sources in split-screen mode, consider adjusting the audio configuration to ensure that sound is effectively routed to the appropriate output channels. This is particularly important for presentations, videos, and gaming scenarios where audio plays a crucial role in the overall experience.
- Input Source Management: Familiarize yourself with the controls or options for managing input sources within the split-screen mode. This may include the ability to switch between active input sources, adjust the size of individual sections, or temporarily disable specific sources while maintaining the overall split-screen layout.
- Save Custom Presets: Some projectors offer the ability to save custom split-screen presets, allowing you to quickly recall specific configurations for different scenarios. If this feature is available, take advantage of it to streamline the process of setting up split-screen projection in the future.
By adjusting the split-screen settings in accordance with your preferences and requirements, you can ensure that the visual display is optimized for a wide range of applications. Whether you’re conducting a professional presentation with multiple data sources, comparing content for educational purposes, or immersing yourself in multimedia entertainment, the ability to fine-tune split-screen settings empowers you to create compelling visual experiences.
It’s important to explore the full range of settings and customization options offered by your projector to leverage the full potential of split-screen projection. By familiarizing yourself with the available controls and features, you can tailor the split-screen display to suit your unique needs and preferences, unlocking a new level of versatility and functionality for your projector.
With the split-screen settings adjusted to your satisfaction, you are now equipped to make the most of this feature, whether for work, education, or leisure. By mastering the art of optimizing split-screen projection, you can elevate your visual presentations and entertainment experiences with ease and precision.
Read more: How To Choose A Projector Screen
Tips for Using Split Screen Projection
As you embark on your journey of utilizing split-screen projection, there are several tips and best practices that can enhance your experience and maximize the potential of this versatile feature. Whether you’re presenting, collaborating, or enjoying multimedia content, these tips will help you make the most of split-screen projection on your projector:
- Content Planning: Before engaging in split-screen projection, carefully plan the content you intend to display from each input source. This proactive approach ensures that the split-screen layout effectively showcases the relevant information without visual clutter.
- Utilize Custom Layouts: If your projector supports custom split-screen layouts, consider experimenting with different configurations to find the layout that best suits your specific needs. Custom layouts can enhance the visual impact of your content and optimize the viewing experience.
- Optimize Screen Positioning: Pay attention to the positioning of the split-screen sections to ensure that each source of content is clearly visible and well-organized. Proper screen positioning enhances readability and engagement, particularly during presentations and collaborative activities.
- Engage in Interactive Activities: In educational and collaborative settings, leverage the power of split-screen projection to engage in interactive activities such as comparing data, analyzing visual content, and facilitating group discussions. The ability to display multiple sources simultaneously fosters a dynamic and participatory environment.
- Ensure Compatibility: Verify the compatibility of input sources with the projector’s split-screen mode, especially in terms of resolution, aspect ratio, and supported input formats. This ensures that all content is displayed accurately and harmoniously within the split-screen layout.
- Test Audio Output: If audio is a crucial component of your content, test the audio output from each input source within the split-screen mode. Verify that sound is routed correctly and that the overall audio experience aligns with the visual presentation.
- Consider Audience Viewing: When setting up split-screen projection for presentations or entertainment, consider the viewing perspective of your audience. Ensure that the split-screen layout is optimized for visibility and comprehension from various seating positions or viewing angles.
- Save and Recall Presets: If your projector supports preset configurations for split-screen projection, take advantage of this feature to save preferred layouts and settings for different scenarios. This streamlines the process of setting up split-screen projection for recurring use cases.
By incorporating these tips into your approach to split-screen projection, you can elevate the quality and impact of your visual presentations, collaborative activities, and entertainment experiences. Whether you’re a professional presenter, educator, or avid multimedia enthusiast, the versatility of split-screen projection offers a wealth of opportunities for engaging and immersive content display.
With these tips in mind, you are well-equipped to harness the full potential of split-screen projection, unlocking a new realm of possibilities for sharing and comparing content from multiple sources on a single screen. By embracing the flexibility and functionality of split-screen projection, you can create captivating visual experiences that captivate and inform your audience with precision and creativity.
Conclusion
Congratulations! You’ve embarked on a journey to discover the power and versatility of split-screen projection on your projector. Throughout this guide, we’ve explored the fundamental concepts, practical setup steps, and valuable tips for leveraging split-screen projection to its fullest potential. By delving into the intricacies of split-screen projection, you’ve gained the knowledge and skills to create captivating visual experiences, whether for presentations, collaborative work, or entertainment purposes.
Split-screen projection represents a dynamic and flexible tool that empowers users to seamlessly display content from multiple sources on a single screen. Whether you’re showcasing data comparisons, engaging in interactive educational activities, or enjoying immersive multimedia experiences, the ability to harness split-screen projection opens up a world of possibilities for creative and engaging content display.
As you’ve learned, the process of utilizing split-screen projection involves connecting devices to the projector, setting up the split-screen mode, adjusting display settings, and implementing best practices to optimize the viewing experience. By following these steps and incorporating the provided tips, you can confidently navigate the realm of split-screen projection, tailoring the visual display to suit your specific needs and preferences.
Whether you’re a professional seeking to deliver impactful presentations, an educator facilitating interactive learning experiences, or an entertainment enthusiast looking to enhance your multimedia setup, split-screen projection offers a versatile and valuable solution for sharing and comparing content from diverse sources.
As you continue to explore the capabilities of split-screen projection, remember to embrace creativity, experimentation, and innovation. The flexibility of split-screen projection allows for a wide range of applications and scenarios, empowering you to craft compelling visual displays that captivate and inform your audience with precision and flair.
With the knowledge and insights gained from this guide, you are well-equipped to harness the full potential of split-screen projection, unlocking a new dimension of visual storytelling and content sharing. Whether in professional, educational, or recreational settings, the art of split-screen projection enables you to create immersive and engaging experiences that leave a lasting impression on your audience.
So, as you embark on your next presentation, collaborative endeavor, or entertainment showcase, remember the transformative capabilities of split-screen projection and the boundless opportunities it presents. Embrace the power of visual storytelling, collaboration, and entertainment with split-screen projection, and let your creativity take center stage as you embark on this exciting visual journey.
Frequently Asked Questions about How To Split Screen On A Projector
Was this page helpful?
At Storables.com, we guarantee accurate and reliable information. Our content, validated by Expert Board Contributors, is crafted following stringent Editorial Policies. We're committed to providing you with well-researched, expert-backed insights for all your informational needs.


0 thoughts on “How To Split Screen On A Projector”