Home>Technology>Home Entertainment Systems>How To Hang A Projector Screen Outdoor
Home Entertainment Systems
How To Hang A Projector Screen Outdoor
Modified: October 21, 2024
Learn how to set up a perfect outdoor home entertainment system with our guide on hanging a projector screen. Create an immersive viewing experience for your family and friends.
(Many of the links in this article redirect to a specific reviewed product. Your purchase of these products through affiliate links helps to generate commission for Storables.com, at no extra cost. Learn more)
Introduction
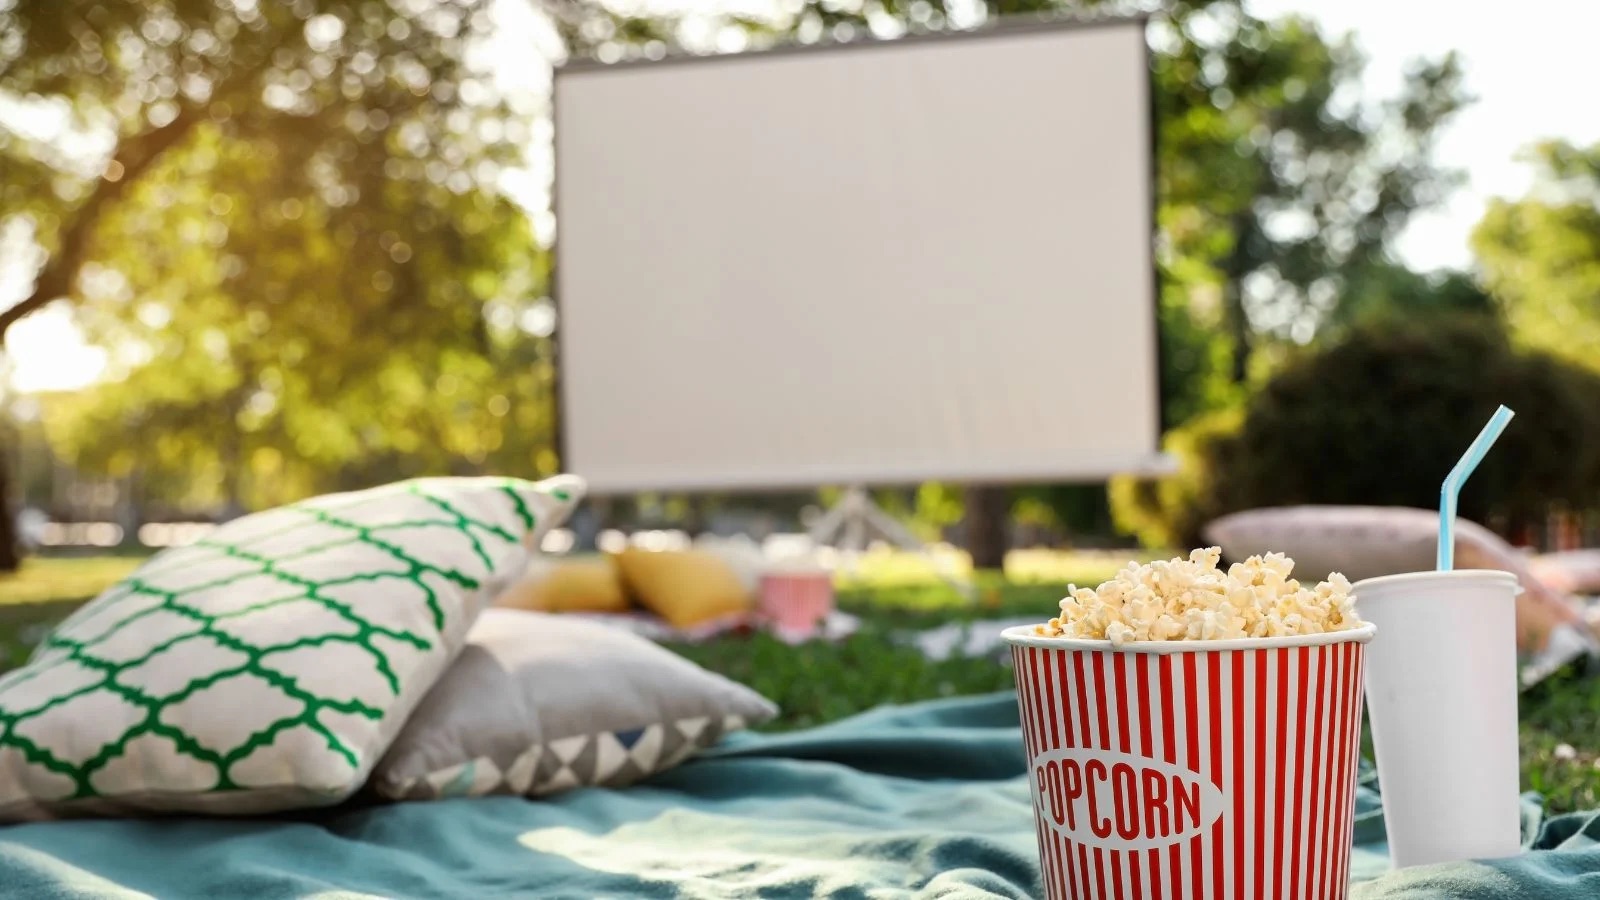
Welcome to the world of outdoor entertainment! There’s something magical about watching movies, sports, or your favorite TV shows under the open sky. With the right setup, you can transform your backyard or any outdoor space into a captivating outdoor theater experience. One of the key elements in creating this cinematic magic is the projector screen. Hanging a projector screen outdoors requires careful consideration of the location, setup, and adjustments to ensure an optimal viewing experience for you and your audience.
In this guide, we’ll walk through the essential steps to hang a projector screen outdoors, allowing you to enjoy immersive entertainment in the fresh air. From choosing the right location to securing the screen and adjusting it for optimal viewing, we’ll cover everything you need to know to create your own outdoor movie theater. So, grab your popcorn, settle into your favorite outdoor seating, and let’s dive into the exciting world of outdoor projector screens!
Key Takeaways:
- Create an unforgettable outdoor movie night by carefully choosing the perfect location, setting up the projector screen, and securing it for stability. Fine-tune the screen for optimal viewing to immerse yourself in the magic of outdoor cinema.
- With the right setup, your outdoor projector screen can transform your backyard into a captivating outdoor theater. Gather your friends, family, or colleagues for unforgettable entertainment experiences under the open sky.
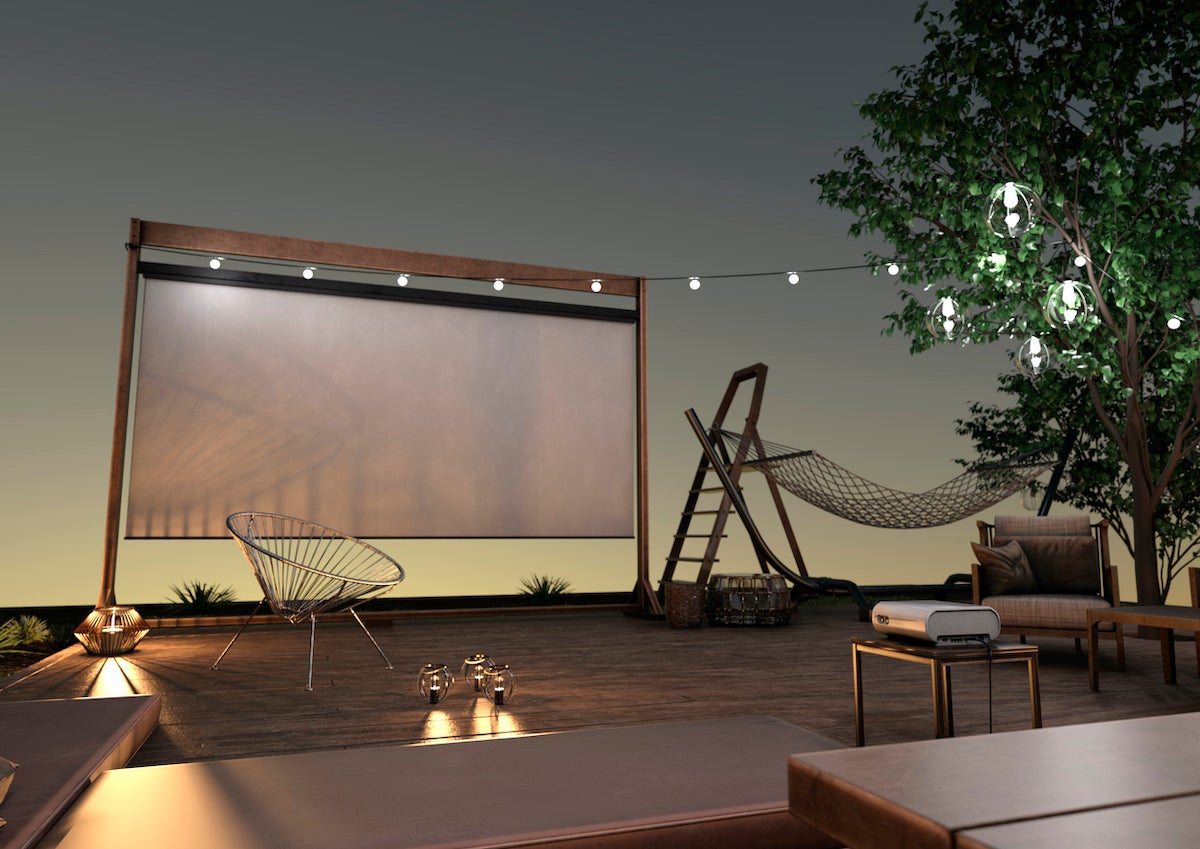
Choosing the Right Location
Before you start setting up your outdoor projector screen, it’s crucial to select the perfect location for your outdoor movie night or viewing party. Consider the following factors when choosing the right spot:
- Space and Layout: Assess the available space in your outdoor area and visualize the layout for your seating arrangement. Ensure that there’s ample room for the screen, seating, and the projector itself. Consider any potential obstructions such as trees, bushes, or structures that could block the view.
- Lighting Conditions: Pay attention to the ambient lighting in the chosen location. Ideally, opt for an area where you can control the light sources, such as outdoor lamps or nearby street lights. Minimizing ambient light will enhance the clarity and brightness of the projected image.
- Seating Arrangement: Determine the seating arrangement for your audience. Whether it’s a blanket spread on the grass, outdoor chairs, or a dedicated seating area, ensure that the screen is visible from all vantage points.
- Power Source: Consider the availability of a nearby power source for your projector. If using an extension cord, ensure it’s safely routed to avoid tripping hazards.
By carefully considering these factors, you can choose a location that sets the stage for an unforgettable outdoor viewing experience. Once you’ve identified the ideal spot, it’s time to move on to setting up the projector screen.
Setting Up the Projector Screen
With the location chosen, it’s time to set up your outdoor projector screen. Follow these steps to ensure a smooth and effective setup process:
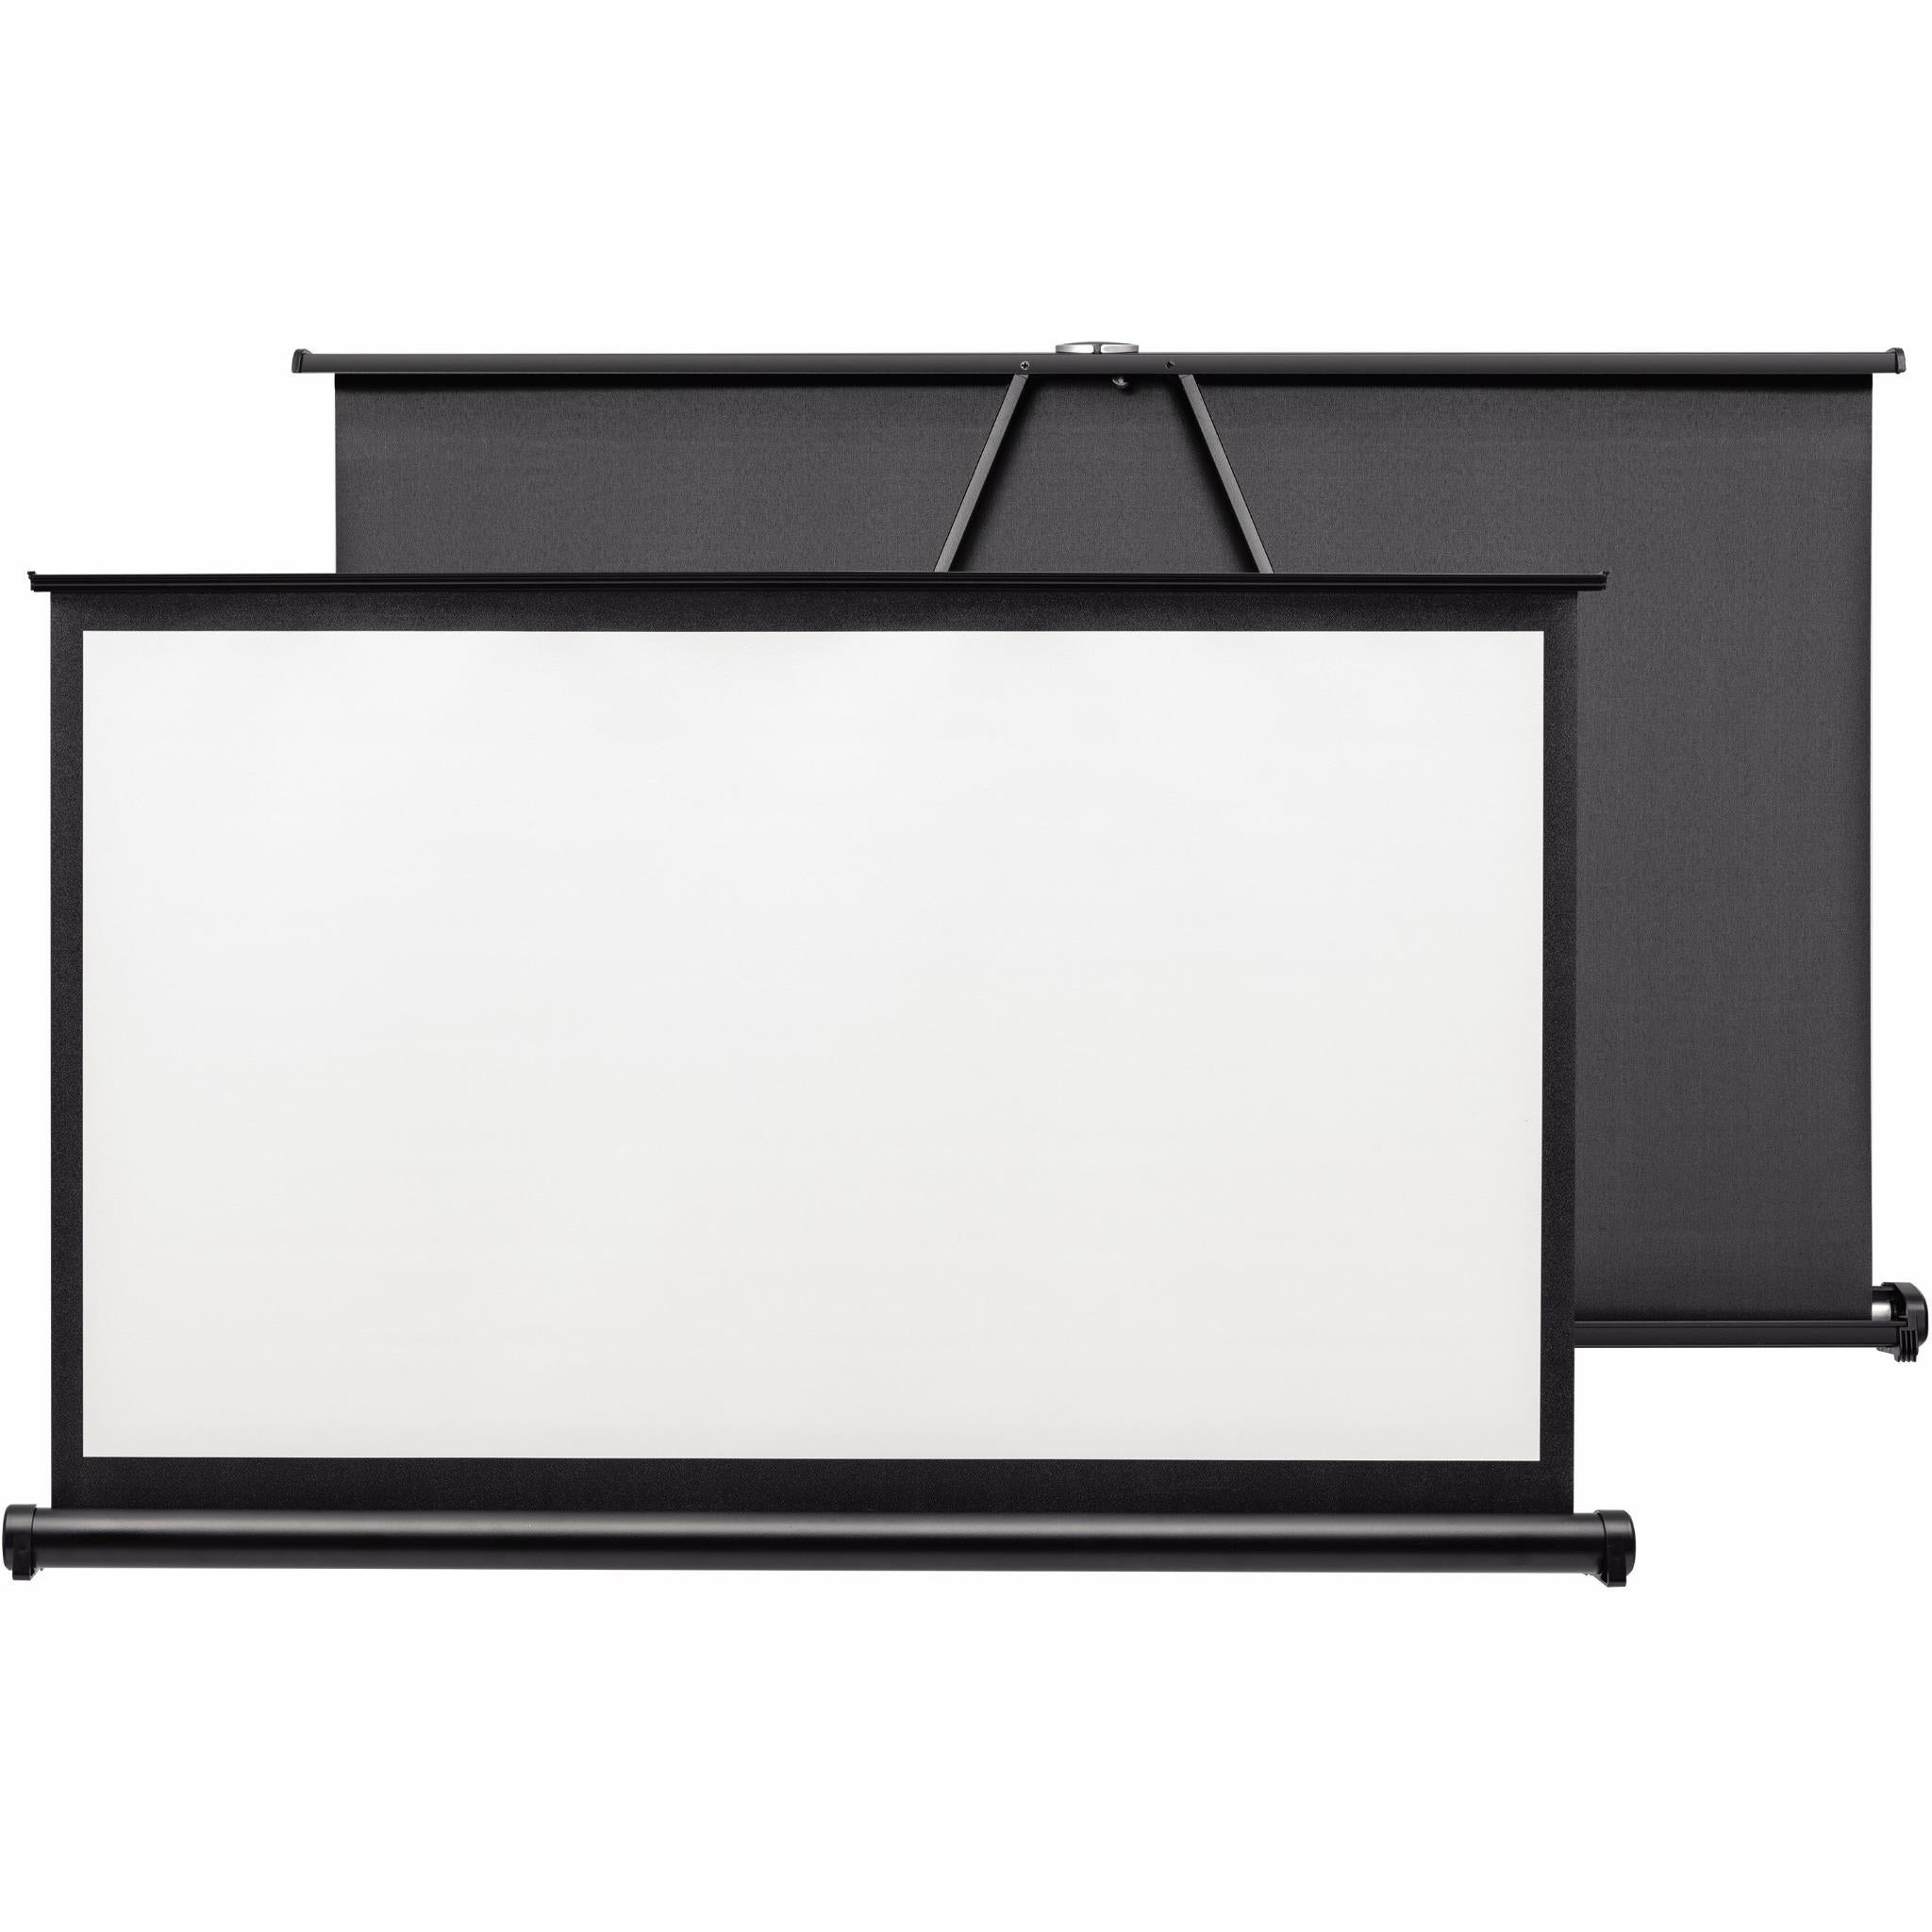
- Unpack and Inspect: Carefully unpack the projector screen and inspect it for any shipping or manufacturing damage. Ensure that all the necessary components, such as the frame, screen material, and support legs, are present and undamaged.
- Assemble the Frame: If your projector screen comes with a frame, follow the manufacturer’s instructions to assemble it. Typically, this involves connecting the frame sections and securely locking them in place. If the screen is frameless, proceed to the next step.
- Secure the Screen: Whether your screen is frameless or requires assembly, ensure that it’s taut and wrinkle-free when set up. This step is crucial for achieving a smooth and uniform projection surface.
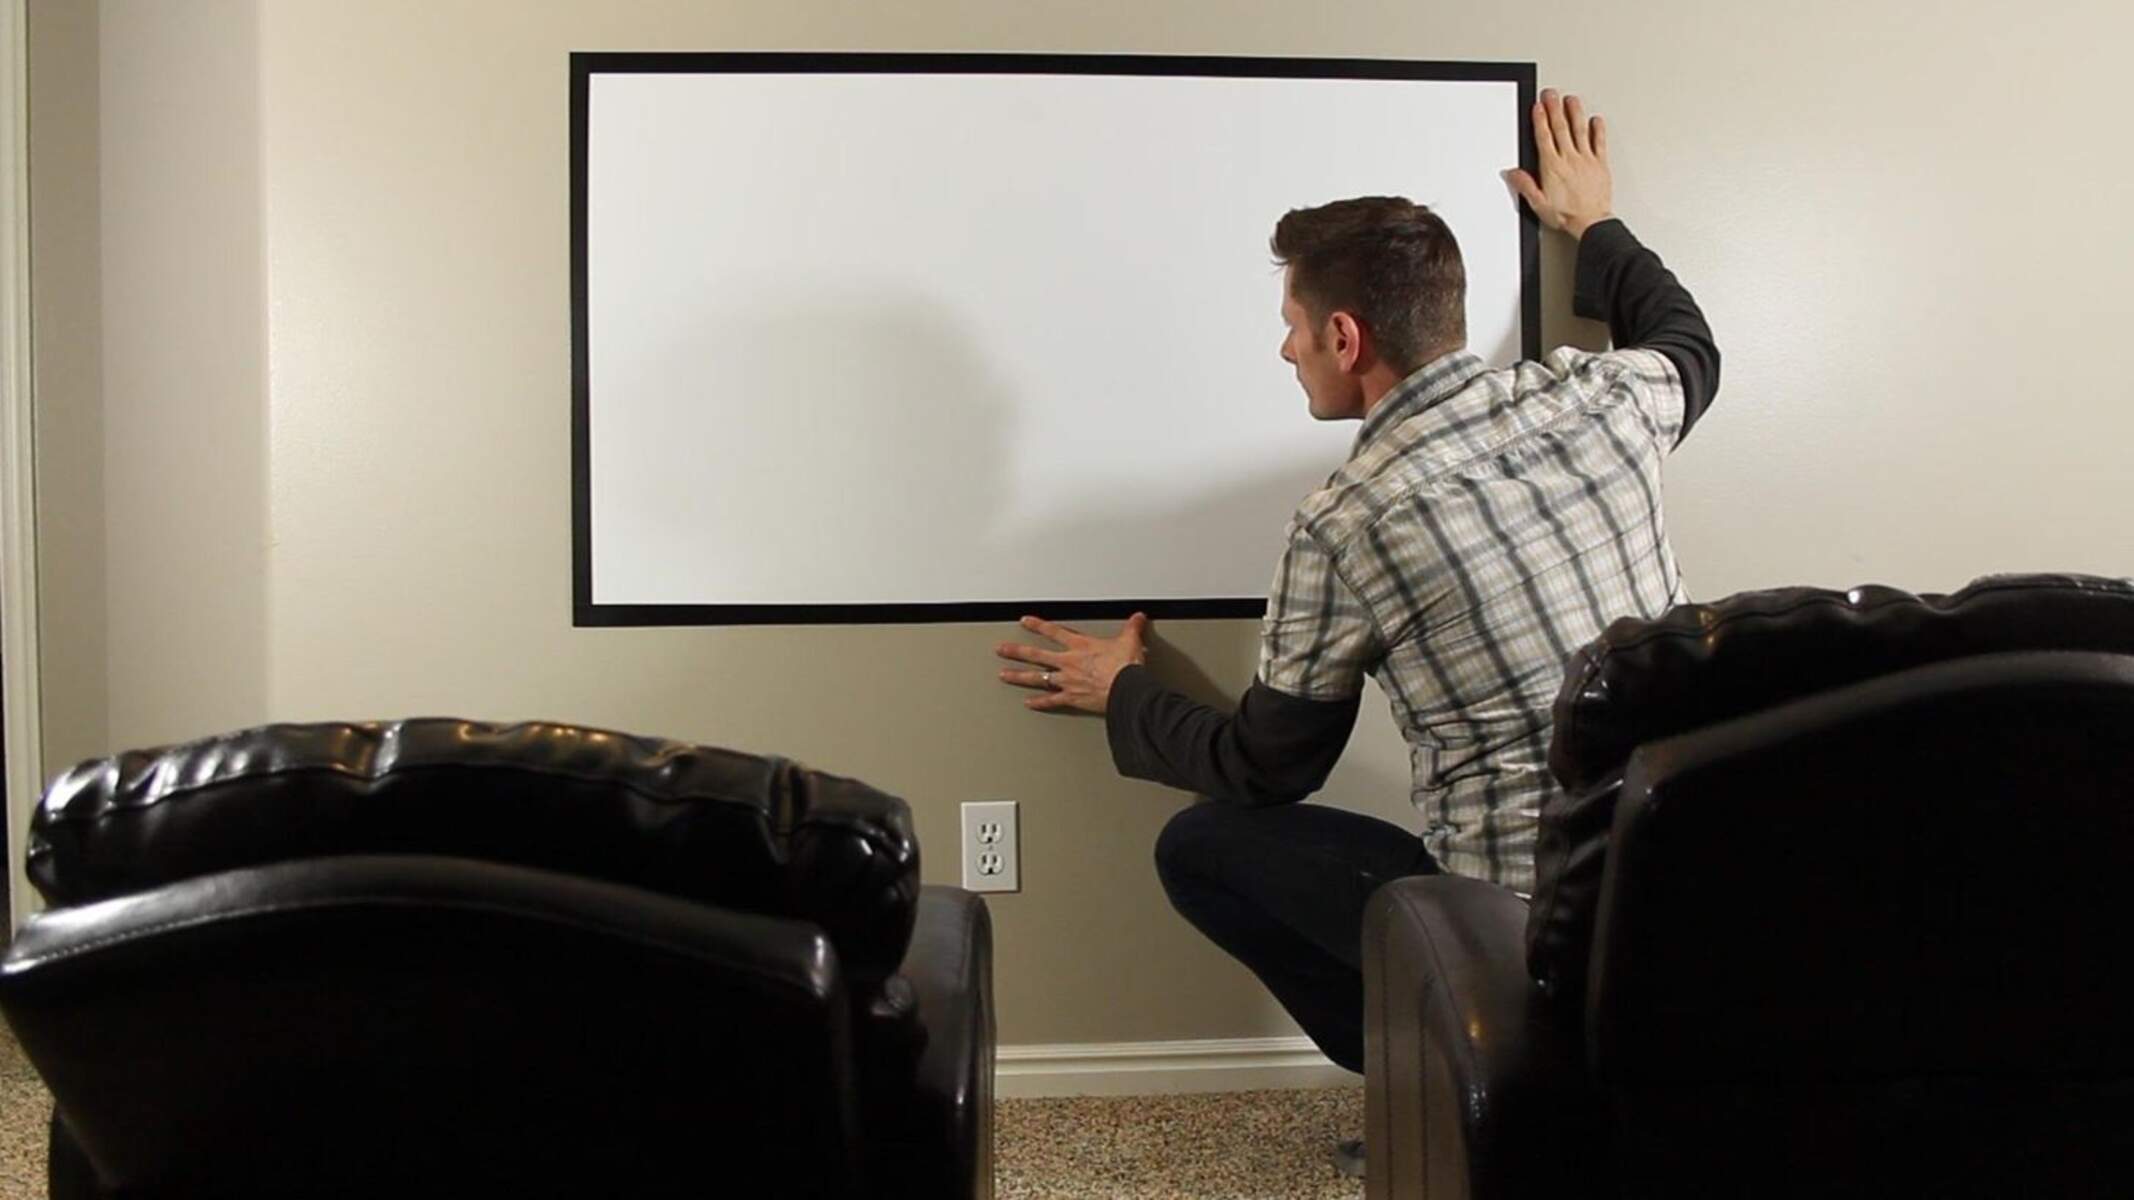
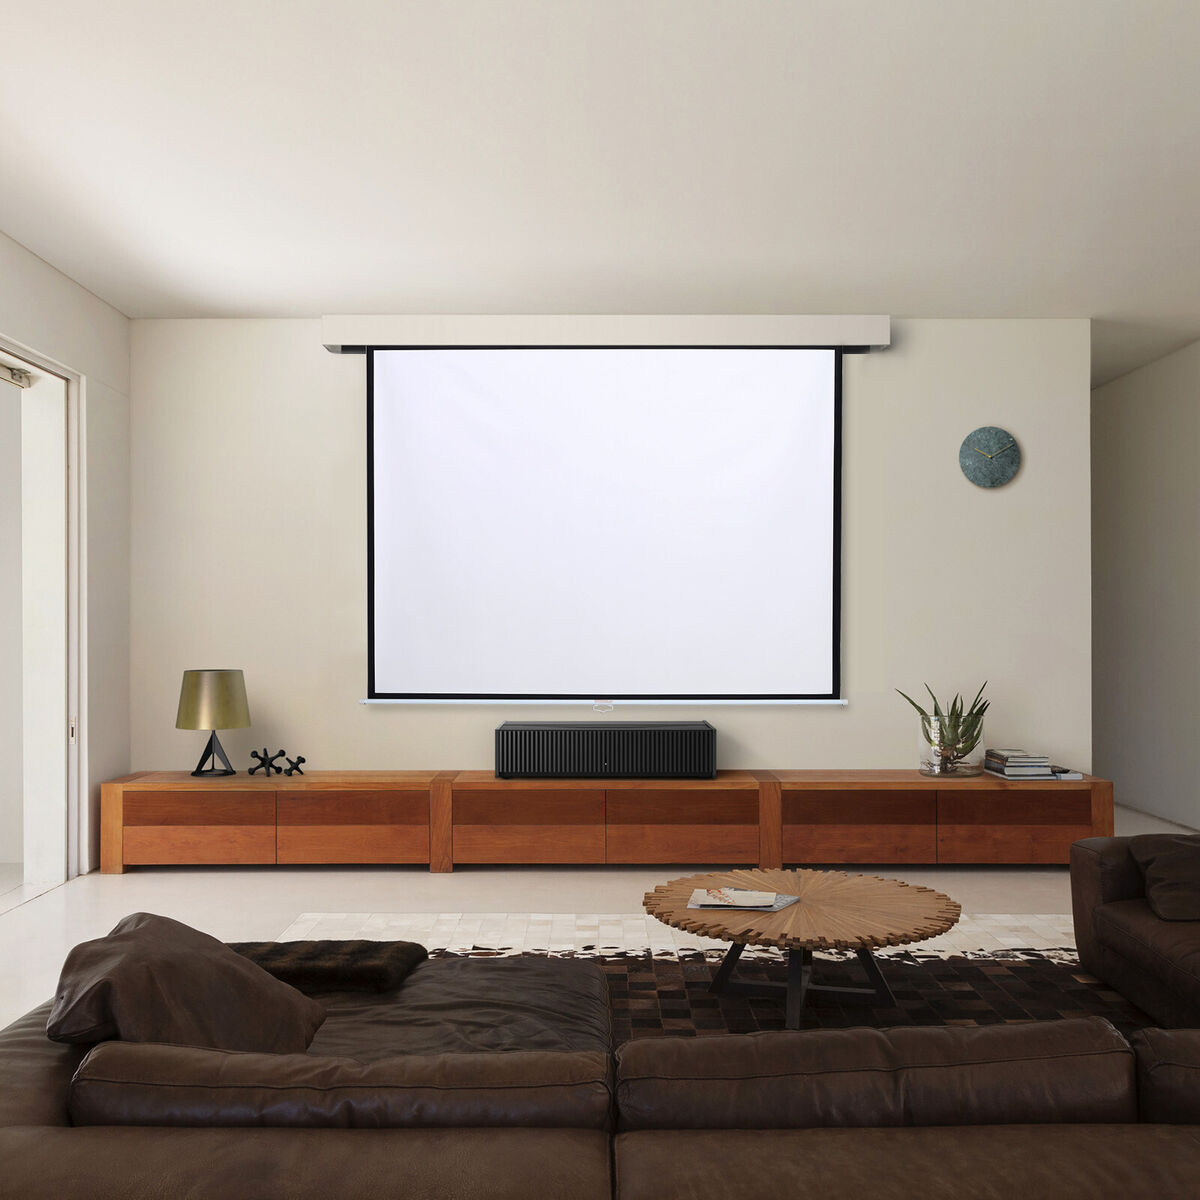
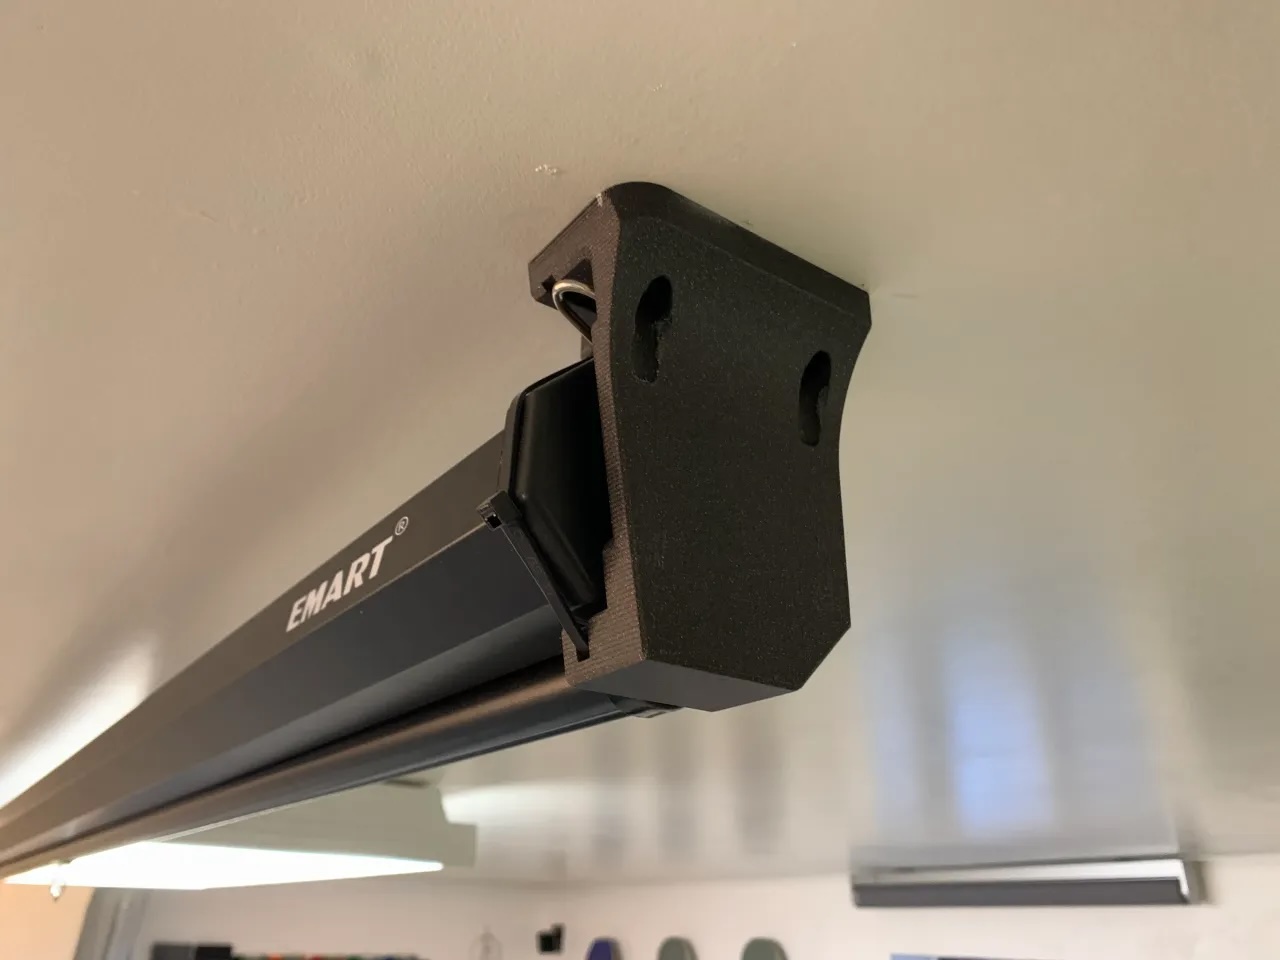
- Positioning the Screen: Place the screen in the chosen location, ensuring that it’s positioned at an optimal height and angle for viewing. If the screen is freestanding, use the support legs or stakes to stabilize it. For wall-mounted screens, securely fasten it to the designated surface using the appropriate hardware.
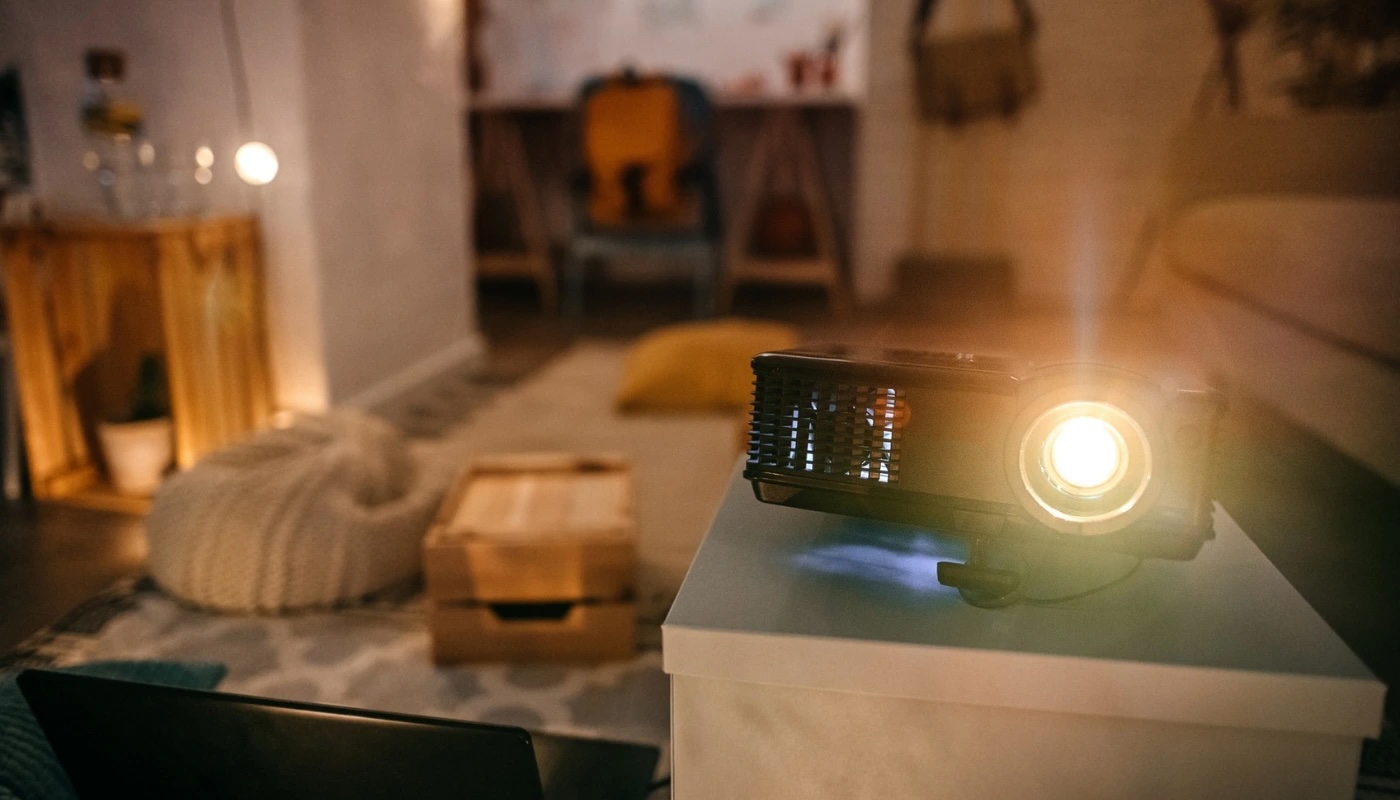
- Connect the Projector: Set up your projector in close proximity to the screen, ensuring that it’s aligned with the screen’s center. Connect the necessary cables and power source, and power on the projector to test the projected image on the screen.
By following these steps, you can effectively set up your outdoor projector screen, bringing you one step closer to enjoying outdoor entertainment in a captivating and immersive setting. Once the screen is in place, the next crucial step is to ensure its stability and security.
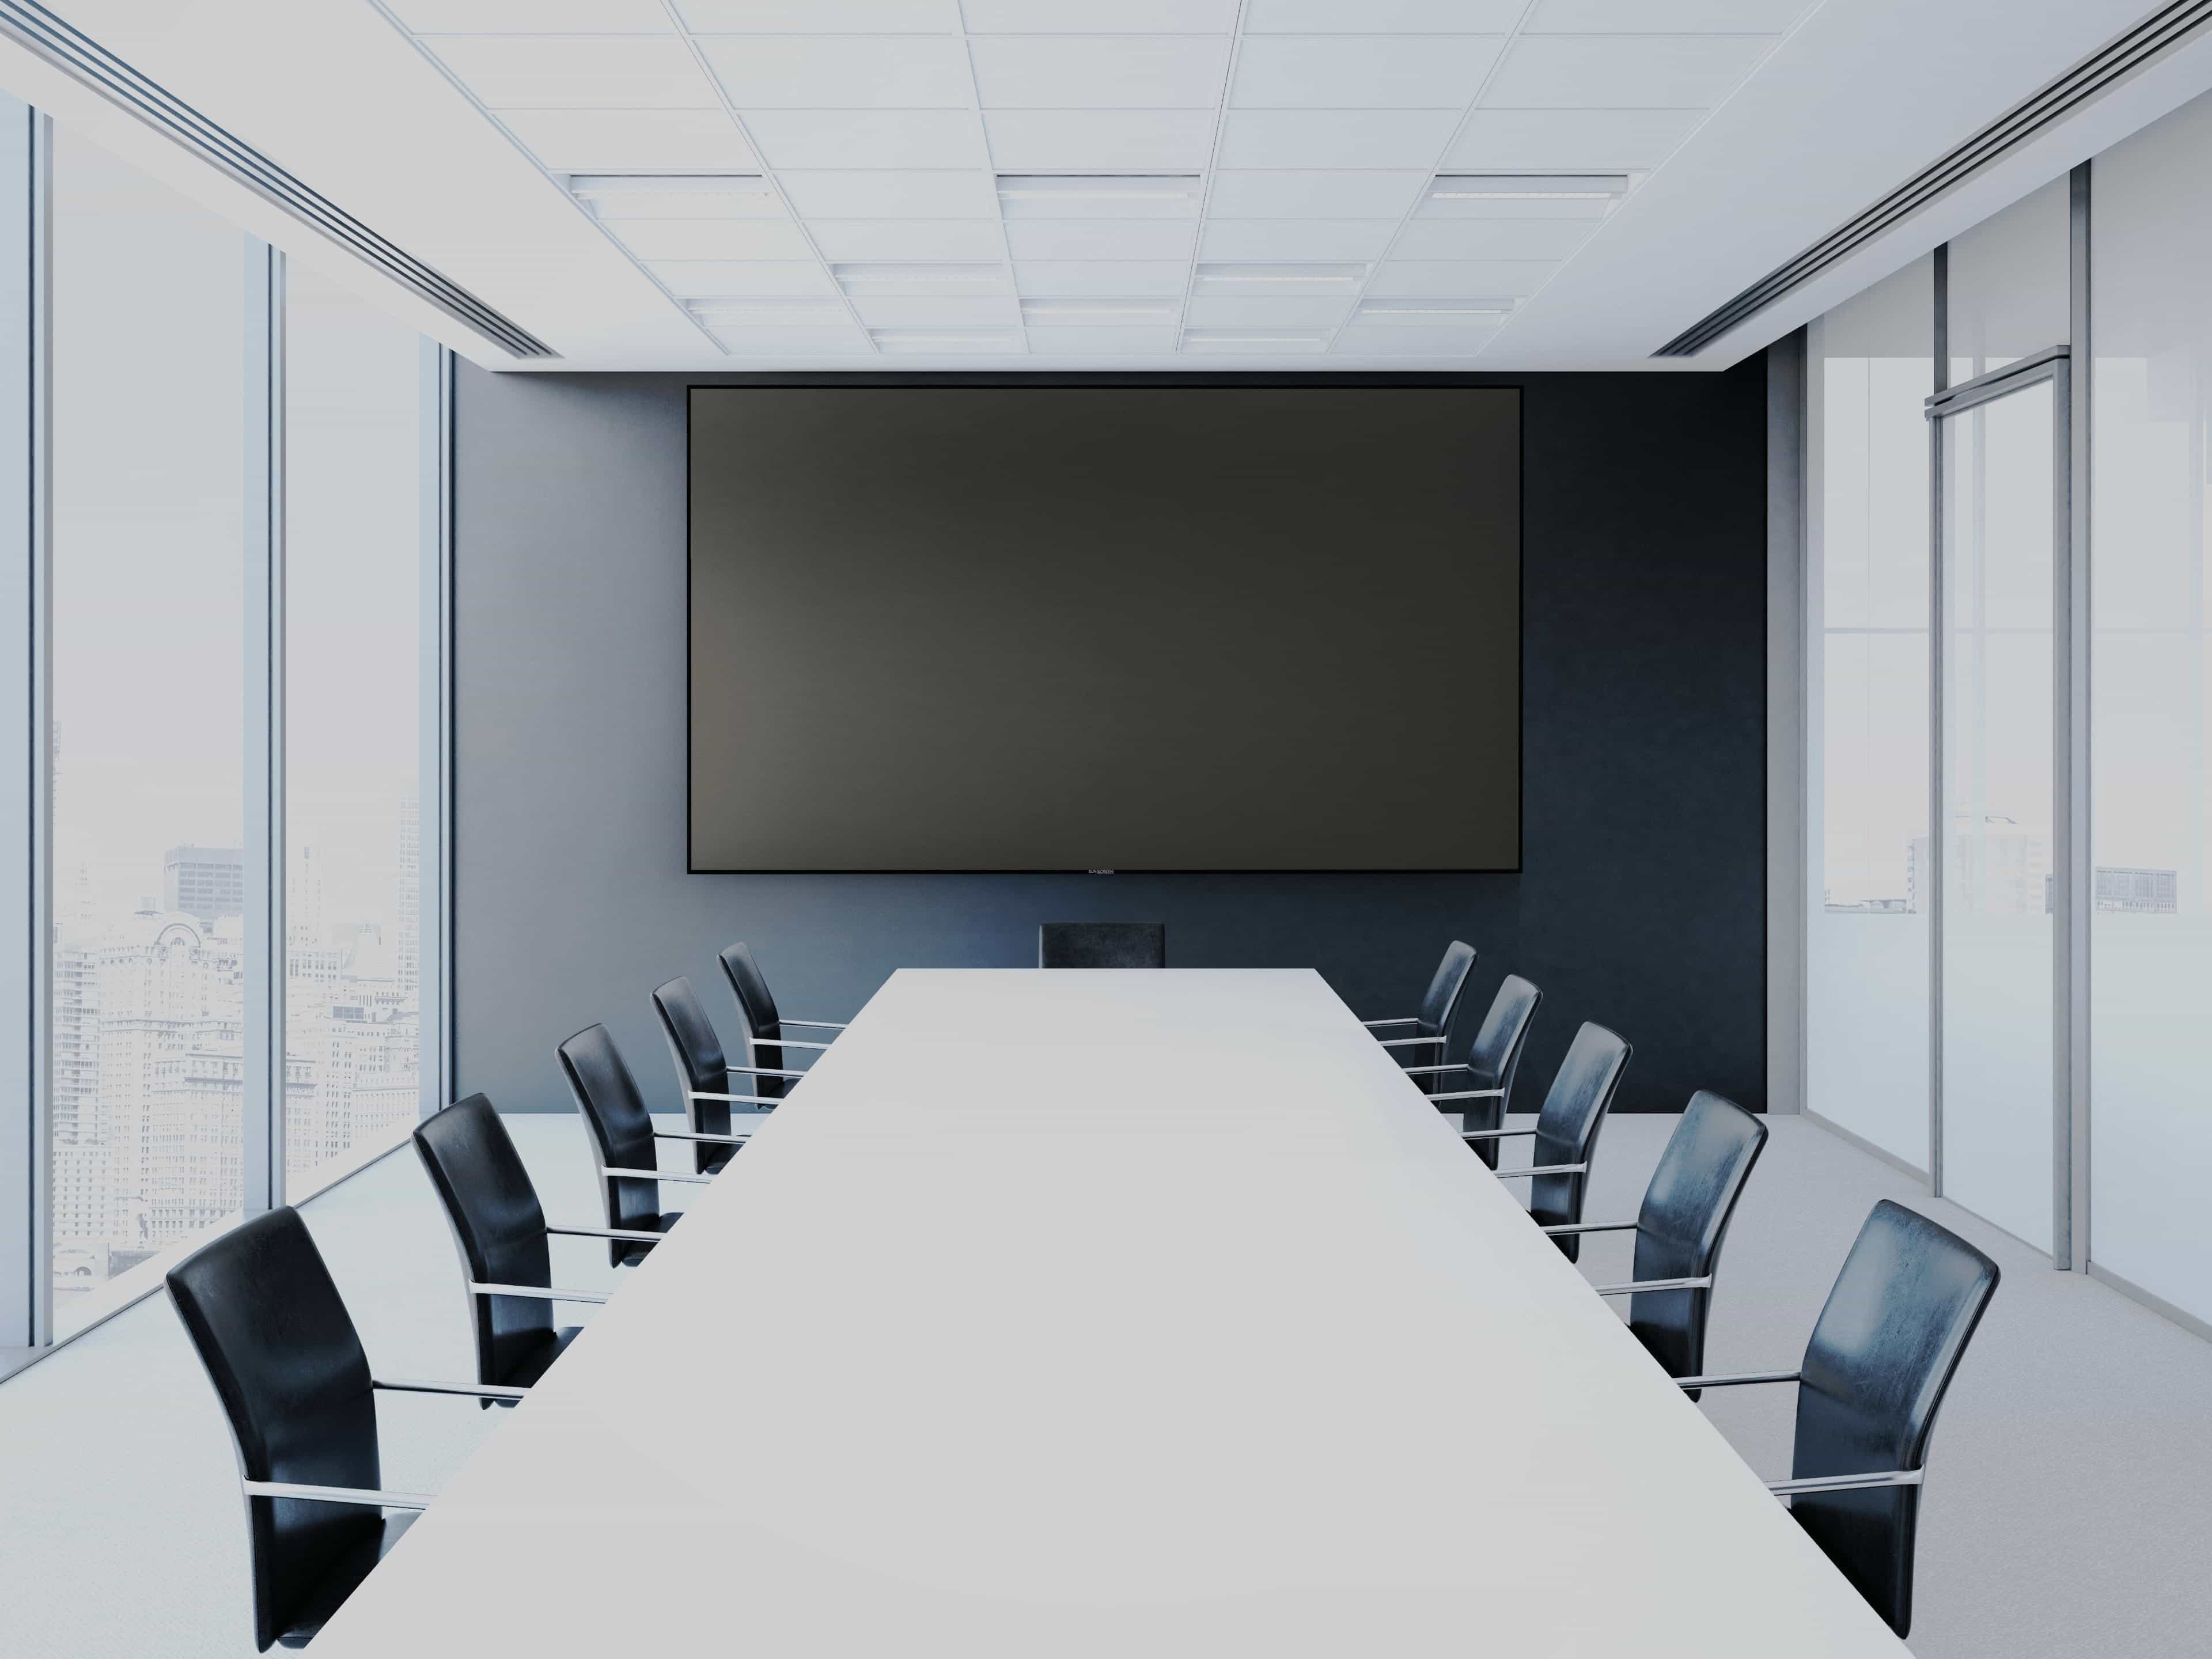
When hanging a projector screen outdoors, make sure to use a sturdy and stable support structure, such as a wall, tree, or stand. Ensure the screen is securely fastened to prevent it from being blown over by wind.
Securing the Screen
Once your outdoor projector screen is set up in the chosen location, it’s essential to secure it properly to ensure stability and safety. Depending on the type of screen and the outdoor environment, consider the following methods to secure the screen:
- Stake or Anchor the Screen: If your projector screen is designed to be freestanding, use stakes or anchors to secure it to the ground. This is especially important in outdoor settings where wind or other environmental factors may affect the stability of the screen. Secure the stakes or anchors firmly to prevent any movement or tipping.
- Frame Attachment: For screens with a frame, ensure that the frame is securely anchored to the ground or a stable surface. Follow the manufacturer’s recommendations for securing the frame, which may involve using stakes, sandbags, or other stabilizing methods.
- Wall Mounting: If you’re using a wall-mounted projector screen, double-check that it’s securely fastened to the wall using appropriate hardware. Confirm that the mounting brackets or screws are capable of supporting the weight of the screen and are installed into solid structures for maximum stability.
- Weather Considerations: Take into account the potential impact of weather conditions on the screen’s stability. In windy environments, consider using additional support, such as guy wires or sandbags, to reinforce the screen’s stability and prevent it from swaying or tipping over.
By securing the projector screen using the appropriate methods for your specific setup, you can ensure that it remains steady and reliable throughout your outdoor viewing experience. Once the screen is securely in place, the next step is to make any necessary adjustments to optimize the viewing experience for you and your audience.
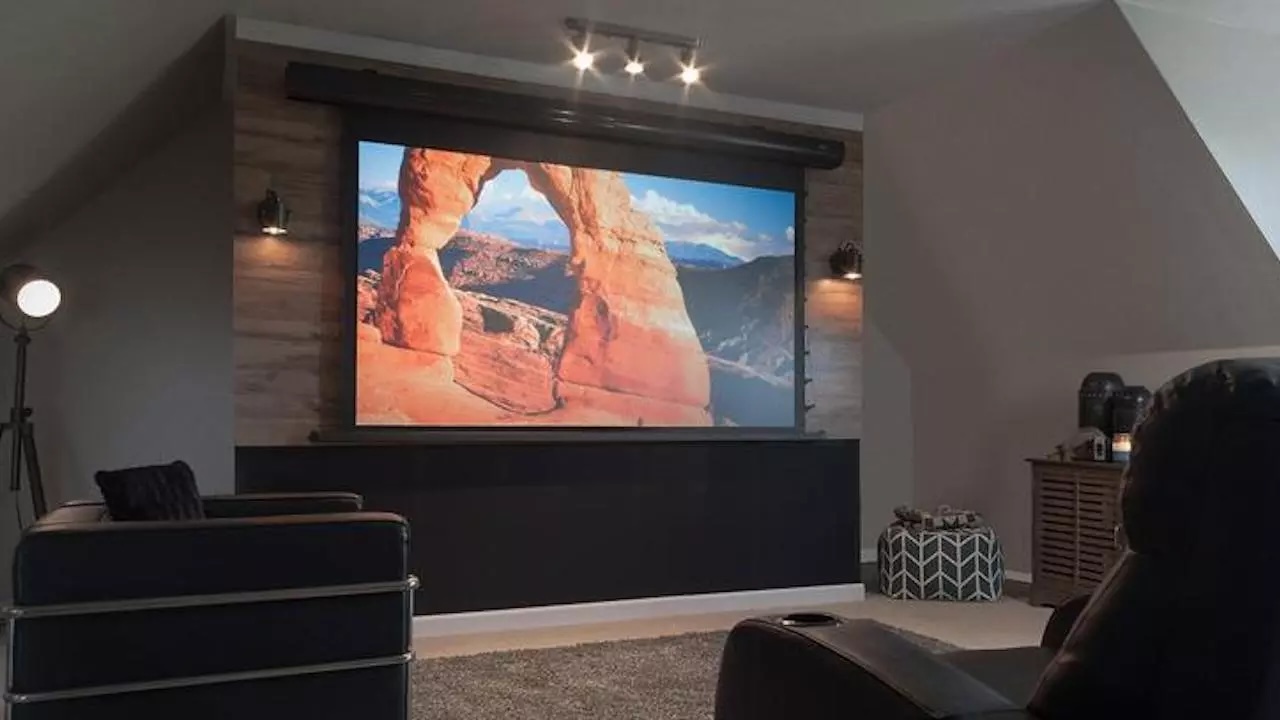
Adjusting the Screen for Optimal Viewing
After securing the outdoor projector screen, it’s essential to make adjustments to optimize the viewing experience for you and your audience. These adjustments can significantly enhance the clarity, brightness, and overall visual impact of the projected image. Follow these steps to fine-tune the screen for optimal viewing:
- Screen Tension: Ensure that the screen is taut and wrinkle-free. Smooth out any wrinkles or creases by gently adjusting the screen’s position or tensioning mechanisms. A smooth surface contributes to a sharper and more uniform projection.
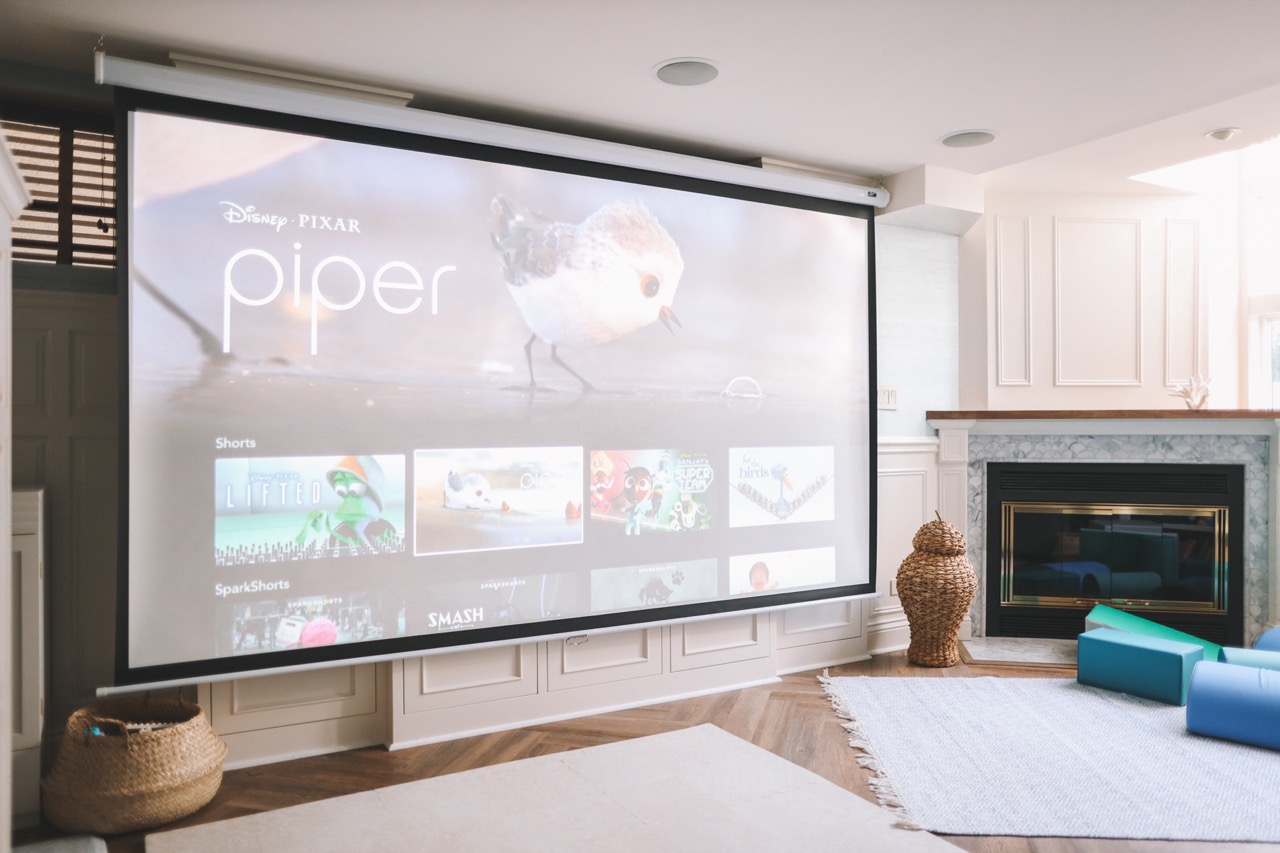
- Projection Alignment: Adjust the position of the projector to align the projected image precisely with the screen. Use the projector’s keystone correction and lens shift features, if available, to fine-tune the image geometry and ensure that it’s rectangular and evenly proportioned.
- Image Focus and Clarity: Adjust the projector’s focus and zoom settings to achieve a sharp and clear image. Fine-tune the focus until the details are crisp and well-defined, enhancing the overall viewing experience.
- Screen Height and Angle: Ensure that the screen is positioned at an optimal height and angle for comfortable viewing. Consider the sightlines from various seating positions and adjust the screen’s tilt if necessary to improve visibility from all vantage points.
- Lighting Control: Dim or control ambient lighting in the viewing area to enhance the contrast and visibility of the projected image. Utilize outdoor lighting fixtures, such as dimmable string lights or lanterns, to create an inviting ambiance while minimizing glare on the screen.
By making these adjustments, you can fine-tune the outdoor projector screen to deliver an immersive and visually stunning viewing experience. With the screen optimized for optimal viewing, you and your audience are ready to immerse yourselves in the outdoor entertainment experience.
Read more: How To Make A Cheap Outdoor Projector Screen
Conclusion
Transforming your outdoor space into an enchanting outdoor theater with a projector screen opens up a world of entertainment possibilities. Whether it’s movie nights under the stars, live sports events, or captivating video presentations, the outdoor viewing experience offers a unique and immersive way to enjoy your favorite content.
By carefully choosing the right location, setting up the projector screen, securing it for stability, and making adjustments for optimal viewing, you’ve laid the foundation for unforgettable outdoor entertainment experiences. The attention to detail in the setup process ensures that you and your audience can fully immerse yourselves in the magic of outdoor cinema.
As you prepare for your outdoor viewing events, consider additional elements to enhance the overall experience. Create a cozy seating area with comfortable outdoor furniture, provide blankets for cooler evenings, and set up a refreshment station with snacks and beverages to complete the outdoor theater ambiance.
With the projector screen in place and everything set for an incredible outdoor viewing experience, all that’s left to do is press play and let the magic unfold. Whether it’s a classic movie, a thrilling sports game, or a captivating presentation, the outdoor setting adds an extra layer of excitement and enjoyment to the content you love.
So, gather your friends, family, or colleagues, and get ready to create cherished memories in the open air. With the right setup and a touch of creativity, your outdoor projector screen will be the centerpiece of unforgettable entertainment experiences, bringing joy and wonder to all who gather under the open sky.
Frequently Asked Questions about How To Hang A Projector Screen Outdoor
Was this page helpful?
At Storables.com, we guarantee accurate and reliable information. Our content, validated by Expert Board Contributors, is crafted following stringent Editorial Policies. We're committed to providing you with well-researched, expert-backed insights for all your informational needs.


0 thoughts on “How To Hang A Projector Screen Outdoor”