Home>Technology>Home Entertainment Systems>How To Mount A Projector Screen To The Ceiling
Home Entertainment Systems
How To Mount A Projector Screen To The Ceiling
Modified: October 21, 2024
Learn how to mount a projector screen to the ceiling for your home entertainment system. Step-by-step guide for a professional setup.
(Many of the links in this article redirect to a specific reviewed product. Your purchase of these products through affiliate links helps to generate commission for Storables.com, at no extra cost. Learn more)
Introduction
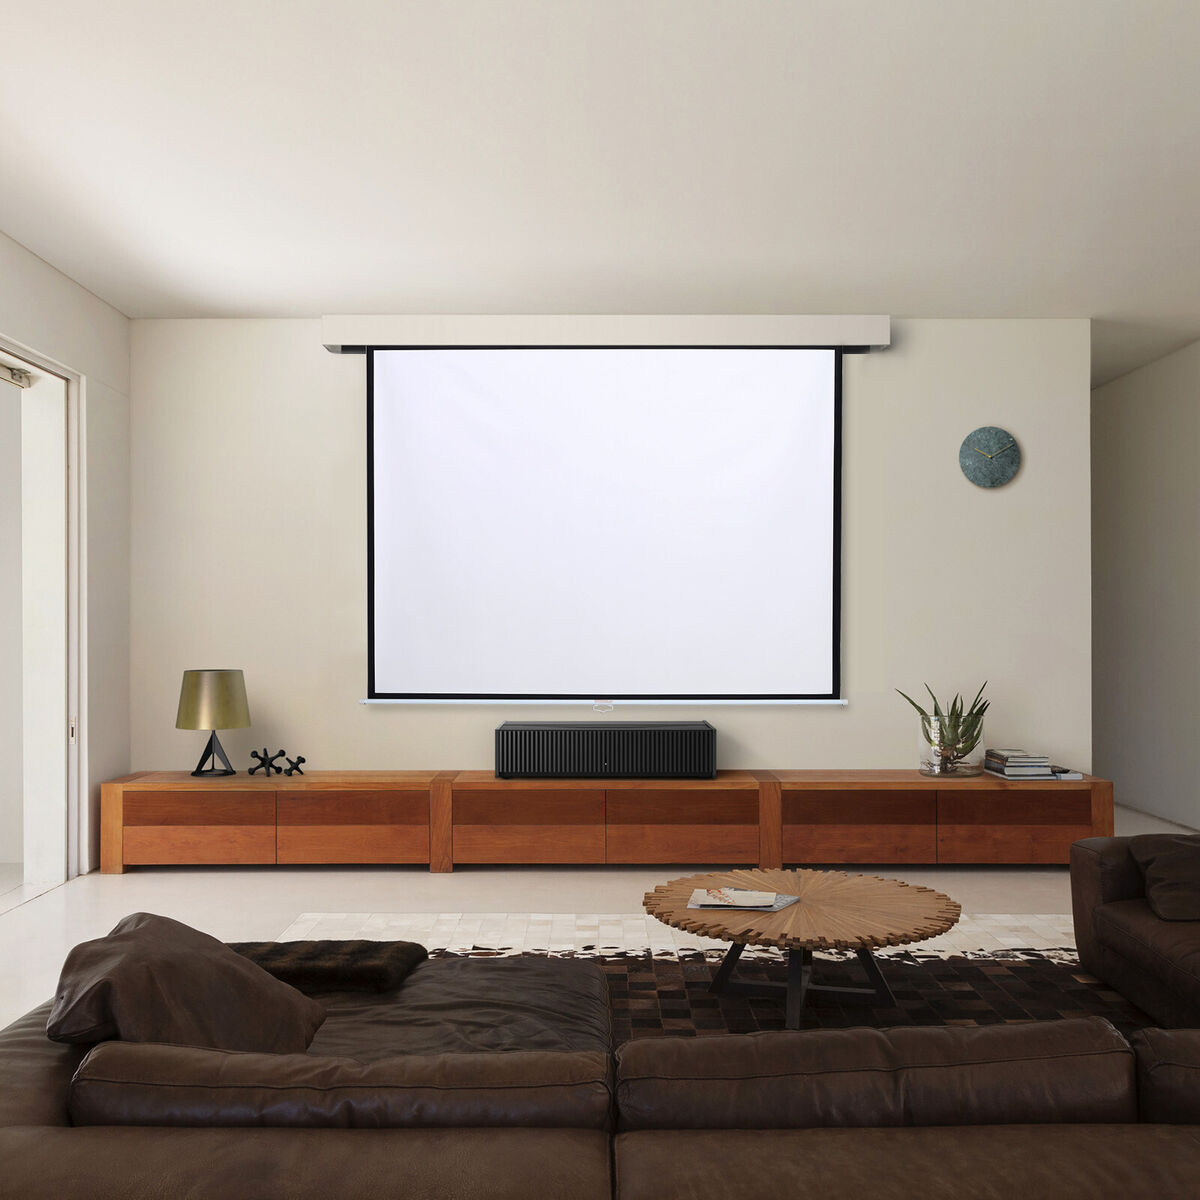
So, you've decided to take your home entertainment setup to the next level by installing a projector screen on your ceiling. Congratulations on this exciting decision! A ceiling-mounted projector screen can transform your space into a cinematic oasis, providing an immersive viewing experience for movies, sports events, and gaming sessions. Whether you're a dedicated cinephile, a sports enthusiast, or a gaming aficionado, a ceiling-mounted projector screen can elevate your home entertainment to new heights.
In this comprehensive guide, we'll walk you through the step-by-step process of mounting a projector screen to your ceiling. From selecting the ideal location to testing and adjusting the setup, we'll cover everything you need to know to embark on this rewarding DIY project. By the end of this guide, you'll have the confidence and know-how to create a captivating home theater experience that will impress family and friends alike.
So, grab your tools and let's get started on this exciting journey to bring the magic of the big screen right into your living room. Get ready to immerse yourself in the world of high-definition visuals and larger-than-life entertainment—all from the comfort of your own home. Let's dive into the process of mounting a projector screen to the ceiling and unlock the full potential of your home entertainment system.
Key Takeaways:
- Transform your home entertainment with a ceiling-mounted projector screen for larger-than-life visuals and immersive experiences, perfect for movies, sports, and gaming.
- Carefully plan and execute the installation process, from choosing the right location to testing and adjusting, to create a captivating and seamless home theater setup.
Read more: How To Mount A Projector On The Ceiling
Tools and Materials Needed
Before you begin the installation process, it’s essential to gather the necessary tools and materials to ensure a smooth and efficient setup. Here’s a comprehensive list of what you’ll need:
- Tape Measure: A reliable tape measure is crucial for accurately determining the dimensions of the installation area and ensuring precise placement of the projector screen.
- Stud Finder: This tool is essential for locating the ceiling studs, which will provide the necessary support for securely mounting the projector screen.
- Pencil or Marker: Having a pencil or marker on hand will allow you to mark the precise locations for drilling and mounting the screen bracket.
- Drill and Drill Bits: A power drill equipped with the appropriate drill bits is necessary for creating pilot holes and securing the mounting hardware to the ceiling.
- Ladder or Step Stool: Depending on the height of your ceiling, a stable ladder or step stool will enable safe and convenient access to the installation area.
- Projector Screen Mounting Kit: Ensure that you have the specific mounting kit designed for your projector screen model, including brackets, screws, and any additional hardware required for installation.
- Screwdriver: A screwdriver, both flathead and Phillips, will be needed for tightening screws and securing the mounting hardware in place.
- Assistant: While not a traditional tool, having an extra set of hands to assist with lifting and positioning the projector screen can greatly simplify the installation process.
Additionally, it’s important to consider the type of ceiling in your installation area, as this may require specific hardware or mounting techniques. For example, if you have a drop ceiling, you may need additional hardware to secure the mounting bracket to the ceiling grid. Understanding the composition of your ceiling will help you select the appropriate tools and materials for a secure and reliable installation.
By ensuring that you have all the necessary tools and materials at your disposal, you’ll be well-prepared to tackle the installation process with confidence and precision. With everything in hand, you’re ready to move on to the next steps of choosing the right location and preparing for the installation of your ceiling-mounted projector screen.
Choosing the Right Location
Before you begin the installation process, it’s crucial to carefully select the optimal location for mounting your projector screen. The ideal placement will ensure a comfortable viewing experience and seamless integration with your existing home entertainment setup. Here are some key considerations to keep in mind when choosing the right location:
- Viewing Angle and Distance: Assess the viewing angles and distances from various seating positions in the room. The goal is to position the projector screen at a height and distance that allows for clear visibility from all desired seating areas.
- Avoiding Obstructions: Identify any potential obstructions, such as light fixtures, ceiling fans, or air vents, that may interfere with the projection or obstruct the viewing experience. Choose a location that minimizes these obstructions to ensure an unobstructed view of the screen.
- Ceiling Studs: Use a stud finder to locate the ceiling studs, which will serve as the secure anchor points for mounting the projector screen. Ensuring that the screen is anchored to the ceiling studs is essential for stability and safety.
- Room Acoustics: Consider the room’s acoustics and the placement of any audio equipment, such as speakers or soundbars. Position the projector screen in a way that complements the overall audio-visual setup and enhances the immersive viewing experience.
- Ceiling Height: Take into account the ceiling height to determine the appropriate placement of the projector screen. Ideally, the screen should be positioned at a height that allows for comfortable viewing without causing strain on the neck or eyes.
By carefully evaluating these factors, you can pinpoint the optimal location for mounting your projector screen. This thoughtful approach will ensure that the screen seamlessly integrates into your home entertainment space, providing an immersive viewing experience for all your favorite content.
Once you’ve identified the perfect location for your projector screen, you’re ready to move on to the next steps of measuring and marking the installation area to prepare for the mounting process.
Measuring and Marking
With the location chosen, it’s time to take precise measurements and mark the installation area to prepare for mounting the projector screen. This step is crucial for ensuring accuracy and alignment during the installation process. Here’s how to approach the measuring and marking phase:
- Measurements: Use a tape measure to determine the exact dimensions of the installation area, including the distance from the walls and the ceiling height. These measurements will guide the placement of the projector screen and help determine the positioning of the mounting bracket.
- Marking the Stud Locations: Utilize a pencil or marker to clearly indicate the locations of the ceiling studs within the installation area. This step is essential for identifying the precise points where the mounting bracket will be secured for optimal stability.
- Marking the Screen Position: Based on your desired screen placement and the measured dimensions, mark the exact position where the top edge of the projector screen will be mounted. This mark will serve as a guide for aligning the mounting bracket during the installation process.
- Double-Check Measurements: Before proceeding to the next step, double-check all measurements and markings to ensure accuracy. Taking the time to verify the dimensions and stud locations will help prevent errors during the mounting process.
By meticulously measuring and marking the installation area, you’ll establish a clear roadmap for the subsequent steps of mounting the screen bracket and attaching the projector screen. This careful preparation will contribute to a smooth and precise installation, ultimately leading to a professional-looking and securely mounted projector screen.
With the measurements and markings in place, you’re ready to progress to the next stage of mounting the screen bracket to the ceiling, bringing you one step closer to enjoying the immersive viewing experience offered by your ceiling-mounted projector screen.
When mounting a projector screen to the ceiling, make sure to use a stud finder to locate a sturdy support beam. Use the appropriate hardware and follow the manufacturer’s instructions for a secure installation.
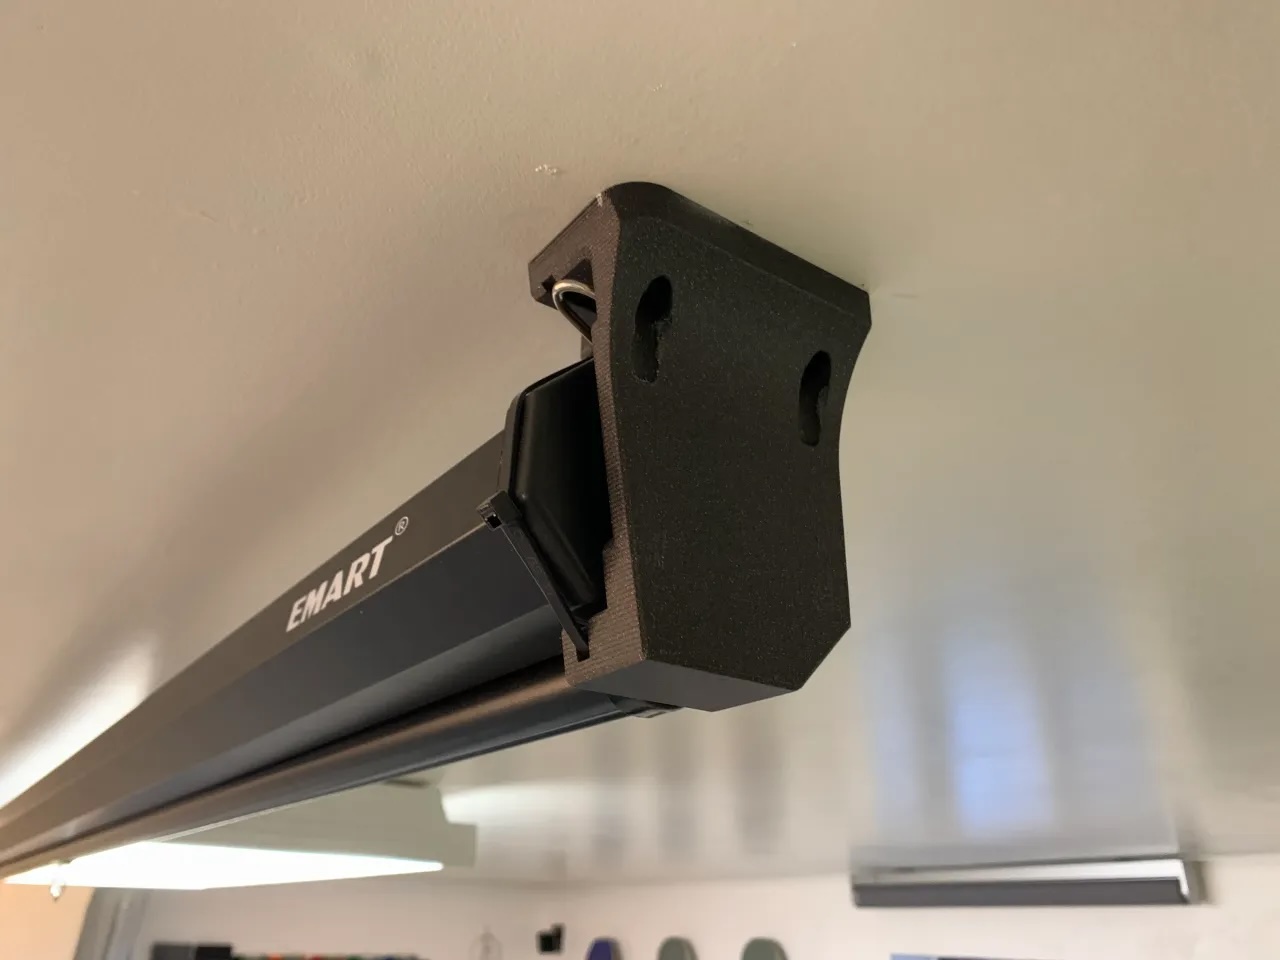
Mounting the Screen Bracket
With the installation area measured and marked, it’s time to proceed with mounting the screen bracket to the ceiling. This step is critical for establishing a secure foundation that will support the projector screen. Follow these essential guidelines to ensure a successful and stable mounting process:
- Locate Ceiling Studs: Use a stud finder to precisely locate the positions of the ceiling studs within the marked installation area. Ceiling studs provide the necessary structural support for securely anchoring the screen bracket.
- Positioning the Bracket: Align the screen bracket with the marked position on the ceiling, ensuring that it is centered and level. It’s crucial to position the bracket in a way that evenly distributes the weight of the projector screen and aligns with the ceiling studs for maximum stability.
- Creating Pilot Holes: With the bracket in position, use a drill equipped with the appropriate drill bit to create pilot holes at the marked locations for securing the bracket to the ceiling. Pilot holes help prevent the ceiling from splintering and facilitate the insertion of screws.
- Securing the Bracket: Using the designated screws provided in the mounting kit, carefully secure the screen bracket to the ceiling by driving the screws through the pilot holes. Ensure that the bracket is firmly attached to the ceiling, with each screw fastened securely into a ceiling stud for optimal support.
- Double-Check Alignment: After securing the bracket, double-check its alignment and levelness to confirm that it is positioned accurately. This step is crucial for ensuring that the projector screen will hang securely and maintain a level orientation once attached to the bracket.
By following these steps with precision and attention to detail, you’ll establish a solid and reliable foundation for mounting your projector screen. The securely installed screen bracket will serve as the anchor point for attaching the projector screen, setting the stage for the final steps of the installation process.
With the screen bracket securely mounted, you’re now ready to proceed to the exciting phase of attaching the projector screen to the bracket, bringing you closer to the ultimate cinematic experience within your home entertainment space.
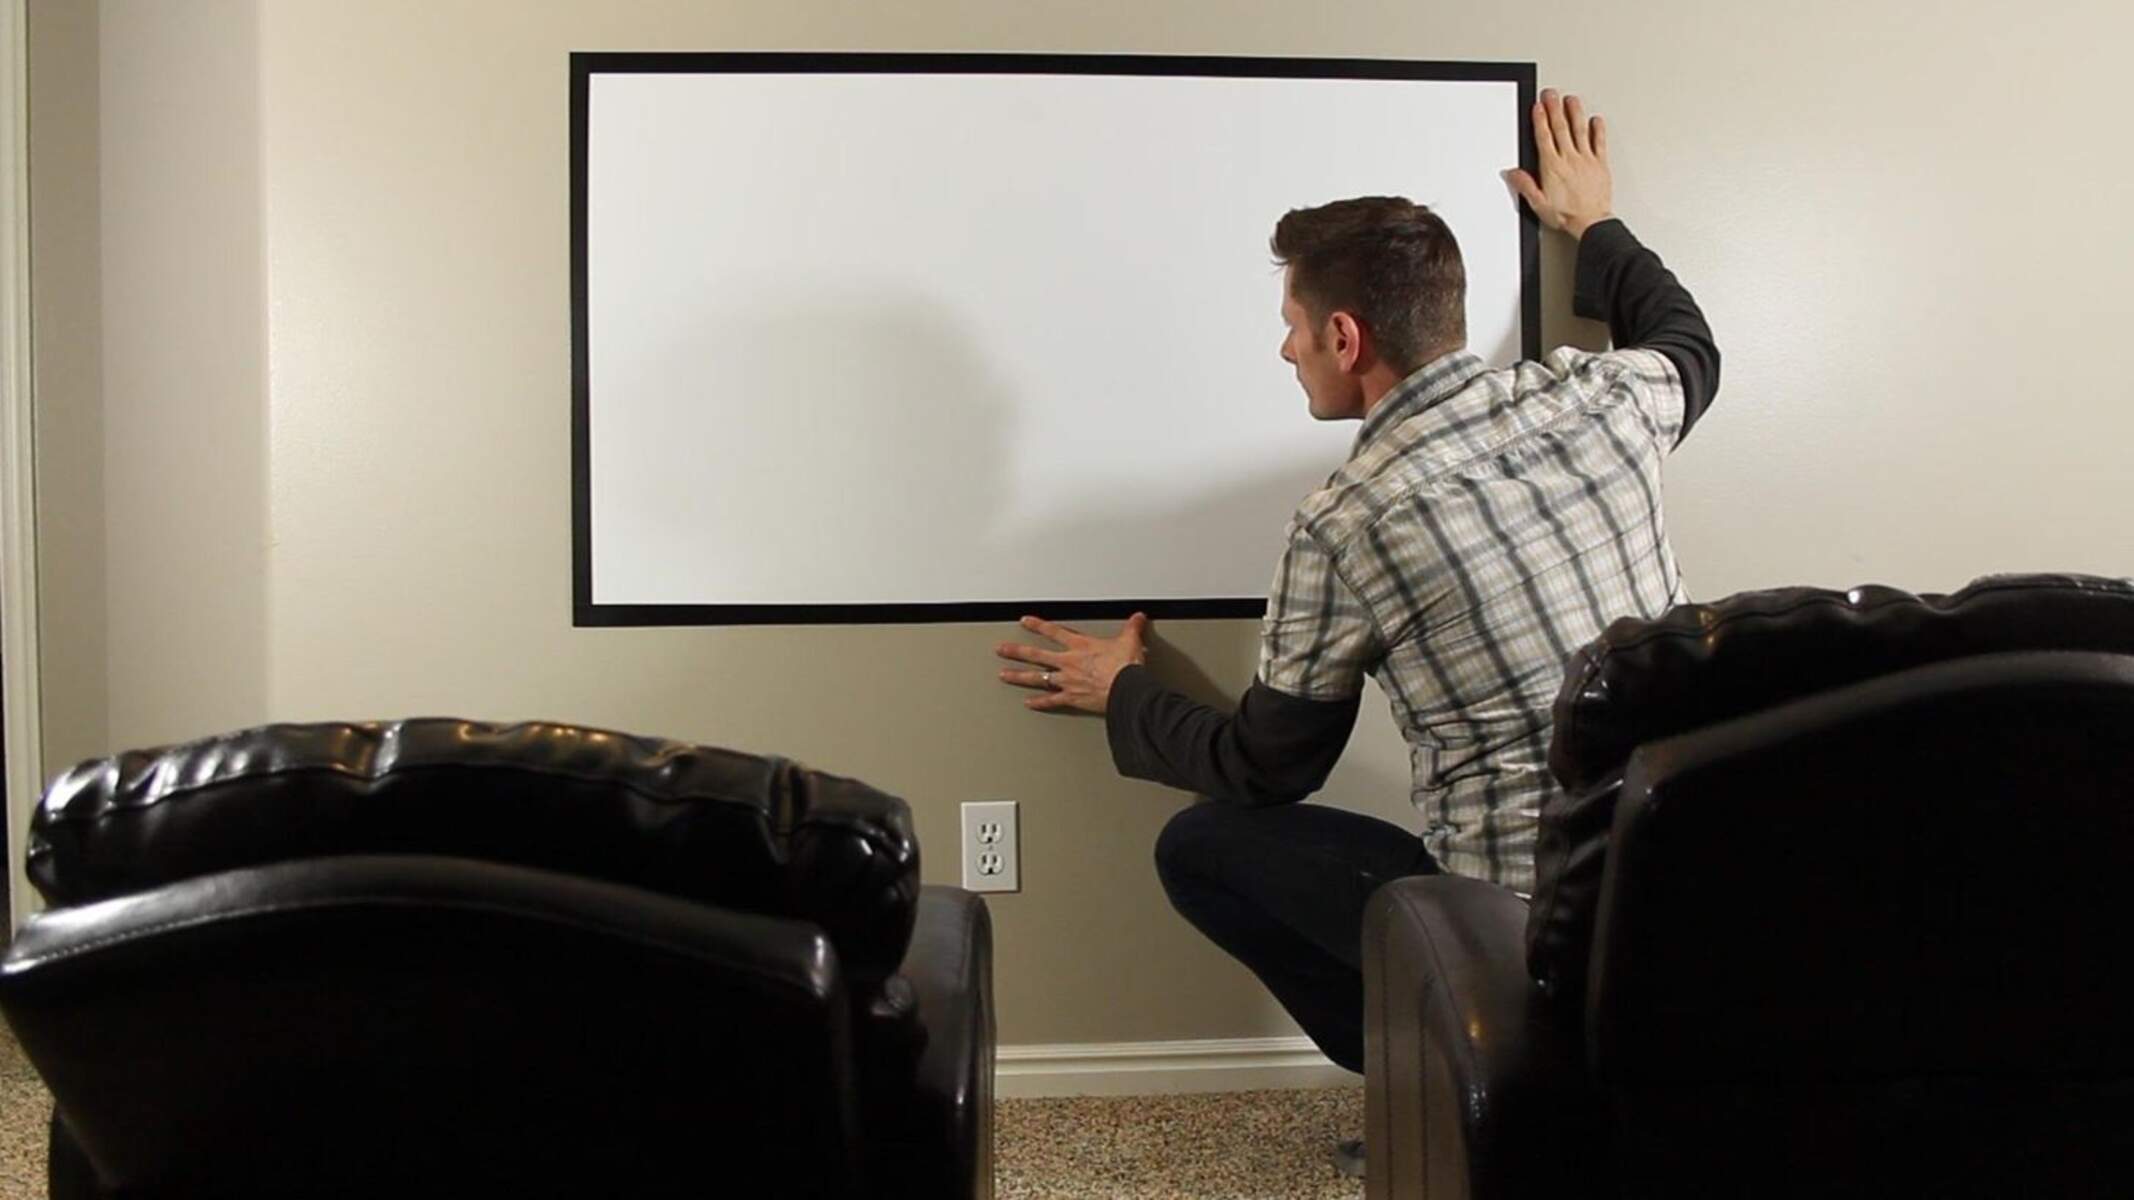
Attaching the Projector Screen
With the screen bracket securely mounted to the ceiling, it’s time to proceed with attaching the projector screen to the bracket. This pivotal step brings your home theater setup one step closer to delivering a captivating viewing experience. Follow these essential guidelines to ensure a seamless and secure attachment of the projector screen:
- Lift and Position: Enlist the assistance of a friend or family member to help lift and position the projector screen. Carefully align the top edge of the screen with the mounted bracket, ensuring a snug and level fit.
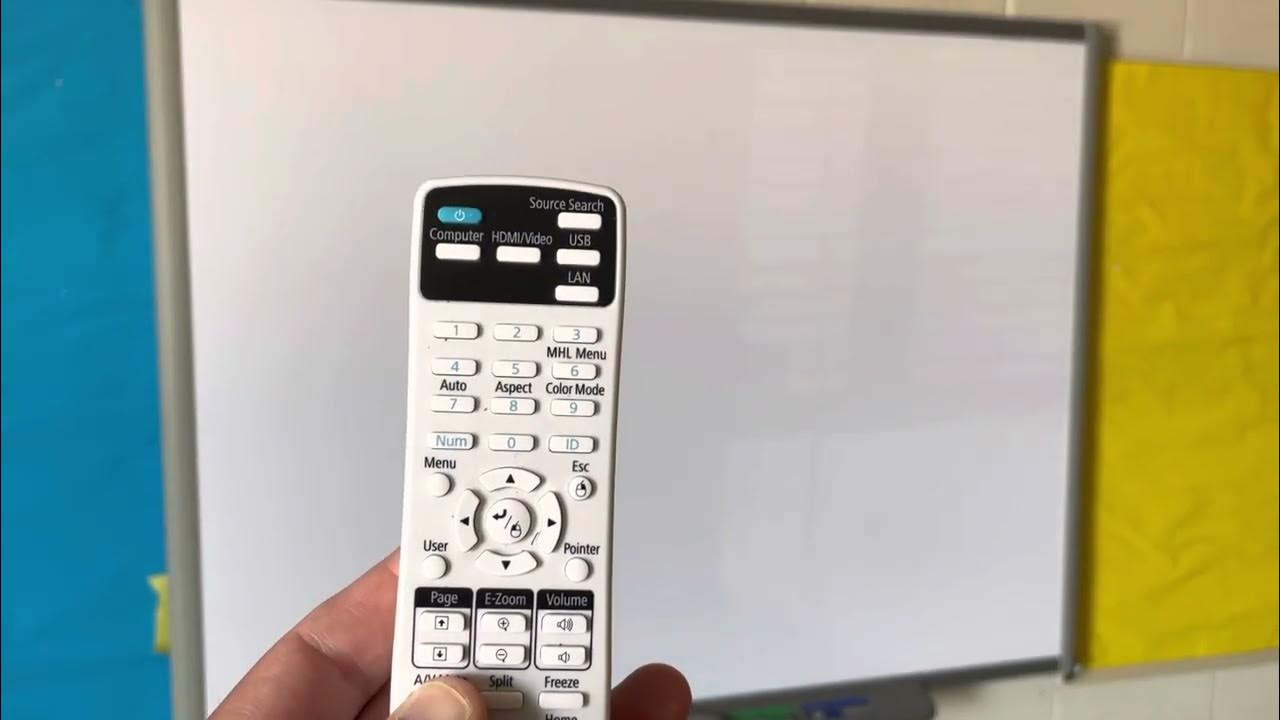
- Engage the Locking Mechanism: Many projector screens are equipped with a locking mechanism designed to secure the screen in place once it is positioned on the bracket. Follow the manufacturer’s instructions to engage the locking mechanism, ensuring that the screen is firmly attached and will remain in place during use.
- Verify Stability: Once the projector screen is attached to the bracket, verify its stability and alignment. Gently test the screen to ensure that it is securely fastened and level. This step is crucial for confirming that the screen is ready to deliver a flawless viewing experience.
- Adjust Tension and Positioning: Some projector screens feature adjustable tension settings to optimize the flatness and smoothness of the screen surface. If applicable, follow the manufacturer’s guidelines to adjust the tension for optimal viewing quality. Additionally, fine-tune the positioning of the screen to ensure that it is centered and aligned with the viewing area.
By meticulously following these steps, you’ll successfully attach the projector screen to the ceiling-mounted bracket, bringing your home theater vision to life. The securely attached screen sets the stage for the final phase of testing and adjusting the setup to ensure a flawless and immersive viewing experience.
With the projector screen securely in place, you’re now ready to proceed to the exciting phase of testing and adjusting the setup, fine-tuning the visual and audio elements to create a captivating and immersive home theater experience for all your entertainment needs.
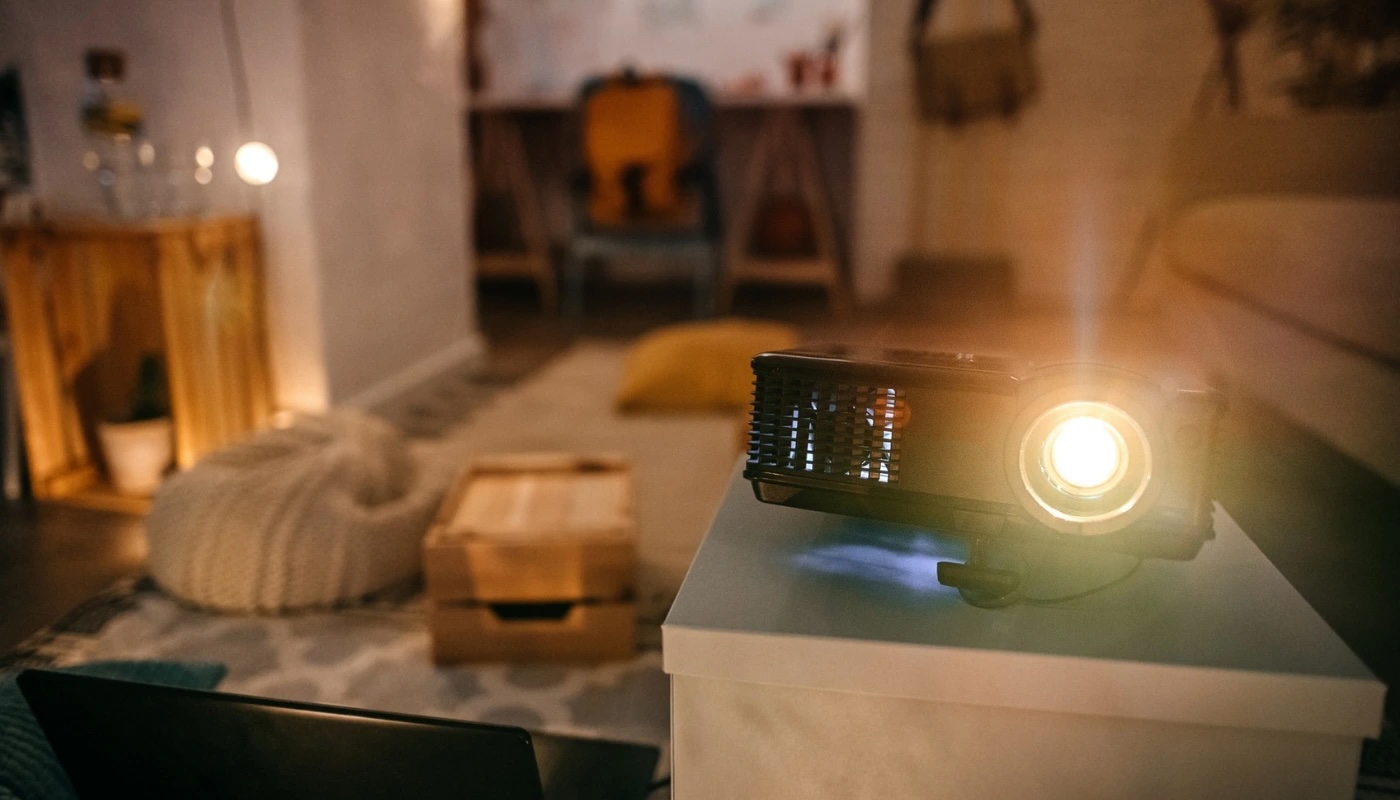
Testing and Adjusting
With the projector screen securely attached and your home entertainment space transformed into a potential cinematic haven, it’s time to embark on the final phase of testing and adjusting the setup. This critical step ensures that every element of your home theater system works harmoniously to deliver an immersive and captivating viewing experience. Here’s how to approach the testing and adjustment process:
- Projection Alignment: Power on your projector and initiate a test projection onto the screen. Verify that the projected image is properly aligned and fills the screen without any distortion or unevenness. Make any necessary adjustments to the projector’s position or settings to achieve optimal alignment and visual quality.
- Audio Calibration: If your home entertainment setup includes audio components such as speakers or a sound system, take the opportunity to calibrate the audio settings for optimal sound quality. Adjust the speaker positioning, volume levels, and equalization settings to create a balanced and immersive audio experience that complements the visual impact of the projector screen.
- Lighting and Ambiance: Assess the impact of ambient lighting on the viewing experience. Experiment with different lighting conditions to determine the optimal ambiance for enjoying movies, sports events, or gaming sessions. Consider implementing adjustable lighting solutions to create a customizable viewing environment that enhances the overall cinematic experience.
- User Experience: Enlist the participation of family members or friends to experience the newly installed projector screen. Gather feedback on the viewing experience, comfort, and overall impression of the home theater setup. Use this feedback to make any additional adjustments or refinements that enhance the user experience.
By meticulously testing and adjusting the various elements of your home theater setup, you’ll fine-tune the visual and audio components to create an engaging and immersive viewing environment. This comprehensive approach ensures that your ceiling-mounted projector screen integrates seamlessly into your home entertainment space, delivering a captivating experience for all your entertainment needs.
With the testing and adjustment phase complete, you’ve successfully transformed your home entertainment system with the addition of a ceiling-mounted projector screen. Now, it’s time to sit back, relax, and immerse yourself in the captivating visuals and immersive audio of your personalized home theater experience.
Conclusion
Congratulations on completing the installation of your ceiling-mounted projector screen! By embarking on this DIY journey, you’ve transformed your home entertainment space into a captivating cinematic oasis, ready to deliver immersive viewing experiences for movies, sports events, and gaming sessions. As you reflect on the installation process and the exciting possibilities that lie ahead, it’s important to acknowledge the impact of this enhancement to your home entertainment system.
With the projector screen securely mounted to the ceiling, you’ve unlocked the potential for larger-than-life visuals and a truly immersive viewing experience. Your dedication to this project has not only elevated your home entertainment setup but has also created a focal point for shared experiences and cherished moments with family and friends. Whether it’s a movie night, a thrilling sports event, or a gaming marathon, your ceiling-mounted projector screen sets the stage for unforgettable entertainment.
As you bask in the excitement of your newly installed projector screen, take a moment to appreciate the meticulous planning, precise execution, and attention to detail that have culminated in this impressive addition to your home. The careful selection of the installation location, the precise measurements and markings, and the secure mounting of the screen bracket have all contributed to the seamless integration of the projector screen into your home entertainment space.
Furthermore, the thorough testing and adjustment phase has ensured that every aspect of your home theater setup— from the projection alignment to the audio calibration— is optimized to deliver a captivating and immersive viewing experience. By fine-tuning the visual and audio elements, you’ve created a personalized cinematic environment that caters to your entertainment preferences and elevates the overall viewing experience.
As you embark on this new chapter of home entertainment, remember that your ceiling-mounted projector screen represents not only a technological upgrade but also a gateway to shared moments of joy, excitement, and relaxation. Whether it’s a family movie night, a thrilling sports event, or a gaming adventure with friends, your projector screen stands ready to deliver captivating visuals and immersive audio, creating memories that will be cherished for years to come.
So, as you settle into your favorite viewing spot, surrounded by the captivating visuals and enveloped in the immersive audio of your home theater, take pride in the accomplishment of installing a ceiling-mounted projector screen. Your dedication to creating an exceptional entertainment space has resulted in a transformative addition to your home, setting the stage for countless moments of enjoyment and shared experiences.
Now, sit back, relax, and immerse yourself in the magic of your personalized home theater experience. The captivating visuals and immersive audio await, ready to transport you to new dimensions of entertainment within the comfort of your own home.
Frequently Asked Questions about How To Mount A Projector Screen To The Ceiling
Was this page helpful?
At Storables.com, we guarantee accurate and reliable information. Our content, validated by Expert Board Contributors, is crafted following stringent Editorial Policies. We're committed to providing you with well-researched, expert-backed insights for all your informational needs.


0 thoughts on “How To Mount A Projector Screen To The Ceiling”