Home>Technology>Home Entertainment Systems>How To Make A Projector Screen
Home Entertainment Systems
How To Make A Projector Screen
Modified: October 21, 2024
Learn how to create a projector screen for your home entertainment system with our step-by-step guide. Enhance your movie nights and gaming sessions.
(Many of the links in this article redirect to a specific reviewed product. Your purchase of these products through affiliate links helps to generate commission for Storables.com, at no extra cost. Learn more)
Introduction
Creating your own projector screen can be a rewarding and cost-effective way to enhance your home entertainment experience. Whether you’re a movie buff, a gaming enthusiast, or a sports fan, a high-quality projector screen can bring your favorite media to life in stunning detail. Building a projector screen from scratch allows you to customize the size, shape, and material to suit your specific needs, resulting in a personalized viewing experience that surpasses off-the-shelf options.
While the thought of constructing a projector screen may seem daunting, this DIY project can be surprisingly straightforward with the right guidance and materials. In this comprehensive guide, we’ll walk you through each step of the process, from selecting the ideal fabric to mounting the finished screen. By the end, you’ll have a deep understanding of how to create a professional-grade projector screen that rivals commercial alternatives.
So, roll up your sleeves, gather your materials, and get ready to embark on a rewarding journey toward crafting your very own projector screen. Let’s dive into the essential steps and considerations for bringing your home entertainment setup to the next level.
Key Takeaways:
- Building your own projector screen is a fun and rewarding DIY project that can enhance your home entertainment experience. With the right materials and careful construction, you can create a personalized viewing experience that rivals commercial options.
- Choosing the right fabric and meticulously stretching it over a sturdy frame are crucial steps in creating a professional-grade projector screen. With attention to detail and precision, you can achieve exceptional image clarity and vibrant colors for an immersive viewing experience.
Read more: How To Make A Cheap Outdoor Projector Screen
Materials Needed
Before diving into the construction process, it’s crucial to gather all the necessary materials and tools. Here’s a comprehensive list of what you’ll need to build your projector screen:
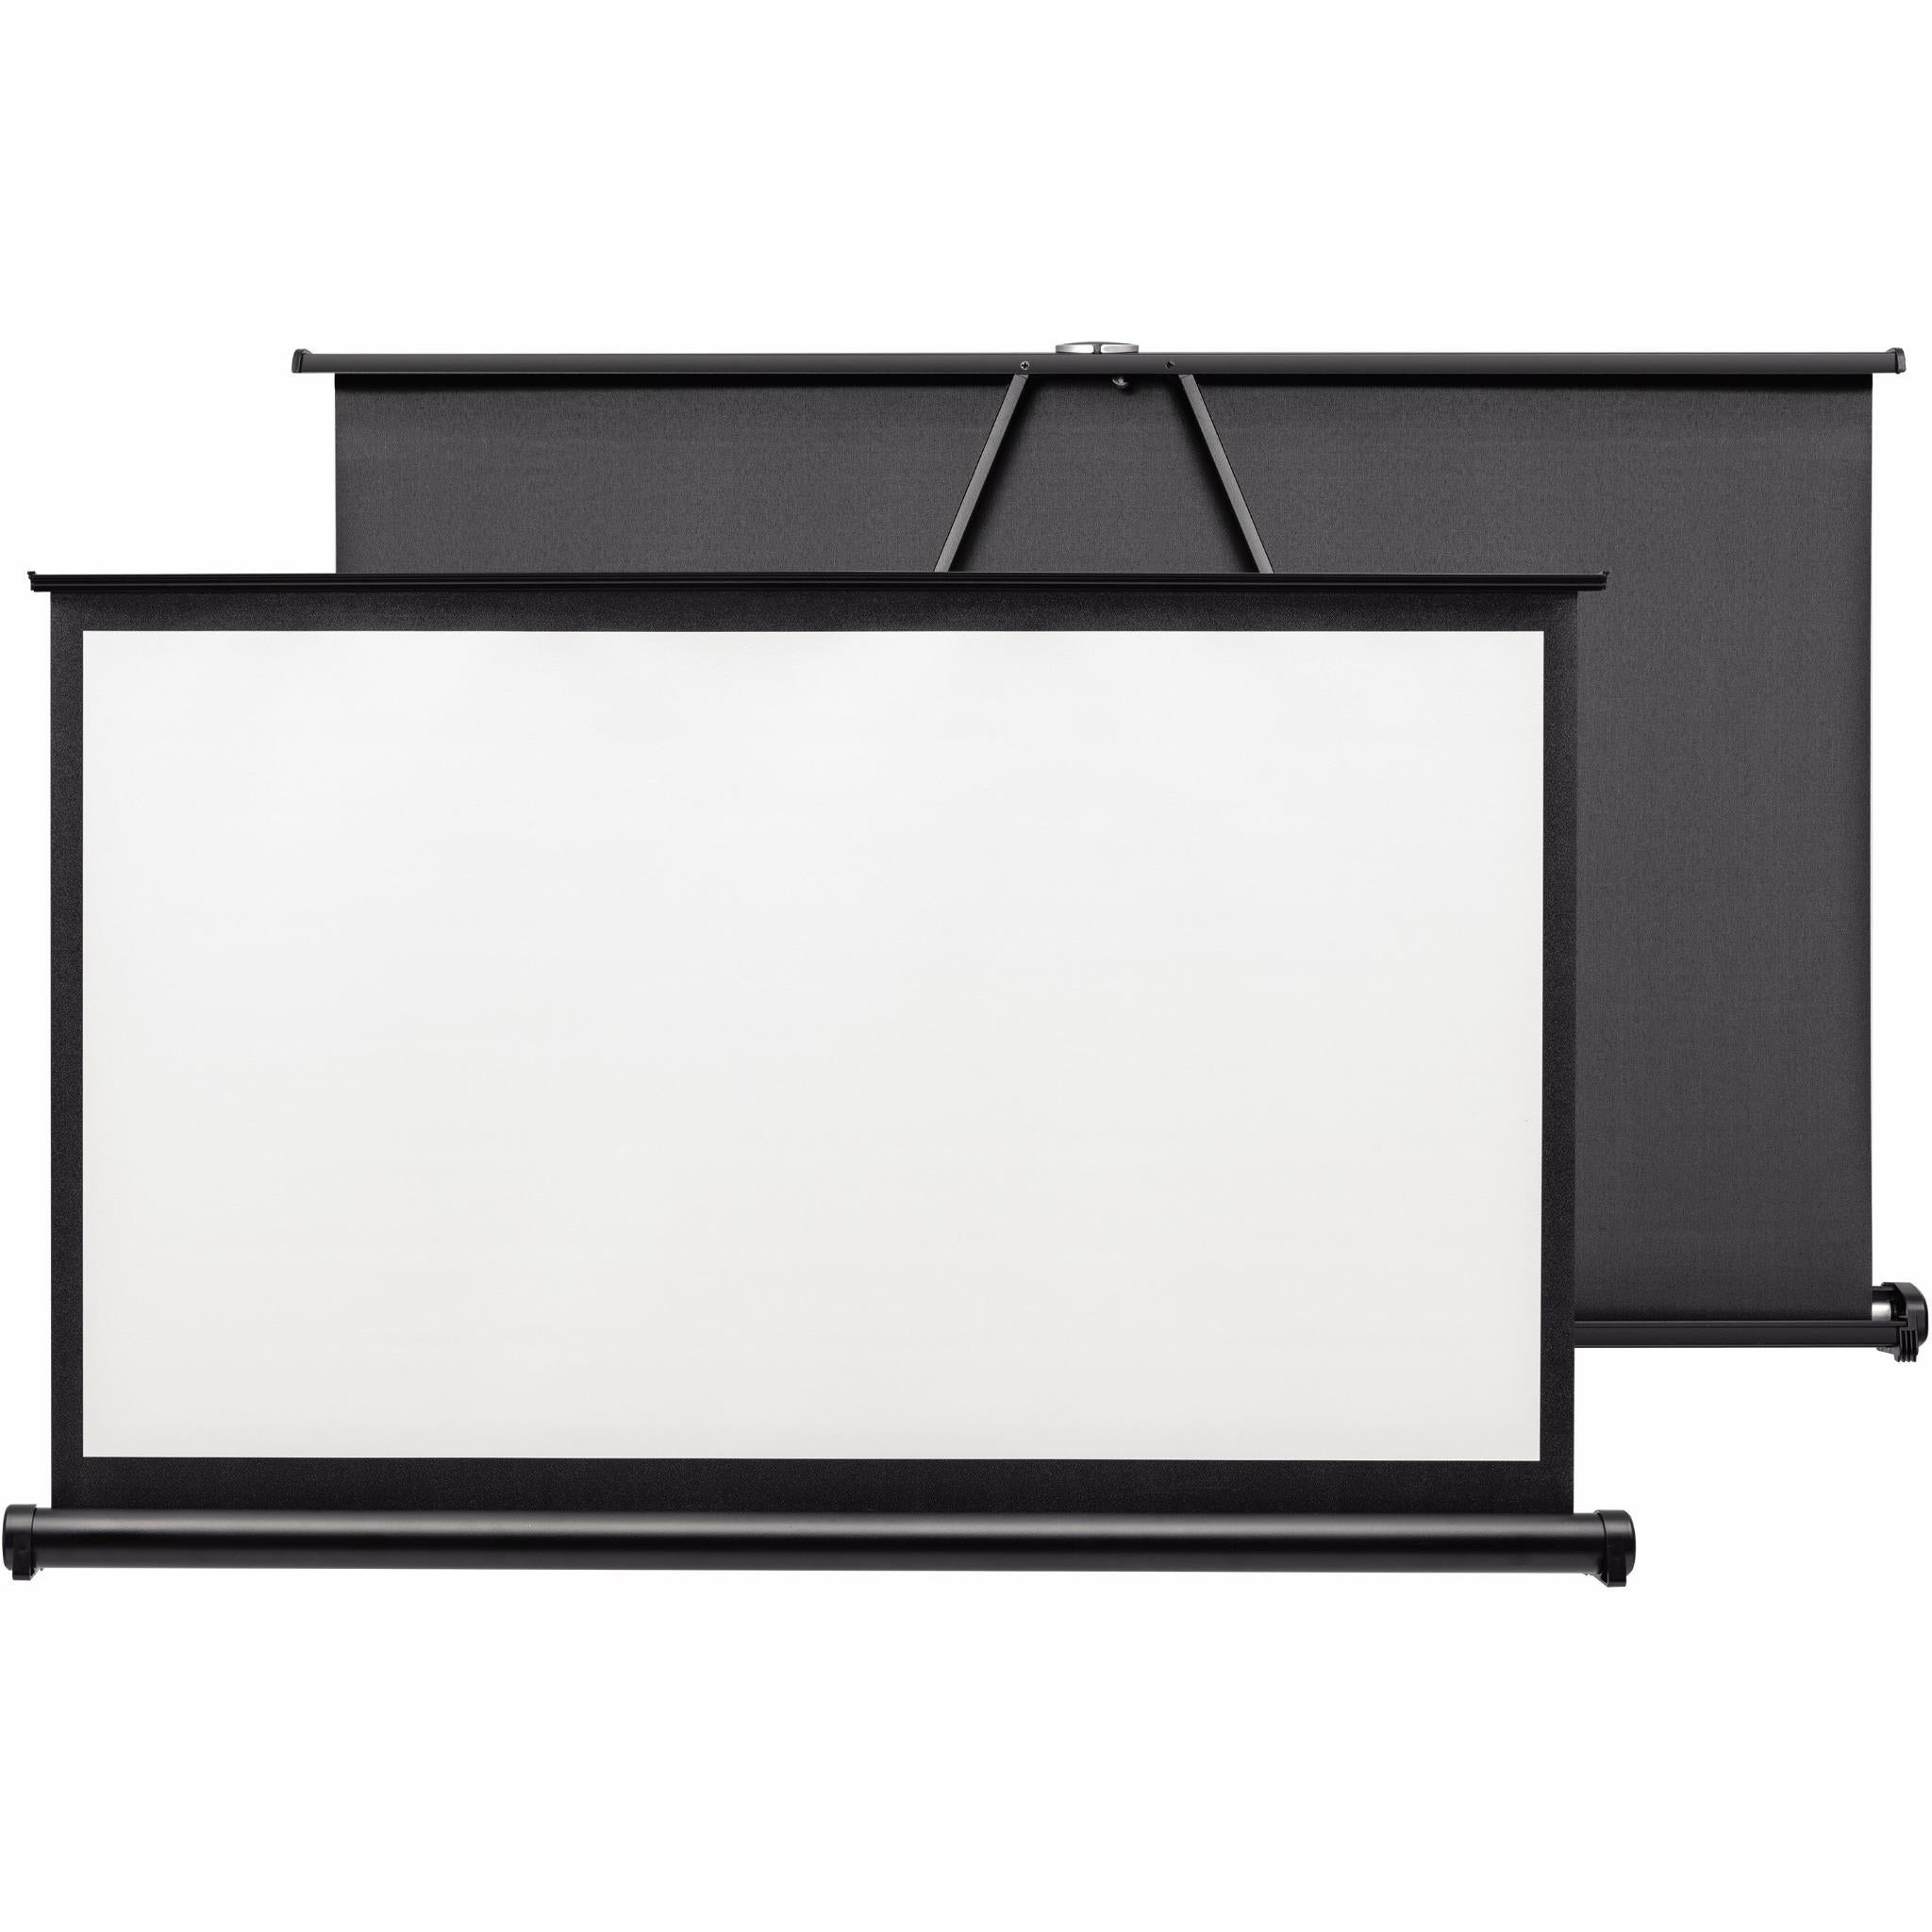
- Projector screen fabric: The primary component of your screen, the fabric will determine the visual quality and performance. Look for specialized projector screen material designed to enhance color reproduction and minimize light reflection.
- Wood or aluminum frame material: Depending on your preference and the intended location of the screen, you can opt for either wood or aluminum to construct the frame. Ensure the material is sturdy and capable of supporting the fabric without warping or bending.
- Corner braces or brackets: These will be used to reinforce the frame’s corners, providing additional stability and durability.
- Staple gun and staples: Essential for securing the fabric to the frame, a staple gun will ensure a tight and wrinkle-free surface.
- Tape measure and straight edge: Accurate measurements and straight lines are crucial for achieving a professional-looking result.
- Saw (if cutting frame material): If you’re constructing a custom-sized screen, a saw will be necessary to cut the frame material to the desired dimensions.
- Sandpaper: To smooth any rough edges or surfaces on the frame material.
- Level: Ensures that the screen is perfectly straight and aligned during installation.
- Mounting hardware: Depending on your mounting preferences, you’ll need appropriate hardware such as screws, wall anchors, or brackets to securely affix the screen to the wall or ceiling.
- Screwdriver or drill: For attaching the frame and mounting hardware.
- Protective goggles and gloves: Safety first! When working with tools and materials, protective gear is essential to prevent injuries.
By gathering these materials and tools, you’ll be well-equipped to begin the construction of your custom projector screen. With everything in hand, you’re one step closer to enjoying a cinematic viewing experience from the comfort of your own home.
Choosing the Right Fabric
When it comes to creating a high-quality projector screen, the fabric you select plays a pivotal role in the overall performance and visual experience. The ideal projector screen fabric is designed to optimize image clarity, color vibrancy, and contrast while minimizing the impact of ambient light. Here are some key factors to consider when choosing the right fabric for your DIY projector screen:
- Gain: The gain of a projector screen fabric refers to its ability to reflect light. A higher gain results in increased brightness, making it suitable for environments with ambient light. Conversely, lower gain fabrics offer wider viewing angles and are ideal for dedicated home theater setups with controlled lighting.
- Color neutrality: Opt for a fabric that maintains color accuracy and neutrality, ensuring that the projected images appear true to life without any color shifts or distortions.
- Texture: Smooth, matte fabrics are preferred for projector screens, as they minimize the risk of hotspots or texture-induced distortions in the projected images.
- Acoustic transparency (optional): If you’re integrating your projector screen into a home theater with a sound system located behind the screen, consider a fabric that allows sound to pass through without compromising the visual quality.
- Size and aspect ratio: Ensure that the fabric dimensions and aspect ratio align with your projector’s specifications and the desired screen size. This will prevent the need for excessive stretching or cropping during the construction process.
- Environmental considerations: If your viewing area is prone to ambient light or glare, opt for a fabric with ambient light-rejecting properties to maintain image clarity in challenging lighting conditions.
Before making a final decision, consider obtaining fabric samples to assess their performance in your specific viewing environment. This hands-on approach allows you to evaluate the fabric’s visual characteristics and compatibility with your projector, ensuring that you make an informed choice.
By carefully evaluating these factors and selecting a fabric that aligns with your viewing preferences and environmental conditions, you can lay the foundation for a projector screen that delivers exceptional visual fidelity and immersion. With the fabric chosen, you’re ready to move on to the next steps of constructing your custom projector screen.
Building the Frame
Constructing a sturdy and precisely measured frame is essential for ensuring the structural integrity and visual performance of your DIY projector screen. Whether you opt for wood or aluminum, the frame serves as the foundation upon which the screen fabric will be stretched and secured. Here’s a step-by-step guide to building the frame for your projector screen:
- Measure and cut the frame material: Using a tape measure and straight edge, carefully measure and mark the dimensions of the frame based on your desired screen size. If necessary, use a saw to cut the wood or aluminum to the exact lengths required for the frame.
- Assemble the frame: Using corner braces or brackets, securely join the frame pieces together at each corner. This step is crucial for maintaining the frame’s squareness and rigidity.
- Smooth the edges: If you’ve cut the frame material, use sandpaper to smooth any rough or uneven edges, ensuring a clean and professional finish.
- Check for squareness: Using a carpenter’s square or a measuring tape, verify that the frame is perfectly square by measuring the diagonals. Adjust as needed to ensure the frame is true and symmetrical.
- Reinforce the corners (optional): For added durability, consider reinforcing the corners of the frame with additional braces or wood glue, particularly for larger screens that may experience greater tension when stretching the fabric.
By meticulously following these steps, you’ll create a robust and precisely crafted frame that forms the backbone of your projector screen. The frame’s accuracy and stability are essential for achieving a smooth and taut screen surface, which directly impacts the visual quality of the projected images.
With the frame assembled, you’re now ready to move on to the next phase: stretching the carefully chosen fabric over the frame to create a flawless projection surface. This pivotal step will bring your DIY projector screen one step closer to completion, setting the stage for an immersive and captivating viewing experience in your home entertainment space.
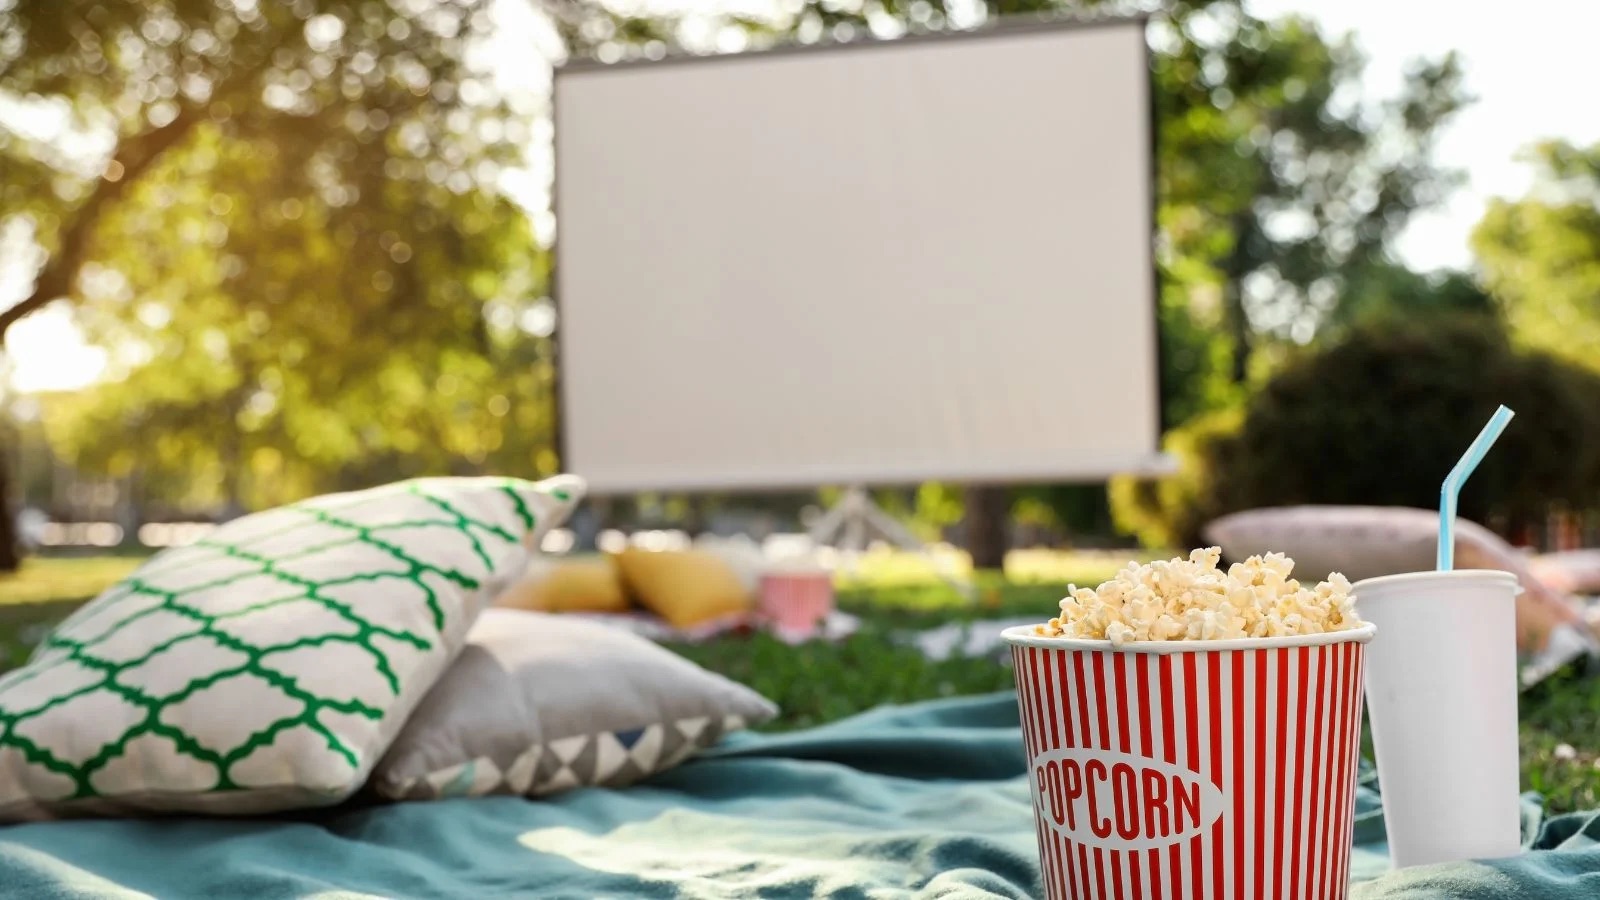
Consider the type of material you use for your projector screen. A high-quality, reflective material will produce a clearer and brighter image. Avoid using materials that are too textured or have a strong weave pattern, as this can affect the image quality.
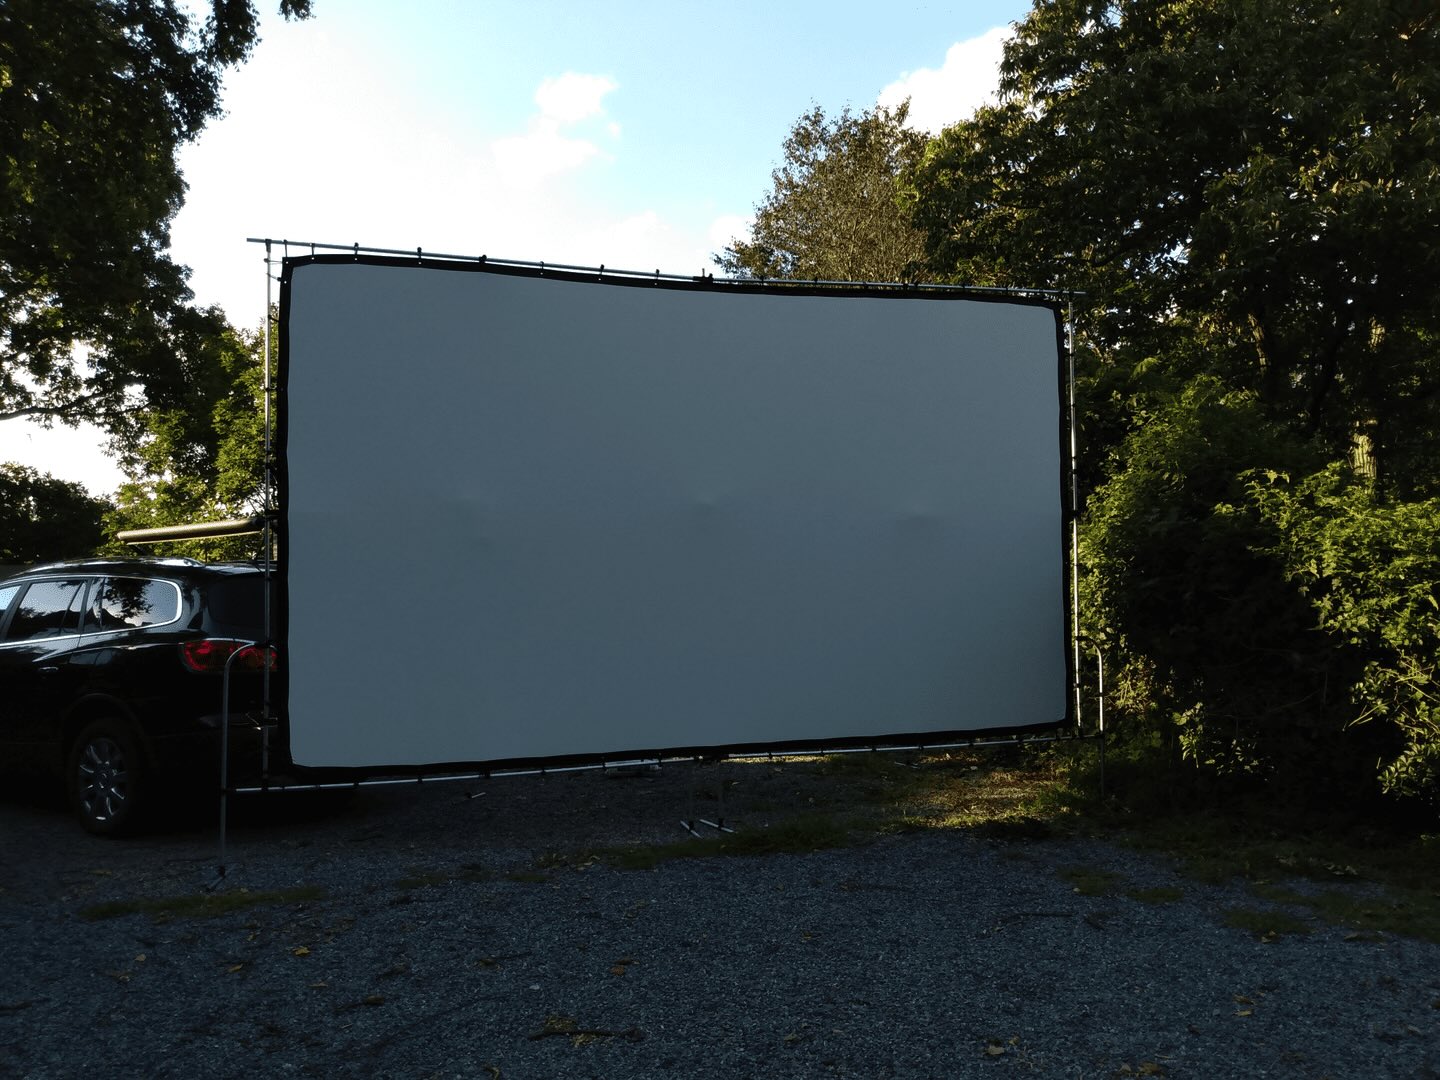
Stretching the Fabric
Stretching the fabric over the frame is a critical step in creating a professional-grade projector screen. The manner in which the fabric is tensioned and secured directly impacts the screen’s visual performance and overall appearance. To achieve a smooth, wrinkle-free surface, follow these steps for stretching the fabric over the frame:
- Position the fabric: Lay the selected projector screen fabric flat on a clean, spacious surface, ensuring that it is free from wrinkles and creases.
- Place the frame: Position the assembled frame on top of the fabric, aligning it with the edges to ensure an even stretch across all sides.
- Secure one side: Starting from one edge, use a staple gun to affix the fabric to the frame. Begin by stapling the center of the edge, then work outward toward the corners, maintaining even tension as you staple.
- Stretch and staple opposite side: Move to the opposite edge of the frame and repeat the stapling process, ensuring that the fabric remains taut and smooth as you secure it to the frame.
- Repeat for remaining sides: Proceed to staple the fabric along the remaining edges of the frame, alternating between opposite sides to maintain balanced tension and minimize the risk of wrinkles or slack areas.
- Trim excess fabric: Once the fabric is securely attached to the frame, carefully trim any excess material, leaving a clean and uniform edge around the perimeter of the frame.
- Inspect for uniform tension: After stapling, visually inspect the fabric to ensure that it is uniformly tensioned across the entire surface, with no visible wrinkles, sags, or distortions.
By methodically stretching the fabric over the frame and securing it with precision, you’ll achieve a flawless projection surface that maximizes image clarity and uniformity. The attention to detail during this step is crucial for creating a professional-looking projector screen that delivers a captivating viewing experience.
With the fabric expertly stretched and secured, your DIY projector screen is now poised for the final phase: mounting it in your preferred location to transform your home entertainment setup into a cinematic oasis. The next step will guide you through the process of mounting the completed screen, bringing you one step closer to enjoying immersive visuals in the comfort of your own home.
Read more: How To Split Screen On A Projector
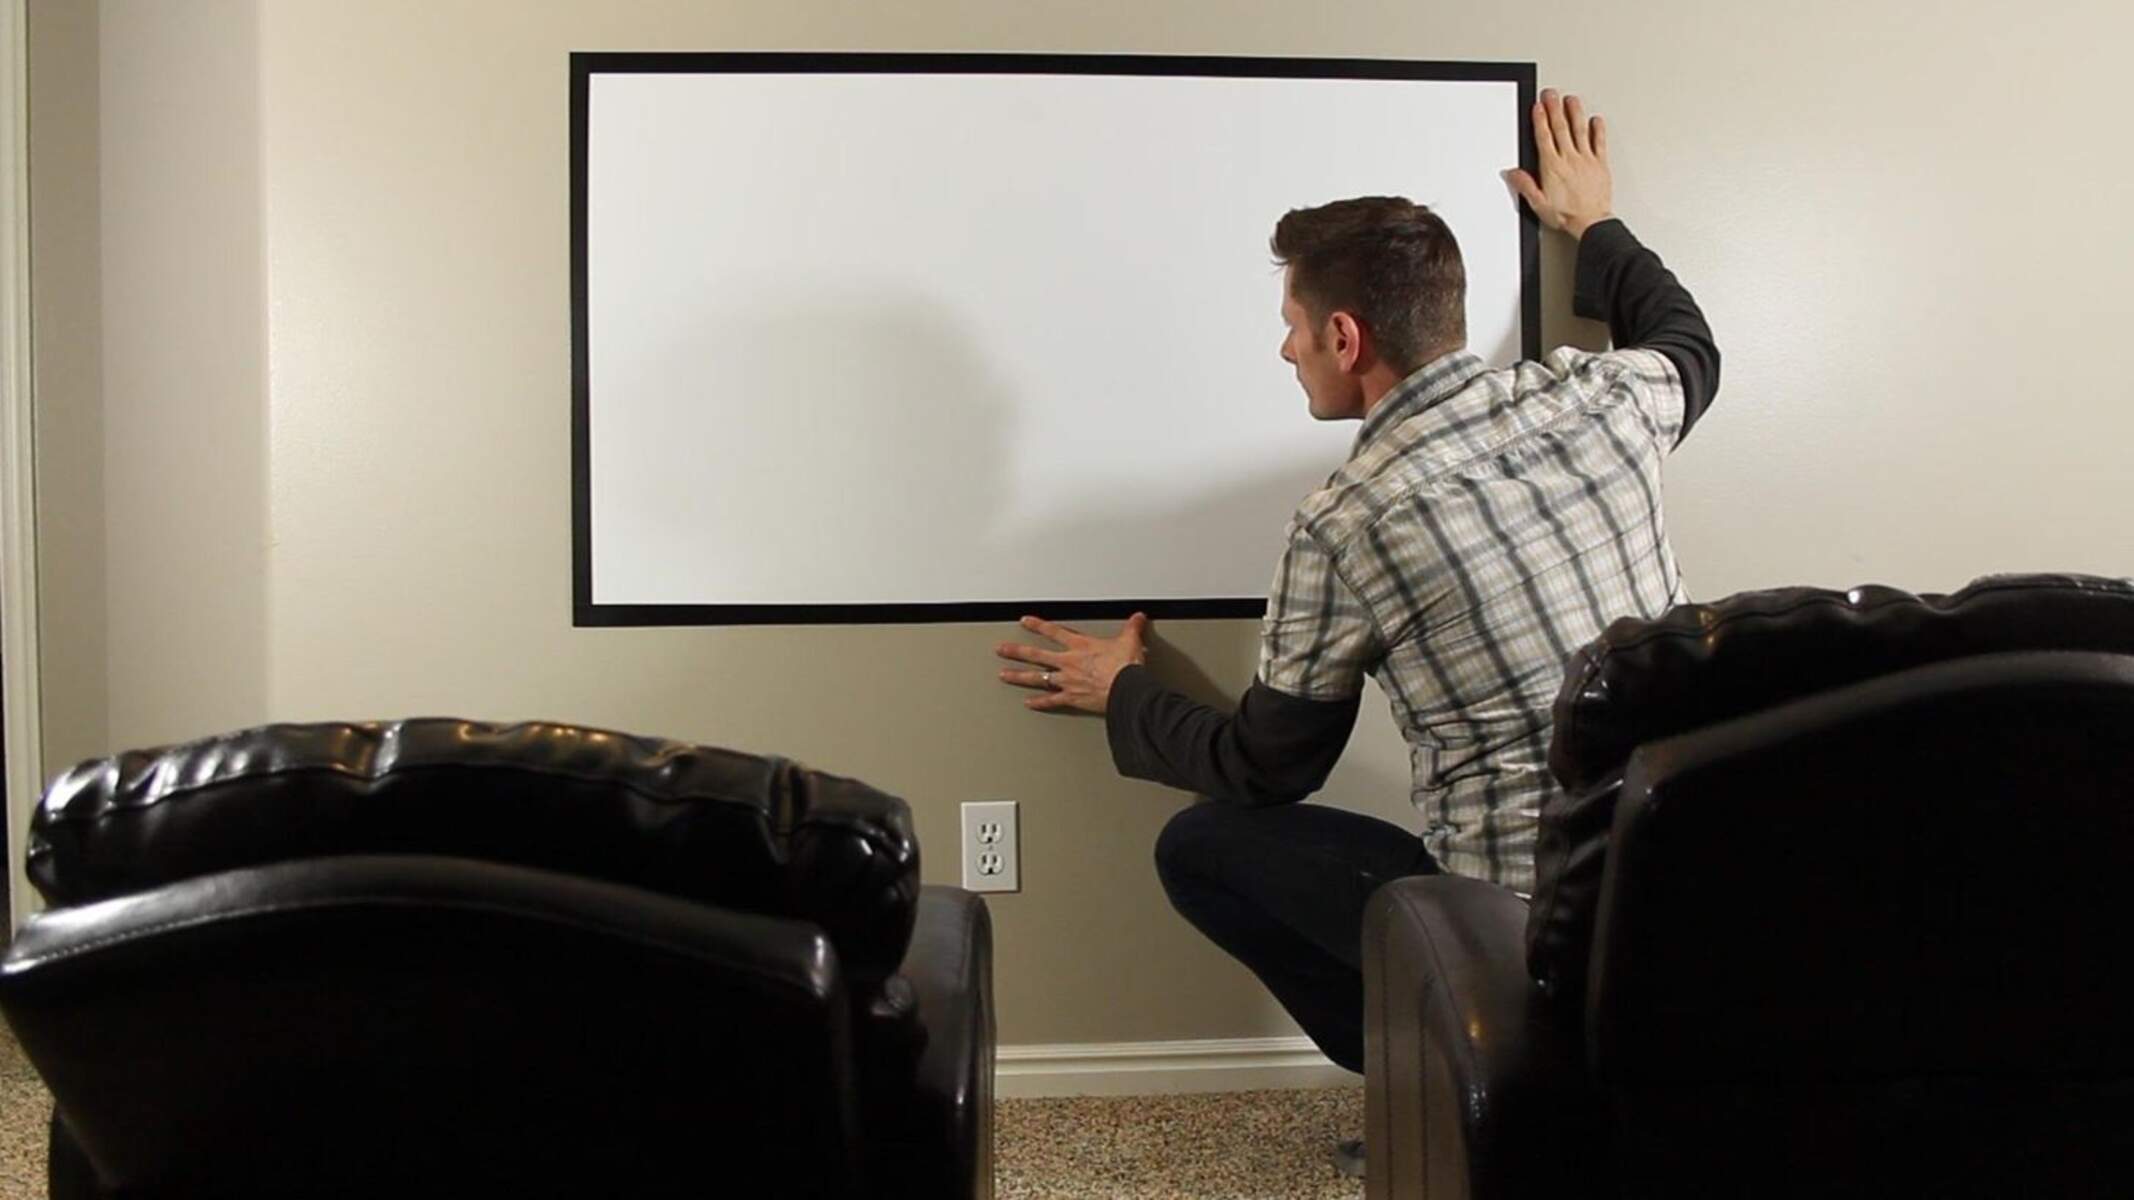
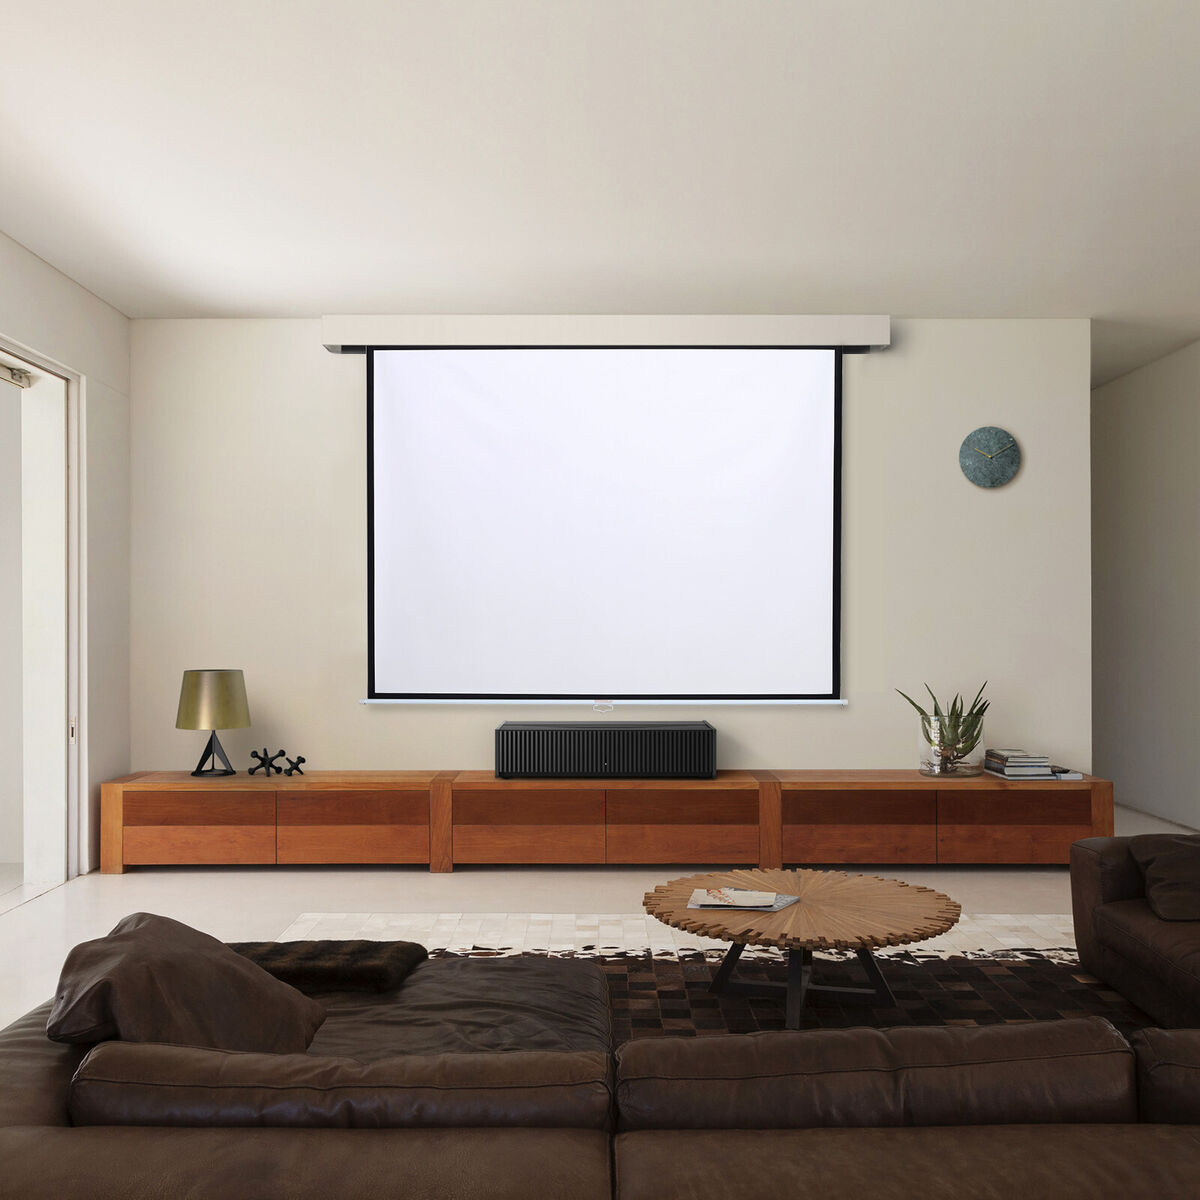
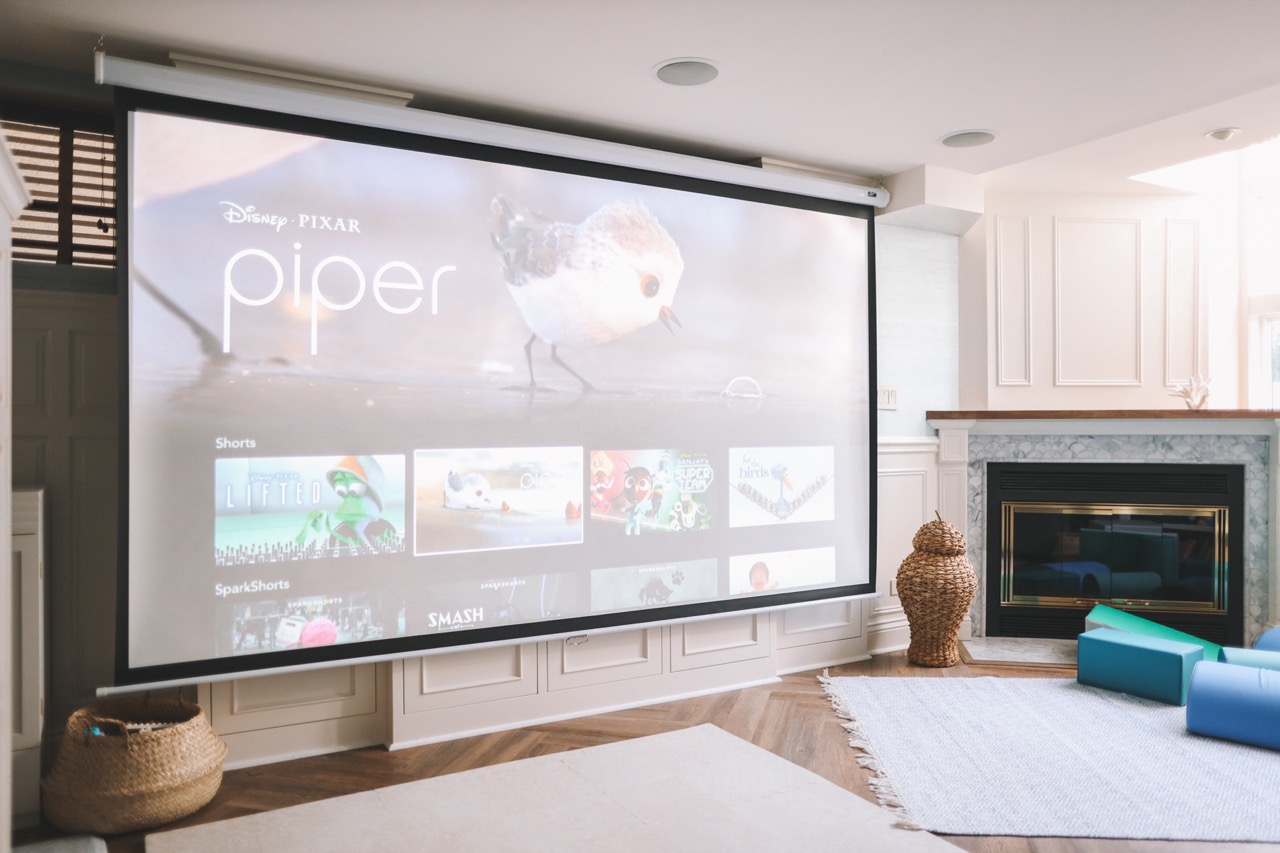
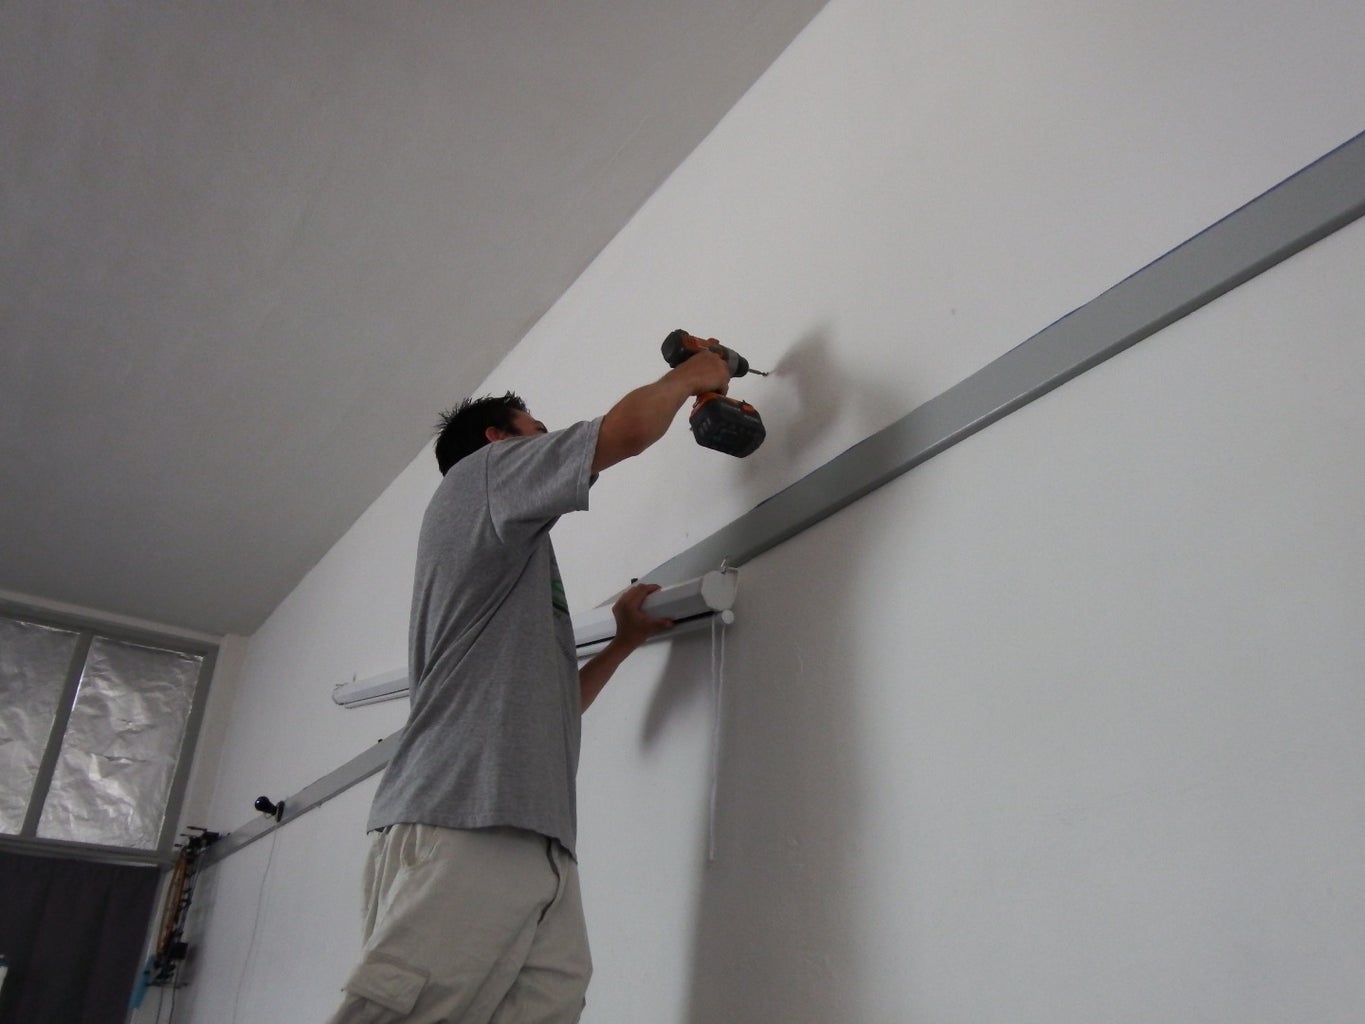
Mounting the Screen
Mounting your custom-built projector screen is the final step in bringing your DIY project to fruition. Proper installation ensures that the screen is securely positioned for optimal viewing and seamlessly integrates into your home entertainment space. Follow these essential guidelines for mounting the completed screen with precision and care:
- Choose the mounting location: Select a suitable location for the projector screen, considering factors such as viewing angles, seating arrangement, and the projector’s throw distance. Whether it’s wall-mounted or ceiling-mounted, ensure that the screen is positioned at an ideal height and distance for comfortable viewing.
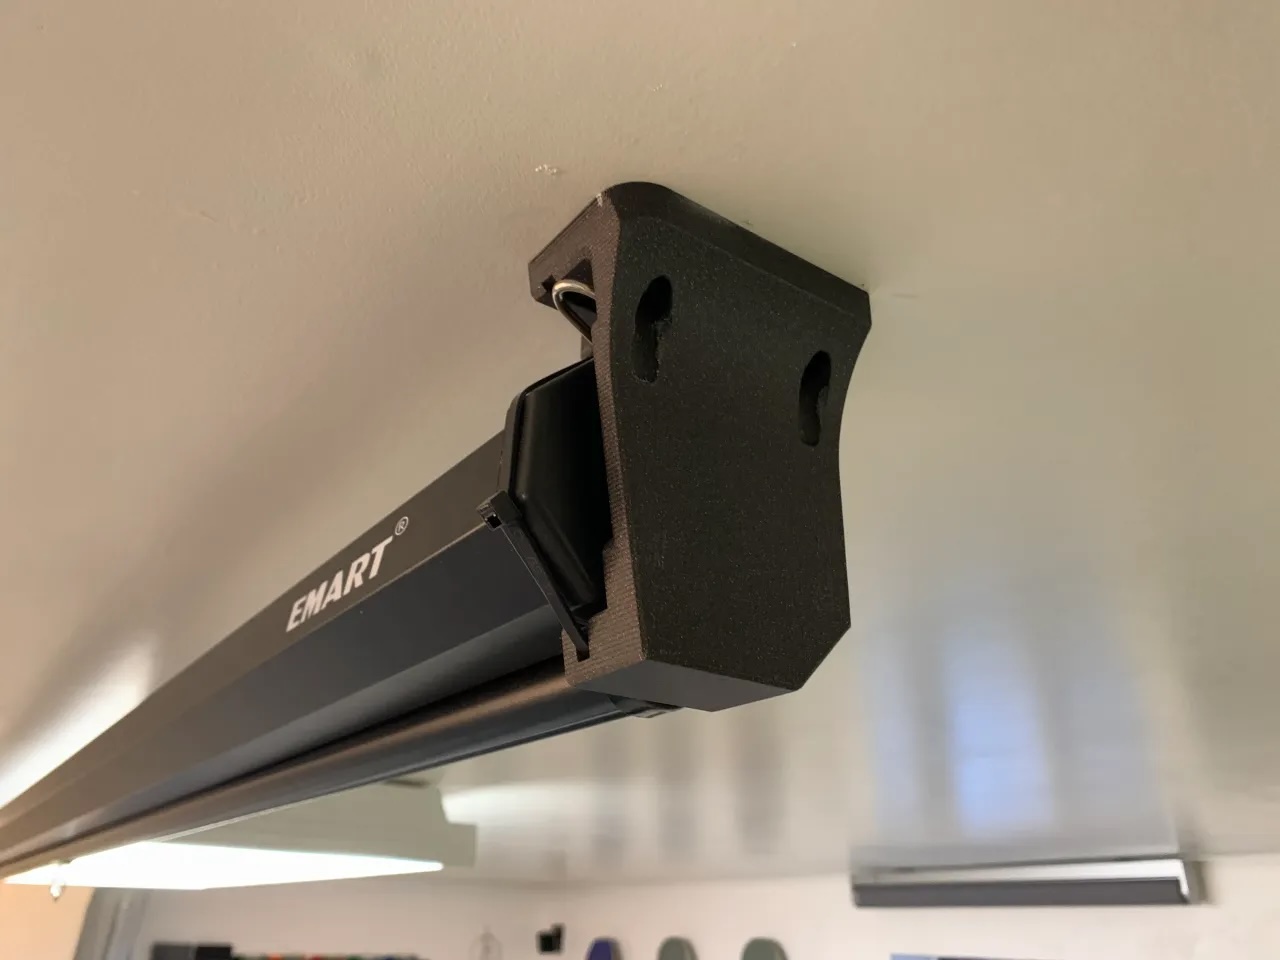
- Locate wall studs or ceiling joists: Use a stud finder or joist locator to identify the structural supports where the mounting hardware will be anchored. Securely mounting the screen to these supports is crucial for stability and safety.
- Install mounting hardware: Depending on the chosen location, use appropriate hardware such as screws, wall anchors, or brackets to securely affix the screen to the wall or ceiling. Ensure that the hardware is rated to support the weight of the screen and is compatible with the mounting points on the frame.
- Level the screen: Using a level, ensure that the screen is perfectly aligned and straight during the mounting process. This step is essential for achieving a professional and polished installation.
- Test the stability: Once the screen is mounted, carefully test its stability and resistance to movement. Gently nudge the screen to ensure that it is securely anchored and does not sway or wobble excessively.
- Connect the projector: With the screen securely mounted, connect your projector and ensure that it is positioned and calibrated to project onto the screen accurately. Adjust the projector’s settings as needed to achieve optimal image size and clarity.
By following these steps, you’ll achieve a seamless and secure installation of your DIY projector screen, transforming your viewing space into a captivating home theater experience. With the screen expertly mounted and the projector in place, you’re now ready to immerse yourself in the stunning visuals and immersive entertainment that your custom-built projector screen delivers.
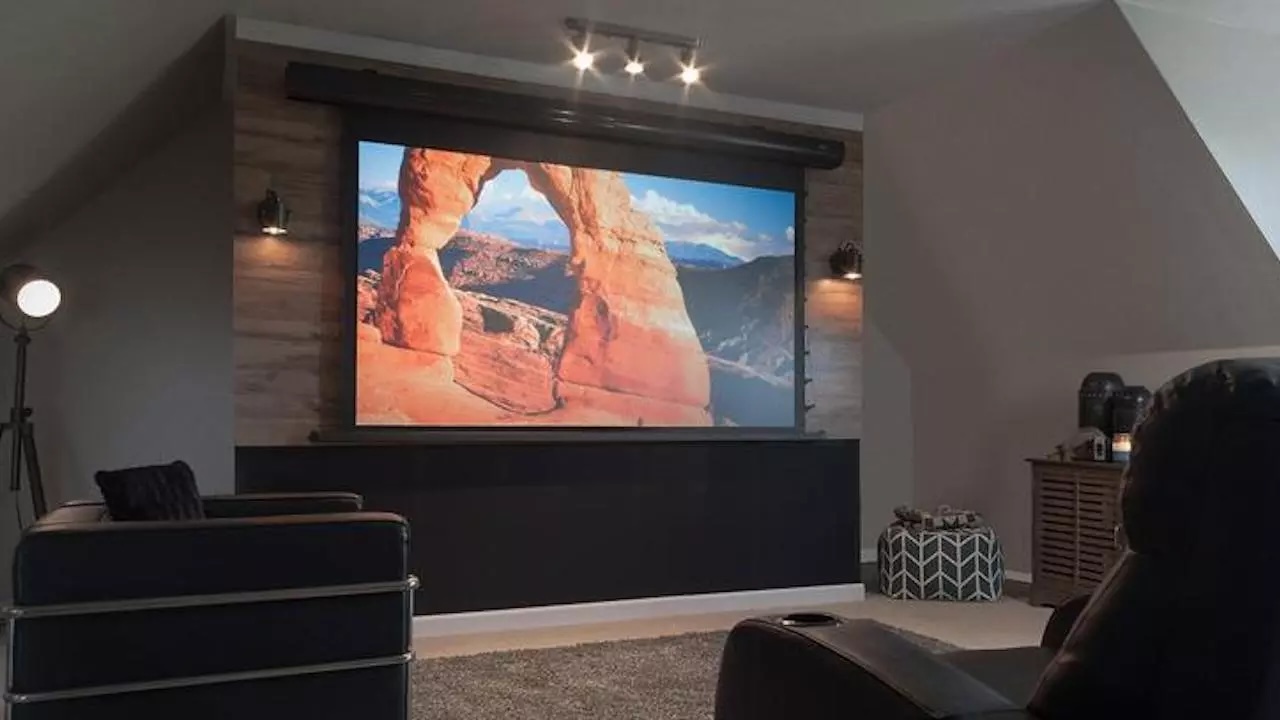
With the completion of the mounting process, your DIY projector screen is now fully integrated into your home entertainment setup, providing a personalized and high-performance viewing experience. Whether it’s movie nights, gaming sessions, or sports events, your custom projector screen is poised to elevate every moment with immersive visuals and cinematic splendor.
Conclusion
Congratulations on successfully creating your own custom projector screen! Through careful selection of materials, meticulous construction of the frame, precise stretching of the fabric, and seamless mounting, you’ve brought your DIY project to fruition, culminating in a personalized home entertainment experience that rivals commercial options. As you step back to admire your handiwork, it’s time to reflect on the journey and the immersive viewing experiences that lie ahead.
By crafting your own projector screen, you’ve not only tailored the size and specifications to your preferences but also gained a deeper appreciation for the intricacies of creating a high-quality visual display. The attention to detail and precision invested in each step has resulted in a projection surface that delivers exceptional image clarity, vibrant colors, and immersive cinematic experiences.
As you settle in for your first viewing session, whether it’s a blockbuster movie, an intense gaming session, or a thrilling sports event, take pride in the fact that every aspect of your projector screen was meticulously crafted to deliver unparalleled visual performance. The seamless integration of the screen into your home entertainment space marks the beginning of countless memorable moments and shared experiences with friends and family.
As you bask in the immersive visuals and captivating imagery that your DIY projector screen brings to life, remember the satisfaction of embarking on a hands-on project that enhances your home entertainment setup. Your custom projector screen stands as a testament to your creativity, resourcefulness, and commitment to crafting a personalized viewing experience that transcends the ordinary.
With your DIY projector screen now a centerpiece of your home entertainment space, it’s time to sit back, relax, and immerse yourself in the captivating visuals that unfold before you. Every movie, game, or live event becomes an opportunity to revel in the immersive and larger-than-life experience that your custom projector screen delivers.
So, as you embark on this new chapter of cinematic enjoyment, remember the journey that led to this moment, and revel in the captivating visuals that your custom-built projector screen brings to life. Here’s to countless hours of immersive entertainment, shared laughter, and unforgettable experiences in the comfort of your own home.
Frequently Asked Questions about How To Make A Projector Screen
Was this page helpful?
At Storables.com, we guarantee accurate and reliable information. Our content, validated by Expert Board Contributors, is crafted following stringent Editorial Policies. We're committed to providing you with well-researched, expert-backed insights for all your informational needs.


0 thoughts on “How To Make A Projector Screen”