Home>Technology>Home Entertainment Systems>How To Freeze A Projector Screen
Home Entertainment Systems
How To Freeze A Projector Screen
Modified: August 23, 2024
Learn how to properly freeze a projector screen for your home entertainment system. Discover tips and tricks for preserving image quality and extending the lifespan of your screen.
(Many of the links in this article redirect to a specific reviewed product. Your purchase of these products through affiliate links helps to generate commission for Storables.com, at no extra cost. Learn more)
Introduction
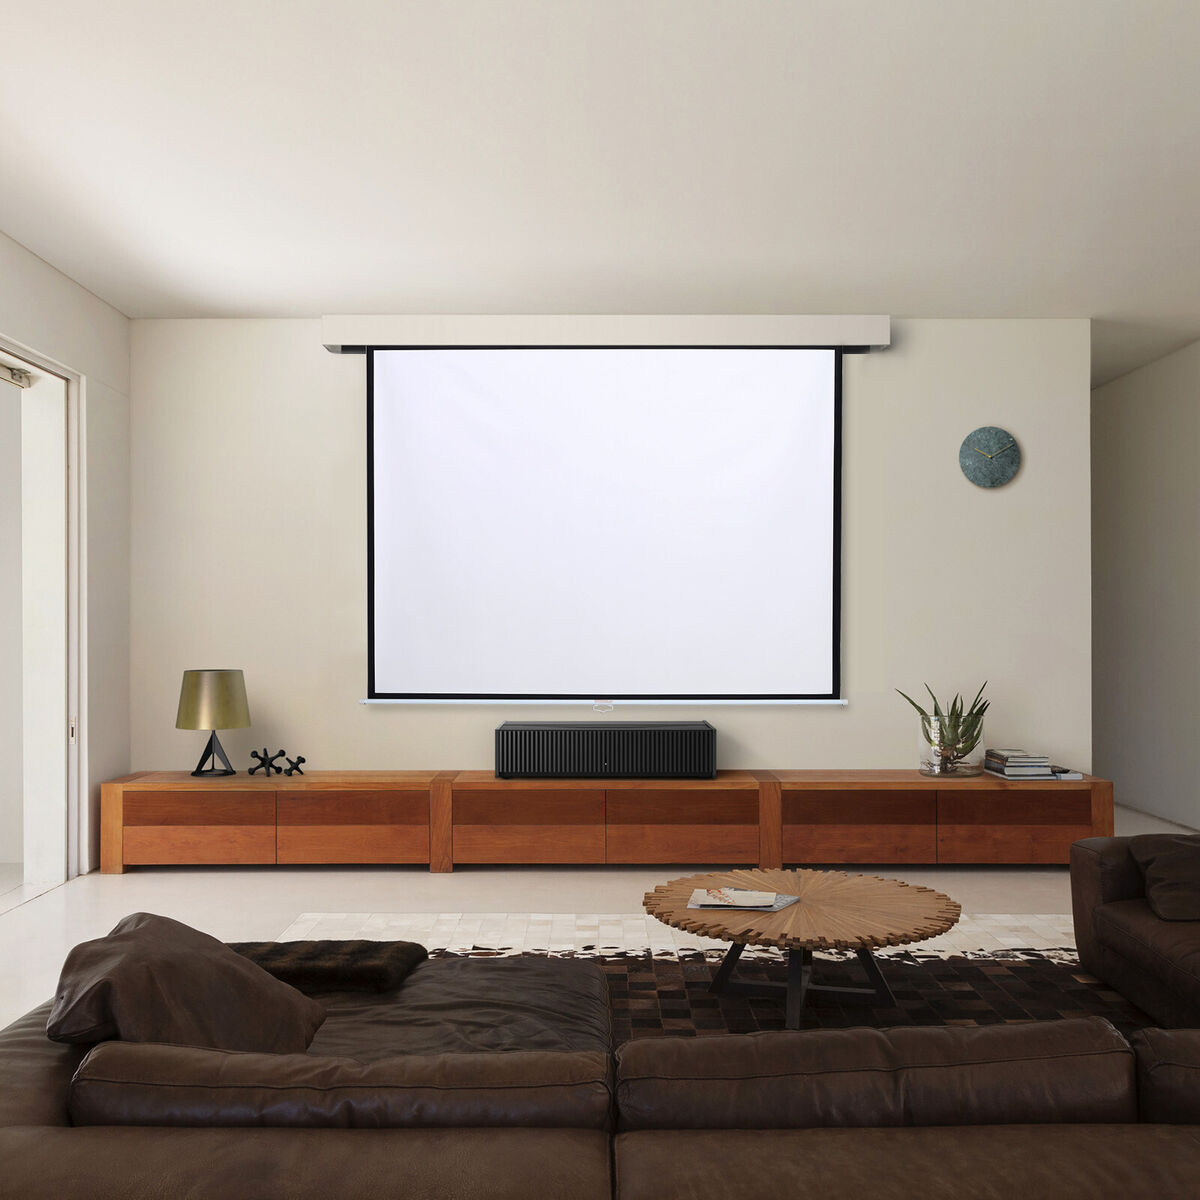
Welcome to the world of home entertainment systems, where the immersive experience of watching movies, playing video games, or enjoying multimedia presentations comes to life through the magic of projectors. Projector screens play a pivotal role in delivering crisp, vibrant visuals, making them an essential component of any home theater setup. However, over time, projector screens can accumulate dust, dirt, and other debris, impacting the quality of the projected images. In some cases, you may encounter stubborn wrinkles or creases that detract from the viewing experience.
One innovative solution to address these issues involves freezing the projector screen. Freezing the screen can effectively eliminate wrinkles and creases, restoring its smooth, taut surface for optimal image projection. This unconventional method has gained traction among home entertainment enthusiasts seeking a simple yet effective way to rejuvenate their projector screens.
In this comprehensive guide, we will walk you through the step-by-step process of freezing a projector screen, providing valuable insights and practical tips to help you achieve remarkable results. Whether you’re a seasoned home theater aficionado or a newcomer to the world of projector screens, this article will equip you with the knowledge and techniques needed to enhance your viewing experience through the art of freezing a projector screen.
Key Takeaways:
- Rejuvenate your projector screen by freezing it to eliminate wrinkles and creases, enhancing your home entertainment experience with crisp, vibrant visuals and an immaculate projection surface.
- Embrace unconventional methods like freezing to revitalize your home entertainment system, showcasing innovation and persistence while unlocking a unique way to enhance your viewing pleasure.
Read more: How To Split Screen On A Projector
Step 1: Gather Necessary Materials
Before embarking on the journey of freezing your projector screen, it’s essential to gather the necessary materials to ensure a smooth and successful process. Here’s a list of items you’ll need:
- Clean, Lint-Free Cloths: These will be used to wipe down the projector screen and ensure that it is free from any dust, dirt, or smudges before freezing.
- Mild Cleaning Solution: Opt for a gentle, non-abrasive cleaning solution specifically designed for projector screens. Avoid using harsh chemicals that could damage the screen’s surface.
- Flat, Clean Surface: You’ll need a spacious, flat area where you can lay out the projector screen for cleaning and freezing. A clean floor or large table will suffice.
- Plastic Wrap or Large Plastic Bags: These will be used to protect the screen during the freezing process and prevent it from coming into direct contact with ice.
- Freezer Space: Ensure that you have adequate space in your freezer to accommodate the projector screen without bending or folding it. Clear out any obstructions to create a flat, level surface for the screen.
- Patience: While not a tangible item, patience is a key ingredient for this process. Freezing a projector screen requires time and a methodical approach to achieve the desired results.
By assembling these materials beforehand, you’ll be well-prepared to tackle the subsequent steps with confidence and precision. With the necessary tools at your disposal, you can proceed to the next phase of the freezing process, ensuring that your projector screen receives the care and attention it deserves.
Step 2: Clean the Projector Screen
Before subjecting your projector screen to the freezing process, it’s crucial to start with a clean slate. Over time, projector screens can accumulate dust, fingerprints, and other blemishes that may interfere with the freezing procedure. Follow these steps to ensure that your projector screen is thoroughly cleaned:
- Prepare the Cleaning Solution: Dilute the mild cleaning solution with water according to the manufacturer’s instructions. It’s important to use a gentle, non-abrasive solution to avoid damaging the screen’s surface.
- Gently Wipe Down the Screen: Using clean, lint-free cloths, dampen one cloth with the cleaning solution and gently wipe the entire surface of the projector screen. Take care to remove any visible smudges, dust, or dirt, paying special attention to any stubborn spots or stains.
- Dry the Screen: Once the screen has been cleaned, use a separate dry cloth to carefully dry the surface, ensuring that no moisture remains. This step is crucial to prevent water spots or streaks from forming on the screen.
- Inspect for Lingering Debris: After cleaning and drying the screen, inspect it closely for any remaining debris or imperfections. Address any lingering issues by gently wiping the affected areas with a clean, dry cloth.
By meticulously cleaning the projector screen, you’ll create an optimal foundation for the subsequent freezing process. A clean screen not only enhances the effectiveness of the freezing method but also ensures that your projector screen remains in pristine condition for future use.
Step 3: Prepare the Screen for Freezing
With a clean projector screen as your canvas, the next step involves preparing the screen for the freezing process. This crucial phase sets the stage for achieving optimal results and ensuring that the screen is adequately protected during freezing. Follow these essential steps to prepare the screen for freezing:
- Inspect for Wrinkles and Creases: Carefully examine the projector screen for any visible wrinkles, creases, or imperfections. Take note of areas that require particular attention during the freezing process.
- Smooth Out Any Wrinkles: Gently smooth out any visible wrinkles or creases on the screen. Using light, even pressure, work to eliminate these imperfections as much as possible before proceeding to the next step.
- Protect the Screen with Plastic Wrap or Bags: To shield the screen from direct contact with ice during freezing, carefully cover it with plastic wrap or place it inside large plastic bags. Ensure that the screen is fully enclosed and that the protective material is secured in place.
- Remove Excess Air: If using plastic bags, expel as much air as possible before sealing them to create a snug, airtight environment around the screen. This step helps to minimize the risk of condensation forming on the screen’s surface during freezing.
- Ensure a Flat, Level Position: Lay the protected screen on a flat, clean surface, ensuring that it remains level and undisturbed. This positioning is essential for maintaining the screen’s integrity and preventing any shifting or bending during the freezing process.
By meticulously preparing the screen for freezing, you’ll create an environment conducive to achieving the desired outcome. Taking the time to address wrinkles, shield the screen from direct contact with ice, and maintain a stable position sets the stage for a successful freezing experience.
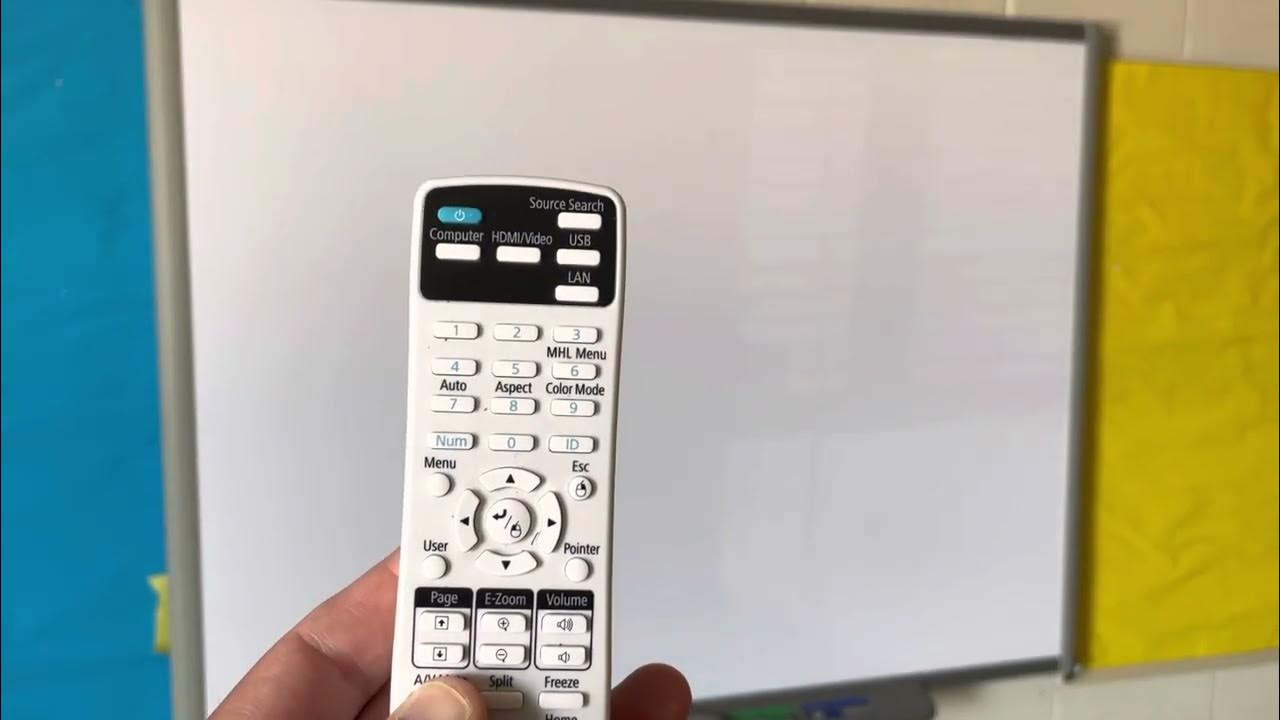
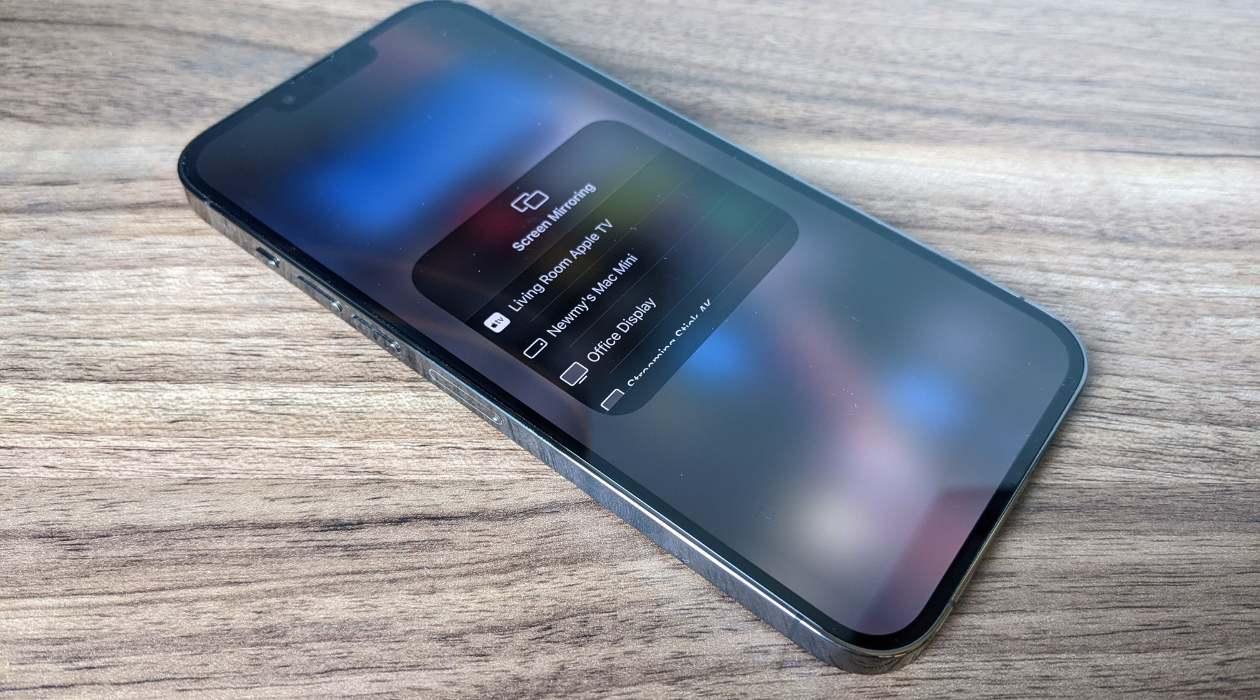
To freeze a projector screen, press the “Freeze” or “Hold” button on the remote control. This will pause the image on the screen without turning off the projector.
Step 4: Freezing the Projector Screen
As you embark on the freezing phase, it’s essential to approach the process with care and patience. Freezing the projector screen is a unique method designed to eliminate wrinkles and restore the screen’s tautness. Follow these steps to effectively freeze the projector screen:
- Select a Suitable Freezer: Identify a freezer with adequate space to accommodate the screen without bending or folding it. Clear out any obstructions to create a flat, level surface within the freezer.
- Place the Screen in the Freezer: Carefully position the prepared screen inside the freezer, ensuring that it lies flat and undisturbed. Take care to avoid placing heavy items on or near the screen that could cause pressure or damage during freezing.
- Allow Sufficient Freezing Time: The freezing process requires time to effectively address wrinkles and restore the screen’s smooth surface. Aim to leave the screen undisturbed in the freezer for an extended period, typically several hours or overnight, to achieve the desired results.
- Monitor the Freezing Progress: While the screen is in the freezer, periodically check on its progress to ensure that it remains undisturbed and that the protective covering is intact. Avoid moving or adjusting the screen unnecessarily during the freezing period.
- Remove the Screen from the Freezer: Once the freezing period is complete, carefully remove the screen from the freezer, taking care to maintain its flat, level position. Allow the screen to gradually return to room temperature before proceeding to the next step.
By following these steps, you’ll harness the power of freezing to rejuvenate your projector screen, effectively addressing wrinkles and restoring its pristine condition. Patience and diligence during the freezing process are key to achieving remarkable results and enhancing your home entertainment experience.
Read more: How To Make A Projector Screen
Step 5: Thawing the Projector Screen
After the freezing process, it’s essential to proceed with caution as you transition to the thawing phase. Thawing the projector screen effectively completes the rejuvenation process, allowing the screen to return to its original state with newfound smoothness and tautness. Follow these steps to safely thaw the projector screen:
- Allow the Screen to Reach Room Temperature: Upon removing the screen from the freezer, place it in a room-temperature environment and allow it to gradually thaw. Avoid exposing the screen to direct heat sources or sunlight, as rapid temperature changes could affect the screen’s integrity.
- Remove the Protective Covering: Carefully remove the plastic wrap or bags from the screen, ensuring that no moisture from condensation comes into contact with the surface. Take your time to avoid any abrupt movements that could potentially damage the screen.
- Inspect the Screen: Once the screen has thawed, inspect it closely for any remaining wrinkles or imperfections. Gently smooth out any residual creases, if necessary, to further enhance the screen’s appearance.
- Reinstall the Screen: With the screen now rejuvenated and free from wrinkles, carefully reinstall it in your home theater or entertainment space. Take care to mount or position the screen according to your specific setup and viewing preferences.
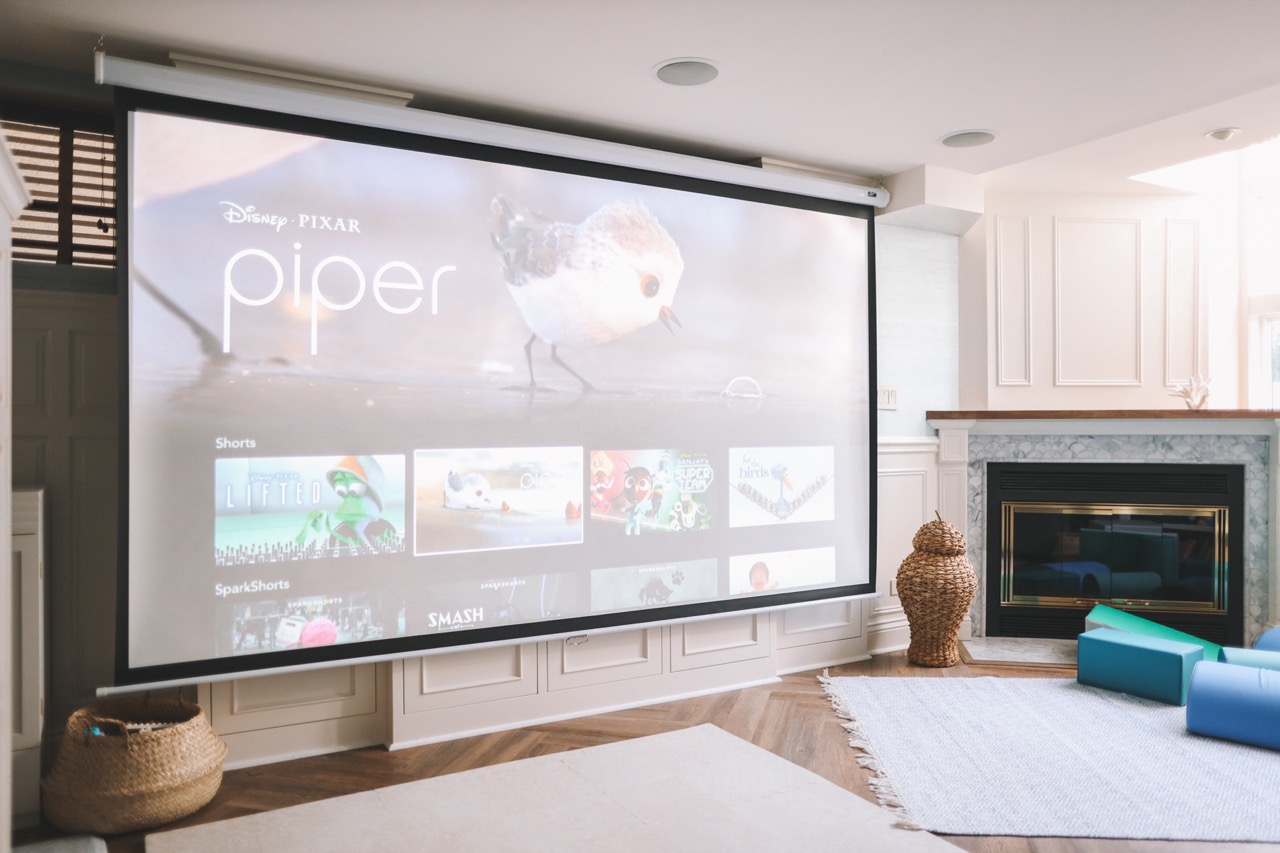
- Enjoy the Enhanced Viewing Experience: With your projector screen now rejuvenated through the freezing and thawing process, sit back, relax, and immerse yourself in the enhanced visual experience. Notice the remarkable difference in image quality and the smooth, taut surface that contributes to an optimal viewing environment.
Thawing the projector screen represents the final step in the rejuvenation process, allowing you to appreciate the transformative effects of freezing on your home entertainment experience. By following these steps with care and precision, you’ll achieve remarkable results and elevate the quality of your viewing sessions.
Conclusion
Congratulations on successfully navigating the innovative process of freezing and rejuvenating your projector screen. By embracing this unconventional yet effective method, you’ve revitalized your home entertainment experience and restored your projector screen to its optimal state. As you reflect on this journey, consider the following key takeaways:
- The Power of Innovation: Embracing unconventional methods such as freezing can yield remarkable results, showcasing the ingenuity and adaptability within the realm of home entertainment systems.
- Persistence Yields Rewards: The dedication and patience invested in the freezing process have culminated in a rejuvenated projector screen, demonstrating the value of perseverance in achieving desired outcomes.
- Enhanced Viewing Pleasure: With your projector screen now free from wrinkles and creases, you’re poised to enjoy an elevated viewing experience, characterized by crisp, vibrant visuals and an immaculate projection surface.
- Continued Care and Maintenance: As you relish the rejuvenated state of your projector screen, remember the importance of ongoing care and maintenance to preserve its optimal condition for future viewing sessions.
As you integrate the rejuvenated projector screen into your home theater setup, take pride in the transformative effects of freezing and the enduring impact it has on your viewing pleasure. Harnessing the power of innovation and a touch of creativity, you’ve unlocked a unique method to enhance your home entertainment system, setting the stage for countless captivating experiences to come.
Now, with a rejuvenated projector screen and a renewed appreciation for unconventional solutions, you’re poised to immerse yourself in the boundless world of home entertainment, where every viewing session becomes a captivating journey into the realms of cinema, gaming, and multimedia experiences.
Embrace the possibilities, savor the rejuvenation, and revel in the magic of your revitalized projector screen as you continue to craft unforgettable moments within the comfort of your home entertainment oasis.
Frequently Asked Questions about How To Freeze A Projector Screen
Was this page helpful?
At Storables.com, we guarantee accurate and reliable information. Our content, validated by Expert Board Contributors, is crafted following stringent Editorial Policies. We're committed to providing you with well-researched, expert-backed insights for all your informational needs.


0 thoughts on “How To Freeze A Projector Screen”