Home>Home Maintenance>How To Install A Through-The-Wall Air Conditioner

Home Maintenance
How To Install A Through-The-Wall Air Conditioner
Modified: March 7, 2024
Learn how to easily install a through-the-wall air conditioner in your home with our step-by-step guide. Ensure proper home maintenance by following our expert tips and tricks.
(Many of the links in this article redirect to a specific reviewed product. Your purchase of these products through affiliate links helps to generate commission for Storables.com, at no extra cost. Learn more)
Introduction
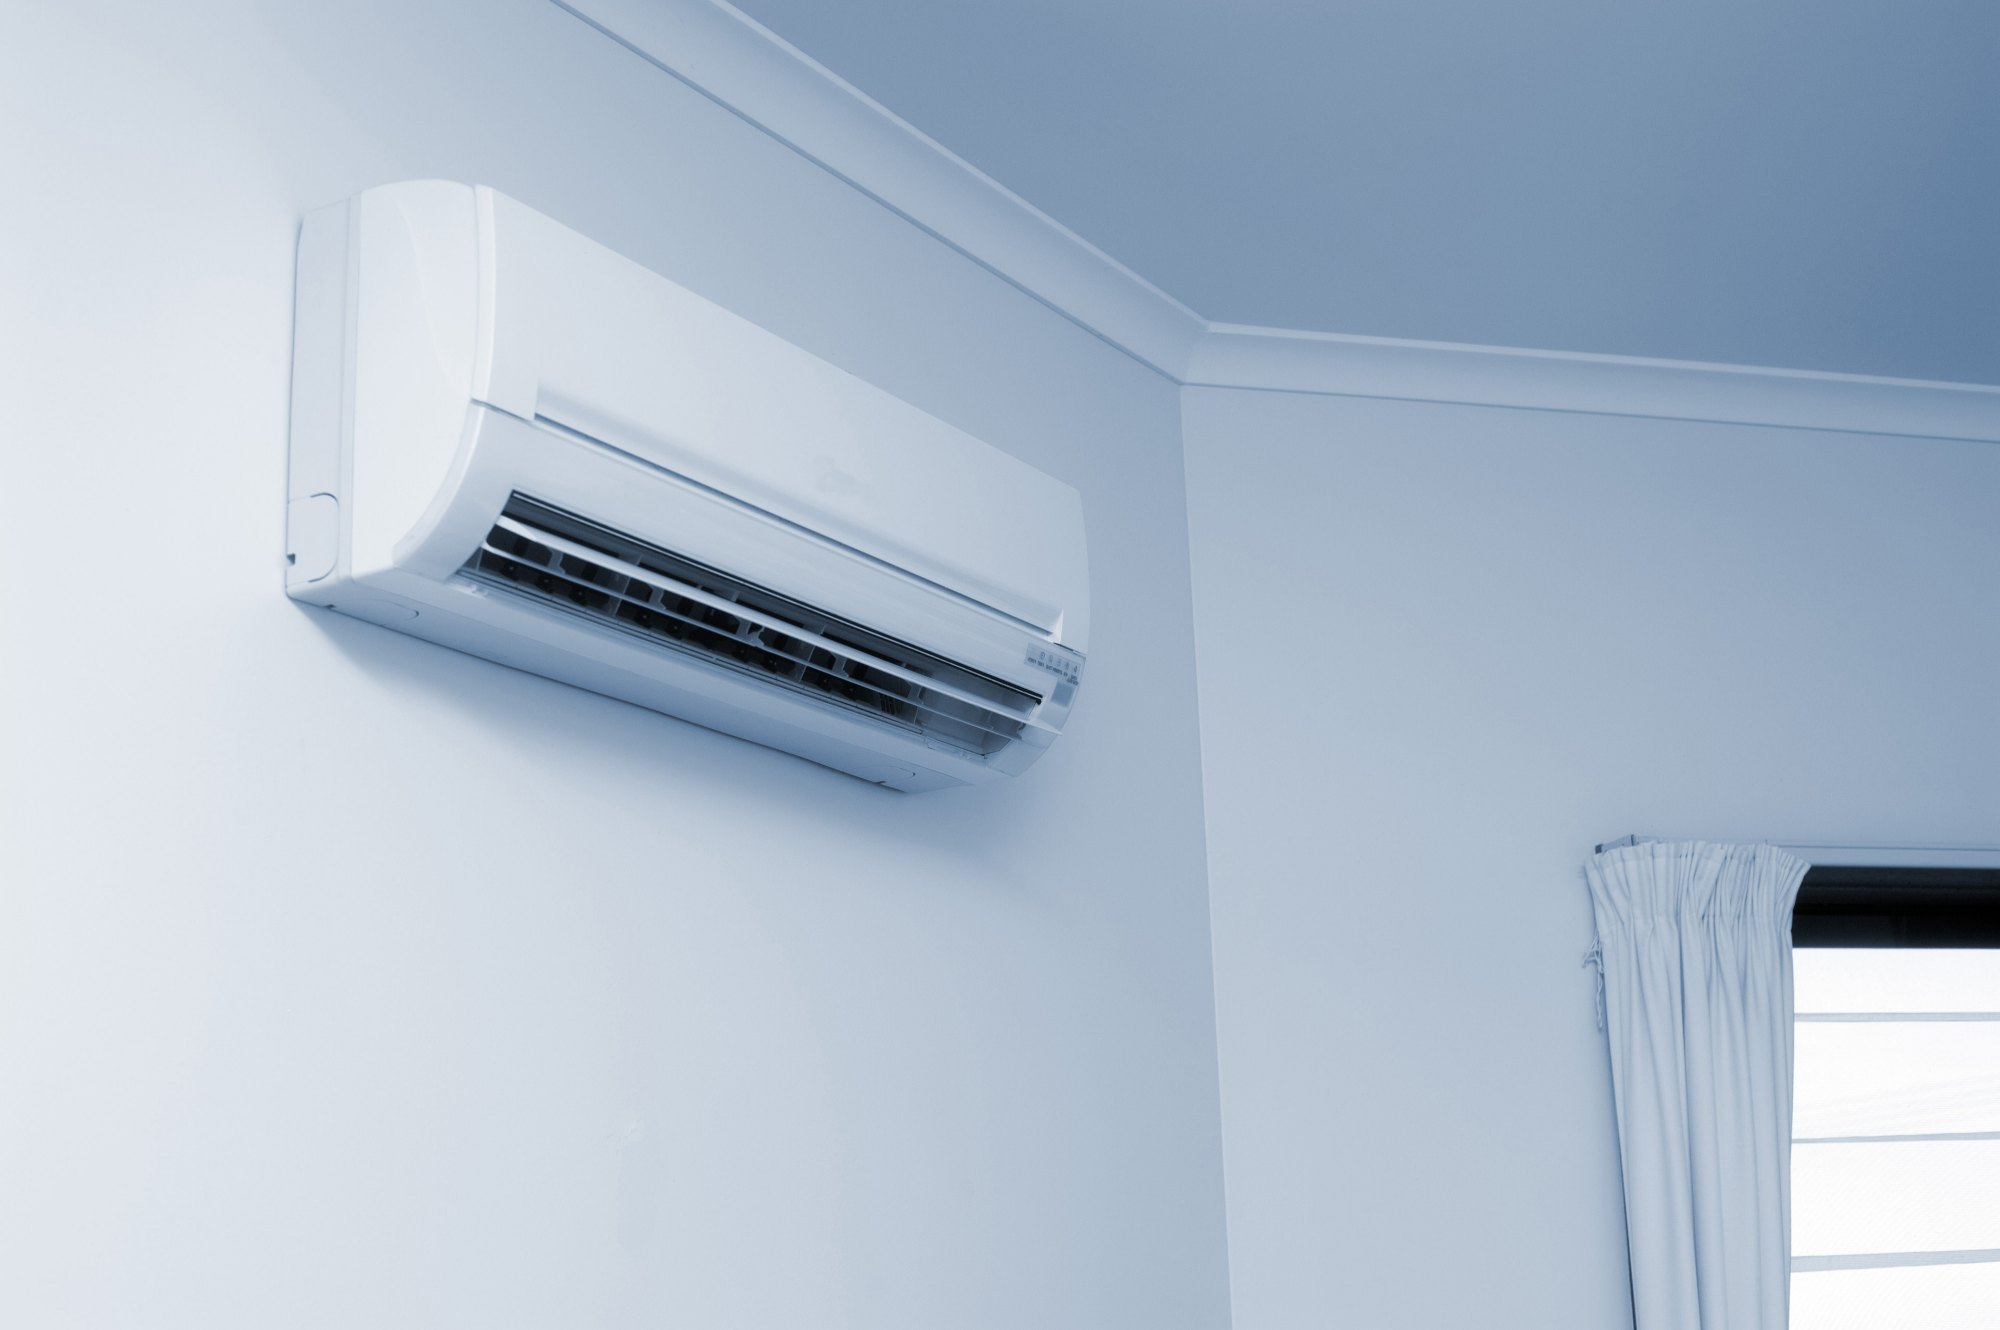
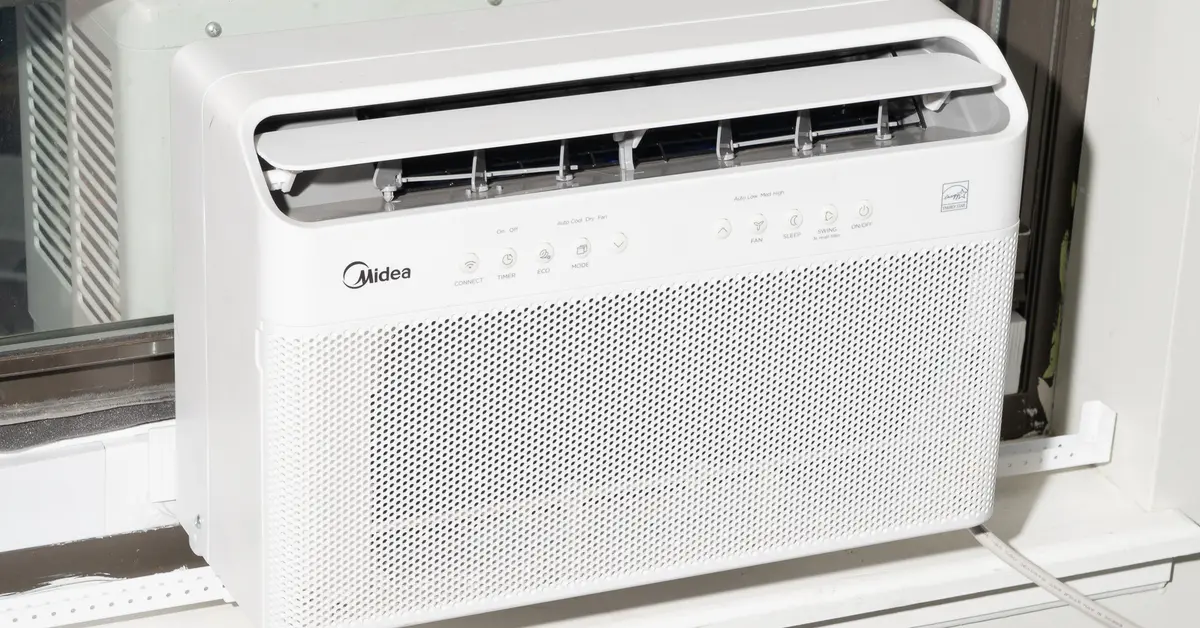
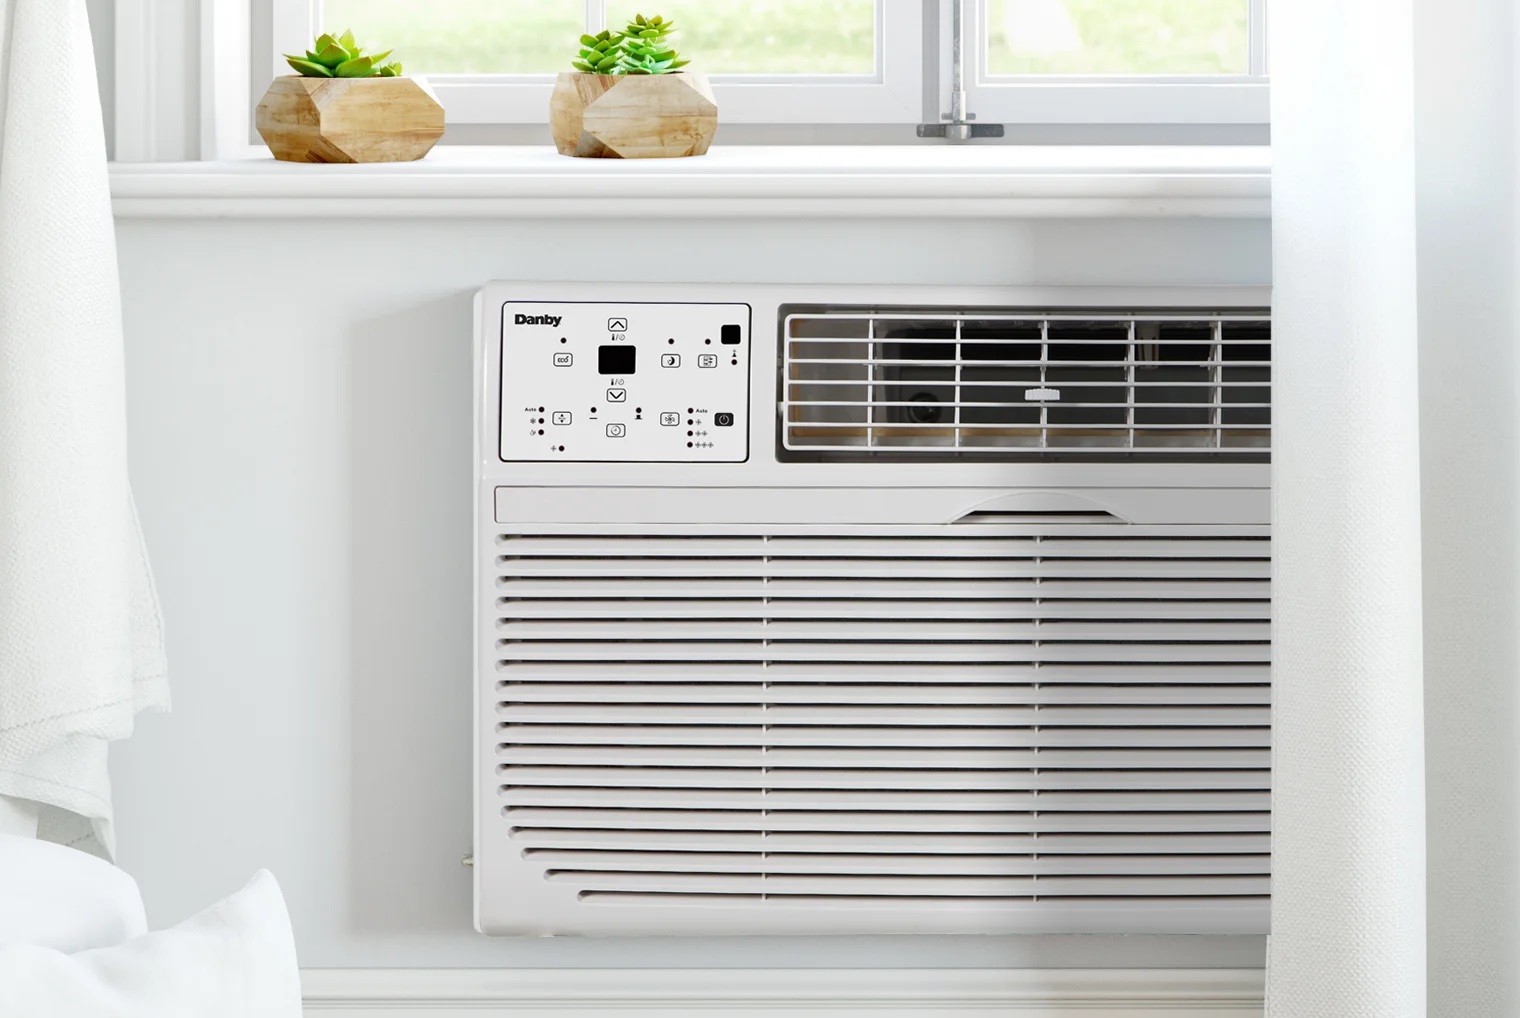
As the summer heat rolls in, keeping your home cool and comfortable becomes a top priority. One of the most effective ways to achieve this is by installing a through-the-wall air conditioner. This type of air conditioning unit is not only efficient at cooling a room, but it also offers a sleek and space-saving design.
In this guide, we will walk you through the process of installing a through-the-wall air conditioner step by step. Whether you are a seasoned DIY enthusiast or a beginner, with the right tools and materials, you can complete this home improvement project successfully.
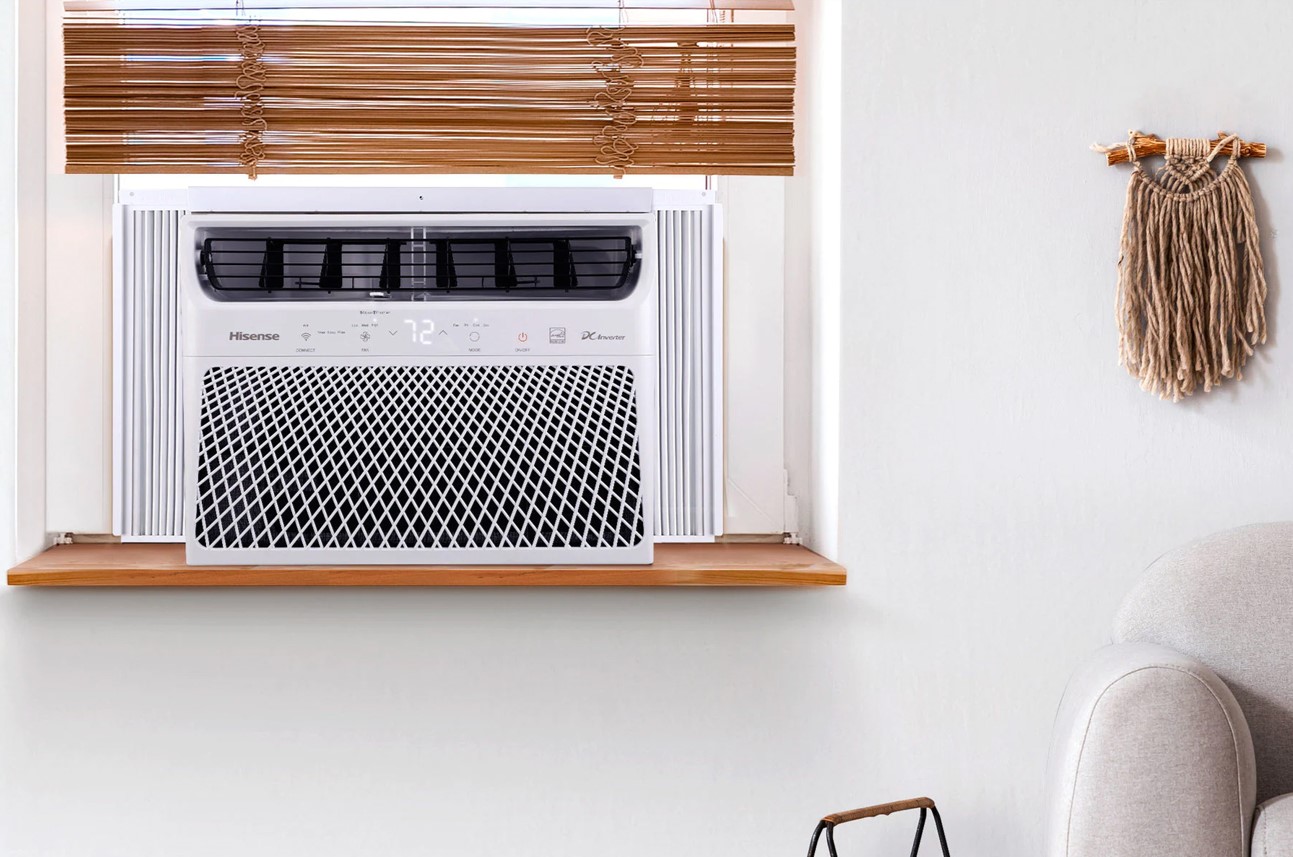
Before we dive into the installation process, it’s important to note that through-the-wall air conditioners are designed to be permanently installed in a wall, unlike window units that rest on a windowsill. Therefore, choosing the right location for installation and ensuring proper ventilation is crucial for optimal performance.
Let’s get started with the first step: gathering the necessary tools and materials to complete the installation.
Key Takeaways:
- Stay cool and comfortable during summer by installing a through-the-wall air conditioner. Follow the step-by-step guide to ensure a successful DIY project and enjoy a refreshing oasis in your home.
- Prioritize safety, proper ventilation, and regular maintenance to maximize the efficiency and lifespan of your through-the-wall air conditioner. Say goodbye to sweltering heat and welcome a cool and comfortable living space.
Step 1: Gather the necessary tools and materials
Before you begin the installation process, it’s essential to gather all the tools and materials you’ll need. Having everything ready will help streamline the installation and ensure you don’t encounter any unnecessary delays. Here is a list of the items you’ll need:
- Through-the-wall air conditioner unit
- Air conditioner sleeve
- Chassis assembly
- Screws and bolts
- Drill or screwdriver
- Level
- Measuring tape
- Pencil
- Utility knife
- Caulk gun
- Caulking
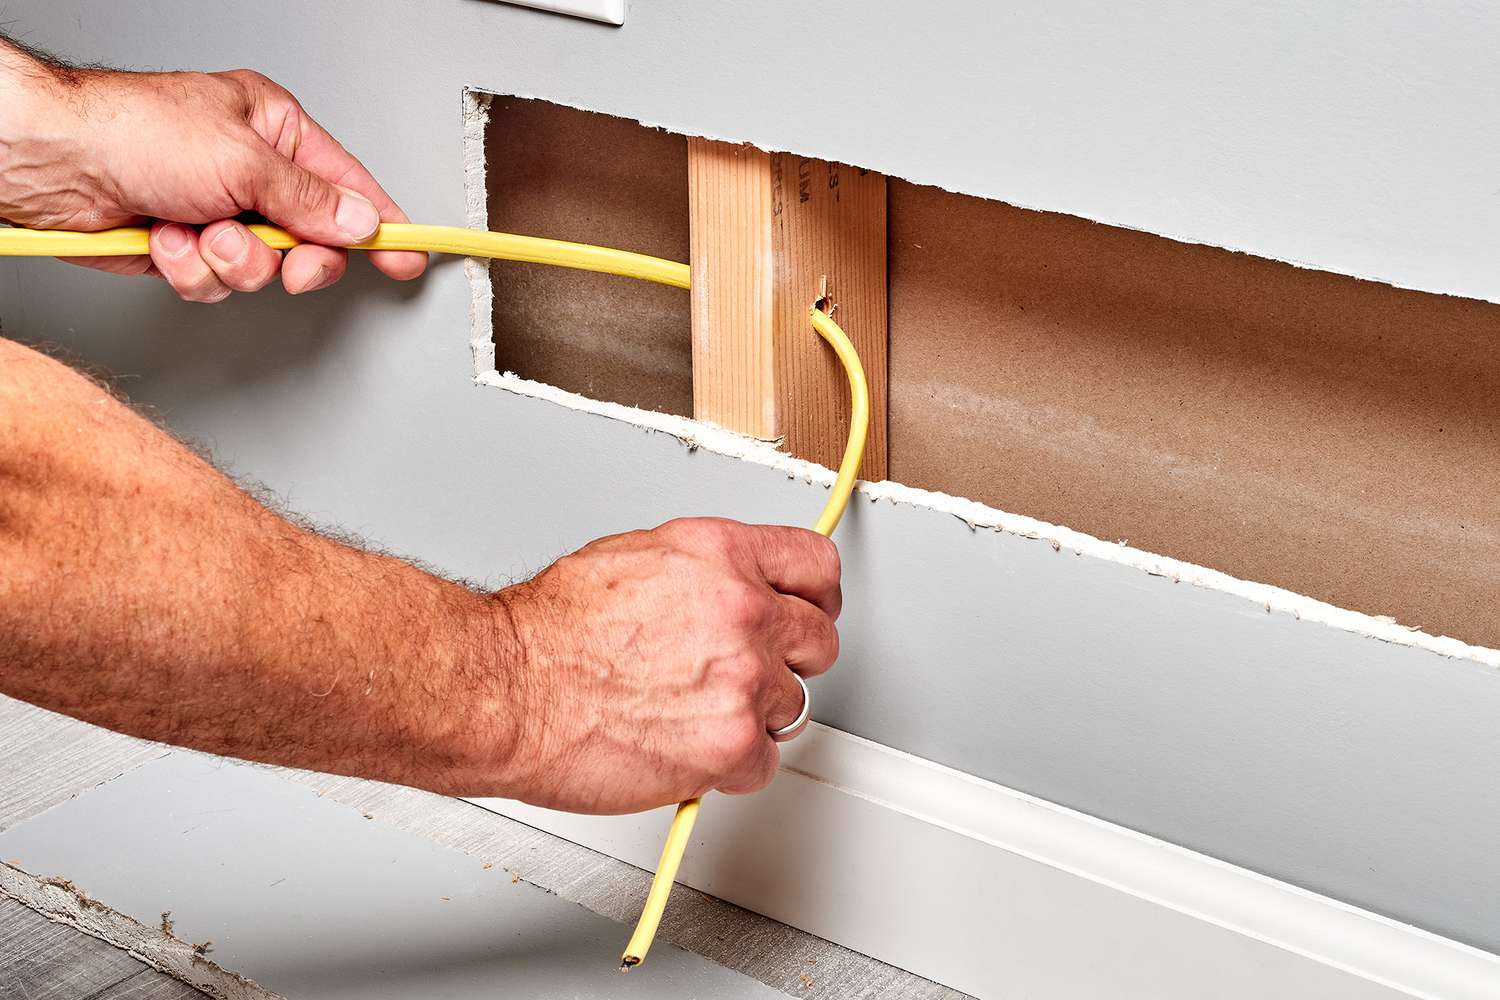
- Electrical wiring and connectors
- Electrical tester
- Protective gloves and eyewear
It’s important to ensure that all the tools and materials you gather are compatible with your specific air conditioner unit. Check the manufacturer’s instructions or consult a professional if you have any doubts.
Once you have all the necessary items, it’s time to move on to the next step: choosing the location for installation.
Step 2: Choose the location for installation
Choosing the right location for installing your through-the-wall air conditioner is crucial for its performance and efficiency. Here are a few key factors to consider:
- Room size: Determine the size of the room you plan to cool. Measure the square footage and consider the height of the ceiling. This information will help you select an appropriately sized air conditioner unit.
- Wall suitability: Assess the suitability of the wall for installation. It should be structurally sound and free from any obstructions such as pipes, electrical wires, or windows. Make sure there is enough space both indoors and outdoors for the unit.
- Proximity to an outlet: Ensure that there is an electrical outlet nearby to power the unit. If there isn’t one in the desired location, you may need to consult an electrician to install an outlet.
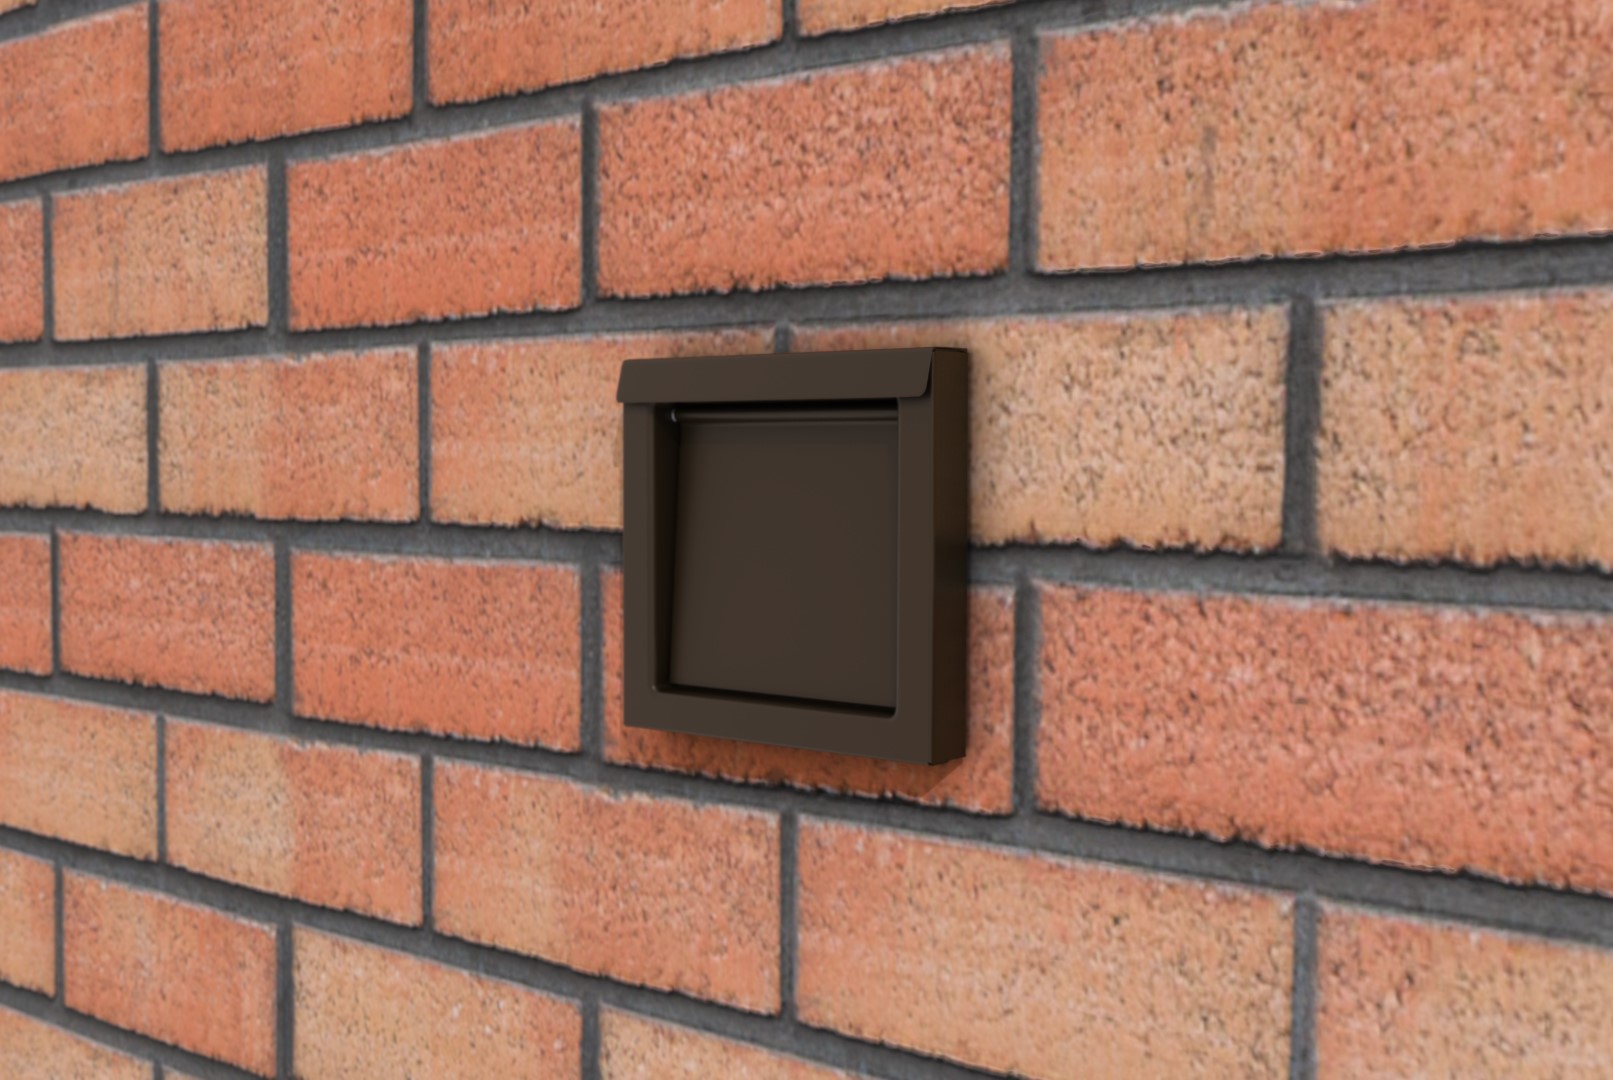
- Proximity to a window: Consider the proximity to a window for proper venting. Through-the-wall air conditioners require an exhaust vent to expel hot air outside. It’s often easier to install them on an external wall adjacent to a window.
- Avoid a load-bearing wall: If possible, avoid installing the unit on a load-bearing wall to minimize any potential structural complications.
Once you have selected the ideal location, mark it on the wall using a pencil. This will serve as a guide during the installation process.
With the location chosen, we can now move on to the next step: preparing the wall for installation.
Step 3: Prepare the wall for installation
Before you can install the through-the-wall air conditioner, you need to prepare the wall to ensure a secure and proper fit. Follow these steps to prepare the wall:
- Clear the area: Remove any furniture, decorations, or obstacles that may hinder your access to the wall. This will make the installation process easier and safer.
- Measure and mark: Use a measuring tape to mark the dimensions of the air conditioner sleeve on the wall. The dimensions should match the specifications provided by the manufacturer. Double-check your measurements to ensure accuracy.
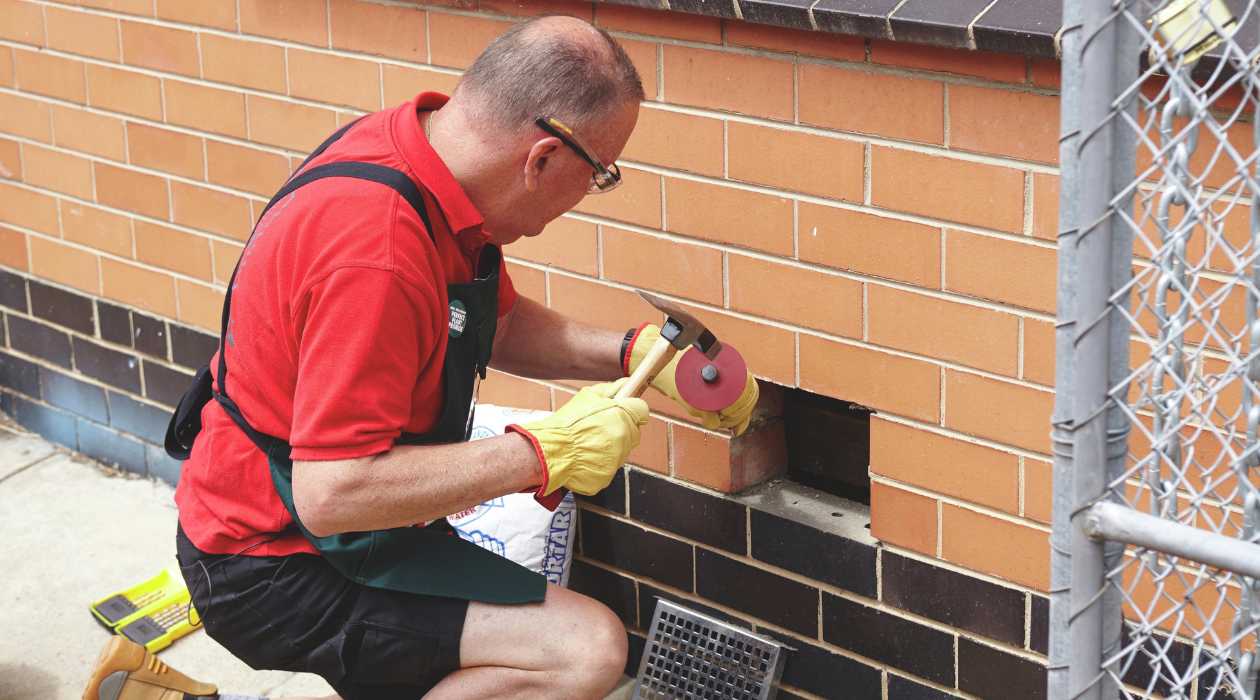
- Cut the opening: Using a utility knife, carefully cut along the marked lines to create an opening for the air conditioner sleeve. Take your time and make precise cuts to avoid any damage to the wall.
- Remove any debris: Clean out any debris or loose materials from the wall opening. Use a vacuum or a brush to ensure the area is free from dust, dirt, and any other obstructions.
- Apply caulk: Apply a bead of caulk along the edges of the wall opening. This will create a seal between the wall and the air conditioner sleeve, preventing any air leaks or water infiltration. Smooth out the caulk with your finger or a caulk smoothing tool for a clean finish.
By preparing the wall properly, you are ensuring a stable foundation for the installation of the through-the-wall air conditioner. With the wall prepared, it’s time to move on to the next step: installing the air conditioner sleeve.
Step 4: Install the air conditioner sleeve
Installing the air conditioner sleeve is a crucial step in the through-the-wall air conditioner installation process. The sleeve acts as a protective housing for the unit, providing stability and insulation. Follow these steps to install the air conditioner sleeve:
- Position the sleeve: Place the air conditioner sleeve into the opening you prepared in the previous step. Ensure that it fits snugly and is level with the wall.
- Secure the sleeve: Secure the sleeve to the wall using screws or bolts. Refer to the manufacturer’s instructions for the appropriate fastening method. Make sure to drive the screws or bolts through the pre-drilled holes in the sleeve and into the wall studs for maximum stability.
- Check for level: Use a level to ensure that the sleeve is perfectly level both horizontally and vertically. Adjust as necessary by tightening or loosening the screws or bolts.
- Insulate the gaps: Insulate any gaps between the sleeve and the wall using foam insulation strips or caulk. This will help to prevent air leakage and enhance the unit’s energy efficiency.
Once the air conditioner sleeve is securely installed, you are one step closer to bringing cool comfort to your home. However, there is still more work to be done. We will now move on to the next step: installing the air conditioner chassis.
Read more: How To Install An Air Conditioner
Step 5: Install the air conditioner chassis
With the air conditioner sleeve securely installed, it’s time to move on to the next step: installing the air conditioner chassis. The chassis houses the actual air conditioning unit and is what provides the cooling power for your room. Follow these steps to install the air conditioner chassis:
- Position the chassis: Carefully slide the air conditioner chassis into the air conditioner sleeve. Make sure it fits snugly and aligns properly.
- Secure the chassis: Use screws or bolts, as specified by the manufacturer, to secure the chassis to the sleeve. Ensure that the fasteners are tightly secured but be careful not to over-tighten and damage the unit.
- Check for level: Use a level to ensure that the chassis is level both horizontally and vertically. Adjust if necessary by tightening or loosening the screws or bolts.
- Follow specific instructions: Refer to the manufacturer’s instructions for any specific guidelines or additional steps for installing the air conditioner chassis. Different models may have slight variations in the installation process.
Once the air conditioner chassis is securely installed, your through-the-wall air conditioner is taking shape. The next step will focus on securing the unit in place to ensure stability and safety. Follow along to learn about step 6: securing the unit in place.
Make sure to properly measure the wall opening before purchasing the air conditioner to ensure a proper fit. This will save you time and frustration during the installation process.
Step 6: Secure the unit in place
Now that the air conditioner chassis is installed, securing the unit in place will ensure its stability and prevent any accidents or damage. Follow these steps to securely mount the through-the-wall air conditioner:
- Attach supporting brackets: Depending on the specific model, your through-the-wall air conditioner may come with supporting brackets. These brackets help support the weight of the unit and prevent it from sagging or falling. Attach the brackets to the chassis as directed by the manufacturer’s instructions.
- Adjust the brackets: Once the brackets are attached, position them in a way that securely holds the unit in place. Use a level to ensure that the air conditioner is level and adjust the brackets as needed.
- Tighten the brackets: Once the brackets are properly positioned, tighten them securely to ensure they hold the unit firmly in place. Use a wrench or screwdriver as required to tighten the bolts or screws.
- Check for stability: Gently push and pull the air conditioner to ensure it is stable and does not move. If there is any wobbling or instability, readjust the brackets or tighten them further until the unit is securely fixed.
By properly securing the through-the-wall air conditioner, you can enjoy peace of mind knowing that it will stay in place and operate safely. With the unit securely mounted, we can now move on to the next step: connecting the electrical wiring.
Step 7: Connect the electrical wiring
Connecting the electrical wiring is a crucial step in the installation process of a through-the-wall air conditioner. It ensures that the unit receives the necessary power to operate effectively. Follow these steps to properly connect the electrical wiring:
- Turn off the power: Before working with any electrical components, ensure that the power to the area is turned off at the circuit breaker. This will prevent any electrical shocks or accidents during the installation process.
- Prepare the wiring: Strip the insulation from the end of the electrical wires, exposing a small section of bare wire. The length of the stripped section will depend on the manufacturer’s specifications. Use wire strippers to ensure clean and precise cuts.
- Identify the wires: Identify the respective wires from the air conditioner unit and the electrical outlet. Typically, there will be three wires: black (hot), white (neutral), and green (ground). Consult the manufacturer’s instructions or an electrician if you are unsure.
- Make the connections: Connect the corresponding wires together using wire connectors or wire nuts. Black to black, white to white, and green to green. Twist the wires together and secure them tightly with the connectors.
- Secure the connections: Once the connections are made, wrap them with electrical tape to provide additional insulation and protection.
- Test the electrical connections: Before restoring power, use an electrical tester to ensure that there are no live wires or short circuits. Follow the instructions provided with the tester to perform the test safely.
It is crucial to ensure that all electrical connections are made accurately and securely, as any mistakes can lead to malfunctioning or potential hazards. With the electrical wiring successfully connected, you are one step closer to enjoying the cool air provided by your through-the-wall air conditioner.
Now, it’s time to move on to the next step: testing the air conditioner to ensure proper functionality.
Step 8: Test the air conditioner
After completing the installation and electrical connections, it’s crucial to test the air conditioner to ensure it is functioning properly. Before turning on the unit, double-check that the power is restored at the circuit breaker. Follow these steps to test the air conditioner:
- Set the thermostat: Adjust the thermostat settings to the desired temperature. Start with a lower temperature setting, and once the air conditioner starts cooling, you can gradually increase it to your comfort level.
- Turn on the unit: Flip the switch or press the power button to turn on the air conditioner. You should hear the unit start up, and airflow should be felt from the vents.
- Check for proper airflow: Stand in front of the air conditioner and feel for a steady and strong airflow. If the airflow is weak or inconsistent, check the air filters for any clogs or obstructions.
- Listen for abnormal noises: While the air conditioner is running, listen for any unusual or loud noises. Strange noises could indicate a problem with the unit, and it’s recommended to consult a professional if you notice any issues.
- Monitor cooling performance: Leave the air conditioner running for a while and monitor the cooling performance in the room. The temperature should gradually decrease, indicating that the air conditioner is working efficiently.
- Ensure proper functions: Test different functions of the air conditioner, such as the fan speed and mode settings, to ensure they are working correctly.
If the air conditioner is cooling effectively, providing steady airflow, and operating without any unusual noises, it indicates a successful installation. However, if you encounter any issues or concerns during the testing phase, it’s recommended to seek professional assistance to diagnose and resolve the problem.
With the air conditioner successfully tested, we can move on to the final step: making necessary adjustments and final touches to complete the installation process.
Step 9: Make necessary adjustments and final touches
After testing the air conditioner and ensuring its proper functionality, it’s time to make any necessary adjustments and add final touches to complete the installation process. Follow these steps to wrap up the installation:
- Adjust the thermostat: Fine-tune the thermostat settings based on your comfort preferences. You can increase or decrease the temperature setting as needed to maintain the desired level of cooling.
- Inspect the exterior: Check the exterior of the air conditioner for any gaps or openings. Seal any gaps with caulk or weatherstripping to prevent air leakage and improve energy efficiency.
- Clean the air filters: Regularly clean or replace the air filters to maintain the air conditioner’s efficiency. Refer to the manufacturer’s instructions for guidance on proper filter maintenance.
- Tidy up the area: Clean up any debris or mess created during the installation process. Dust or vacuum the surrounding area to ensure a clean and tidy installation.
- Review the manufacturer’s manual: Take the time to read through the manufacturer’s manual for your specific through-the-wall air conditioner. Familiarize yourself with important maintenance tips, troubleshooting guidelines, and warranty information.
- Schedule regular maintenance: To keep your through-the-wall air conditioner in optimal condition, schedule routine maintenance checks with a qualified HVAC technician. They can inspect the unit, clean the coils, and perform any necessary maintenance tasks.
By making these necessary adjustments and final touches, you can ensure that your through-the-wall air conditioner is installed correctly and operating at its best. Regular maintenance and proper care will extend the lifespan of your unit, keeping you cool for years to come.
Congratulations! You have successfully completed the installation of a through-the-wall air conditioner. Enjoy the comfort and coolness this home improvement project brings to your living space!
If you have any further questions or concerns, don’t hesitate to consult the manufacturer’s manual or seek assistance from a professional HVAC technician.
Conclusion
Installing a through-the-wall air conditioner can significantly improve the comfort of your home during the hot summer months. With the right tools, materials, and step-by-step guidance, this home improvement project can be accomplished successfully, whether you’re a seasoned DIY enthusiast or a beginner.
In this comprehensive guide, we’ve walked you through the entire installation process, starting from gathering the necessary tools and materials, choosing the ideal location, preparing the wall, installing the air conditioner sleeve and chassis, securing the unit in place, connecting the electrical wiring, testing the air conditioner, and making any necessary adjustments. We’ve also emphasized the importance of regular maintenance to ensure optimal performance and longevity of your through-the-wall air conditioner.
Throughout the process, it’s crucial to prioritize safety by following proper electrical procedures, using protective gear, and consulting professionals when needed. Additionally, maintaining proper ventilation, cleaning the air filters regularly, and scheduling routine maintenance checks will help you maximize the efficiency and lifespan of your unit.
By installing a through-the-wall air conditioner, you can enjoy a cool and comfortable home while saving energy and reducing your carbon footprint. Say goodbye to sweltering heat and welcome a refreshing oasis in your living space.
Remember to consult the manufacturer’s instructions for your specific air conditioner model, as there may be slight variations in the installation process. If you encounter any difficulties or have concerns, it’s always wise to seek professional assistance to ensure optimal performance and safety.
Now go ahead and enjoy the cool comfort of your newly installed through-the-wall air conditioner!
Frequently Asked Questions about How To Install A Through-The-Wall Air Conditioner
Was this page helpful?
At Storables.com, we guarantee accurate and reliable information. Our content, validated by Expert Board Contributors, is crafted following stringent Editorial Policies. We're committed to providing you with well-researched, expert-backed insights for all your informational needs.
