Articles
How To Install Ceiling Speakers
Modified: October 20, 2024
Learn how to connect your ceiling speakers with our comprehensive articles. Find step-by-step guides and expert advice for a seamless installation.
(Many of the links in this article redirect to a specific reviewed product. Your purchase of these products through affiliate links helps to generate commission for Storables.com, at no extra cost. Learn more)
Introduction
When it comes to creating a truly immersive audio experience in your home or office, ceiling speakers are a fantastic option. These discreet speakers blend seamlessly into your ceiling, providing high-quality sound without taking up any floor or shelf space. Whether you’re looking to enjoy music throughout your house or want to enhance your home theater setup, connecting ceiling speakers can elevate your audio game to a whole new level.
In this article, we will guide you through the step-by-step process of connecting ceiling speakers. We’ll cover everything from gathering the necessary tools and materials to mounting and installing the speakers. By the end, you’ll have a complete understanding of how to connect ceiling speakers and create a stunning sound system in your space.
Before we dive into the details, it’s important to note that connecting ceiling speakers involves some basic electrical work. If you’re not confident in your abilities or have no experience with electrical tasks, it’s always best to consult a professional electrician. Safety should be your top priority in any home improvement project.
Now that we’ve covered the necessary precautions, let’s dive into the exciting world of ceiling speakers and start connecting them!
Key Takeaways:
- Elevate your audio game by connecting ceiling speakers for a seamless, high-quality sound system. Prioritize safety, plan speaker placement, and enjoy an immersive audio experience in your space.
- Transform your space into an audio oasis with ceiling speakers. Follow the step-by-step guide, prioritize safety, and fine-tune your sound system for optimal performance and enjoyment.
Read also: 14 Unbelievable Ceiling Speakers For 2025
Step 1: Gather the Required Tools and Materials
Before you begin the process of connecting your ceiling speakers, it’s essential to gather all the necessary tools and materials. Here’s a list of what you’ll need:
- Screwdriver (flathead and Phillips)
- Wire cutters/strippers
- Speaker wire
- Amplifier or receiver
- Wire connectors or banana plugs
- Drill and drill bits
- Measuring tape
- Pencil or marker
- Ceiling speaker brackets or mounting frames (if not included with the speakers)
Once you have gathered all the necessary tools and materials, you’ll be ready to move on to the next step in connecting your ceiling speakers.
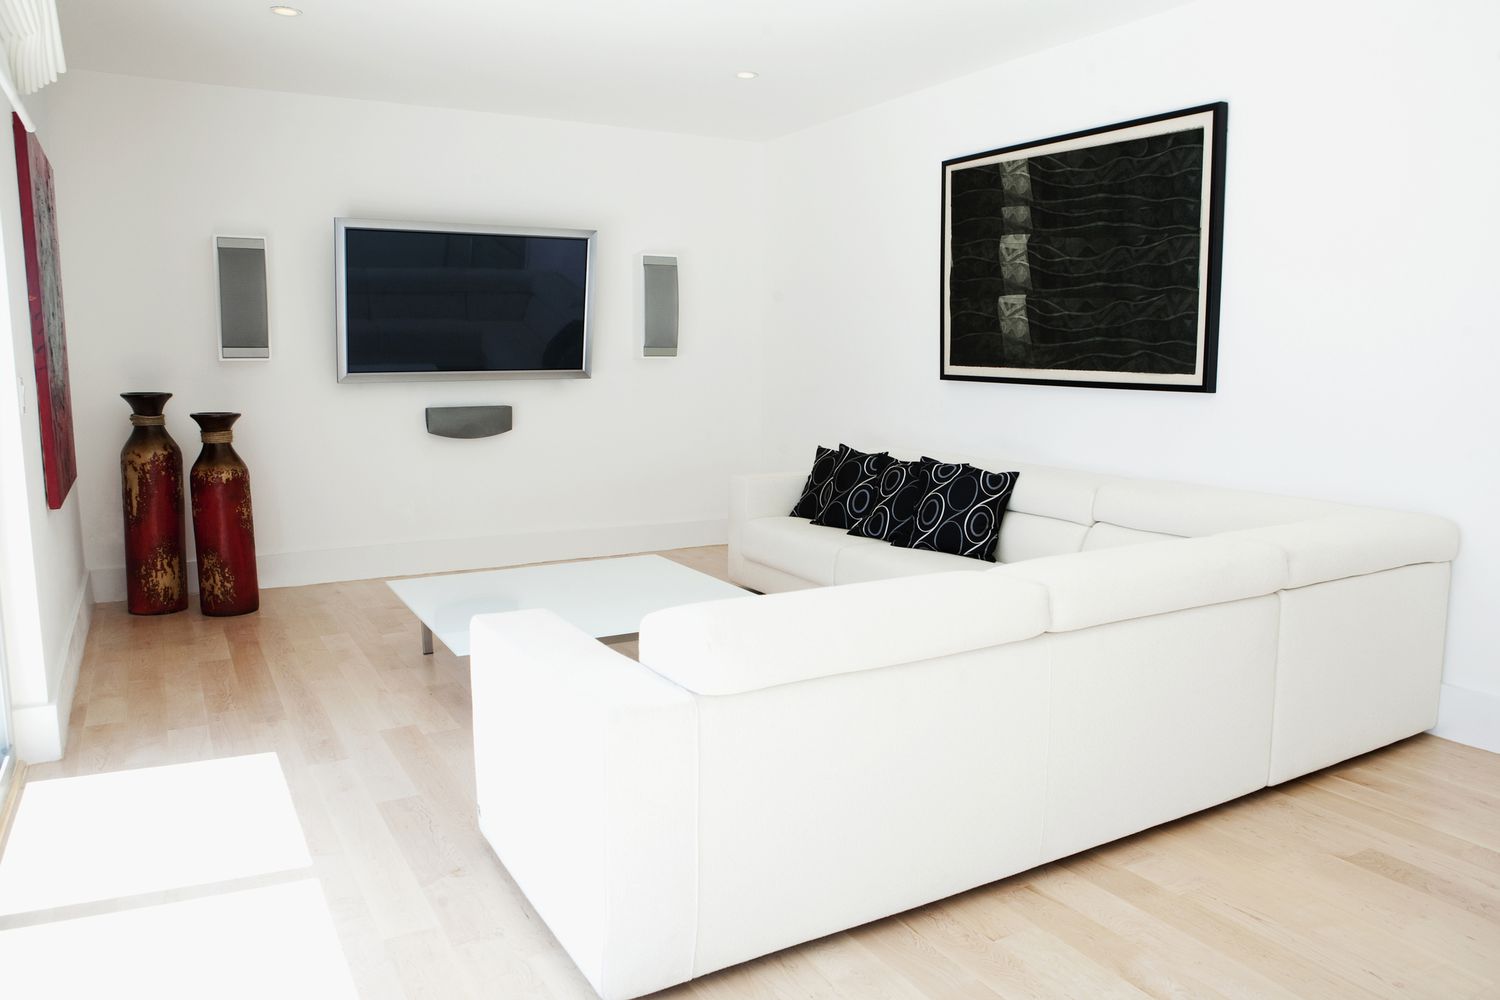
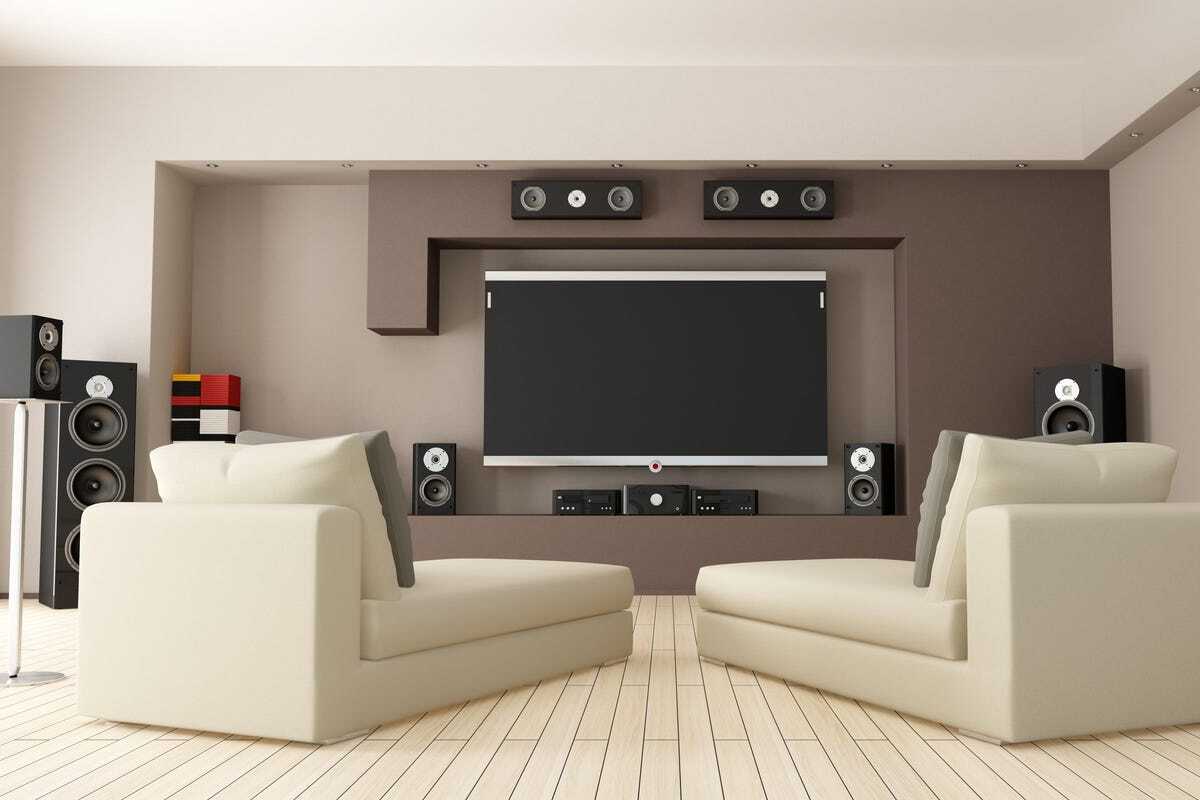
Step 2: Determine the Speaker Placement
Choosing the right speaker placement is crucial to ensure optimal sound quality and coverage. Before you start drilling holes in your ceiling, take the time to plan out where your ceiling speakers will be positioned.
Consider the layout of your room and the purpose of the speakers. If you’re setting up a home theater system, you’ll want to position the speakers in a way that creates a balanced surround sound experience. If you’re aiming for background music throughout a space, such as a living room or kitchen, you may want to strategically place the speakers to evenly distribute the sound.
Generally, it’s recommended to position the speakers equidistant from each other, forming an imaginary triangle with the listener at one of the points. This triangular arrangement helps create a balanced stereo image and immersive soundstage.
Another factor to consider is the size and type of speakers you have. Larger speakers usually require more space and may need to be placed further apart for optimal sound dispersion. On the other hand, smaller speakers can be positioned closer together without sacrificing audio quality.
It’s also essential to keep in mind any obstructions in the ceiling, such as beams or vents, that may affect the placement of your speakers. Make sure to measure your ceiling and mark the planned positions of the speakers with a pencil or marker.
By taking the time to determine the speaker placement before installation, you can ensure that you achieve the best possible sound quality and coverage from your ceiling speakers.
Step 3: Run Speaker Wires through the Ceiling
With the speaker placement determined, it’s time to run the speaker wires through the ceiling to connect your speakers. Follow these steps:
- Locate the position on the ceiling where the speaker wires will enter. This is usually near the amplifier or receiver and can be a hole drilled through the ceiling or a vent opening.
- Measure the distance from the amplifier/receiver to each speaker location. Add a few extra feet to each measurement to allow for any necessary slack.
- Using a drill and the appropriate drill bit, create holes in the ceiling at each speaker location. Make sure the holes are large enough to accommodate the speaker wires.
- If you have access to the attic above the ceiling, this step will be easier. Simply run the speaker wires through the attic space, feeding them through the holes you drilled in the ceiling down to the desired speaker locations. Be mindful of any obstacles, such as insulation or obstructions, that may require you to reroute the wires.
- If you don’t have access to the attic, you will need to use a fish tape or wire feeder tool to guide the speaker wires through the ceiling. Feed the wire through one hole and guide it towards the other hole, taking care to avoid any obstructions along the way. This may require some patience and precision.
- Repeat this process for each speaker location until all the wires are properly routed through the ceiling. Leave enough wire slack at each speaker location to allow for easier connection to the speakers later.
Running speaker wires through the ceiling can be a bit challenging, especially if you don’t have access to the attic space. Take your time and be careful not to damage the wires or the ceiling during the process. With the wires in place, you’re ready to move on to the next step: connecting the speaker wires to the amplifier or receiver.
Step 4: Connect the Speaker Wires to the Amplifier
Now that the speaker wires are in place, it’s time to connect them to the amplifier or receiver. Follow these steps:
- Locate the speaker output terminals on the back of your amplifier or receiver. These are typically labeled with positive (+) and negative (-) symbols.
- Strip the ends of the speaker wires to expose a small portion of the bare wire. Using wire cutters or strippers, carefully remove the outer insulation, leaving about half an inch of exposed wire. This will allow for a secure connection to the amplifier.
- Once the wire ends are stripped, twist the exposed wire strands tightly together to prevent any fraying or loose strands.
- Depending on your amplifier or receiver, you may have a choice of connecting the speaker wires using wire connectors or banana plugs. If using wire connectors, insert the twisted wire ends into the corresponding terminals on the amplifier and tighten the connectors securely. If using banana plugs, insert the plug into the corresponding speaker terminal, ensuring a firm connection.
- Repeat this process for each speaker wire, connecting them to their respective positive (+) and negative (-) terminals on the amplifier or receiver. Make sure to match the polarity correctly, with the positive (+) wire connected to the positive terminal and the negative (-) wire connected to the negative terminal.
Once all the speaker wires are securely connected to the amplifier or receiver, double-check the connections to ensure they are tight and secure. Loose connections can result in poor sound quality or even damage to your equipment.
With the speaker wires connected to the amplifier, you’re one step closer to enjoying the immersive sound from your ceiling speakers. The next step involves mounting and installing the speakers themselves.
When connecting to ceiling speakers, make sure to use the correct gauge of speaker wire for the distance and power requirements of your setup. Thicker wire is better for longer distances and higher power levels.
Read more: How To Install Bose 251 Outdoor Speakers
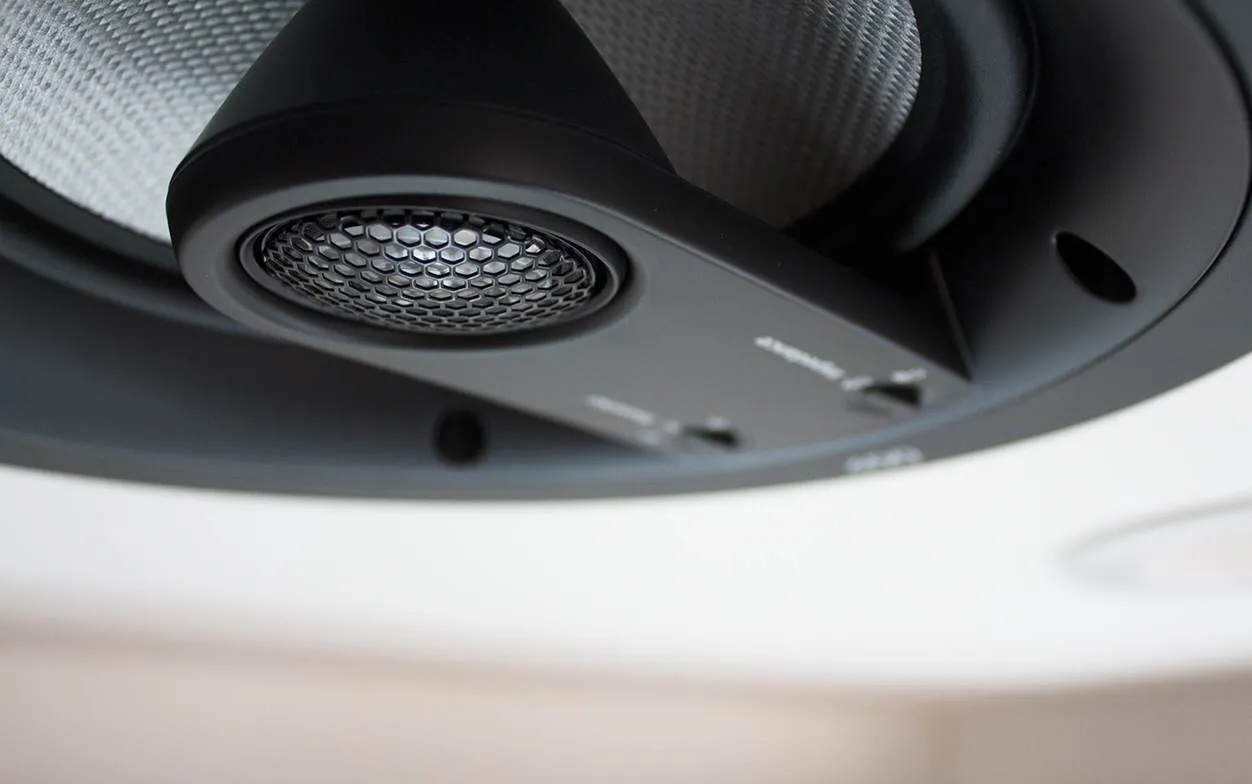
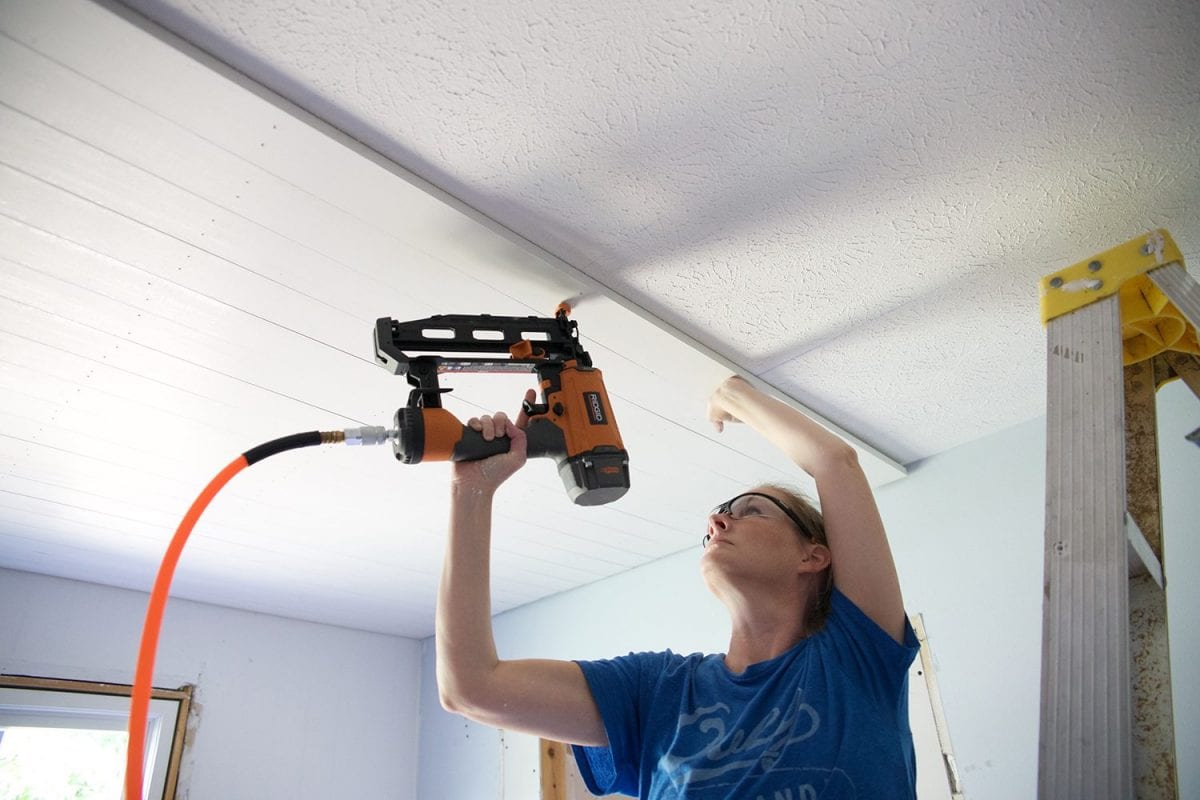
Step 5: Mount and Install the Ceiling Speakers
Now that the speaker wires are connected to the amplifier, it’s time to mount and install the ceiling speakers themselves. Follow these steps:
- First, carefully remove the grille or cover from each ceiling speaker. This is typically done by gently prying it off or unscrewing it, depending on the make and model of your speakers.
- Next, determine the mounting method for your ceiling speakers. Some speakers come with mounting brackets or frames, while others may require you to attach them directly to the ceiling using screws.
- If your speakers include mounting brackets or frames, follow the manufacturer’s instructions to attach them to the ceiling. This could involve drilling holes and using screws or other mounting hardware.
- If your speakers do not come with mounting brackets or frames, you will need to mark the desired location on the ceiling. Use a pencil or marker to outline the area where the speaker will be mounted.
- Once the mounting brackets or frames are in place, align the speaker with the bracket or frame and secure it in position. This could involve snapping the speaker into place, tightening screws, or using other fastening methods.
- Repeat this process for each speaker, making sure they are evenly spaced and aligned according to your planned speaker placement.
- After all the speakers are mounted, replace the grilles or covers by snapping them back into place or screwing them on.
It’s important to follow the manufacturer’s instructions when mounting and installing your ceiling speakers to ensure proper installation and prevent any damage to the speakers or the ceiling. Take your time and handle the speakers with care to avoid any accidents or mishaps.
With the speakers securely mounted, you’re ready for the final step: connecting the speakers to the amplifier and testing the sound system.
Step 6: Connect the Speakers to the Amplifier
With the ceiling speakers mounted and installed, it’s time to connect them to the amplifier or receiver to complete your sound system setup. Follow these steps:
- Find the speaker output terminals on the back of your amplifier or receiver. These are usually labeled with positive (+) and negative (-) symbols.
- Take the speaker wires that were run through the ceiling and connect them to the corresponding terminals on the amplifier. Ensure that the positive (+) wire is connected to the positive terminal and the negative (-) wire is connected to the negative terminal.
- If you’re using wire connectors, insert the exposed wire ends into the appropriate terminals and tighten the connectors. If using banana plugs, plug them into the speaker terminals, ensuring a secure fit.
- Repeat this process for each speaker, connecting their respective wires to the correct terminals on the amplifier or receiver.
- Double-check all the connections to ensure they are secure and tight. Loose connections can lead to distorted sound or signal loss.
After connecting all the speakers to the amplifier, you’re one step away from experiencing the immersive audio of your ceiling speakers. Before you begin enjoying the sound, it’s important to test the system and make any necessary adjustments.
Now that the speakers are connected to the amplifier, you’re ready to move on to the final step: testing the sound system.
Step 7: Test the Sound System
With the speakers installed and connected, it’s time to take a moment to test your newly set up sound system. Follow these steps to ensure everything is working correctly:
- Turn on your amplifier or receiver and set it to the appropriate input source for your audio device (e.g., CD player, TV, streaming device).
- Start playing some audio through your chosen source, whether it’s music, a movie, or a TV show. Choose something that will allow you to test the individual channels and the overall sound quality.
- Listen carefully to each speaker. Make sure that sound is coming out of each one and that there is no distortion or abnormal noise.
- Check the balance and volume levels of each speaker. You can do this by playing audio with a clearly identifiable sound moving from left to right or front to back. Ensure that the sound is balanced and consistent across all speakers.
- If you have a surround sound setup, test the directional audio by playing content that provides distinct sounds from different channels. Ensure that the sound is appropriately distributed and immerse yourself in the audio experience.
- Take note of any issues or irregularities in the sound. If you notice any problems, such as one speaker not working or unbalanced volume levels, troubleshoot the connections and settings before proceeding.
- Make any necessary adjustments to the speaker placement, wiring, or audio settings to optimize the sound quality and performance of your system.
By thoroughly testing your sound system, you can ensure that everything is set up correctly and functioning as desired. This step allows you to make any necessary adjustments or improvements to enhance your audio experience.
Once you are satisfied with the performance and sound quality of your ceiling speakers, you can sit back, relax, and enjoy the immersive audio experience that they provide.
Conclusion
Connecting ceiling speakers can transform your space into a haven of high-quality audio, whether you’re looking to enjoy music throughout your home or create an immersive home theater experience. By following the step-by-step guide outlined in this article, you can successfully connect your ceiling speakers and elevate your audio game.
From gathering the necessary tools and materials to running speaker wires through the ceiling, mounting and installing the speakers, and connecting them to the amplifier, each step plays a crucial role in creating a seamless sound system. Taking the time to plan the speaker placement, ensuring proper wire connections, and conducting a thorough sound system test are all essential for optimal performance and enjoyment.
Throughout the process, it’s important to prioritize safety and consult professionals if needed, especially when dealing with electrical work. With careful attention to detail and patience, you can achieve a professional-looking and sounding installation.
Once everything is set up and the sound system is in action, you’ll be able to enjoy the benefits of ceiling speakers. Experience crisp, clear audio that fills your space without cluttering it, and immerse yourself in a soundscape that enhances your entertainment and relaxation endeavors.
Remember, connecting ceiling speakers is an ongoing journey of fine-tuning and personalization. Don’t be afraid to experiment with different settings and room layouts to find the perfect audio sweet spot for your space. Whether you’re hosting a movie night, having a dance party, or simply enjoying your favorite music, your ceiling speakers will be there to elevate your audio experience.
So, gather your tools, follow the steps outlined in this guide, and embark on your journey to connect ceiling speakers. Sit back, relax, and let the powerful and immersive sound of your newly installed speakers envelop you in an audio oasis.
Frequently Asked Questions about How To Install Ceiling Speakers
Was this page helpful?
At Storables.com, we guarantee accurate and reliable information. Our content, validated by Expert Board Contributors, is crafted following stringent Editorial Policies. We're committed to providing you with well-researched, expert-backed insights for all your informational needs.


0 thoughts on “How To Install Ceiling Speakers”