Home>Furniture & Design>Outdoor Furniture>How To Install Bose 251 Outdoor Speakers
Outdoor Furniture
How To Install Bose 251 Outdoor Speakers
Modified: August 28, 2024
Learn how to install Bose 251 outdoor speakers for your outdoor furniture setup. Get expert tips and advice on outdoor furniture and design.
(Many of the links in this article redirect to a specific reviewed product. Your purchase of these products through affiliate links helps to generate commission for Storables.com, at no extra cost. Learn more)
Introduction
Outdoor speakers can transform your backyard or patio into an entertainment oasis, allowing you to enjoy your favorite music, podcasts, or ambient sounds while basking in the beauty of nature. Installing outdoor speakers, such as the renowned Bose 251 model, can elevate your outdoor living experience to new heights. Whether you are hosting a lively summer barbecue or simply unwinding with a book on your deck, the addition of high-quality outdoor speakers can enhance the ambiance and create a welcoming atmosphere for you and your guests.
In this comprehensive guide, we will walk you through the step-by-step process of installing Bose 251 outdoor speakers, ensuring that you achieve optimal sound quality and seamless integration with your outdoor space. From selecting the perfect installation location to testing the speakers for crystal-clear audio, we will cover every aspect of the installation process. By following these instructions, you can unleash the full potential of your outdoor speakers and revel in an immersive audio experience that harmonizes with the natural splendor of your surroundings.
So, grab your tools and let's embark on this journey to bring the power of music to your outdoor sanctuary. With a touch of creativity and a sprinkle of technical know-how, you can set the stage for unforgettable outdoor entertainment, all while relishing the serenity of the great outdoors. Let's dive into the first step: choosing the perfect installation location for your Bose 251 outdoor speakers.
Key Takeaways:
- Elevate your outdoor space with Bose 251 outdoor speakers for an immersive audio experience that harmonizes with nature, perfect for entertaining or unwinding.
- Carefully install and test Bose 251 outdoor speakers to seamlessly blend technology and nature, creating captivating outdoor audio experiences for all occasions.
Read more: How To Connect Alexa To Bose Speaker
Step 1: Choose the Installation Location
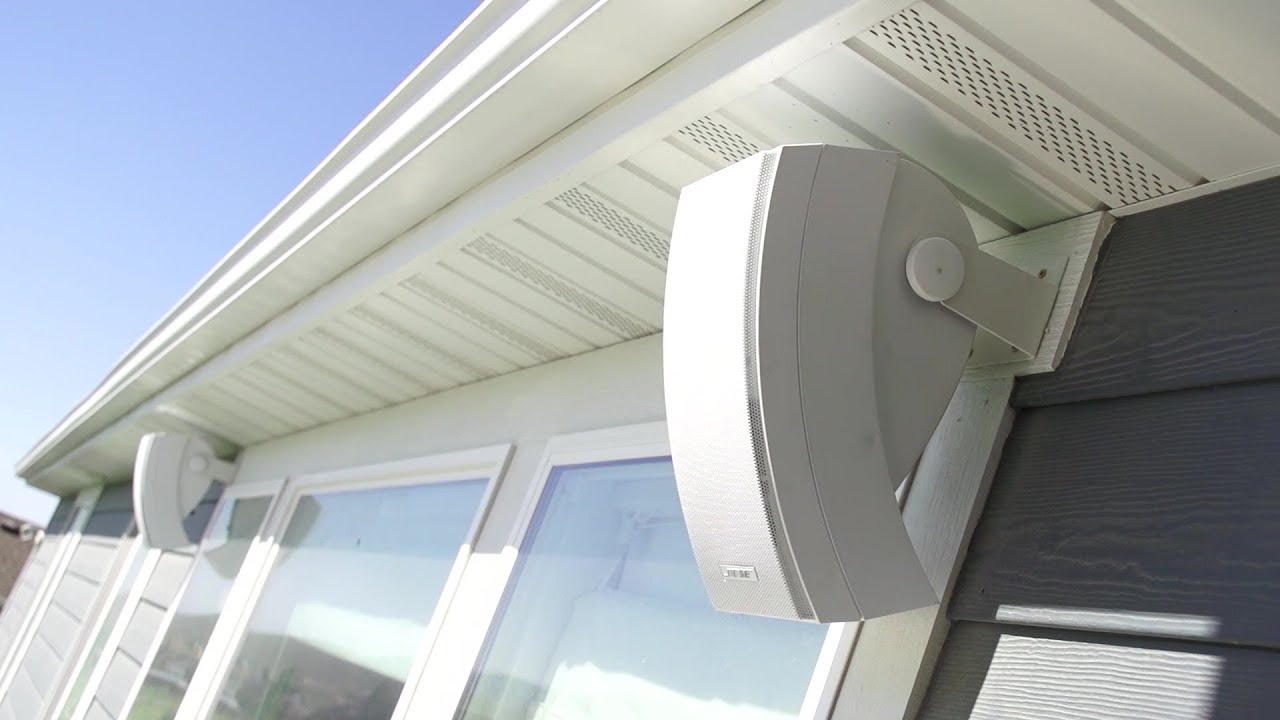
Before diving into the installation process, it’s crucial to carefully select the optimal location for mounting your Bose 251 outdoor speakers. The placement of the speakers plays a pivotal role in delivering an immersive audio experience while seamlessly blending with the aesthetics of your outdoor space.
Consider the following factors when choosing the installation location:
- Acoustic Environment: Assess the acoustics of your outdoor area. Identify potential obstructions, such as walls, trees, or large furniture, that could affect the sound quality. Look for open spaces that allow the sound to disperse evenly, creating a captivating auditory experience for everyone in the vicinity.
- Weather Resistance: Since the Bose 251 outdoor speakers are designed to withstand various weather conditions, you have the freedom to explore different mounting locations. However, it’s advisable to avoid direct exposure to heavy rainfall or prolonged sunlight to prolong the lifespan of the speakers and maintain their pristine performance.
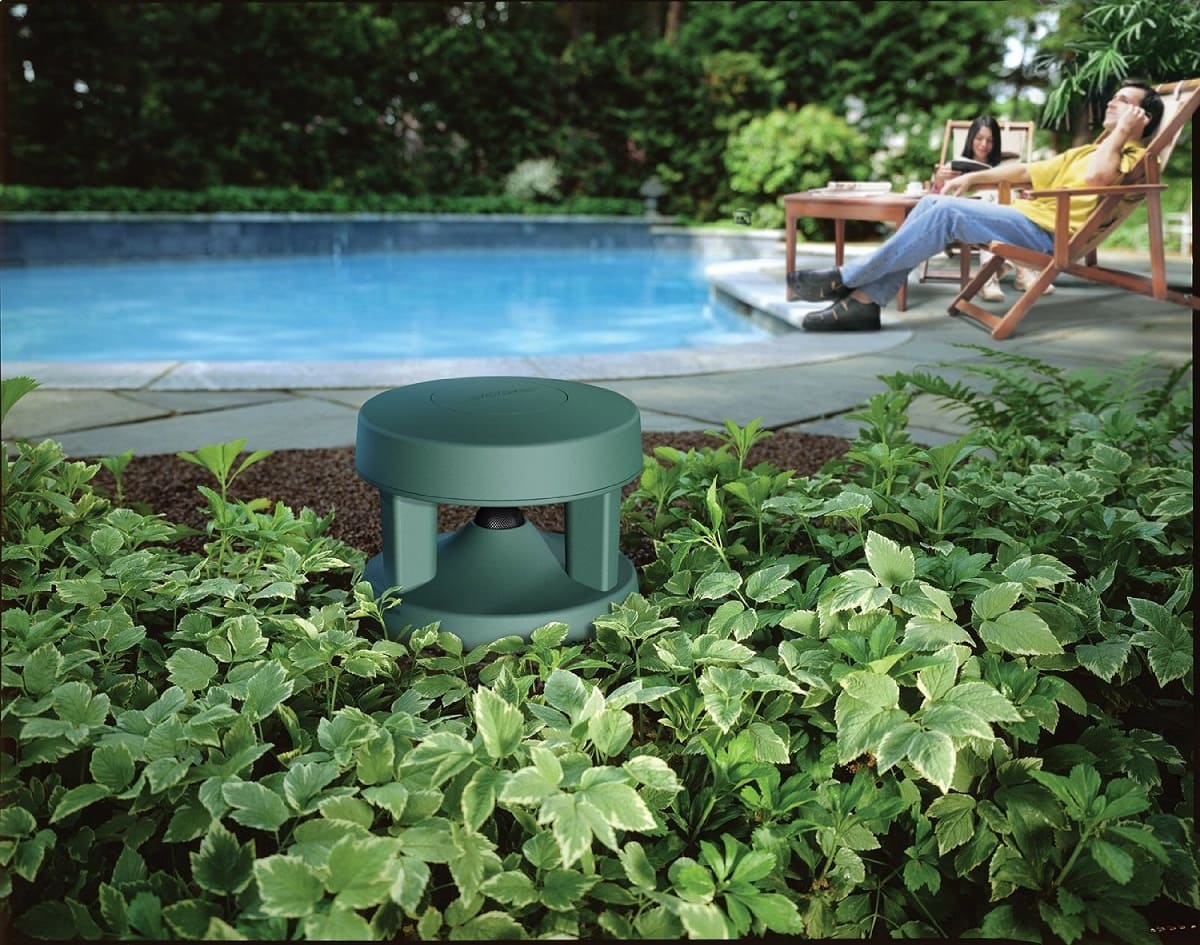
- Aesthetic Integration: Visual harmony is essential when integrating speakers into your outdoor environment. Choose locations that complement the overall design of your patio, deck, or garden. Whether discreetly nestled among foliage or prominently positioned as a focal point, the speakers should enhance the visual appeal of your outdoor space.
- Listening Zones: Identify key areas where people typically gather or relax outdoors. By strategically placing the speakers in these zones, you can ensure that everyone enjoys an optimal listening experience, whether they are lounging by the pool, savoring a meal on the patio, or socializing in a cozy seating area.
By carefully evaluating these factors, you can pinpoint the perfect installation location for your Bose 251 outdoor speakers. Once you’ve identified the ideal spots, you’re ready to proceed to the next step: preparing the mounting surface to ensure a secure and stable foundation for the speakers.
Step 2: Prepare the Mounting Surface
Before mounting your Bose 251 outdoor speakers, it’s essential to prepare the mounting surface to ensure a stable foundation that facilitates optimal sound projection and long-term durability. Whether you plan to affix the speakers to a wall, eave, or other outdoor structures, the following steps will guide you through the preparation process.
Here’s how to prepare the mounting surface for your outdoor speakers:
- Surface Inspection: Thoroughly examine the chosen mounting surface to identify any irregularities or obstacles that could impede the installation process. Remove any debris, such as dirt, dust, or cobwebs, and ensure that the surface is clean and free from potential obstructions.
- Surface Material: Consider the composition of the mounting surface, whether it’s wood, concrete, brick, or another material. Select the appropriate hardware and tools based on the surface material to ensure secure and reliable mounting. For example, wood surfaces may require specific screws and anchors, while masonry surfaces necessitate specialized drilling techniques and fasteners.
- Alignment and Spacing: Determine the desired placement of the speakers on the mounting surface, taking into account spacing considerations and alignment with nearby architectural features. Use a level to ensure that the speakers will be mounted evenly and straight, enhancing both the aesthetics and functionality of the installation.
- Weatherproofing Considerations: If the mounting surface is exposed to the elements, such as rain or humidity, consider implementing weatherproofing measures to safeguard the surface and the mounting hardware. This may include applying a protective sealant or utilizing weather-resistant gaskets and seals to shield the mounting area from moisture intrusion.
By meticulously preparing the mounting surface, you can lay the groundwork for a successful and enduring installation of your Bose 251 outdoor speakers. Once the mounting surface is primed and ready, you can proceed to the next step: mounting the speakers with precision and care, ensuring a seamless integration into your outdoor environment.
Step 3: Mount the Speakers
With the mounting surface prepared, it’s time to embark on the pivotal step of affixing your Bose 251 outdoor speakers in their designated locations. Mounting the speakers with precision and attention to detail is essential to ensure optimal sound projection and a visually appealing integration with your outdoor space.
Follow these steps to mount your outdoor speakers securely and effectively:
- Positioning and Alignment: Place the speakers on the prepared mounting surface, ensuring that they are aligned according to your desired layout. Use a level to confirm that the speakers are perfectly horizontal or angled as intended, enhancing both the aesthetic appeal and the audio performance of the installation.
- Hardware Installation: Utilize the appropriate hardware, such as screws, anchors, or brackets, to securely fasten the speakers to the mounting surface. Refer to the manufacturer’s guidelines for recommended hardware and installation techniques, ensuring that the speakers are firmly anchored and resistant to movement or vibration, which could compromise the sound quality.
- Cable Management: Carefully route the speaker cables to ensure a tidy and inconspicuous appearance. Conceal the cables within the mounting surface or use cable management solutions to minimize visual clutter and protect the cables from potential damage due to environmental factors or accidental tripping hazards.
- Final Adjustments: Once the speakers are mounted, make any necessary adjustments to optimize their positioning and orientation. Fine-tune the speaker angles and placement to achieve the desired audio coverage and dispersion, catering to the specific listening zones within your outdoor environment.
By executing these steps with precision and care, you can successfully mount your Bose 251 outdoor speakers, setting the stage for an immersive audio experience that harmonizes with the natural beauty of your outdoor surroundings. With the speakers securely in place, you are now ready to proceed to the next step: connecting the wires to activate the speakers and unleash their captivating sound.
When installing Bose 251 outdoor speakers, make sure to mount them securely on a stable surface to prevent any movement or damage. Use the provided mounting brackets and follow the manufacturer’s instructions carefully for the best sound quality and longevity of the speakers.
Step 4: Connect the Wires
Now that your Bose 251 outdoor speakers are securely mounted, the next crucial step is to connect the wires and establish the electrical and audio connections. Properly connecting the wires ensures that the speakers receive the necessary power and audio signals, allowing them to deliver a rich and immersive sound experience throughout your outdoor space.
Follow these steps to connect the wires to your outdoor speakers:
- Wire Routing: Determine the most discreet and practical route for the speaker wires, considering factors such as aesthetics, cable protection, and ease of access for future maintenance. Conceal the wires along walls, under eaves, or beneath outdoor fixtures to maintain a tidy and unobtrusive appearance.
- Wire Termination: If the Bose 251 speakers utilize bare wire connections, carefully strip the insulation from the wire ends and securely fasten them to the corresponding terminals on the speakers. Alternatively, if the speakers feature proprietary connectors or terminals, follow the manufacturer’s instructions for proper wire termination to ensure a reliable and secure connection.
- Amplifier Connection: Identify the amplifier or audio source that will power the outdoor speakers. Connect the other end of the speaker wires to the designated terminals on the amplifier, ensuring that the polarity is maintained for each speaker to preserve the correct audio balance and phase coherence.
- Weatherproofing Measures: If the wire connections are exposed to the elements, implement weatherproofing measures to safeguard the connections and prevent moisture ingress. Utilize waterproof junction boxes, weather-resistant cable sheathing, or silicone sealants to protect the wire terminations and amplifier connections from environmental hazards.
By meticulously connecting the wires with attention to detail and weatherproofing considerations, you can ensure that your Bose 251 outdoor speakers receive the necessary electrical and audio signals to deliver a captivating audio experience in your outdoor sanctuary. With the wires securely connected, you are now poised to move on to the final step: testing the speakers to revel in their exceptional sound performance.
Read also: 13 Amazing Bose Bookshelf Speakers for 2025
Step 5: Test the Speakers
As you approach the final stage of installing your Bose 251 outdoor speakers, it’s time to test the speakers to ensure that they deliver the exceptional audio performance for which they are renowned. Conducting a thorough testing process allows you to fine-tune the sound settings, verify the connectivity, and bask in the immersive audio experience that the speakers bring to your outdoor environment.
Follow these steps to test your outdoor speakers and optimize their performance:
- Audio Source Selection: Choose a preferred audio source, such as a smartphone, tablet, or dedicated audio system, to supply music or sound to the outdoor speakers. Select a variety of music genres or audio content to gauge the speakers’ versatility and fidelity across different soundscapes.
- Volume Calibration: Gradually increase the volume of the speakers to assess their output levels and ensure that they can reach the desired sound intensity without distortion. Fine-tune the volume settings to achieve a balanced and immersive audio experience that complements your outdoor activities and entertainment preferences.
- Sound Coverage Evaluation: Walk around your outdoor space while the speakers are playing and evaluate the sound coverage and dispersion. Verify that the speakers effectively reach the intended listening zones, providing consistent and enveloping sound quality throughout the designated areas.
- Audio Quality Assessment: Pay close attention to the clarity, tonal balance, and depth of the sound produced by the outdoor speakers. Listen for nuances in the music or audio content, assessing the speakers’ ability to reproduce intricate details and deliver a captivating sonic experience that resonates with the natural ambiance of your outdoor surroundings.
By conducting a comprehensive testing process, you can ensure that your Bose 251 outdoor speakers deliver an exceptional audio performance that enriches your outdoor living experience. With the speakers successfully tested and optimized, you have completed the installation process, and you can now relish the captivating sounds that emanate from your outdoor sanctuary.
Congratulations! You have successfully installed and tested your Bose 251 outdoor speakers, unlocking the potential for unforgettable outdoor entertainment and relaxation. With the power of music at your fingertips, you can now immerse yourself in the harmonious blend of captivating audio and the natural splendor of your outdoor haven.
Conclusion
Embarking on the journey to install Bose 251 outdoor speakers has allowed you to transform your outdoor space into a captivating audio oasis, where the harmonious blend of nature and music converges to create unforgettable moments. By following the comprehensive installation process outlined in this guide, you have laid the foundation for an immersive and visually appealing audio experience that resonates throughout your outdoor sanctuary.
From carefully choosing the installation locations to meticulously testing the speakers, each step has contributed to the seamless integration of the Bose 251 outdoor speakers with your outdoor environment. As a result, you are now poised to savor the countless benefits of outdoor audio entertainment, whether you are hosting lively gatherings, unwinding with soothing melodies, or simply relishing the symphony of nature accompanied by your favorite tunes.
As you bask in the captivating sounds emanating from your outdoor speakers, remember the meticulous attention to detail that went into the installation process. The strategic placement, secure mounting, precise wire connections, and thorough testing have culminated in an audio experience that elevates your outdoor living space to new heights.
With the installation complete, take a moment to revel in the seamless fusion of technology and nature, where the power of music enriches your outdoor escapades and creates a welcoming ambiance for you and your guests. Whether it’s the rhythmic beats enlivening a festive gathering or the serene melodies enhancing moments of tranquility, the Bose 251 outdoor speakers stand ready to elevate every outdoor experience.
As you embrace the enchanting symphony that unfolds in your outdoor sanctuary, you can take pride in the expertise and care that went into installing your outdoor speakers, ensuring that they seamlessly blend with the natural beauty of your surroundings. With the installation process behind you, it’s time to immerse yourself in the captivating sounds that define the essence of outdoor living at its finest.
So, go ahead, indulge in the seamless fusion of nature and music, and let the Bose 251 outdoor speakers be your gateway to a world of captivating audio experiences in the great outdoors.
Frequently Asked Questions about How To Install Bose 251 Outdoor Speakers
Was this page helpful?
At Storables.com, we guarantee accurate and reliable information. Our content, validated by Expert Board Contributors, is crafted following stringent Editorial Policies. We're committed to providing you with well-researched, expert-backed insights for all your informational needs.


0 thoughts on “How To Install Bose 251 Outdoor Speakers”