Home>Technology>Home Entertainment Systems>How Do You Set Up A Projector
Home Entertainment Systems
How Do You Set Up A Projector
Modified: October 19, 2024
Learn how to set up a projector for your home entertainment system with our step-by-step guide. Create the ultimate viewing experience hassle-free.
(Many of the links in this article redirect to a specific reviewed product. Your purchase of these products through affiliate links helps to generate commission for Storables.com, at no extra cost. Learn more)
Introduction
Setting up a projector can transform your living room into a home theater, bringing the cinematic experience right to your doorstep. Whether you want to enjoy movie nights with family, immerse yourself in the latest video games, or give impactful presentations, a projector can elevate your entertainment and professional endeavors. However, the thought of setting up a projector can be daunting for many, especially those new to home entertainment systems. Fear not, as this comprehensive guide will walk you through the process, demystifying the setup and empowering you to unleash the full potential of your projector.
In the following sections, we will delve into the essential steps to set up a projector with ease and precision. From choosing the optimal location for your projector to troubleshooting common issues, this guide will equip you with the knowledge and confidence to seamlessly integrate a projector into your home entertainment system. So, grab your popcorn, dim the lights, and let's embark on this illuminating journey to bring the magic of the big screen into your home.
Key Takeaways:
- Transform your living room into a home theater by setting up a projector with ease. Choose the perfect location, connect cables, and fine-tune settings for an immersive cinematic experience right at home.
- Overcome common projector setup challenges with confidence. Troubleshoot issues like poor image quality and audio problems to maximize the potential of your home entertainment system.
Read more: How Do You Use A Projector
Choosing the Right Location
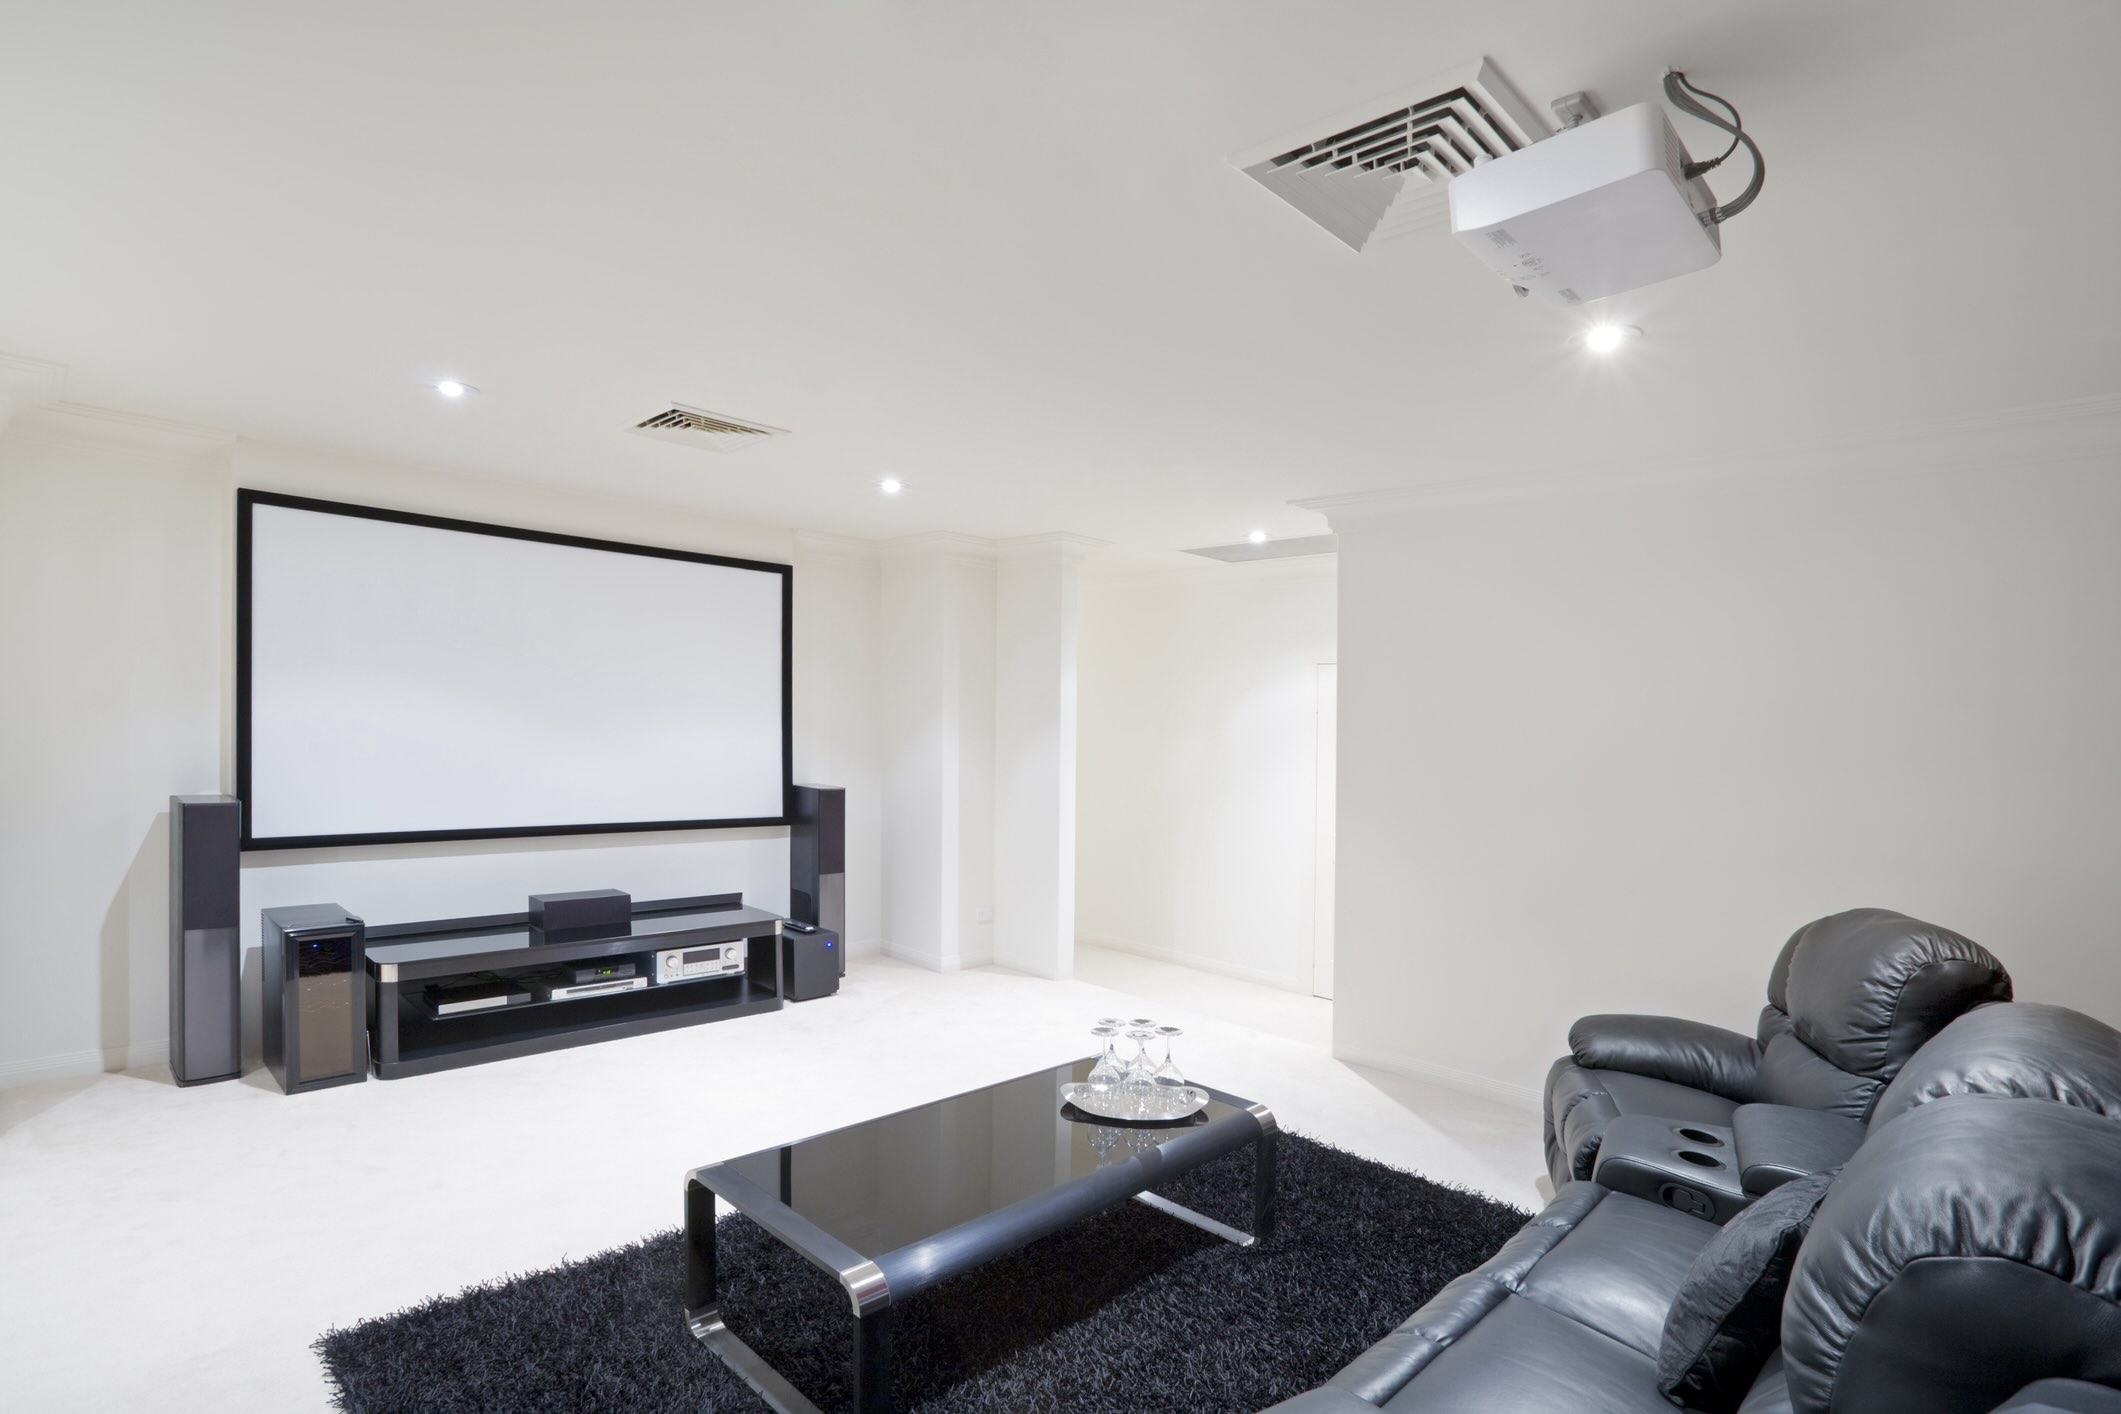
Before diving into the technical aspects of setting up your projector, it’s crucial to carefully select the ideal location for its placement. The chosen location will significantly impact the viewing experience, so consider the following factors:
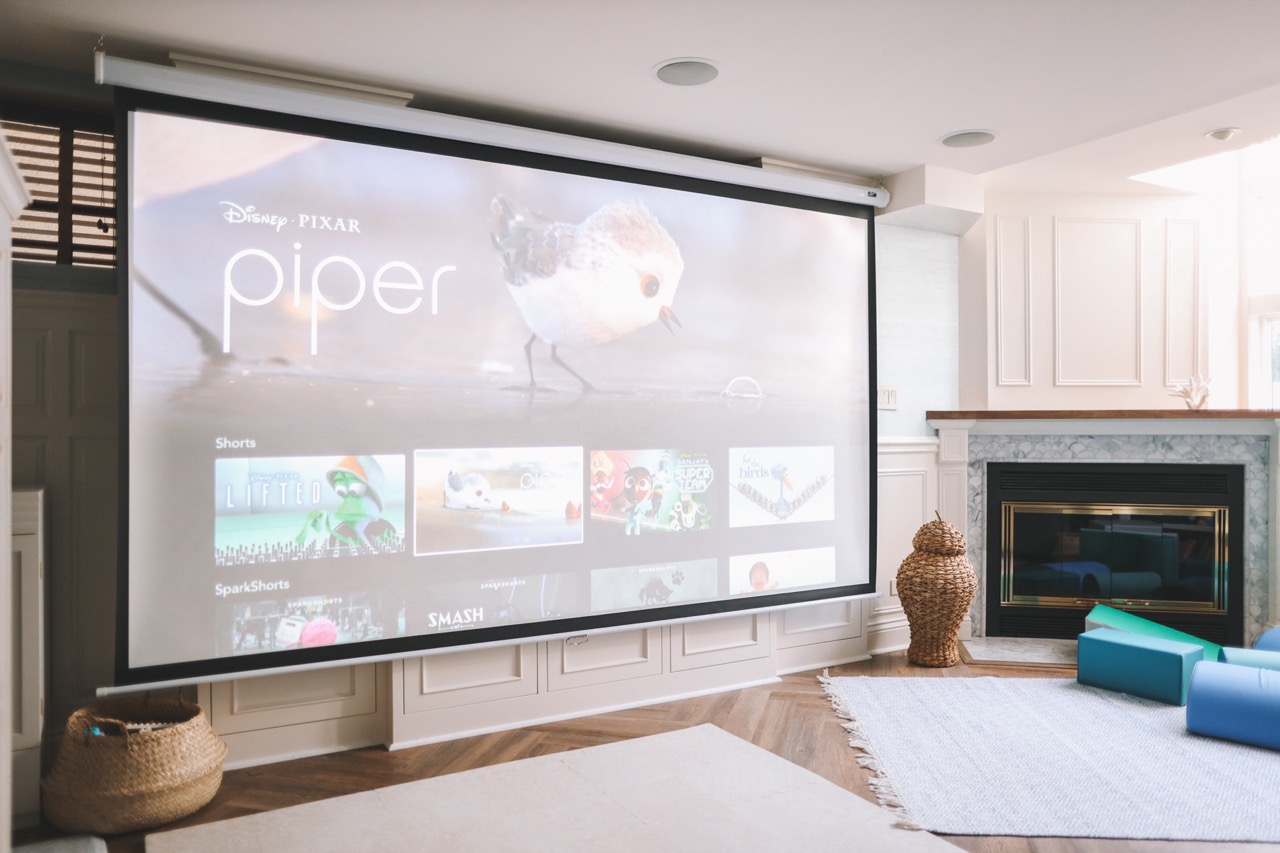
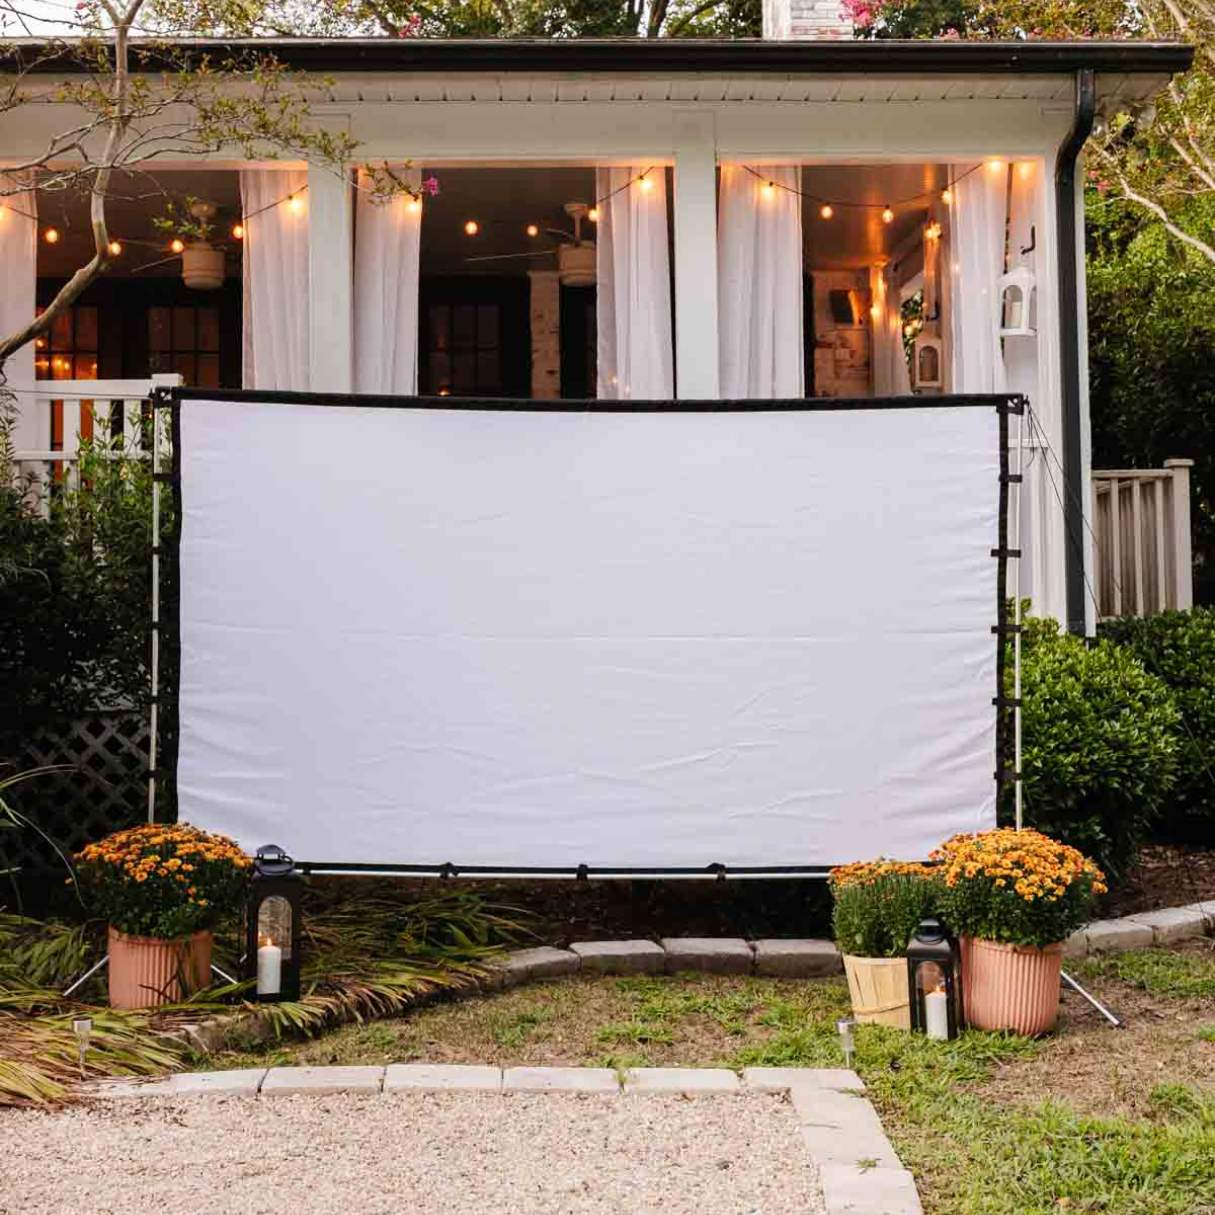
- Projection Surface: Opt for a smooth, flat surface such as a blank wall or a projector screen. Ensure that the surface is free from any obstructions or uneven textures that could distort the projected image.
- Distance and Viewing Angle: Determine the optimal distance between the projector and the projection surface to achieve the desired screen size. Additionally, consider the viewing angle to ensure that the projected image is easily visible from your seating area.
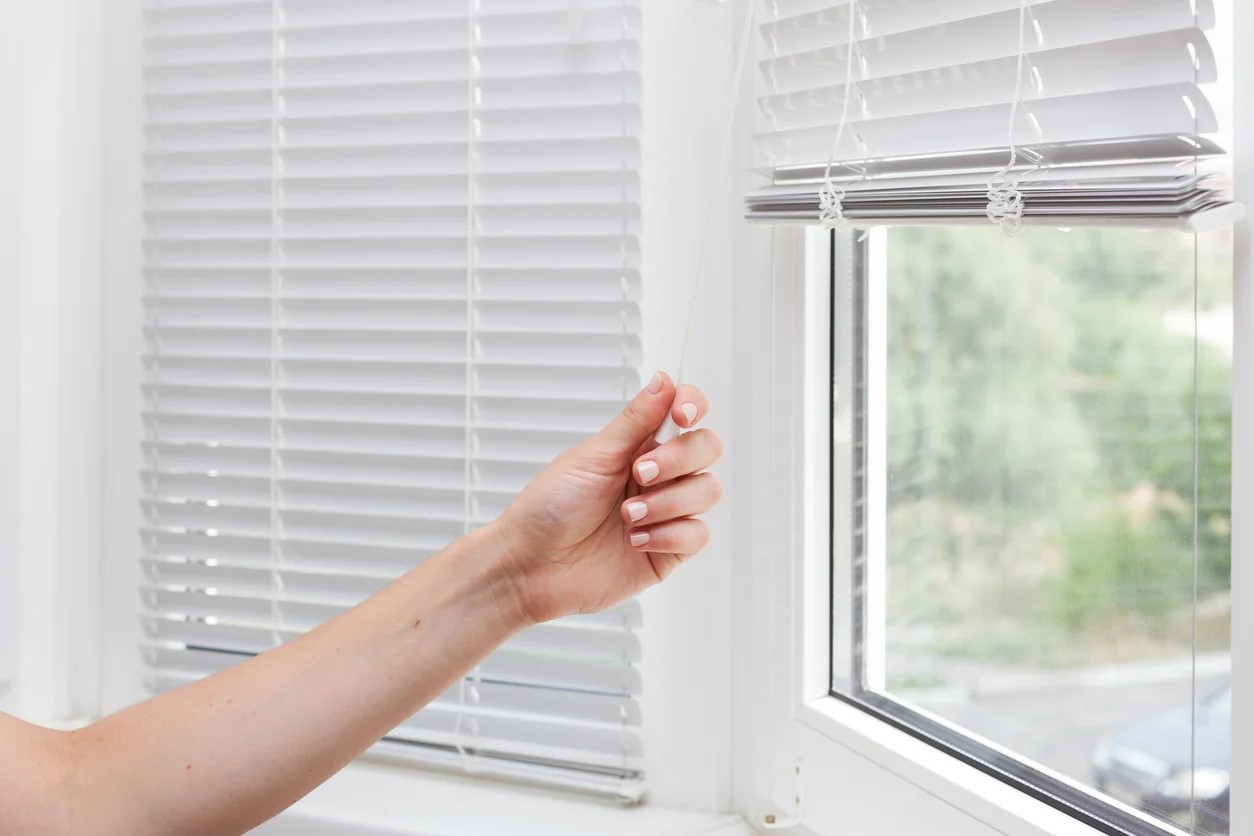
- Ambient Light: Minimize ambient light in the chosen location to enhance image clarity and contrast. Consider using blackout curtains or blinds to control natural light, especially for evening or cinematic viewing.
- Ventilation and Accessibility: Ensure that the chosen location allows for proper ventilation around the projector to prevent overheating. Additionally, consider accessibility for cable connections and maintenance.
By carefully assessing these factors, you can identify the optimal location for your projector, setting the stage for an immersive and visually stunning viewing experience. With the location secured, you are ready to proceed to the next crucial step: connecting the necessary cables.
Connecting the Cables
Once you have identified the perfect location for your projector, it’s time to connect the essential cables to bring your home entertainment system to life. Here’s a step-by-step guide to ensure a seamless setup:
- Power Connection: Begin by connecting the power cord to the projector and plugging it into a power outlet. Ensure that the voltage requirements match your local electrical standards to prevent any power-related issues.
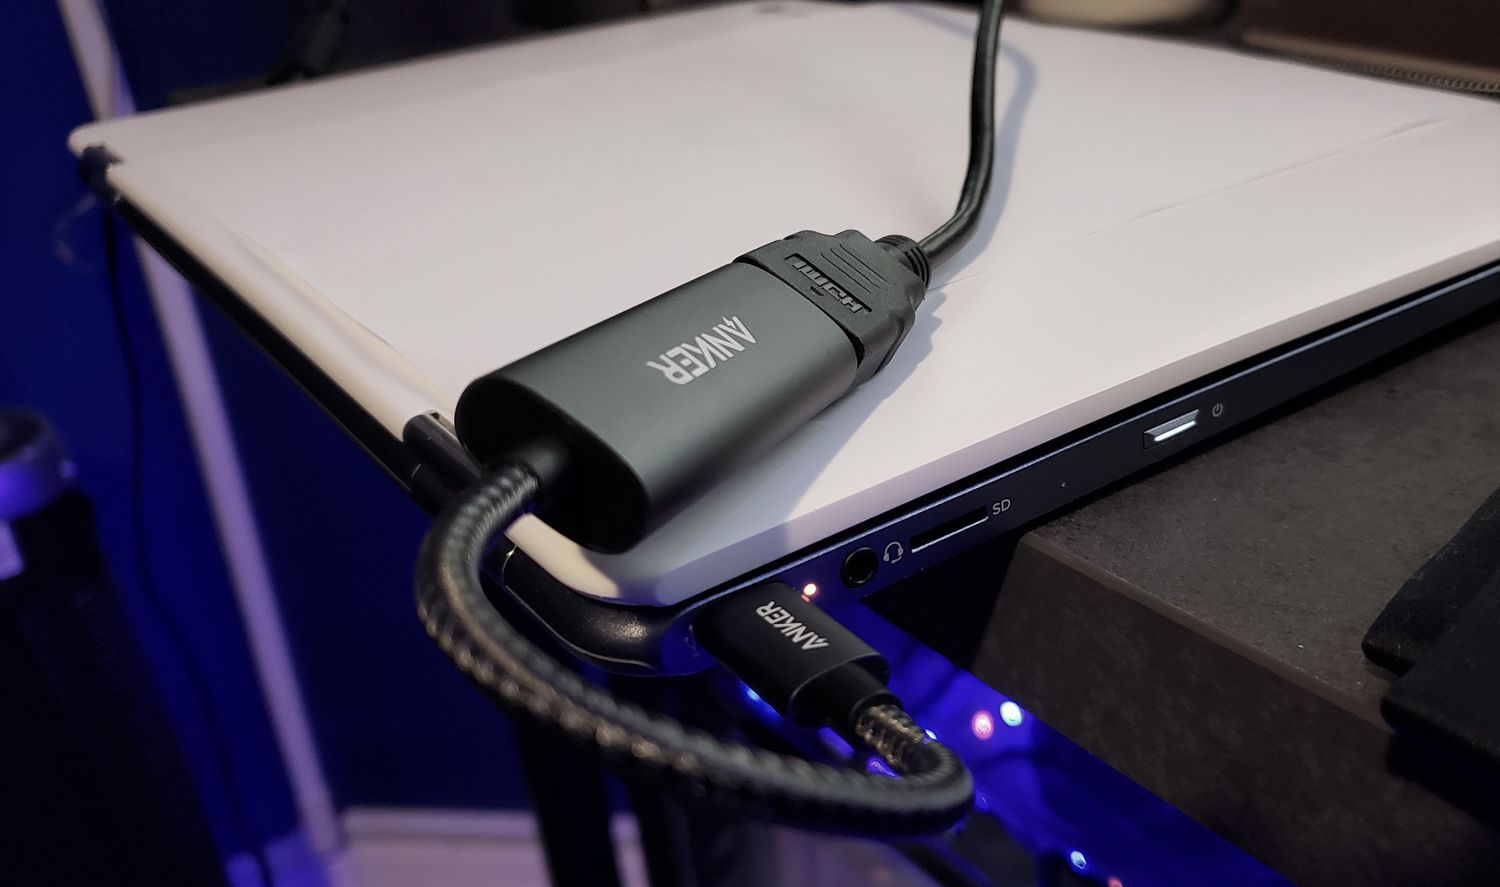
- Video Source: Connect the video source, such as a Blu-ray player, gaming console, or streaming device, to the projector using the appropriate cable. Common options include HDMI, VGA, or component cables, depending on the compatibility of your devices.
- Audio Connection: If your projector has built-in speakers or an audio output, connect the audio source to the projector using the corresponding audio cables. Alternatively, you can connect the audio source directly to an external sound system for enhanced audio quality.
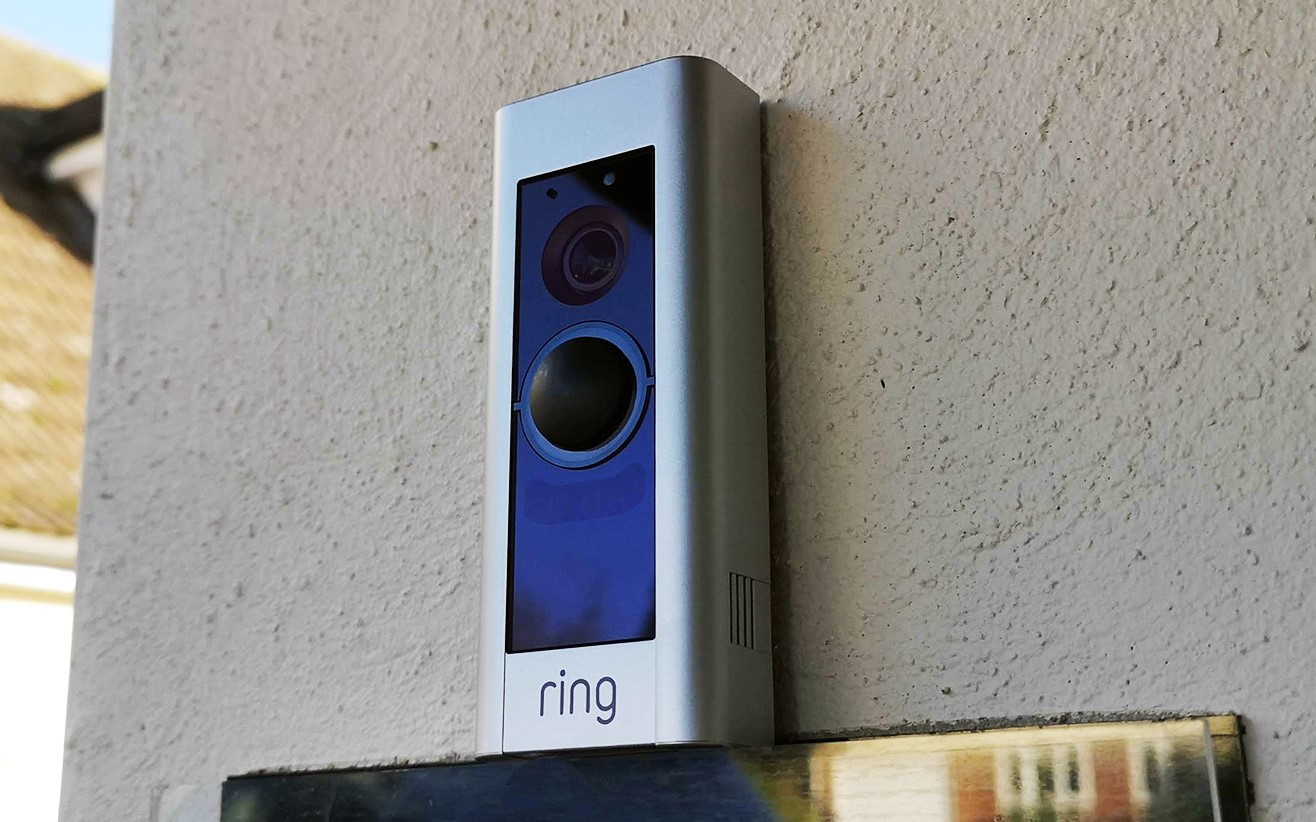
- Additional Devices: If you plan to connect additional devices, such as a soundbar, media player, or streaming stick, ensure that they are seamlessly integrated into the setup, providing a comprehensive and versatile home entertainment experience.
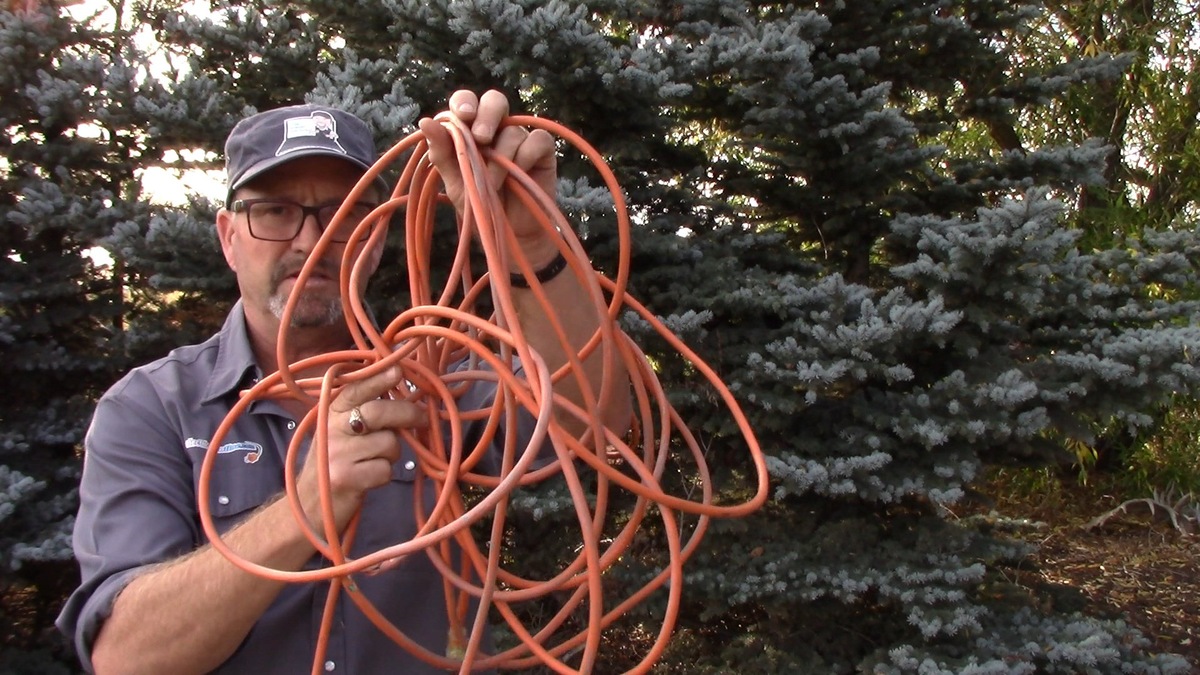
As you connect the cables, pay attention to cable management to minimize clutter and prevent tripping hazards. Utilize cable ties or clips to secure and organize the cables, creating a tidy and professional setup. Once all the cables are connected, it’s time to power on the projector and prepare for the next phase of the setup process.
Powering On the Projector
With the cables properly connected, it’s time to power on the projector and fine-tune the settings for an optimal viewing experience. Follow these steps to ensure a smooth and efficient startup:
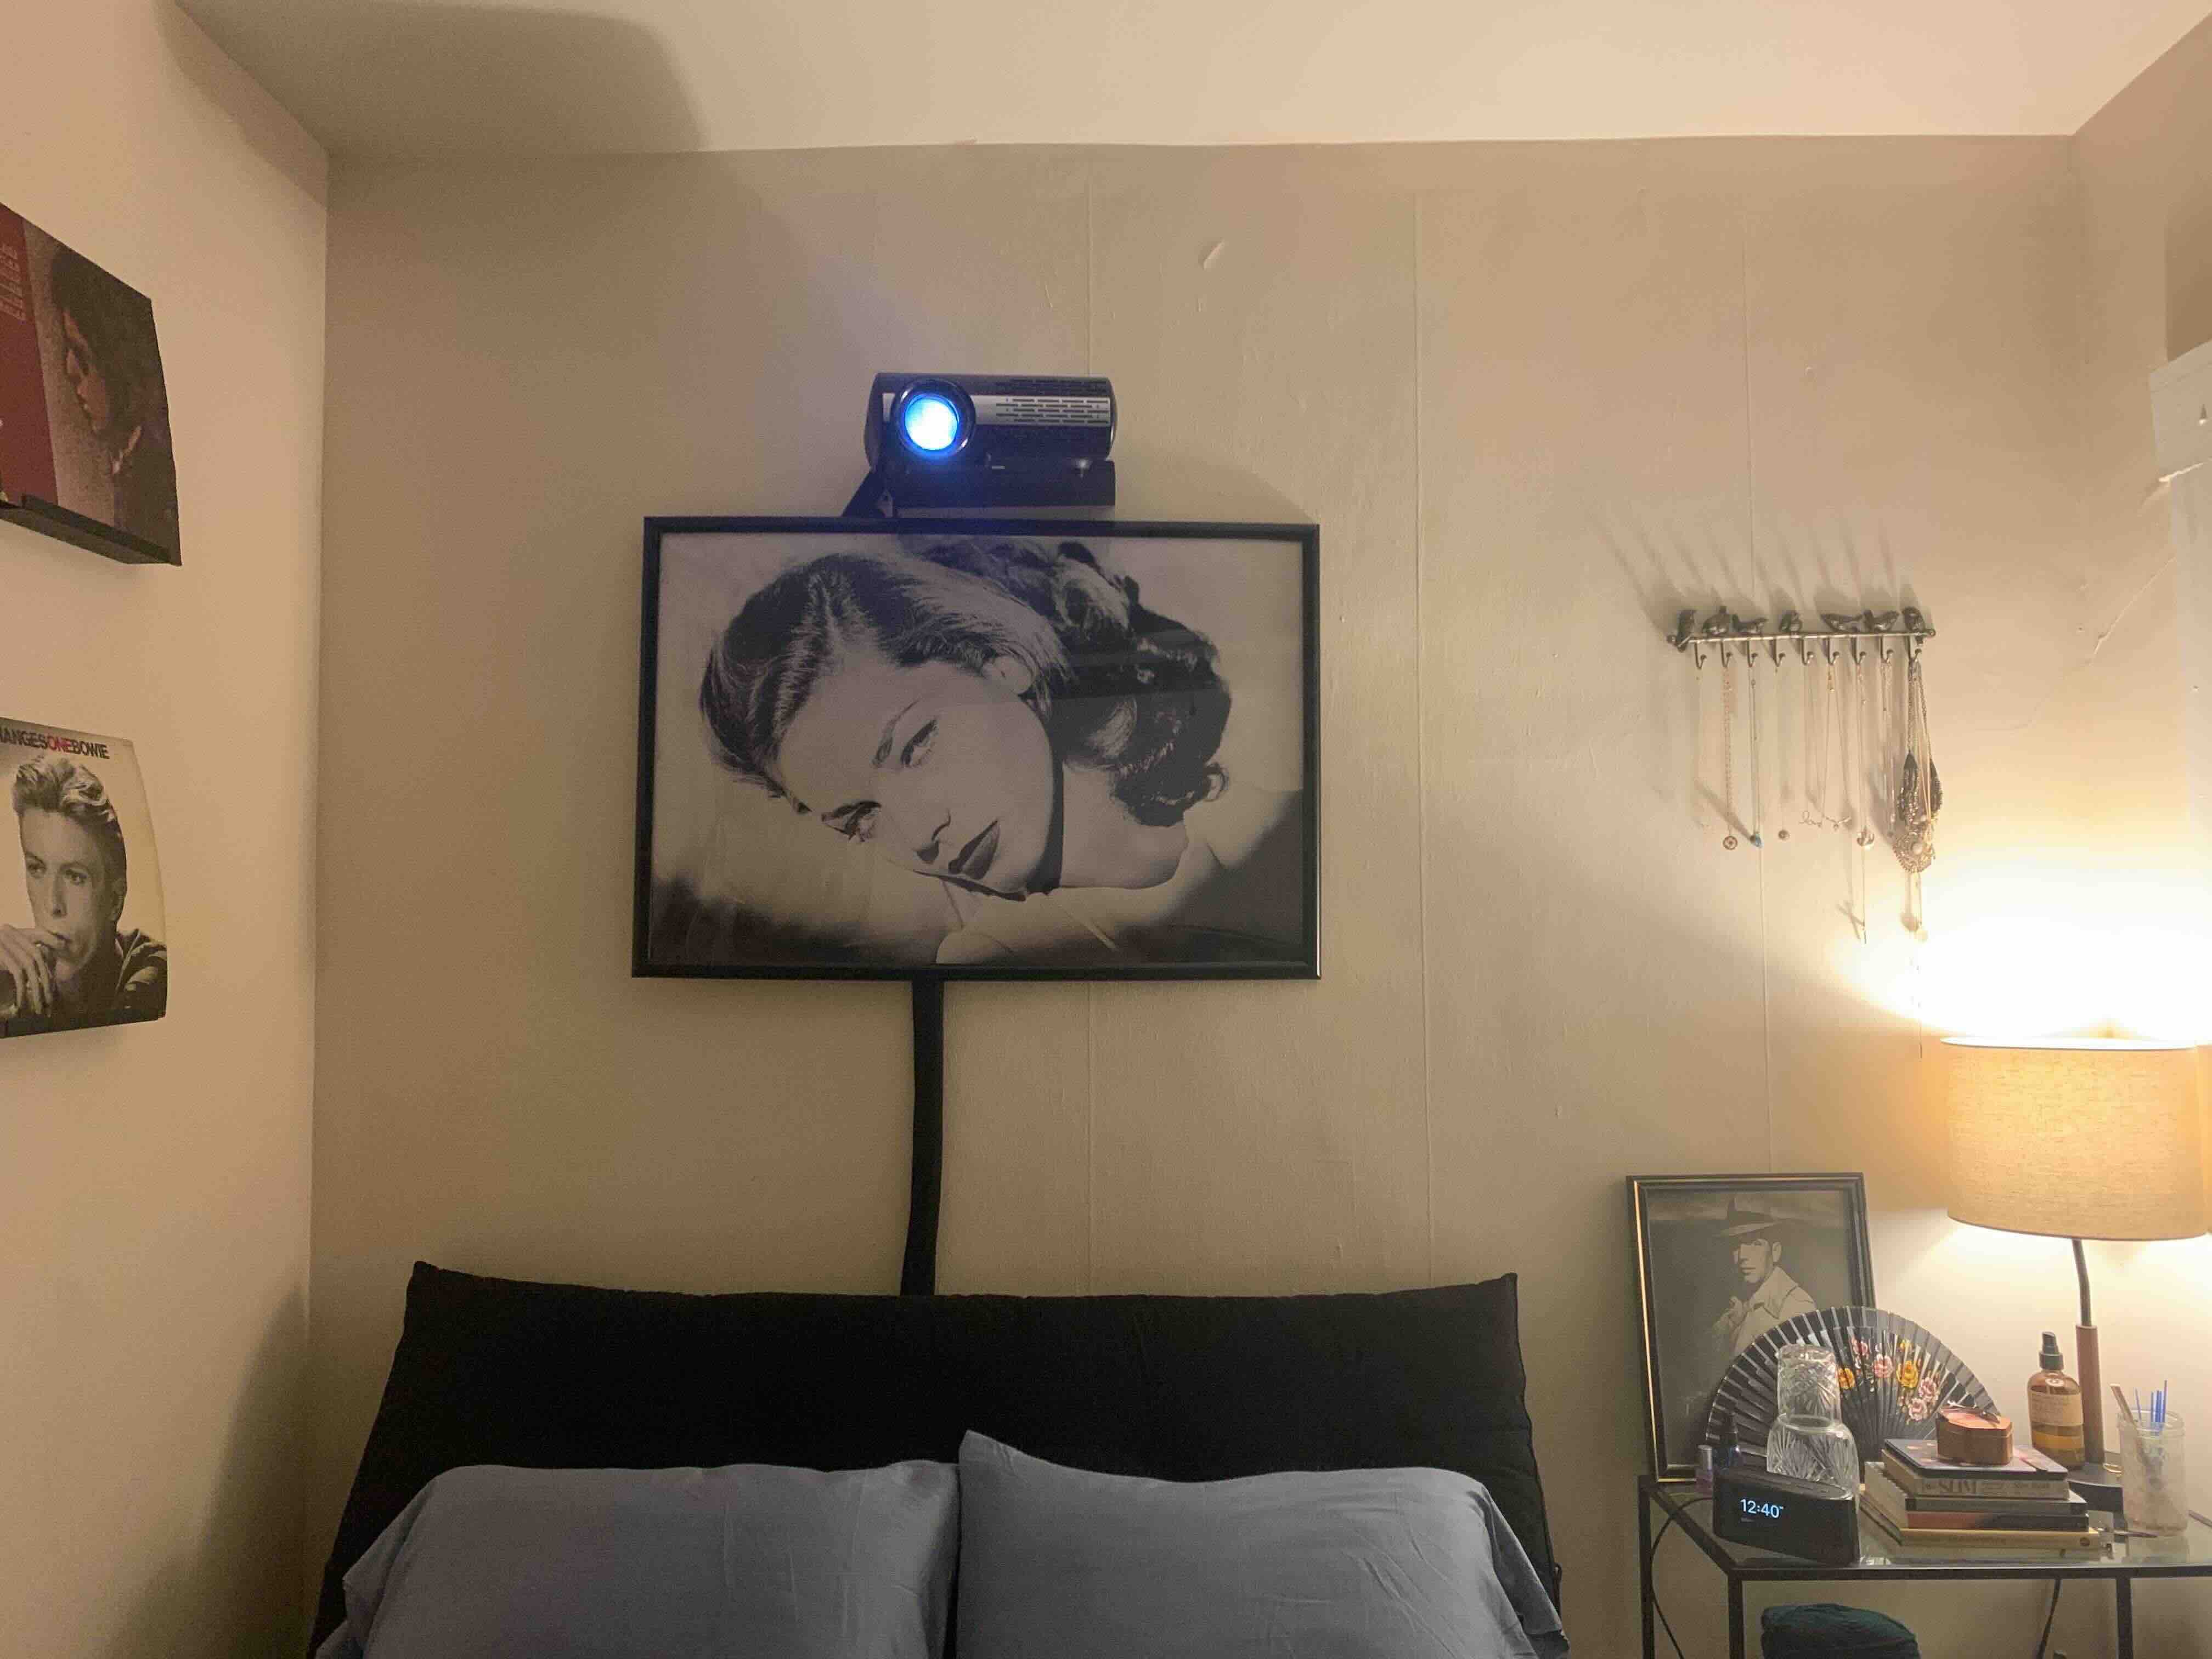
- Power Up: Press the power button on the projector or the remote control to initiate the startup sequence. Allow the projector to warm up and initialize its internal components.
- Source Selection: Use the projector’s input or source button to select the appropriate input source, such as HDMI, VGA, or any other connected device. This ensures that the projector receives the signal from the desired video source.
- Image Alignment: Adjust the projector’s position and angle to align the projected image with the projection surface. Use the projector’s keystone correction and lens shift features, if available, to fine-tune the image geometry and ensure a rectangular and distortion-free projection.
- Brightness and Color Settings: Access the projector’s menu to adjust brightness, contrast, color temperature, and other image settings to achieve the desired visual quality. Consider the ambient lighting conditions in the room when making these adjustments for optimal image clarity.
- Audio Configuration: If the projector has built-in speakers or audio output options, configure the audio settings to suit your preferences. Alternatively, if you have an external sound system, ensure that the audio output is routed correctly to deliver immersive sound.
As you power on the projector and navigate through the settings, take the time to familiarize yourself with the projector’s remote control and on-screen menu. This will empower you to make quick adjustments and optimize the viewing experience based on your specific content and preferences. With the projector powered on and the settings adjusted, you are now ready to immerse yourself in a captivating visual and auditory journey right in the comfort of your own home.
Make sure the projector is placed at the right distance from the screen to avoid distortion. Use the keystone correction feature to adjust the image shape if needed. Check the input source and connect the appropriate cables for your device.
Adjusting the Settings
Once the projector is powered on, fine-tuning the settings is essential to optimize the visual and auditory experience. Here are the key settings to consider when adjusting your projector:
- Aspect Ratio: Select the appropriate aspect ratio based on your content, whether it’s widescreen 16:9 for movies and games or standard 4:3 for presentations. This ensures that the projected image maintains the correct proportions.
- Resolution Settings: Adjust the projector’s resolution to match the native resolution of your video source. This ensures that the projected image is displayed in its highest quality without distortion or loss of detail.
- Color Calibration: Use the projector’s color settings to calibrate the color temperature, saturation, and hue to achieve accurate and vibrant colors. Consider using test patterns or calibration discs to achieve optimal color accuracy.
- Keystone Correction: If the projector is not perfectly aligned with the projection surface, utilize the keystone correction feature to adjust the image geometry and eliminate any trapezoidal distortion, ensuring a rectangular and true-to-life projection.
- Image Enhancement: Some projectors offer image enhancement features such as sharpness adjustment, noise reduction, and motion smoothing. Experiment with these settings to find the optimal balance for sharp, smooth, and artifact-free images.
- Audio Equalization: If the projector has built-in speakers, access the audio settings to fine-tune the equalization for balanced sound reproduction. For external sound systems, ensure that the audio output from the projector is optimized for the connected audio equipment.
By carefully adjusting these settings, you can tailor the projector’s performance to suit your specific preferences and the characteristics of your viewing environment. Remember to save your preferred settings to streamline future startup procedures and maintain a consistent viewing experience. With the settings finely tuned, you are now poised to immerse yourself in a captivating visual and auditory journey right in the comfort of your own home.
Read more: How Do You Clean A Projector Screen
Troubleshooting Common Issues
While setting up a projector can be a rewarding experience, it’s not uncommon to encounter certain challenges along the way. Here are some common issues that may arise during projector setup and how to troubleshoot them effectively:
- No Image or Signal: If the projector fails to display an image or signal, ensure that the video source is powered on and properly connected to the projector. Check the input source selection on the projector to confirm that it matches the connected device. Additionally, inspect the cables for any damage or loose connections.
- Poor Image Quality: If the projected image appears blurry, distorted, or lacks clarity, double-check the projector’s focus and lens position. Adjust the focus ring or lens shift to achieve a sharp and well-defined image. Consider cleaning the projector’s lens and ensuring that the projection surface is free from any obstructions or imperfections.
- Overheating and Fan Noise: Projectors may generate heat and produce fan noise during operation. Ensure that the projector has proper ventilation and is not placed in an enclosed or excessively warm environment. Clean the projector’s air vents and filters regularly to prevent overheating and maintain optimal performance.
- Color or Display Issues: If the projected colors appear inaccurate or the display exhibits irregularities, review the projector’s color settings and calibration. Adjust the color temperature, saturation, and hue to achieve natural and vibrant colors. If the issue persists, consider updating the projector’s firmware or consulting the manufacturer’s support resources.
- Audio Troubleshooting: If you encounter audio-related issues, such as low volume or distorted sound, verify the audio connections and settings. Ensure that the audio source is correctly routed to the projector and that the volume levels are adjusted appropriately. If using external speakers, check the audio cables and amplifier settings for optimal performance.
By addressing these common issues proactively and methodically, you can overcome potential obstacles during projector setup and ensure a seamless and enjoyable viewing experience. Remember to consult the projector’s user manual and support resources for specific troubleshooting guidance tailored to your projector model. With these troubleshooting insights at your disposal, you can confidently navigate any challenges that may arise, maximizing the potential of your home entertainment system.
Conclusion
Congratulations! You have successfully navigated the intricacies of setting up a projector, paving the way for captivating cinematic experiences and impactful presentations within the comfort of your home. By carefully choosing the optimal location, connecting the necessary cables, and fine-tuning the settings, you have unlocked the full potential of your projector, transforming your living space into a versatile and immersive entertainment hub.
As you embark on this visual journey, remember to embrace the flexibility and creativity that a projector offers. Whether you’re indulging in movie nights with loved ones, hosting engaging gaming sessions, or delivering compelling presentations, the projector serves as a versatile tool for entertainment and communication.
Furthermore, the troubleshooting insights provided equip you with the knowledge to address common challenges effectively, ensuring that any technical hiccups do not hinder your enjoyment of the projector’s capabilities.
As you revel in the cinematic splendor and immersive audiovisual experiences facilitated by your projector, consider exploring additional enhancements such as screen technologies, sound systems, and smart integrations to further elevate your home entertainment setup.
Ultimately, the setup and utilization of a projector are not merely technical endeavors; they are gateways to boundless creativity, shared moments of wonder, and impactful storytelling. Embrace the magic of the big screen within your home, and let the projector be the conduit for unforgettable experiences and meaningful connections.
With this comprehensive guide as your companion, may your projector continue to illuminate your world with breathtaking visuals, stirring soundscapes, and endless possibilities. Sit back, relax, and let the projector transport you to realms of imagination and inspiration, right from the heart of your home.
Frequently Asked Questions about How Do You Set Up A Projector
Was this page helpful?
At Storables.com, we guarantee accurate and reliable information. Our content, validated by Expert Board Contributors, is crafted following stringent Editorial Policies. We're committed to providing you with well-researched, expert-backed insights for all your informational needs.


0 thoughts on “How Do You Set Up A Projector”