Home>Technology>Home Entertainment Systems>How To Turn IPhone Into A Projector
Home Entertainment Systems
How To Turn IPhone Into A Projector
Modified: January 9, 2024
Learn how to transform your iPhone into a projector for your home entertainment system. Discover easy DIY methods and enjoy big-screen viewing at home.
(Many of the links in this article redirect to a specific reviewed product. Your purchase of these products through affiliate links helps to generate commission for Storables.com, at no extra cost. Learn more)
Introduction
Welcome to the world of home entertainment systems, where technology continues to push the boundaries of what's possible. In this article, we're going to explore an innovative way to transform your iPhone into a projector, unlocking a whole new realm of possibilities for sharing and enjoying multimedia content.
Imagine being able to turn any blank wall or ceiling into a vibrant canvas for streaming movies, displaying presentations, or sharing cherished memories through photos and videos. With the right tools and a bit of know-how, you can harness the power of your iPhone to create a portable and versatile projection system that fits right in your pocket.
Whether you're a movie buff looking to host outdoor film nights, a professional seeking a convenient way to present slideshows on the go, or simply someone who loves to share content with friends and family, this DIY project has something for everyone.
In the following sections, we'll walk you through the materials you'll need, the step-by-step process of setting up the projector app, connecting to a projector, adjusting settings for optimal performance, and finally, bringing your iPhone-powered projection to life.
So, grab your iPhone, gather your enthusiasm, and let's embark on this exciting journey to unleash the full potential of your device as a projector. Get ready to elevate your entertainment and presentation experiences with this ingenious and budget-friendly solution. Let's dive in!
Key Takeaways:
- Transform your iPhone into a projector with the right app, materials, and settings. Enjoy movies, presentations, and more on a big screen, all from your pocket!
- Embrace the immersive experience of projecting content from your iPhone onto a larger screen. Engage your audience, adapt settings, and revel in the endless possibilities!
Read more: How To Turn On A Projector
Materials Needed
Before embarking on this DIY project to turn your iPhone into a projector, it’s essential to gather the necessary materials. Here’s a list of items you’ll need to get started:
- iPhone: The heart of this setup, your iPhone will serve as the primary device for streaming and projecting content.
- Projector App: Look for a reliable projector app available on the App Store. There are several options to choose from, each with its own set of features and compatibility.
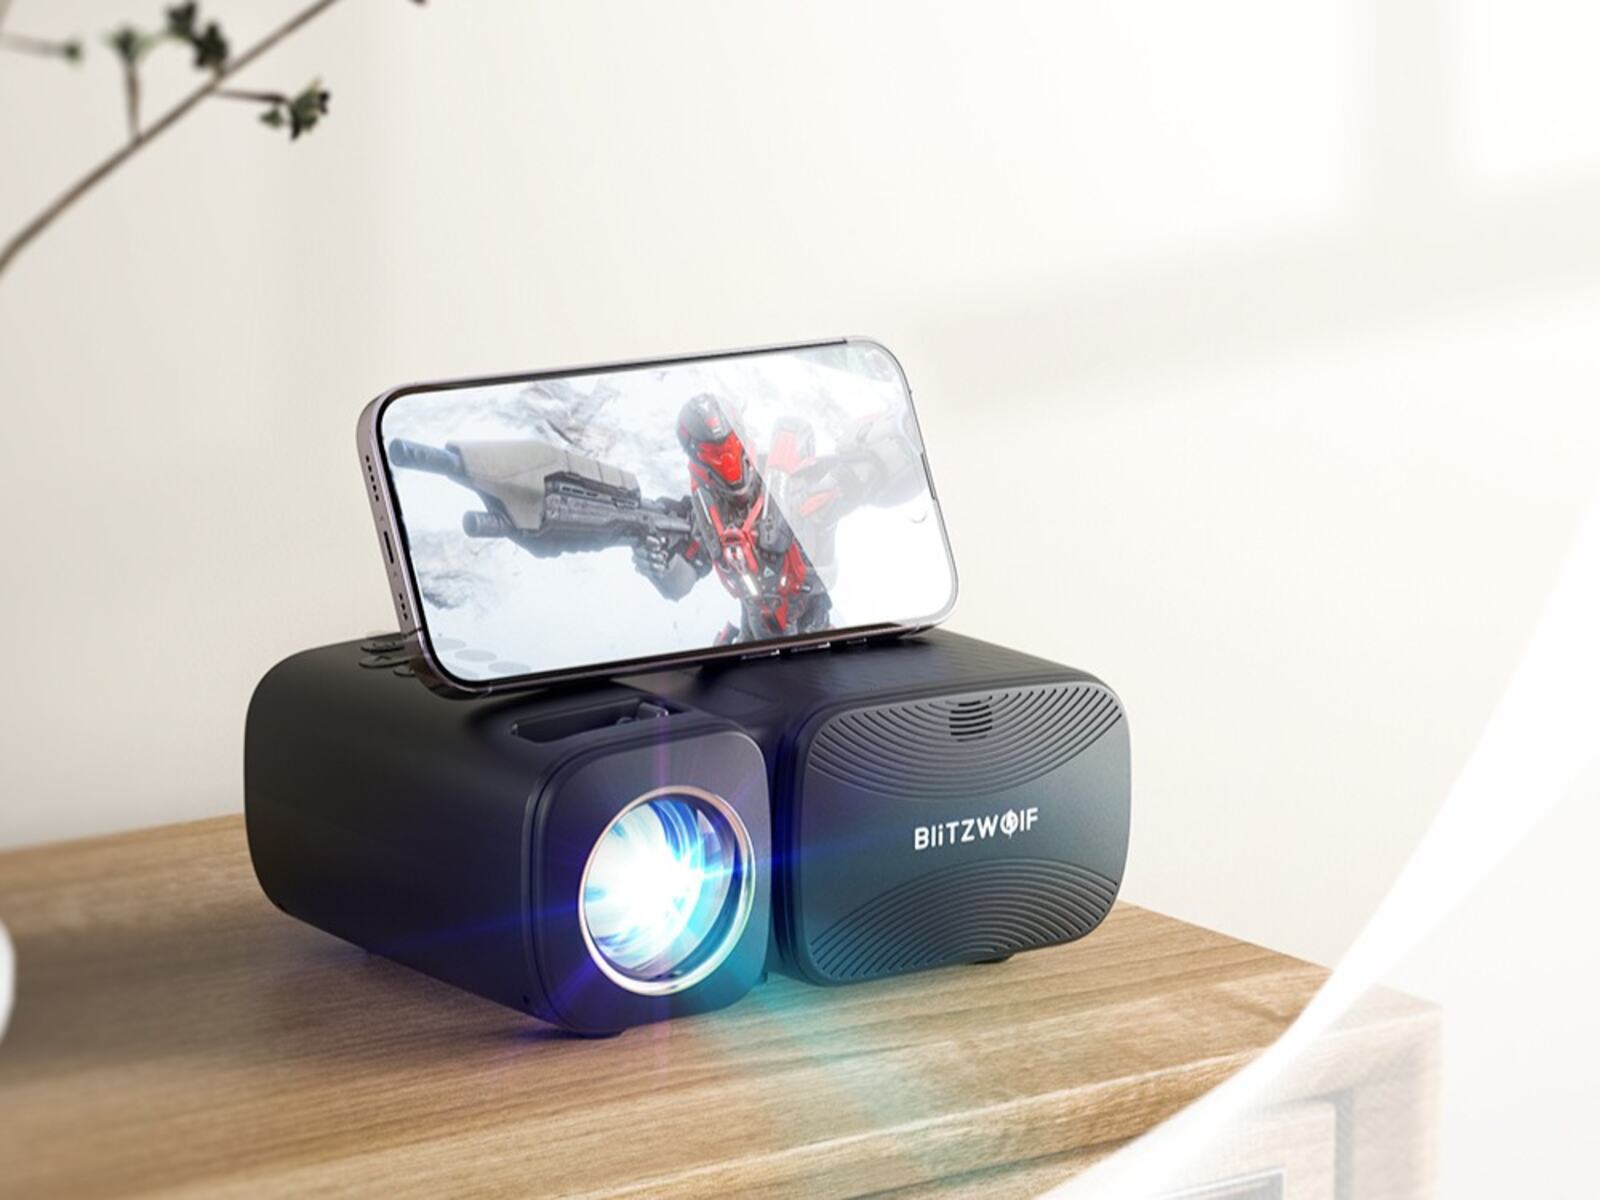
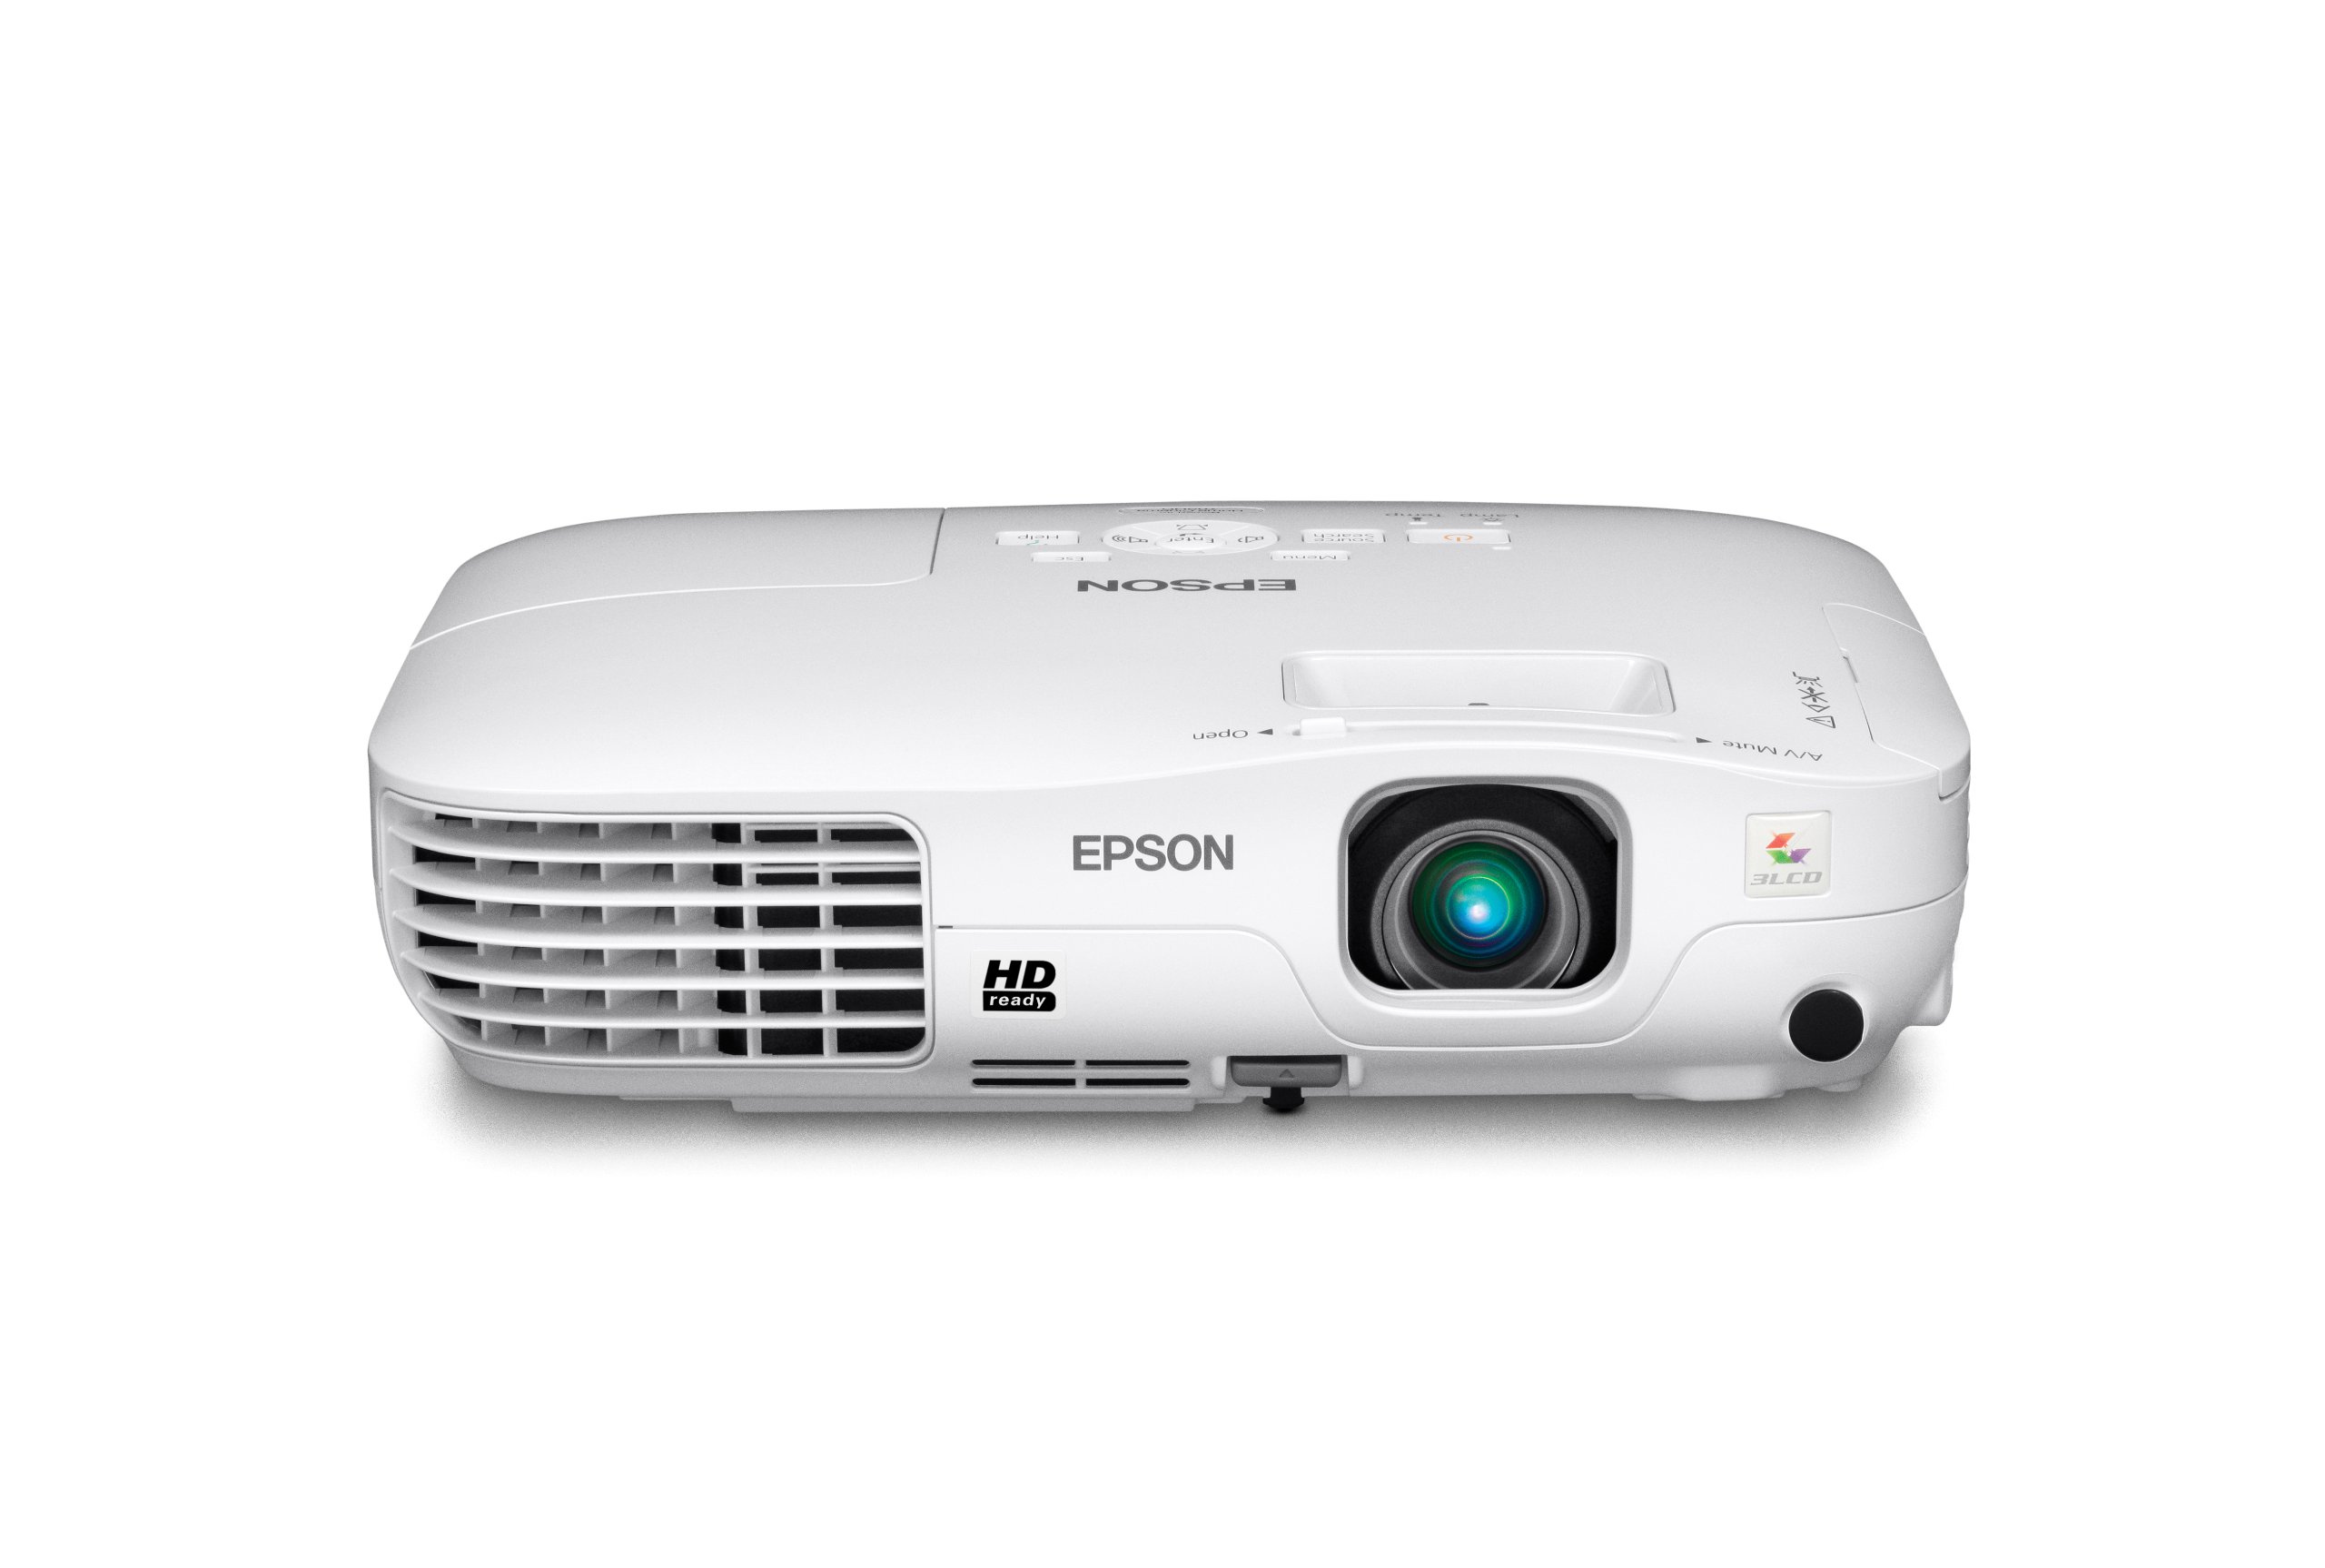
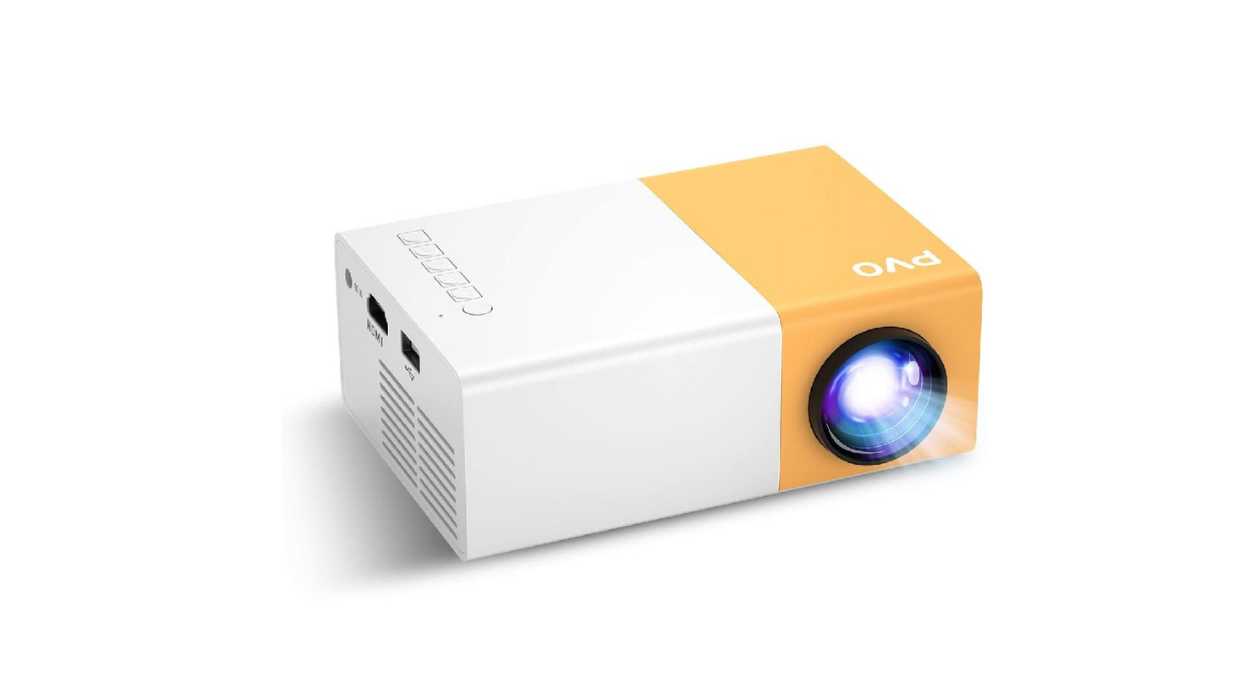
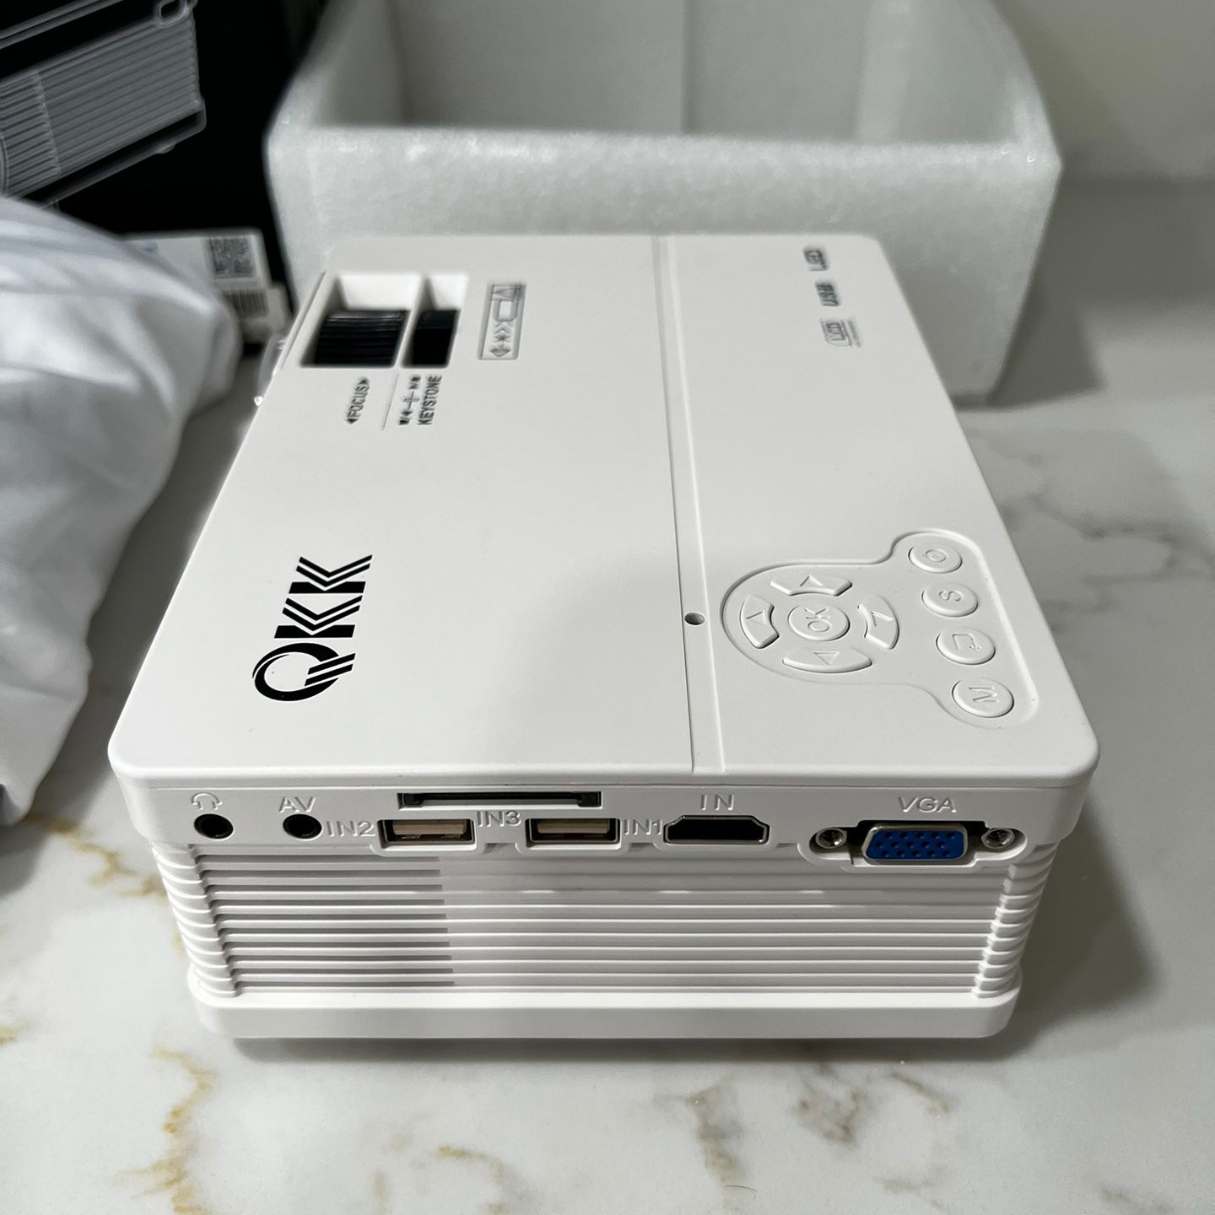
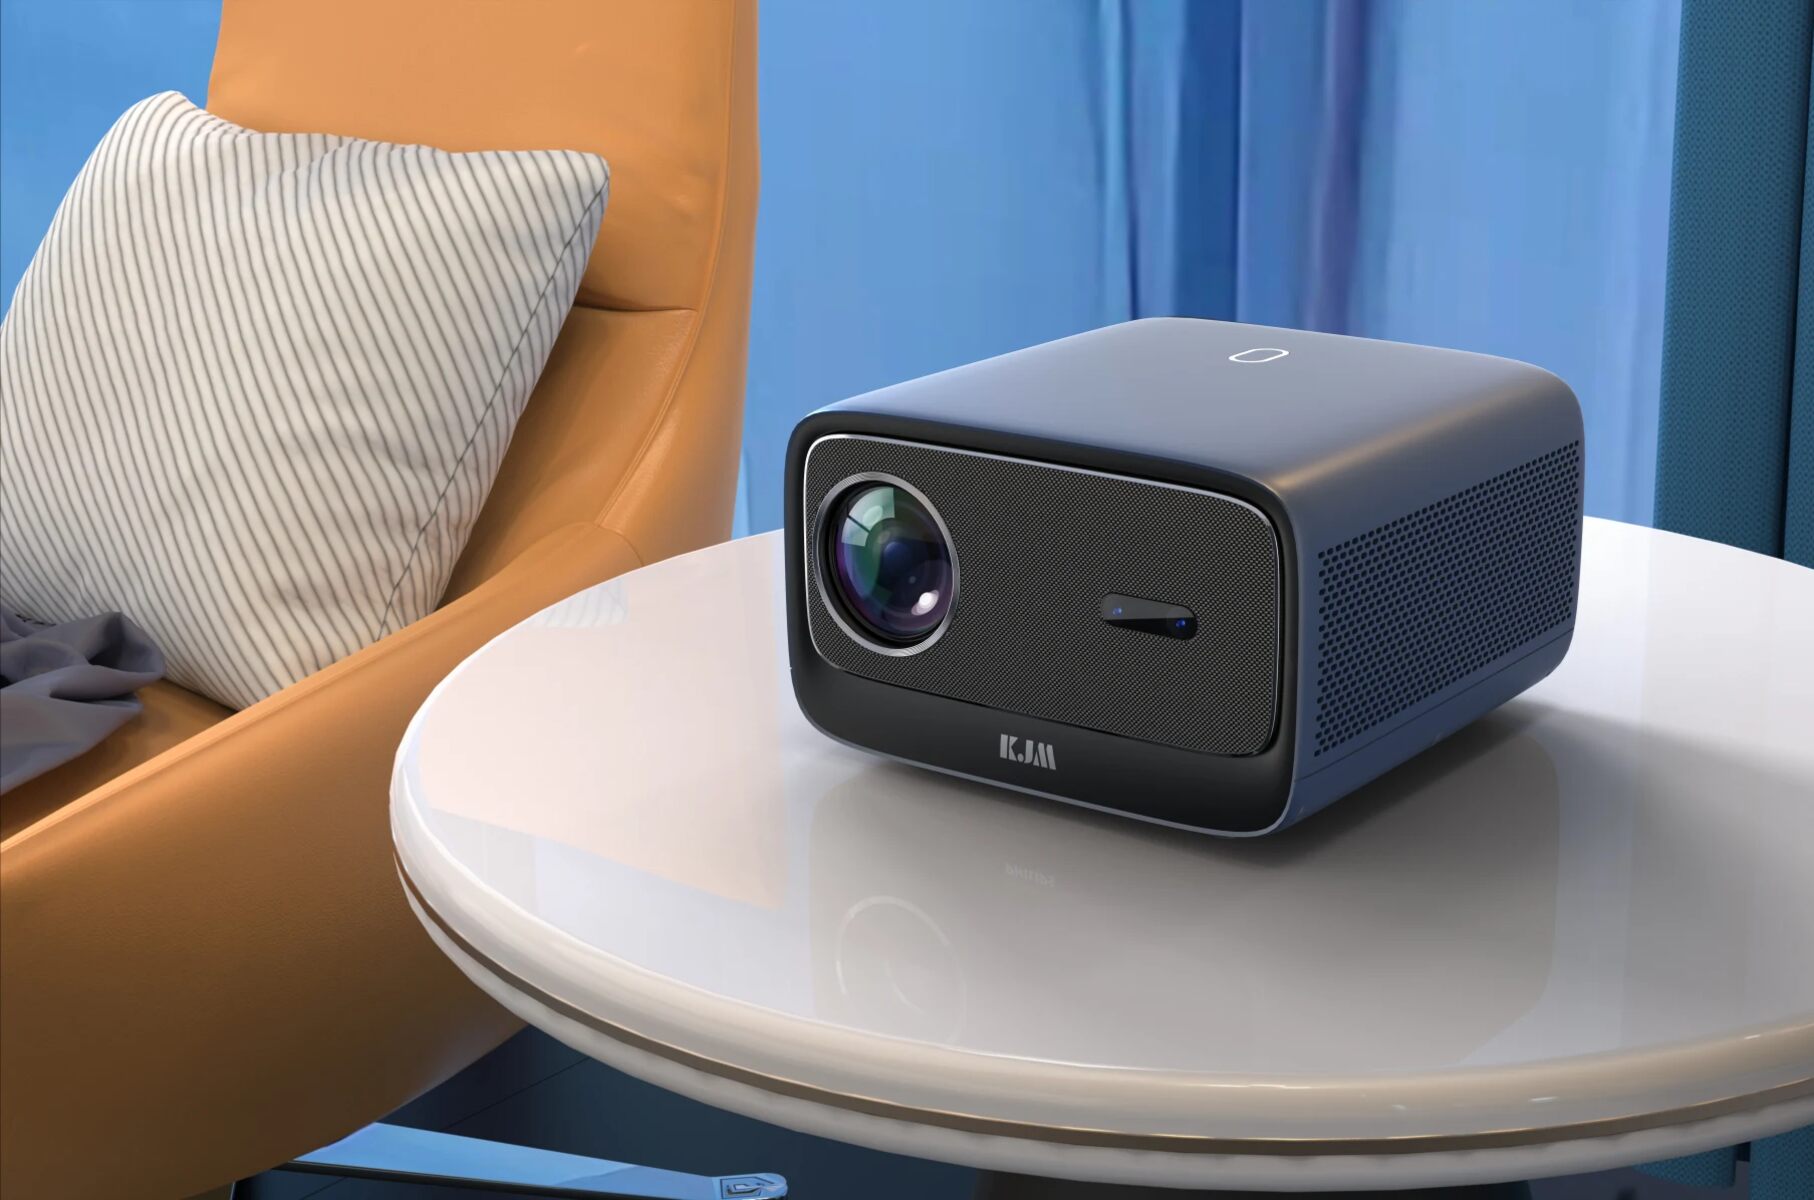
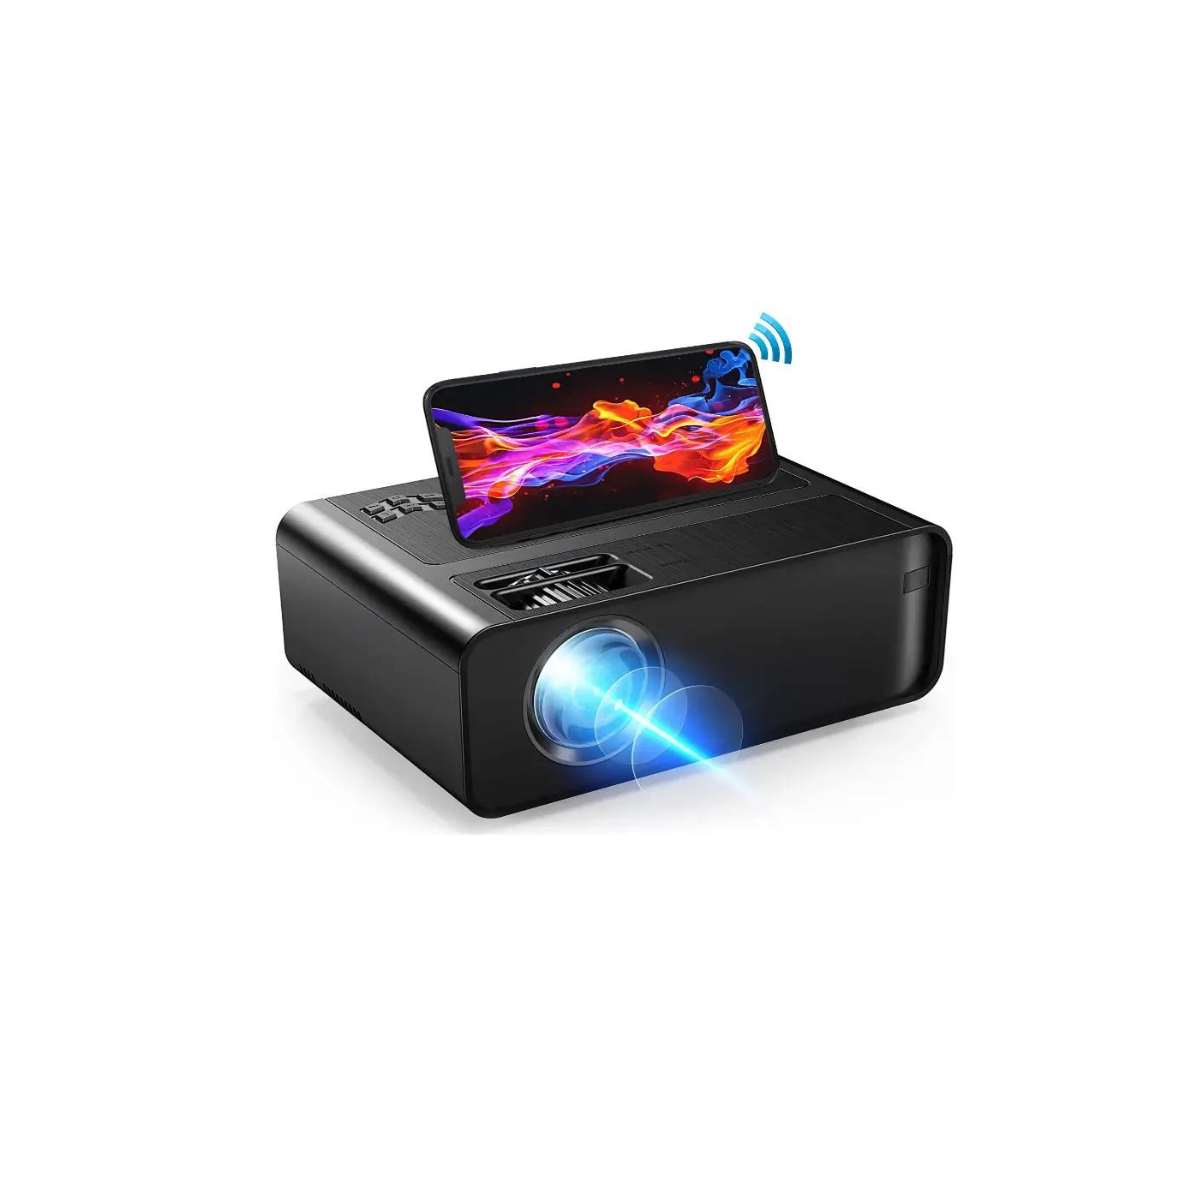
- Projector or Display Device: To project the content from your iPhone, you’ll need a compatible projector or display device. This could be a portable mini projector, a standard home theater projector, or even a smart TV with screen mirroring capabilities.
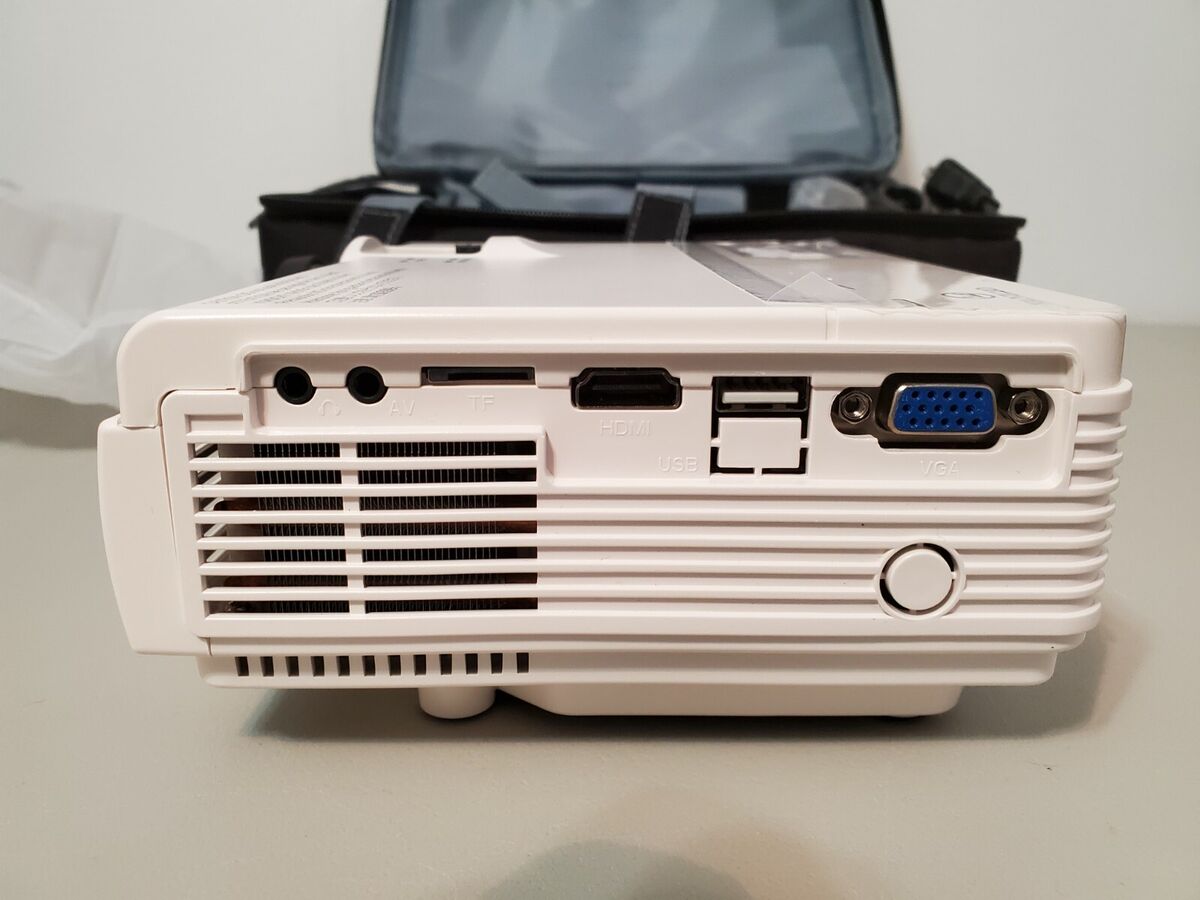
- Adapter or Cable: Depending on the type of projector or display device you’re using, you may need an adapter or cable to establish a connection between your iPhone and the projector. For example, if your projector has an HDMI input, you’ll need a Lightning to HDMI adapter for newer iPhones, or a 30-pin to HDMI adapter for older models.
- Optional: Tripod or Mount: For added convenience and stability, consider using a tripod or mount to position your iPhone during projection. This can help ensure a steady and adjustable setup, especially if you plan to project for extended periods or in various locations.
- Dark Environment: While not a physical material, it’s important to create a dark or dimly lit environment for optimal projection quality. This can significantly enhance the visibility and clarity of the projected content, especially in the case of lower-lumen projectors.
By gathering these materials, you’ll be well-equipped to proceed with the process of transforming your iPhone into a portable projector. With these essentials in hand, you’re ready to dive into the next steps and unlock the full potential of your iPhone for projection purposes.
Step 1: Set Up the Projector App
Now that you have all the necessary materials assembled, it’s time to delve into the exciting process of setting up the projector app on your iPhone. This step is crucial for establishing a seamless connection between your device and the projector, enabling you to project a wide range of content onto the big screen.
Here’s a detailed guide to help you navigate through the setup process:
- App Selection: Begin by exploring the projector apps available on the App Store. Look for an app that aligns with your specific projection needs, whether it’s streaming movies, sharing presentations, or displaying photos and videos. Consider factors such as user ratings, reviews, and compatibility with your iPhone model.
- Download and Install: Once you’ve identified the ideal projector app, download and install it on your iPhone. Ensure that you have a stable internet connection to facilitate a smooth installation process.
- Permissions and Settings: After installing the app, grant any necessary permissions it requires, such as access to photos, videos, or screen mirroring. Additionally, familiarize yourself with the app’s settings and customization options to tailor the projection experience to your preferences.
- Explore Features: Take some time to explore the features and functionalities offered by the projector app. This may include options for adjusting brightness, contrast, aspect ratio, and other visual settings to optimize the projected content based on your viewing environment.
- Connectivity Tests: Before moving on to the next step, perform connectivity tests within the app to ensure that your iPhone can establish a stable connection with the projector or display device. This may involve testing wireless projection capabilities, screen mirroring, or direct cable connections, depending on the app and your setup.
By following these steps, you’ll be well on your way to setting up the projector app on your iPhone, laying the groundwork for seamless projection experiences. With the app configured and ready to go, you’re now prepared to move on to the next crucial phase: connecting your iPhone to a projector and bringing your content to life on the big screen.
Step 2: Connect to a Projector
With the projector app set up on your iPhone, the next pivotal step is to establish a reliable connection between your device and the projector or display device. This connection serves as the bridge through which your iPhone’s content will be projected onto a larger screen, creating immersive viewing experiences for various types of multimedia content.
Here’s a comprehensive guide to help you navigate the process of connecting your iPhone to a projector:
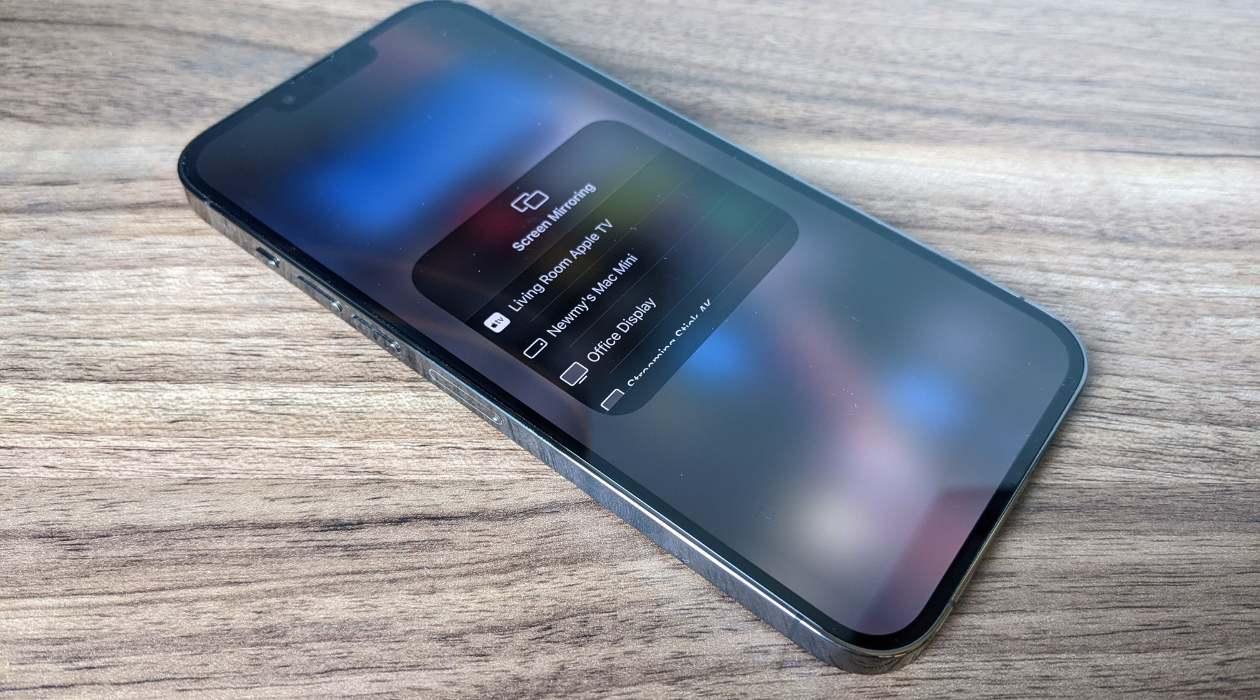
- Identify Connection Options: Depending on the type of projector or display device you’re using, identify the available connection options for linking your iPhone. This may include wireless connectivity via AirPlay or screen mirroring, direct cable connections using adapters, or compatibility with specific projection protocols supported by the projector app.
- Wireless Connection: If your projector supports wireless connectivity, such as AirPlay or screen mirroring, ensure that both your iPhone and the projector are connected to the same Wi-Fi network. Follow the app-specific instructions for initiating the wireless connection and projecting your iPhone’s screen onto the larger display.
- Direct Cable Connection: In the case of direct cable connections, such as using a Lightning to HDMI adapter, carefully connect the adapter to your iPhone and then plug the HDMI end into the projector’s input port. Once connected, your iPhone’s screen should be mirrored onto the projector, allowing you to project content seamlessly.
- Projection Settings: Upon establishing the connection, access the projection settings within the app to ensure that the content is being displayed correctly on the projector. This may involve adjusting aspect ratios, screen orientation, and other visual settings to optimize the projection for the specific content you intend to showcase.
- Test Connectivity: After connecting your iPhone to the projector, perform a connectivity test by projecting various types of content, such as videos, photos, or presentations. Verify that the projected content appears as intended and make any necessary adjustments to enhance the viewing experience.
By following these steps, you’ll successfully connect your iPhone to a projector, paving the way for seamless projection of diverse multimedia content. With the connection established, you’re now poised to fine-tune the projection settings and prepare for the exciting moment when your iPhone transforms into a powerful projection device.
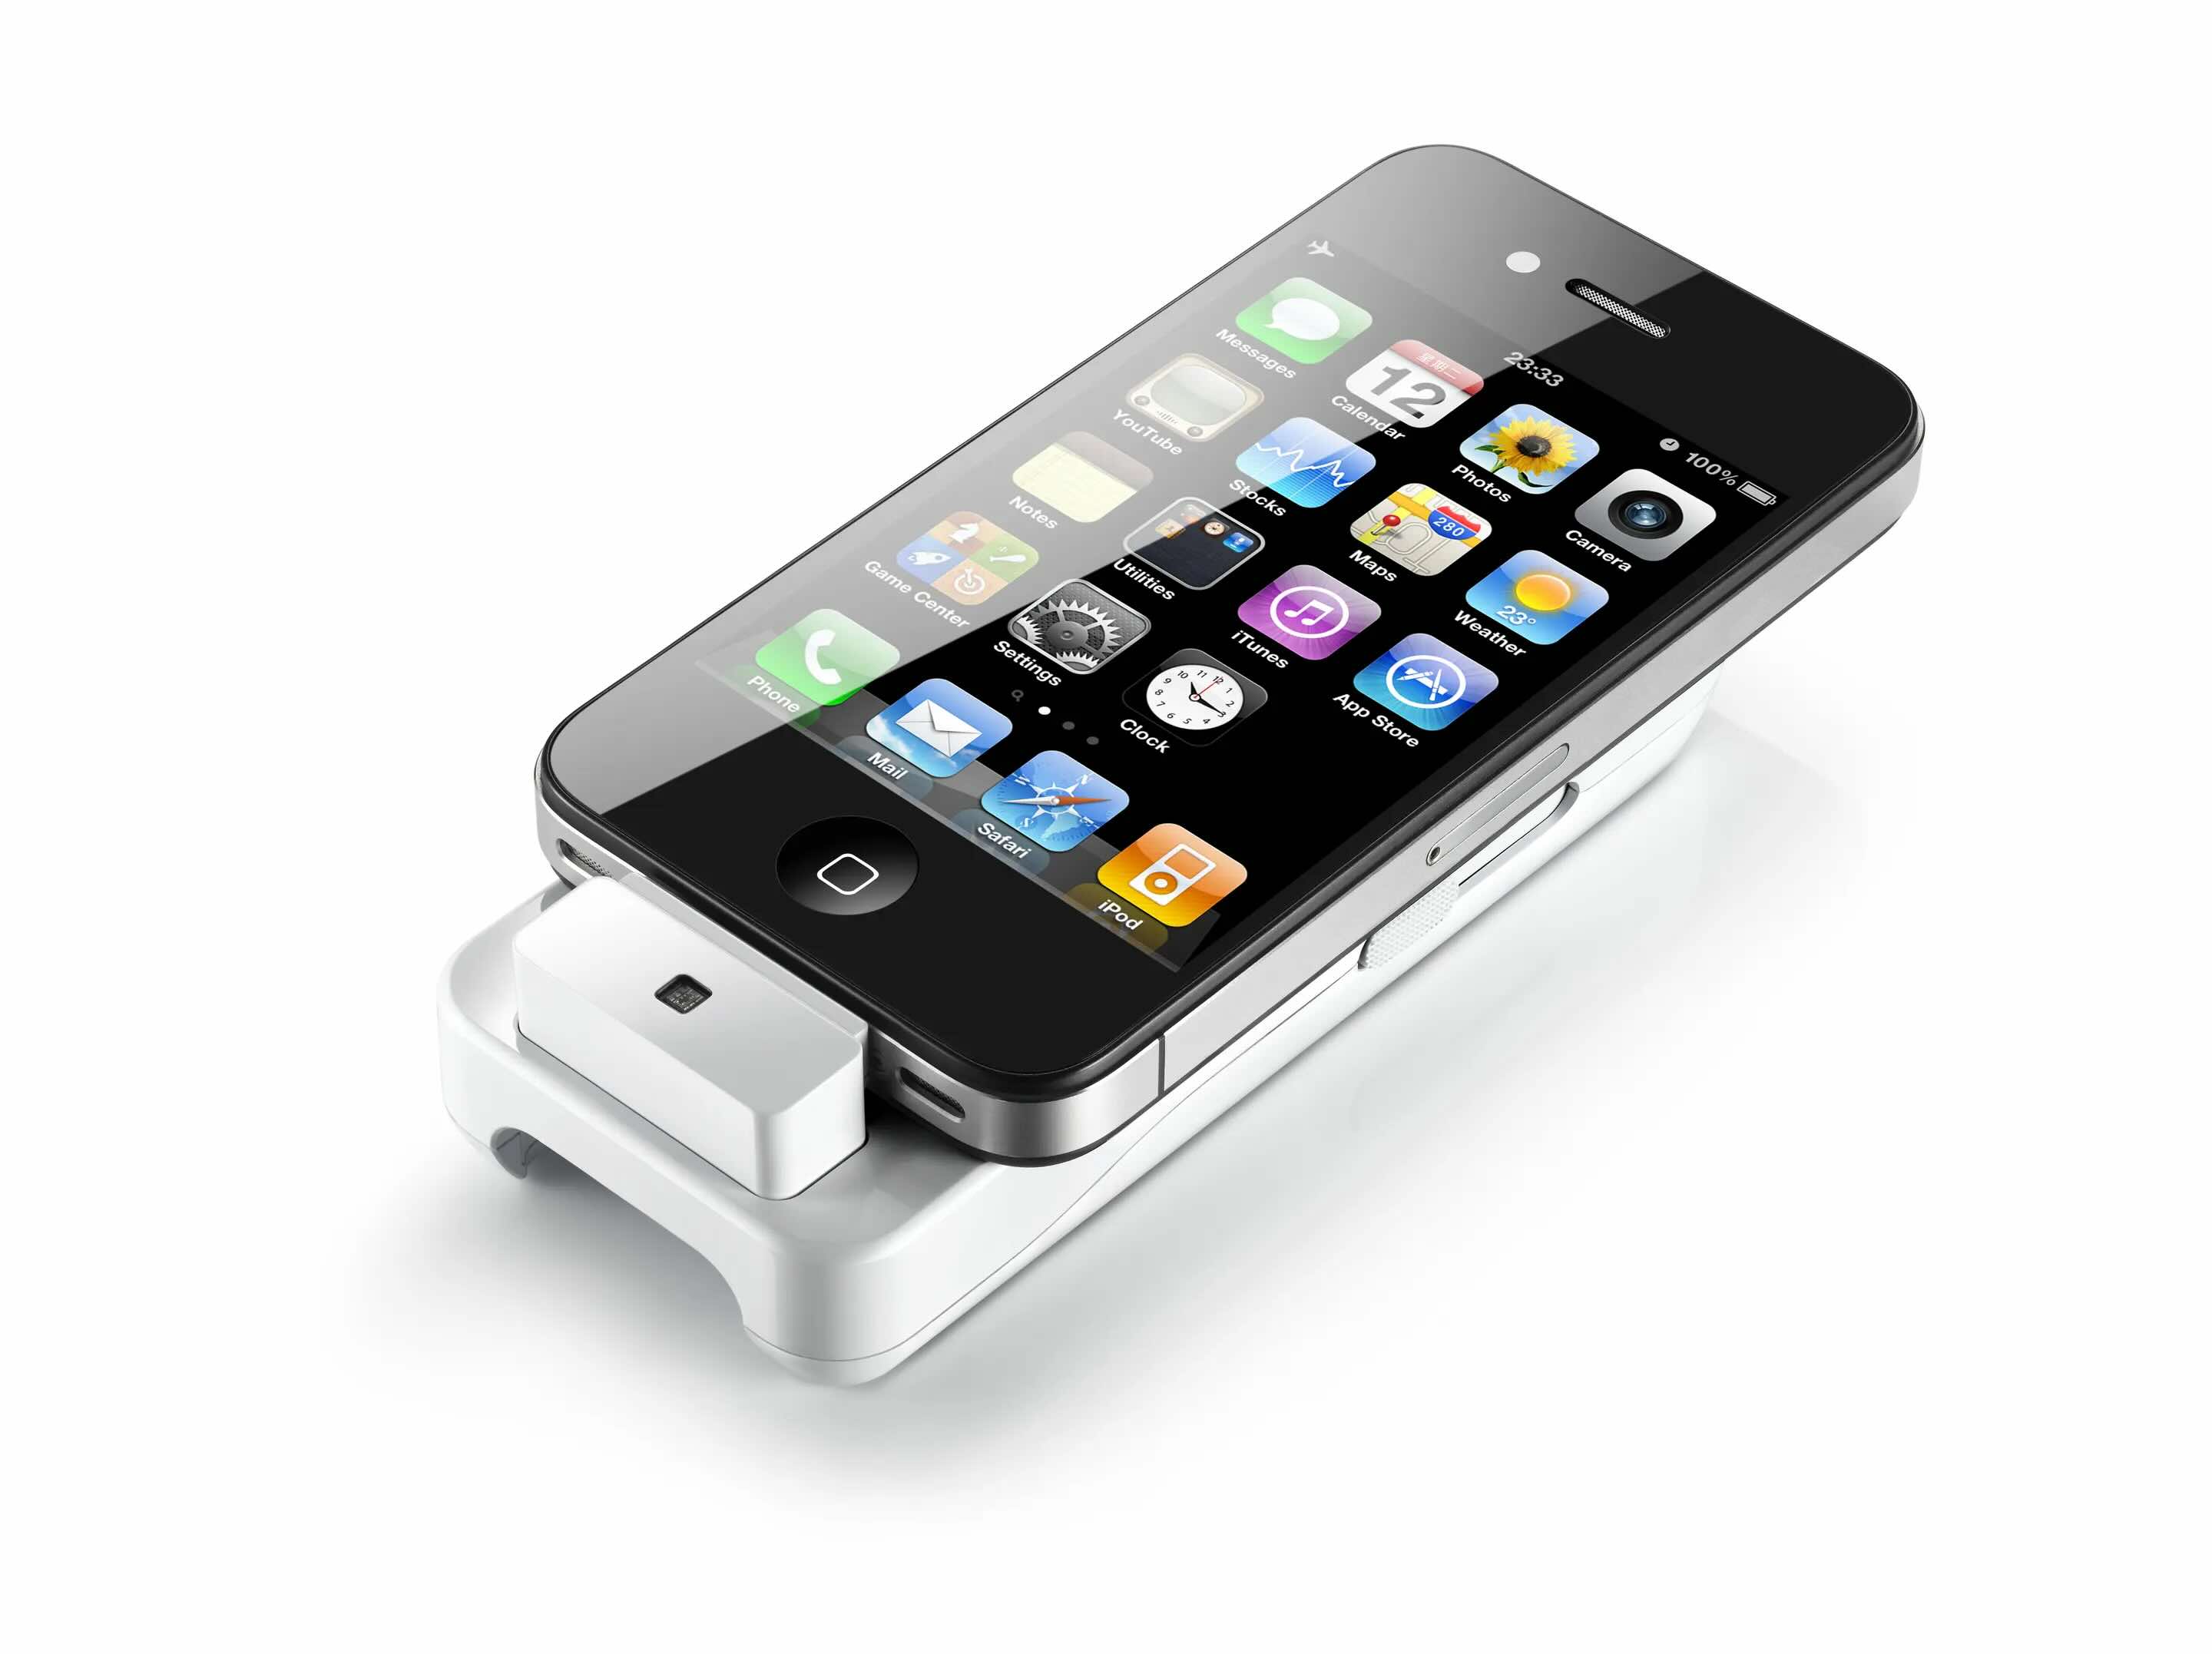
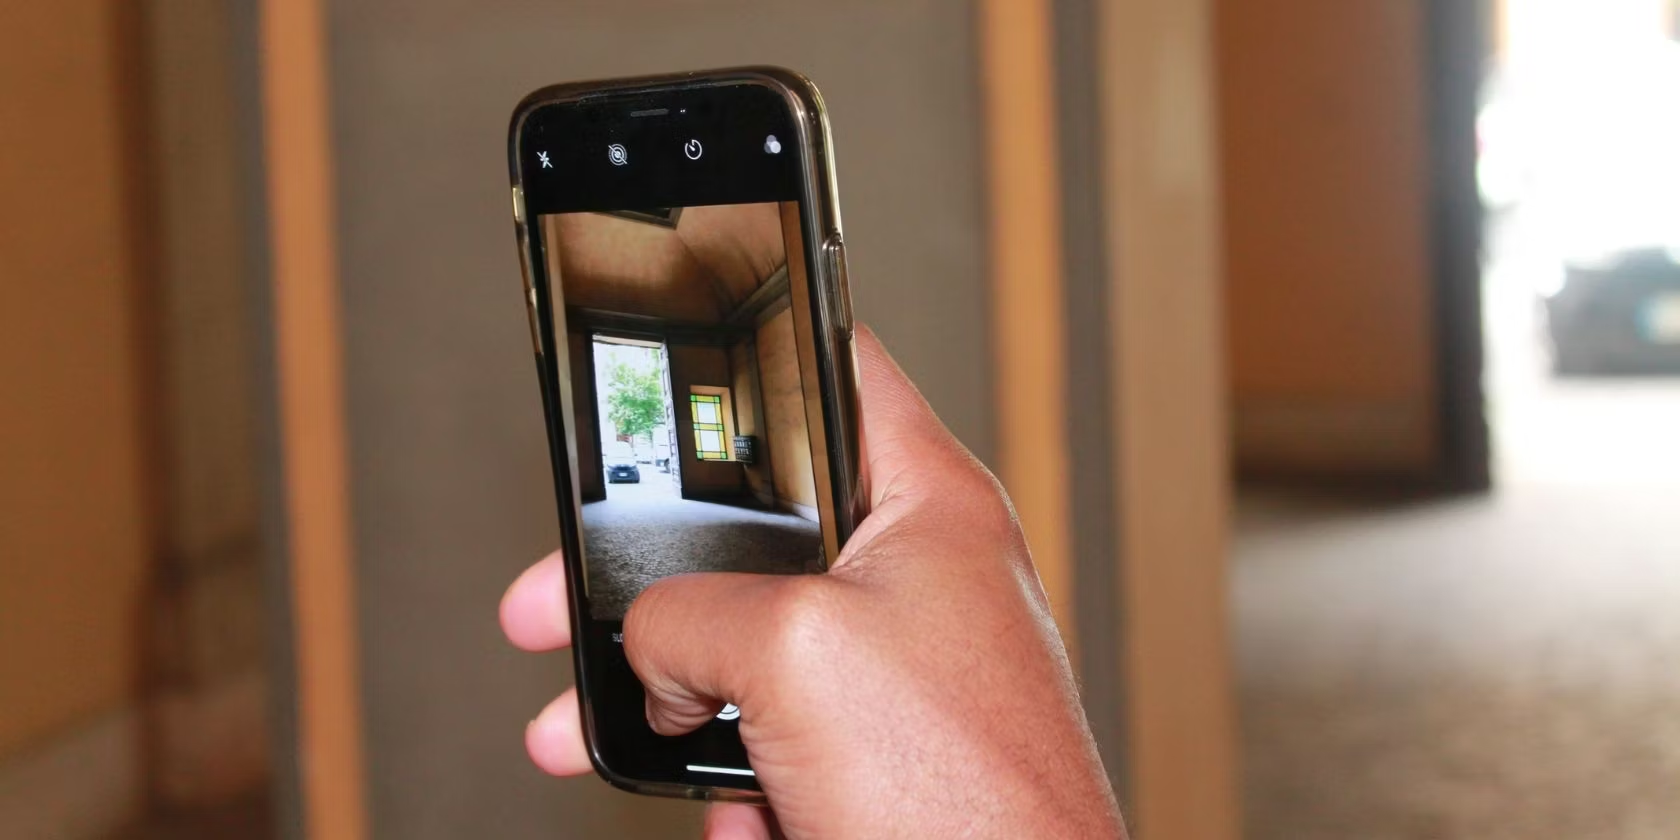
You can turn your iPhone into a projector by using a smartphone projector attachment or a portable projector that connects to your phone. This allows you to display your phone’s screen onto a larger surface for presentations or entertainment.
Step 3: Adjust Settings
After successfully connecting your iPhone to the projector, the next crucial phase involves adjusting the settings to optimize the projection quality and ensure an immersive viewing experience. Fine-tuning the settings within the projector app and on your iPhone can significantly enhance the clarity, brightness, and overall visual appeal of the projected content.
Here’s a comprehensive guide to help you navigate the process of adjusting the settings for optimal projection:
- Brightness and Contrast: Access the visual settings within the projector app to adjust the brightness and contrast levels based on the ambient lighting conditions. This step is essential for optimizing the visibility and clarity of the projected content, especially in varying lighting environments.
- Aspect Ratio and Resolution: Depending on the type of content you’re projecting, such as movies, presentations, or photos, consider adjusting the aspect ratio and resolution settings within the app to ensure that the content is displayed in the appropriate format and quality.
- Screen Orientation: Explore the screen orientation options within the app to customize the projected display based on the orientation of your iPhone. This can include landscape or portrait modes, allowing you to adapt the projection to match the content being showcased.
- Audio Output: If the projector app supports audio output from your iPhone, configure the audio settings to ensure that the sound is projected alongside the visual content. This is particularly important for enjoying movies, music videos, or any audio-enhanced presentations.
- Keystone Correction: Some projector apps offer keystone correction features, allowing you to adjust the projected image to compensate for any distortion caused by the angle or placement of the projector. Utilize these features to ensure a well-aligned and distortion-free projection.
By meticulously adjusting these settings, you’ll elevate the quality of the projected content and tailor the viewing experience to your preferences and the specific type of multimedia content being showcased. With the settings optimized, you’re now ready to embark on the final step: bringing your iPhone-powered projection to life and immersing yourself in captivating visuals on the big screen.
Read more: How To Connect Iphone To Fangor Projector
Step 4: Start Projecting
Having meticulously set up the projector app, connected your iPhone to the projector, and fine-tuned the settings, you’re now poised to embark on the exhilarating phase of bringing your iPhone-powered projection to life. This step marks the culmination of your efforts, as you prepare to immerse yourself and your audience in captivating visuals projected from your iPhone onto the big screen.
Here’s a comprehensive guide to help you navigate the process of initiating and enjoying the projection experience:
- Select Content: Choose the desired content you wish to project from your iPhone. This could include streaming movies, showcasing photos and videos, delivering presentations, or indulging in any multimedia content that captures your imagination.
- Positioning and Alignment: Ensure that your iPhone and the projector are positioned and aligned for optimal projection. Whether you’re using a tripod, mount, or simply holding your iPhone, aim for a stable and well-aligned setup to enhance the viewing experience.
- Engage the Audience: If you’re presenting to an audience, captivate their attention by seamlessly transitioning into the projected content. Whether it’s the opening scene of a movie, the first slide of a presentation, or a stunning photo slideshow, engage your audience with a seamless and captivating start.
- Interact and Enjoy: Embrace the immersive experience of projecting content from your iPhone onto the larger screen. Whether you’re watching a movie, sharing memories through photos and videos, or delivering a compelling presentation, interact with the content and savor the impact of your iPhone’s transformation into a powerful projection device.
- Adapt and Enhance: Throughout the projection experience, remain adaptable and open to enhancing the settings or adjusting the content based on audience feedback and environmental factors. This flexibility can elevate the overall impact of the projection and ensure a memorable experience for everyone involved.
By following these steps, you’ll seamlessly transition into the captivating world of iPhone-powered projection, unlocking a versatile and portable solution for sharing multimedia content in various settings. Whether it’s for entertainment, professional presentations, or personal enjoyment, your iPhone’s newfound projection capabilities offer endless possibilities for enriching your visual experiences.
With the projection in full swing, it’s time to bask in the immersive visuals and revel in the seamless fusion of technology and entertainment. Congratulations on successfully transforming your iPhone into a projector, and may your projection experiences be filled with wonder, creativity, and endless possibilities.
Conclusion
Congratulations on embarking on the journey to transform your iPhone into a powerful projector, unlocking a world of immersive entertainment and versatile presentation capabilities. Through the careful selection of materials, the meticulous setup of the projector app, the seamless connection to a projector, and the fine-tuning of settings, you’ve harnessed the full potential of your iPhone to project captivating visuals onto the big screen.
This ingenious DIY project has empowered you to seamlessly transition from holding a compact device to projecting a wide array of multimedia content, from movies and photos to presentations and more. The possibilities are as limitless as your imagination, and the impact of your iPhone-powered projection is bound to leave a lasting impression on your audience and yourself.
As you venture into the realm of iPhone-powered projection, remember that adaptability and creativity are your allies. Whether you’re hosting movie nights, delivering professional presentations on the go, or simply sharing cherished memories with friends and family, your iPhone’s newfound projection capabilities offer a portable and versatile solution for a myriad of scenarios.
Embrace the immersive experiences, engage your audience with captivating visuals, and revel in the seamless fusion of technology and entertainment. The transformation of your iPhone into a projector has opened the door to a world of possibilities, where every blank wall or ceiling becomes a canvas for your creativity and content sharing.
As you continue to explore the potential of iPhone-powered projection, remember that innovation and adaptability are at the core of this DIY project. Stay curious, experiment with different content, and let your iPhone’s projection capabilities infuse every moment with wonder and creativity.
With your iPhone now serving as a portable projector, the boundaries of entertainment and presentation have expanded, placing the power of projection right in the palm of your hand. Embrace this newfound versatility, and let your iPhone continue to surprise and delight you with its ability to transform any space into a captivating showcase of multimedia content.
So, as you venture forth with your iPhone now doubling as a projector, may your projection experiences be filled with seamless transitions, captivating visuals, and endless possibilities. Cheers to the boundless creativity and immersive moments that await in your iPhone-powered projection endeavors!
Frequently Asked Questions about How To Turn IPhone Into A Projector
Was this page helpful?
At Storables.com, we guarantee accurate and reliable information. Our content, validated by Expert Board Contributors, is crafted following stringent Editorial Policies. We're committed to providing you with well-researched, expert-backed insights for all your informational needs.


0 thoughts on “How To Turn IPhone Into A Projector”