Home>Technology>Home Entertainment Systems>How To Project Image On Wall Without Projector

Home Entertainment Systems
How To Project Image On Wall Without Projector
Modified: January 4, 2024
Learn how to project images on your wall without a projector using simple home entertainment systems. Create your own movie theater experience at home. Discover the tips and tricks today!
(Many of the links in this article redirect to a specific reviewed product. Your purchase of these products through affiliate links helps to generate commission for Storables.com, at no extra cost. Learn more)
Introduction
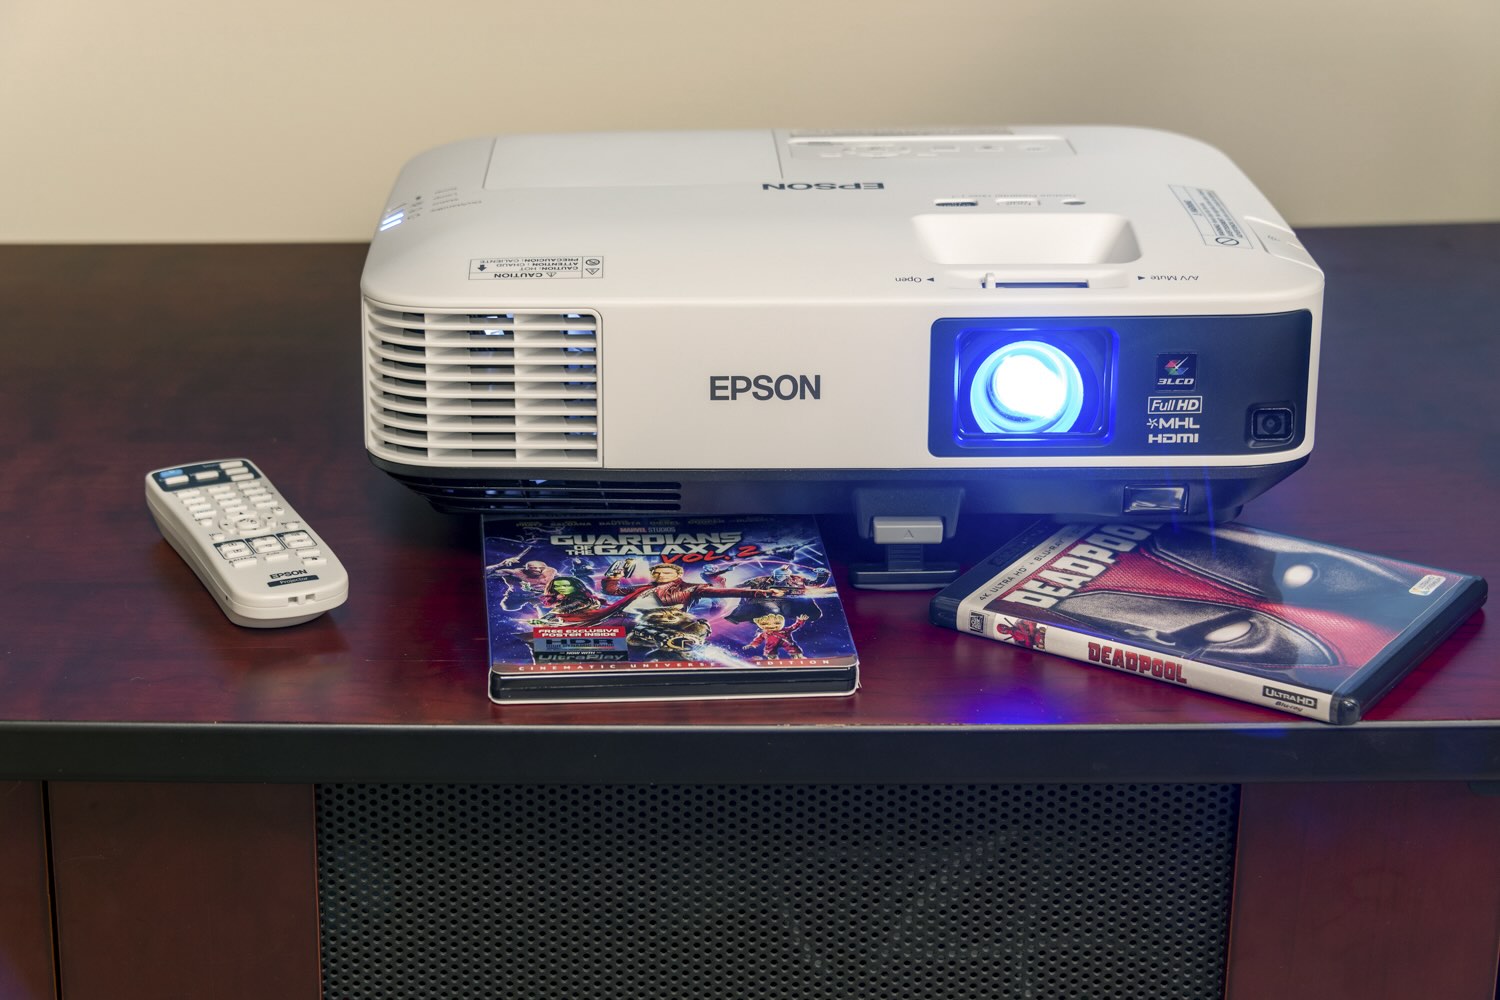
Creating a home entertainment system can be an exciting and rewarding endeavor. One of the key elements of such a system is the ability to project images onto a wall, providing a larger-than-life viewing experience without the need for a traditional projector. Whether you’re looking to enjoy movies, gaming, or even digital art, there are several creative ways to achieve this without investing in expensive equipment. In this article, we will explore various methods to project images on a wall using everyday devices such as smartphones, laptops, and even simple household items like flashlights or lamps. By following these techniques, you can transform any wall into a captivating canvas for your visual content, bringing your home entertainment experience to a whole new level.
Key Takeaways:
- Transform your smartphone into a projector by using a projector app and adjusting settings for a larger-than-life viewing experience on any wall at home.
- Create captivating wall projections using everyday items like laptops, flashlights, or lamps to showcase movies, digital art, or presentations in a unique and immersive way.
Materials Needed
Before embarking on your wall projection journey, it’s important to gather the necessary materials to ensure a successful and enjoyable experience. The specific items you’ll need may vary depending on the method you choose, but here are some general materials that can come in handy:
- Smartphone or tablet
- Laptop or computer
- Projector app (for smartphones and tablets)
- USB cable or HDMI cable (for connecting devices to a TV or projector)
- Flashlight or lamp with a bright, focused beam
- Blank wall or a smooth, light-colored surface for projection
- Optional: Tripod or stand for stabilizing the device
By having these materials at your disposal, you’ll be well-equipped to explore the various methods for projecting images on a wall, allowing you to tailor the experience to your preferences and available resources.
Preparation
Before diving into the exciting world of wall projection, it’s essential to make some preparations to ensure optimal results. Here are the key steps to take before embarking on your wall projection adventure:
- Select the Ideal Location: Choose a suitable wall or surface for projection. Opt for a smooth, light-colored area that is free from any obstructions or distracting patterns. This will provide the best canvas for your projected images.
- Adjust Ambient Lighting: Dim the ambient lighting in the room to enhance the clarity and visibility of the projected images. This can significantly improve the viewing experience and ensure that the projected content stands out vividly.
- Stabilize Your Device: If using a smartphone, tablet, or flashlight for projection, consider using a tripod or stable surface to keep the device steady during the projection process. This will help maintain a clear and focused image on the wall.
- Connect Devices (if applicable): If using a laptop or computer for projection, ensure that it is connected to the display device (such as a TV or projector) using the appropriate cables. This will enable seamless transmission of the image onto the wall.
- Prepare Your Content: Have your desired images, videos, or presentations ready on the device you’ll be using for projection. This could include movie files, digital artwork, or any visual content you wish to showcase on the wall.
By taking these preparatory measures, you’ll set the stage for a smooth and enjoyable wall projection experience, allowing you to fully immerse yourself in the captivating visuals that will soon adorn your chosen wall.
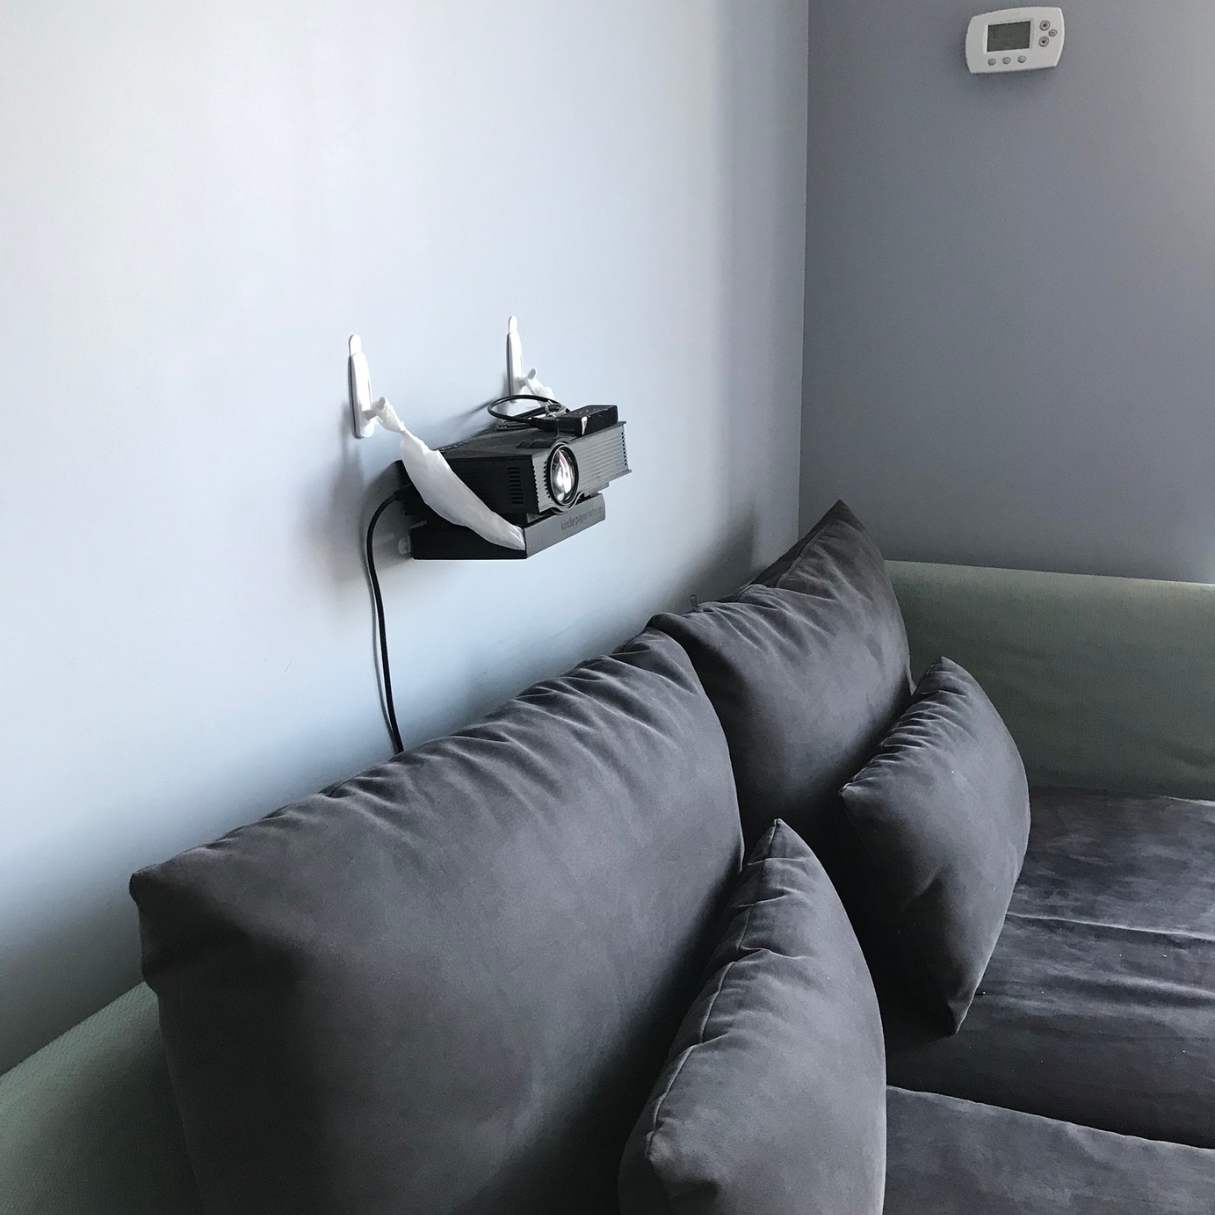
Using a Smartphone
Harnessing the power of your smartphone for wall projection can open up a world of possibilities for creating an immersive visual experience. With the help of a projector app and some simple techniques, you can transform your smartphone into a portable projector, bringing your favorite content to life on the big screen – or in this case, the wall.
To get started, follow these steps:
- Download a Projector App: Explore the app store on your smartphone to find a suitable projector app. There are several apps available that can turn your device into a makeshift projector by utilizing its display brightness and orientation sensors.
- Adjust Settings: Once you have the projector app installed, adjust the settings to optimize the projection quality. This may involve calibrating the brightness, focus, and orientation to ensure that the projected image appears clear and well-defined on the wall.
- Select Your Content: Choose the content you wish to project, whether it’s a movie, a photo slideshow, or even a digital painting. Ensure that the content is ready to be displayed on your smartphone’s screen.
- Position Your Smartphone: Position your smartphone at an appropriate distance from the wall, ensuring that it is stable and securely supported. You may use a tripod or a makeshift stand to keep the device steady during the projection process.
- Initiate Projection: Activate the projector app and begin projecting your chosen content onto the wall. Adjust the focus and positioning as needed to achieve the desired size and clarity of the projected image.
By following these steps, you can leverage the capabilities of your smartphone to create a captivating wall projection, allowing you to enjoy your favorite visual content in a larger-than-life format right in the comfort of your home.
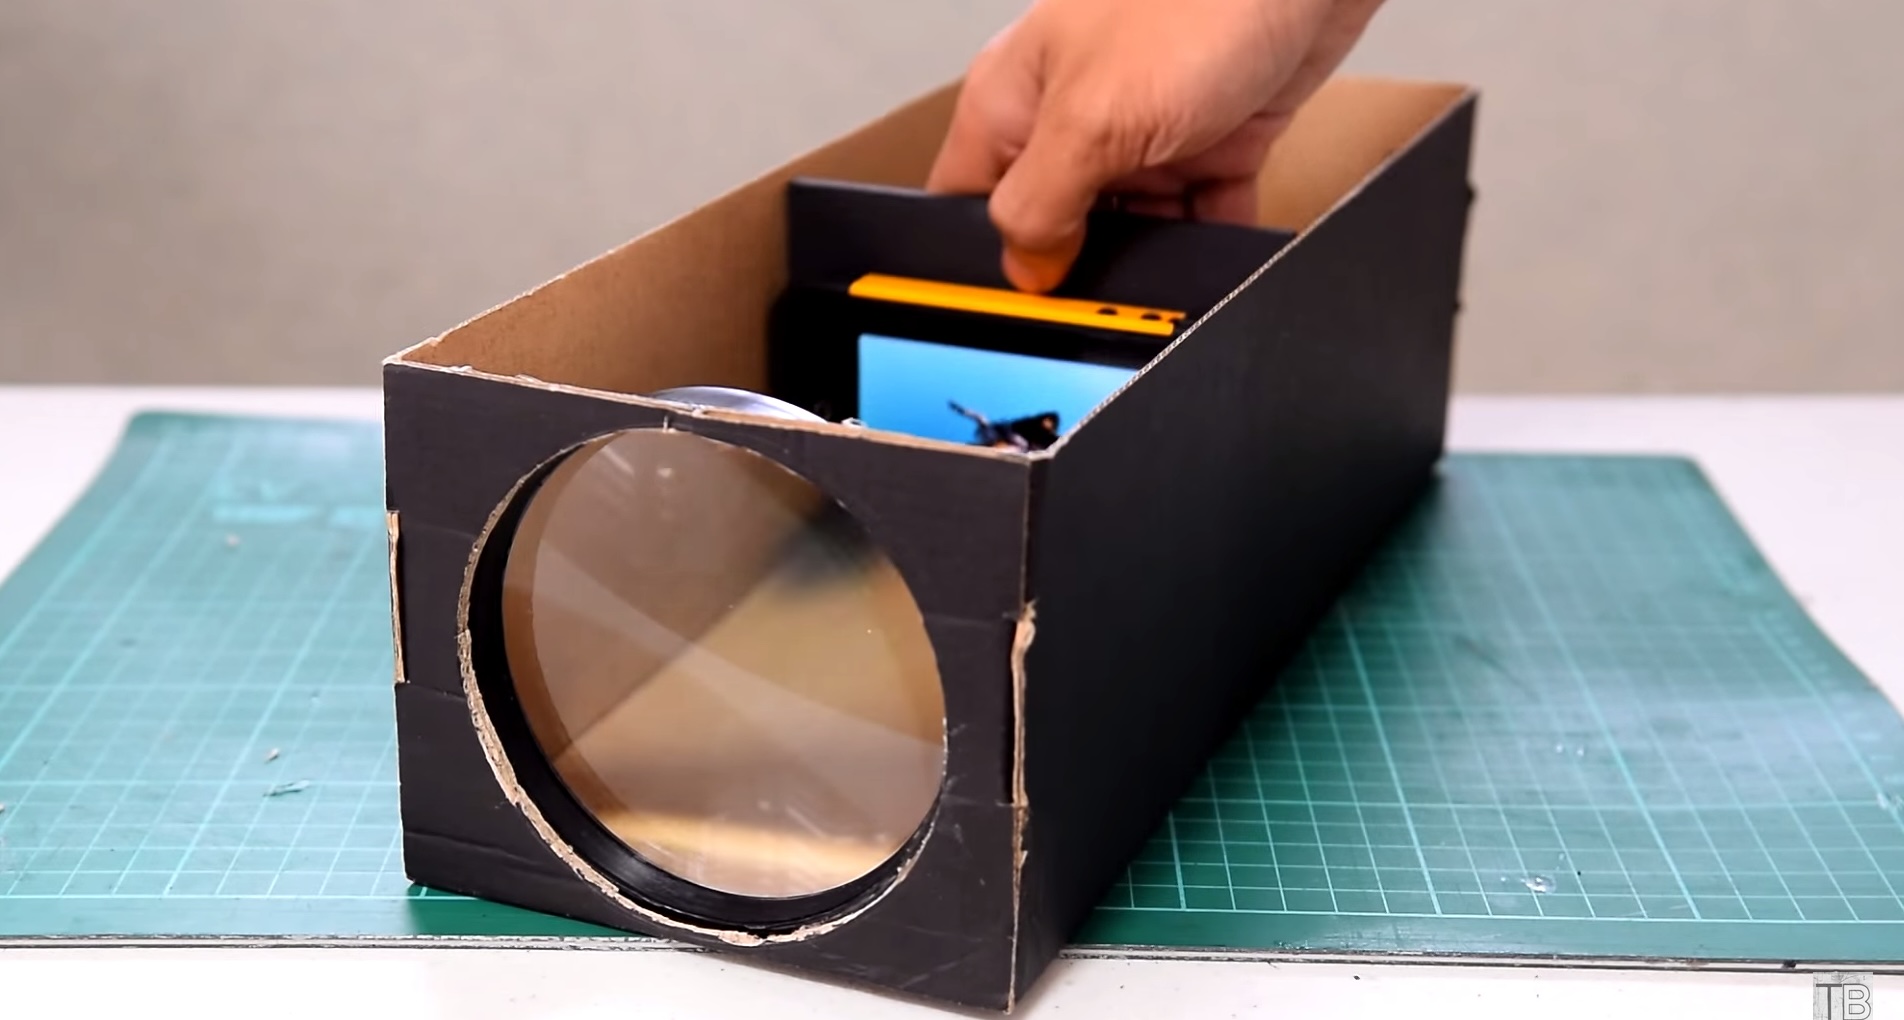
You can project an image on a wall without a projector by using a smartphone or tablet. Simply find the image you want to project, place the device in a dark room, and shine a bright flashlight through a magnifying glass onto the wall to create a larger image.
Using a Laptop or Computer
Utilizing a laptop or computer for wall projection opens up a myriad of possibilities for displaying a wide range of visual content on a larger canvas. Whether you’re keen on hosting a movie night, showcasing digital art, or delivering a captivating presentation, your laptop or computer can serve as a versatile tool for projecting images onto a wall. Here’s how to make the most of this method:
- Connect to a Display Device: If you have a TV or projector available, connect your laptop or computer to the display device using the appropriate cables, such as HDMI or VGA. This will enable the seamless transmission of the image from your device to the larger screen.
- Adjust Display Settings: Access the display settings on your laptop or computer to configure the resolution, orientation, and other relevant parameters for optimal wall projection. Ensure that the image output is adjusted to suit the dimensions and characteristics of the wall or surface you’ll be projecting onto.
- Select and Prepare Content: Choose the visual content you wish to project, whether it’s a movie, a digital slideshow, or a captivating visual display. Have the content ready on your laptop or computer, ensuring that it is queued up and prepared for projection.
- Position Your Device: Place your laptop or computer in a stable and secure position, ensuring that it is oriented towards the wall or surface where the projection will take place. Consider using a stable surface or a stand to keep the device steady during the projection process.
- Initiate Projection: Start playing the selected content on your laptop or computer, and observe as it is projected onto the wall or surface. Adjust the positioning and settings as needed to achieve the desired size and clarity of the projected image.
By following these steps, you can harness the capabilities of your laptop or computer to create an immersive wall projection, bringing your chosen visual content to life on a grand scale within your home environment.
Read more: How To Flip A Projector Image
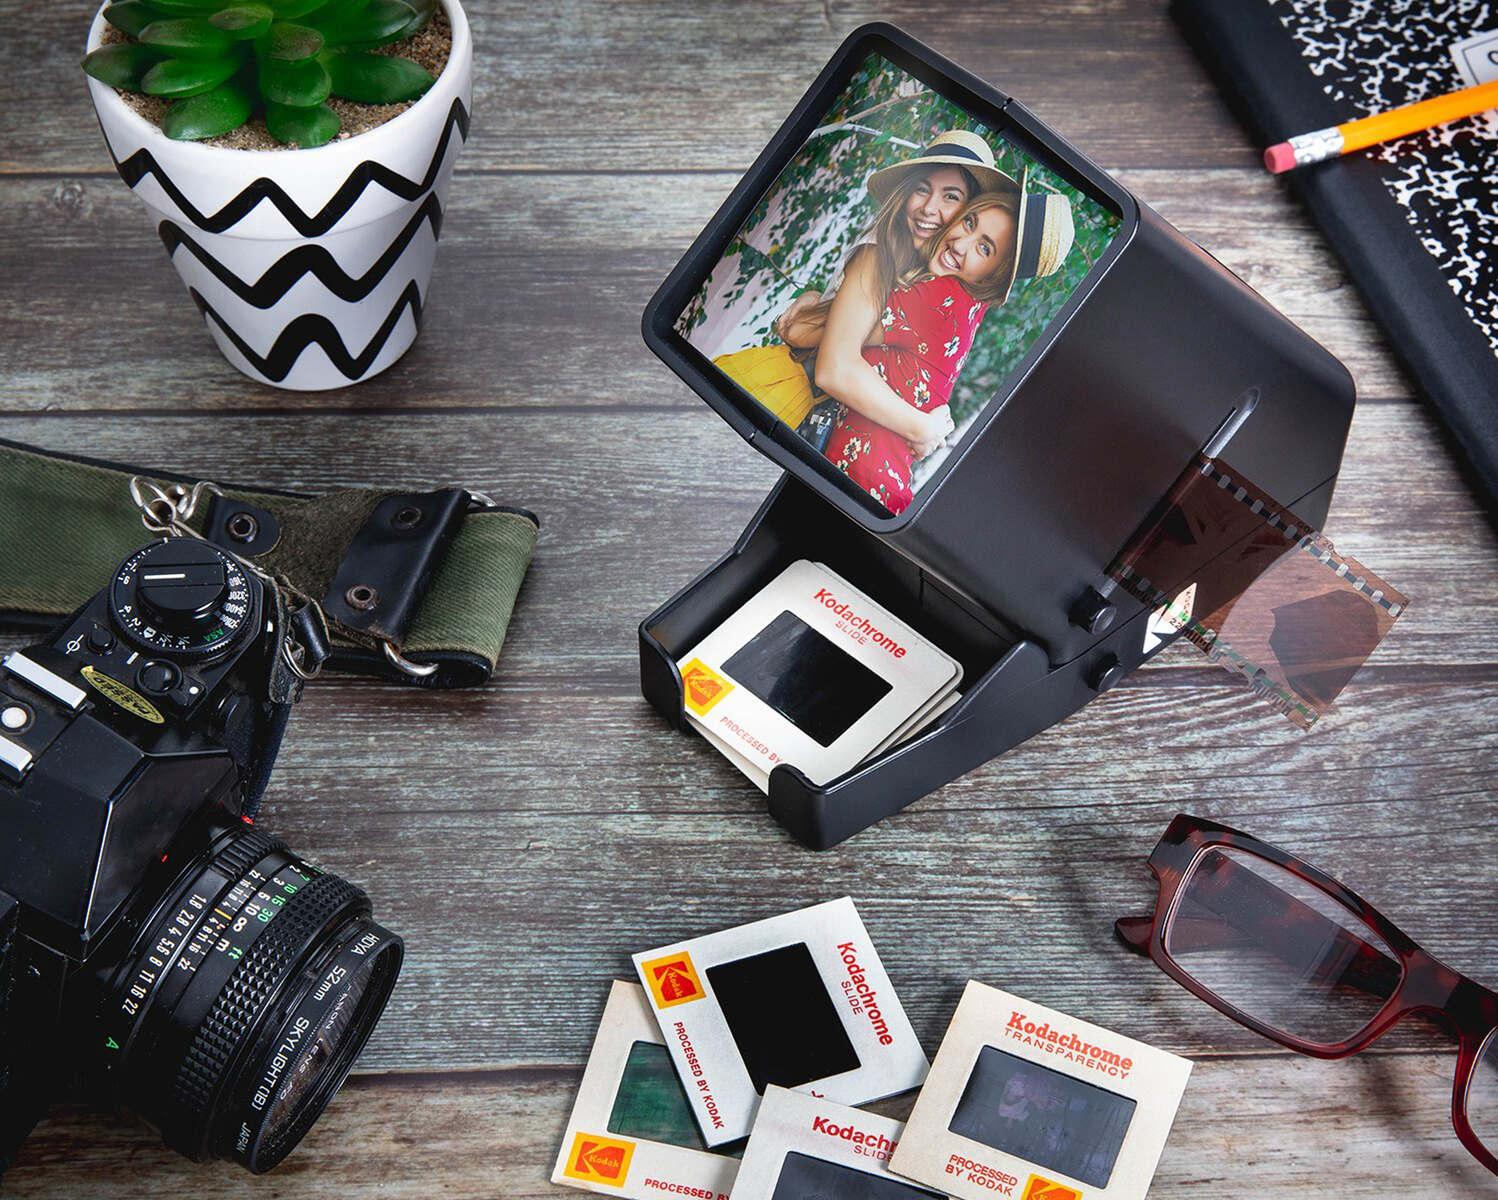
Using a Flashlight or Lamp
When it comes to projecting images on a wall, you can get creative with everyday household items such as flashlights or lamps. While this method may not offer the same level of versatility as using digital devices, it can still provide an intriguing way to display simple images or patterns on a wall. Here’s how you can experiment with this unconventional approach:
- Choose a Suitable Light Source: Select a flashlight or lamp with a bright, focused beam that can effectively illuminate a specific area of the wall. LED flashlights or adjustable desk lamps can work well for this purpose.
- Prepare Your Image or Pattern: If you have a specific image or pattern in mind, prepare it for projection. This could be a simple silhouette, a cut-out stencil, or any other visual element that you wish to see displayed on the wall.
- Position the Light Source: Place the flashlight or lamp at an appropriate distance from the wall, ensuring that it is stable and securely positioned. You may need to experiment with the angle and distance to achieve the desired size and clarity of the projected image.
- Dim the Ambient Lighting: Dim the ambient lighting in the room to enhance the visibility of the projected image. This will help the projected content stand out more vividly against the wall.
- Initiate Projection: Switch on the flashlight or lamp to project the chosen image or pattern onto the wall. Adjust the positioning and settings as needed to achieve the desired visual impact.
While this method may offer a more simplistic approach to wall projection, it can still provide an engaging way to experiment with light and shadow, creating intriguing visual displays within your home environment.
Conclusion
Exploring the art of wall projection opens up a world of possibilities for enhancing your home entertainment experience. Whether you opt to utilize the capabilities of your smartphone, laptop, or even a simple flashlight, the ability to project images onto a wall can transform any space into a captivating visual showcase. By following the methods outlined in this article, you can unleash your creativity and bring your favorite visual content to life on a larger canvas within the comfort of your home.
From movie nights to digital art displays, the versatility of wall projection allows you to curate immersive experiences that captivate and inspire. By making use of everyday devices and simple techniques, you can elevate your home entertainment system and create memorable moments for yourself and your loved ones.
As you venture into the realm of wall projection, don’t be afraid to experiment and tailor the experience to your preferences. Whether you’re aiming for a cinematic ambiance, a dynamic visual backdrop, or a unique way to showcase your creativity, wall projection offers a canvas limited only by your imagination.
So, gather your materials, prepare your content, and embark on a journey of visual exploration as you project images onto your chosen wall. With a dash of creativity and the right tools at your disposal, you can transform any wall into a mesmerizing display that adds a new dimension to your home entertainment system.
Get ready to immerse yourself in the magic of wall projection and unlock the full potential of your home environment as a captivating visual playground.
Frequently Asked Questions about How To Project Image On Wall Without Projector
Was this page helpful?
At Storables.com, we guarantee accurate and reliable information. Our content, validated by Expert Board Contributors, is crafted following stringent Editorial Policies. We're committed to providing you with well-researched, expert-backed insights for all your informational needs.

0 thoughts on “How To Project Image On Wall Without Projector”