Home>Technology>Home Entertainment Systems>How Do You Clean A Projector Screen
Home Entertainment Systems
How Do You Clean A Projector Screen
Modified: February 26, 2024
Learn how to properly clean your projector screen to maintain the best viewing experience for your home entertainment system. Follow these tips for a spotless display.
(Many of the links in this article redirect to a specific reviewed product. Your purchase of these products through affiliate links helps to generate commission for Storables.com, at no extra cost. Learn more)
Introduction
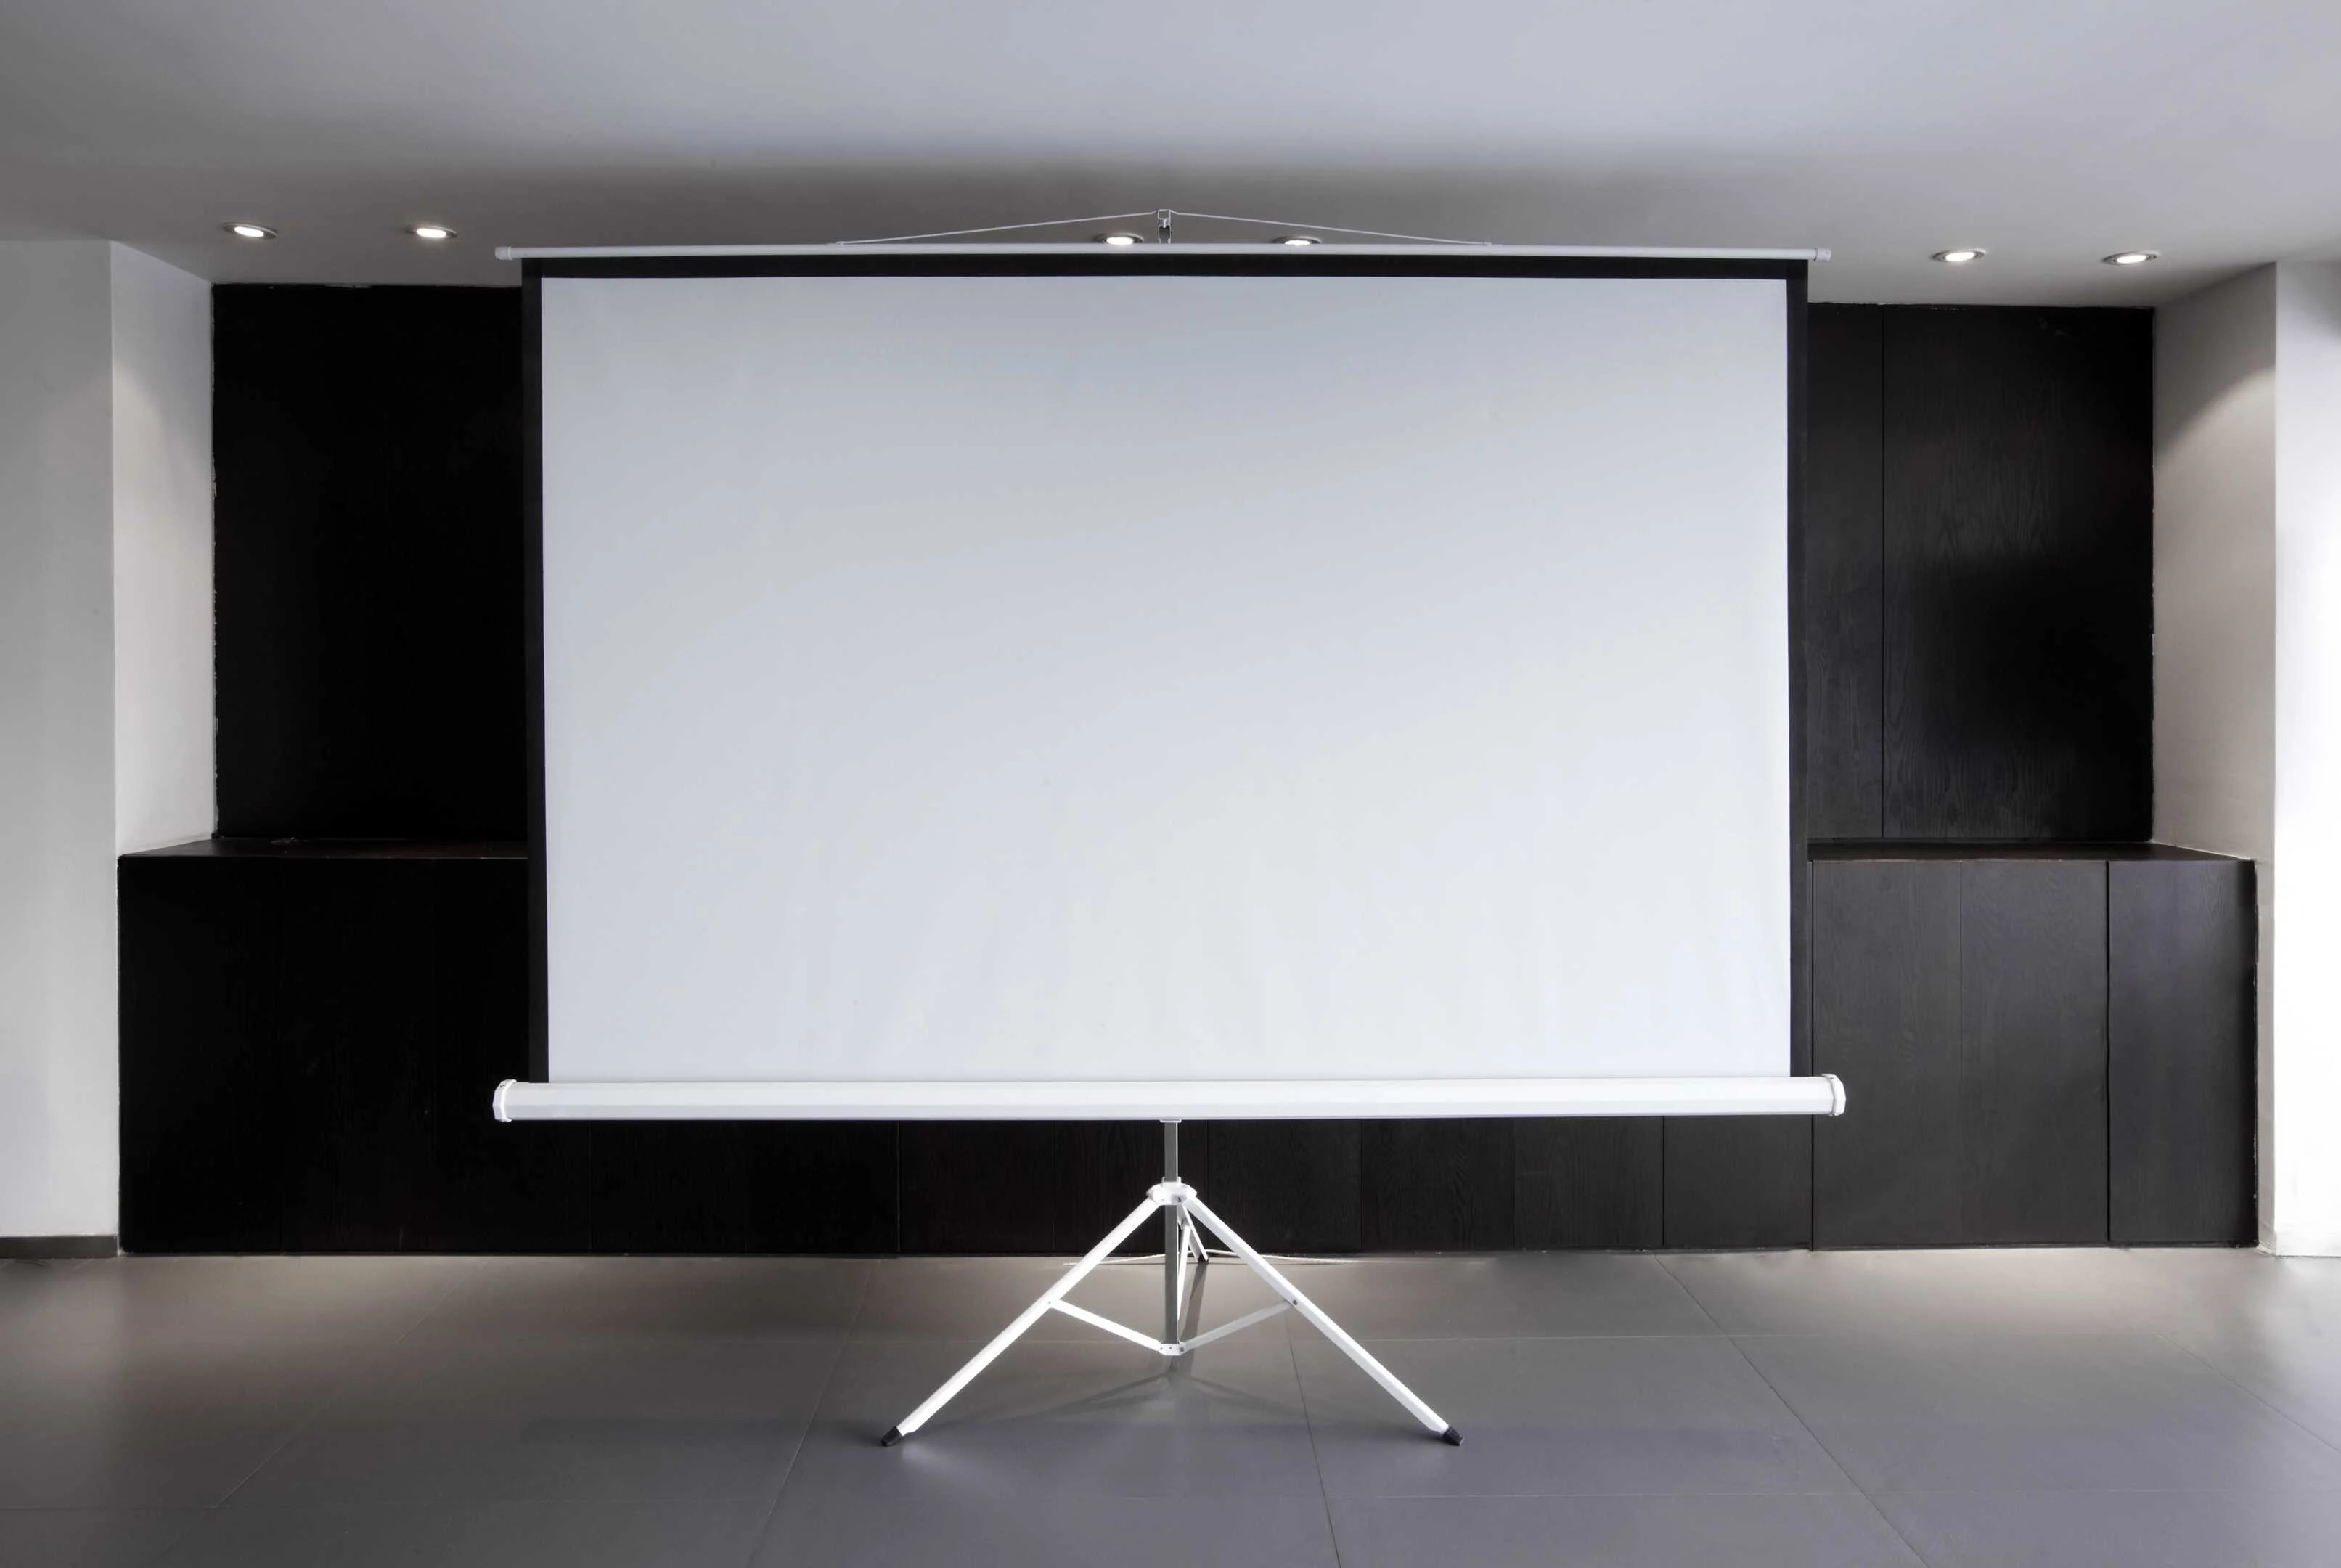
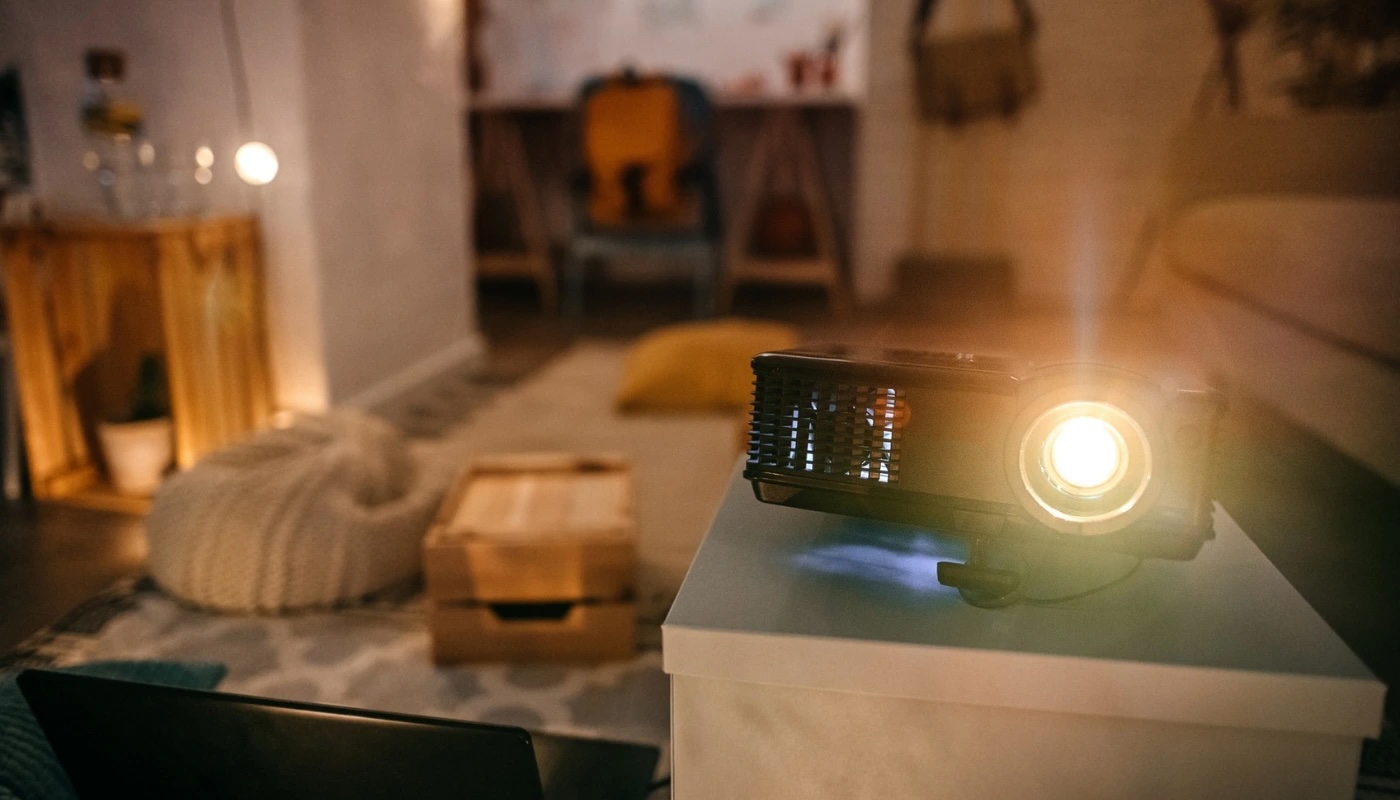
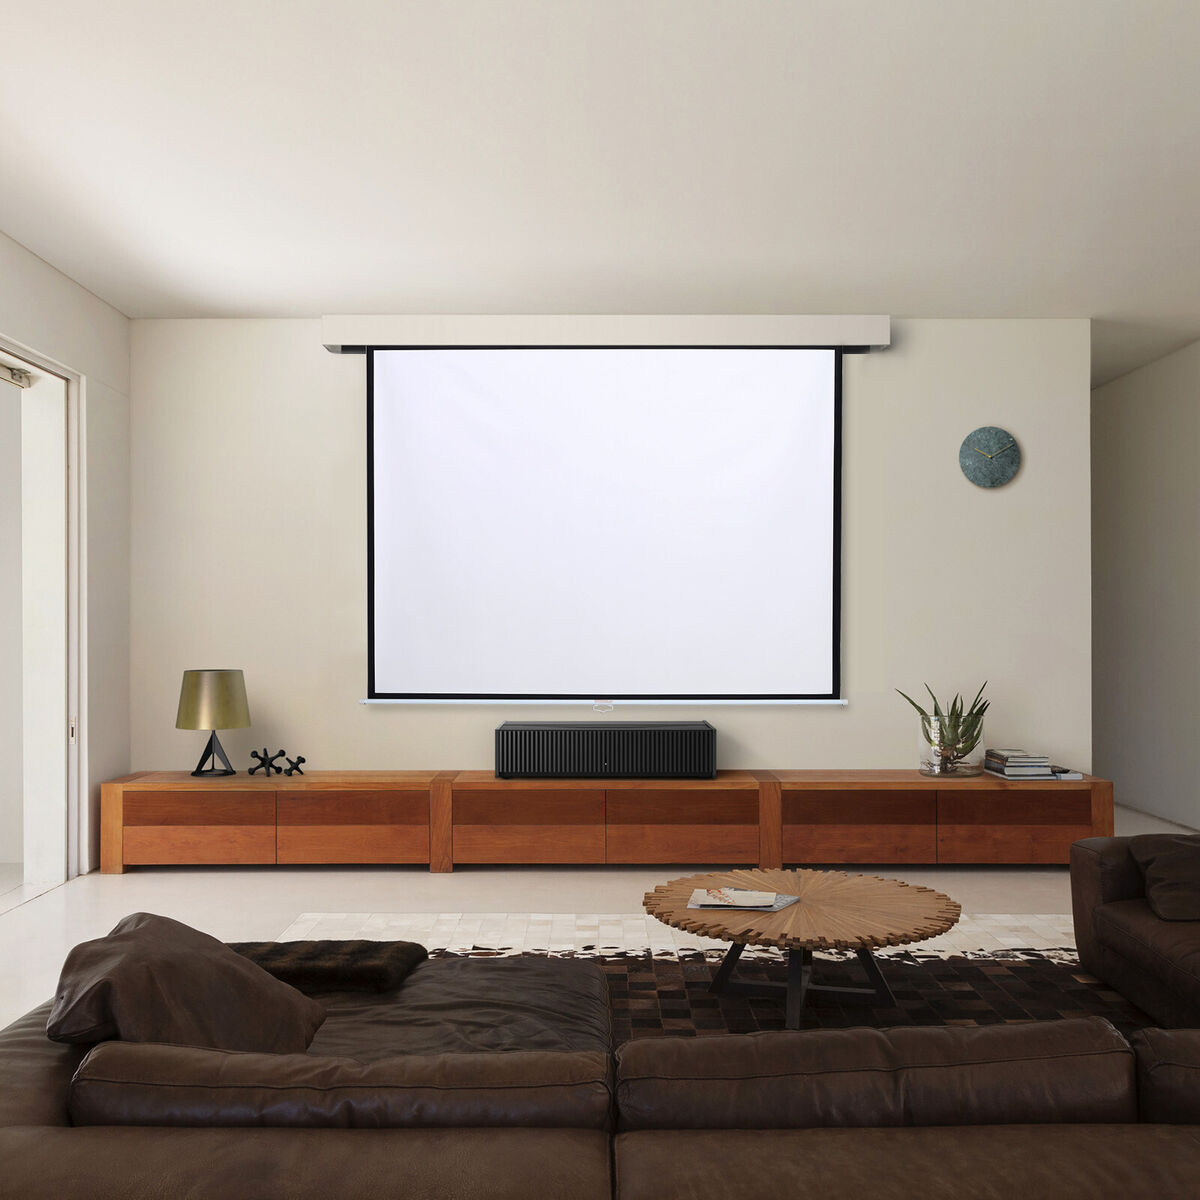
Welcome to the world of immersive home entertainment! Whether you’re a dedicated cinephile, a gaming enthusiast, or simply love watching your favorite shows on a larger-than-life screen, a projector system can elevate your viewing experience to new heights. However, to maintain the crisp and vibrant visuals that projectors offer, it’s essential to keep the projector screen clean and free from dust, smudges, and other blemishes. In this guide, we’ll walk you through the step-by-step process of cleaning your projector screen, ensuring that you can continue enjoying stunning visuals without any distractions.
As with any delicate electronic equipment, it’s crucial to approach the cleaning process with care and attention to detail. By following the recommended techniques and using the right tools, you can effectively remove dirt and grime from your projector screen while preserving its quality and longevity. So, let’s dive in and explore the best practices for keeping your projector screen spotless and ready to showcase your favorite content in all its glory.
Key Takeaways:
- Keep your projector screen clean by using a soft, lint-free microfiber cloth and a mild cleaning solution made of water and detergent. Remove dust and debris before gently wiping the screen to maintain optimal visual quality.
- Address stubborn stains on your projector screen with targeted cleaning techniques, gentle pressure, and patience. Ensure the screen is thoroughly dried to prevent streaking and maintain its pristine condition.
Read more: What Can You Use For A Projector Screen
Step 1: Gather the Necessary Supplies
Before embarking on the cleaning process, it’s essential to assemble the appropriate supplies to ensure a thorough and safe cleaning experience. Here’s a list of the essential items you’ll need:
- Microfiber Cloth: Opt for a soft, lint-free microfiber cloth to prevent scratching or damaging the delicate surface of the projector screen.
- Mild Cleaning Solution: Prepare a gentle cleaning solution by mixing a small amount of mild detergent or dish soap with water. Avoid using harsh chemicals or abrasive cleaners that could compromise the screen’s integrity.
- Distilled Water: Using distilled water helps minimize the risk of leaving mineral deposits or streaks on the screen after cleaning.
- Spray Bottle: A clean spray bottle will allow you to apply the cleaning solution evenly onto the screen surface.
- Soft Brush or Dusting Tool: For screens with stubborn dust or debris, a soft brush or specialized dusting tool can aid in gentle removal without causing damage.
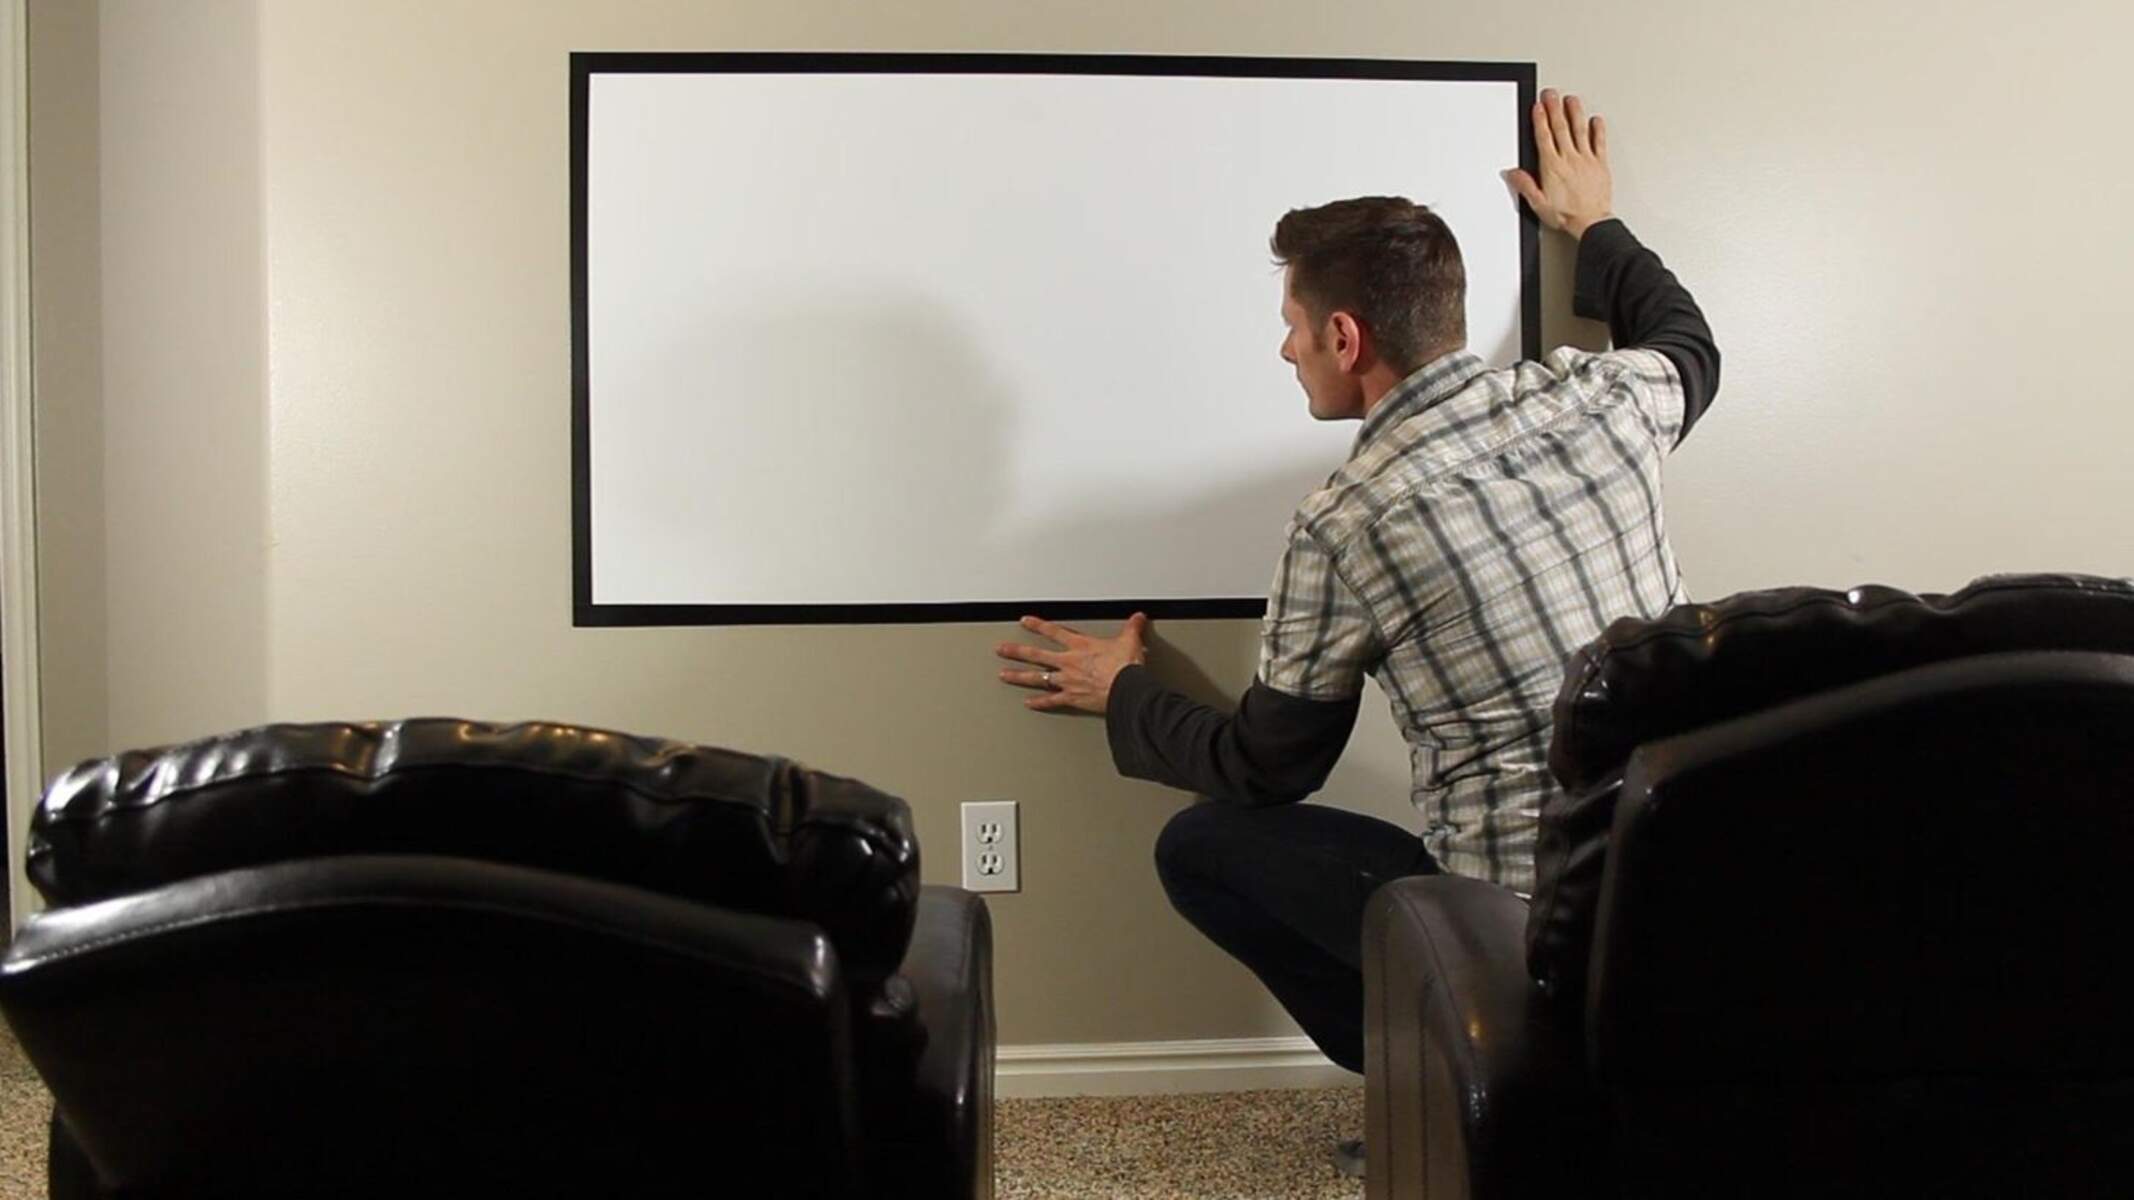
- Ladder or Step Stool: Depending on the size and height of your projector screen, you may need a stable platform to reach all areas comfortably and safely.
- Protective Gloves: While not always necessary, wearing gloves can help prevent oils and dirt from your hands transferring onto the screen during the cleaning process.
By ensuring that you have these supplies on hand, you’ll be well-prepared to proceed with the cleaning process efficiently and effectively. Now that you’ve gathered the necessary tools, it’s time to move on to the next step: removing dust and debris from the projector screen.
Step 2: Remove Dust and Debris
Before diving into the actual cleaning process, it’s important to address any loose dust, dirt, or debris that may have accumulated on the projector screen. Even a thin layer of dust can diminish the clarity of the projected image, so thorough removal is key to maintaining optimal visual quality. Here’s how to effectively eliminate dust and debris:
- Power Off the Projector: To ensure safety and prevent accidental damage to the equipment, turn off the projector and allow it to cool down before proceeding.
- Gently Dust the Screen: Using a soft brush or a specialized dusting tool, lightly sweep across the surface of the screen to dislodge any loose particles. Be gentle to avoid scratching the screen.
- Utilize Compressed Air (Optional): If the screen has intricate details or textured areas that are challenging to clean with a brush, using a can of compressed air can help dislodge stubborn dust and debris without direct contact.
- Inspect for Remaining Debris: After dusting, carefully inspect the screen from various angles to identify any remaining particles or spots that require further attention.
By systematically removing dust and debris, you’ll create a clean canvas for the subsequent cleaning steps, ensuring that the projector screen is free from any distracting imperfections. With the surface cleared of loose particles, you’re now ready to proceed to the next crucial step: cleaning the screen surface to restore its pristine condition.
Step 3: Clean the Screen Surface
Now that the projector screen is free from loose dust and debris, it’s time to focus on thoroughly cleaning the screen surface to restore its clarity and vibrancy. Follow these steps to effectively clean the screen without causing damage:
- Create the Cleaning Solution: In a clean spray bottle, mix a small amount of mild detergent or dish soap with distilled water. Avoid using excessive soap, as this can leave streaks or residue on the screen.
- Spray the Cleaning Solution: Lightly mist the cleaning solution onto the microfiber cloth rather than directly onto the screen to prevent oversaturation. Ensure that the cloth is damp but not dripping with the solution.
- Gently Wipe the Screen: Starting from the top or one corner of the screen, use gentle, horizontal or vertical strokes to wipe the entire surface. Avoid applying excessive pressure, as this can damage the screen or cause streaking.
- Address Stubborn Spots: For any persistent marks or smudges, apply slightly more pressure while maintaining a gentle touch to gradually lift the blemishes. Avoid vigorous scrubbing, as this can damage the screen coating.
- Change Cloth if Necessary: If the cloth becomes visibly soiled during cleaning, switch to a clean portion of the cloth or use a fresh cloth to prevent redistributing dirt onto the screen.
- Ensure Even Coverage: Pay attention to areas that may have received less attention, ensuring that the entire screen surface receives uniform cleaning for consistent visual quality.
By methodically cleaning the screen surface with a gentle touch and the appropriate cleaning solution, you can effectively remove smudges, fingerprints, and other surface imperfections, restoring the screen to its optimal condition. Once the screen surface is clean and free from blemishes, it’s time to address any stubborn stains that may require additional attention.
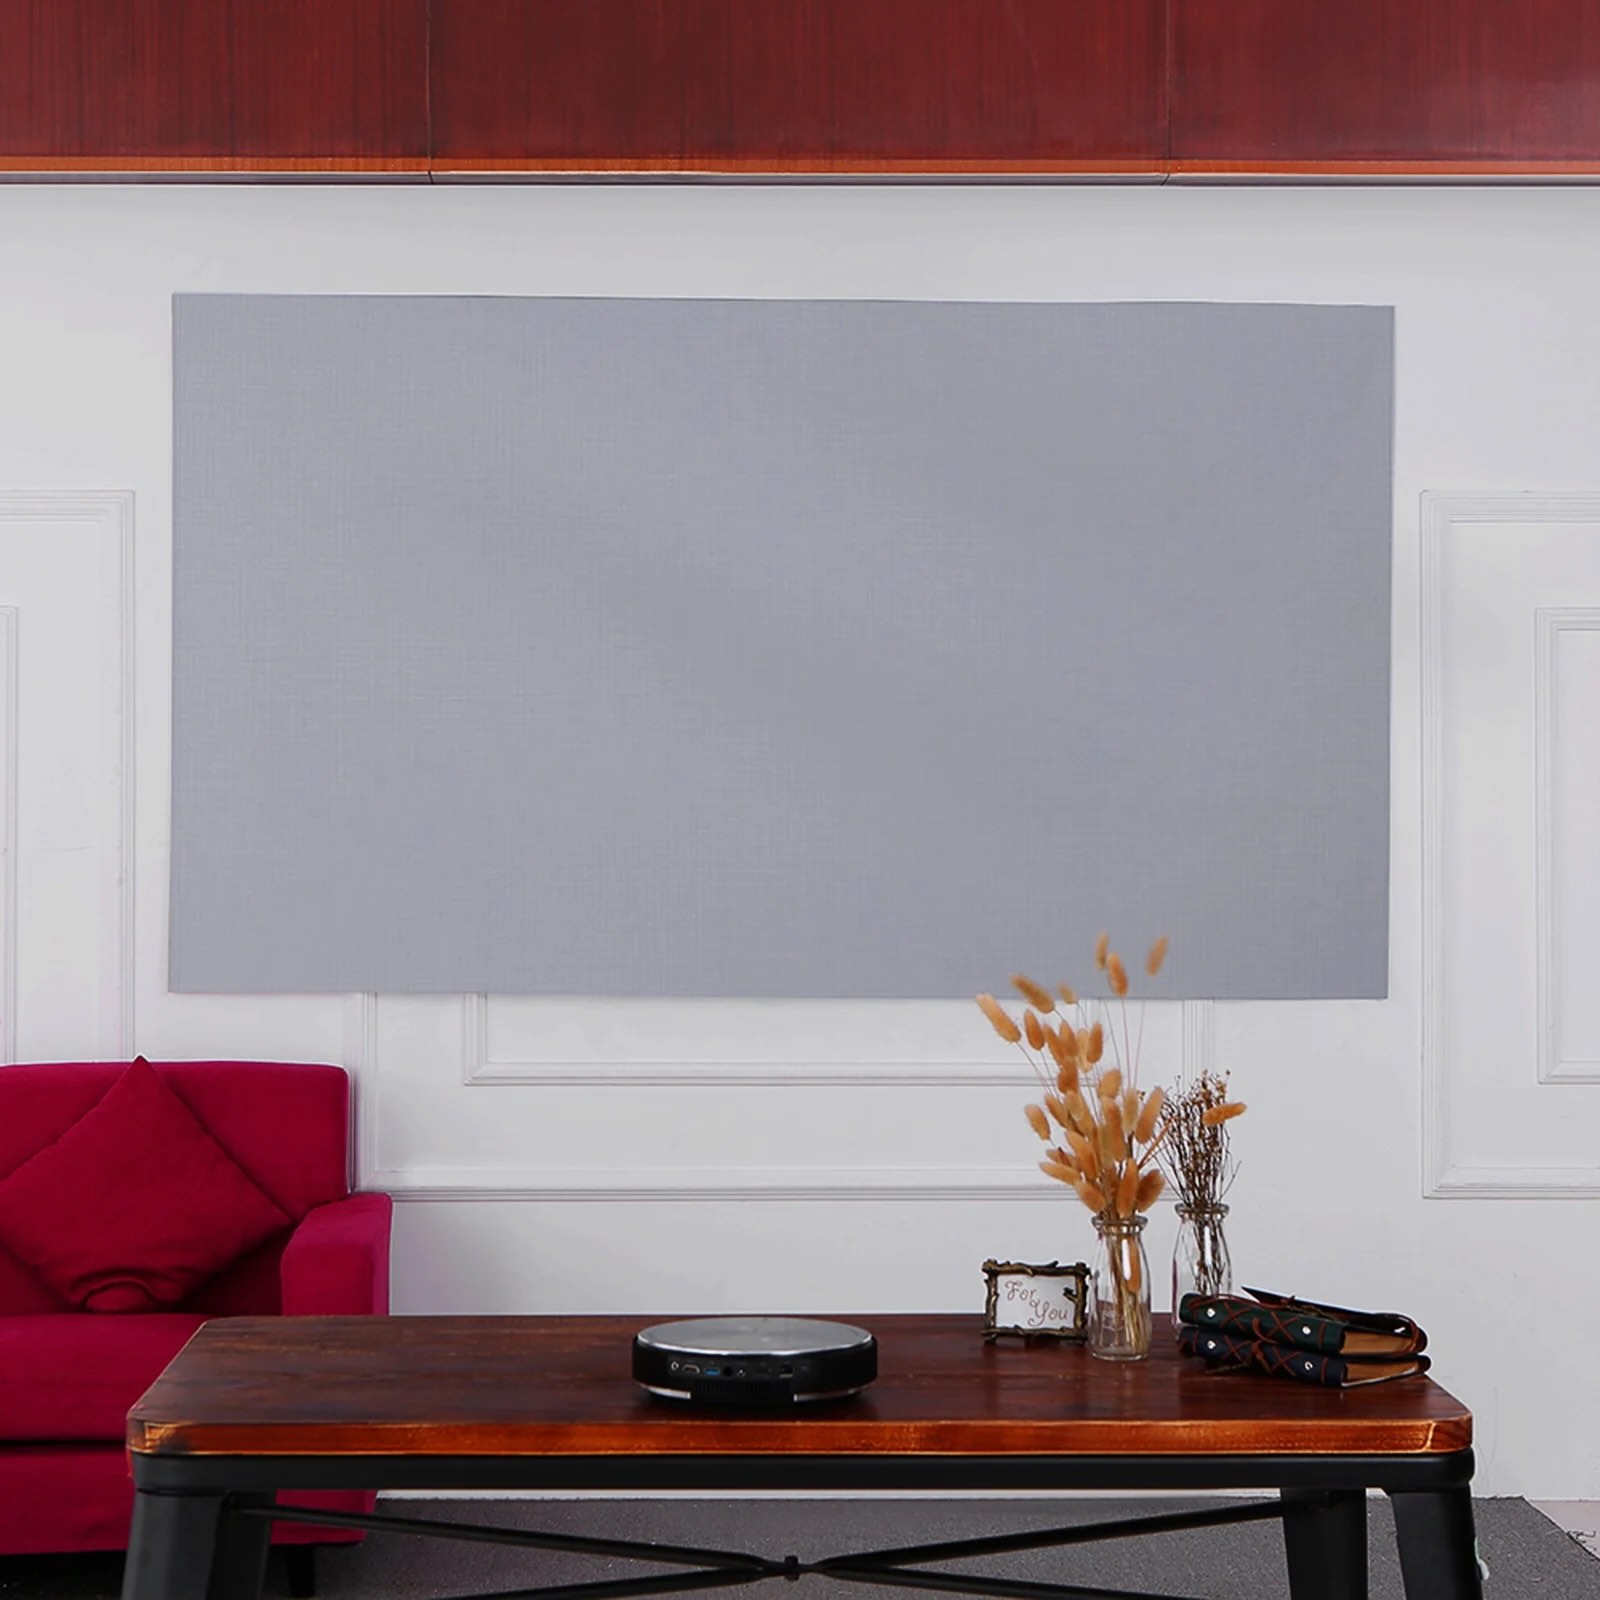
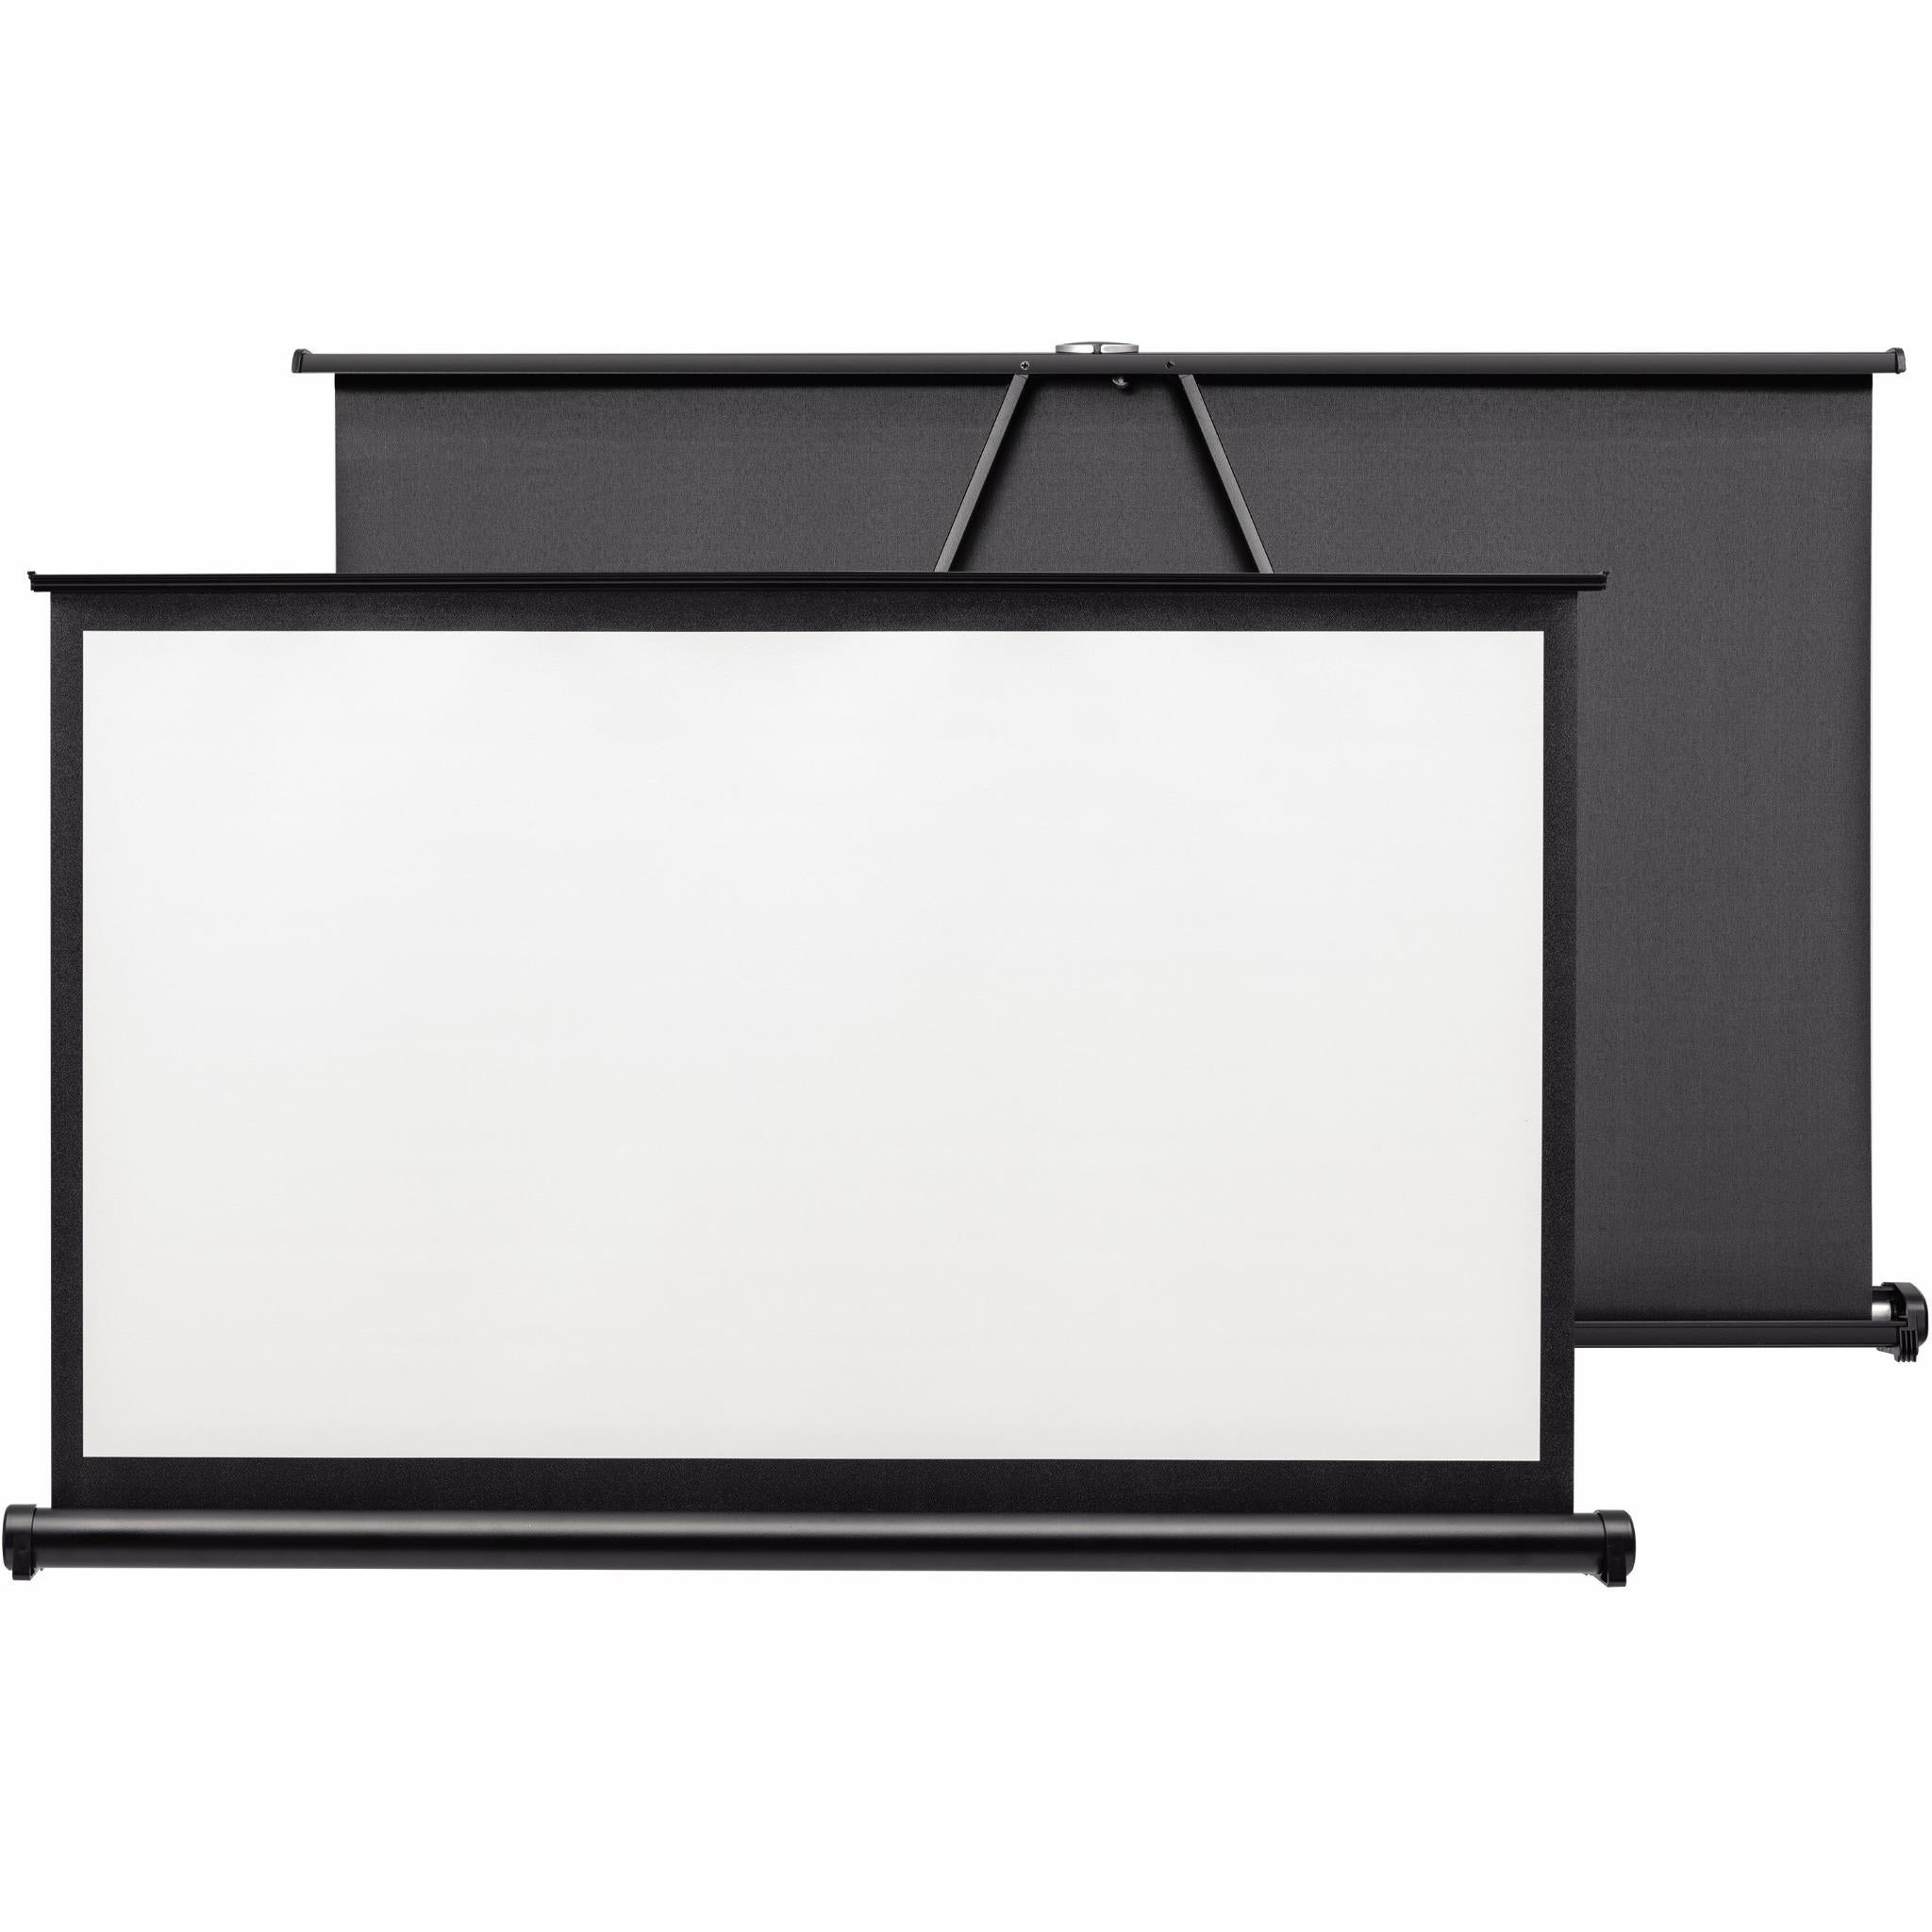
Use a soft, microfiber cloth to gently wipe the projector screen in a circular motion. Avoid using any harsh chemicals or abrasive materials to prevent damage.
Step 4: Address Stubborn Stains
While most dirt and smudges can be effectively removed with gentle cleaning, stubborn stains may require a more targeted approach to ensure complete removal without causing damage to the screen. Here’s how to tackle persistent blemishes on your projector screen:
- Identify the Nature of the Stain: Before attempting to clean a stubborn stain, assess its nature. Whether it’s a water-based stain, grease, or another substance, understanding the composition of the stain can help determine the most effective cleaning method.
- Use a Specific Stain-Removal Technique: Depending on the type of stain, you can employ targeted stain-removal techniques. For example, water-based stains may respond well to a slightly dampened microfiber cloth, while grease or oil-based stains may require a specialized cleaning solution.
- Apply Gentle Pressure: When addressing stubborn stains, apply gentle but persistent pressure to gradually lift the blemish. Avoid aggressive scrubbing, as this can damage the screen surface or spread the stain further.
- Repeat the Cleaning Process as Needed: For particularly stubborn stains, it may be necessary to repeat the cleaning process multiple times, gradually making progress with each iteration. Patience and a gentle touch are key to achieving successful stain removal.
- Inspect the Screen Surface: After addressing stubborn stains, carefully inspect the screen surface under adequate lighting to ensure that the blemishes have been effectively removed. If any stains persist, consider seeking professional advice to avoid causing damage to the screen.
By approaching stubborn stains with care and employing targeted cleaning techniques, you can effectively restore the pristine condition of your projector screen. With persistent blemishes addressed, the final step in the cleaning process involves ensuring that the screen is thoroughly dried to prevent streaking or water damage.
Read more: How Do I Adjust Projector To Fit Screen?
Step 5: Dry the Screen
Once the cleaning process is complete, it’s crucial to ensure that the projector screen is thoroughly dried to prevent streaking and maintain its pristine condition. Follow these steps to effectively dry the screen without compromising the cleaning results:
- Air-Dry the Screen: After cleaning, allow the screen to air-dry naturally. Avoid using heat sources or abrasive materials to hasten the drying process, as these can damage the screen surface.
- Inspect for Residual Moisture: After the initial drying period, carefully inspect the screen for any residual moisture or streaks. If necessary, use a dry, lint-free microfiber cloth to gently remove any remaining moisture from the surface.
- Ensure Adequate Ventilation: If the projector screen is located in an enclosed space, ensure that the room is well-ventilated to facilitate the drying process. Good air circulation can help prevent the accumulation of moisture on the screen.
- Verify the Screen’s Dryness: Before powering on the projector, verify that the screen is completely dry to the touch. This step is essential to prevent water damage and ensure optimal visual performance.
- Reconnect and Test the Projector: Once the screen is thoroughly dry, reconnect the projector and conduct a brief test to ensure that the cleaning process has not affected the visual quality or functionality of the equipment.
By allowing the screen to dry naturally and conducting a thorough inspection, you can safeguard the integrity of the projector screen and enjoy uninterrupted viewing experiences. With the screen cleaned, dried, and ready to showcase stunning visuals, you can relish the immersive entertainment that your projector system provides.
With the cleaning process completed and your projector screen restored to its optimal condition, you can now bask in the captivating visuals and immersive experiences that your home entertainment system offers. By following these steps and exercising care throughout the cleaning process, you can maintain the quality and longevity of your projector screen, ensuring that it continues to deliver stunning visuals for your viewing pleasure.
Conclusion
Cleaning your projector screen is a vital aspect of maintaining the visual quality and overall enjoyment of your home entertainment system. By following the step-by-step process outlined in this guide, you can effectively remove dust, smudges, and stubborn stains while preserving the integrity of the screen surface. With the right supplies and gentle cleaning techniques, you can ensure that your projector screen remains a pristine canvas for showcasing vibrant and immersive visuals.
Remember, the key to successful cleaning lies in patience, attention to detail, and a gentle touch. By approaching the cleaning process with care, you can safeguard the delicate screen surface and prolong the life of your projector system. Regular maintenance and cleaning will not only enhance your viewing experience but also protect your investment in high-quality home entertainment equipment.
As you embark on the journey of cleaning your projector screen, take pride in knowing that you are actively contributing to the longevity and optimal performance of your home entertainment system. With a clean and well-maintained projector screen, you can immerse yourself in captivating movies, thrilling games, and engaging content, all presented with stunning clarity and vibrancy.
So, embrace the process of caring for your projector screen, and relish the rewarding results as you enjoy seamless, breathtaking visuals in the comfort of your own home. With these cleaning insights at your disposal, you’re well-equipped to uphold the brilliance of your projector screen and elevate your home entertainment experiences for years to come.
Frequently Asked Questions about How Do You Clean A Projector Screen
Was this page helpful?
At Storables.com, we guarantee accurate and reliable information. Our content, validated by Expert Board Contributors, is crafted following stringent Editorial Policies. We're committed to providing you with well-researched, expert-backed insights for all your informational needs.


0 thoughts on “How Do You Clean A Projector Screen”