Home>Technology>Security & Surveillance>How To Change Battery On Kwikset Smart Lock

Security & Surveillance
How To Change Battery On Kwikset Smart Lock
Modified: August 16, 2024
Learn how to change the battery on your Kwikset smart lock for enhanced security and surveillance. Follow our step-by-step guide for quick and easy battery replacement.
(Many of the links in this article redirect to a specific reviewed product. Your purchase of these products through affiliate links helps to generate commission for Storables.com, at no extra cost. Learn more)
**
Introduction
**
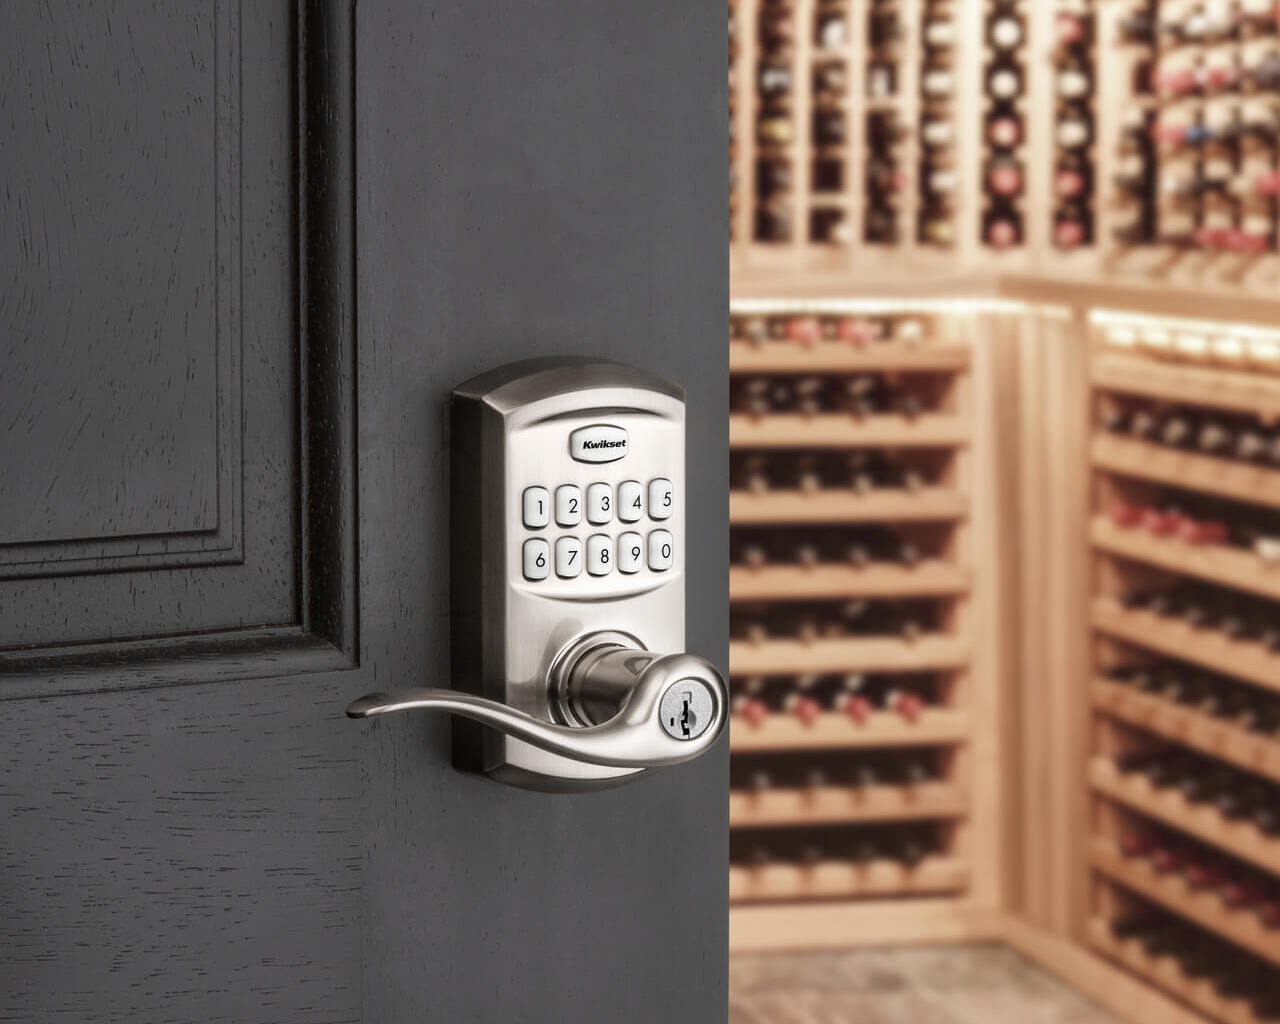
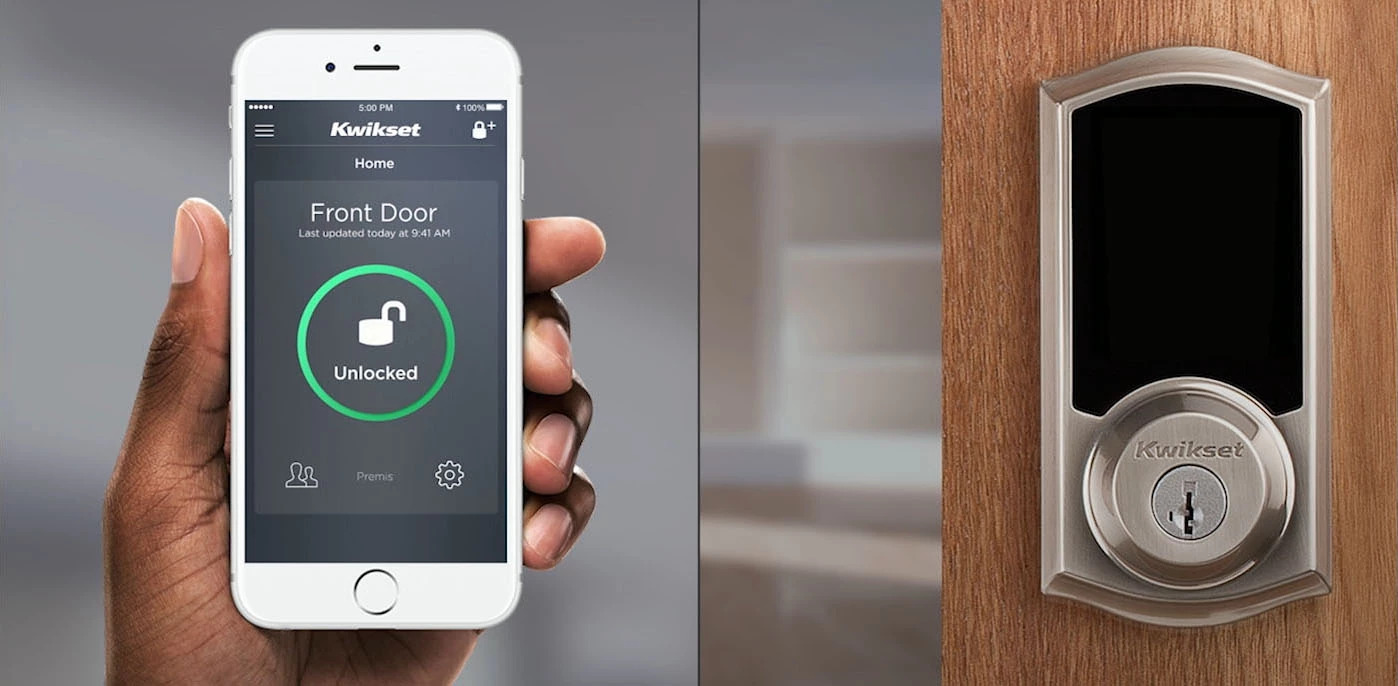
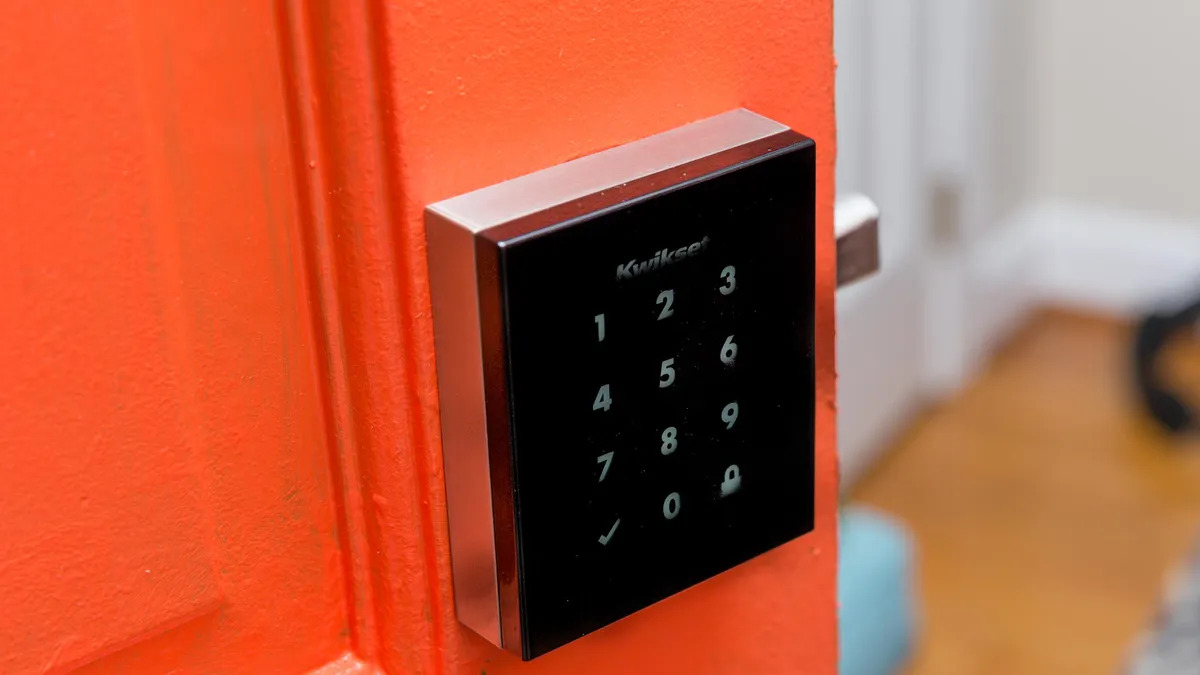
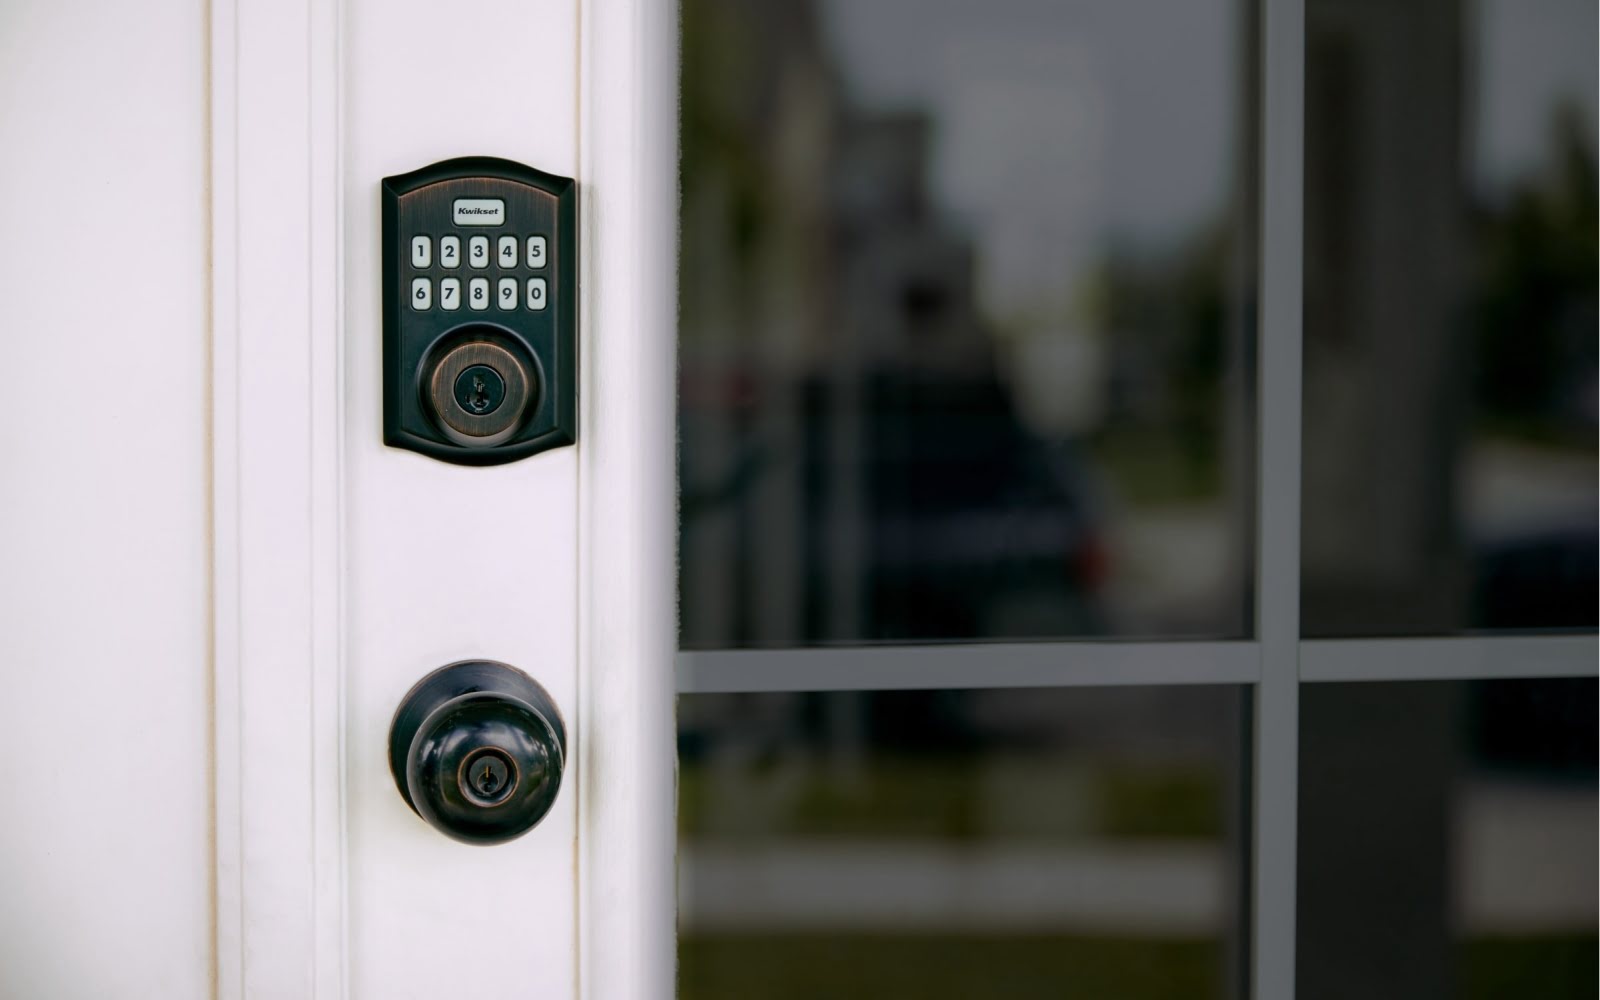
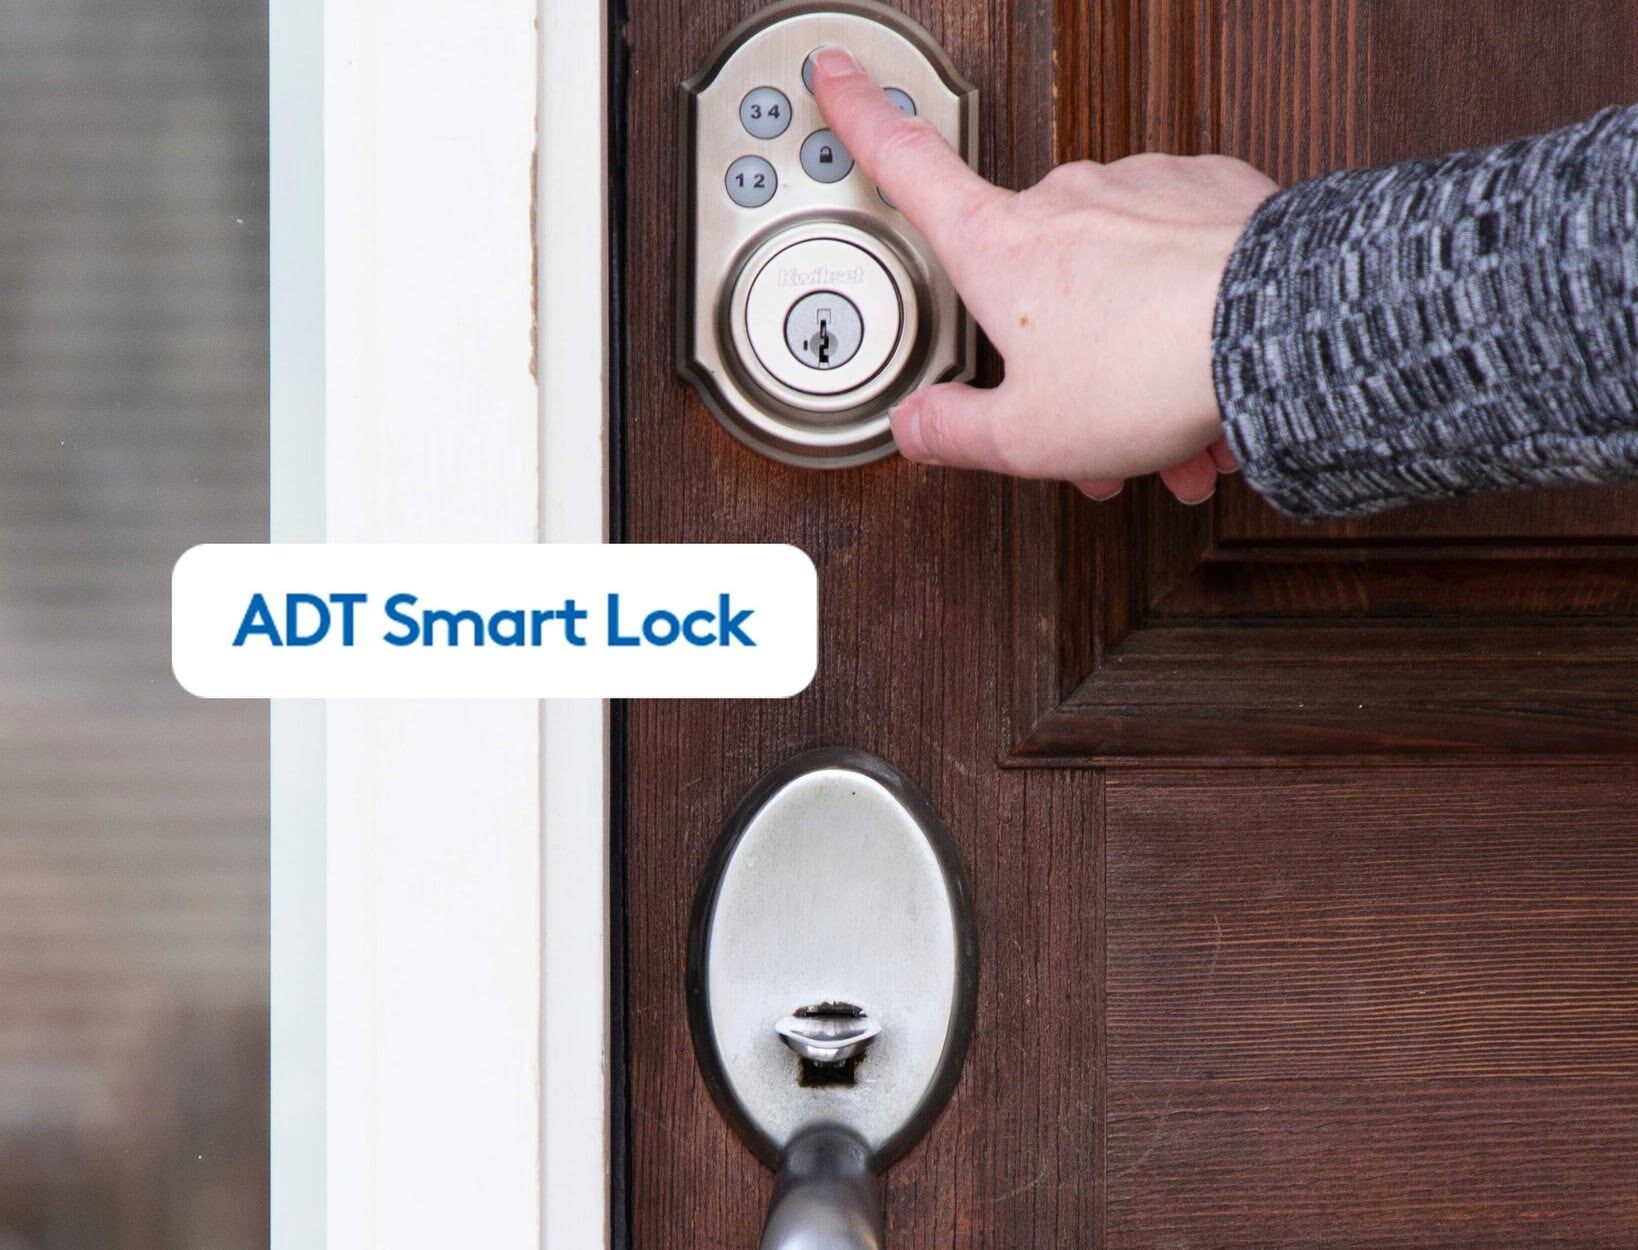
Welcome to the world of smart home security! Kwikset smart locks are a convenient and innovative way to secure your home while enjoying the benefits of modern technology. These locks offer keyless entry, remote access, and a range of other features that make them a popular choice for homeowners.
One essential aspect of maintaining a Kwikset smart lock is ensuring that its battery is in optimal condition. A well-functioning battery is crucial for the lock to operate smoothly and provide the security and convenience you rely on. In this guide, we will walk you through the process of changing the battery on your Kwikset smart lock, ensuring that you can continue to enjoy the peace of mind and ease of access that these devices offer.
Whether you are a new Kwikset smart lock owner or have been using this advanced security solution for some time, understanding how to change the battery is a fundamental skill that will enable you to keep your smart lock in top working condition. With the right tools and a clear understanding of the process, you can easily replace the battery and maintain the security of your home.
In the following sections, we will outline the tools and materials you will need, the step-by-step process for changing the battery, and how to test the new battery to confirm that your Kwikset smart lock is operating as intended. By following these instructions, you will be well-equipped to keep your smart lock functioning optimally, providing you with reliable security and convenient access to your home. Let's dive into the process of changing the battery on your Kwikset smart lock and ensure that your home security remains robust and dependable.
Key Takeaways:
- Keep your Kwikset smart lock in top shape by changing the battery with the right tools and materials. Regular maintenance ensures reliable security and convenient access to your home.
- After replacing the battery, test your Kwikset smart lock to confirm it’s working smoothly. Check keypad response, locking and unlocking functions, and low battery indicator (if applicable) for optimal performance.
Read more: How To Change Code On Kwikset Smart Lock
Tools and Materials Needed
Before you begin the process of changing the battery on your Kwikset smart lock, it’s important to gather the necessary tools and materials. Having these items on hand will ensure a smooth and efficient battery replacement, allowing you to maintain the security and functionality of your smart lock.
Tools and Materials:
-
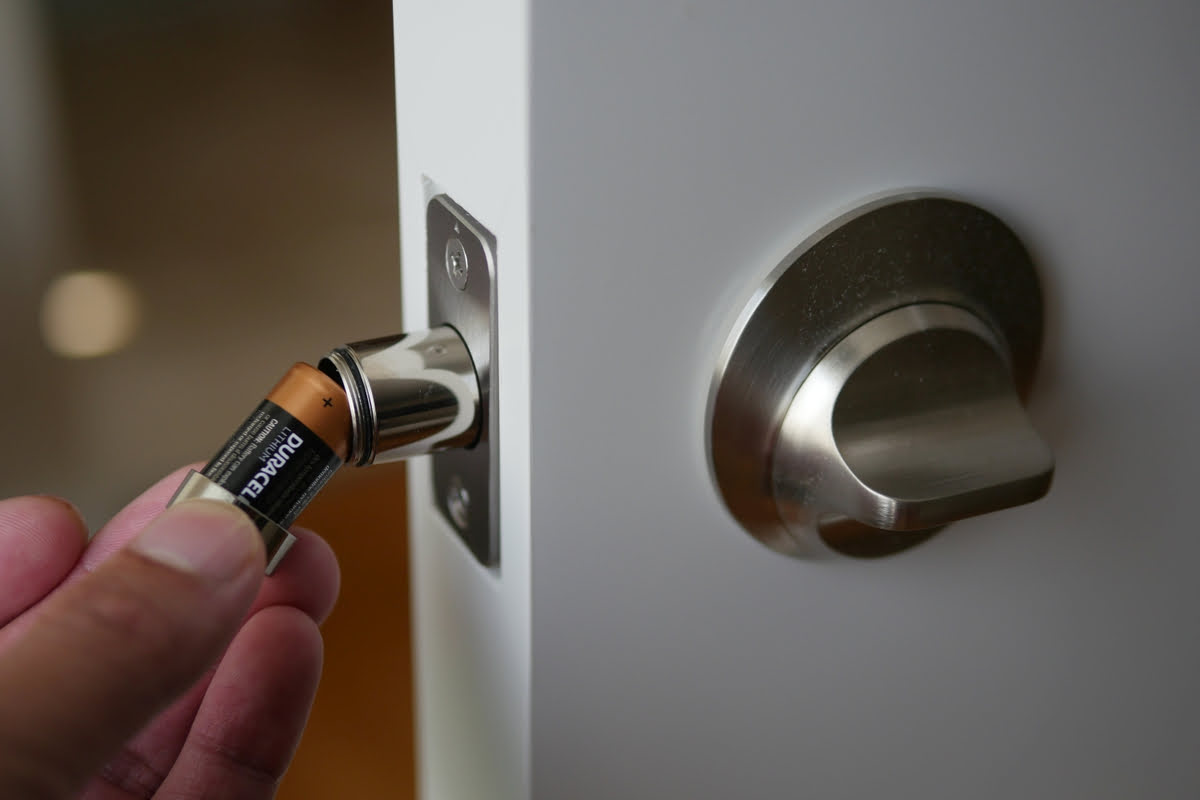
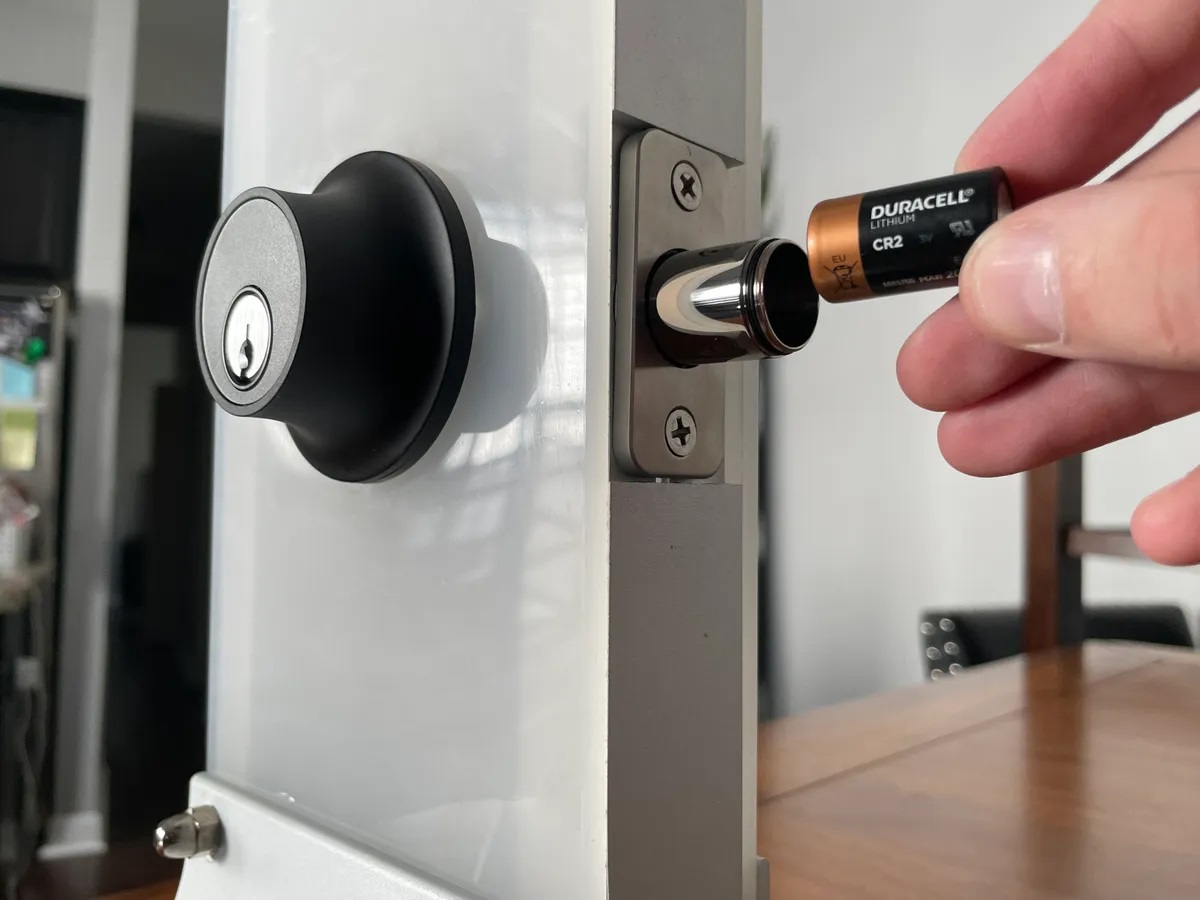
New Batteries: Depending on the model of your Kwikset smart lock, you will need either four AA alkaline batteries or a CR2032 coin cell battery. It's essential to use high-quality batteries from reputable brands to ensure optimal performance and longevity.
-
Screwdriver: A screwdriver, typically Phillips or flat-head, is required to access the battery compartment of your Kwikset smart lock. Ensure that the screwdriver matches the type of screws used in the lock to prevent damage during the removal and reinstallation process.
-
Clean Cloth: Having a clean cloth or microfiber towel on hand is useful for wiping down the exterior of the smart lock and removing any dust or debris that may have accumulated.
-
Optional: Latex Gloves: While not essential, wearing latex gloves can help prevent fingerprints and smudges on the smart lock's surface during the battery replacement process.
By gathering these tools and materials, you will be well-prepared to proceed with changing the battery on your Kwikset smart lock. Ensuring that you have everything you need before starting the process will help streamline the battery replacement and minimize any potential disruptions to your smart lock’s operation.
Steps to Change Battery on Kwikset Smart Lock
Now that you have assembled the necessary tools and materials, it’s time to delve into the step-by-step process of changing the battery on your Kwikset smart lock. Follow these clear and concise instructions to ensure a seamless battery replacement and maintain the security and functionality of your smart lock.
-
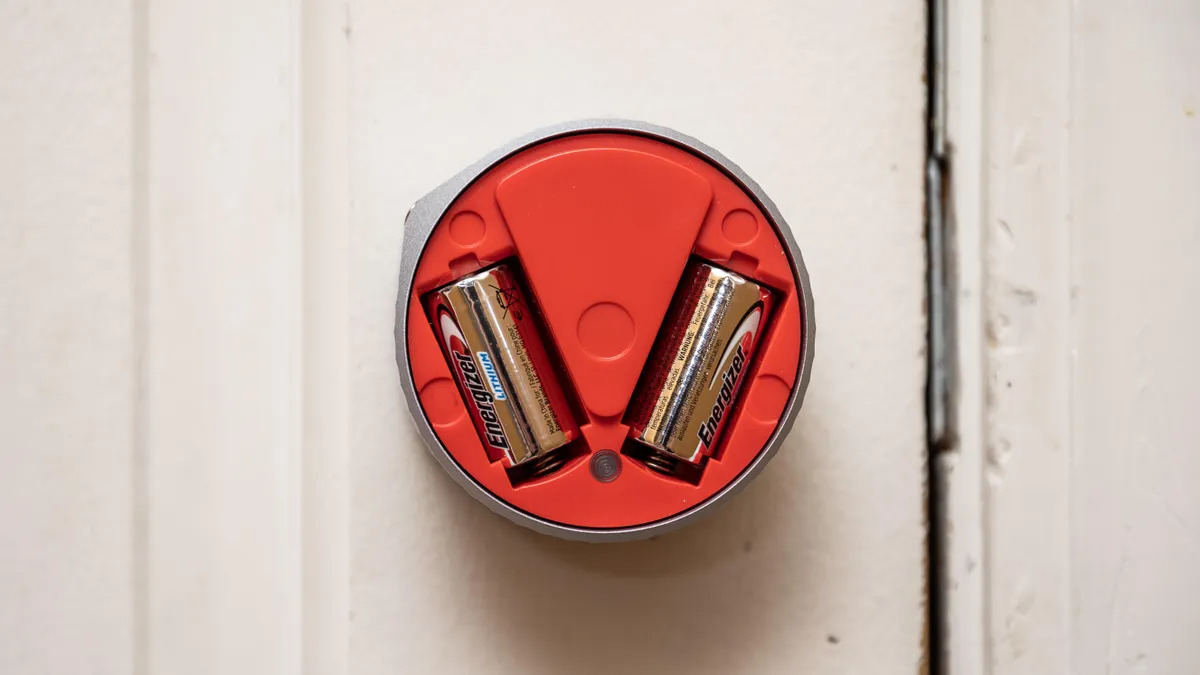
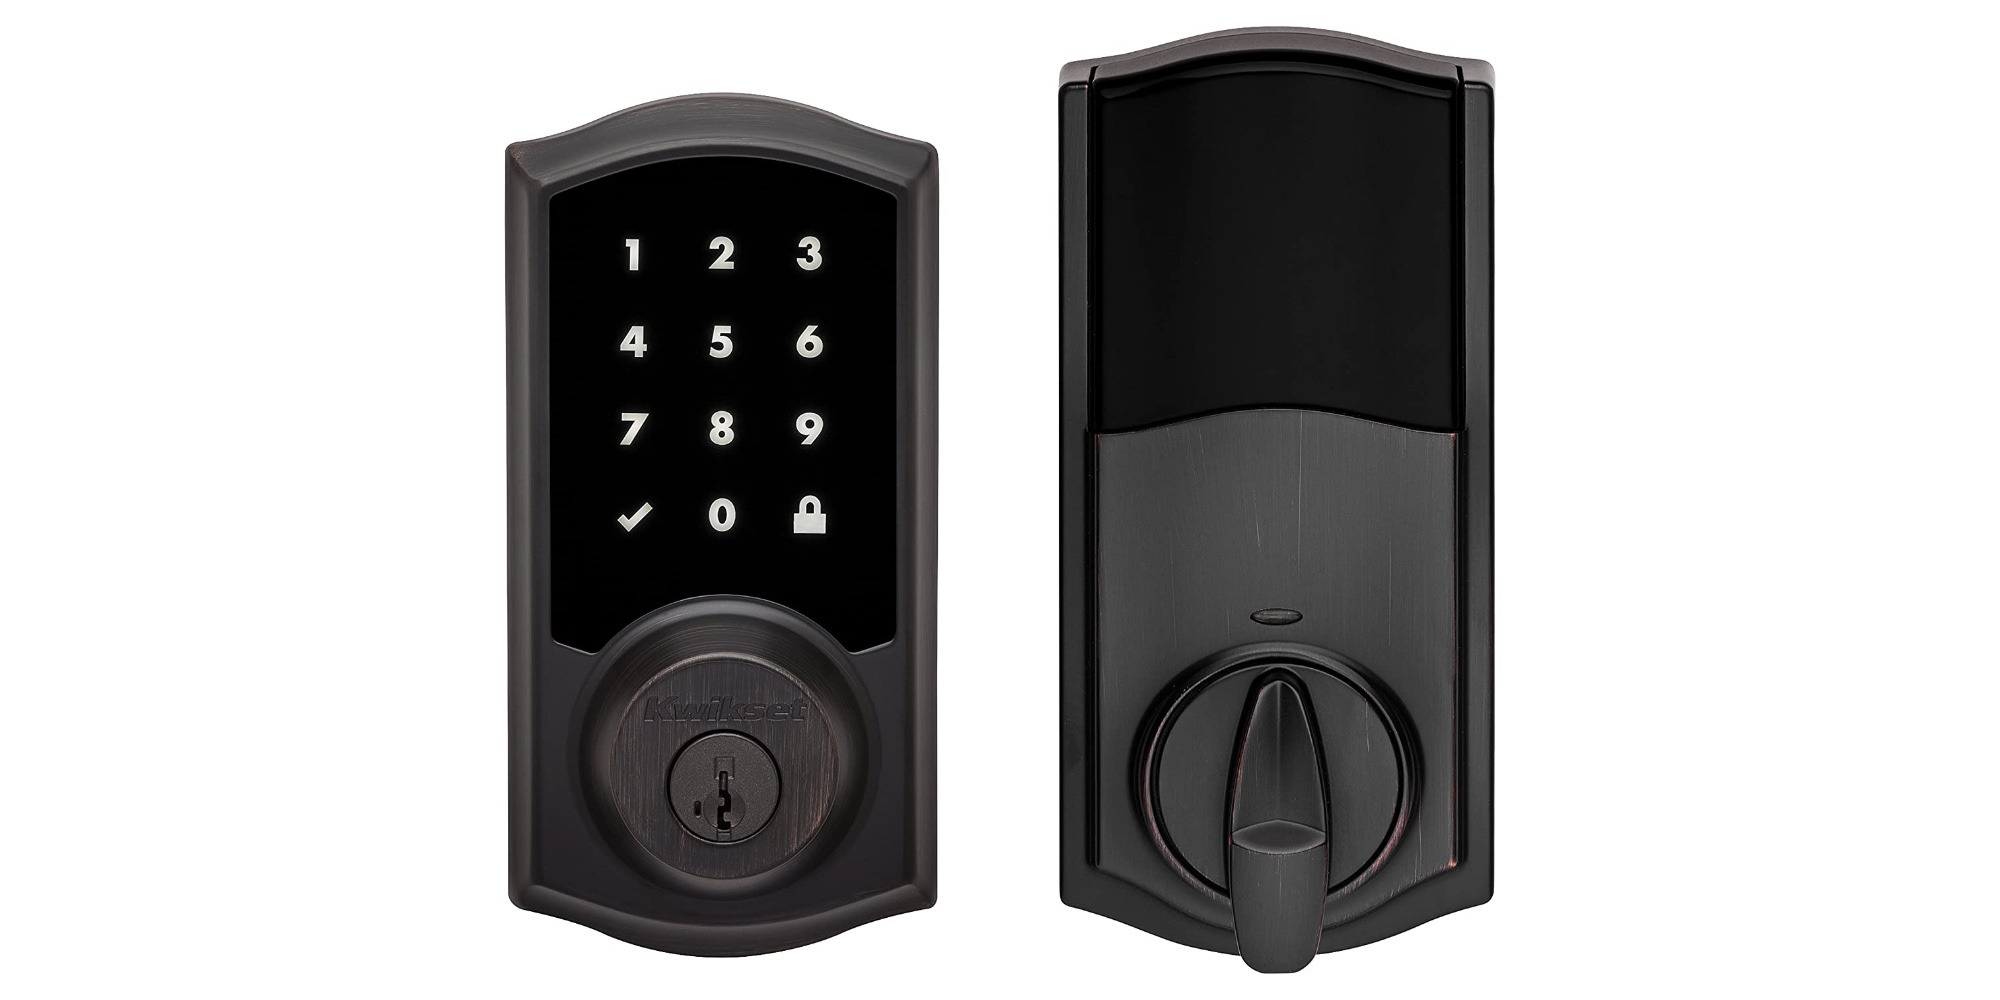
Locate the Battery Compartment: Begin by identifying the battery compartment on your Kwikset smart lock. The location of the battery compartment varies depending on the model of the lock. Typically, it is located on the interior side of the lock, concealed behind a panel or cover.
-
Remove the Cover: Once you have located the battery compartment, use the appropriate screwdriver to carefully remove the screws securing the cover in place. Place the screws in a secure location to prevent misplacement.
-
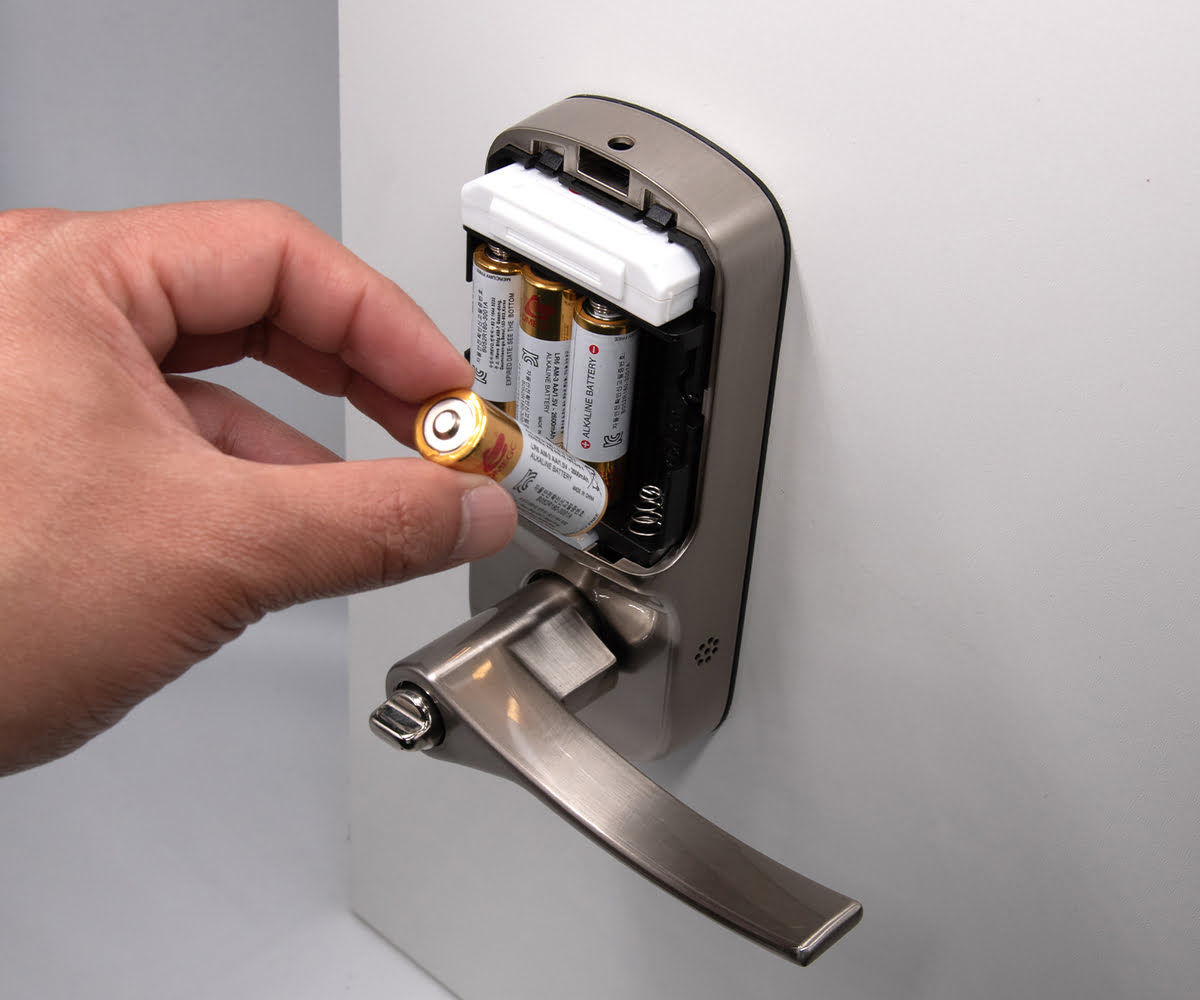
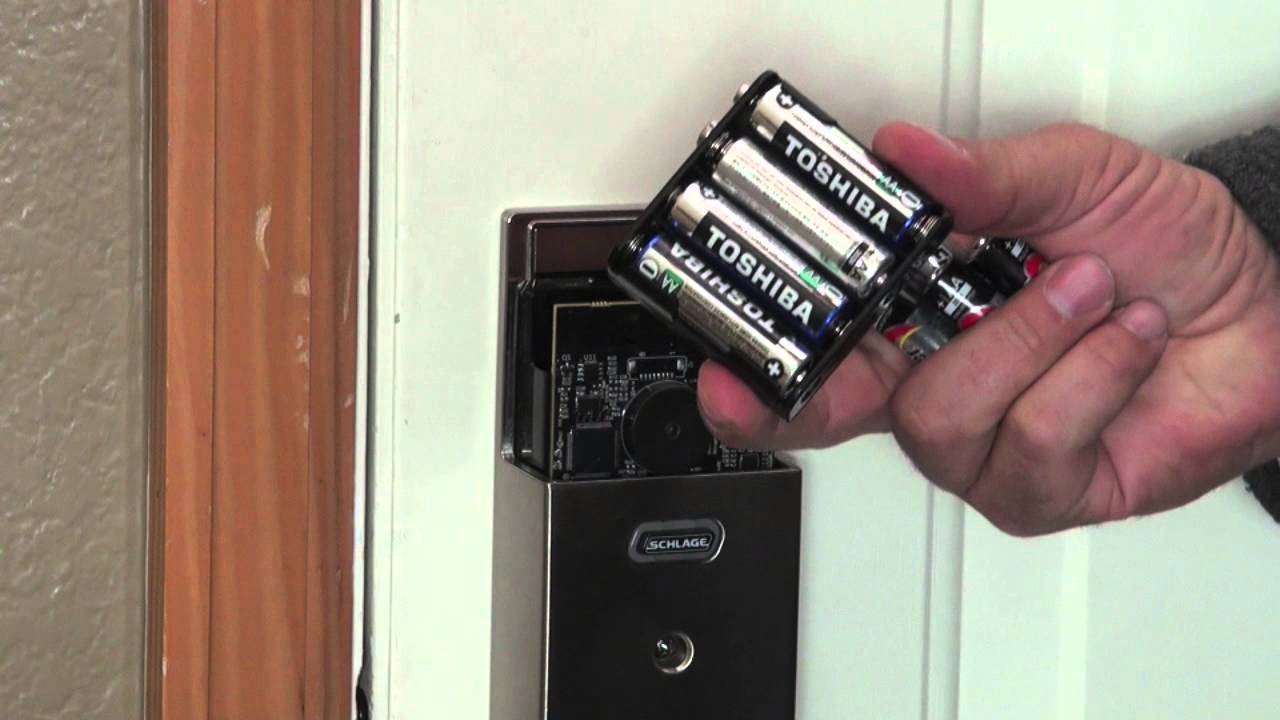
Replace the Batteries: After removing the cover, you will have access to the old batteries. Depending on the model of your Kwikset smart lock, you will need to replace either four AA alkaline batteries or a CR2032 coin cell battery. Take note of the orientation of the old batteries before removing them to ensure proper installation of the new ones.
-
Install the New Batteries: Insert the new batteries into the battery compartment, ensuring that they are positioned according to the polarity indicators. Double-check the placement to avoid any issues with the functioning of the smart lock.
-
Reattach the Cover: Once the new batteries are securely in place, reattach the cover to the battery compartment and use the screwdriver to tighten the screws. Ensure that the cover is snugly fitted to maintain the integrity of the smart lock’s interior components.
-
Test the Lock: With the new batteries installed, test the Kwikset smart lock to verify that it is operating correctly. Use the lock’s keypad or key fob, depending on the model, to ensure that the locking and unlocking functions are responsive and reliable.
By following these step-by-step instructions, you can successfully change the battery on your Kwikset smart lock, keeping it in optimal working condition and ready to provide secure access to your home. With the battery replacement completed, you can move on to the next crucial step: testing the new battery to confirm that your smart lock is functioning as intended.
To change the battery on a Kwikset Smart Lock, locate the battery cover on the interior side of the lock. Use a screwdriver to remove the cover, then replace the old batteries with new ones. Make sure to follow the correct polarity (+/-) when inserting the new batteries.
Testing the New Battery
After replacing the battery on your Kwikset smart lock, it is essential to verify that the new battery is functioning correctly and that the smart lock is operating as intended. Testing the new battery will give you peace of mind, knowing that your smart lock is ready to provide reliable security and convenient access to your home. Follow these simple steps to test the new battery and ensure the optimal performance of your Kwikset smart lock.
-
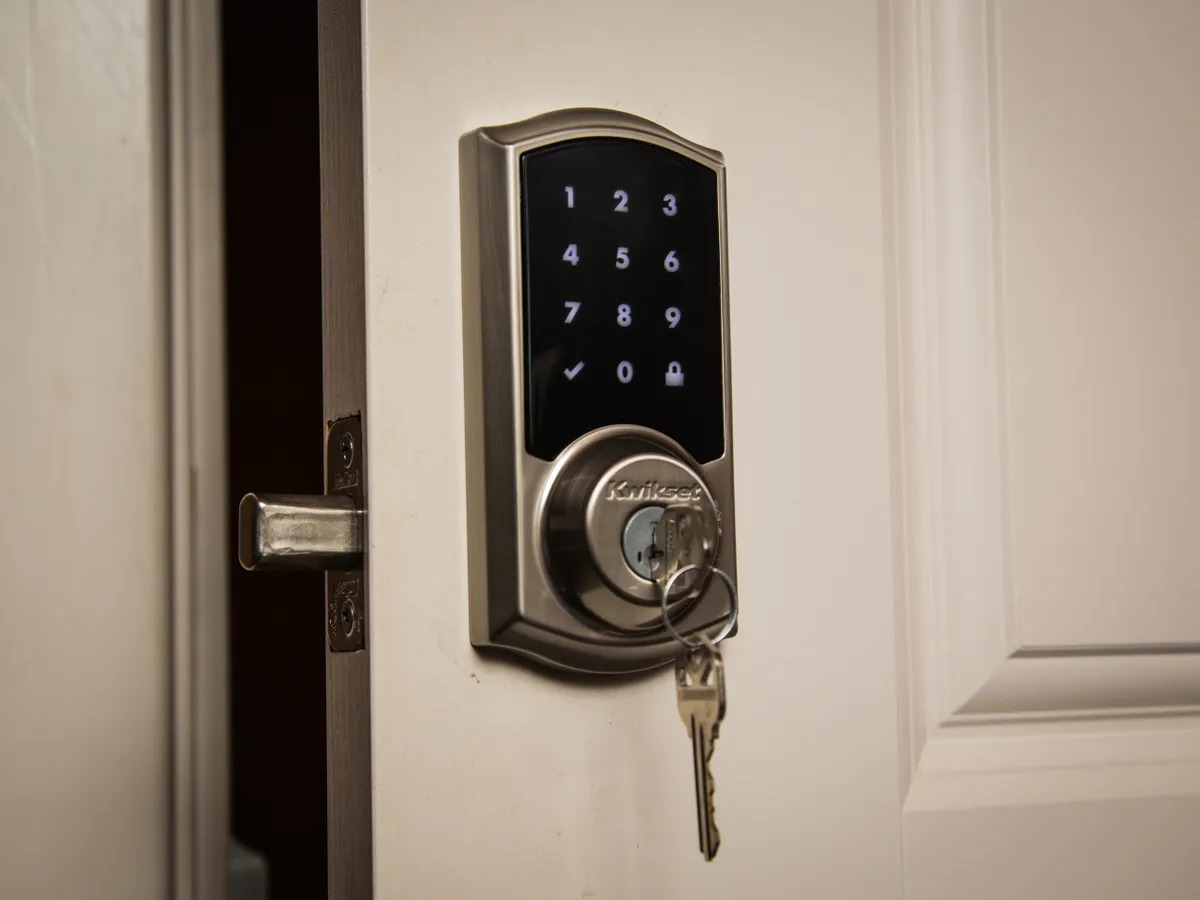
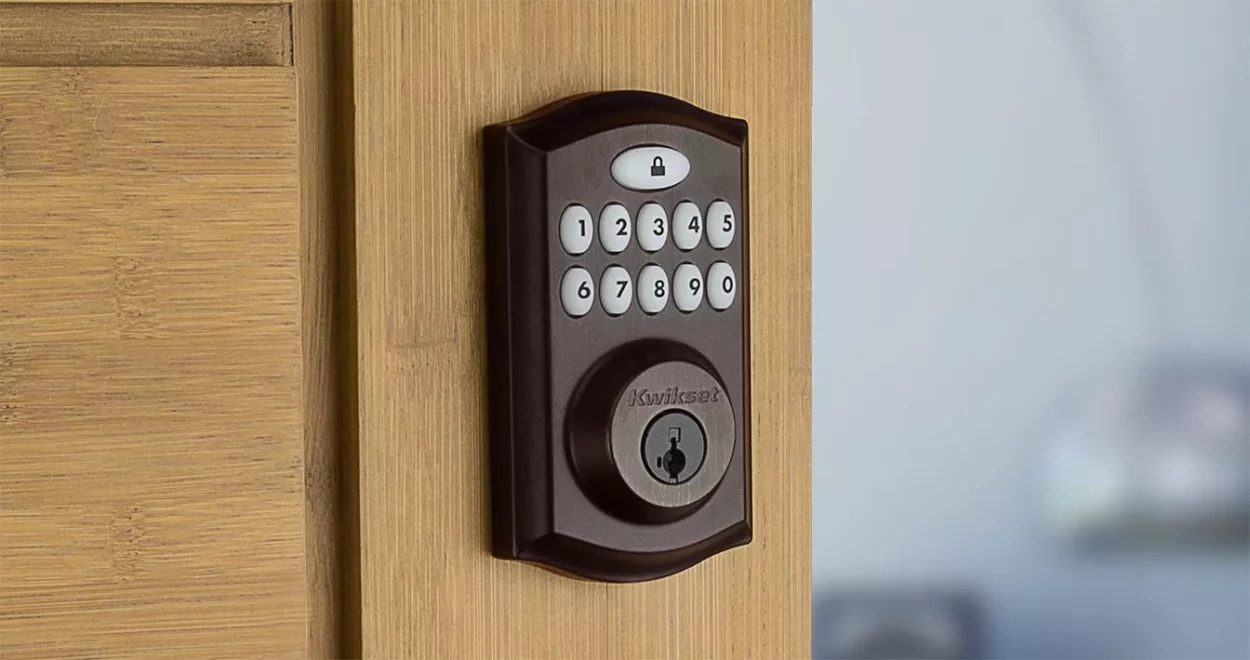
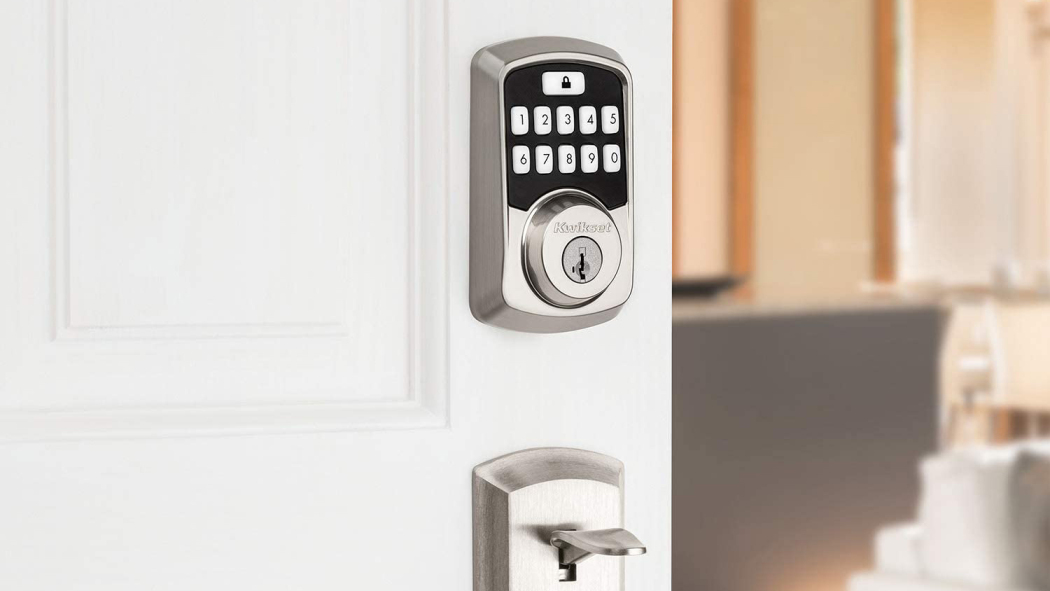
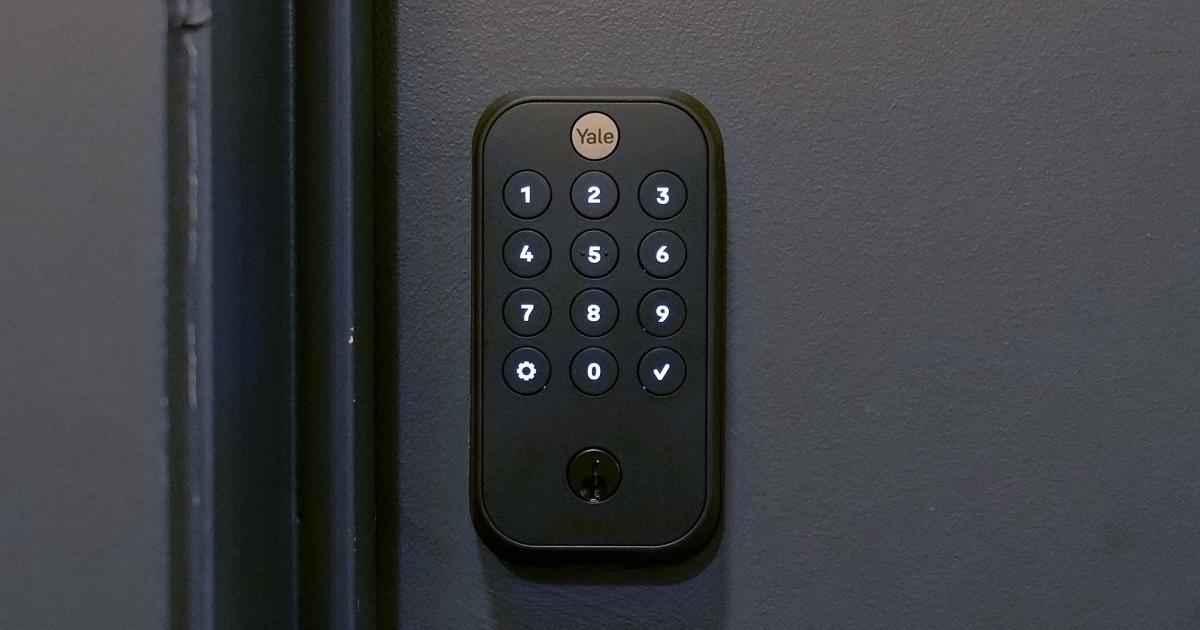
Check Keypad Response: Begin by pressing the buttons on the lock’s keypad to check for a responsive and consistent input. The keypad should illuminate, and the numbers should register without delay. This test confirms that the new battery is providing power to the smart lock and enabling the keypad to function properly.
-
Test Locking and Unlocking: Use the keypad or key fob, depending on the model of your Kwikset smart lock, to perform several locking and unlocking cycles. Ensure that the locking mechanism engages smoothly and that the lock responds promptly to each command. Testing the locking and unlocking functions validates that the new battery is sustaining the necessary power for the smart lock’s operation.
-
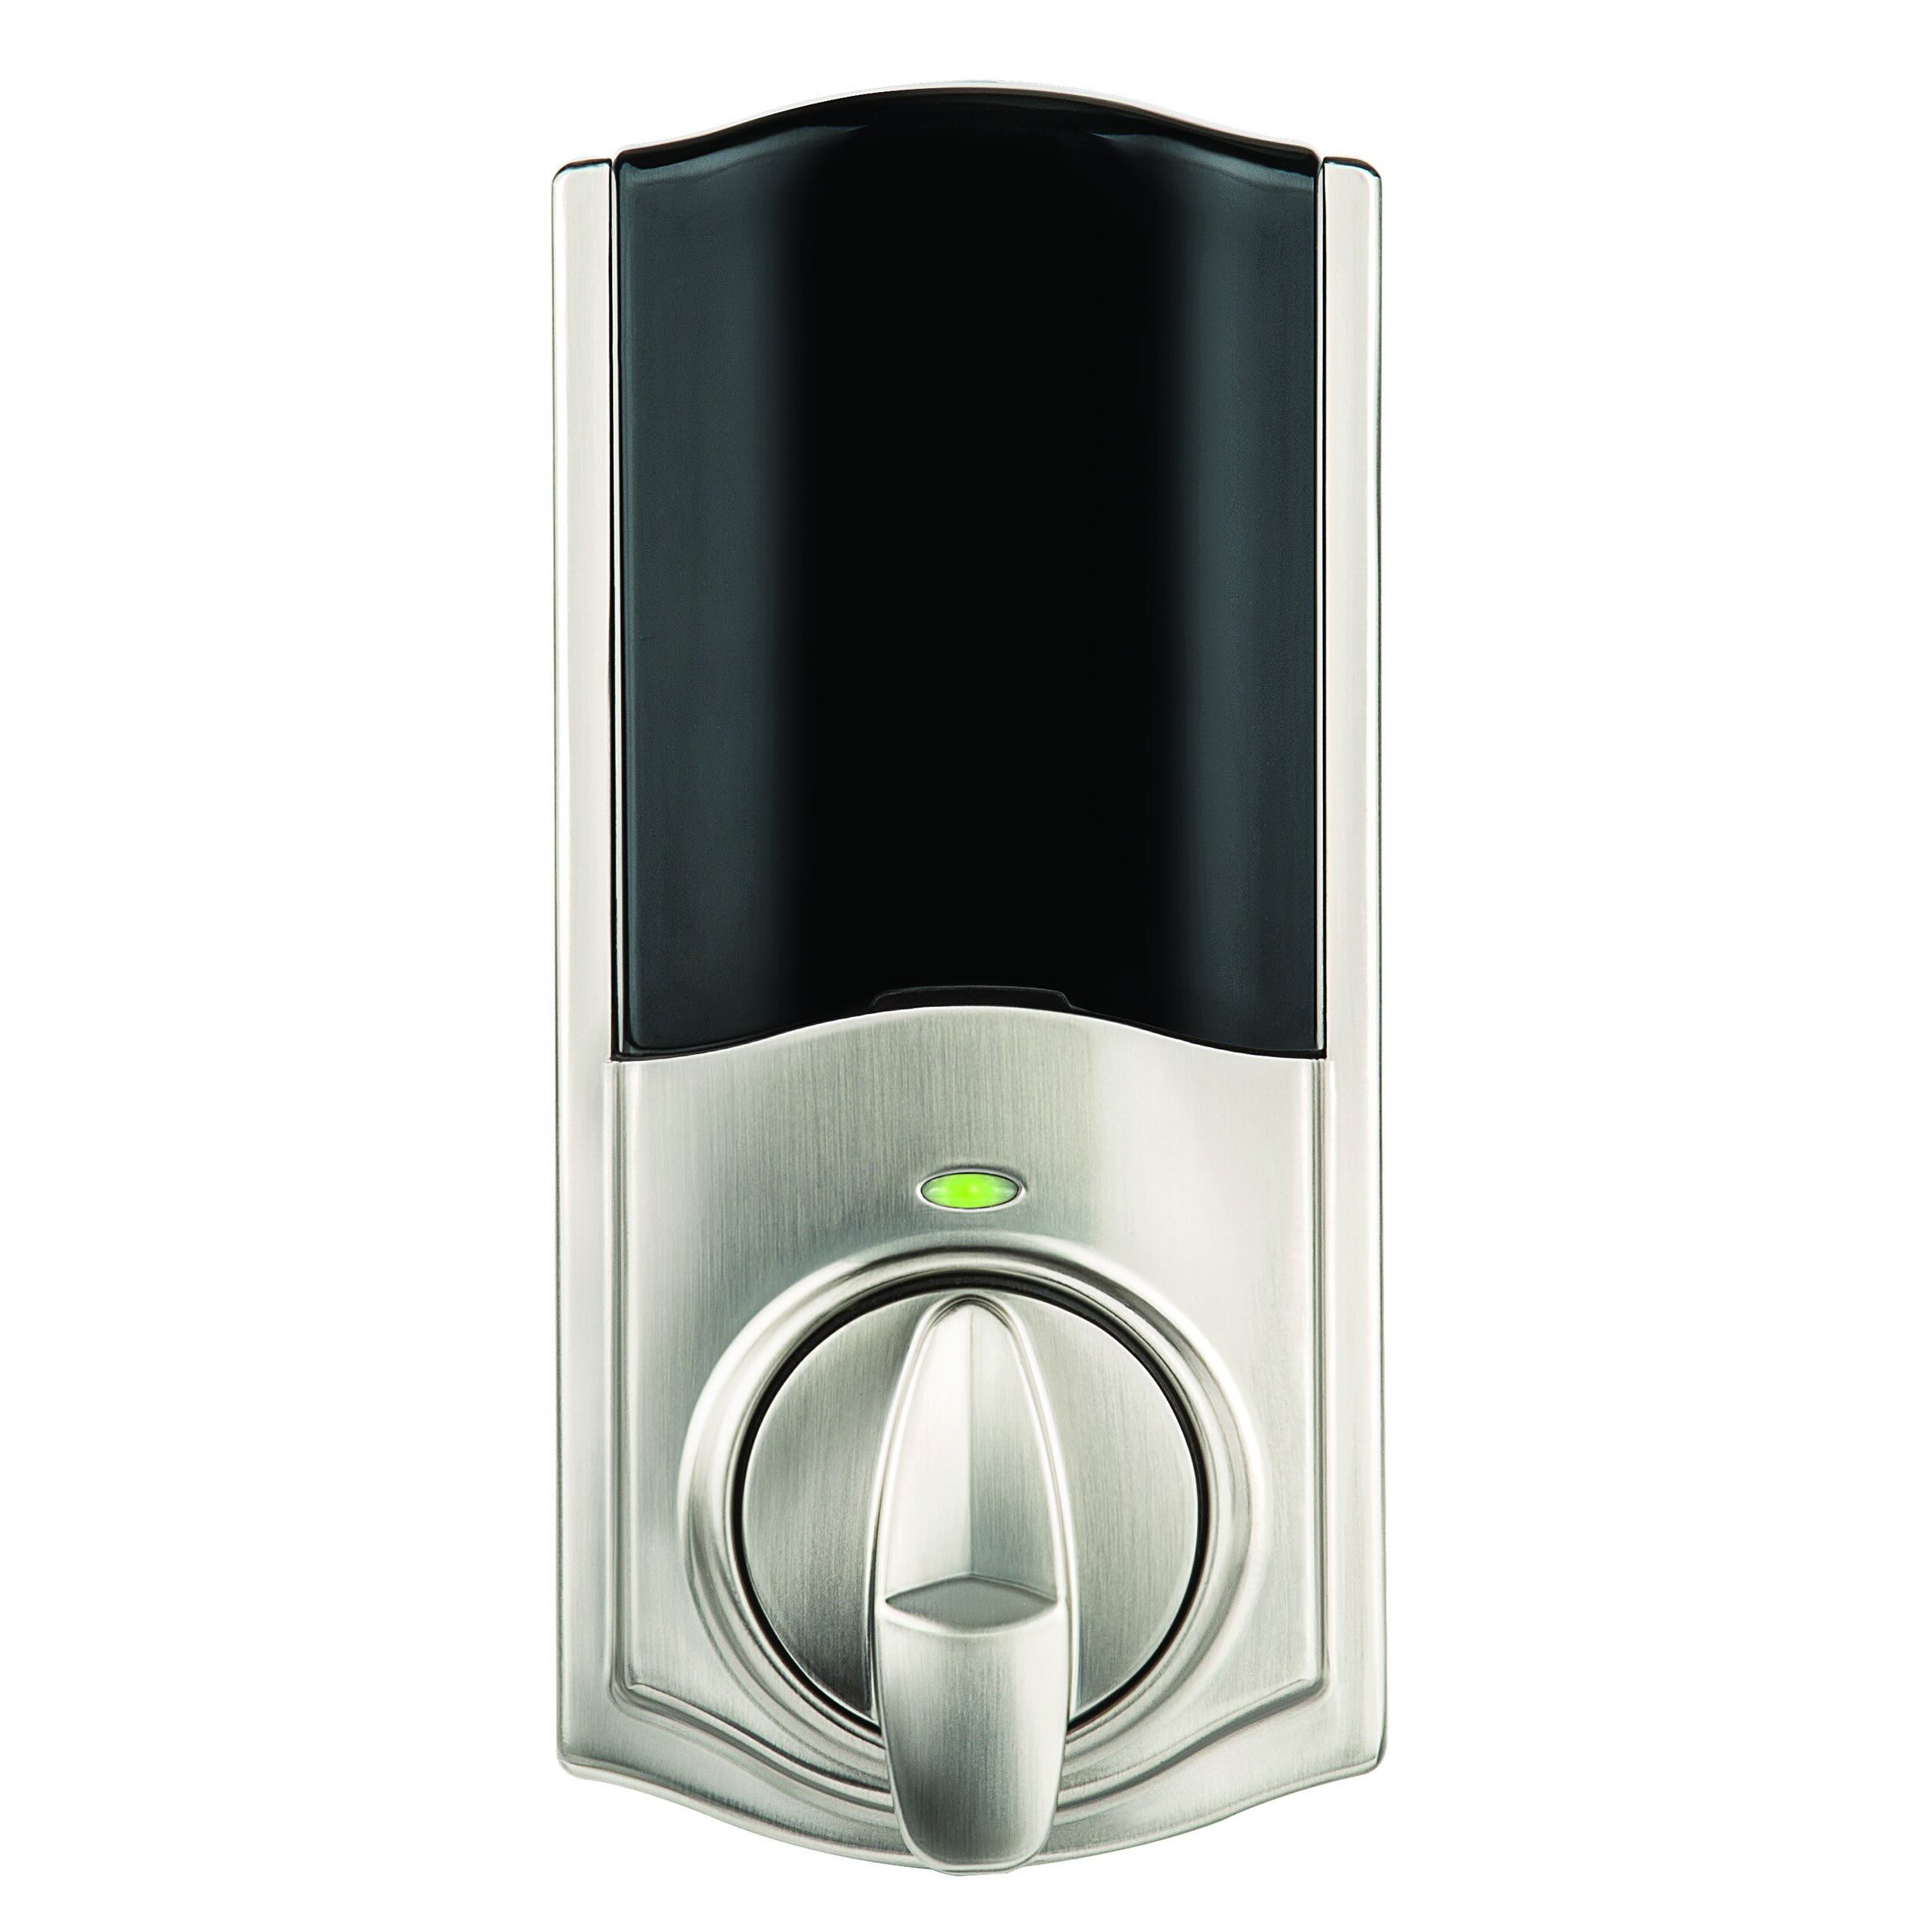
Check Low Battery Indicator (If Applicable): If your Kwikset smart lock is equipped with a low battery indicator, monitor the display or LED indicator to confirm that it reflects the presence of a new and fully charged battery. This step is particularly important for models that provide a visual warning when the battery requires replacement.
By conducting these tests, you can ensure that the new battery is successfully powering your Kwikset smart lock and enabling it to function reliably. If you encounter any issues during the testing process, double-check the battery installation and consider replacing the battery with a fresh one to address any potential power-related issues.
With the new battery confirmed to be in good working order and the smart lock performing as expected, you can have confidence in the security and convenience that your Kwikset smart lock provides. Regularly testing the battery and ensuring its proper functioning will contribute to the long-term reliability of your smart lock, allowing you to enjoy seamless access to your home and peace of mind regarding its security.
Conclusion
Congratulations! By following the steps outlined in this guide, you have successfully changed the battery on your Kwikset smart lock, ensuring that it remains a reliable and effective component of your home security system. The process of replacing the battery is a fundamental maintenance task that helps sustain the optimal performance of your smart lock, providing you with peace of mind and convenient access to your home.
Understanding how to change the battery on your Kwikset smart lock empowers you to take proactive measures in maintaining the security and functionality of this advanced security solution. By regularly monitoring the battery and replacing it when necessary, you can avoid potential disruptions to the smart lock’s operation and ensure that it continues to serve its crucial role in safeguarding your home.
Remember to keep a fresh supply of high-quality batteries on hand, as this will allow you to promptly replace the battery when the low battery indicator signals the need for a change. Additionally, periodically testing the new battery after installation will help you confirm that your Kwikset smart lock is operating optimally and that the new battery is providing the necessary power for its functions.
As you enjoy the enhanced security and convenience offered by your Kwikset smart lock, take pride in your proactive approach to maintaining its battery and ensuring its continued reliability. By incorporating the battery replacement process into your regular home maintenance routine, you can uphold the effectiveness of your smart lock and benefit from the peace of mind it affords.
Thank you for entrusting us with the guidance on changing the battery on your Kwikset smart lock. We hope that this comprehensive and user-friendly resource has equipped you with the knowledge and confidence to perform this essential maintenance task with ease. As you continue to explore the possibilities of smart home security, may your Kwikset smart lock serve as a steadfast guardian, providing you with the security and accessibility you deserve.
Frequently Asked Questions about How To Change Battery On Kwikset Smart Lock
Was this page helpful?
At Storables.com, we guarantee accurate and reliable information. Our content, validated by Expert Board Contributors, is crafted following stringent Editorial Policies. We're committed to providing you with well-researched, expert-backed insights for all your informational needs.

0 thoughts on “How To Change Battery On Kwikset Smart Lock”