Articles
How To Fix Chain Link Fence
Modified: August 17, 2024
Looking to fix your chain link fence? Read our informative articles for step-by-step guides and expert tips on repairing chain link fences.
(Many of the links in this article redirect to a specific reviewed product. Your purchase of these products through affiliate links helps to generate commission for Storables.com, at no extra cost. Learn more)
Introduction
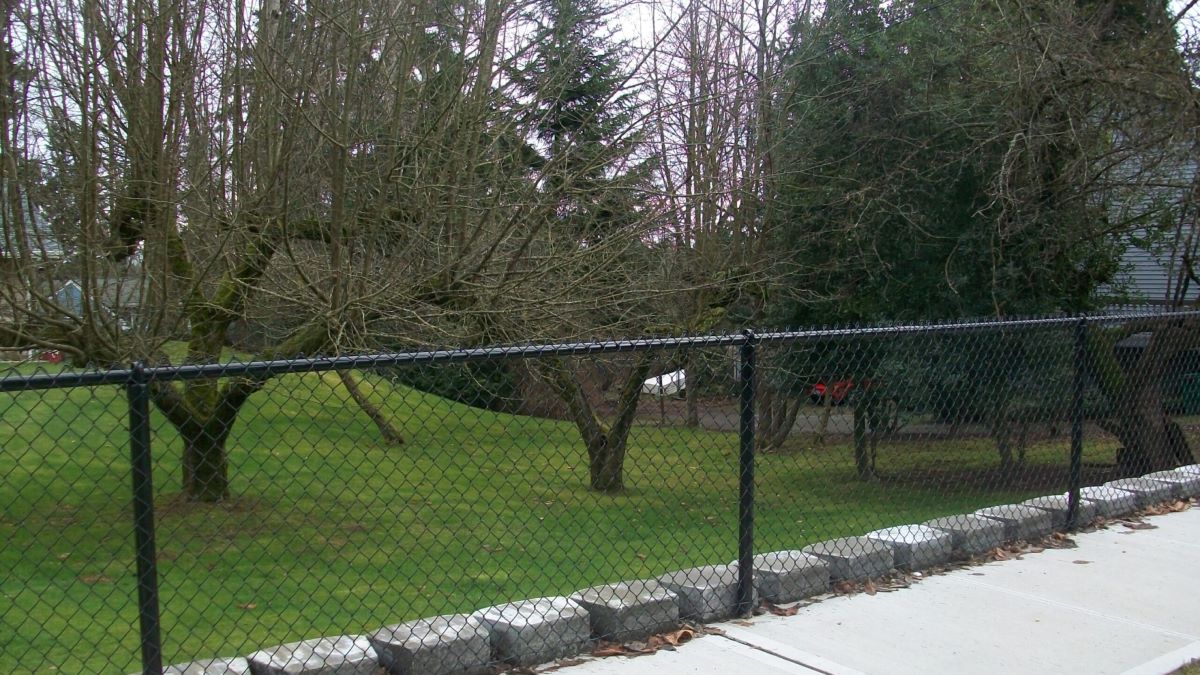
Chain link fences are popular for their affordability, durability, and versatility. However, over time, they may suffer from wear and tear, resulting in broken sections, loose posts, or misalignment. Thankfully, with the right tools and a little know-how, you can easily fix these issues and restore the functionality and appearance of your chain link fence.
In this article, we will guide you through the steps of repairing a chain link fence. From assessing the damage to securing loose fasteners, we will cover each aspect to help you fix your fence effectively. Whether you are a DIY enthusiast or looking to save some money on professional repairs, this guide will provide you with the necessary information to get the job done.
Please note that the extent of the damage and the complexity of the repair may vary. It is essential to assess the condition of your fence and determine if you can handle the repairs yourself or if you need to seek professional assistance.
Before we dive into the repair process, let’s talk about the tools and materials you will need.
Key Takeaways:
- Repairing a chain link fence is a manageable DIY project with the right tools and guidance. From assessing damage to adding tension wire, each step contributes to a sturdy, visually appealing fence.
- Regular maintenance and inspections are crucial for extending the lifespan of a chain link fence. By addressing issues promptly and proactively, you can enjoy a durable and well-maintained fence for years to come.
Read more: How To Stretch A Chain Link Fence
Step 1: Gather the Necessary Tools and Materials
Before you begin repairing your chain link fence, it’s important to gather all the tools and materials you will need. Having everything prepared in advance will streamline the repair process and ensure that you have what you need at your fingertips.
Here is a list of the essential tools and materials:
- Work gloves: Protect your hands from cuts and scratches while handling the fence materials.
- Safety glasses: Wear protective eyewear to shield your eyes from debris or flying particles.
- Tape measure: Measure the dimensions of the fence sections accurately.
- Level: Ensure that the fence is straight and level during the repair process.
- Pliers: Use pliers to remove or tighten fence links and fasteners.
- Wire cutters: Cut the fence fabric and tension wire, if necessary.
- Hammer: Use a hammer to drive in or remove fence posts.
- Post hole digger: Dig holes for new fence posts, if needed.
- Concrete mix: Use concrete to secure fence posts into the ground.
- Fence fabric: Purchase additional fence fabric to replace damaged sections.
- Tension wire: If desired, add tension wire to reinforce the fence.
- Fasteners: Gather screws, bolts, and nuts for securing fence parts together.
- Post caps: Install post caps to protect the tops of fence posts.
Make sure to check your fence manufacturer’s guidelines or consult with a professional to ensure that you have the correct tools and materials for your specific chain link fence.
Once you have gathered all the necessary tools and materials, you are ready to move on to step two: assessing the damage.
Step 2: Assess the Damage
Before jumping into the repair process, it’s crucial to thoroughly assess the damage to your chain link fence. This step will help you identify the areas that need attention and determine the extent of the repairs required.
Here are some key points to consider when assessing the damage:
- Inspect the entire length of the fence: Walk along the fence line and closely examine each section for any signs of damage. Look for broken or missing sections, bent posts or rails, loose fasteners, or overall misalignment.
- Pay attention to the tension of the fence fabric: Check if the fence fabric is sagging or if it’s overly tensioned. Proper tension is crucial for both the functionality and appearance of the fence.
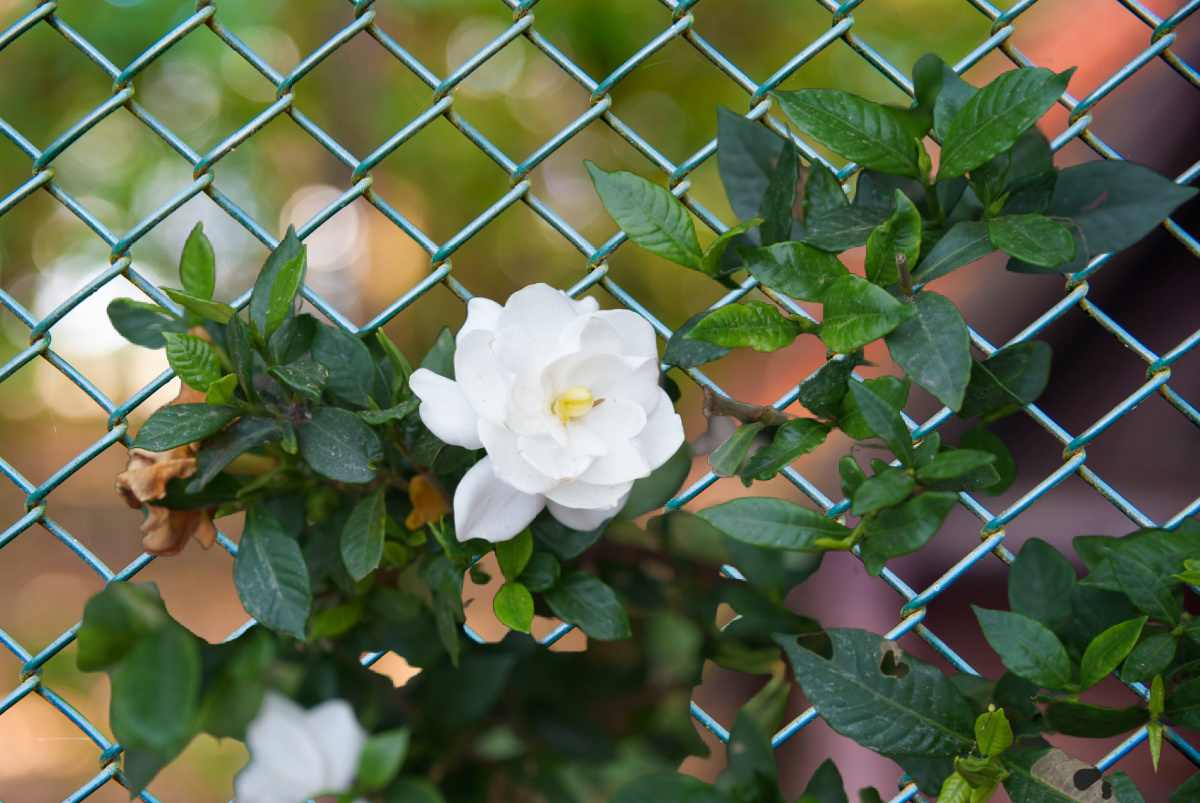
- Take note of any areas affected by vegetation: If you have plants or trees growing near the fence, observe if any roots have damaged the fence structure or if any overgrowth is causing issues.
- Consider environmental factors: Evaluate if weather conditions, such as strong winds or heavy rainfall, have contributed to the damage. This information will help you make necessary adjustments to prevent future problems.
By thoroughly assessing your fence, you will be able to prioritize your repairs and understand the scope of work required. This will save you time and energy by focusing on the most critical areas.
Once you have assessed the damage, you can move on to step three: repairing or replacing broken sections.
Step 3: Repair or Replace Broken Sections
If you have identified any broken sections during the assessment, it’s essential to address them promptly to ensure the structural integrity of your chain link fence. Depending on the severity of the damage, you may need to repair or replace the broken sections.
Here’s how to repair or replace broken sections of your chain link fence:
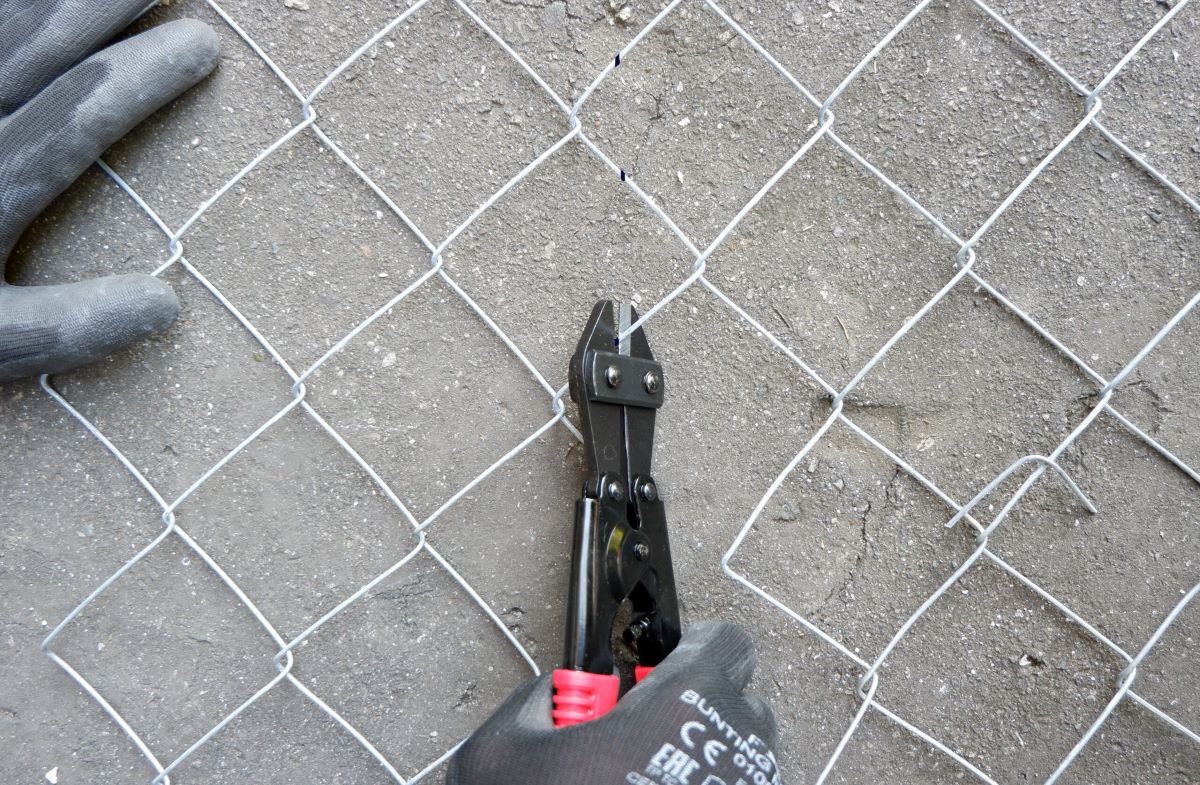
- Cut out the damaged section: Using wire cutters, carefully remove the chain link fabric surrounding the damaged area. Be sure to cut the wires connecting the fabric to the fence posts.
- Remove any remaining hardware: If there are any fasteners or brackets holding the damaged section, use pliers to remove them. Clean the area to ensure a proper fit for the replacement section.
- Install a new section of chain link fabric: Measure the length and height needed for the replacement section and cut the chain link fabric accordingly. Attach the fabric to the fence posts using fasteners or brackets, ensuring a secure connection.
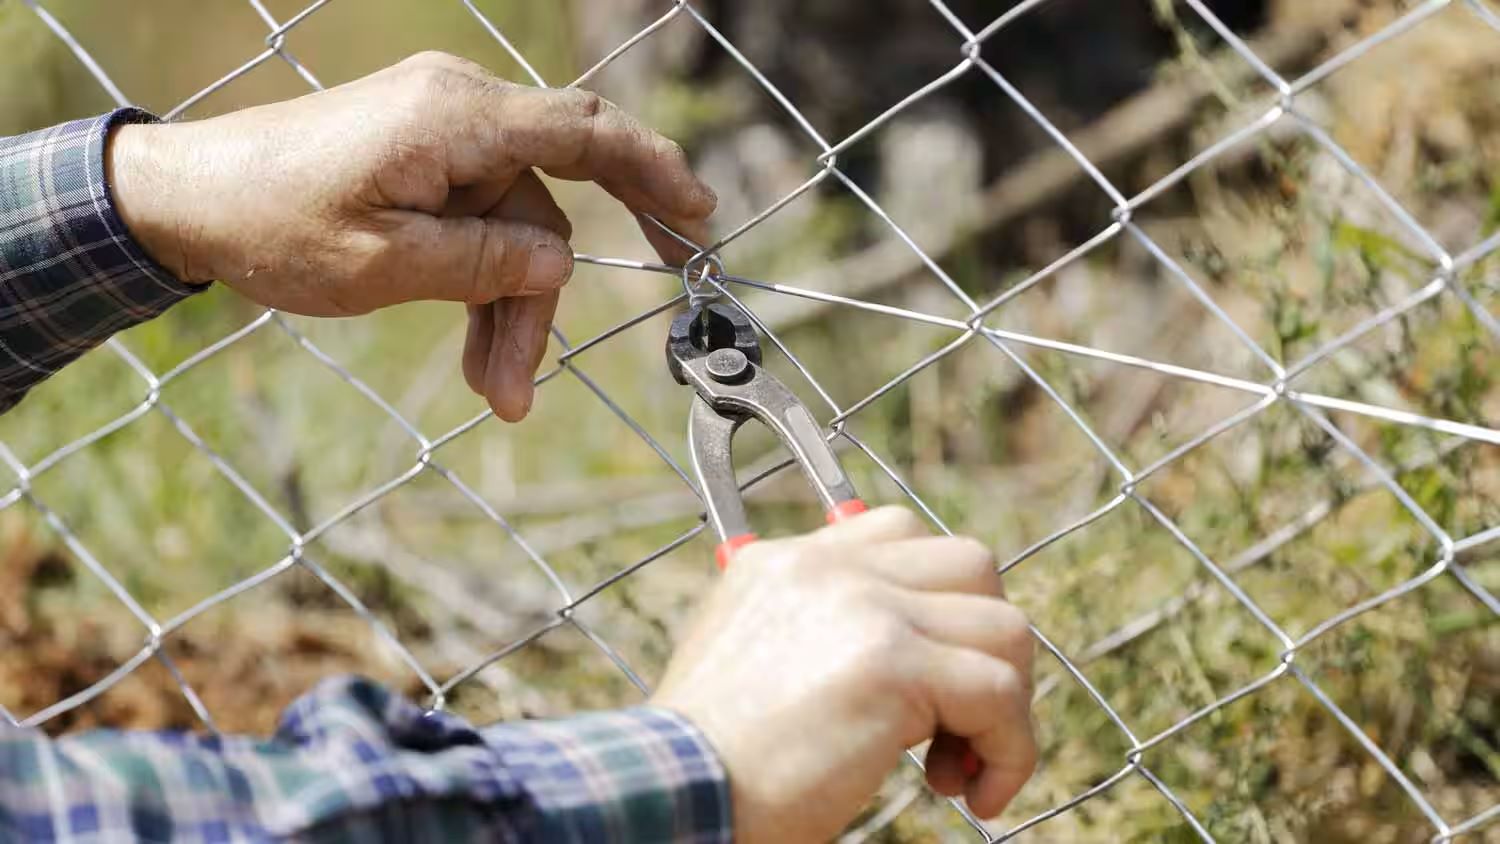
- Secure the new section: Use pliers to bend the fence links on the top and bottom of the replacement section at a 90-degree angle. This will secure the fabric and prevent it from shifting or coming loose.
- Inspect the nearby sections: While you’re repairing the broken section, take the opportunity to inspect the adjacent sections. Ensure that they are securely fastened and make any necessary adjustments or repairs.
If the damage is extensive or if you are unsure about performing the repairs yourself, it is recommended to consult a fence repair professional. They will have the expertise and tools to handle more complex repairs and ensure the longevity of your chain link fence.
Once you have addressed the broken sections, move on to step four: straightening bent posts or rails.
Step 4: Straighten Bent Posts or Rails
Bent posts or rails can compromise the stability and appearance of your chain link fence. It’s important to straighten them to restore the structural integrity and ensure that your fence remains securely in place.
Here’s how to straighten bent posts or rails:
- Assess the bent posts or rails: Identify the sections that are visibly bent or leaning. Determine if the damage is minor and can be easily straightened or if the posts/rails need to be replaced.
- Support the post or rail: For bent posts, use wooden blocks or braces to stabilize the section that needs to be straightened. This will provide support and prevent further shifting during the repair process.
- Apply even pressure: Gently push or pull the bent post or rail in the opposite direction of the bend. Apply steady pressure using your body weight or a lever until the post or rail returns to its original position.
- Check for stability: Once you have straightened the post or rail, assess its stability by giving it a slight wiggle. If it feels secure, you have successfully straightened it.
- Reinforce if necessary: If the bent post or rail is still unstable or cannot be straightened adequately, it may need additional support. Consider installing braces or reinforcing the section with additional posts or rails for added strength.
It’s important to note that significant damage to posts or rails may require replacement. If you find that straightening is not achieving the desired result, consult a professional to ensure the proper repair or replacement of these components.
After straightening the bent posts or rails, move on to step five: adjusting tension and alignment.
Read more: How To Cover A Chain Link Fence
Step 5: Adjust Tension and Alignment
Proper tension and alignment are crucial for maintaining the stability and appearance of your chain link fence. Over time, the fence fabric may become loose or sag, requiring adjustments to ensure that it is taut and aligned correctly.
Here’s how to adjust the tension and alignment of your chain link fence:
- Check the tension wire: If your fence has tension wire, inspect it for any signs of damage or slackness. Tension wire helps reinforce the fence fabric and maintain its stability.
- Tighten the tension wire: Using pliers, tighten the tension wire by twisting it around the fence posts in a clockwise direction. Ensure that the wire is uniformly tight along the entire fence line.
- Inspect the fence fabric: Walk along the fence and visually check for any sagging or loose sections. Properly tensioned fence fabric should be straight and taut.
- Adjust the tension bands: If you notice sagging or loose fabric, adjust the tension bands located on the fence posts. Loosen the bands, pull the fabric taut, and tighten the bands securely to hold the fabric in place.
- Align the fence fabric: As you adjust the tension, make sure that the fence fabric remains aligned with the fence posts. It should run parallel to the ground and maintain a consistent height.
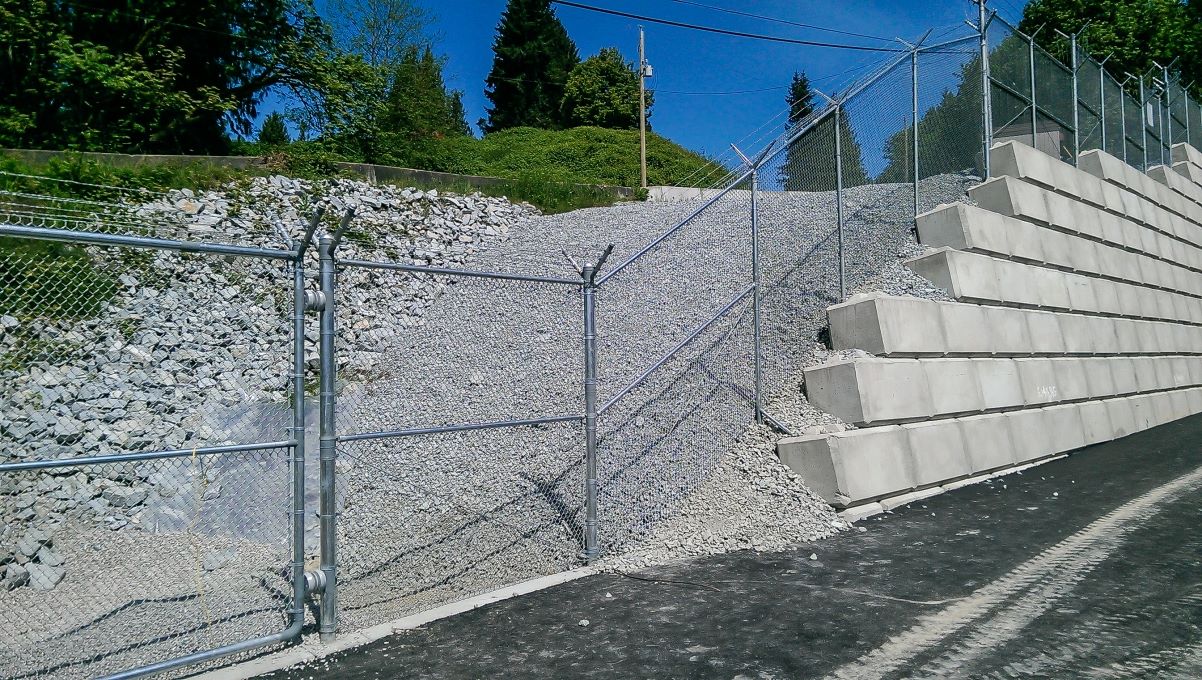
- Reinforce corners and end posts: Pay extra attention to the corners and end posts of your fence. These areas often experience increased tension and may require additional reinforcement to maintain proper alignment and tension.
By adjusting the tension and alignment of your chain link fence, you will enhance its stability and appearance. A properly tensioned fence fabric not only improves security but also adds to the overall aesthetic appeal of your property.
Once you have adjusted the tension and alignment, move on to step six: securing loose or missing fasteners.
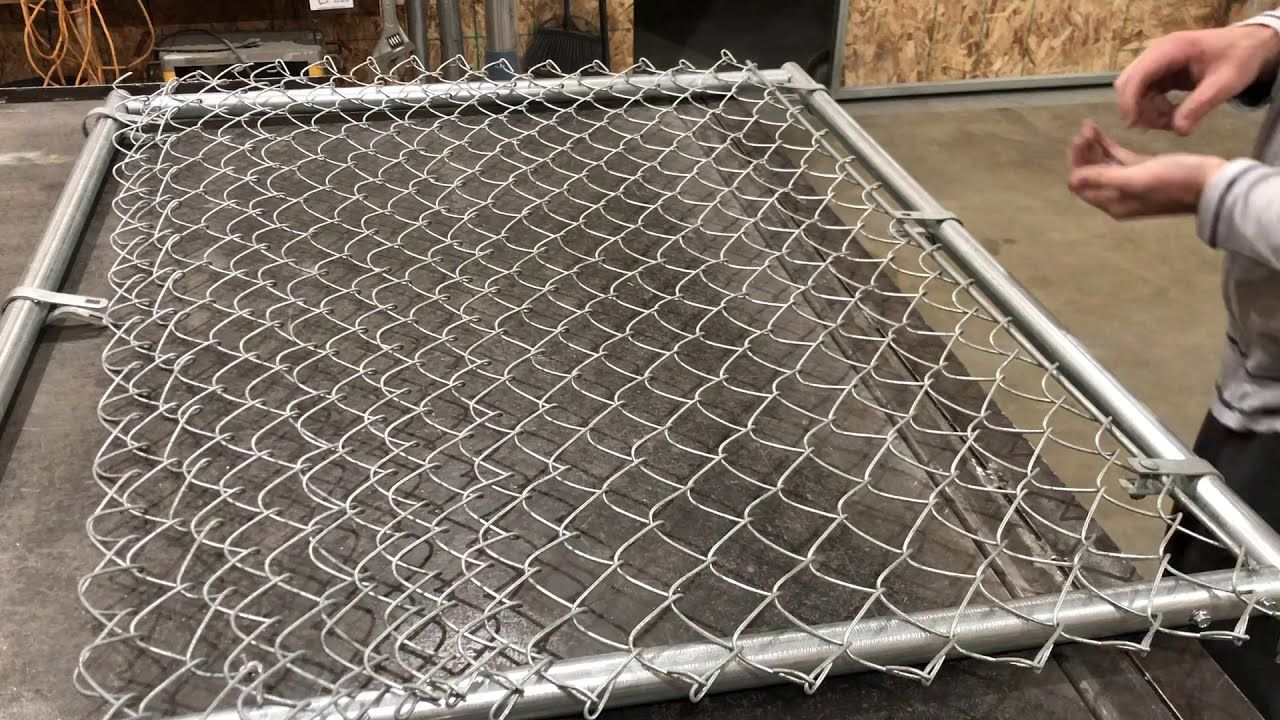
Inspect the fence for damaged or bent parts. Use a fence puller to straighten bent sections and replace any damaged parts. Tighten loose tension bands and adjust the tension wire if needed.
Step 6: Secure Loose or Missing Fasteners
Fasteners play a critical role in keeping your chain link fence intact. Over time, they may become loose or go missing, compromising the stability and security of the fence. Step six focuses on securing any loose or missing fasteners to ensure that your fence remains strong and durable.
Here’s how to secure loose or missing fasteners on your chain link fence:
- Inspect the entire fence: Walk along the fence line and carefully examine the fasteners, such as screws, bolts, and nuts, for any signs of looseness or absence.
- Tighten loose fasteners: Use appropriate tools, such as a screwdriver or wrench, to tighten any loose screws, bolts, or nuts. Ensure that they are securely fastened to the fence posts or rails.
- Replace missing fasteners: If you come across any missing fasteners, replace them with new ones of the same size and type. Make sure to choose fasteners suitable for outdoor use to prevent rust or corrosion.
- Reinforce weak areas: Pay extra attention to the corners, end posts, and areas with higher tension. These areas may require additional fasteners or brackets to provide extra reinforcement and support.
- Regularly check and maintain fasteners: Fasteners can loosen over time due to environmental factors or fence movement. Regularly inspect and tighten them as part of your routine fence maintenance to prevent further issues.
By securing loose or missing fasteners, you ensure the stability and longevity of your chain link fence. Investing time in regularly inspecting and maintaining the fasteners will save you from more significant repairs or replacements in the future.
Once you have secured the fasteners, move on to step seven: adding tension wire (if desired).
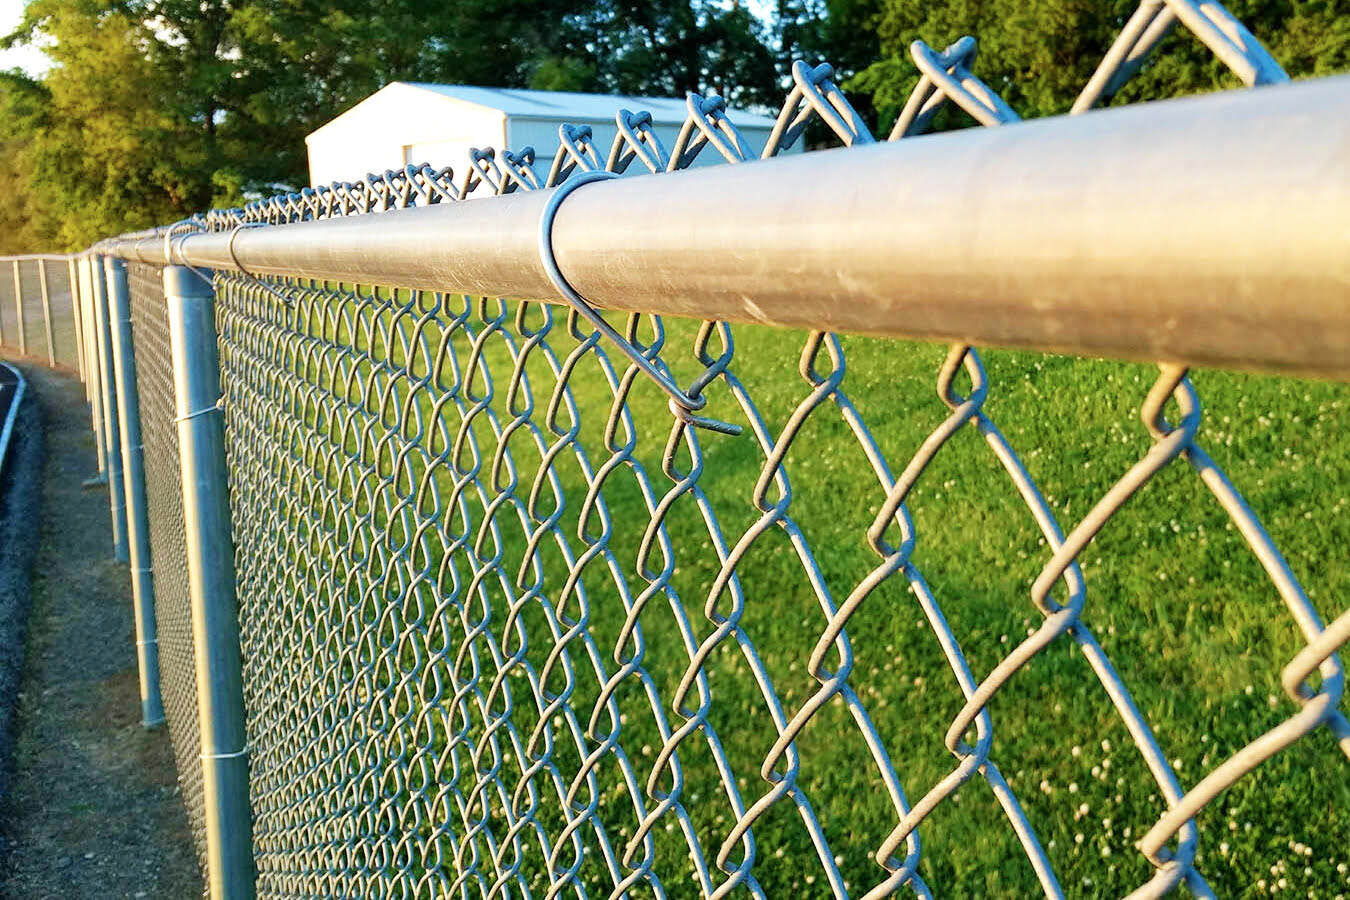
Step 7: Add Tension Wire (if desired)
If you want to reinforce your chain link fence, adding tension wire can provide additional strength and stability. While not necessary for all fences, tension wire can be beneficial, especially in areas prone to high winds or if you have larger fence sections.
Here’s how to add tension wire to your chain link fence:
- Assess the need for tension wire: Determine if your fence would benefit from the added reinforcement of tension wire. This is particularly useful for longer fence sections or areas with high wind exposure.
- Choose the appropriate tension wire: Select a durable and rust-resistant tension wire that is compatible with chain link fences. The wire should be of sufficient thickness and strength to withstand the tension applied.
- Run the tension wire along the bottom of the fence fabric: Start at one end of the fence and loop the tension wire through the first end post. Run the wire tightly along the bottom of the fence fabric, weaving it through the chain link links as needed.
- Secure the tension wire at the other end: Once you have reached the other end of the fence, loop the tension wire through the final end post. Make sure the wire is taut and securely fastened to provide the desired reinforcement.
- Adjust tension as needed: If the tension wire is not sufficiently taut, use pliers to tighten it, ensuring it is uniformly tensioned along the entire fence line. Take care not to over-tension, as this may cause the fence fabric to stretch or distort.
Adding tension wire to your chain link fence can provide added resistance to external pressures and help maintain the shape and strength of the fence. It’s particularly useful in areas with strong winds or where additional security is desired.
Once you have added the tension wire, move on to step eight: reattach or install new fence fabric.
Step 8: Reattach or Install New Fence Fabric
If you have replaced any damaged sections or if you had to remove the fence fabric during the repair process, it’s time to reattach or install new fence fabric. This step will ensure that the fence is complete and functioning optimally.
Here’s how to reattach or install new fence fabric on your chain link fence:
- Prepare the fence fabric: If you removed the fence fabric, unroll it and lay it out in a straight line. Make sure the fabric is the correct size and properly aligned with the fence posts.
- Attach the fence fabric to the posts: Starting from one end, weave the fence fabric through the chain link links of the fence posts. Ensure that the fabric is centered in the fence and the top and bottom edges line up with the desired height.
- Secure the fabric to the posts: Use fasteners, such as hog rings or tie wires, to secure the fence fabric to the fence posts. Attach the fasteners to the top, middle, and bottom of each post for optimal stability.
- Ensure proper tension: As you attach the fabric, ensure that it is evenly tensioned and free from any sagging or bulging. Adjust the tension as needed, using the tension bands and other fasteners to maintain a taut and straight appearance.
- Inspect the entire fence fabric: Once you have attached the fabric, inspect the entire fence to ensure that it is securely fastened and properly aligned. Make any necessary adjustments to achieve the desired appearance.
By reattaching or installing new fence fabric, you ensure that your chain link fence is fully functional and visually appealing. Take your time during this step to ensure a proper and secure attachment for long-lasting performance.
Once you have completed this step, move on to step nine: finish with post caps and top rail.
Read more: How Tall Is A Chain Link Fence
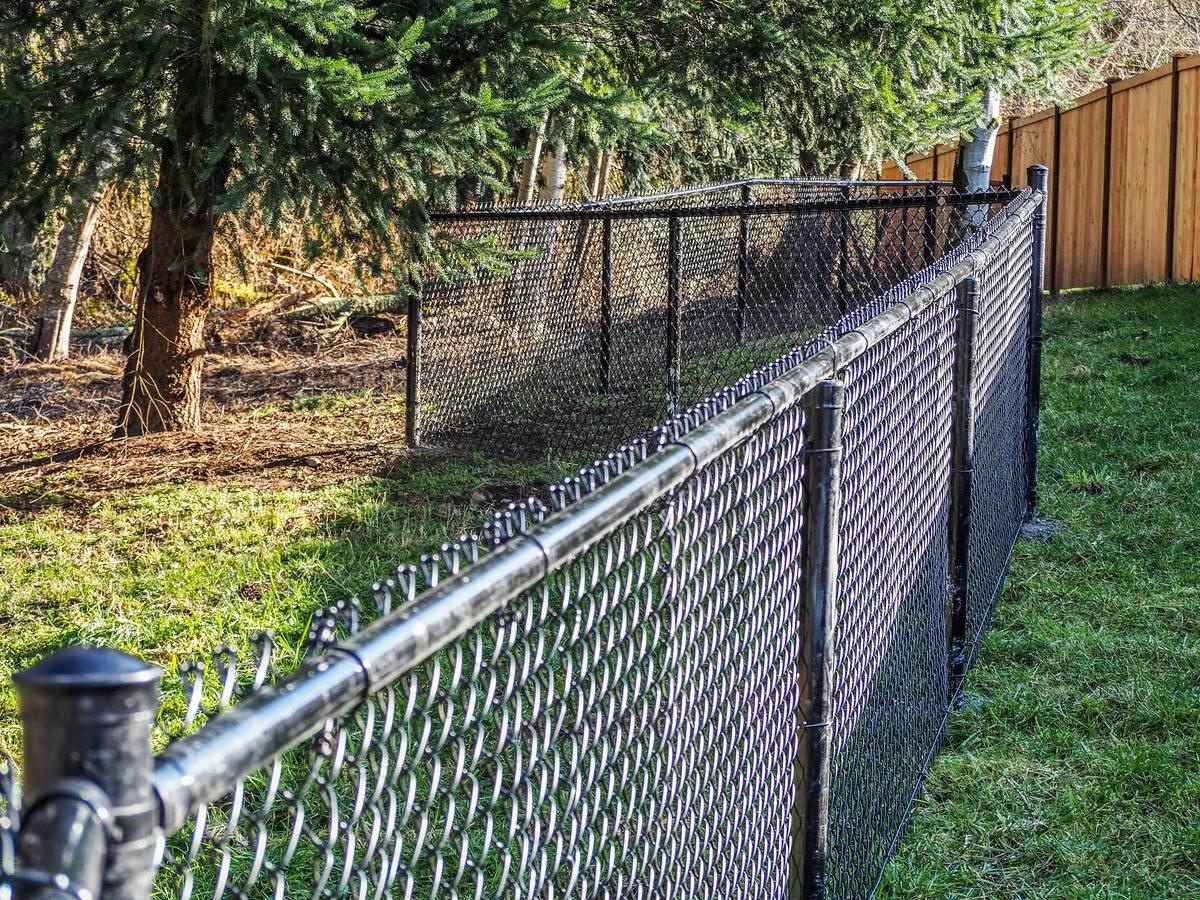
Step 9: Finish with Post Caps and Top Rail
Adding post caps and a top rail to your chain link fence not only serves as a finishing touch but also provides added protection and aesthetic appeal. These components enhance the overall look and functionality of your fence.
Here’s how to finish your chain link fence with post caps and a top rail:
- Select the post caps: Choose post caps that are suitable for your fence posts and align with your desired style. There are various options available, including pyramid-shaped caps, ball caps, or decorative designs.
- Attach the post caps: Place the chosen post caps on the top of each fence post and secure them. Most post caps can be attached by sliding them onto the post or by using screws or adhesive, depending on the design.
- Measure and cut the top rail: Determine the length you need for the top rail and trim it accordingly. Make sure to account for any additional length needed to fit inside the end post fittings.
- Install the top rail: Slide the top rail through the end post fittings on one side of the fence and then through the fittings on the other side. Ensure that the rail is level and securely connected to the fittings, providing stability and a clean finish.
- Inspect and make adjustments: Once the post caps and top rail are in place, inspect the fence to ensure everything is properly aligned and securely attached. Make any necessary adjustments or tightenings to ensure the fence’s stability.
Post caps and a top rail add a polished and professional look to your chain link fence. Additionally, they prevent water from accumulating inside the fence posts, helping to prolong the lifespan of the fence.
With post caps and a top rail installed, you are almost done with the repair process. Move on to step ten: maintain and regularly inspect the fence for optimal performance.
Step 10: Maintain and Regularly Inspect the Fence
Maintaining and regularly inspecting your chain link fence is essential for ensuring its long-term durability and functionality. By following a proper maintenance routine, you can identify and address any potential issues before they escalate into more significant problems.
Here’s how to maintain and regularly inspect your chain link fence:
- Clean the fence: Periodically clean your chain link fence using a mild detergent and water. This will help remove dirt, debris, and any built-up grime. Rinse thoroughly with clean water to prevent residue from accumulating.
- Trim vegetation: Keep plants, trees, and vines trimmed away from the fence to prevent them from causing damage or putting excessive pressure on the structure. Overgrown vegetation can push against the fence, leading to loosened posts or damaged fabric.
- Check for signs of damage: Regularly inspect the entire fence for any signs of damage, such as bent posts, broken sections, or loose fasteners. Address any issues promptly to prevent further deterioration and maintain the fence’s integrity.
- Adjust tension and alignment: Periodically check the tension and alignment of the fence fabric. Tighten any loose tension wire, adjust tension bands, and ensure the fence fabric remains straight and taut. This will enhance the fence’s appearance and stability.
- Inspect for rust or corrosion: Examine the fence for any signs of rust or corrosion, particularly in areas with exposed metal. If you notice any rust, clean the affected area and apply a rust-resistant paint or coating to prevent further deterioration.
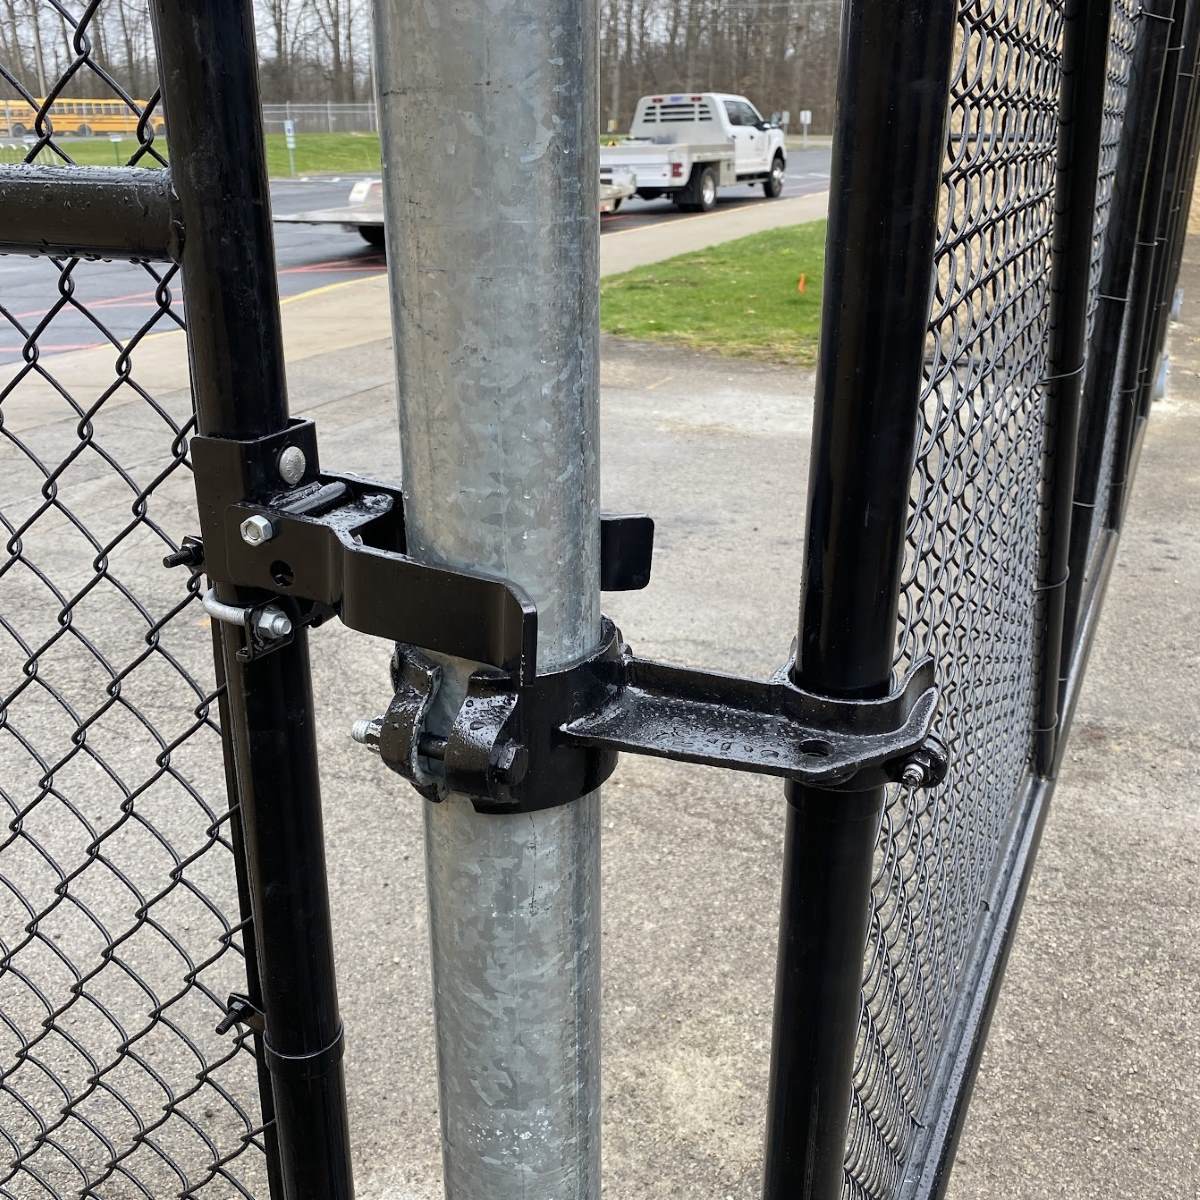
- Regularly maintain gate hardware: If your chain link fence has gate(s), regularly inspect and maintain the gate hardware, including hinges, latches, and locks. Lubricate moving parts as needed to ensure smooth operation.
By implementing a regular maintenance routine and conducting inspections, you can proactively address any potential issues and extend the lifespan of your chain link fence. Regular maintenance will also help keep the fence looking clean, attractive, and well-maintained.
Congratulations! You have successfully completed all ten steps to repair and maintain your chain link fence. By following these guidelines, you can enjoy a sturdy, functional, and visually pleasing fence for years to come.
Remember, if you ever encounter significant damage or complex issues beyond your expertise, it is advisable to seek professional assistance to ensure proper repairs.
Now go ahead and enjoy your fully restored chain link fence!
Conclusion
Repairing a chain link fence may seem like a daunting task, but with the right tools, materials, and guidance, it can be accomplished effectively and efficiently. By following the ten steps outlined in this article, you can restore the functionality and appearance of your fence, ensuring its durability for years to come.
From gathering the necessary tools and materials to maintaining and regularly inspecting the fence, each step is crucial in the repair and upkeep process. Assessing the damage, repairing or replacing broken sections, straightening bent posts or rails, and adjusting tension and alignment are vital components that contribute to the fence’s stability and strength.
Securing loose or missing fasteners, adding tension wire if desired, and reattaching or installing new fence fabric help reinforce the fence’s structure and aesthetics. Finishing touches such as post caps and a top rail not only provide added protection but also enhance the overall look of the fence.
Maintaining and regularly inspecting the fence is the key to its long-term performance. By keeping the fence clean, trimming vegetation, checking for signs of damage or rust, and ensuring proper tension and alignment, you can prevent issues from escalating and extend the lifespan of your chain link fence.
Remember, if the damage is extensive or if you are unsure about performing the repairs yourself, it is always beneficial to consult a professional. They have the knowledge, expertise, and experience to handle complex repairs and ensure the fence’s structural integrity.
With these steps in mind, you are equipped to tackle the repair and maintenance process for your chain link fence. By investing time and effort into its care, you can enjoy a sturdy, functional, and visually appealing fence for years to come.
So, roll up your sleeves, gather your tools, and get started on breathing new life into your chain link fence!
Frequently Asked Questions about How To Fix Chain Link Fence
Was this page helpful?
At Storables.com, we guarantee accurate and reliable information. Our content, validated by Expert Board Contributors, is crafted following stringent Editorial Policies. We're committed to providing you with well-researched, expert-backed insights for all your informational needs.

0 thoughts on “How To Fix Chain Link Fence”