Home>Technology>Security & Surveillance>How To Remove Yale Door Lock

Security & Surveillance
How To Remove Yale Door Lock
Modified: August 17, 2024
Learn how to remove a Yale door lock to enhance your security and surveillance. Follow our step-by-step guide for a hassle-free process. Unlock the potential of your home security today!
(Many of the links in this article redirect to a specific reviewed product. Your purchase of these products through affiliate links helps to generate commission for Storables.com, at no extra cost. Learn more)
Introduction
Welcome to our guide on removing a Yale door lock. Whether you’re upgrading to a new lock or simply need to replace a malfunctioning one, knowing how to remove a Yale door lock is a valuable skill. Yale locks are renowned for their quality and reliability, but like any hardware, they may need to be replaced over time. By following the steps outlined in this guide, you can confidently remove your Yale door lock and, if needed, install a new one.
Before we dive into the process, it’s essential to gather the necessary tools and materials. Having everything at hand will streamline the removal process and ensure a smooth transition to a new lock, if required.
Key Takeaways:
- Removing a Yale door lock requires basic tools like screwdrivers and a methodical approach. Carefully inspect the lock, handle components delicately, and consider professional help if needed for a smooth removal process.
- If you’re installing a new lock, choose one that meets your security needs and test its functionality after installation. Prepare the door, handle components with care, and ensure the new lock aligns with your preferences.
Read more: How To Open A Yale Door Lock
Tools and Materials Needed
Before beginning the process of removing a Yale door lock, it’s important to gather the essential tools and materials. Here’s what you’ll need:
- Phillips head screwdriver
- Flat head screwdriver
- Replacement lock (if installing a new one)
- Allen wrench (if applicable to your Yale lock model)
- Lubricant (such as WD-40)
- Clean cloth
- Optional: New strike plate (if the existing one is damaged or needs replacement)
Having these tools and materials readily available will ensure a smooth and efficient removal process. Now that you have everything you need, let’s move on to the step-by-step process of removing your Yale door lock.
Step 1: Prepare the Door
Before you begin the process of removing the Yale door lock, it’s important to prepare the door and the surrounding area. Here’s what you need to do:
- Gather Your Tools: Ensure that you have all the necessary tools and materials listed in the previous section. Having everything within reach will make the process more efficient.
- Secure the Area: If the door is accessible from the outside, consider placing a temporary barricade or informing household members to avoid using the door during the removal process.
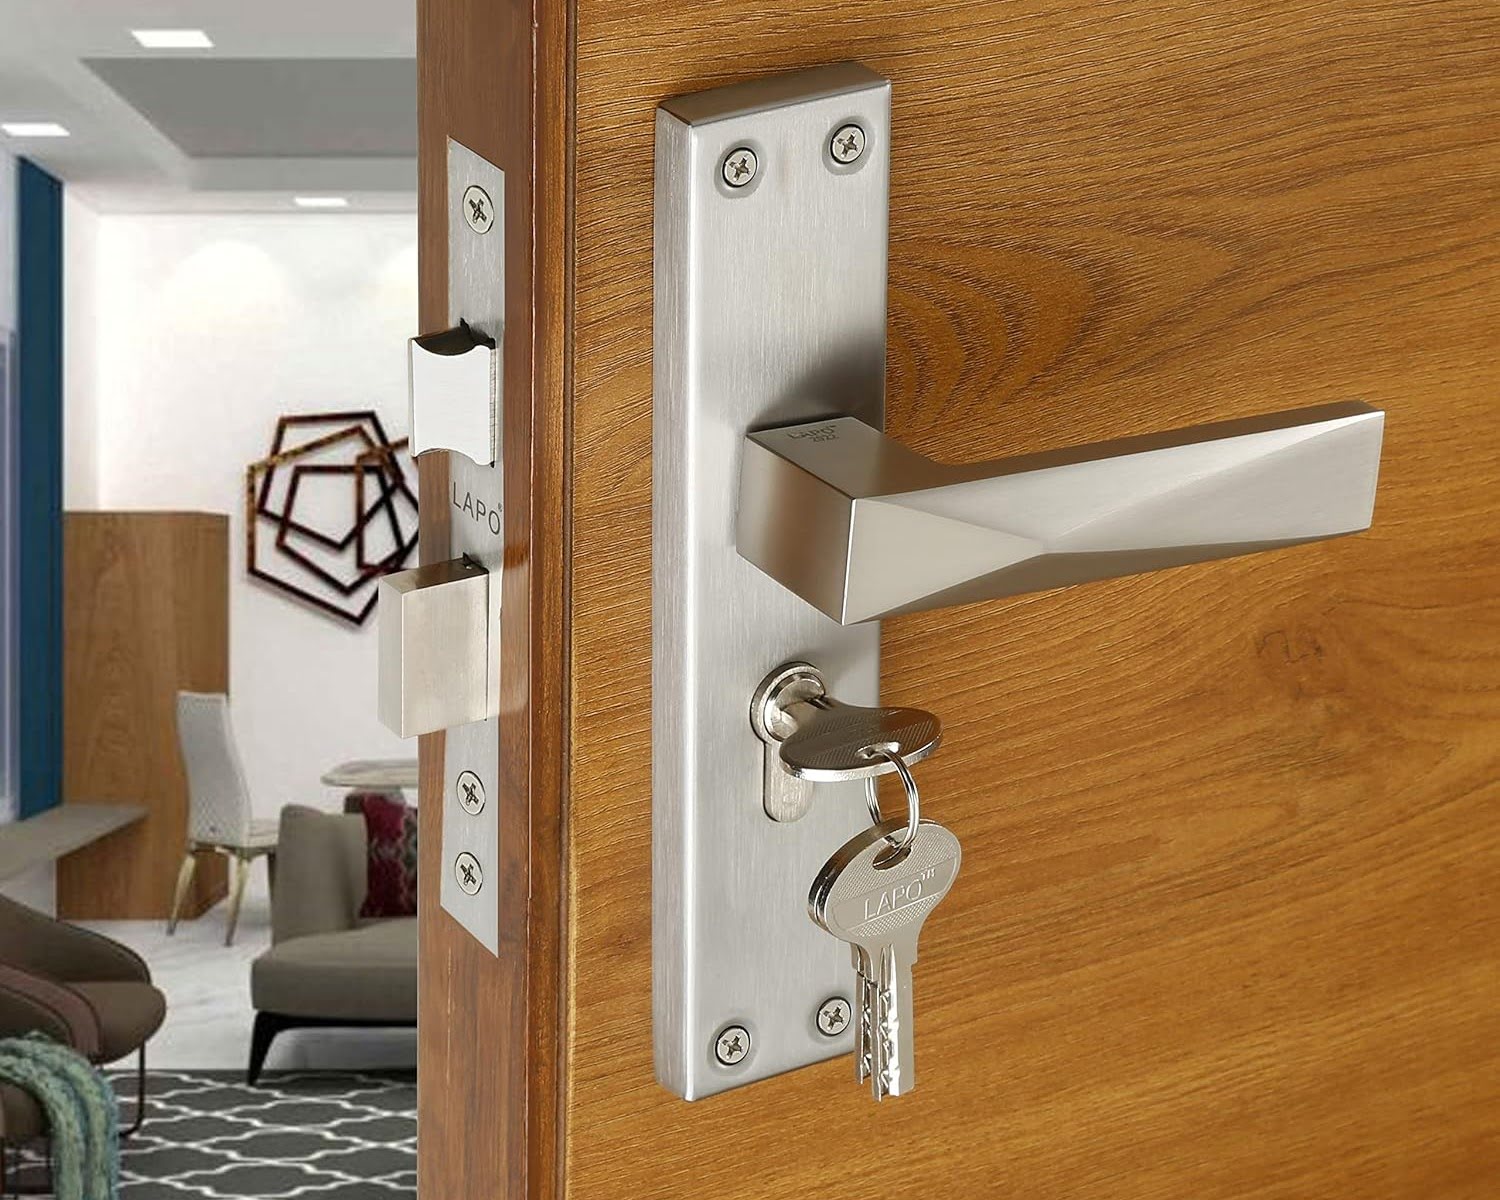
- Inspect the Lock: Take a moment to closely examine the existing lock. Look for any visible damage or signs of wear that may have contributed to its malfunction.
- Clean the Lock: Use a clean cloth to wipe down the lock and its surrounding components. This will help remove any debris or buildup that could impede the removal process.
Once you’ve completed these preparatory steps, you’ll be ready to move on to the next phase of removing the Yale door lock. Taking the time to prepare the door and its components will contribute to a successful and hassle-free removal process.
Step 2: Remove the Exterior Trim
With the door prepared, the next step is to remove the exterior trim surrounding the Yale door lock. This process will provide access to the internal components of the lock. Here’s how to proceed:
- Locate the Screws: Inspect the trim for any visible screws securing it in place. Depending on the lock model, the screws may be located on the interior or exterior side of the trim.
- Unscrew the Trim: Using a suitable screwdriver, carefully remove the screws from the trim. Keep the screws in a safe place, as they will be needed when reassembling the lock or installing a new one.
- Detach the Trim: Once the screws are removed, gently detach the exterior trim from the door. Take care not to force or damage the trim during this process.
- Set Aside the Trim: Place the removed trim in a secure location, away from the work area, to prevent any accidental damage.
With the exterior trim successfully removed, you have now gained access to the inner workings of the Yale door lock. This sets the stage for the subsequent steps in the removal process, bringing you closer to completing the task at hand.
To remove a Yale door lock, start by unscrewing the faceplate and removing the screws holding the lock in place. Then, use a screwdriver to release the latch and pull the lock out of the door.
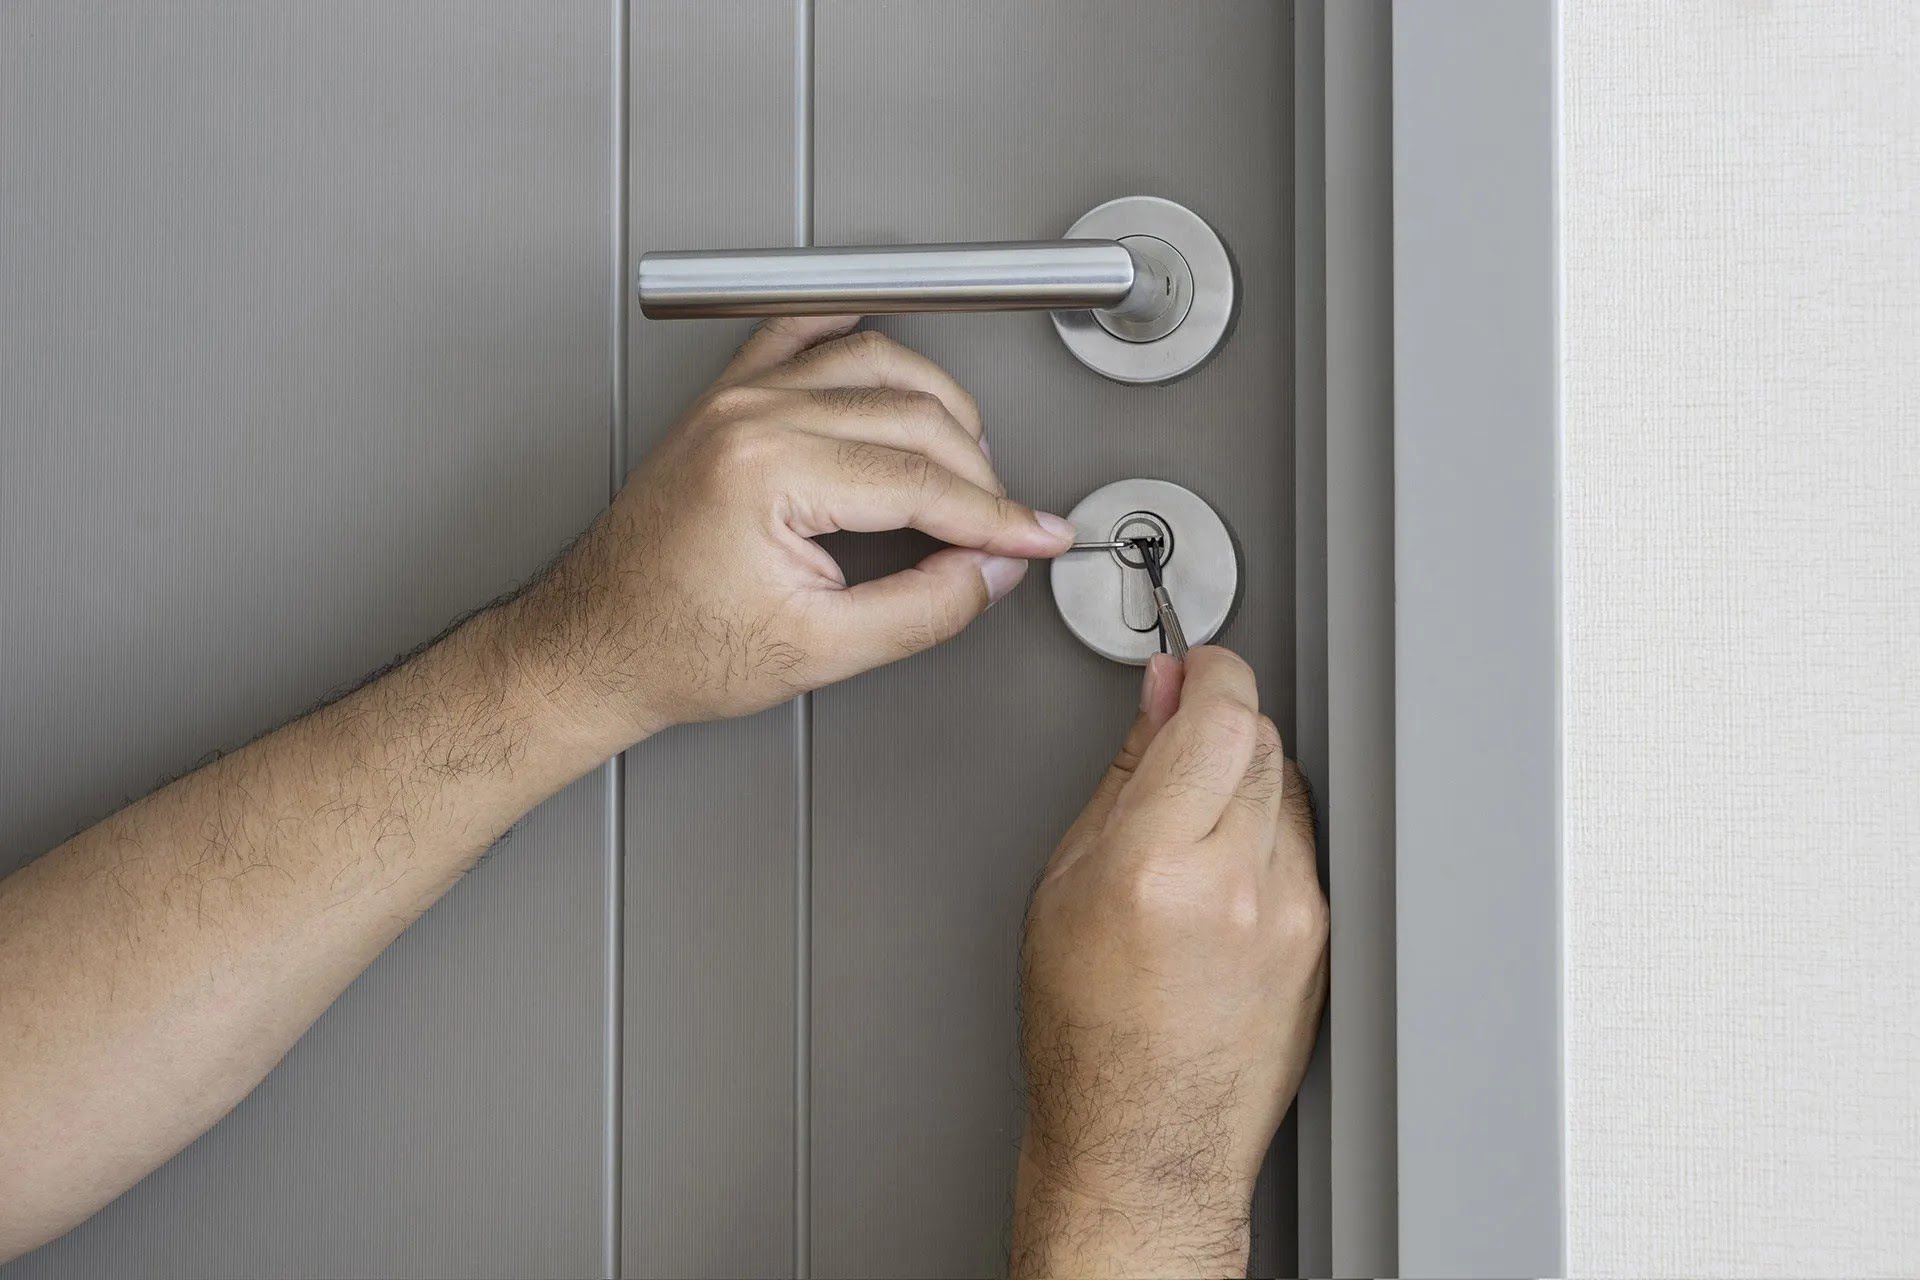
Step 3: Remove the Cylinder Set
Now that the exterior trim has been removed, the next crucial step is to remove the cylinder set from the Yale door lock. The cylinder set houses the keyway and is integral to the lock’s operation. Follow these steps to proceed:
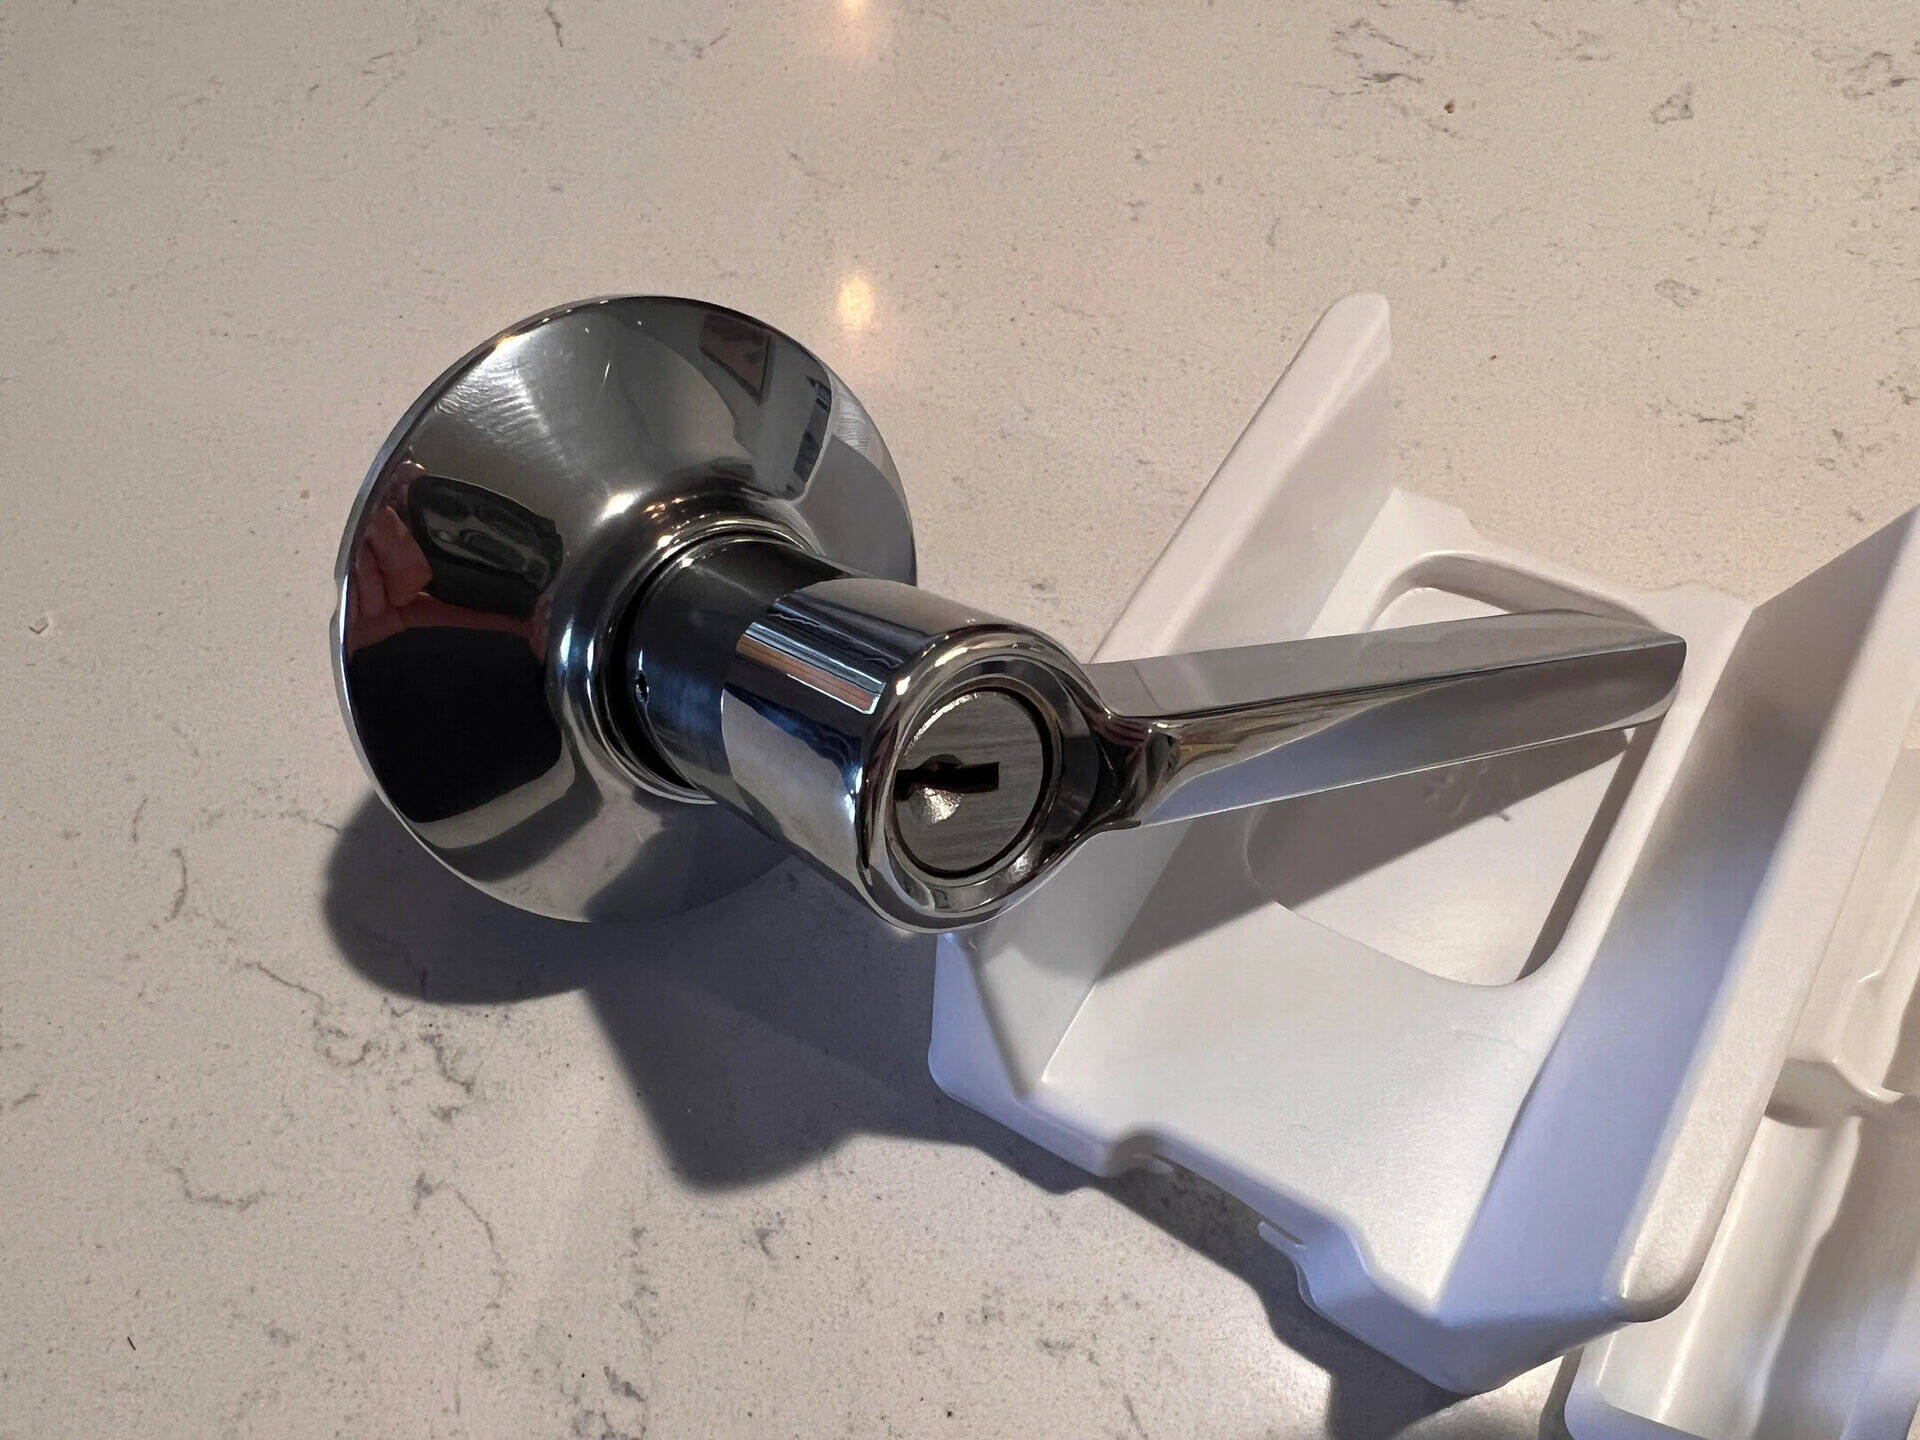
- Identify the Cylinder Set: Locate the cylinder set, which is the component where the key is inserted. Depending on the lock model, there may be visible screws or fasteners securing the cylinder set in place.
- Remove Retaining Screws: If there are retaining screws present, carefully unscrew and remove them using an appropriate screwdriver. Keep the screws in a safe place for reassembly.
- Extract the Cylinder Set: Once the retaining screws are removed, gently extract the cylinder set from the door. Take care to handle it delicately to avoid any damage to the keyway or internal components.
- Set Aside the Cylinder Set: Place the removed cylinder set in a secure location, ensuring it is kept away from any potential hazards or obstructions.
By successfully removing the cylinder set, you have made significant progress in the process of removing the Yale door lock. The next steps will involve addressing the latch assembly, bringing you closer to completing the removal procedure.
Read more: How To Remove A Yale Smart Lock
Step 4: Remove the Latch Assembly
With the cylinder set removed, the next pivotal step is to address the latch assembly of the Yale door lock. The latch assembly is responsible for securing the door and is a fundamental component of the locking mechanism. To proceed with the removal, follow these steps:
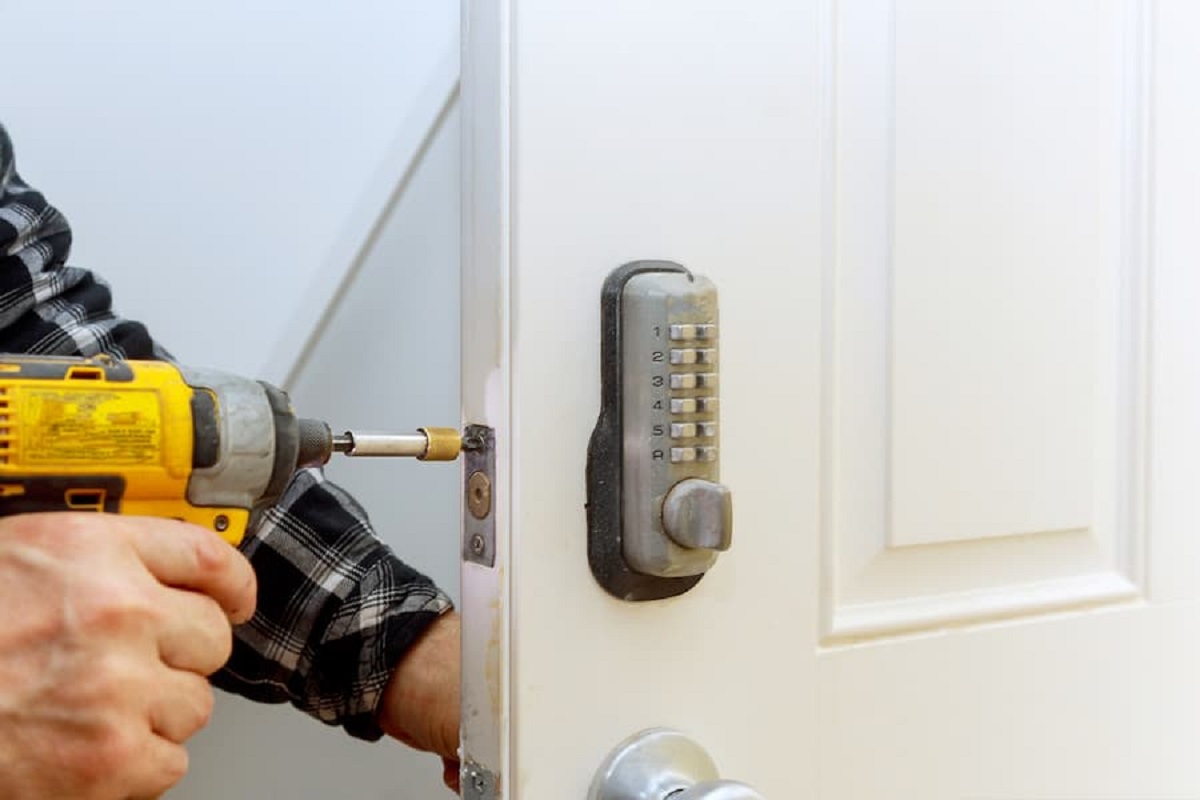
- Locate the Latch Assembly: Identify the location of the latch assembly on the edge of the door. It is typically held in place by screws or mounting plates.
- Remove Mounting Screws: If the latch assembly is secured by mounting screws, carefully unscrew and remove them using a suitable screwdriver. Keep the screws in a secure location for later use.
- Extract the Latch Assembly: Once the mounting screws are removed, gently extract the latch assembly from the edge of the door. Take care to handle it delicately and avoid causing any damage to the surrounding door frame.
- Inspect the Latch: Take a moment to inspect the removed latch assembly for any signs of wear, damage, or debris that may have affected its functionality. Cleaning or replacing the latch assembly may be necessary before reinstallation.
By successfully removing the latch assembly, you have completed a critical phase in the process of removing the Yale door lock. The final step involves optional installation of a new lock, should you choose to upgrade or replace the existing one.
Step 5: Install the New Lock (Optional)
If you’re opting to install a new lock to replace the existing Yale door lock, this step will guide you through the installation process. Installing a new lock provides an opportunity to upgrade to a more advanced model or address any issues with the previous lock. Follow these steps to install the new lock:
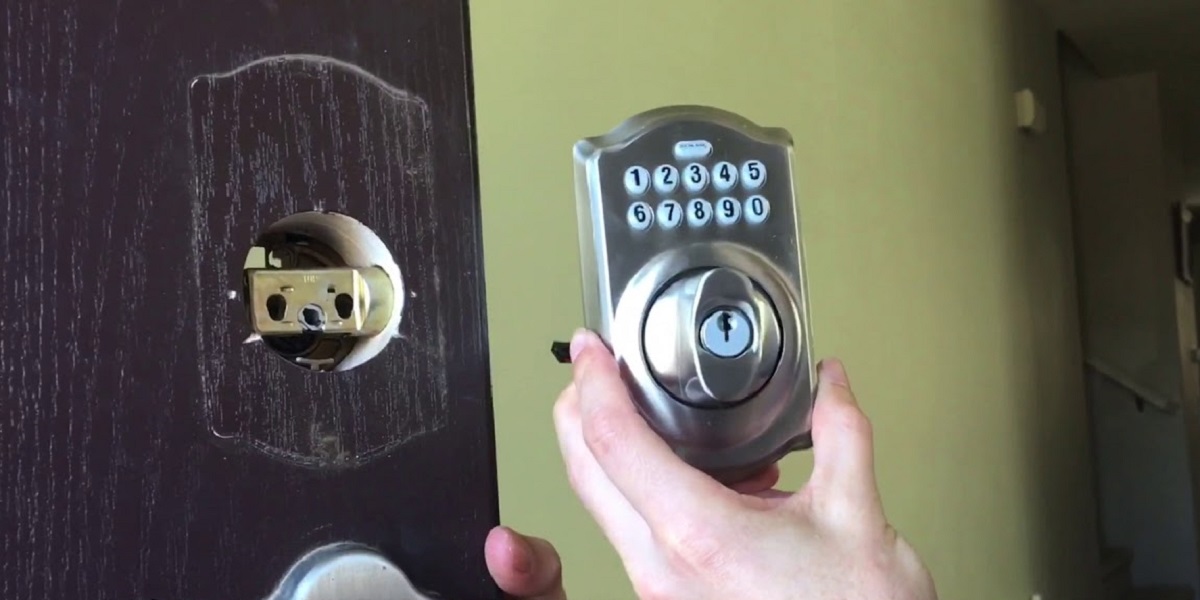
- Select the New Lock: Choose a suitable replacement lock that meets your security and functional requirements. Ensure that it is compatible with the door and aligns with your preferences.
- Prepare the Door: If the door requires any adjustments or modifications to accommodate the new lock, such as additional boring or resizing, attend to these tasks before proceeding with the installation.
- Position the New Lock: Align the new lock with the designated area on the door, ensuring that it fits securely and functions smoothly.
- Secure the Lock in Place: If the new lock includes mounting screws or fasteners, use the provided hardware to secure it firmly to the door. Follow the manufacturer’s guidelines for proper installation.
- Test the New Lock: Once the new lock is installed, test its functionality to ensure that it operates smoothly and securely. Verify that the key turns smoothly, the latch engages properly, and the lock provides the desired level of security.
By following these steps, you can successfully install a new lock to replace the previous Yale door lock. Whether you’re upgrading for enhanced security or addressing a malfunctioning lock, installing a new lock can provide peace of mind and improved functionality for your door.
Conclusion
Removing a Yale door lock is a manageable task that can be accomplished with the right tools, attention to detail, and a methodical approach. By following the step-by-step process outlined in this guide, you can confidently remove the existing lock and, if necessary, install a new one to meet your security needs.
Throughout the removal process, it’s essential to handle the components with care, inspect for any signs of wear or damage, and ensure that the new lock, if installed, aligns with your security preferences. Additionally, taking the time to prepare the door and gather the necessary tools and materials will contribute to a smooth and efficient removal process.
Whether you’re replacing a malfunctioning lock, upgrading to a more advanced model, or simply maintaining your door’s security, knowing how to remove a Yale door lock empowers you to address your security needs effectively.
Remember, if you encounter any challenges during the removal process or if you’re uncertain about any step, don’t hesitate to seek professional assistance. Your door’s security is a critical aspect of your home, and ensuring that the lock is properly installed and functioning optimally is paramount.
By following the guidelines in this article, you can navigate the process of removing a Yale door lock with confidence and precision, contributing to the overall security and functionality of your door.
Now that you’ve mastered removing a Yale door lock, why not delve deeper into securing your residence? Our next article discusses why robust home security systems are vital. Protecting your personal space from intruders should always be a top priority, and we've laid out compelling reasons that will convince you of the need for effective security measures. Don't leave safety to chance; make sure your sanctuary is as secure as possible.
Frequently Asked Questions about How To Remove Yale Door Lock
Was this page helpful?
At Storables.com, we guarantee accurate and reliable information. Our content, validated by Expert Board Contributors, is crafted following stringent Editorial Policies. We're committed to providing you with well-researched, expert-backed insights for all your informational needs.


0 thoughts on “How To Remove Yale Door Lock”