Home>Technology>Smart Home Devices>How To Add Epson Printer To Laptop
Smart Home Devices
How To Add Epson Printer To Laptop
Modified: August 28, 2024
Learn how to easily add your Epson printer to your laptop and start printing wirelessly. Simplify your smart home setup with our step-by-step guide.
(Many of the links in this article redirect to a specific reviewed product. Your purchase of these products through affiliate links helps to generate commission for Storables.com, at no extra cost. Learn more)
Introduction
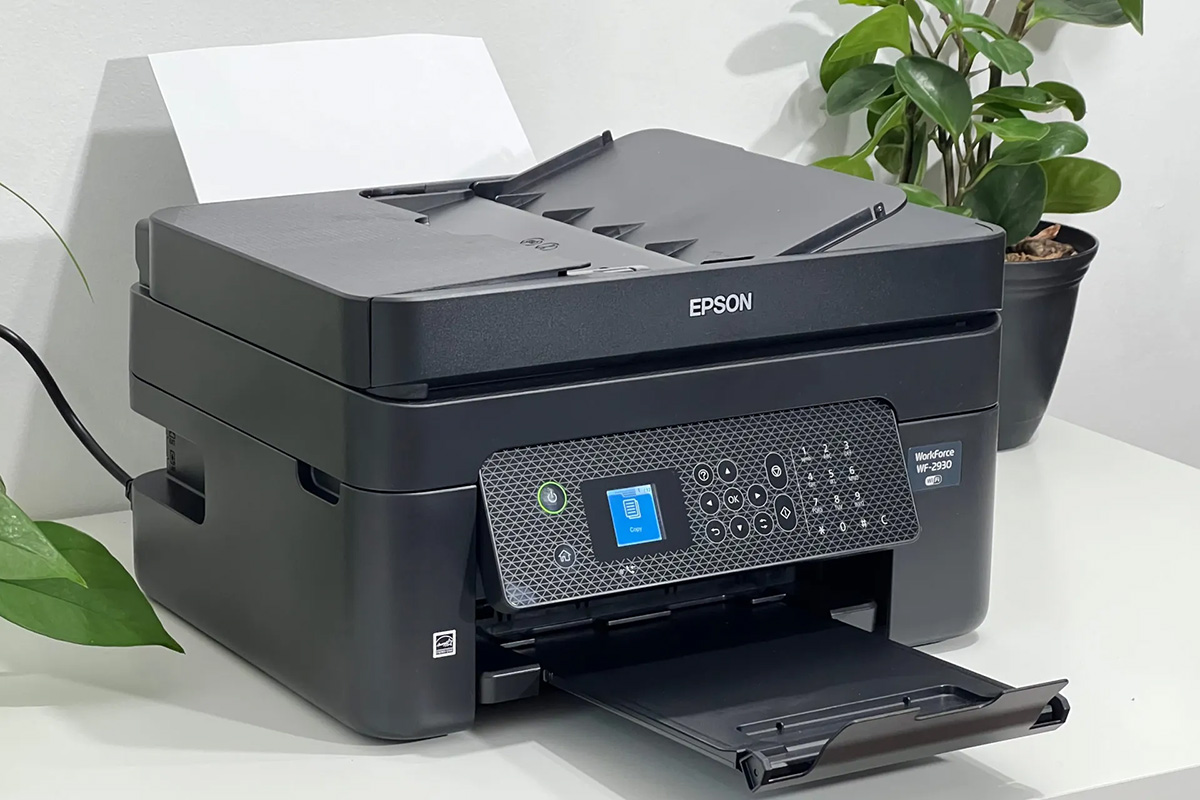
Welcome to the world of smart home devices, where convenience meets innovation. As technology continues to evolve, the integration of smart home devices into our daily lives has become increasingly prevalent. One such essential device is the Epson printer, which offers a wide array of features and functionalities to streamline your printing needs. Whether you are a student, a professional, or someone who simply appreciates the convenience of printing from the comfort of your home, adding an Epson printer to your laptop can significantly enhance your productivity and efficiency.
In this comprehensive guide, we will walk you through the step-by-step process of adding an Epson printer to your laptop. From checking compatibility to installing printer drivers and setting up the connection, you will gain valuable insights into seamlessly integrating your Epson printer with your laptop. By the end of this guide, you will be well-equipped to harness the full potential of your Epson printer and enjoy the convenience of wireless printing from your laptop.
Key Takeaways:
- Make sure your laptop and Epson printer are compatible in terms of operating systems and connectivity options before adding the printer. This ensures a smooth integration and prevents connectivity issues.
- After adding your Epson printer to your laptop, customize printer settings and perform a test print to ensure everything is functioning correctly. This allows for a seamless printing experience and optimal use of your printer.
Read more: How To Add Printer To Dell Laptop
Step 1: Check Compatibility
Before embarking on the process of adding your Epson printer to your laptop, it is crucial to ensure that the devices are compatible with each other. Compatibility issues can lead to connectivity problems and hinder the seamless functioning of your printer-laptop setup. To begin, you should verify whether your laptop and Epson printer are compatible in terms of operating systems and connectivity options.
Operating System Compatibility: Start by checking the compatibility of your laptop’s operating system with the Epson printer. Epson provides comprehensive support for various operating systems, including Windows, macOS, and Linux. Ensure that your laptop’s operating system is supported by the specific model of Epson printer you own. This information can typically be found on the official Epson website or in the product documentation.
Connectivity Options: Assess the connectivity options available on both your laptop and Epson printer. Epson printers offer versatile connectivity features, including USB, Wi-Fi, and Bluetooth. Determine the connectivity method that best suits your preferences and ensure that your laptop supports the corresponding connectivity option. For instance, if you prefer wireless printing, confirm that your laptop is equipped with Wi-Fi capabilities and supports wireless printer connections.
By conducting a thorough compatibility check, you can preemptively address any potential issues and proceed with the subsequent steps confidently. Ensuring compatibility between your laptop and Epson printer sets the stage for a smooth and hassle-free integration, allowing you to leverage the full functionality of your printer without encountering connectivity obstacles.
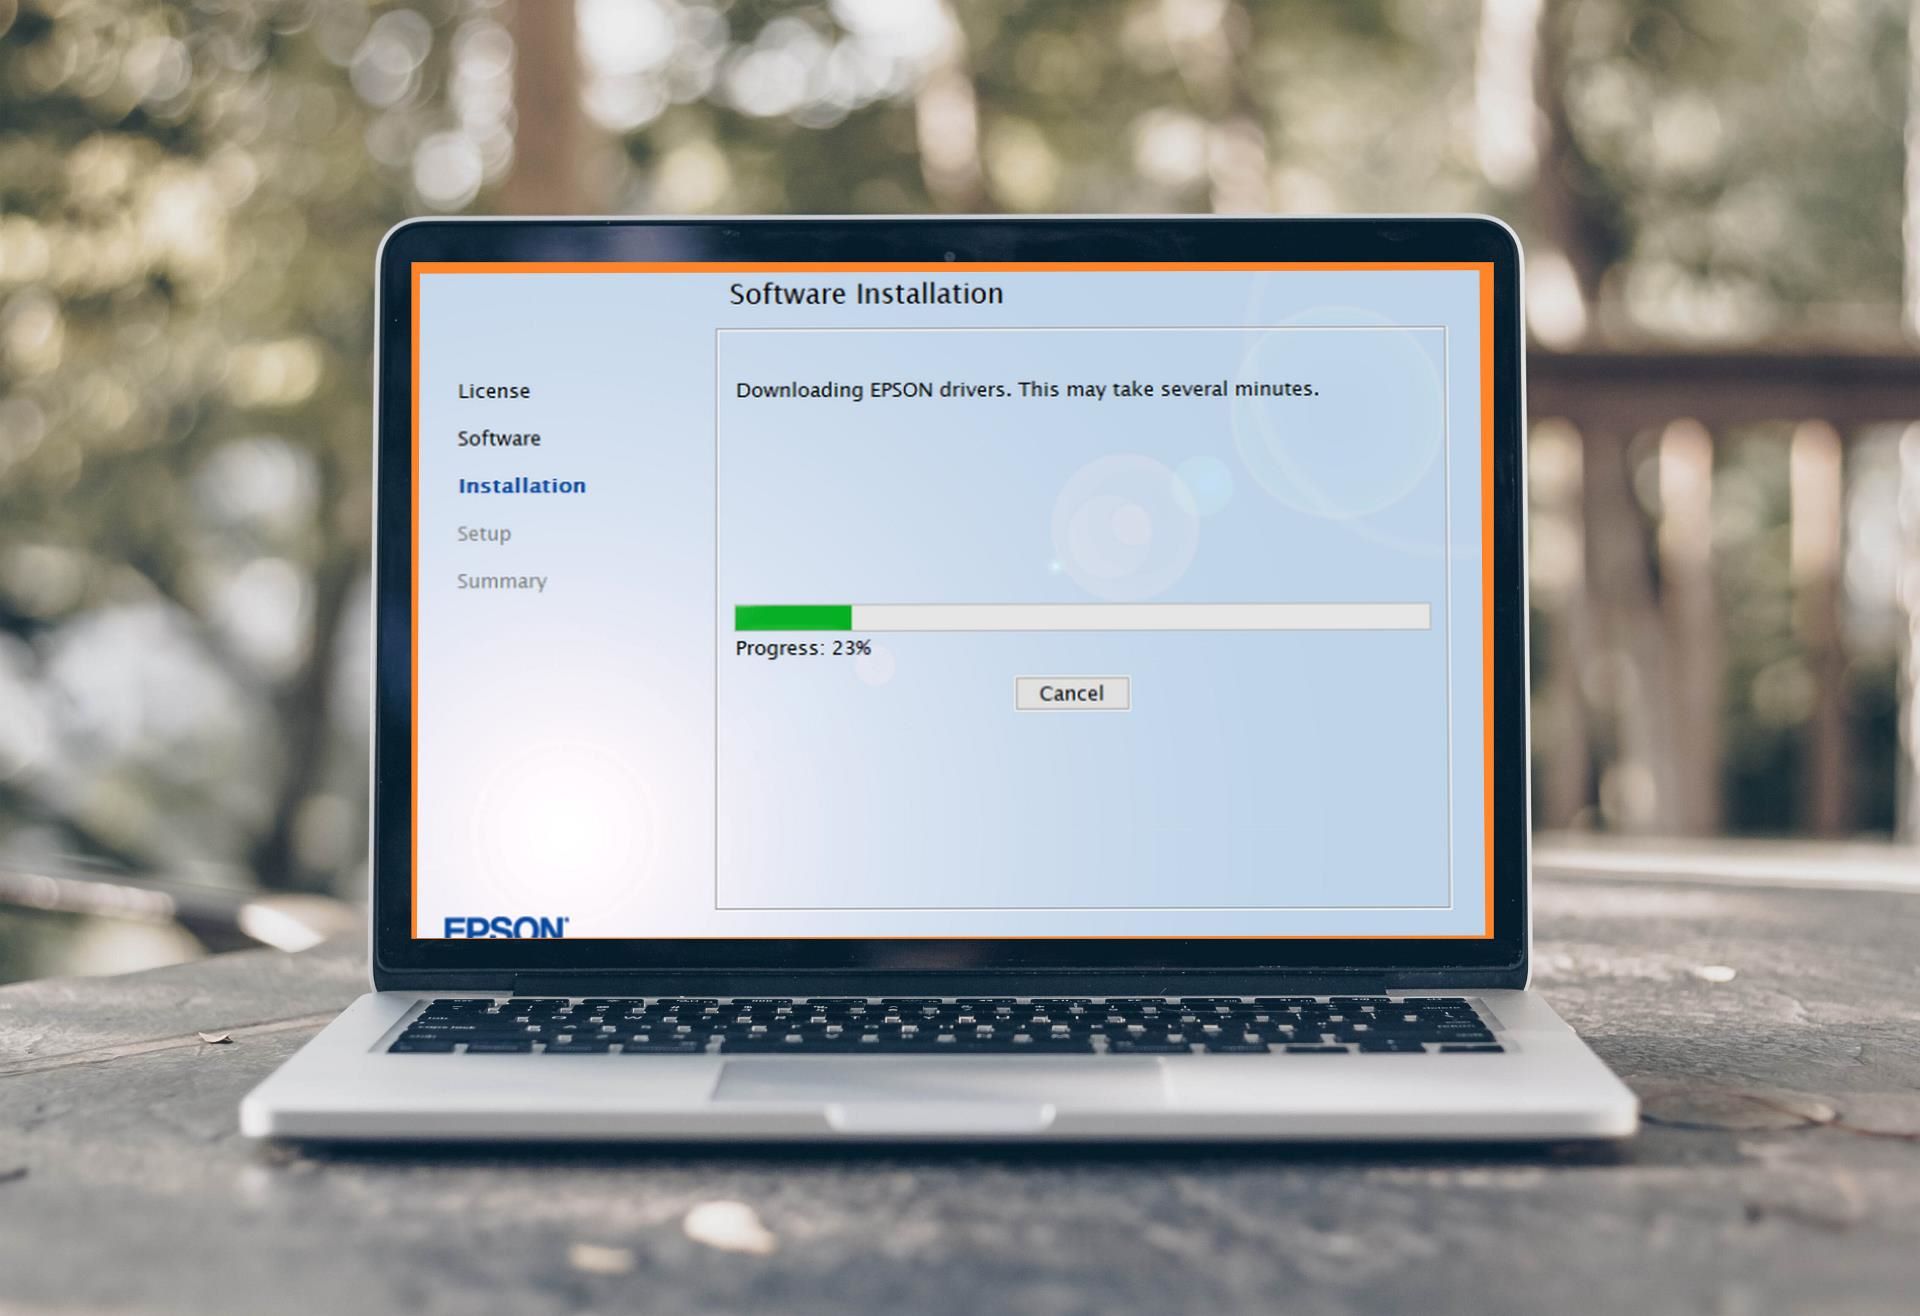
Step 2: Install Printer Drivers
Installing the appropriate printer drivers is a pivotal step in the process of adding your Epson printer to your laptop. Printer drivers serve as the communication bridge between your laptop’s operating system and the Epson printer, enabling seamless interaction and data transfer. To initiate the installation of printer drivers, follow these essential steps to ensure a seamless integration:
- Visit the Epson Support Website: Begin by visiting the official Epson support website, where you can access a repository of printer drivers and software tailored to your specific Epson printer model. Navigate to the “Support” or “Downloads” section of the website and enter your printer’s model number to access the corresponding drivers.
- Download the Latest Drivers: Identify and download the latest printer drivers compatible with your laptop’s operating system. It is crucial to select the appropriate drivers that align with your laptop’s operating system version, whether it is Windows, macOS, or Linux. Opting for the latest drivers ensures optimal compatibility and access to the printer’s full range of features.
- Run the Driver Installation Wizard: Once the drivers are downloaded, initiate the installation process by running the driver installation wizard. Follow the on-screen prompts to complete the installation, ensuring that the drivers are seamlessly integrated into your laptop’s operating system.
- Restart Your Laptop: After the installation is complete, it is advisable to restart your laptop to finalize the driver integration. This step helps in refreshing the system and ensuring that the installed drivers are fully functional, ready to facilitate communication with your Epson printer.
By meticulously following these steps and installing the requisite printer drivers, you establish a robust foundation for the harmonious interaction between your laptop and Epson printer. The installed drivers enable your laptop to recognize and communicate with the printer effectively, laying the groundwork for the subsequent connection and setup processes.
To add an Epson printer to your laptop, first make sure the printer is turned on and connected to the same Wi-Fi network as your laptop. Then, go to your laptop’s settings, select “Devices” and click “Add a printer or scanner.” Your Epson printer should appear in the list of available devices, and you can select it to complete the setup.
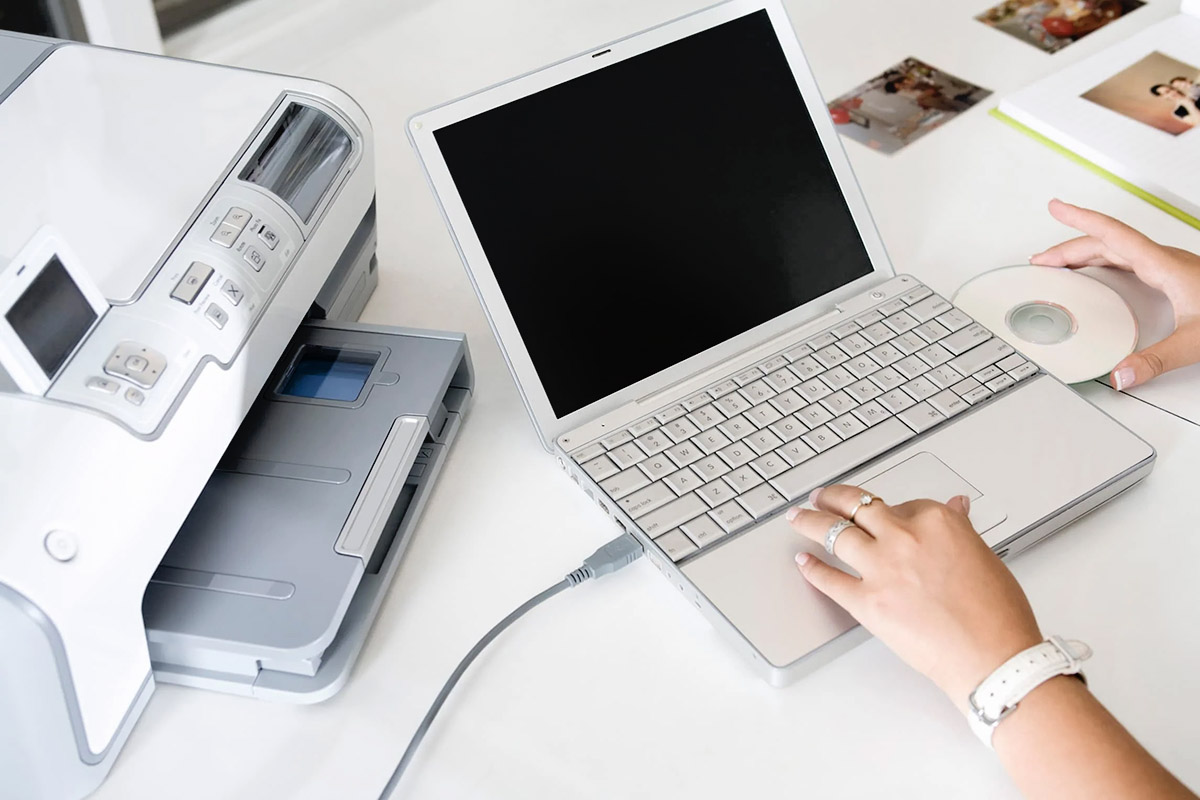
Step 3: Connect Printer to Laptop
With the printer drivers successfully installed on your laptop, the next crucial step involves establishing a physical or wireless connection between your Epson printer and laptop. Depending on your preferences and the available connectivity options, you can choose the most suitable method to connect the devices seamlessly. Here are the key steps to connect your Epson printer to your laptop:
- Physical Connection (USB): If you opt for a physical connection, ensure that your Epson printer and laptop are in close proximity. Use a USB cable compatible with your printer to connect it to your laptop’s USB port. Once connected, your laptop should detect the printer, recognizing it as a viable printing device.
- Wireless Connection (Wi-Fi/Bluetooth): For a wireless connection, leverage the Wi-Fi or Bluetooth capabilities of your Epson printer. Access the printer’s control panel to enable wireless connectivity and configure the Wi-Fi or Bluetooth settings. On your laptop, navigate to the system settings and select the option to add a new printer. Your laptop will scan for available wireless printers, and upon detecting your Epson printer, you can proceed with the connection setup.
- Printer Setup Utility: Some Epson printers come with a dedicated printer setup utility that simplifies the connection process. Utilize the provided utility software to guide you through the printer-laptop connection setup, ensuring that the devices are seamlessly linked and ready for printing tasks.
By establishing a reliable connection between your Epson printer and laptop, you pave the way for effortless printing and seamless data transfer. Whether you prefer the convenience of wireless printing or the reliability of a physical connection, ensuring a stable and functional link between your devices is paramount to a successful integration.
Step 4: Set Up Printer on Laptop
After establishing the connection between your Epson printer and laptop, the final step involves setting up the printer on your laptop to enable smooth printing operations. Configuring the printer settings and ensuring that it is recognized by your laptop’s operating system are essential for a seamless printing experience. Follow these key steps to set up your Epson printer on your laptop:
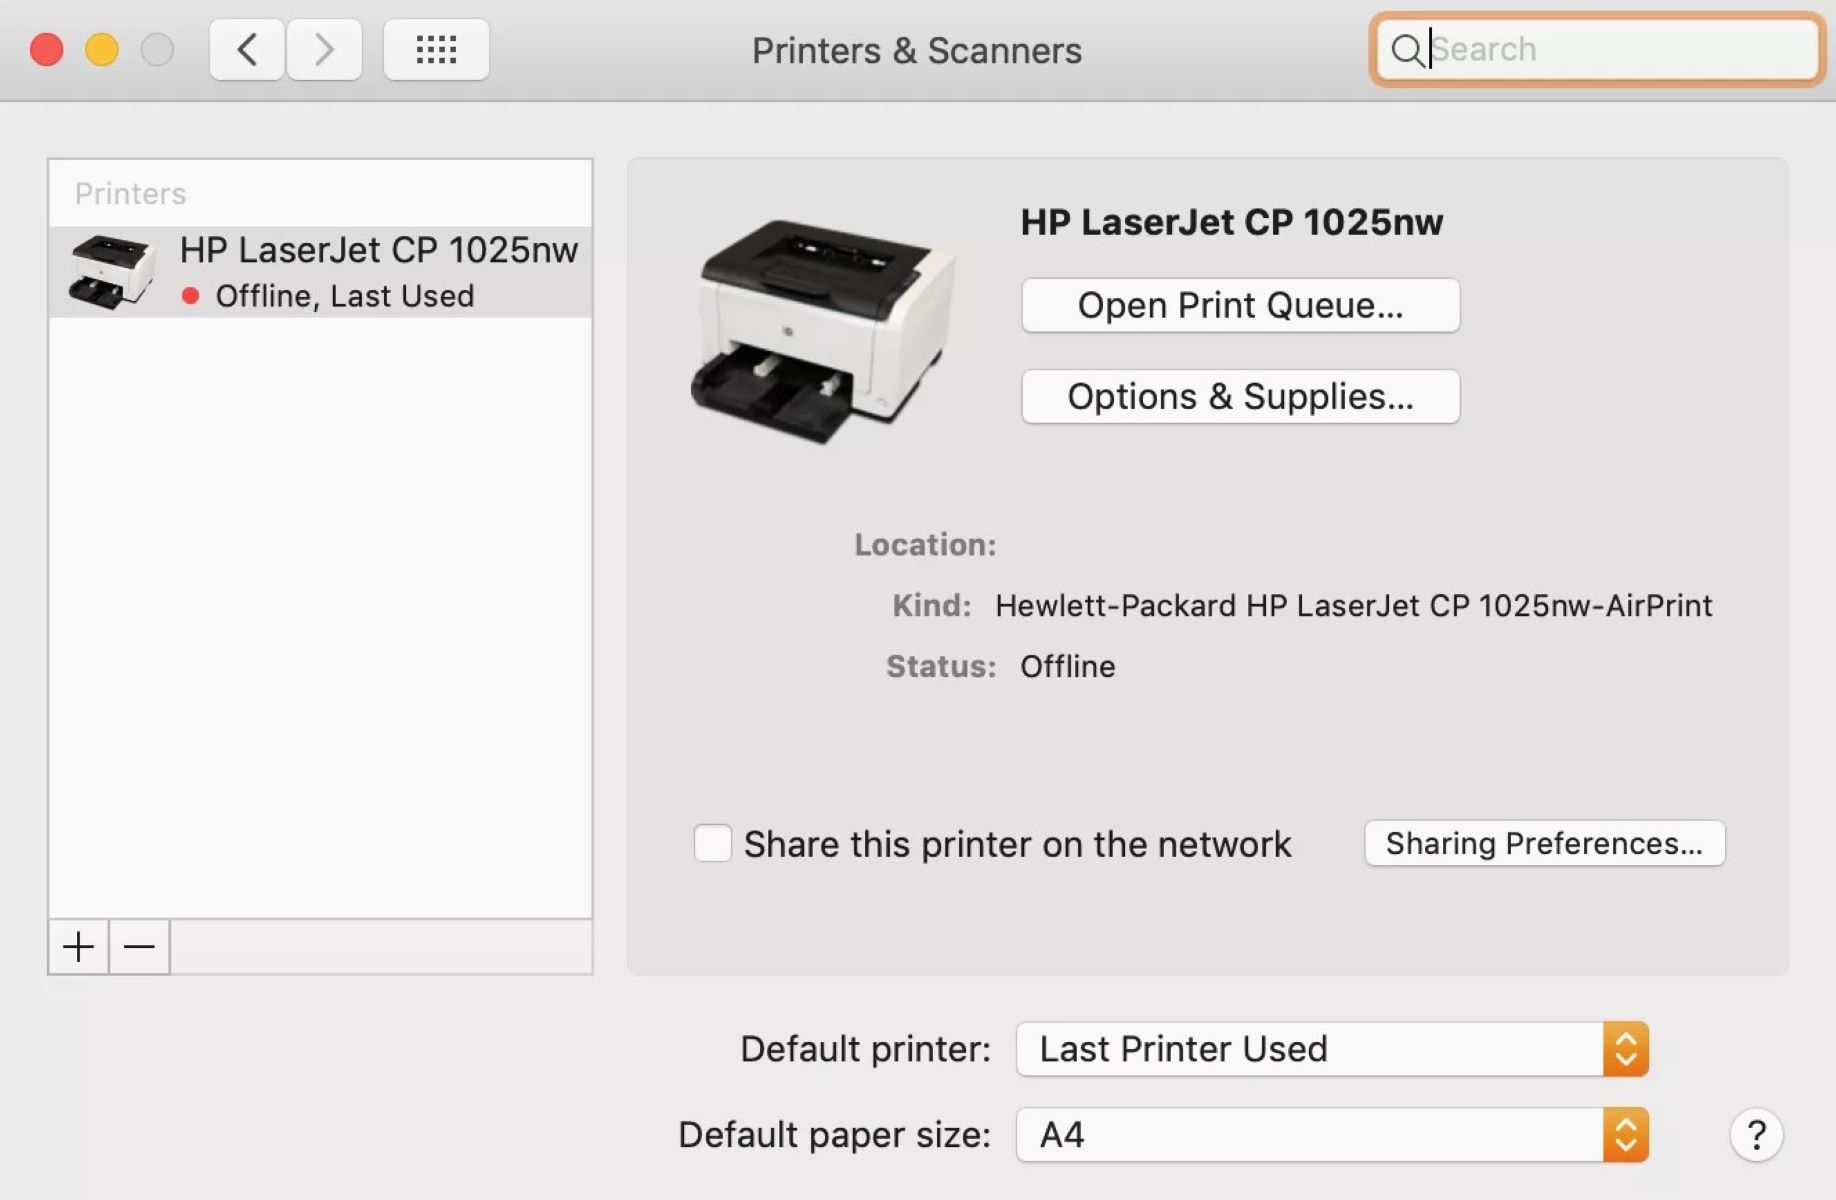
- Printer Recognition: Once the physical or wireless connection is established, your laptop should automatically recognize the connected Epson printer. Navigate to the “Devices” or “Printers & Scanners” settings on your laptop to verify that the printer is listed and identified correctly. If the printer is not detected, you can utilize the “Add a Printer” function to manually identify and add the printer to your laptop’s list of available devices.
- Printer Preferences and Settings: Access the printer settings on your laptop to customize preferences such as paper size, print quality, and default printing options. Tailoring the printer settings to align with your specific printing requirements ensures that the output meets your expectations and optimizes the printer’s capabilities.
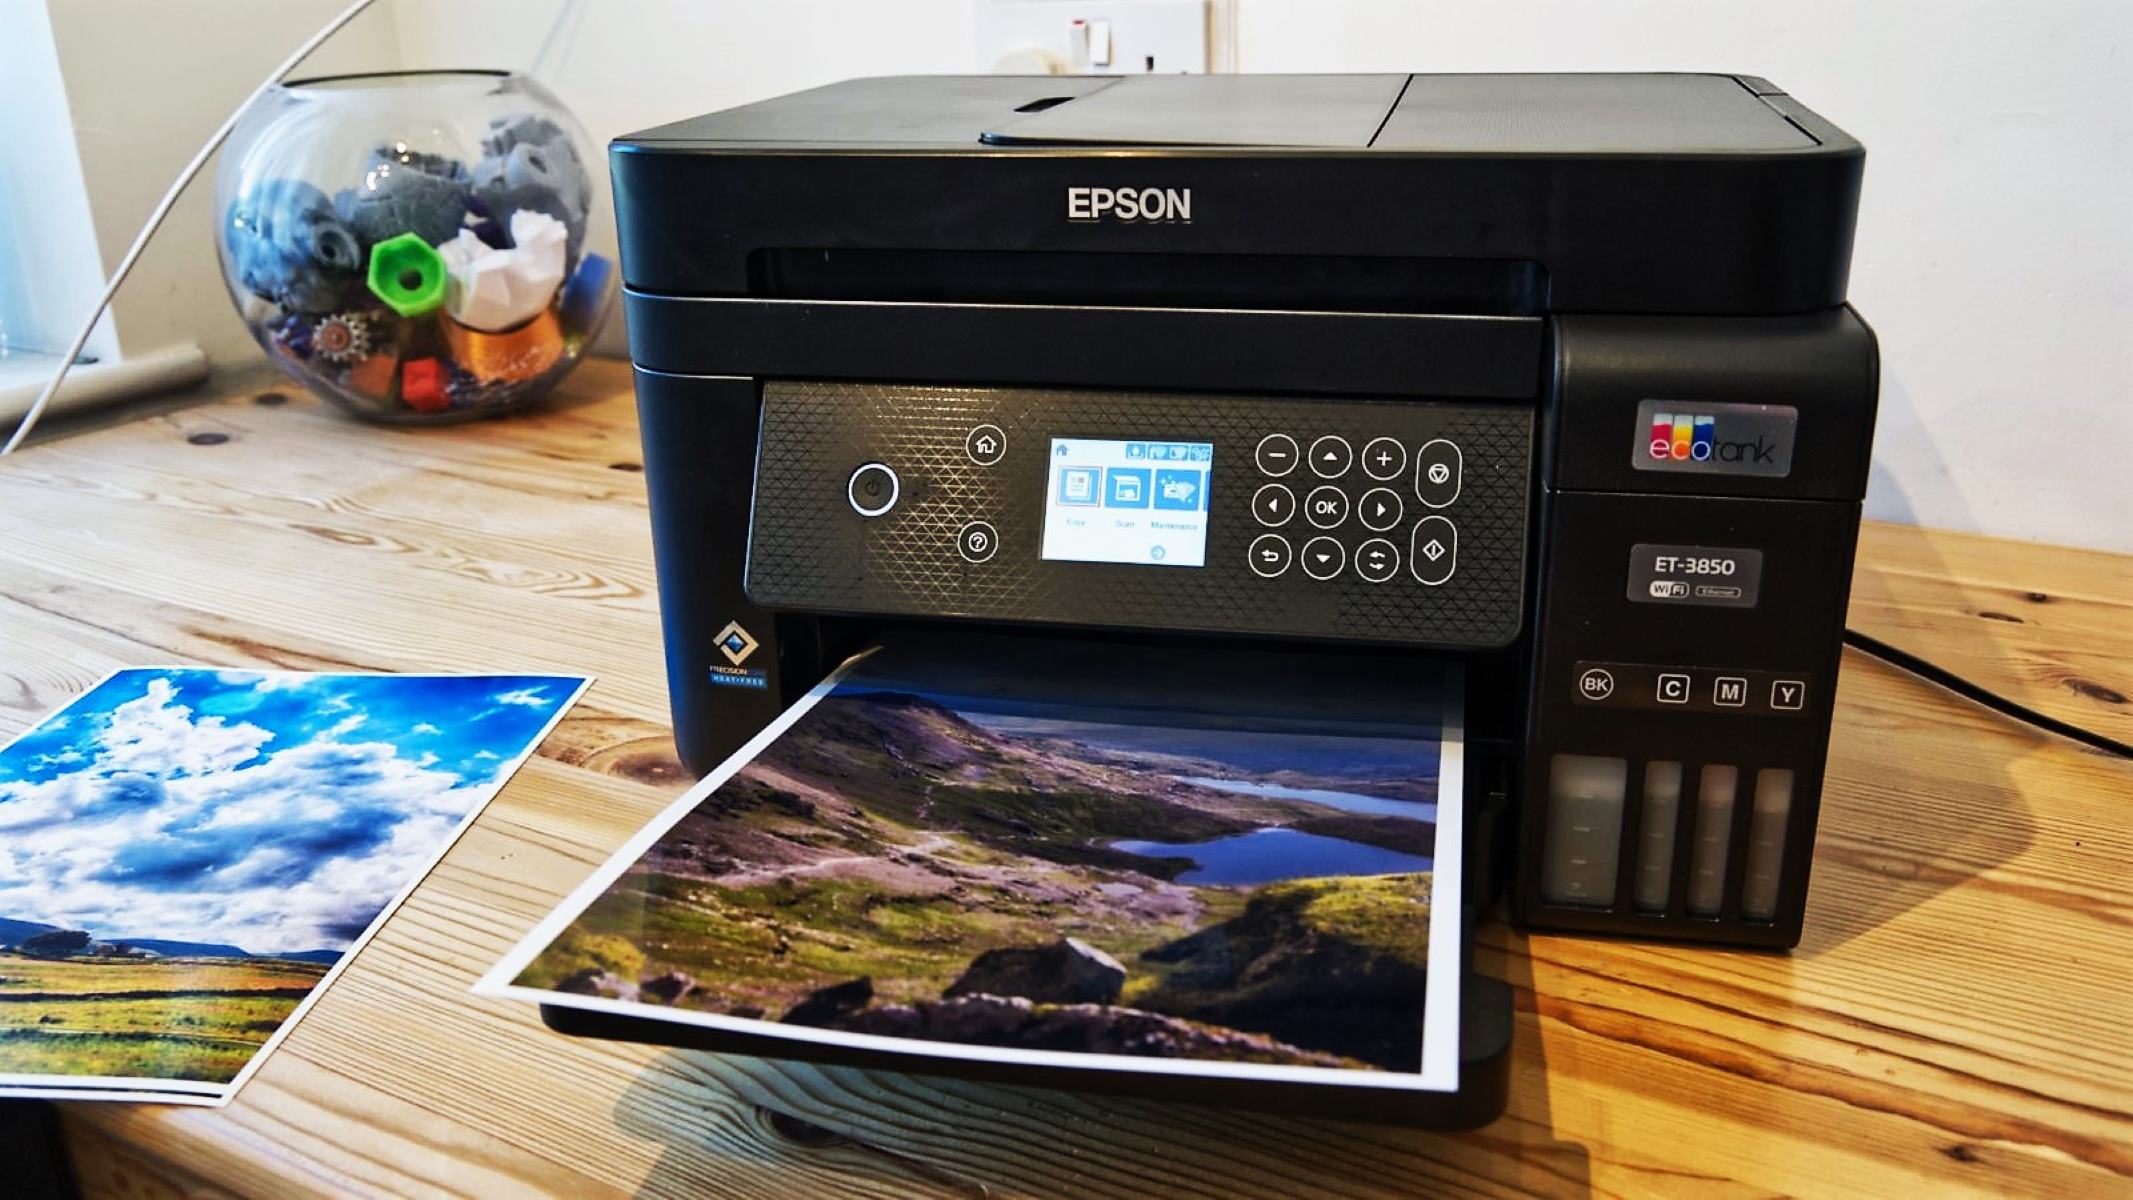
- Print Test Page: To validate the successful setup of your Epson printer on your laptop, initiate a test print to confirm that the printer is functioning correctly. Printing a test page allows you to assess the print quality, verify the ink or toner levels, and troubleshoot any potential issues before proceeding with actual printing tasks.
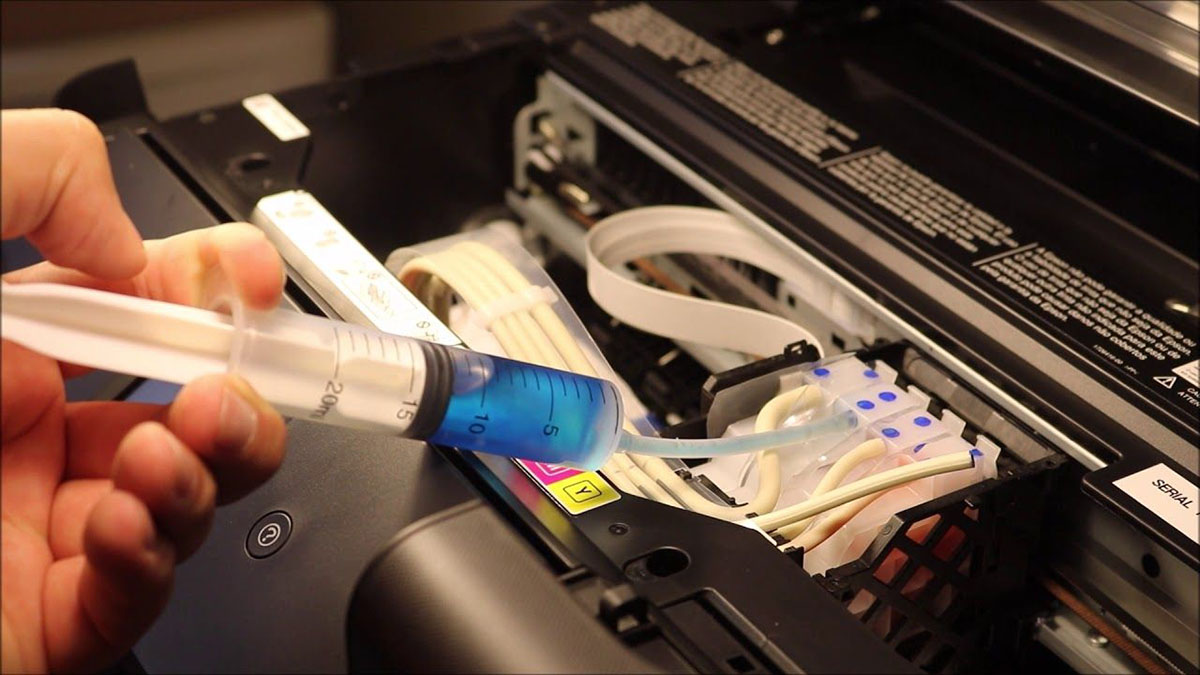
- Printer Software Integration: If your Epson printer comes with dedicated software or utilities, consider integrating the provided software with your laptop to unlock additional features and functionalities. Epson’s proprietary software often includes advanced printing options, maintenance tools, and remote printing capabilities, enhancing the overall printing experience.
By meticulously setting up your Epson printer on your laptop, you ensure that the devices are harmoniously integrated, ready to cater to your printing needs with precision and efficiency. A well-configured printer-laptop setup empowers you to leverage the full potential of your Epson printer, whether for everyday printing tasks or more specialized printing requirements.
Read more: How To Connect Epson Projector With Laptop
Conclusion
Congratulations on successfully adding your Epson printer to your laptop! By following the comprehensive steps outlined in this guide, you have embarked on a journey towards seamless printing experiences and enhanced productivity. The integration of your Epson printer with your laptop opens up a world of possibilities, allowing you to effortlessly translate digital content into tangible, high-quality prints.
As you embrace the convenience of wireless printing or the reliability of a physical connection, your Epson printer becomes an indispensable ally in your quest for efficient document management and creative expression. The compatibility checks, driver installations, connection setups, and printer configurations have collectively culminated in a robust and functional printer-laptop integration, tailored to your specific needs and preferences.
With your Epson printer seamlessly integrated with your laptop, you are poised to embark on a seamless printing journey, whether it involves producing professional documents, vibrant photographs, or captivating artwork. The synergy between your laptop and Epson printer empowers you to harness the full potential of modern printing technology, transcending traditional boundaries and embracing the boundless possibilities of digital-to-physical transformations.
As you embark on your printing endeavors, remember to explore the diverse features and capabilities offered by your Epson printer, leveraging advanced functionalities and specialized printing modes to bring your ideas to life with unparalleled clarity and precision. Whether you are a student, a professional, or an avid creator, your Epson printer stands ready to translate your digital visions into tangible realities, all from the convenience of your laptop.
Embrace the seamless integration of your Epson printer with your laptop, and unleash the power of effortless printing at your fingertips. Your journey towards enhanced productivity, creative expression, and efficient document management begins with the harmonious fusion of technology and innovation, embodied by your Epson printer and laptop.
Frequently Asked Questions about How To Add Epson Printer To Laptop
Was this page helpful?
At Storables.com, we guarantee accurate and reliable information. Our content, validated by Expert Board Contributors, is crafted following stringent Editorial Policies. We're committed to providing you with well-researched, expert-backed insights for all your informational needs.


0 thoughts on “How To Add Epson Printer To Laptop”