Home>Technology>Smart Home Devices>How To Add Printer To Dell Laptop
Smart Home Devices
How To Add Printer To Dell Laptop
Modified: August 17, 2024
Learn how to easily add a printer to your Dell laptop and streamline your smart home devices setup. Follow our step-by-step guide for seamless integration.
(Many of the links in this article redirect to a specific reviewed product. Your purchase of these products through affiliate links helps to generate commission for Storables.com, at no extra cost. Learn more)
Introduction
Welcome to the world of smart home devices, where convenience meets innovation to transform the way we interact with our living spaces. In this comprehensive guide, we will explore the seamless integration of printers with Dell laptops, empowering you to effortlessly bring your digital creations to life on paper.
As technology continues to evolve, the demand for efficient and user-friendly printing solutions has become increasingly prevalent. Whether you are a student, a professional, or a creative enthusiast, the ability to seamlessly connect and utilize a printer with your Dell laptop is essential for bringing your ideas to fruition.
In the following steps, we will delve into the process of adding a printer to your Dell laptop, covering everything from compatibility checks to driver installations. By the end of this guide, you will have the knowledge and confidence to set up your printer and embark on a seamless printing journey.
So, let's embark on this technological adventure and unlock the potential of integrating a printer with your Dell laptop. Whether you're printing documents, photos, or creative projects, this guide will equip you with the necessary tools to streamline the printing process and enhance your overall user experience. Let's dive in and explore the world of printing possibilities with your Dell laptop!
Key Takeaways:
- Ensure your printer is compatible with your Dell laptop by checking the connection type and operating system compatibility. This proactive step sets the stage for a smooth printing experience.
- After connecting your printer to your Dell laptop, install the official printer drivers for optimal functionality. Setting the printer as the default output device streamlines the printing process for convenience.
Read more: How To Add Epson Printer To Laptop
Step 1: Check for Compatibility
Before diving into the printer setup process, it’s crucial to ensure that the printer you intend to connect is compatible with your Dell laptop. Compatibility encompasses both the physical connection and the availability of compatible drivers for your specific printer model.
First and foremost, determine the type of connection your Dell laptop supports. Most modern Dell laptops feature USB ports, which are commonly used for connecting printers. However, some printers may utilize wireless connectivity options such as Wi-Fi or Bluetooth. It’s essential to verify that your printer and Dell laptop support the same connection method to facilitate seamless communication.
Furthermore, it’s advisable to check the compatibility of your printer with the operating system running on your Dell laptop. Whether you are using Windows, macOS, or Linux, ensuring that the printer’s drivers are compatible with your operating system is paramount. Manufacturers often provide driver downloads and compatibility information on their official websites, allowing you to verify the suitability of the printer for your specific laptop model and operating system.
By conducting a thorough compatibility check, you can preemptively address any potential connectivity issues and streamline the setup process. This proactive approach ensures that the printer you choose aligns harmoniously with your Dell laptop, laying the foundation for a seamless printing experience.
Now that we’ve laid the groundwork by ensuring compatibility between your Dell laptop and the printer, it’s time to move on to the next step: connecting the printer to your laptop.
Step 2: Connect the Printer
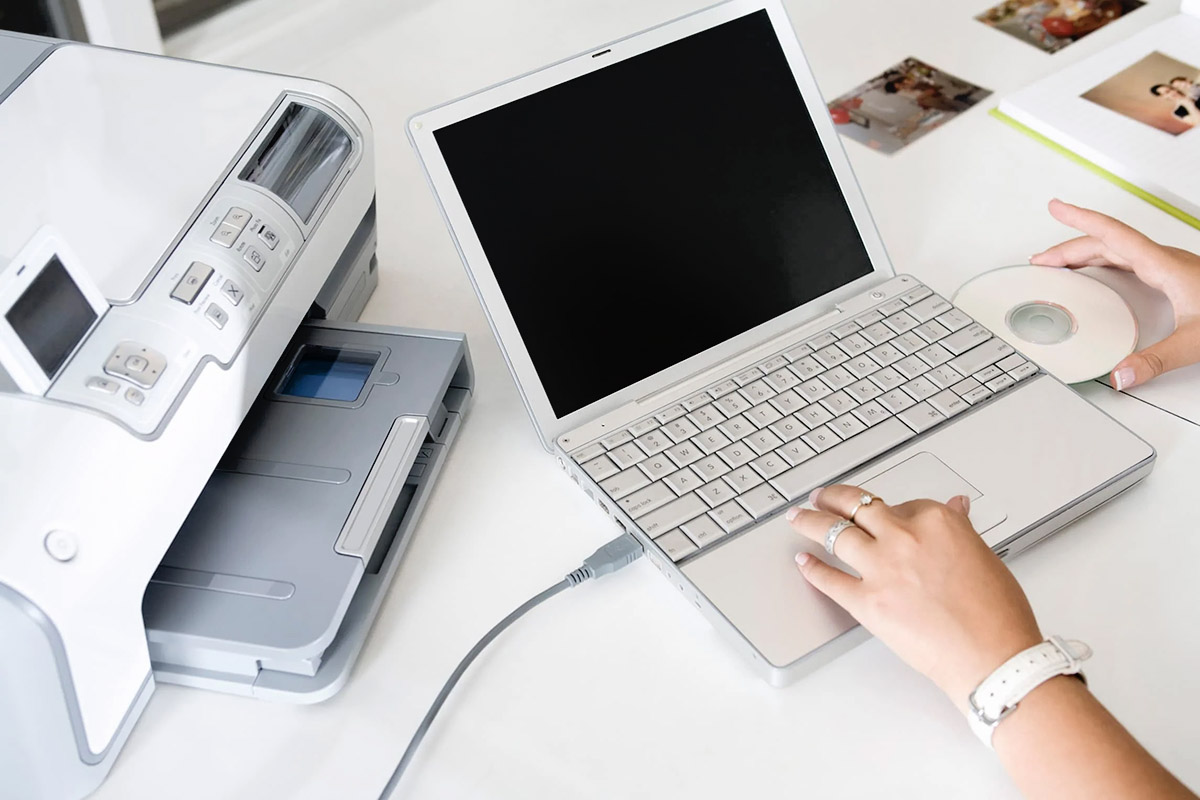
With compatibility confirmed, it’s time to physically connect the printer to your Dell laptop. The method of connection may vary based on the type of printer and the available ports on your laptop.
If you’re using a USB-connected printer, simply locate an available USB port on your Dell laptop and plug in the printer’s USB cable. Most modern printers feature a standard USB Type-A connector, which can be inserted into any available USB port on your laptop. Once connected, your laptop should automatically detect the printer and initiate the setup process.
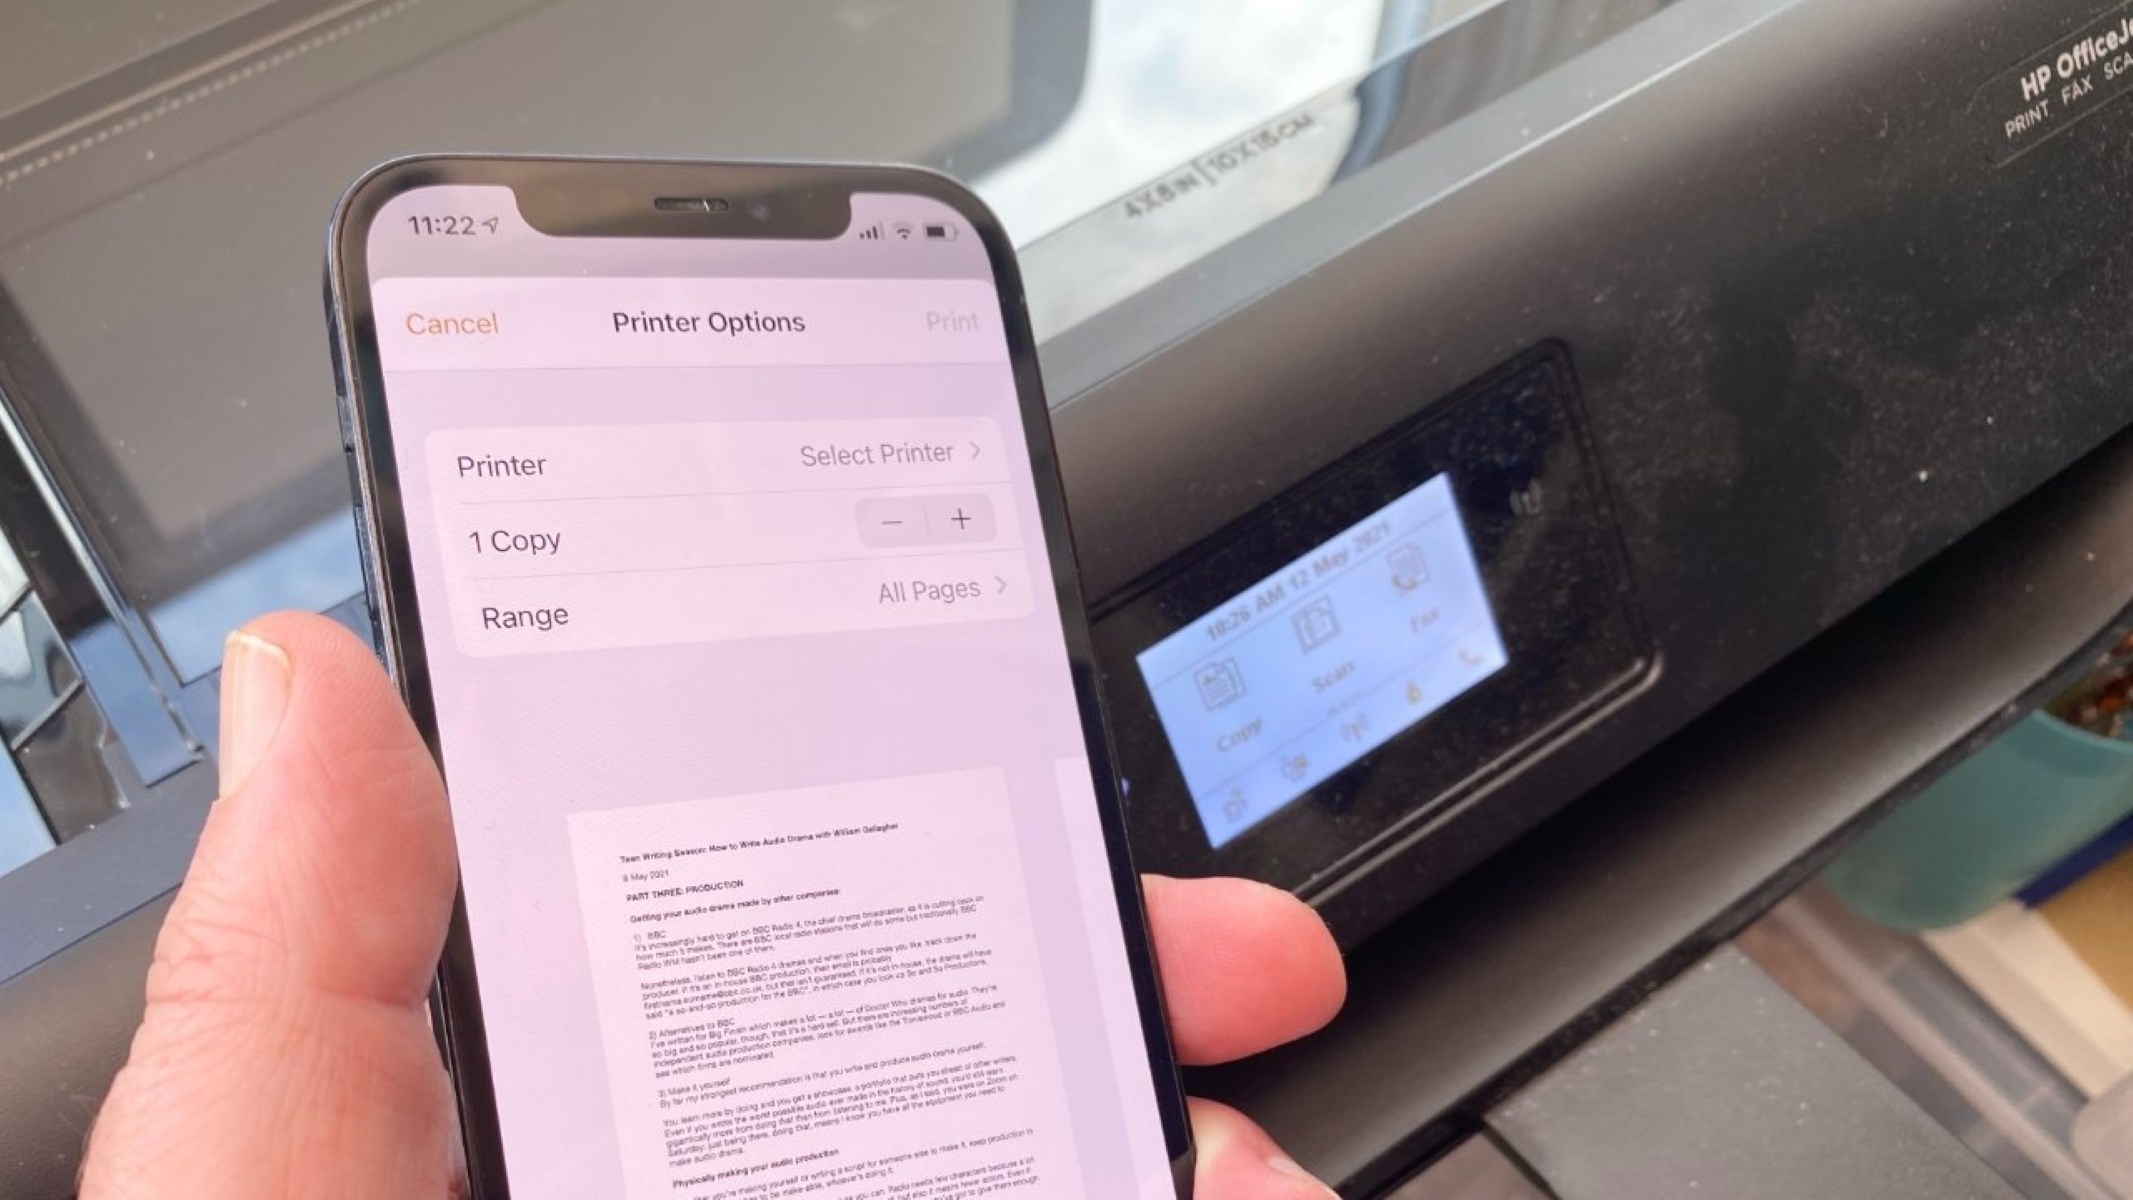
For wireless printers utilizing Wi-Fi or Bluetooth connectivity, the setup process may differ slightly. Begin by ensuring that both the printer and your Dell laptop are connected to the same Wi-Fi network. Refer to the printer’s user manual or manufacturer’s instructions to establish a wireless connection between the devices. Once connected, your laptop should recognize the printer as an available wireless device, enabling seamless printing capabilities.
It’s important to note that some printers may require initial setup steps, such as configuring Wi-Fi settings or pairing via Bluetooth, before they can be fully recognized by your Dell laptop. Following the manufacturer’s provided instructions for your specific printer model will ensure a smooth and successful connection process.
Once the printer is physically connected or wirelessly paired with your Dell laptop, you’re one step closer to harnessing the power of seamless printing. With the physical connection established, it’s time to move on to the next crucial step: installing the necessary printer drivers to enable full functionality.
Make sure your Dell laptop and printer are connected to the same Wi-Fi network. Then, go to your laptop’s settings, select “Devices” and click “Add a printer or scanner.” Your laptop should automatically detect the printer, and you can follow the on-screen instructions to complete the setup.
Step 3: Install Printer Drivers
Installing the appropriate printer drivers is essential for enabling seamless communication between your Dell laptop and the connected printer. Printer drivers serve as the intermediary software that facilitates the translation of print commands from your laptop into physical output from the printer.
Most modern operating systems, including Windows, macOS, and Linux distributions, feature built-in driver libraries that automatically recognize and install basic drivers for many popular printer models. When you connect your printer to your Dell laptop, the operating system may attempt to automatically install the necessary drivers, allowing you to initiate basic printing tasks.
However, for optimal functionality and access to advanced features offered by your specific printer model, it’s recommended to download and install the official drivers provided by the printer’s manufacturer. These drivers are often available for download from the manufacturer’s website and are tailored to provide comprehensive support for your printer’s capabilities.
To install the manufacturer-provided printer drivers, follow these general steps:
- Visit the official website of the printer’s manufacturer.
- Navigate to the “Support” or “Downloads” section of the website.
- Locate the drivers and software section and search for your specific printer model.
- Download the appropriate driver package for your operating system (e.g., Windows, macOS, Linux).
- Run the driver installation package and follow the on-screen prompts to complete the installation.
Once the official printer drivers are installed on your Dell laptop, your printer will be fully equipped to deliver high-quality prints and access advanced features such as duplex printing, color management, and print resolution settings. With the drivers in place, you’re ready to take the final step towards seamless printing: setting the printer as the default output device for your laptop.
Step 4: Set the Printer as Default
Setting your newly connected printer as the default printing device on your Dell laptop ensures that all print jobs are directed to the intended printer without the need to manually select it each time. This streamlines the printing process and enhances overall convenience, especially when printing documents, images, or any other content from various applications.
To set the printer as the default output device on your Dell laptop, follow these general steps based on the Windows operating system:
- Click on the “Start” menu and select “Settings” (the gear icon).
- In the Settings window, select “Devices,” followed by “Printers & scanners” in the left-hand menu.
- Locate your newly connected printer in the list of available printers and select it.
- Click on the “Manage” button and choose “Set as default” from the dropdown menu.
By following these steps, your Dell laptop will designate the selected printer as the default output device for all print jobs, ensuring that documents and images are seamlessly directed to the connected printer without the need for manual intervention.
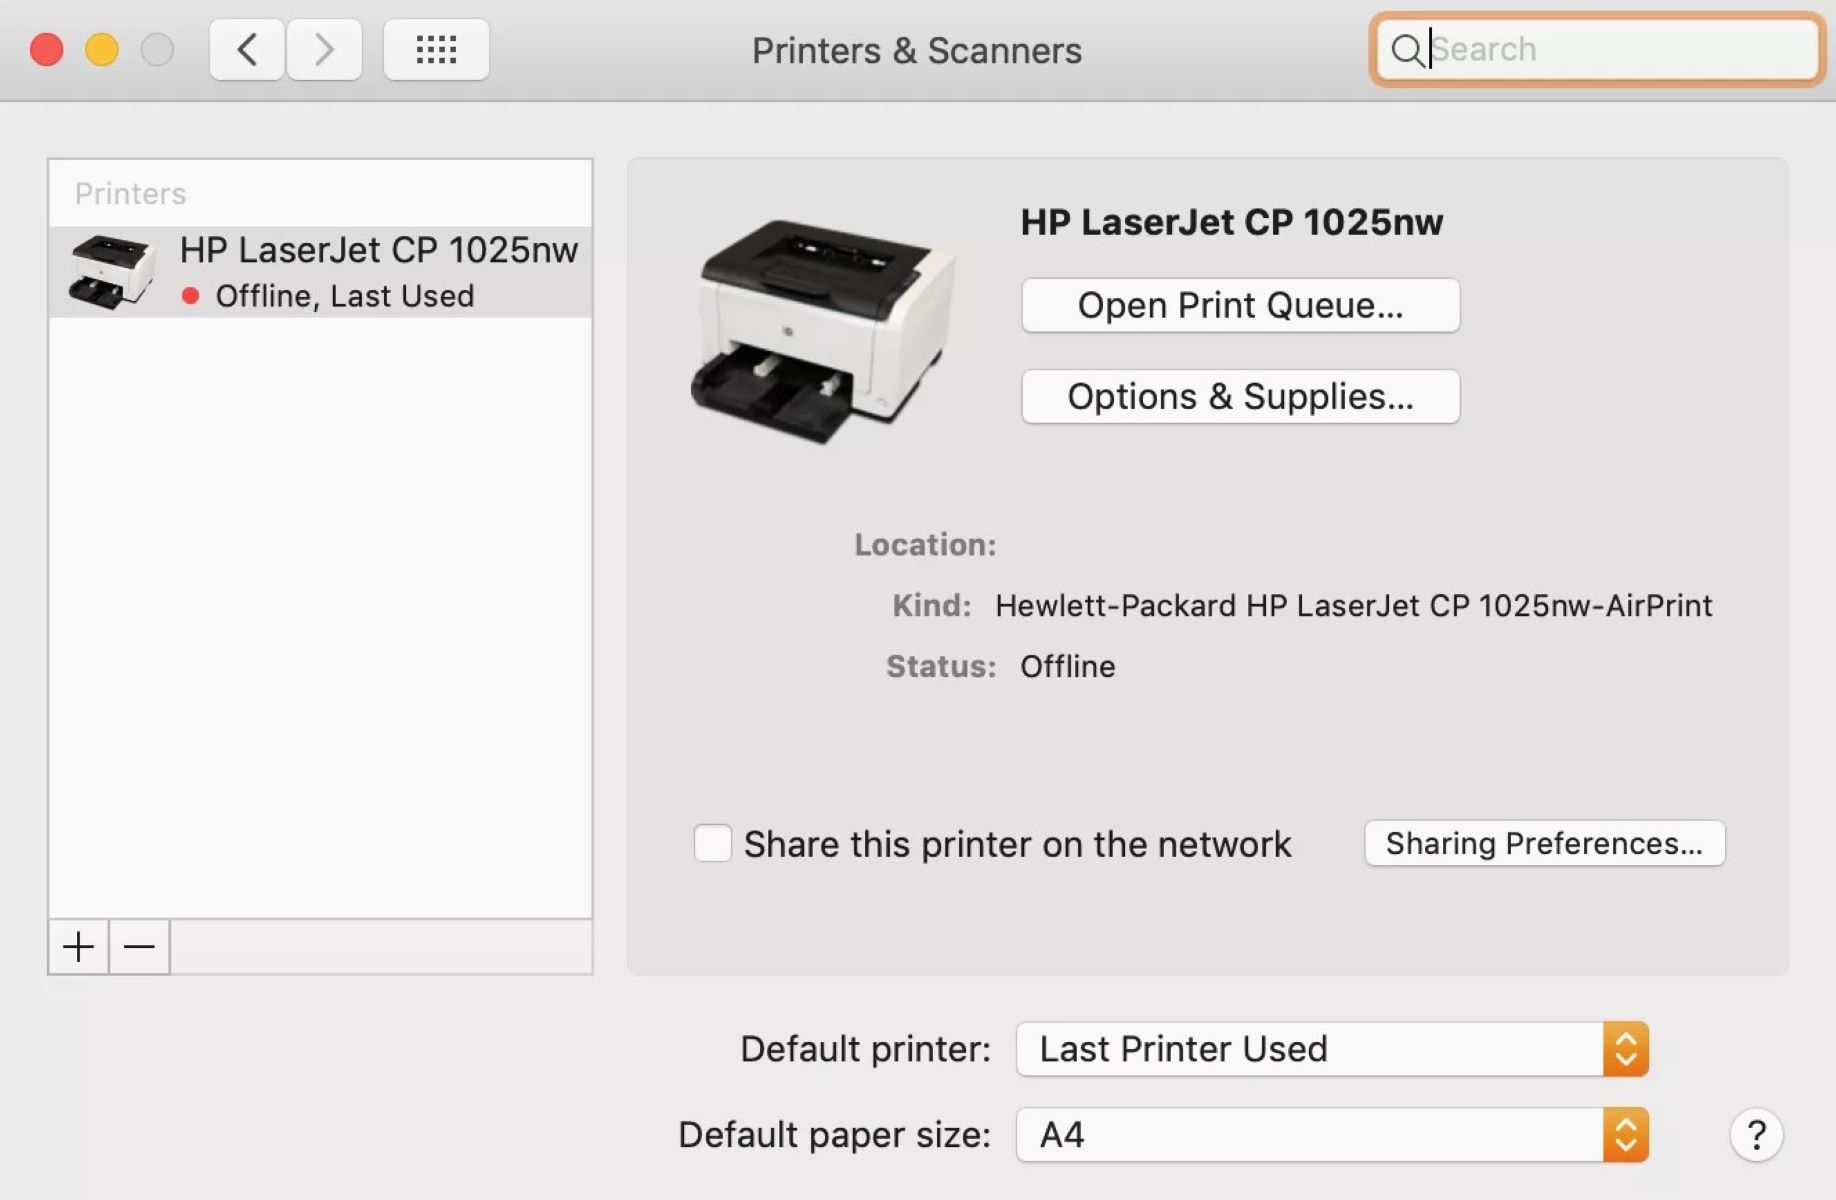
If you are using a macOS-based Dell laptop, the process of setting the default printer involves navigating to the “System Preferences” and selecting the “Printers & Scanners” option. From there, you can choose the default printer from the list of available devices, ensuring that all print jobs are routed to the desired printer by default.
With the printer set as the default output device, you have successfully completed the essential steps to seamlessly integrate a printer with your Dell laptop. Whether you’re printing reports for work, creative projects, or personal documents, your Dell laptop is now equipped to effortlessly translate your digital creations into tangible prints, enhancing your overall productivity and creative expression.
Read more: How To Add Storage To A Laptop
Conclusion
Congratulations! By following the comprehensive steps outlined in this guide, you have successfully navigated the process of adding a printer to your Dell laptop, empowering you to embark on a seamless printing journey. The integration of a printer with your Dell laptop opens up a world of possibilities, allowing you to effortlessly bring your digital creations to life in physical form.
From verifying compatibility and establishing a physical or wireless connection to installing the necessary printer drivers and setting the printer as the default output device, you have gained the knowledge and confidence to streamline the printing process and enhance your overall user experience.
As you venture into the realm of printing with your Dell laptop, remember to explore the diverse capabilities offered by your printer, such as high-quality photo printing, document scanning, and wireless printing from mobile devices. Leveraging these features will further enrich your printing experience and expand the scope of your creative and professional endeavors.
Whether you’re a student preparing assignments, a professional generating reports, or a creative individual bringing artistic visions to life, the seamless integration of a printer with your Dell laptop is a gateway to efficient and impactful printing. Embrace the convenience, reliability, and versatility that this integration offers, and let your digital creations flourish in the physical realm.
As technology continues to evolve, the synergy between printers and Dell laptops exemplifies the seamless convergence of digital and physical realms, empowering users to bridge the gap between the virtual and tangible aspects of their work and creativity.
Thank you for embarking on this technological adventure with us. We hope this guide has equipped you with the tools and insights to embark on a fulfilling printing journey with your Dell laptop. Embrace the power of seamless printing and unleash your creativity and productivity in the digital age.
Frequently Asked Questions about How To Add Printer To Dell Laptop
Was this page helpful?
At Storables.com, we guarantee accurate and reliable information. Our content, validated by Expert Board Contributors, is crafted following stringent Editorial Policies. We're committed to providing you with well-researched, expert-backed insights for all your informational needs.


0 thoughts on “How To Add Printer To Dell Laptop”