Home>Technology>Smart Home Devices>How To Clean The Printer Head On Epson
Smart Home Devices
How To Clean The Printer Head On Epson
Modified: August 16, 2024
Learn how to clean the printer head on your Epson printer to maintain the quality of your prints. Keep your smart home devices running smoothly with these easy maintenance tips.
(Many of the links in this article redirect to a specific reviewed product. Your purchase of these products through affiliate links helps to generate commission for Storables.com, at no extra cost. Learn more)
Introduction
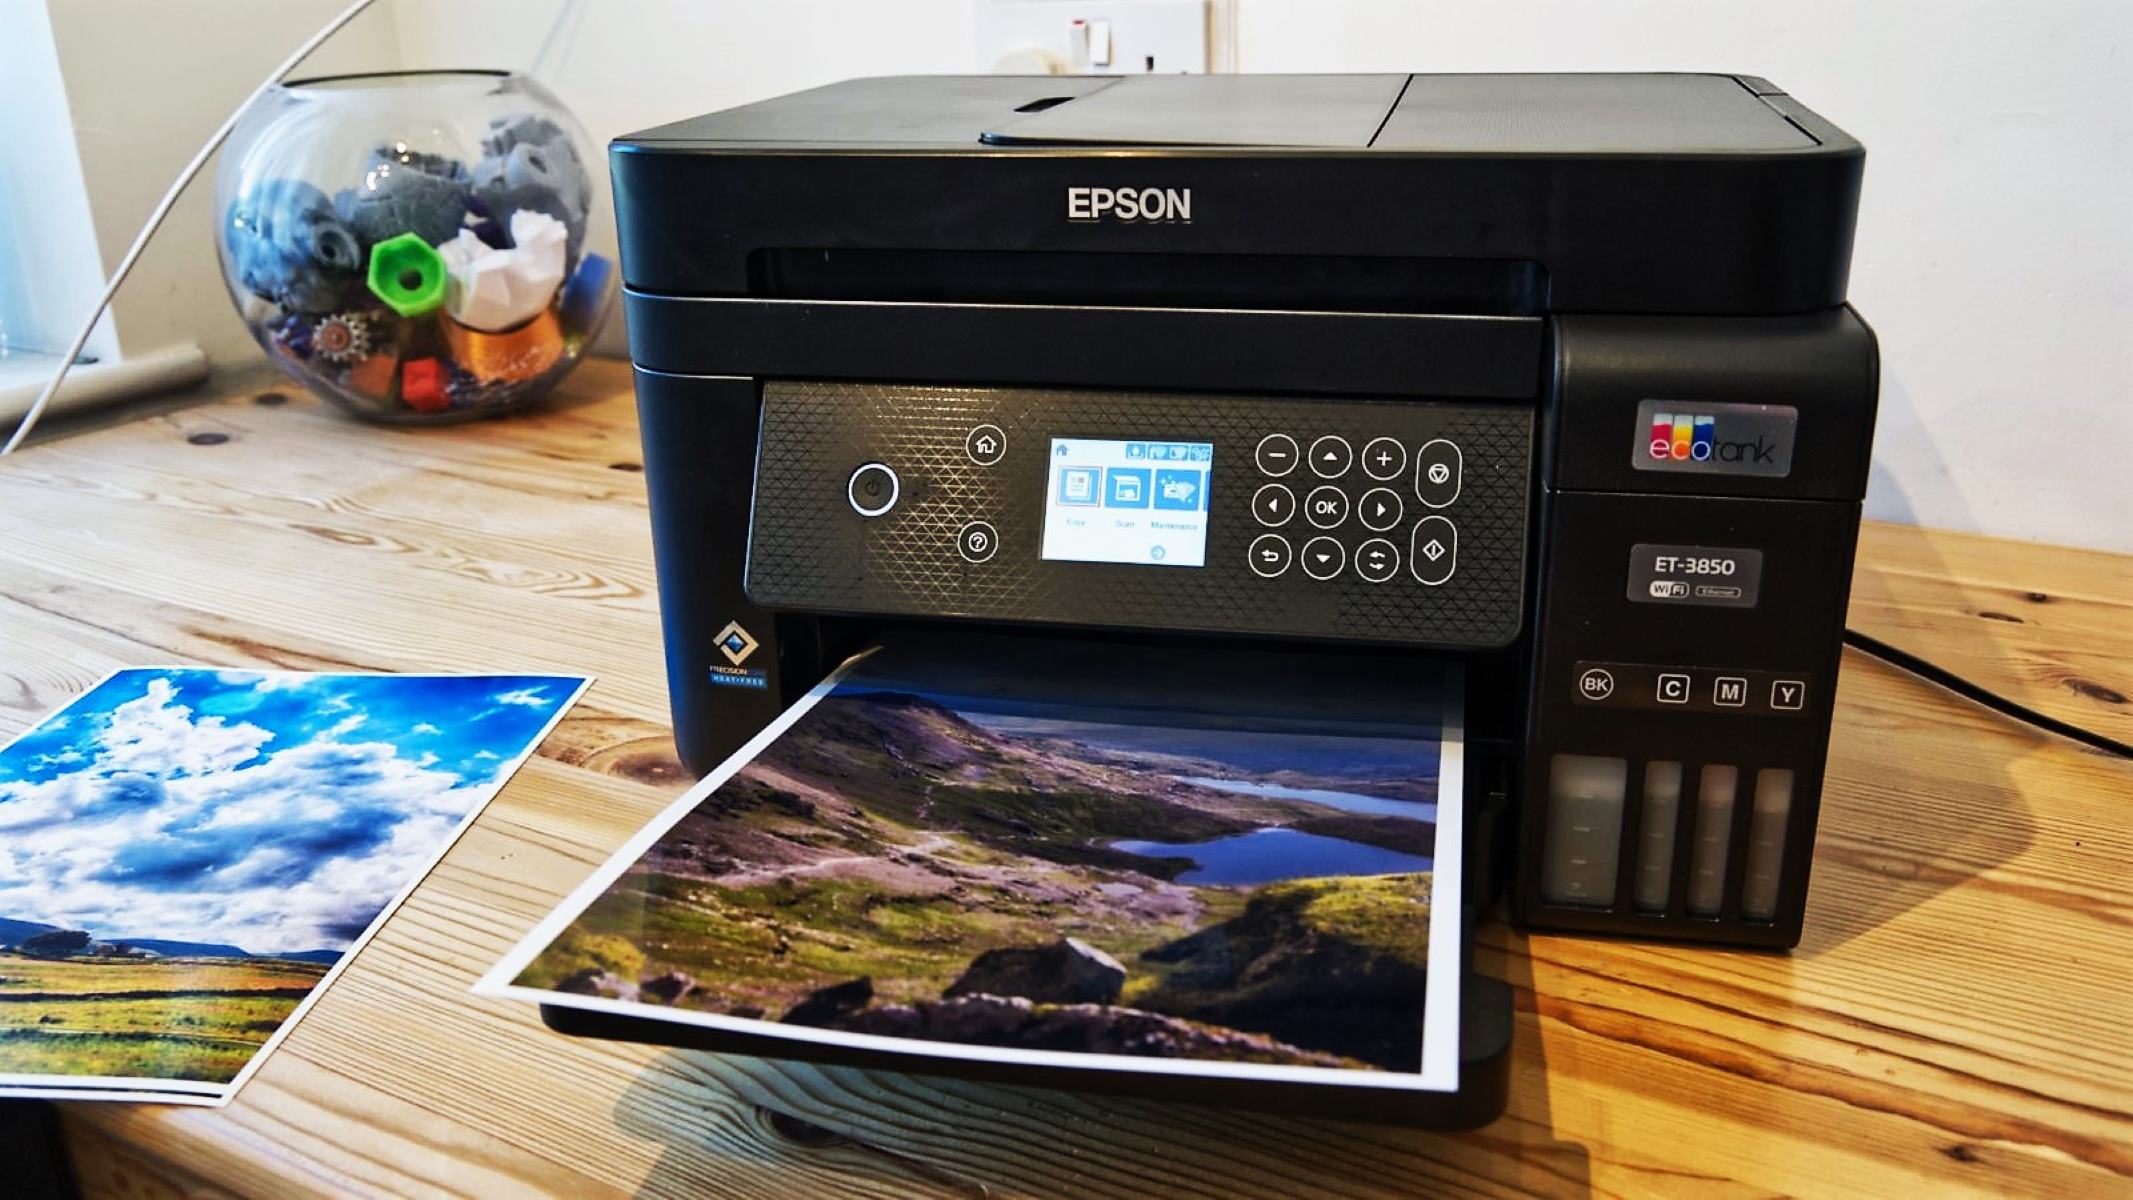
Welcome to the world of Epson printers, where technology meets creativity and functionality. Whether you are a student, a professional, or a creative enthusiast, owning an Epson printer allows you to bring your ideas to life with vibrant colors and sharp details. However, like any other piece of technology, your Epson printer requires regular maintenance to ensure optimal performance. One crucial aspect of printer maintenance is cleaning the printer head, which is essential for producing high-quality prints.
In this comprehensive guide, we will explore the intricacies of cleaning the printer head on your Epson printer. From understanding the printer head to recognizing the signs of a clogged printer head, we will walk you through the step-by-step process of preparing for and executing the cleaning procedure. By the end of this guide, you will have the knowledge and confidence to maintain your Epson printer’s printer head, ensuring that it continues to deliver stunning prints for years to come.
Key Takeaways:
- Regularly cleaning the printer head of your Epson printer ensures vibrant, high-quality prints by preventing issues like streaks, color inconsistencies, and print quality degradation.
- Proactively maintaining and testing the printer head after cleaning optimizes the performance and reliability of your Epson printer, allowing you to enjoy consistent and exceptional print quality for years to come.
Read more: How To Manually Clean Epson Printer Heads
Understanding the Printer Head
Before delving into the cleaning process, it’s essential to understand the printer head and its significance in the printing process. The printer head, also known as the print head, is a small but crucial component responsible for transferring ink onto the paper to create text and images. In Epson printers, the printer head is a precision-engineered mechanism that precisely controls the placement and volume of ink droplets, resulting in sharp and accurate prints.
Epson printers typically use two types of printer heads: the fixed printer head, which is integrated into the printer and is not meant to be removed or replaced by the user, and the user-replaceable printer head, which can be replaced when necessary. The user-replaceable printer head is designed to be easily accessible, allowing users to replace it if issues such as clogging occur.
Furthermore, Epson printers utilize advanced printing technologies, such as Micro Piezo and PrecisionCore, to ensure that the printer head delivers exceptional print quality with precise ink droplet placement and consistent results. These technologies contribute to the printer head’s ability to produce sharp text, vibrant graphics, and stunning photographs with remarkable detail and accuracy.
Understanding the printer head’s role in the printing process underscores the importance of keeping it clean and well-maintained. A clean printer head is essential for achieving optimal print quality and preventing issues such as streaks, smudges, and color inconsistencies. By familiarizing yourself with the printer head and its function, you are better equipped to preserve the performance and longevity of your Epson printer.
Signs of a Clogged Printer Head
A clogged printer head can significantly impact the quality of your prints, leading to frustrating issues such as streaks, faded colors, and distorted images. Recognizing the signs of a clogged printer head is crucial for addressing the issue promptly and restoring your printer’s performance. Here are some common indicators that may suggest a clogged printer head:
- Uneven or Faded Printing: When your prints exhibit uneven ink distribution or faded areas, it could indicate a clogged printer head. This often results in patches of lighter or missing colors, detracting from the overall print quality.
- Streaks or Lines on Prints: If your prints display visible streaks, lines, or banding across the page, it may be a sign of a clogged printer head. These imperfections can disrupt the smooth flow of ink, resulting in noticeable lines or streaks on the printed output.
- Color Inconsistencies: A clogged printer head can cause color inconsistencies, leading to inaccurate or distorted colors in your prints. You may notice that certain colors appear off-balance or fail to accurately match the original image or document.
- Print Quality Degradation: Over time, a clogged printer head can contribute to an overall decline in print quality. This may manifest as a loss of sharpness, clarity, and detail in your prints, detracting from the professional appearance of your documents and images.
- Delayed or Incomplete Printing: If your printer experiences delays or incomplete printing jobs, it may be due to a clogged printer head obstructing the smooth flow of ink. This can result in interrupted or incomplete printouts, disrupting your workflow and productivity.
By staying vigilant for these telltale signs, you can proactively identify and address a clogged printer head before it significantly impacts your printing experience. Regularly inspecting your prints for these indicators empowers you to take timely action to resolve the issue and maintain the exceptional print quality that your Epson printer is capable of delivering.
Preparing for Cleaning
Before embarking on the cleaning process, it’s essential to prepare your workspace and gather the necessary supplies to ensure a smooth and effective cleaning procedure. Here’s a step-by-step guide to preparing for cleaning your Epson printer head:
- Workspace Setup: Find a well-lit and well-ventilated area to work on your printer. Ensure that the printer is placed on a stable surface with ample space around it to facilitate easy access to the printer head and other components.
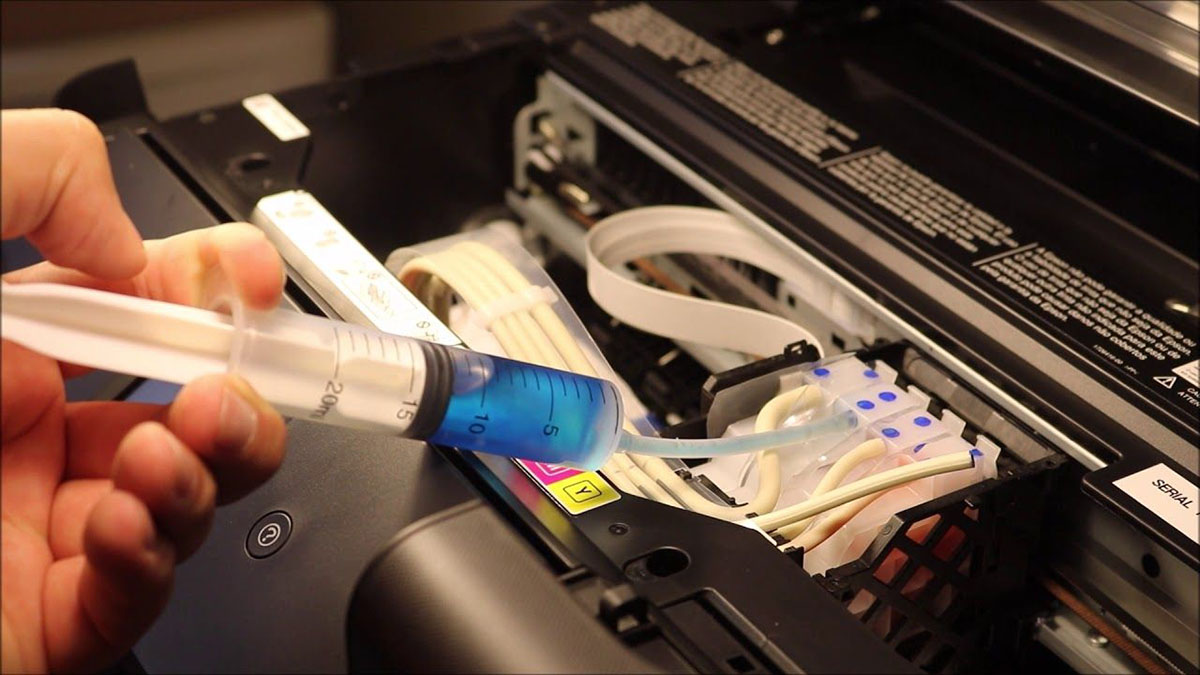
- Gather Cleaning Supplies: Assemble the cleaning supplies required for the process. This typically includes lint-free cloths, distilled water, cotton swabs, and isopropyl alcohol. It’s important to use high-quality, non-abrasive materials to avoid damaging the delicate components of the printer head.
- Printer Preparation: Power on your Epson printer and open the printer cover to access the printer head. Depending on your specific model, you may need to follow the printer’s user manual or on-screen instructions to position the printer head for cleaning. It’s crucial to follow the manufacturer’s guidelines to ensure the proper handling of the printer head.
- Review User Manual: Take a moment to review your printer’s user manual for detailed instructions on cleaning the printer head. Epson provides specific guidelines and recommendations for cleaning the printer head, and familiarizing yourself with these instructions is essential for a successful cleaning process.
- Exercise Caution: Handling the printer head and cleaning the delicate components requires a gentle touch and careful attention to detail. Avoid using excessive force or harsh cleaning agents, as this can damage the printer head and other internal mechanisms of the printer.
By diligently preparing for the cleaning process, you set the stage for a thorough and safe maintenance procedure that preserves the integrity of your Epson printer. Taking the time to gather the necessary supplies, review the manufacturer’s instructions, and create an optimal workspace demonstrates your commitment to maintaining your printer in top condition.
To clean the printer head on an Epson printer, you can use the built-in cleaning function in the printer settings. This can help remove any clogs or dried ink that may be affecting print quality.
Cleaning the Printer Head
Now that you’ve prepared your workspace and gathered the essential supplies, it’s time to embark on the process of cleaning the printer head of your Epson printer. Follow these step-by-step instructions to effectively clean the printer head and restore optimal performance:
- Access the Printer Head: Open the printer cover to access the printer head. Depending on your Epson printer model, the printer head may be accessible after initiating the cleaning cycle through the printer’s control panel or software interface. Refer to your printer’s user manual for specific instructions on accessing the printer head for cleaning.
- Inspect for Debris: Carefully examine the printer head for any visible debris, dried ink, or residue that may be obstructing the ink nozzles. Use a lint-free cloth lightly dampened with distilled water to gently wipe the exterior of the printer head and remove any surface impurities.
- Cleaning the Ink Nozzles: To address stubborn clogs or dried ink within the ink nozzles, use a cotton swab lightly moistened with isopropyl alcohol to delicately clean the nozzles. Avoid applying excessive pressure or using abrasive materials that could damage the delicate components of the printer head.
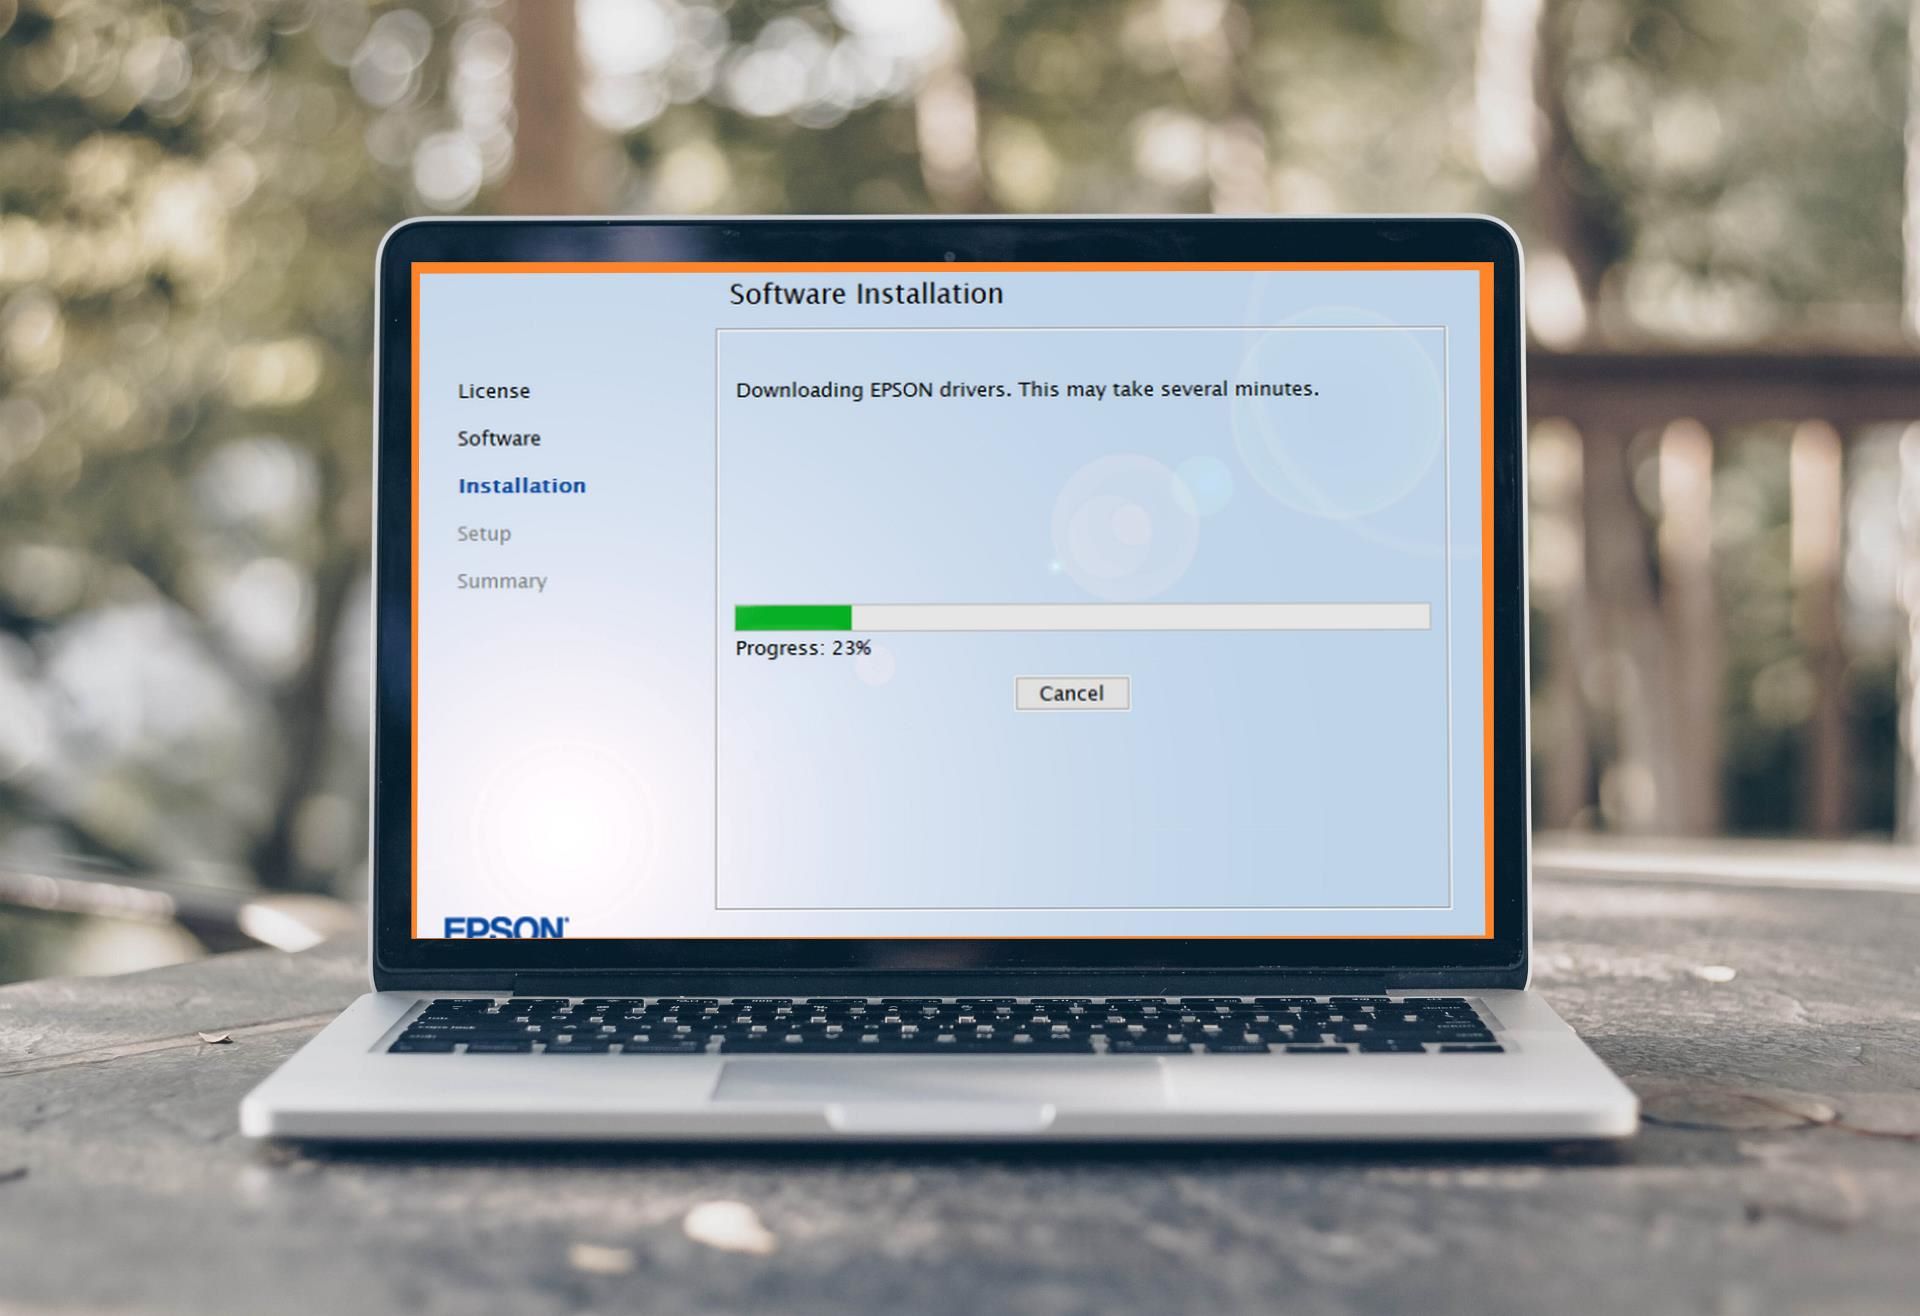
- Run Printer’s Cleaning Cycle: Initiate the printer’s cleaning cycle through the printer’s control panel or software interface. This automated process helps to flush out any remaining ink clogs and ensures that the printer head is thoroughly cleaned. Follow the on-screen prompts to complete the cleaning cycle.
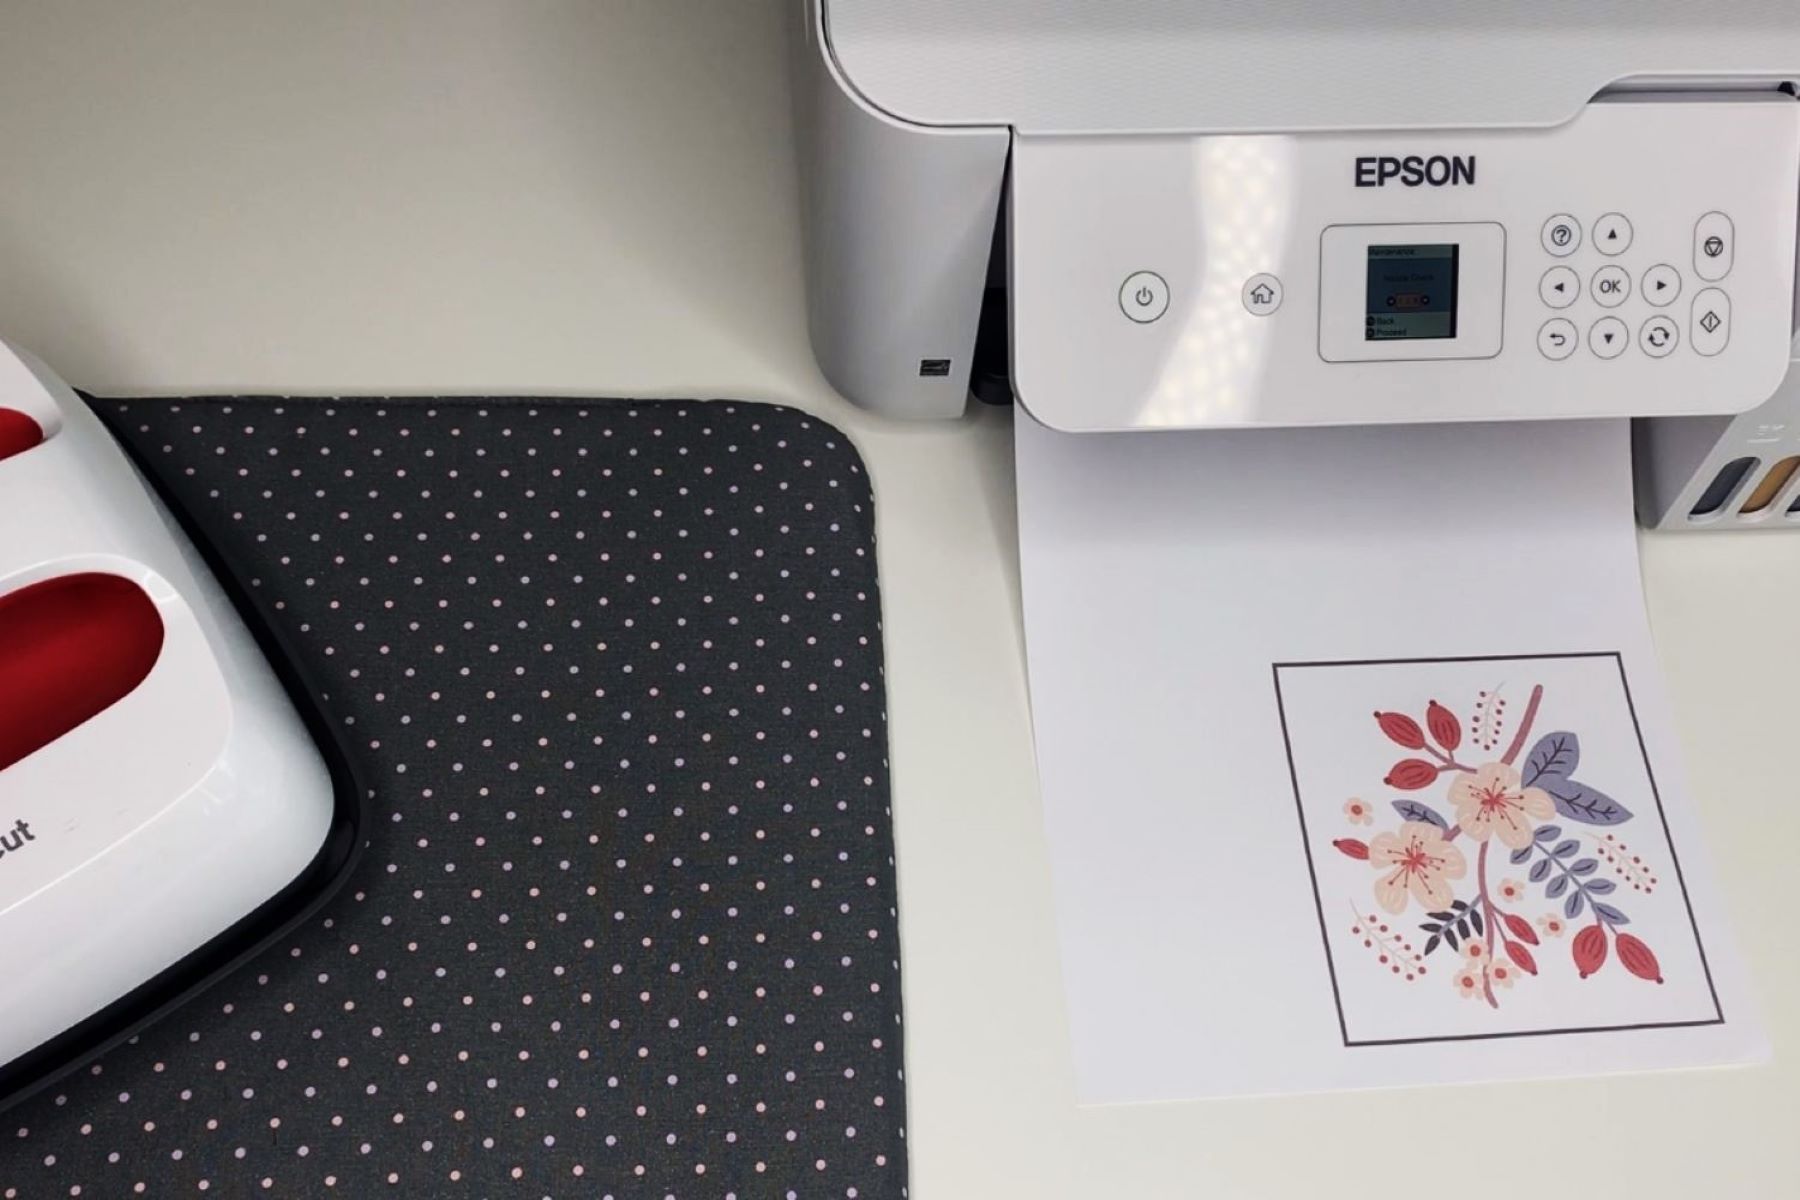
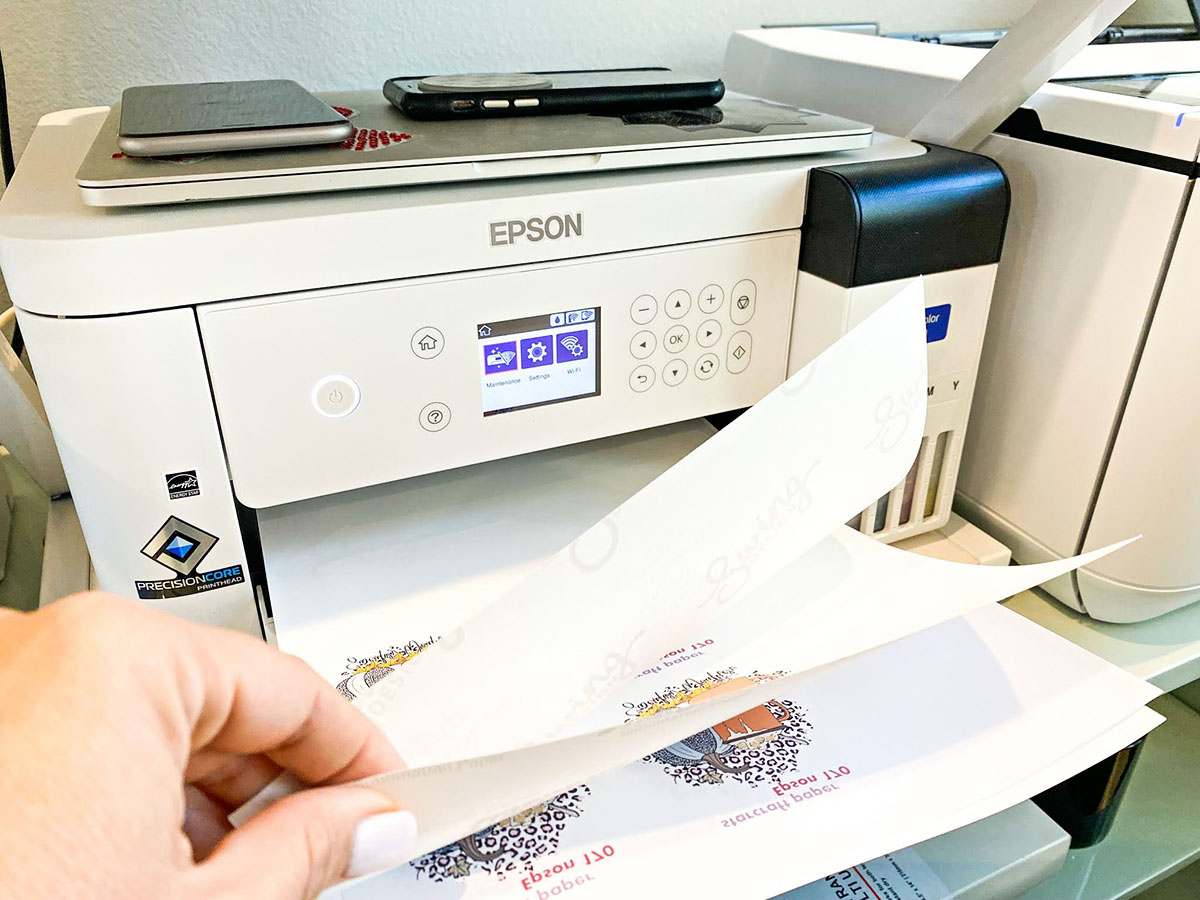
- Perform Test Prints: After completing the cleaning cycle, perform a series of test prints to assess the print quality and verify that the printer head is functioning optimally. Use a variety of documents and images to evaluate the color accuracy, clarity, and overall print quality.
Throughout the cleaning process, it’s important to exercise patience and precision, as the delicate nature of the printer head requires gentle handling and meticulous attention to detail. By following these steps, you can effectively clean the printer head of your Epson printer, ensuring that it continues to produce vibrant, high-quality prints with precision and consistency.
Read more: Epson Printer: How To Scan
Testing the Printer Head
After completing the cleaning process, it’s essential to conduct thorough testing to verify the effectiveness of the cleaning and ensure that your Epson printer’s printer head is functioning optimally. Follow these steps to conduct comprehensive testing of the printer head:
- Print Quality Assessment: Begin by printing a series of test documents and images to evaluate the print quality. Look for any remaining issues such as streaks, color inconsistencies, or faded areas that may indicate persistent clogs or irregularities in the printer head.
- Color Accuracy Check: Print a color accuracy test pattern or image to assess the printer head’s ability to reproduce accurate and vibrant colors. Verify that the colors appear true to the original source and that there are no noticeable deviations or distortions in the printed output.
- Text Clarity Evaluation: Print a text document with varying font sizes and styles to assess the clarity and sharpness of the text. Ensure that the text is consistently crisp and legible, indicating that the printer head is effectively depositing ink without interruptions or imperfections.
- Photograph Printing Test: Print a high-resolution photograph to evaluate the printer head’s ability to reproduce fine details, smooth gradients, and accurate color tones. Examine the printed image closely to identify any anomalies or artifacts that may indicate lingering issues with the printer head.
- Repeat Cleaning if Necessary: If you encounter persistent print quality issues during testing, consider repeating the cleaning process to address any remaining clogs or inconsistencies in the printer head. Thoroughly inspect the printer head for any signs of residual debris and perform targeted cleaning as needed.
By diligently testing the printer head after cleaning, you can confidently assess the impact of the maintenance process and ensure that your Epson printer is capable of delivering exceptional print quality. Identifying and addressing any lingering issues through comprehensive testing allows you to maintain the reliability and performance of your printer for future printing tasks.
Conclusion
Cleaning the printer head on your Epson printer is a fundamental aspect of printer maintenance that directly impacts the quality and consistency of your prints. By understanding the importance of the printer head, recognizing the signs of a clogged printer head, and following a systematic approach to cleaning and testing, you can effectively preserve the performance and longevity of your printer.
Regular maintenance, including cleaning the printer head, is key to ensuring that your Epson printer continues to produce stunning prints with vibrant colors, sharp details, and professional-grade quality. By incorporating the following key takeaways into your printer maintenance routine, you can optimize the performance of your Epson printer:
- Proactive Maintenance: Stay vigilant for signs of a clogged printer head and address any issues promptly to prevent print quality degradation and disruptions in your printing workflow.
- Thorough Cleaning Process: Follow a comprehensive cleaning process that includes inspecting, wiping, and delicately cleaning the printer head to remove debris and ink clogs effectively.
- Methodical Testing: Conduct thorough testing of the printer head after cleaning to verify print quality, color accuracy, and text clarity, ensuring that the printer head is functioning optimally.
- Reference User Manual: Consult your printer’s user manual for specific instructions and guidelines related to cleaning the printer head, as different Epson printer models may have unique cleaning procedures.
By embracing these practices and maintaining a proactive approach to printer maintenance, you can enjoy consistent and exceptional print quality from your Epson printer for years to come. The investment of time and care in cleaning and testing the printer head is a testament to your commitment to preserving the performance and reliability of your Epson printer, enabling you to bring your creative visions to life with confidence and precision.
With a well-maintained printer head, your Epson printer stands ready to transform your digital creations into tangible works of art, whether it’s a school project, a professional presentation, or a cherished photograph. Embrace the role of a diligent caretaker for your printer, and revel in the remarkable prints that reflect the seamless synergy of technology and creativity.
Frequently Asked Questions about How To Clean The Printer Head On Epson
Was this page helpful?
At Storables.com, we guarantee accurate and reliable information. Our content, validated by Expert Board Contributors, is crafted following stringent Editorial Policies. We're committed to providing you with well-researched, expert-backed insights for all your informational needs.


0 thoughts on “How To Clean The Printer Head On Epson”