Home>Technology>Home Entertainment Systems>How To Connect Epson Projector With Laptop
Home Entertainment Systems
How To Connect Epson Projector With Laptop
Modified: August 23, 2024
Learn how to connect your Epson projector with a laptop for seamless integration into your home entertainment system. Follow these simple steps for a hassle-free setup.
(Many of the links in this article redirect to a specific reviewed product. Your purchase of these products through affiliate links helps to generate commission for Storables.com, at no extra cost. Learn more)
Introduction
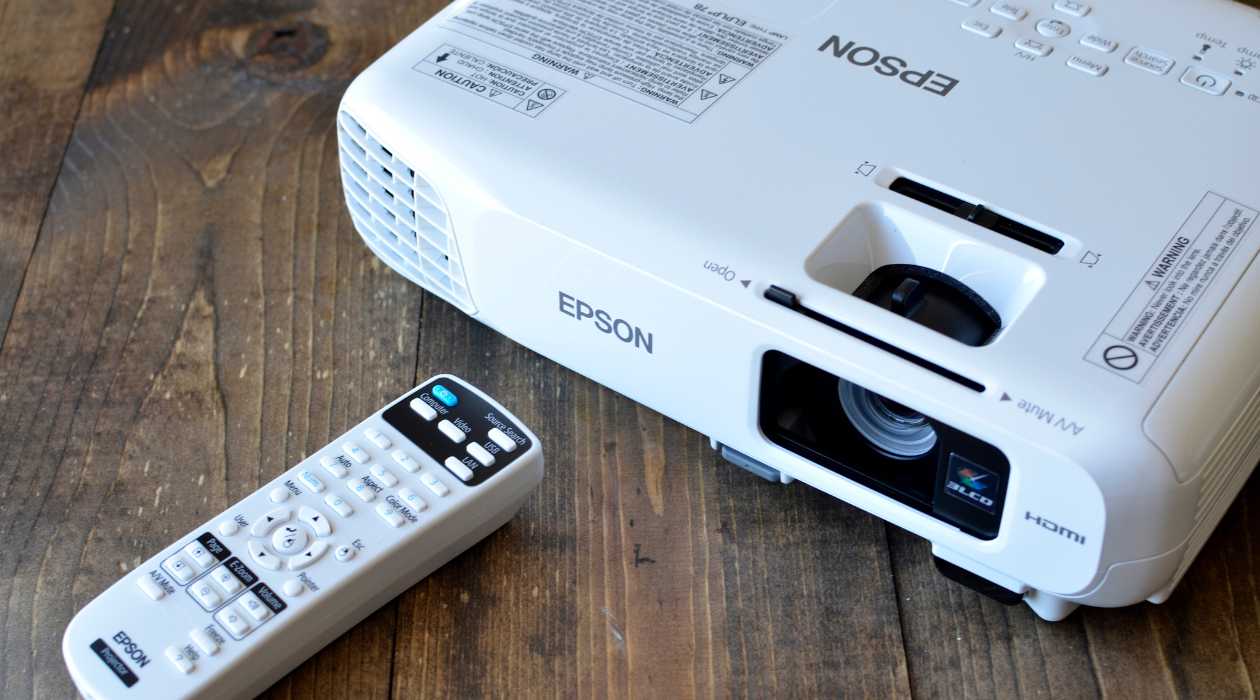
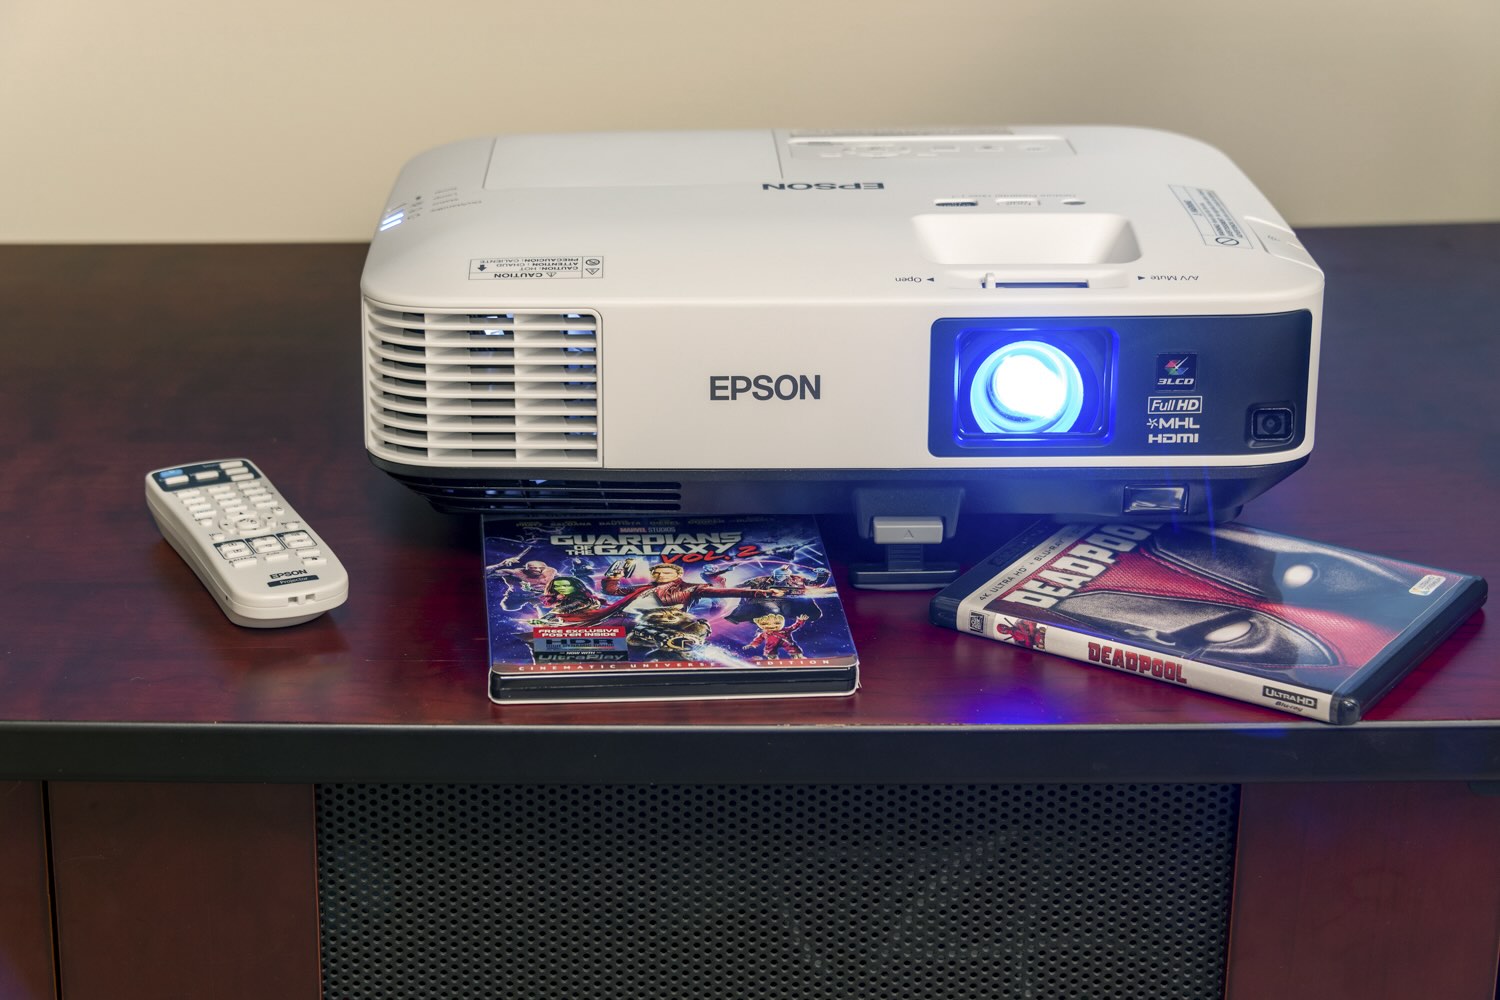
Welcome to the world of seamless connectivity and immersive viewing experience! In this guide, we will delve into the intricacies of connecting your Epson projector to a laptop. Whether you're gearing up for a captivating movie night, a compelling business presentation, or an engaging gaming session, the fusion of these two devices opens the gateway to a realm of visual delight.
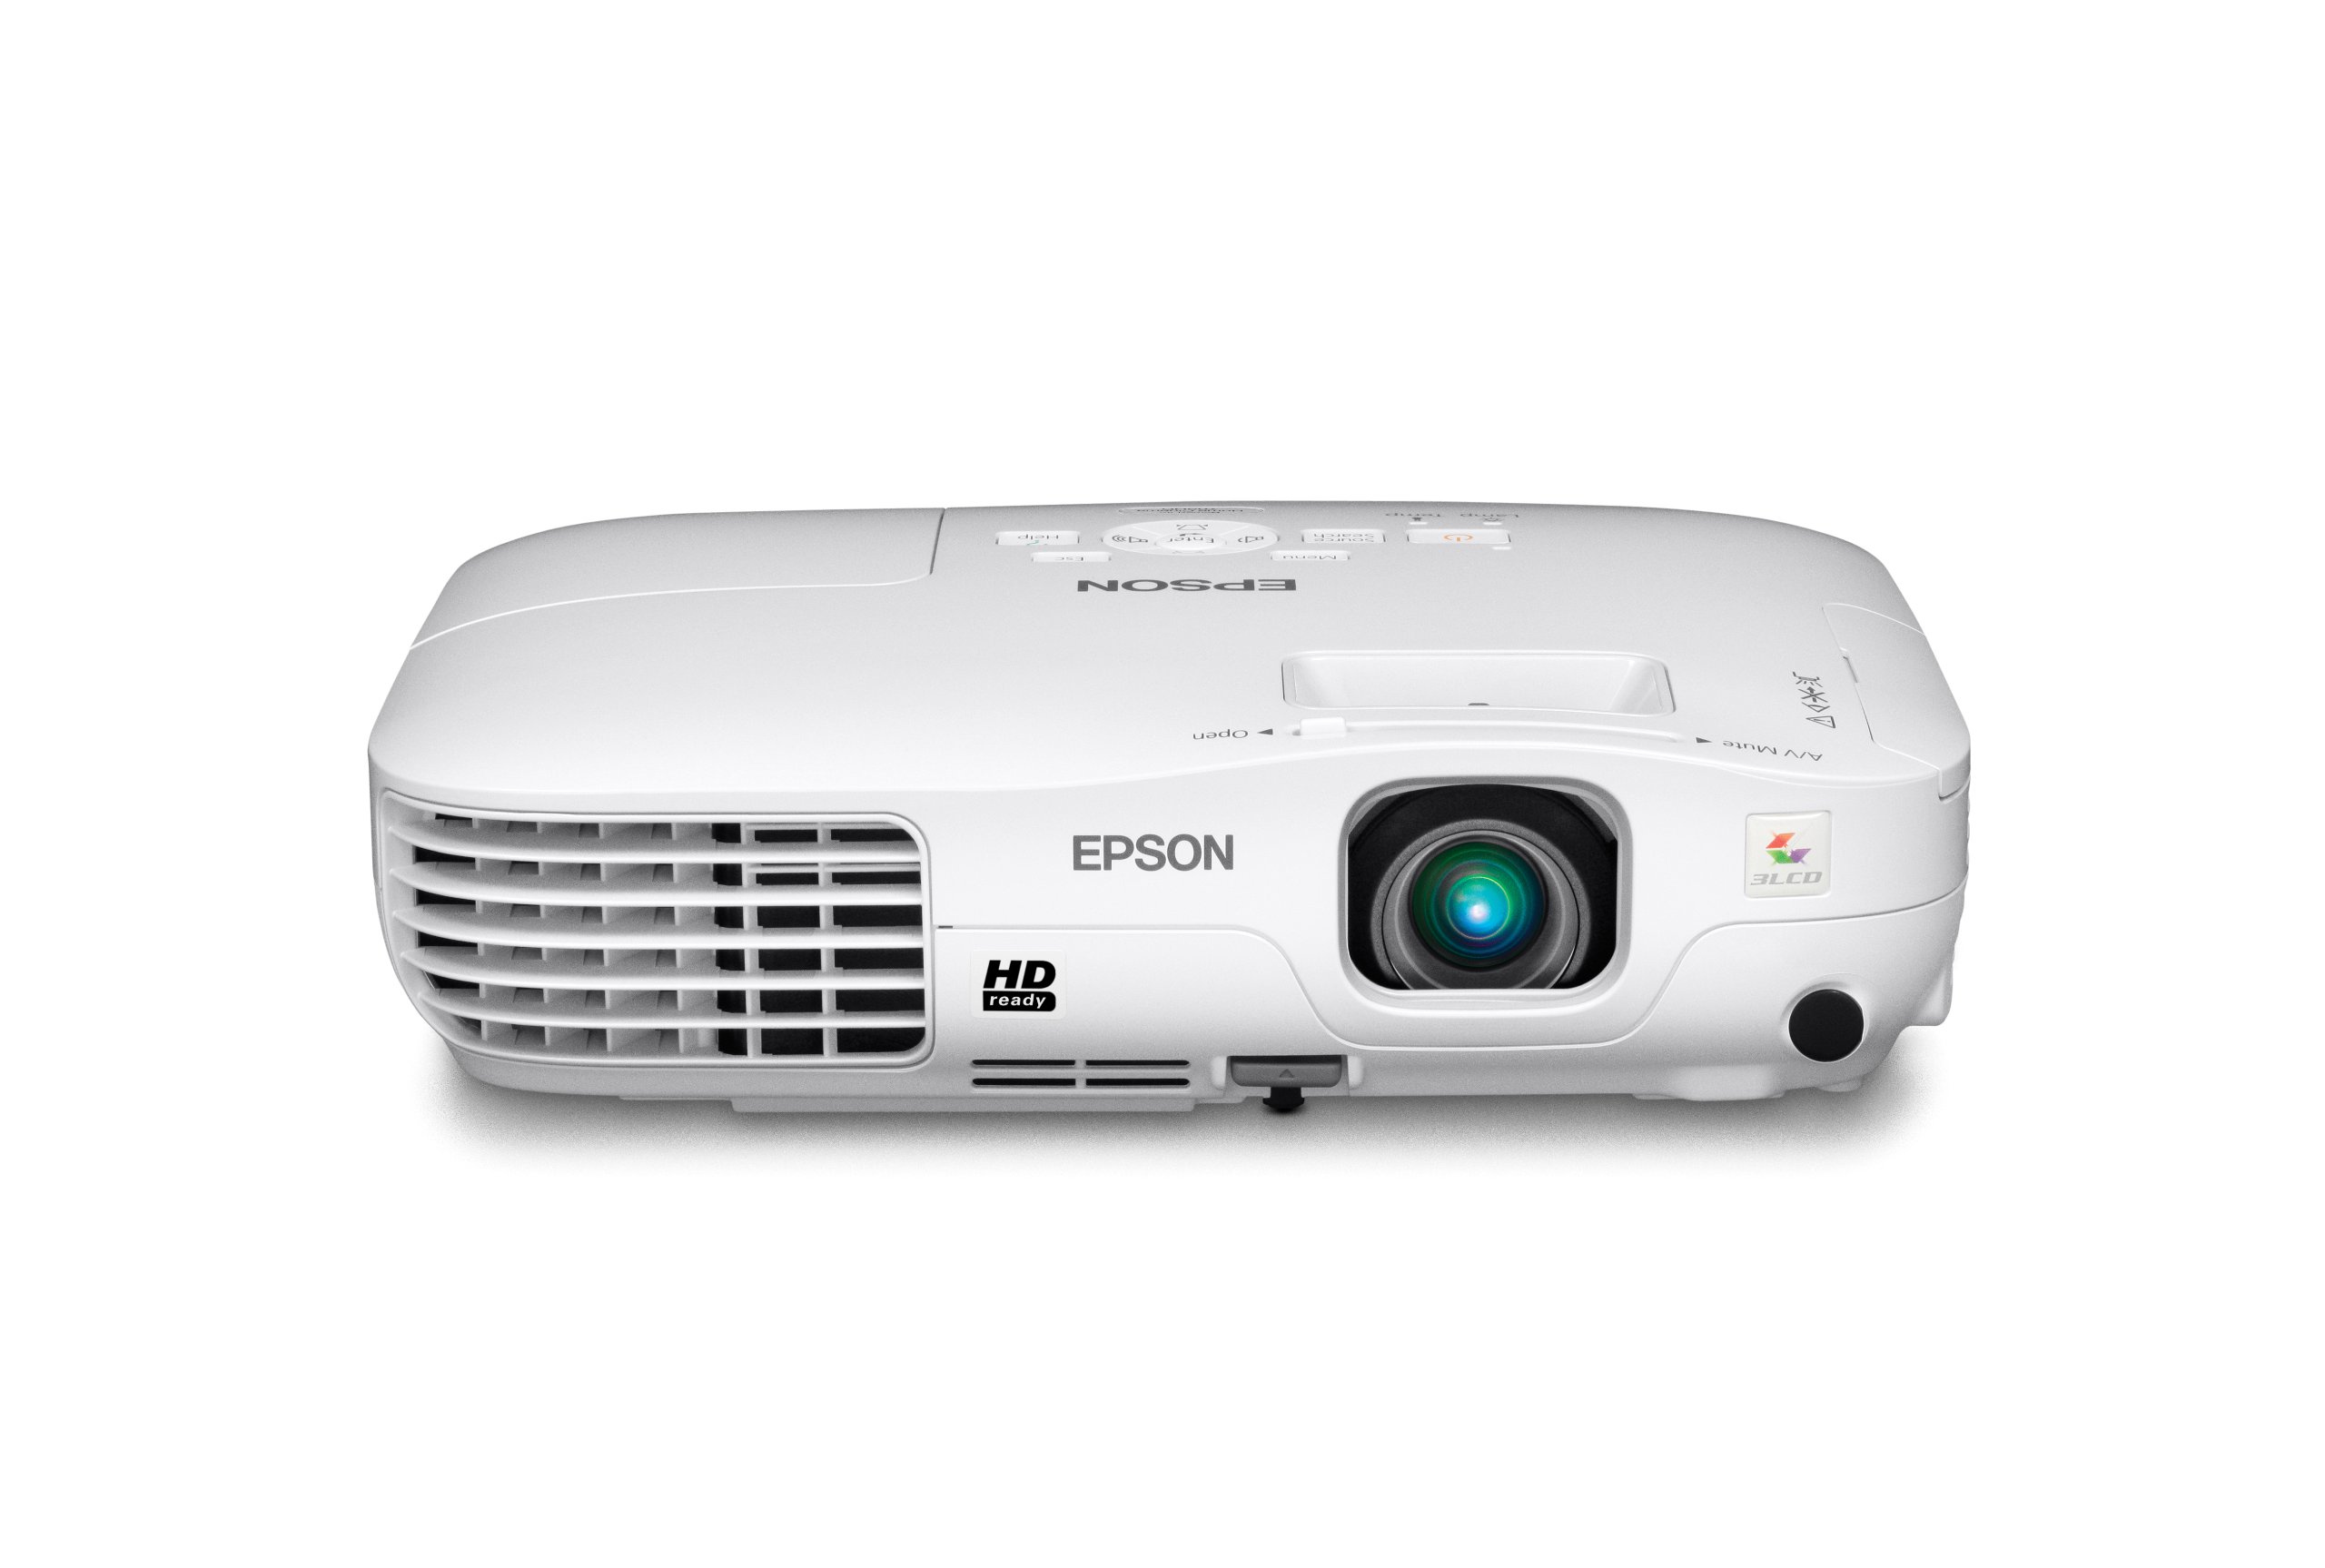
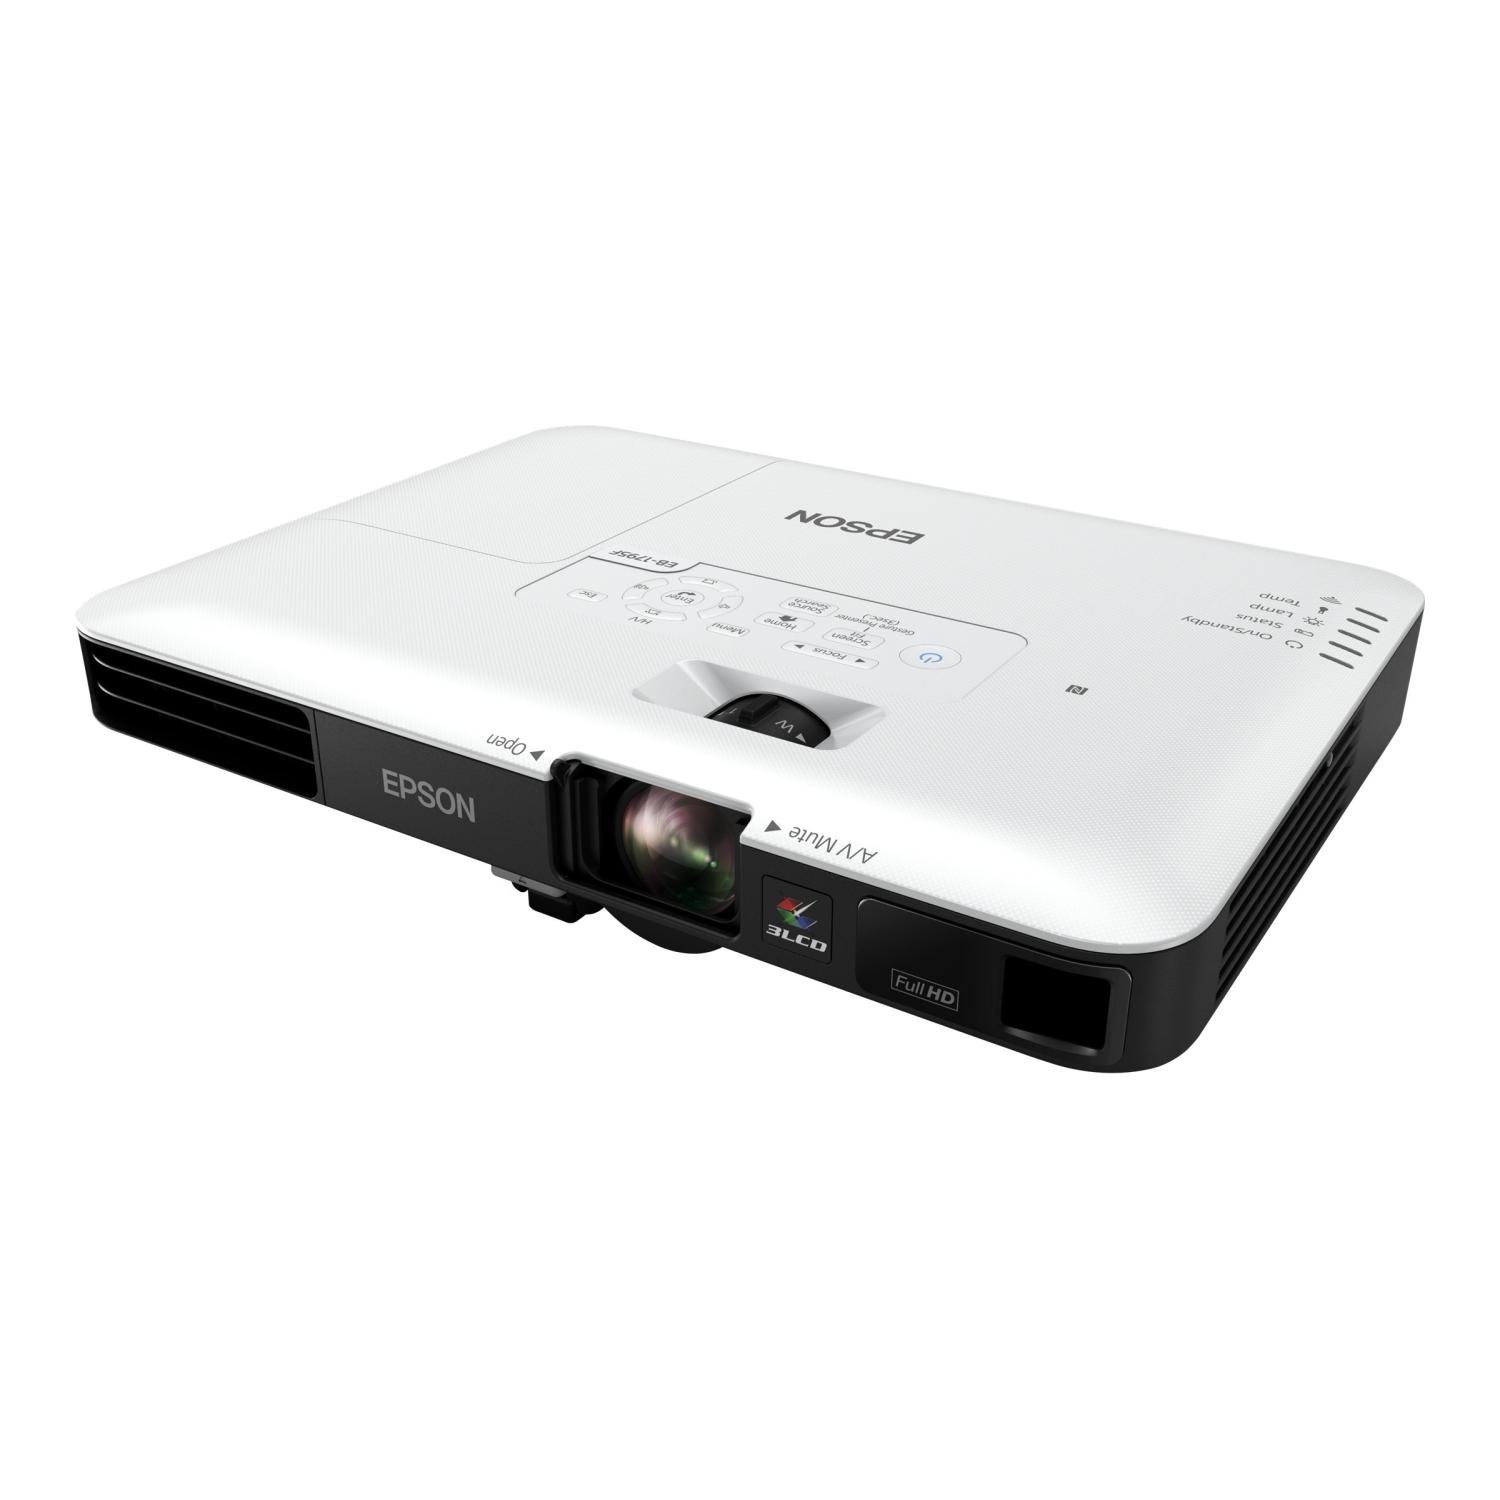
The Epson projector, renowned for its crisp image quality and versatile functionality, coupled with the agility and portability of a laptop, forms an ideal synergy for a multitude of scenarios. By intertwining these two powerhouses of modern technology, you can transform any space into a dynamic multimedia hub, where ideas come to life and entertainment takes center stage.
As we embark on this journey, we will unravel the steps to seamlessly connect your Epson projector to your laptop, ensuring that you make the most of their combined potential. From gathering the necessary cables and adapters to fine-tuning display settings, we will navigate through each stage with clarity and precision.
So, whether you're a tech enthusiast eager to explore the possibilities of connectivity or a professional seeking to deliver impactful presentations, join us as we demystify the process of connecting an Epson projector with a laptop. Get ready to elevate your visual experiences and unlock the full potential of these cutting-edge devices. Let's dive in and harness the power of seamless integration!
Key Takeaways:
- Elevate your visual experiences by seamlessly connecting your Epson projector to a laptop. Gather the necessary cables and adapters, establish a robust physical connection, and fine-tune display settings for captivating multimedia experiences.
- Unleash the full potential of your interconnected devices for immersive visual experiences. Test the connection between your Epson projector and laptop to ensure seamless audio and video transmission, and embrace the transformative power of seamless integration.
Step 1: Gather the Necessary Cables and Adapters
Before embarking on the journey of connecting your Epson projector to your laptop, it’s essential to gather the requisite cables and adapters to facilitate a seamless connection. The specific cables and adapters you’ll need may vary depending on the models of your projector and laptop. Here’s a comprehensive guide to help you assemble the necessary components:
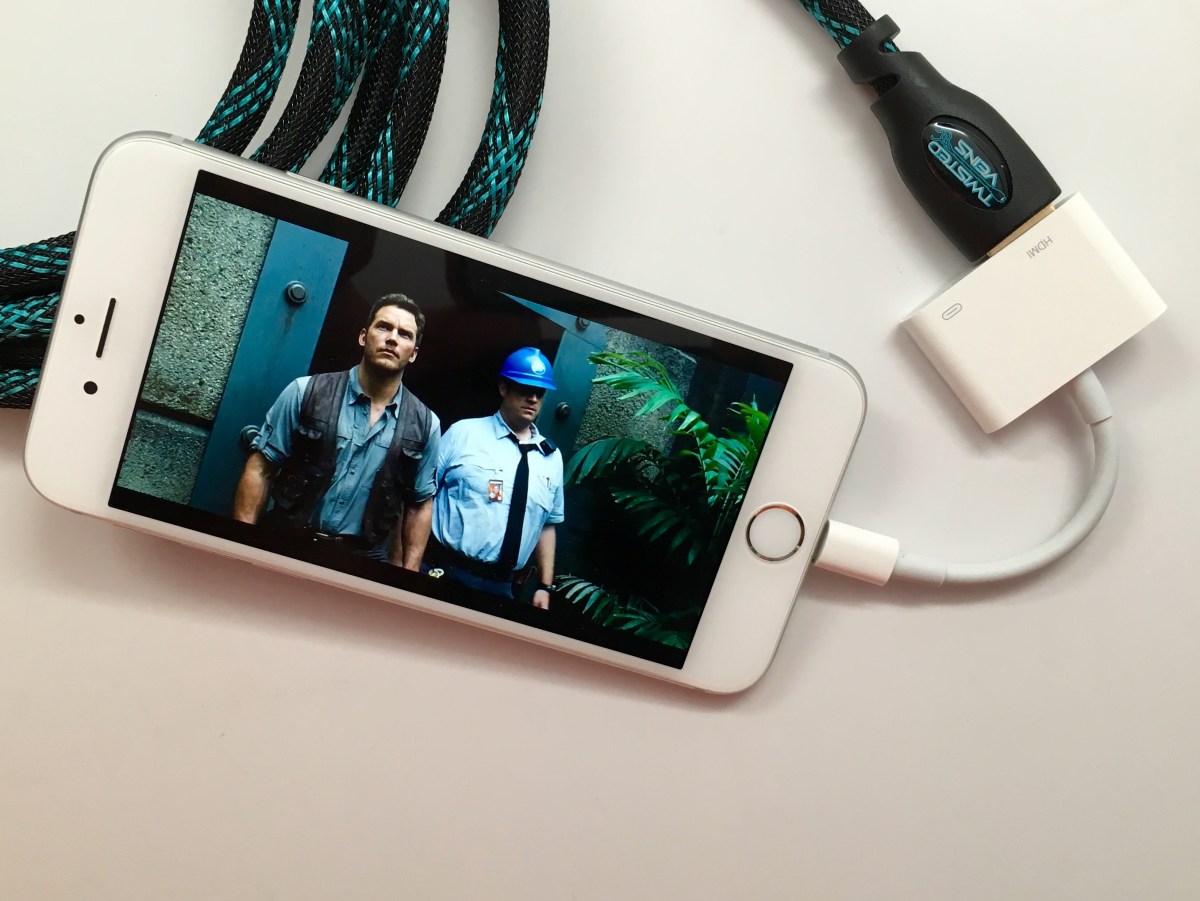
- HDMI Cable: In most cases, a high-definition multimedia interface (HDMI) cable serves as the primary conduit for transmitting audio and video signals between your laptop and the Epson projector. Ensure that you have an HDMI cable of sufficient length to bridge the distance between the two devices.
- VGA Cable (Optional): While HDMI is the preferred choice for modern laptops and projectors, some older devices may rely on a video graphics array (VGA) cable for video transmission. If your laptop or projector lacks an HDMI port, a VGA cable and a VGA-to-HDMI adapter can serve as an alternative connection method.
- Audio Cable (Optional): If you wish to route audio from your laptop to an external sound system or the projector’s built-in speakers, an audio cable with the appropriate connectors may be necessary. This is particularly relevant if your laptop and projector do not support audio transmission through the HDMI or VGA connection.
- Power Cables: Ensure that both the laptop and the Epson projector are connected to a power source using their respective power cables. A stable power supply is crucial for uninterrupted operation during the connection process.
- Adapters: Depending on the specific ports available on your laptop and projector, you may need adapters to bridge any interface disparities. Common adapters include HDMI-to-VGA, USB-C-to-HDMI, and USB-C-to-VGA adapters, among others. Verify the port types on your devices and acquire the necessary adapters to ensure compatibility.
By meticulously assembling these cables and adapters, you will lay the groundwork for a successful connection between your Epson projector and laptop. With the essential components in hand, you’re poised to embark on the next steps with confidence, knowing that you have the tools required to bridge the digital realms of your devices.
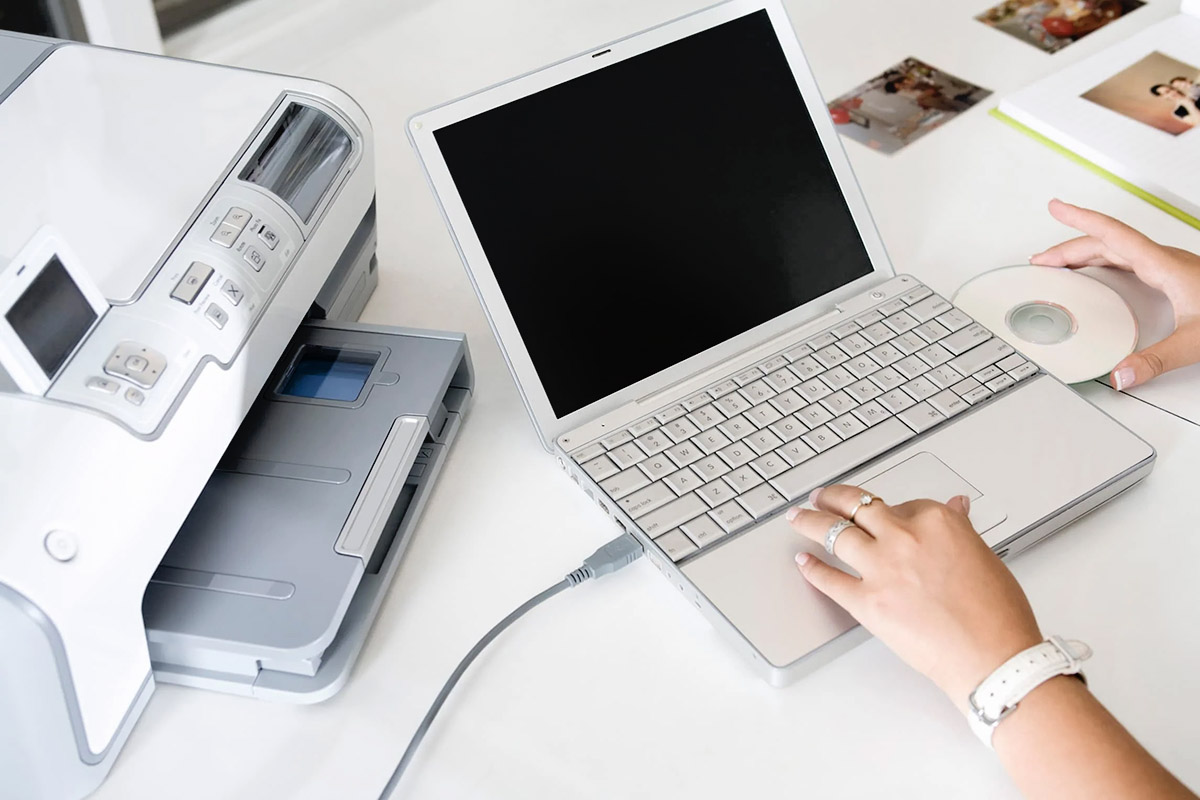
Step 2: Connect the Epson Projector to the Laptop
With the necessary cables and adapters at your disposal, it’s time to initiate the physical connection between your Epson projector and laptop. This pivotal step forms the foundation for seamless data transmission and visual synchronization. Follow these detailed instructions to establish a robust link between the two devices:
- Positioning the Devices: Begin by situating the Epson projector and the laptop within a suitable distance of each other, taking into account the length of the cables and the desired projection area. Ensure that both devices are placed on stable surfaces to prevent any accidental displacement during the connection process.
- Identifying the Ports: Examine the ports available on both the laptop and the Epson projector to identify the corresponding interfaces for video and audio transmission. Common port types include HDMI, VGA, and USB-C, among others. Refer to the user manuals of your devices to pinpoint the exact location of these ports.
- Connecting the HDMI Cable: If your laptop and projector feature HDMI ports, connect one end of the HDMI cable to the HDMI output port on your laptop and the other end to the HDMI input port on the Epson projector. Ensure a secure connection to prevent signal interruptions during operation.
- Using Adapters (If Necessary): If your laptop or projector requires the use of adapters to bridge interface gaps, connect the adapters to the respective ports before attaching the HDMI cable. This step is crucial for ensuring compatibility and uninterrupted data transmission.
- Securing the Audio Connection (If Applicable): If you intend to transmit audio from your laptop to the projector or an external sound system, connect the audio cable from the laptop’s audio output port to the corresponding input port on the projector or sound system. This step is essential for achieving synchronized audio-visual output.
- Powering Up the Devices: Once the physical connections are in place, power on both the laptop and the Epson projector using their respective power buttons or switches. Ensure that the devices are receiving adequate power to facilitate the transmission of audio and video signals.
By meticulously following these steps, you will establish a robust physical connection between your Epson projector and laptop, laying the groundwork for seamless data transmission and synchronized visual output. With the devices intricately linked, you’re now poised to embark on the next phase of the connection process, where display settings and configurations will take center stage.
Make sure your laptop and projector are both turned off before connecting. Use a compatible cable (HDMI, VGA, or USB) to connect the two devices. Turn on the projector first, then the laptop. Select the correct input source on the projector to see your laptop screen.
Step 3: Adjust Display Settings on the Laptop
Once the Epson projector and laptop are physically connected, it’s imperative to fine-tune the display settings on the laptop to optimize the visual output and ensure a harmonious projection experience. By configuring the display settings with precision, you can unleash the full potential of your connected devices and achieve a captivating visual display. Follow these essential steps to adjust the display settings on your laptop:
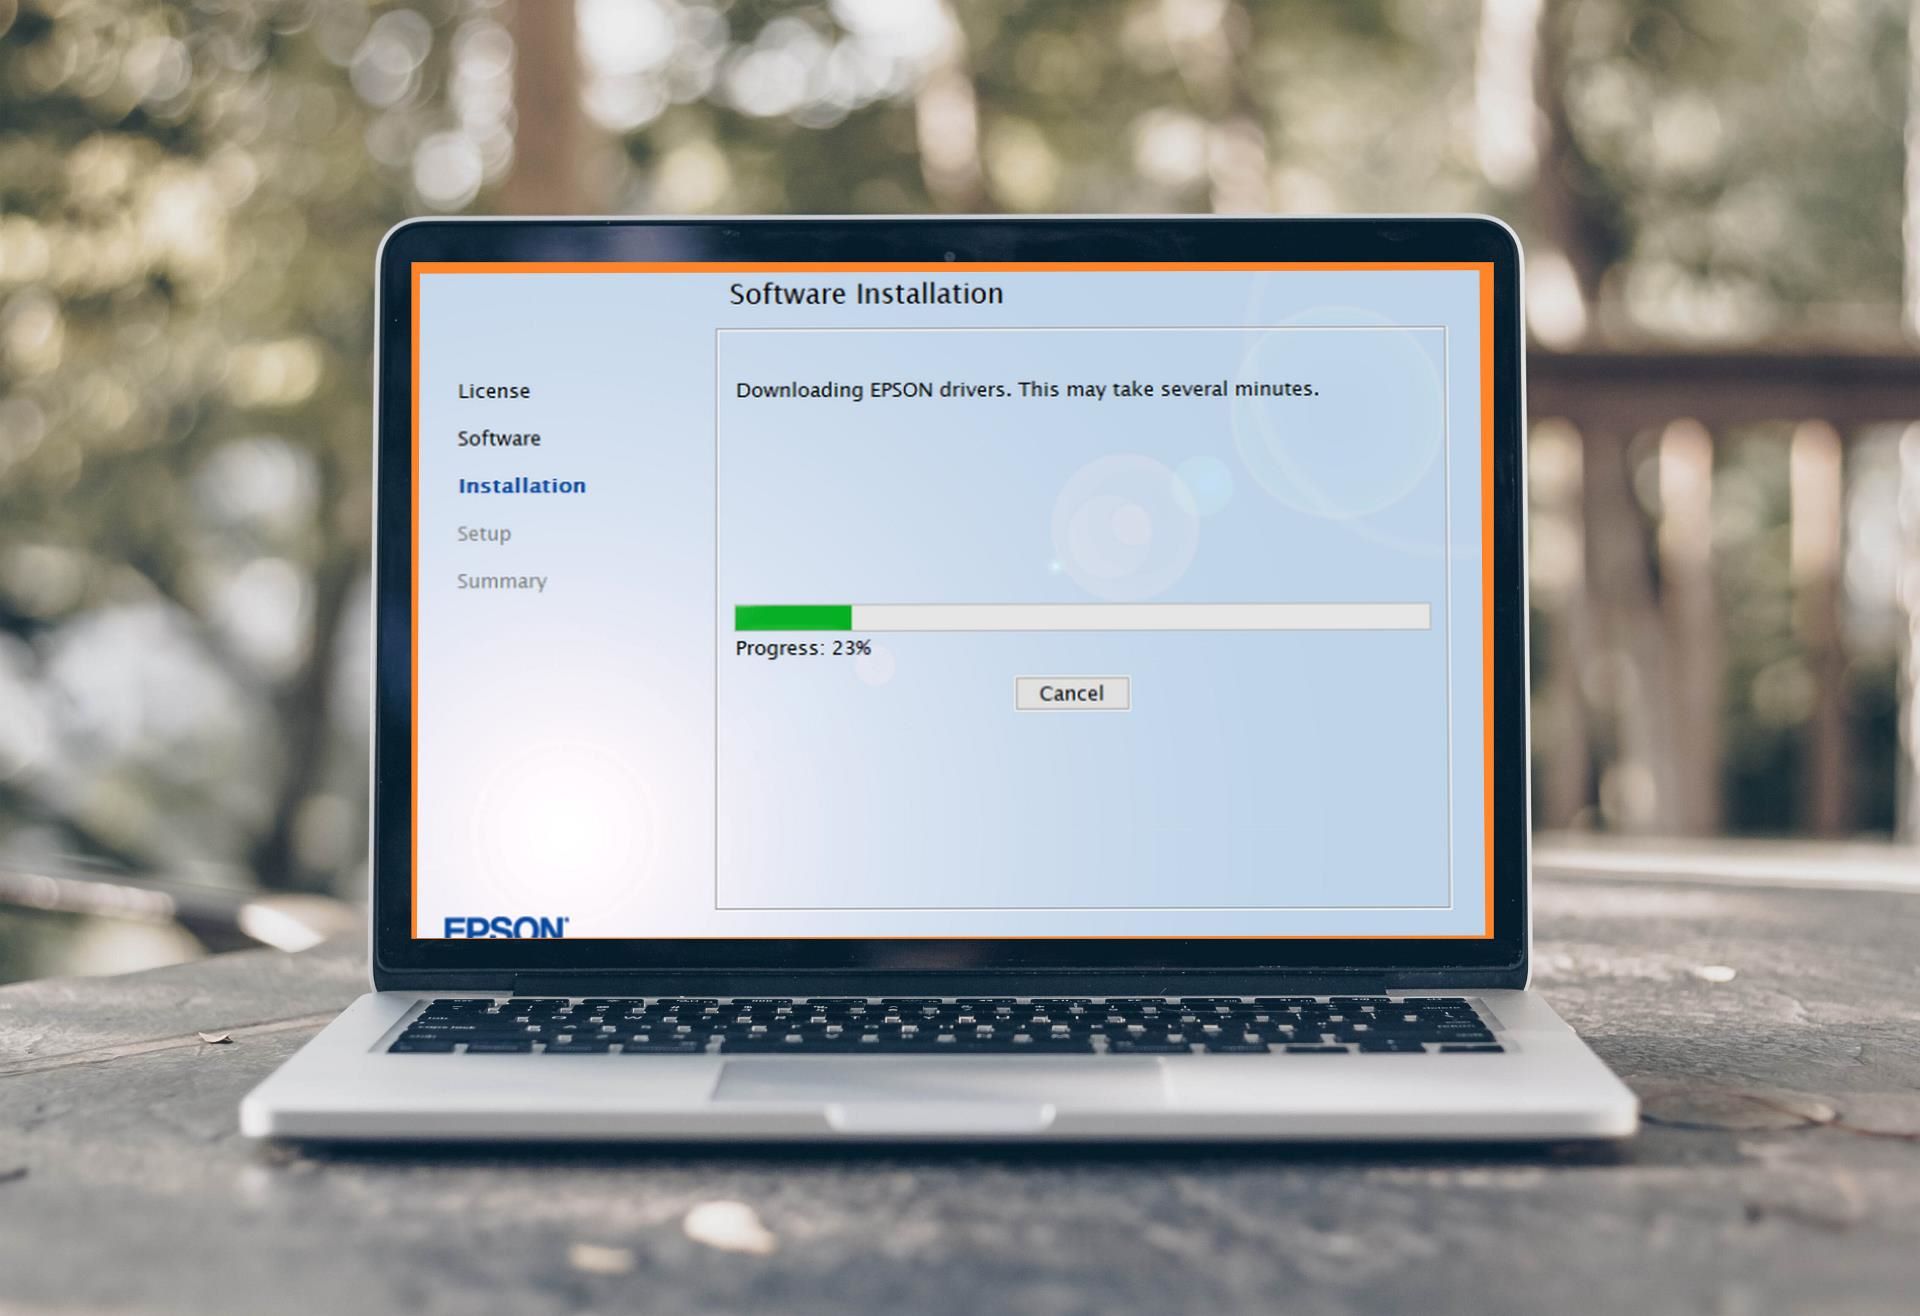
- Accessing Display Settings: Begin by navigating to the display settings on your laptop. Depending on the operating system (e.g., Windows, macOS, or Linux), access the display settings through the system preferences, control panel, or display settings menu.
- Identifying the Projector Display: Upon accessing the display settings, your laptop should detect the connected Epson projector as an additional display device. Identify the projector display within the settings menu to initiate the configuration process.
- Configuring Display Mode: Select the appropriate display mode based on your preferences and requirements. Common display modes include “Duplicate,” which mirrors the laptop screen on the projector, and “Extend,” which allows the projector to function as an independent display for presenting additional content.
- Adjusting Resolution and Orientation: Fine-tune the resolution and orientation settings to ensure optimal clarity and alignment of the projected content. Select a resolution that is compatible with the native resolution of the Epson projector to achieve sharp and detailed visuals.
- Setting the Primary Display (If Applicable): If you opt for the “Extend” display mode, designate whether the laptop or the projector serves as the primary display for your computing activities. This setting determines the positioning of windows and applications across the connected displays.
- Configuring Audio Output (If Needed): If audio is being routed through the HDMI or audio cable to the projector or an external sound system, ensure that the laptop’s audio output is directed to the appropriate destination. Adjust the audio output settings to synchronize the audio with the visual content.
By meticulously adjusting the display settings on your laptop, you will optimize the visual output and seamlessly integrate the Epson projector into your computing environment. This meticulous configuration ensures that your content is projected with precision and clarity, setting the stage for impactful presentations, immersive entertainment, and seamless multitasking across connected displays.
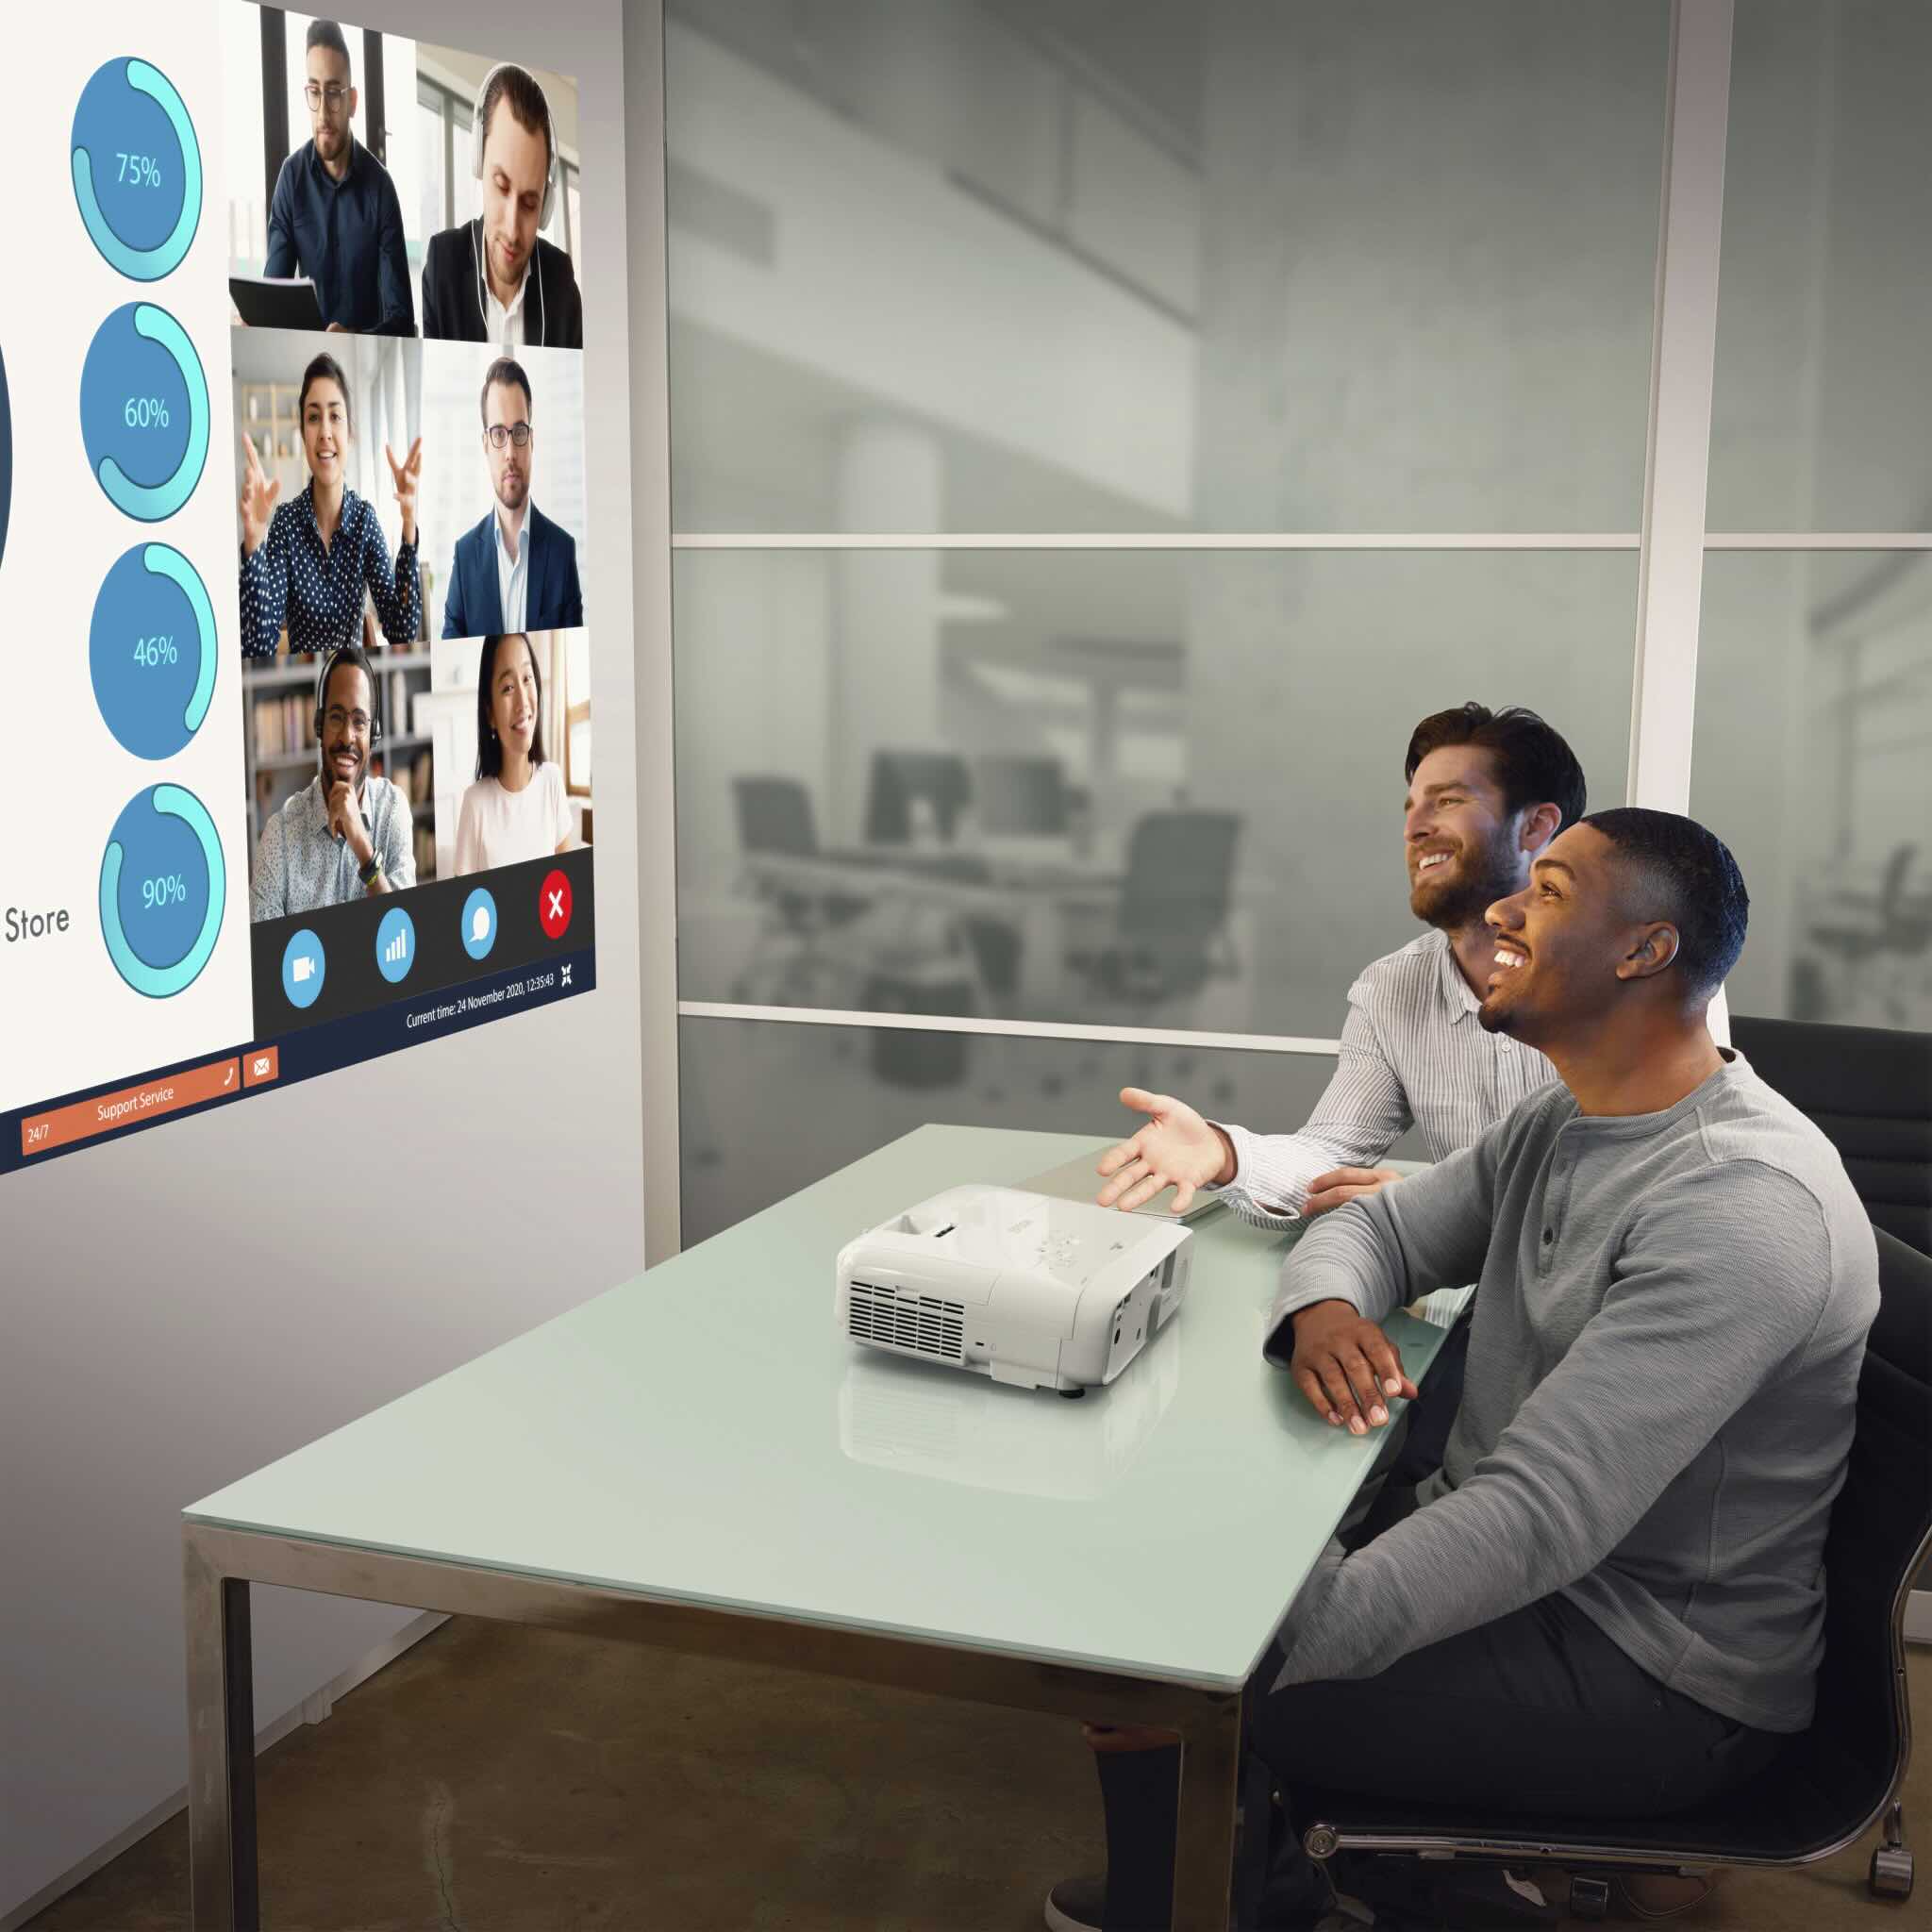
Step 4: Test the Connection
With the physical connection established and the display settings configured, it’s time to put the connectivity between your Epson projector and laptop to the test. Testing the connection serves as a crucial validation step, ensuring that audio and video signals flow seamlessly between the devices and that the projected content meets your expectations. Follow these essential steps to verify the integrity of the connection and troubleshoot any potential issues:
- Initiating Projection: Begin by activating the projection feature on your laptop. Depending on the operating system and hardware configuration, this may involve pressing a dedicated key combination (e.g., “Fn” + “F8”) to toggle the display output to the connected projector.
- Verifying Projection Source: On the Epson projector, select the appropriate input source that corresponds to the port to which your laptop is connected (e.g., HDMI or VGA). This ensures that the projector recognizes the incoming signal from your laptop.
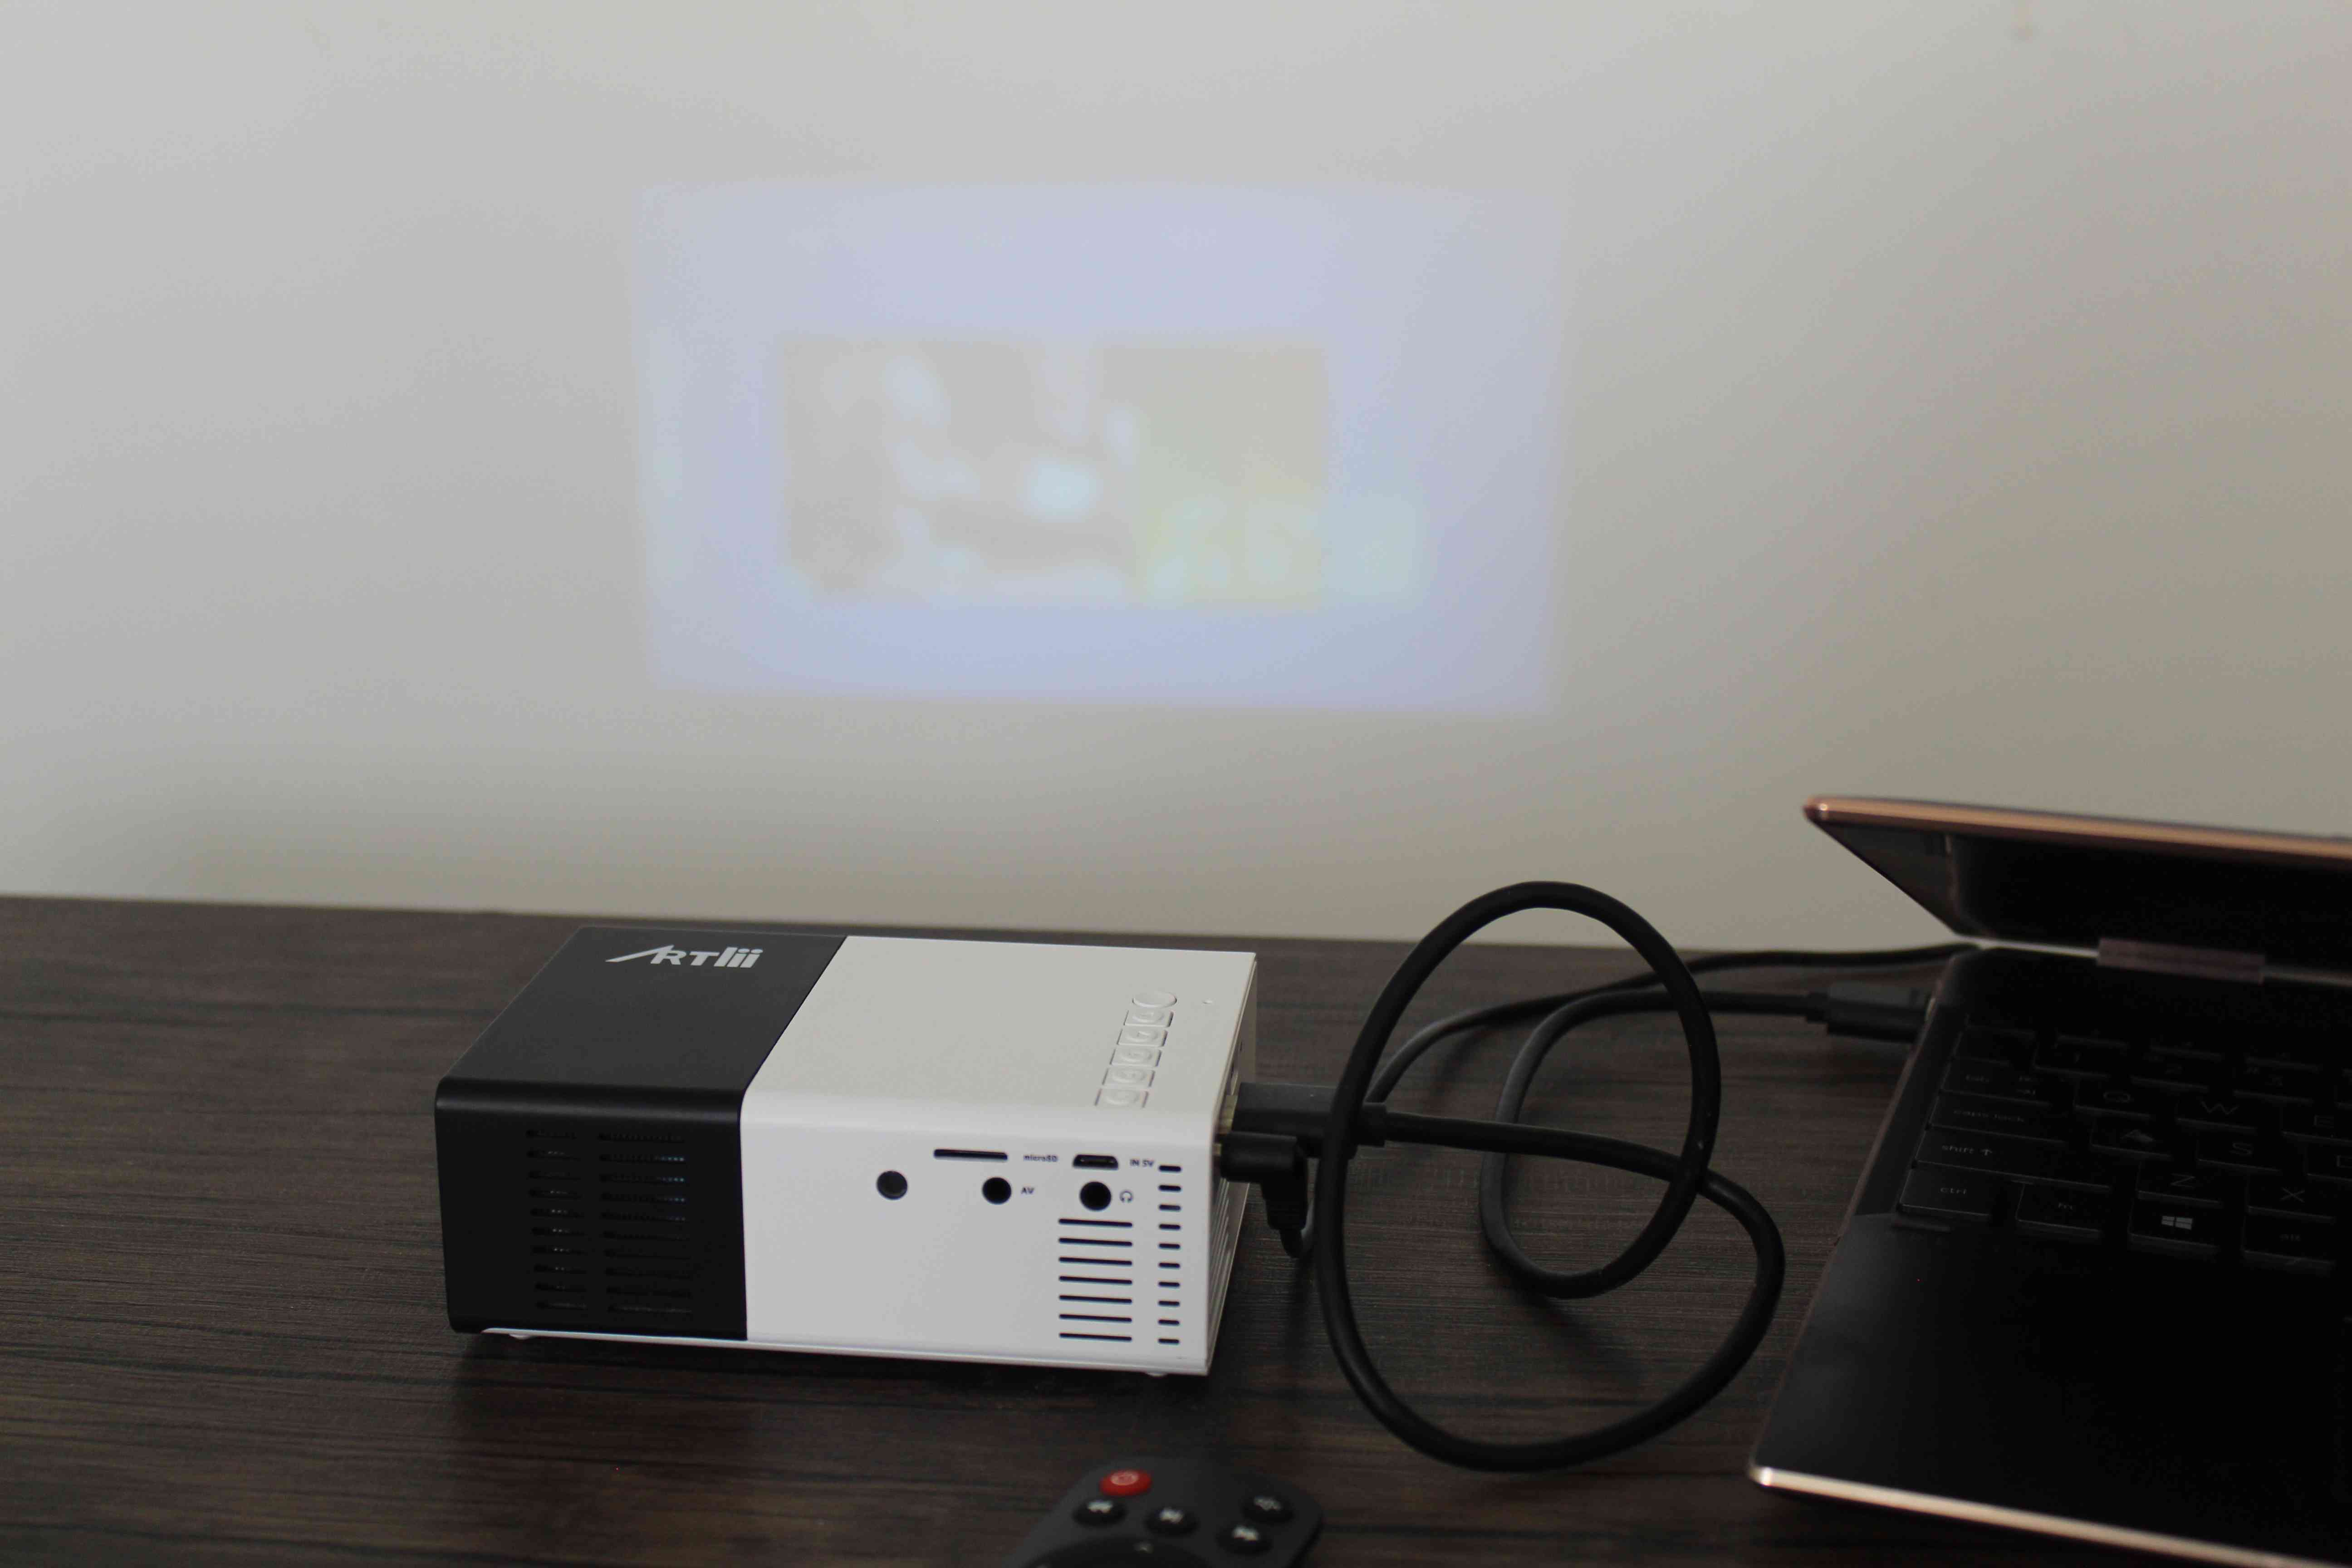
- Displaying Test Content: Open a test document, presentation, or media file on your laptop to generate visual and audio output for projection. This step allows you to verify that the projected content accurately mirrors the display on your laptop and that audio, if applicable, is transmitted seamlessly.
- Adjusting Image Alignment and Quality: Fine-tune the projector’s focus, zoom, and keystone correction settings to optimize the clarity and alignment of the projected image. This step ensures that the visual output meets your desired standards and is free from distortions or misalignments.
- Testing Audio Playback (If Relevant): If audio is being transmitted to the projector or an external sound system, play a test audio file or video with sound to verify the quality and synchronization of the audio output. Adjust the volume levels as needed to achieve an optimal auditory experience.
- Ensuring Seamless Operation: Interact with the projected content using your laptop to ensure that applications, videos, and presentations function seamlessly across the connected displays. Test the responsiveness of the projected content to user input and interactions.
By meticulously testing the connection between your Epson projector and laptop, you can validate the integrity of the setup and address any potential issues that may arise. This step serves as a pivotal checkpoint, ensuring that the combined functionality of the devices culminates in a seamless and immersive visual experience. With the connection thoroughly tested and validated, you’re now ready to unleash the full potential of your interconnected devices for a myriad of applications and scenarios.
Read more: How To Connect Epson Projector To Mac
Conclusion
Congratulations on successfully navigating the intricacies of connecting your Epson projector to your laptop! By following the comprehensive steps outlined in this guide, you’ve unlocked the potential for immersive visual experiences, impactful presentations, and seamless integration of multimedia devices. As you reflect on the journey of seamless connectivity, it’s essential to acknowledge the transformative power that emerges from the fusion of these cutting-edge technologies.
From the initial stage of gathering the necessary cables and adapters to the meticulous configuration of display settings, you’ve embraced the convergence of modern computing and projection technologies with precision and finesse. The synergy between your Epson projector and laptop opens the door to a myriad of possibilities, whether you’re indulging in cinematic adventures, delivering compelling presentations, or engaging in collaborative work environments.
As you stand at the precipice of this seamless integration, envision the boundless opportunities that await. The ability to seamlessly project your laptop’s content onto a larger canvas empowers you to captivate audiences, visualize ideas on a grand scale, and immerse yourself in the rich tapestry of multimedia experiences. Whether it’s the thrill of cinematic escapades, the dynamism of business presentations, or the collaborative spirit of interactive learning, the connection between your Epson projector and laptop serves as the conduit for boundless creativity and innovation.
Embrace the seamless connectivity as a catalyst for transformative experiences, where ideas flourish, narratives unfold, and visual storytelling takes center stage. The fusion of these devices transcends mere technological integration; it fosters a realm where imagination knows no bounds and where the boundaries between the digital and physical worlds blur into a seamless tapestry of creativity.
As you embark on your journey of seamless integration, may the connection between your Epson projector and laptop serve as a gateway to new horizons, where every projection becomes a canvas for inspiration, every presentation a stage for influence, and every visual encounter an immersive odyssey. Embrace the power of seamless integration, and let your imagination unfurl across the expansive canvas of interconnected possibilities.
Frequently Asked Questions about How To Connect Epson Projector With Laptop
Was this page helpful?
At Storables.com, we guarantee accurate and reliable information. Our content, validated by Expert Board Contributors, is crafted following stringent Editorial Policies. We're committed to providing you with well-researched, expert-backed insights for all your informational needs.


0 thoughts on “How To Connect Epson Projector With Laptop”