Home>Technology>Smart Home Devices>How To Scan From A HP Printer
Smart Home Devices
How To Scan From A HP Printer
Modified: February 18, 2024
Learn how to easily scan from your HP printer to your smart home devices. Follow our step-by-step guide for seamless scanning.
(Many of the links in this article redirect to a specific reviewed product. Your purchase of these products through affiliate links helps to generate commission for Storables.com, at no extra cost. Learn more)
Introduction
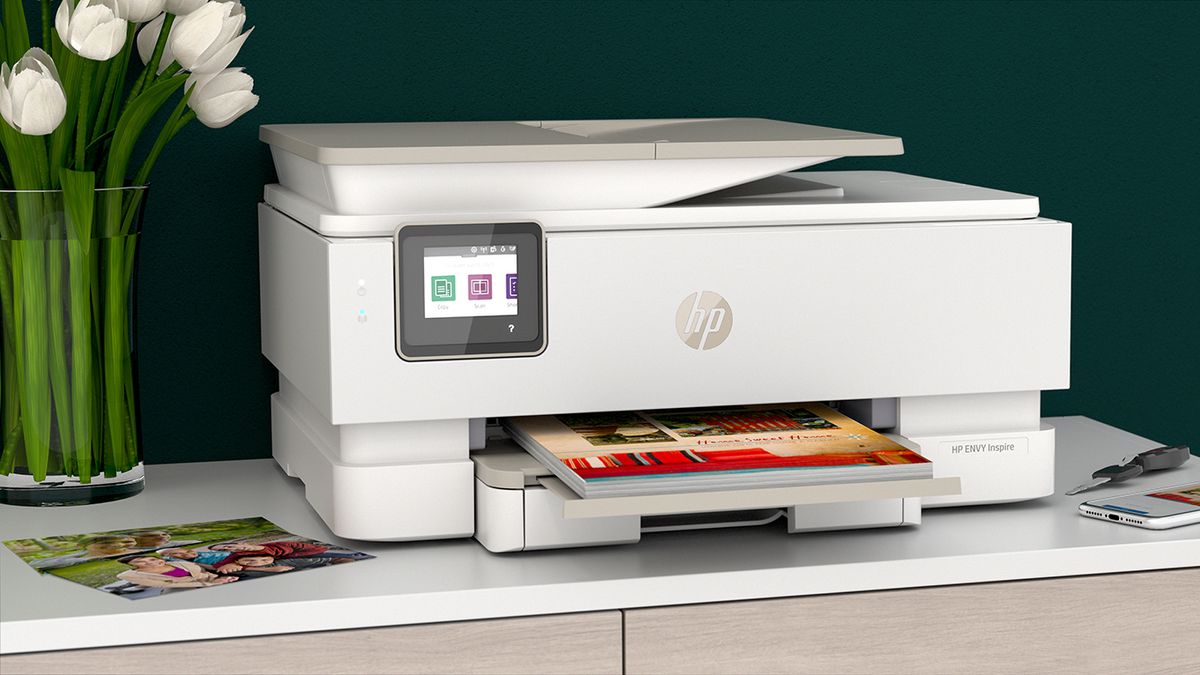
Welcome to the world of smart home devices, where convenience meets innovation. In this article, we'll delve into the seamless process of scanning documents from your HP printer. As technology continues to evolve, HP has remained at the forefront of providing cutting-edge solutions for everyday tasks. With the ability to scan documents directly from your HP printer, the days of cumbersome scanning processes are a thing of the past. Whether you're digitizing important paperwork or creating electronic copies of cherished memories, the simplicity of scanning from your HP printer is a game-changer.
Join us as we explore the step-by-step process of scanning from your HP printer, unlocking the potential of this multifunctional device. From checking the scanner to saving the scanned document, we'll guide you through each stage with clarity and precision. Embrace the ease of digitization and the power of modern technology as we embark on this enlightening journey. Let's dive into the world of scanning from your HP printer and discover the effortless convenience it brings to your daily routine.
Key Takeaways:
- Scanning from your HP printer is a breeze! Just check the scanner, place the document, start the scan, and save it for easy access. Embrace the convenience of digitizing your documents effortlessly.
- With your HP printer, scanning documents becomes a seamless and rewarding experience. From digitizing important paperwork to sharing documents with colleagues, it’s a game-changer for productivity and connectivity.
Read more: How To Scan From Mac To HP Printer
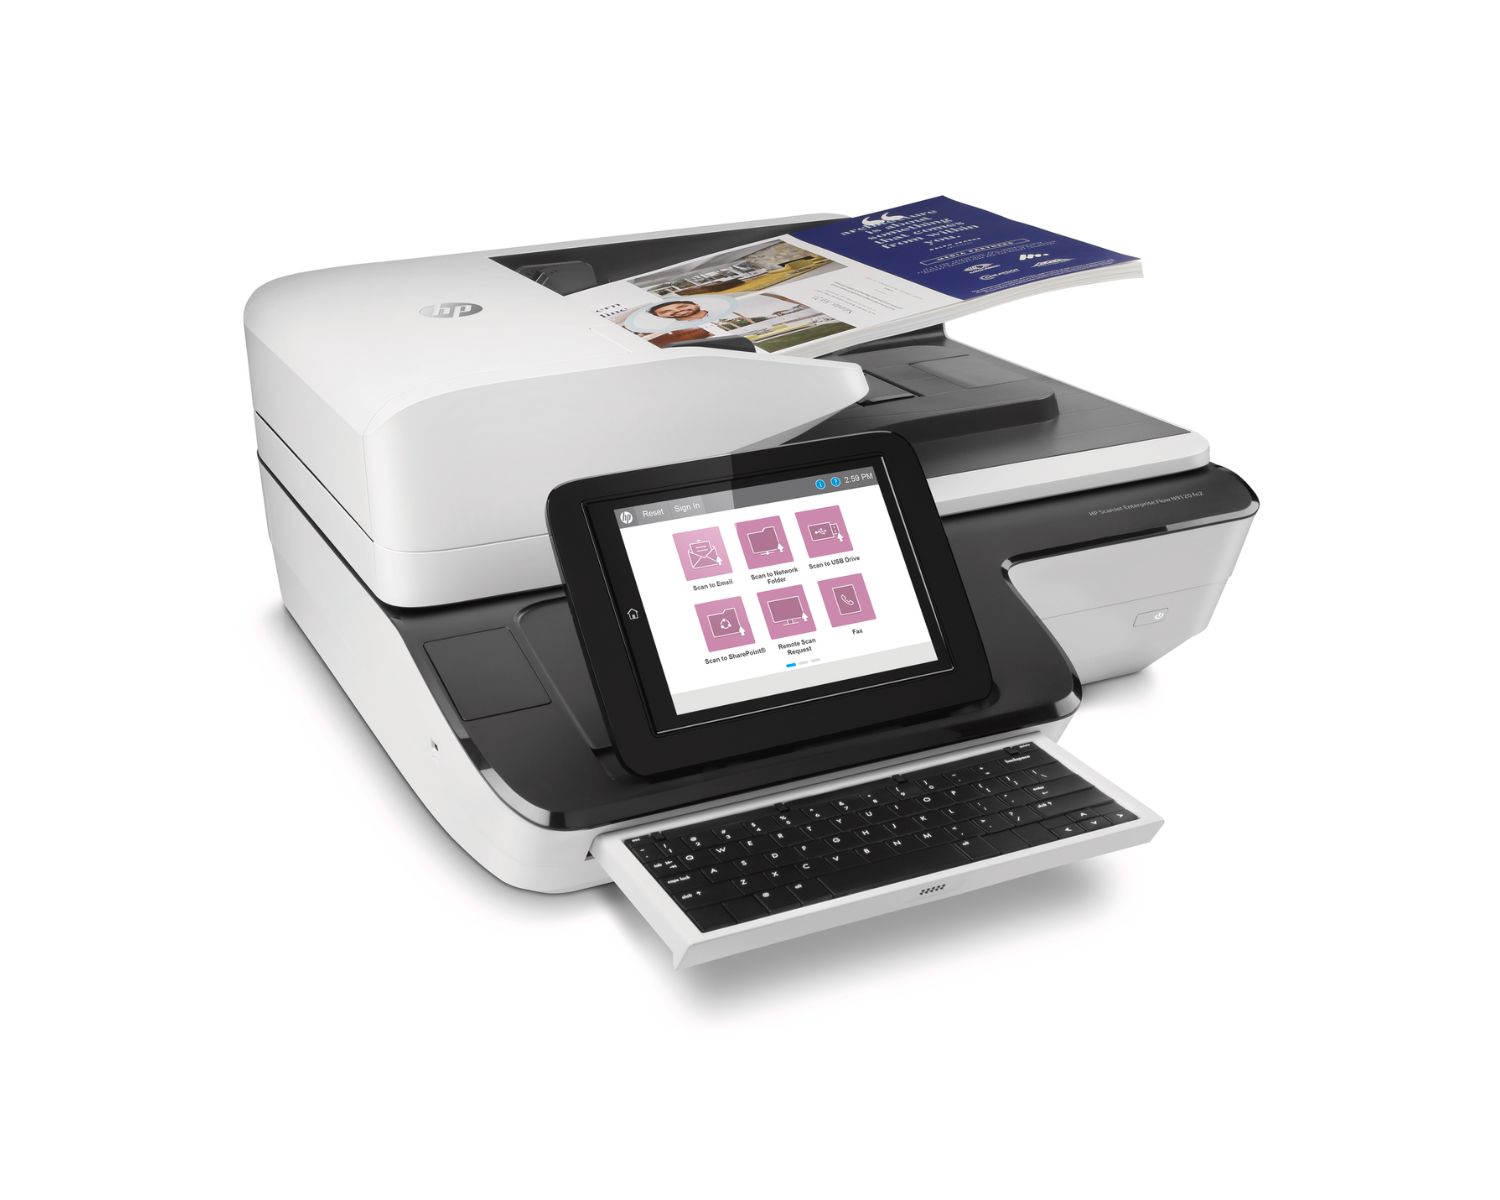
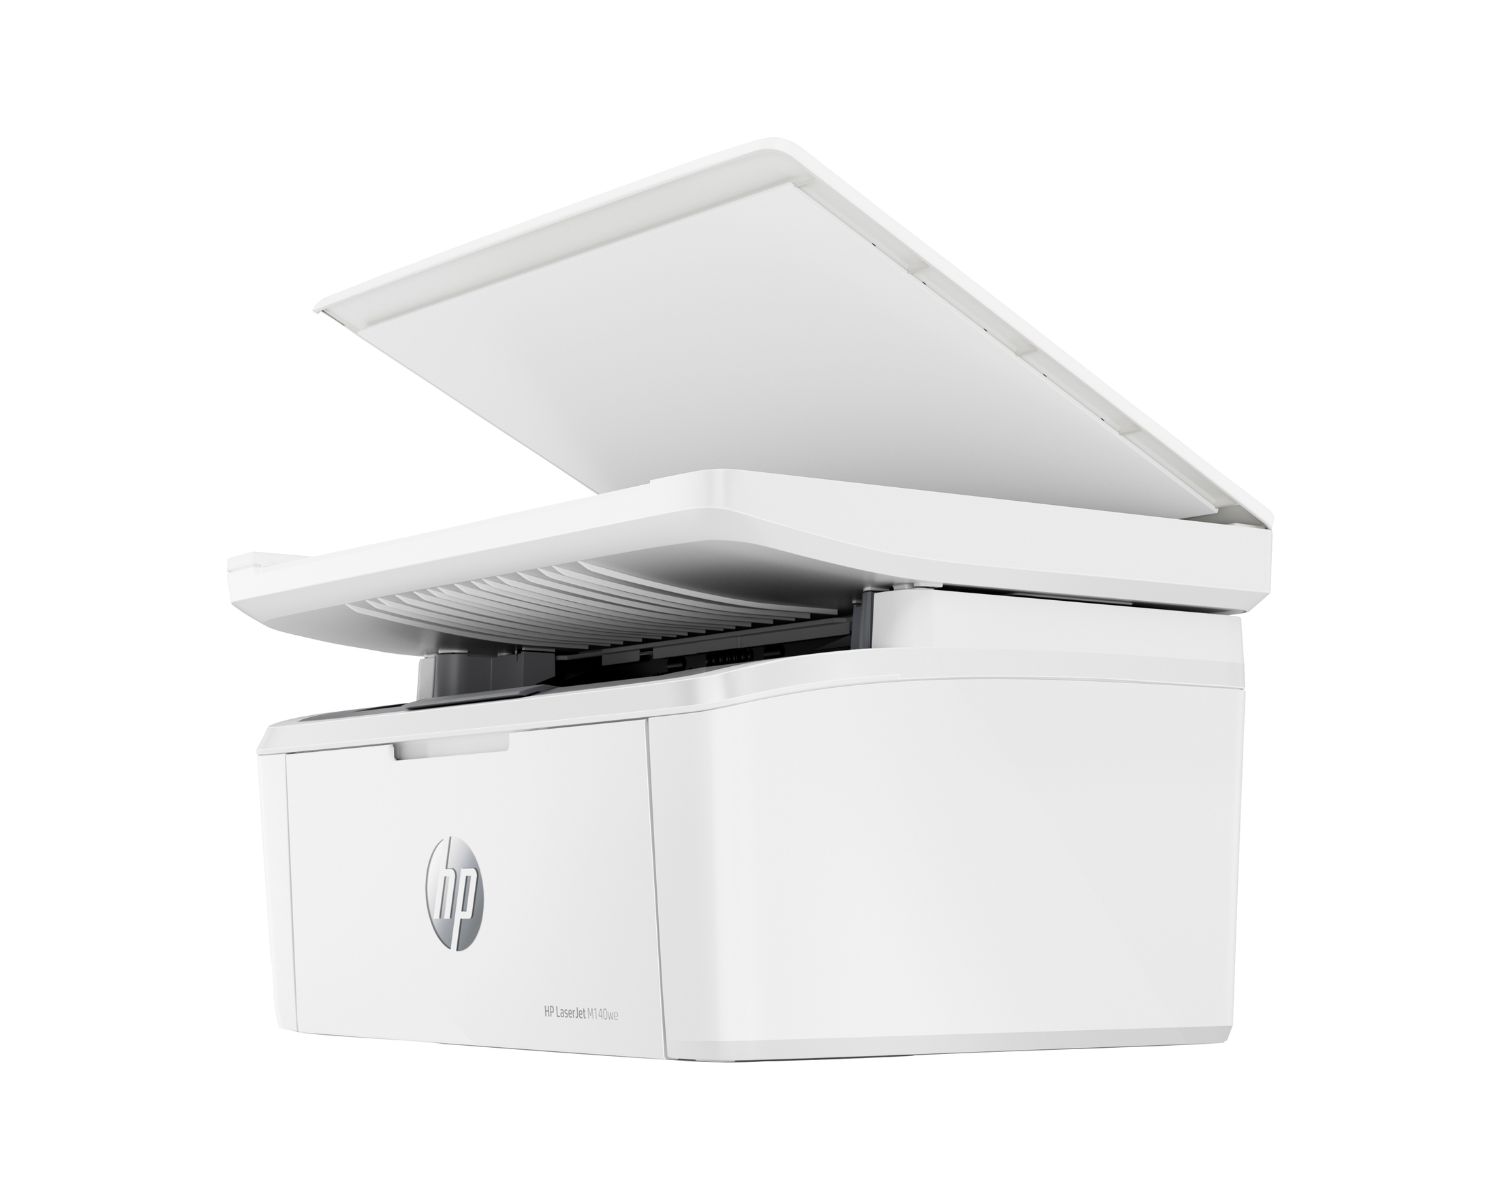
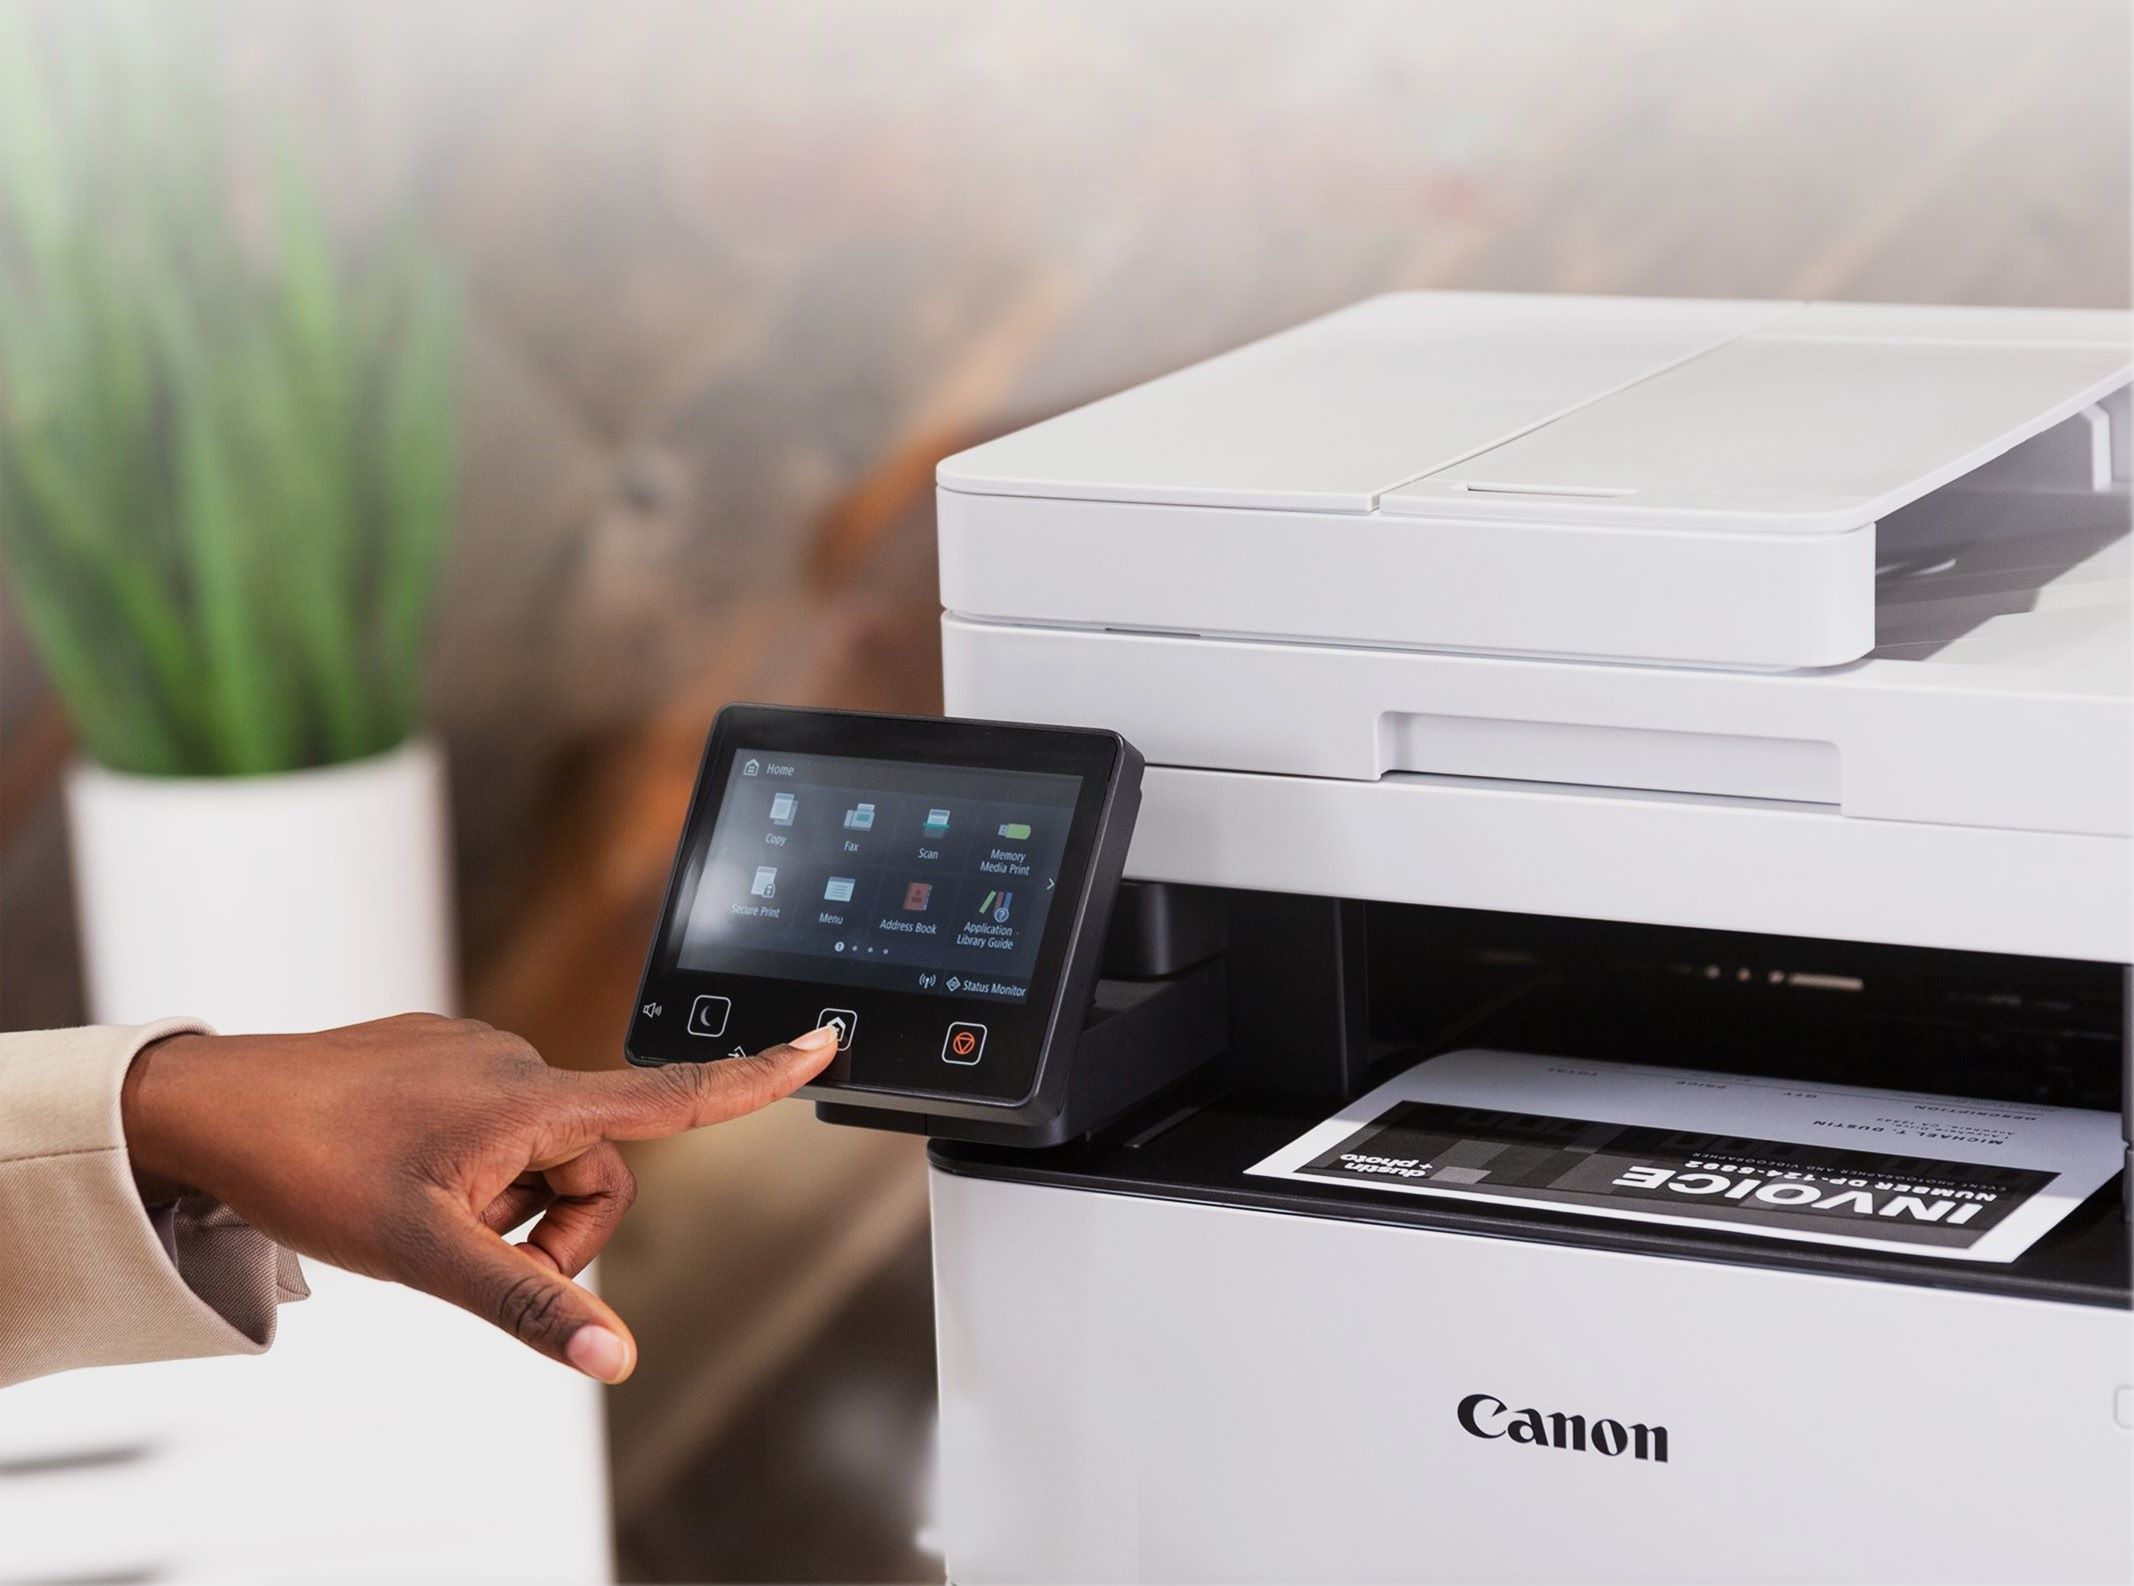
Step 1: Check the Scanner
Before initiating the scanning process, it’s essential to ensure that the scanner functionality of your HP printer is ready for action. Start by confirming that the printer is powered on and properly connected to your computer or network. Check for any error messages or indicators on the printer’s display that may hinder the scanning process. If the printer requires ink or maintenance, address these issues beforehand to prevent interruptions during the scanning procedure.
Next, examine the scanner glass and the automatic document feeder (ADF), if available, for any dust, smudges, or obstructions. A clean scanning surface is crucial for producing high-quality scans, free from artifacts or imperfections. Gently wipe the scanner glass and ADF with a soft, lint-free cloth to remove any debris that could affect the scanning results.
Ensure that the HP printer’s software is installed on your computer and is functioning correctly. This software plays a pivotal role in facilitating the scanning process and providing a user-friendly interface to manage your scanned documents. If any updates are available for the printer’s software, consider installing them to optimize the scanning experience and access the latest features.
By meticulously checking the scanner and its associated components, you set the stage for a seamless scanning experience, allowing you to capture documents with precision and clarity. With the scanner primed and ready, you’re prepared to embark on the next steps of the scanning process, confident in the reliability and performance of your HP printer.
Step 2: Place the Document
With the scanner prepared for action, the next step in the scanning process involves properly positioning the document on the scanner bed or within the automatic document feeder (ADF) of your HP printer. Whether you’re scanning a single-page document or a stack of papers, the placement of the documents is crucial to achieving accurate and legible scans.
If your HP printer features a flatbed scanner, lift the cover to reveal the glass scanning surface. Carefully place the document face down on the glass, aligning it with the designated markers or guides to ensure proper positioning. Take note of the orientation of the document to guarantee that it will be scanned in the correct direction, especially if it contains specific text or images that must be captured accurately.
For multi-page documents, utilizing the ADF streamlines the scanning process by automatically feeding each page into the scanner. Ensure that the pages are neatly stacked and free from folds or creases that could impede the feeding mechanism. Adjust the paper guides within the ADF to match the dimensions of the documents, minimizing the risk of misfeeds or skewed scans.
When placing the document, consider factors such as the desired resolution, color settings, and file format for the scanned output. Depending on your preferences, you may opt to adjust these settings through the HP printer’s software interface to tailor the scanning process to your specific requirements.
By carefully positioning the document on the scanner bed or within the ADF, you set the stage for capturing clear and comprehensive scans that faithfully reproduce the content of the original documents. With the document securely in place, you’re ready to proceed to the next stage of initiating the scanning process with your HP printer.
To scan from a HP printer, place the document face down on the scanner glass, select “Scan” on the printer’s control panel, choose the scan settings, and press “Start” to begin scanning.
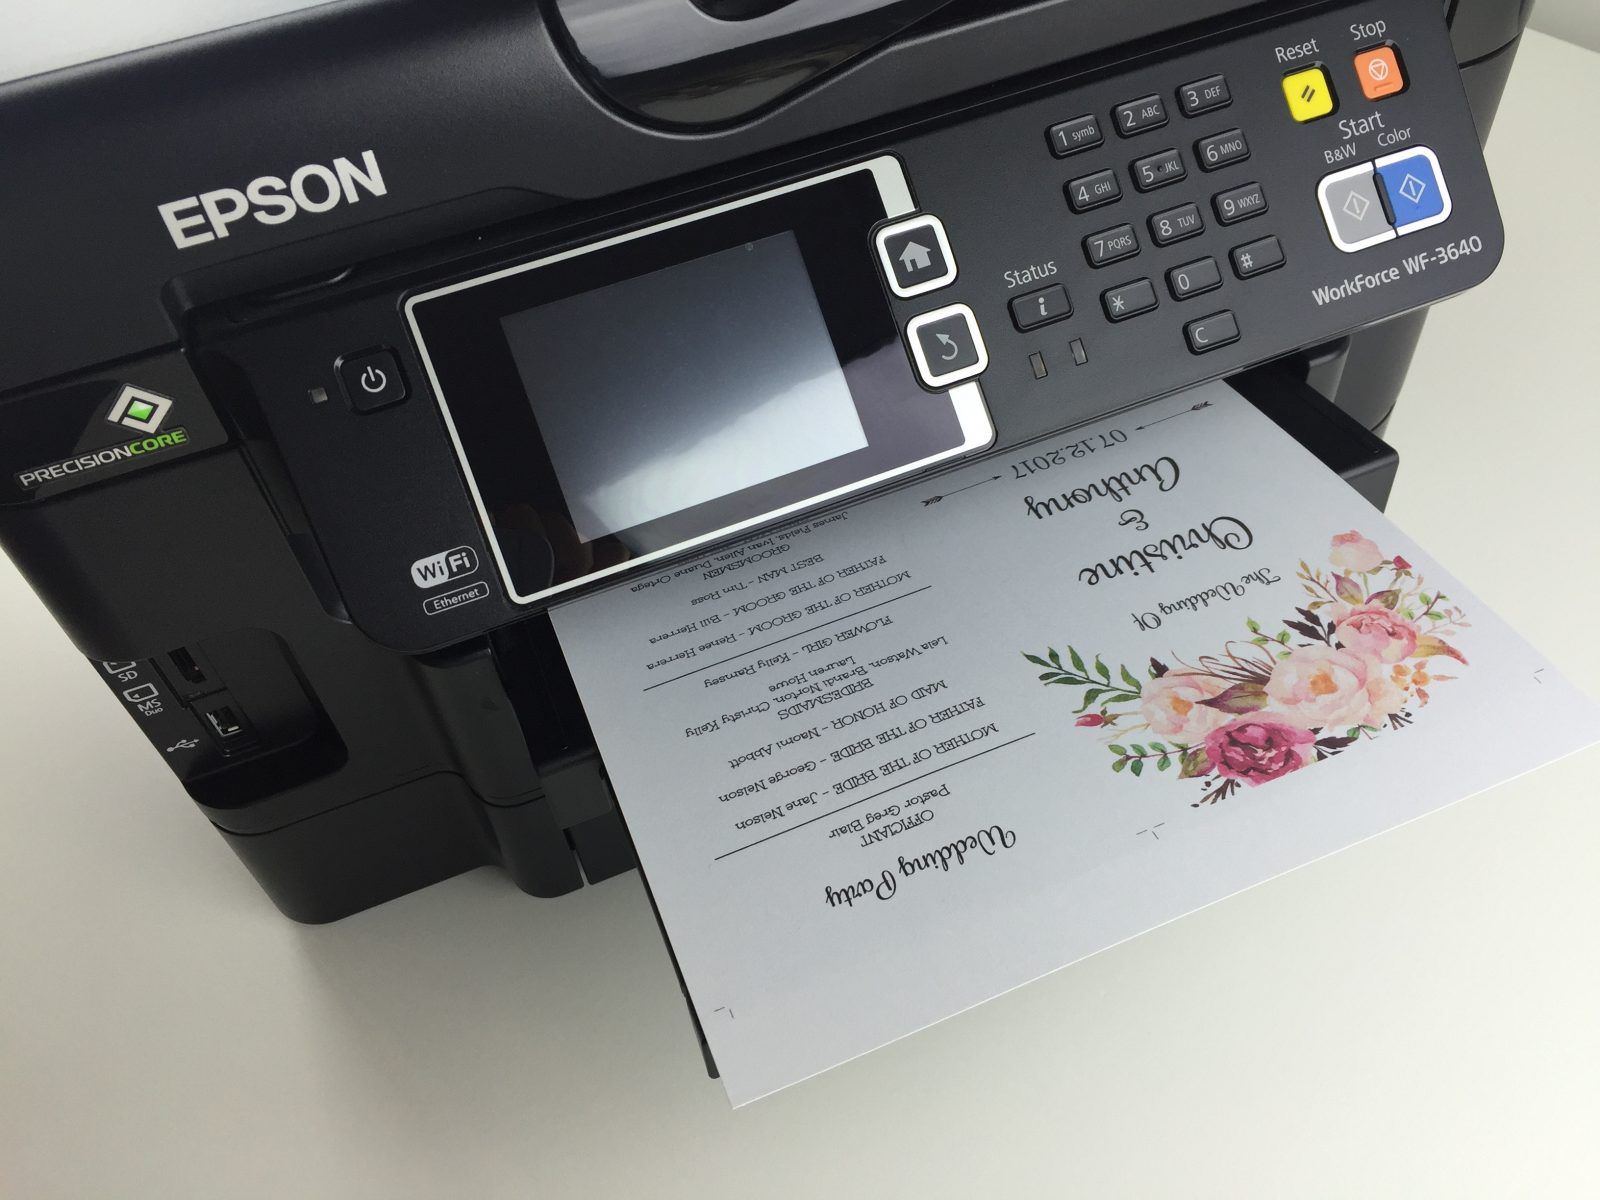
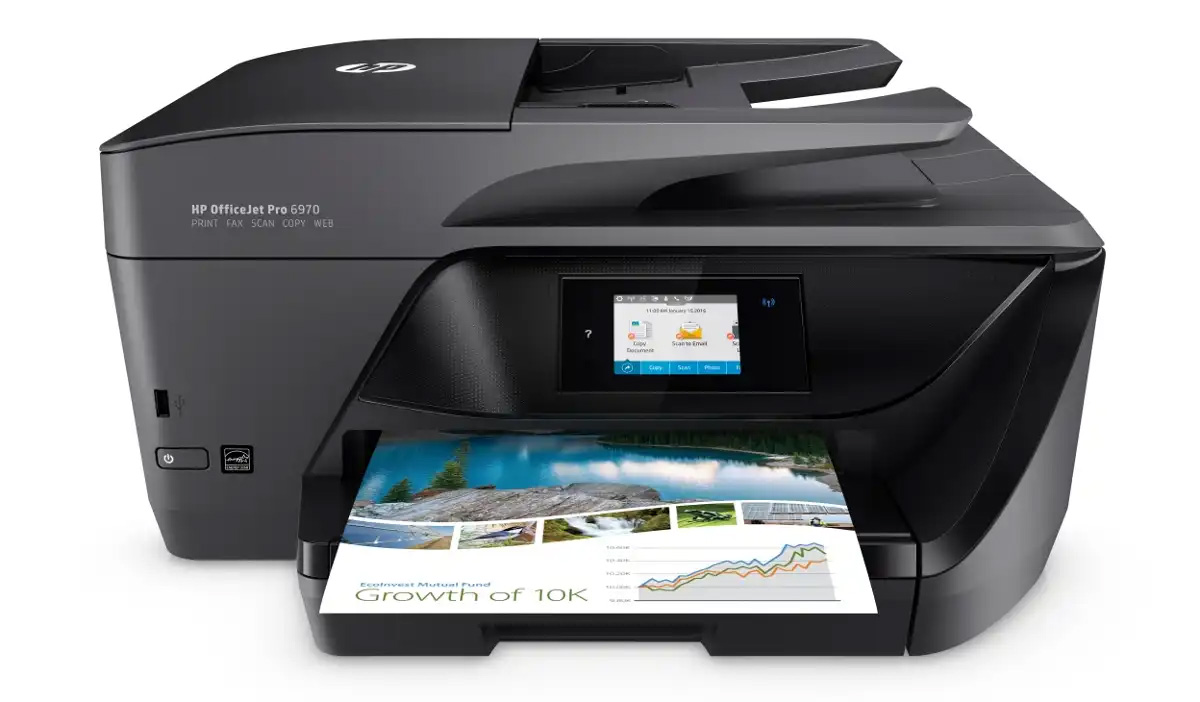
Step 3: Start the Scanning Process
Now that the document is securely positioned on the scanner bed or within the automatic document feeder (ADF), it’s time to initiate the scanning process using your HP printer. With modern HP printers offering intuitive interfaces and streamlined scanning capabilities, capturing digital copies of your documents is a straightforward endeavor.
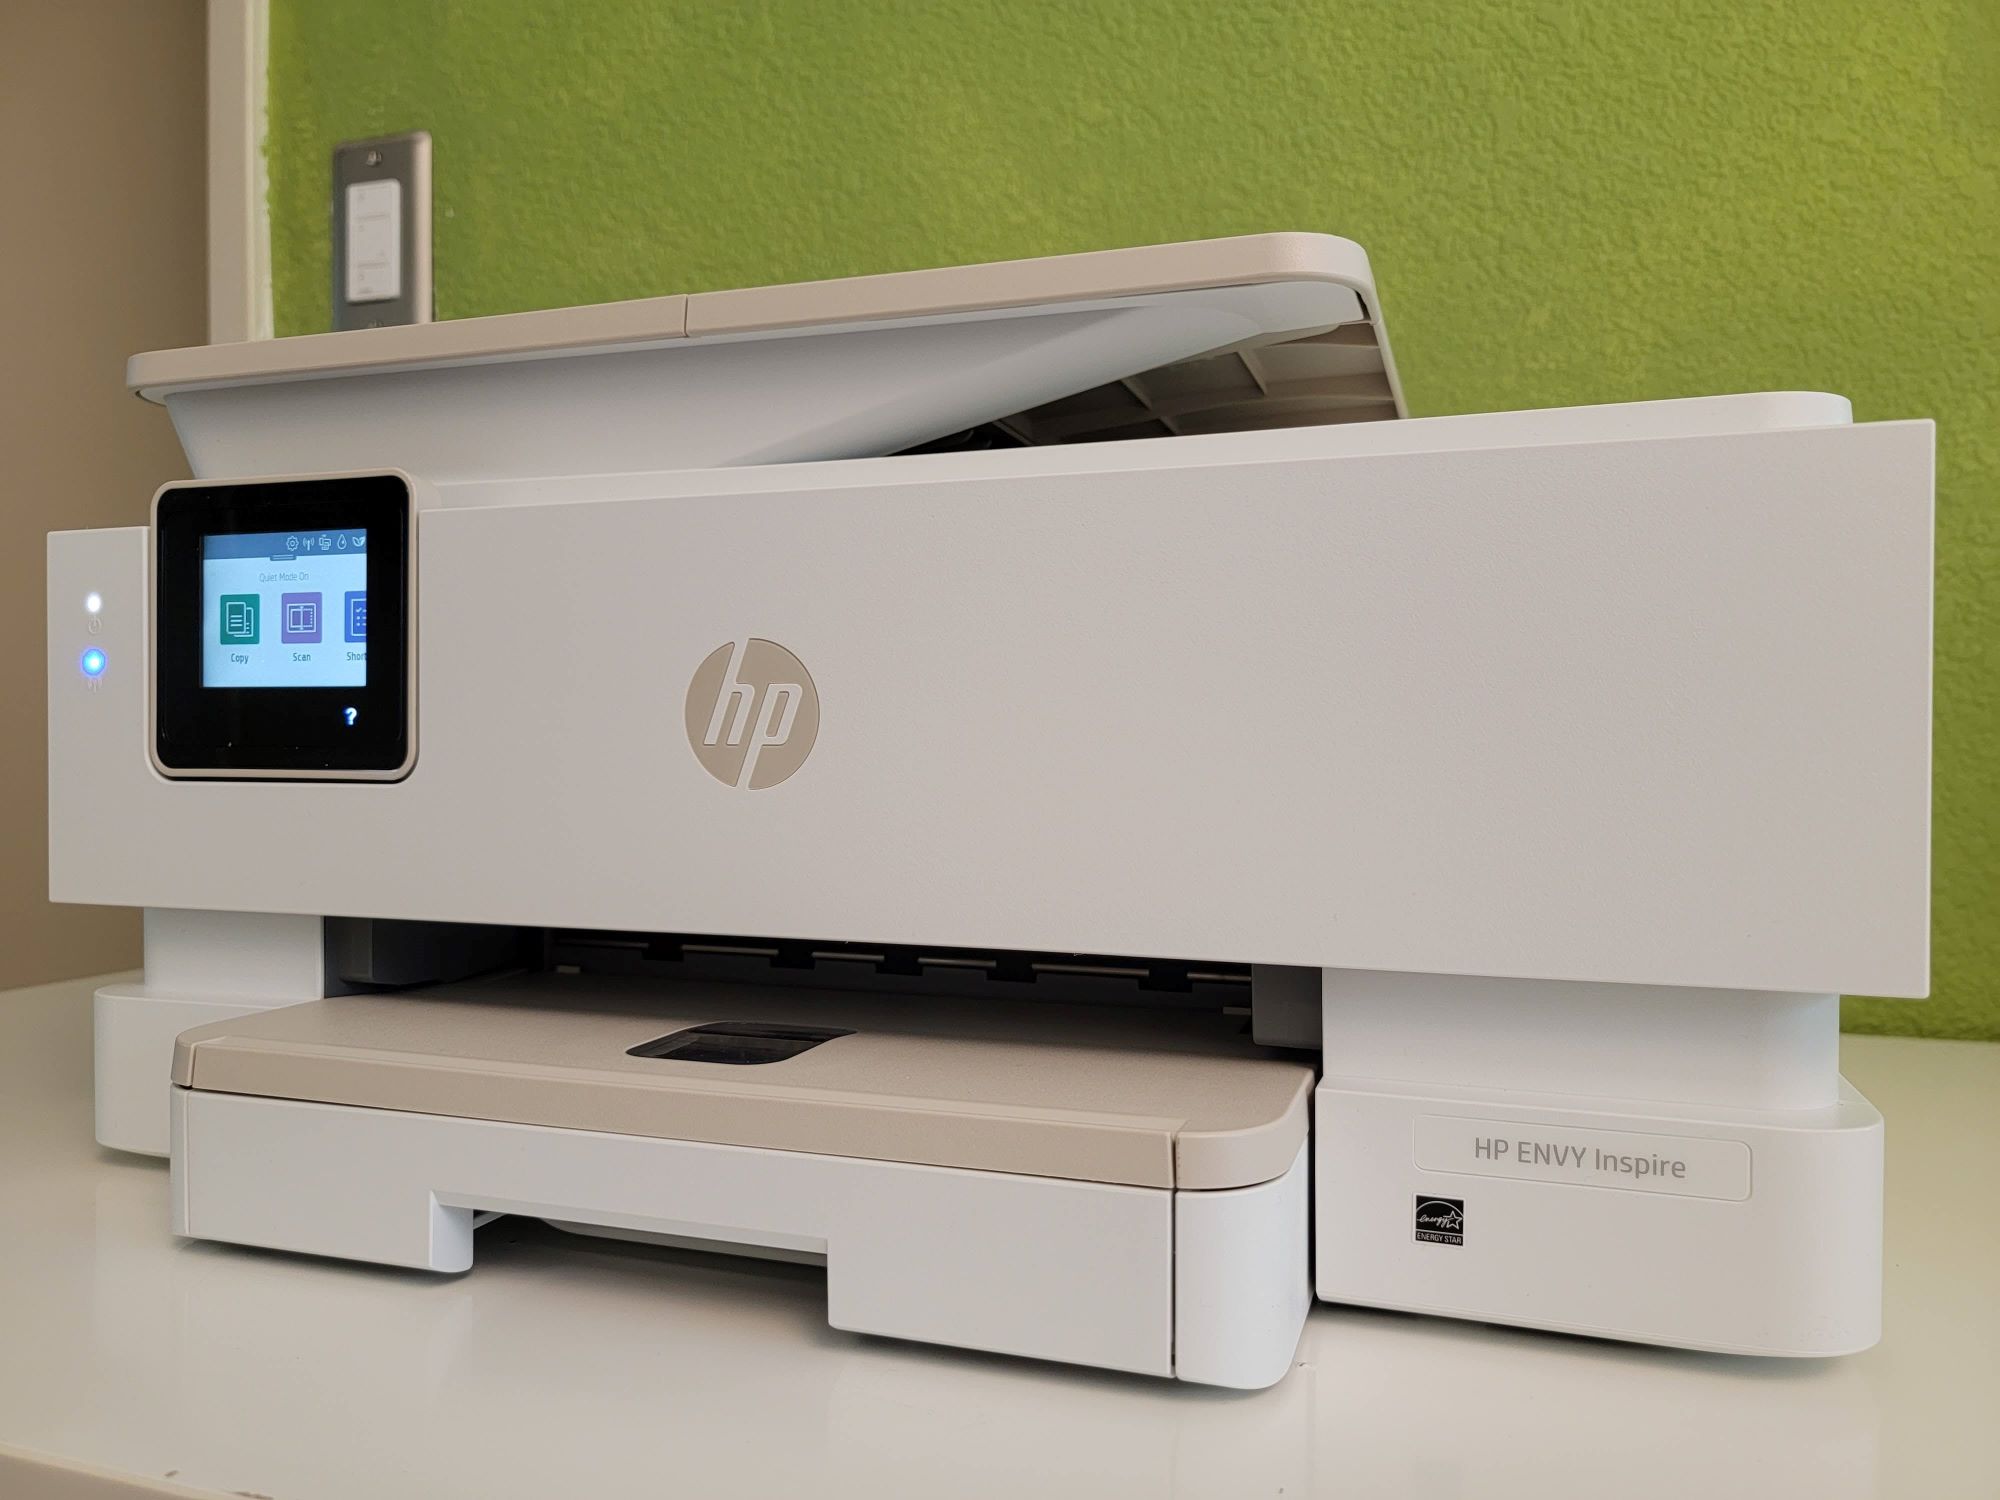
Begin by accessing the scanning functionality on your HP printer. Depending on the model, this may involve navigating the printer’s control panel to select the scanning option or initiating the scan from the accompanying software on your computer. Familiarize yourself with the specific steps required to activate the scanning mode, ensuring a seamless transition into the digitization process.
If your HP printer is equipped with a touchscreen display, navigate to the scanning function and customize any desired settings, such as scan resolution, color depth, and file format. These settings allow you to tailor the scanning process to match the specific requirements of the documents being scanned, whether it’s a high-resolution photo or a text document intended for optical character recognition (OCR).
Upon confirming the settings and preferences, initiate the scanning process to commence capturing the digital representation of your document. Observe the scanning mechanism in action, ensuring that the document feeds smoothly through the ADF or remains stationary on the scanner bed during the scanning cycle. This stage marks the transformation of physical documents into digital assets, ready for storage, sharing, or further processing.
As the scanning process unfolds, take note of any prompts or notifications from the HP printer’s interface, providing insights into the progress of the scan and the estimated time remaining. Once the scanning cycle is complete, the digital copy of the document is poised for the final step: saving it for future use and accessibility.
By navigating the scanning process with your HP printer, you harness the power of modern technology to effortlessly convert physical documents into digital formats, enriching your workflow and organizational capabilities. With the scanning phase accomplished, it’s time to transition to the pivotal step of saving the scanned document for future retrieval and utilization.
Step 4: Save the Scanned Document
Having successfully completed the scanning process with your HP printer, the final step involves saving the scanned document to a location of your choice, ensuring its accessibility and preservation for future use. With modern HP printers offering versatile options for managing scanned documents, you have the flexibility to organize, store, and share your digital copies with ease.
Upon completing the scanning cycle, your HP printer may present options for naming the scanned document and selecting the destination for saving it. Take this opportunity to assign a descriptive and recognizable name to the scanned file, facilitating effortless retrieval and identification in the future. Consider incorporating relevant details such as the document’s title, date, or any pertinent keywords to enhance its searchability.
Choose the preferred location for saving the scanned document, whether it’s on your computer’s local storage, a connected external drive, or a cloud-based platform integrated with your HP printer. Embrace the convenience of cloud storage solutions, which enable seamless access to your scanned documents from various devices and locations, promoting enhanced collaboration and mobility.
Depending on your workflow and organizational preferences, you may opt to create dedicated folders or categories for storing scanned documents, streamlining the management of digital assets and fostering a structured approach to document archiving. Leverage the capabilities of the HP printer’s software to tag or categorize scanned documents, further enhancing their discoverability and relevance within your digital ecosystem.
Before finalizing the saving process, consider reviewing the scanned document to ensure that it accurately reflects the content of the original source. Verify the legibility, orientation, and overall quality of the scan, making any necessary adjustments or re-scanning if discrepancies are identified.
With the scanned document securely saved and organized according to your preferences, you’ve successfully transitioned from physical paperwork to digital assets, empowered by the efficiency and versatility of your HP printer. Embrace the transformative capabilities of scanning technology, unlocking new possibilities for document management and productivity within your personal or professional endeavors.
Read more: How To Scan From HP Printer To Chromebook
Conclusion
Embarking on the journey of scanning documents from your HP printer unveils a world of convenience, efficiency, and digital empowerment. With each step, from checking the scanner to saving the scanned document, you’ve harnessed the capabilities of modern technology to seamlessly transform physical documents into digital assets, poised for storage, sharing, and utilization.
As you navigate the scanning process with your HP printer, take pride in the newfound agility and organization it brings to your daily routines. Embrace the potential of digitization, transcending the limitations of traditional paperwork and embracing a future where information flows effortlessly in digital form.
By familiarizing yourself with the intricacies of scanning from your HP printer, you’ve positioned yourself at the forefront of efficient document management, equipped with the tools to streamline workflows, collaborate seamlessly, and access critical information at your fingertips. Whether it’s archiving important records, digitizing cherished memories, or sharing documents with colleagues, the scanning capabilities of your HP printer serve as a catalyst for enhanced productivity and connectivity.
As technology continues to evolve, HP remains committed to delivering innovative solutions that redefine the intersection of convenience and functionality. With your HP printer as a reliable companion in your daily endeavors, the act of scanning documents becomes a seamless and rewarding experience, reflective of the boundless potential within modern smart home devices.
As you continue to explore the myriad features and capabilities of your HP printer, may the process of scanning documents stand as a testament to the transformative power of technology, elevating your efficiency and connectivity in the digital age.
Embrace the art of scanning from your HP printer, and unlock a world where the physical and digital realms converge harmoniously, enriching your experiences and amplifying your capabilities with each scanned document.
Frequently Asked Questions about How To Scan From A HP Printer
Was this page helpful?
At Storables.com, we guarantee accurate and reliable information. Our content, validated by Expert Board Contributors, is crafted following stringent Editorial Policies. We're committed to providing you with well-researched, expert-backed insights for all your informational needs.


0 thoughts on “How To Scan From A HP Printer”