Home>Technology>Smart Home Devices>How To Add A Printer With An IP Address

Smart Home Devices
How To Add A Printer With An IP Address
Modified: February 18, 2024
Learn how to easily add a printer with an IP address to your smart home devices. Follow our step-by-step guide for seamless setup.
(Many of the links in this article redirect to a specific reviewed product. Your purchase of these products through affiliate links helps to generate commission for Storables.com, at no extra cost. Learn more)
Introduction
Welcome to the age of smart technology, where devices are seamlessly interconnected to simplify our lives. In this era, the humble printer has also undergone a transformation, evolving into a networked device that can be accessed and utilized from multiple sources. Adding a printer with an IP address is a valuable skill that empowers you to harness the full potential of your printing capabilities. Whether you're working in a bustling office environment or managing a home-based workspace, understanding how to add a printer with an IP address can significantly enhance your efficiency and productivity.
In this comprehensive guide, we will delve into the intricacies of IP addresses, demystify the process of finding the IP address of your printer, and provide a step-by-step approach to adding a printer using its IP address. Additionally, we will equip you with troubleshooting techniques to address common issues that may arise during the setup process.
By the end of this journey, you will possess the knowledge and confidence to seamlessly integrate your printer into your network, enabling you to effortlessly print from any connected device. So, let's embark on this enlightening expedition into the realm of IP addresses and printers, and unlock the boundless potential of your printing endeavors.
Key Takeaways:
- Adding a printer with an IP address allows seamless printing from any connected device, enhancing productivity and efficiency in both home and office environments.
- Understanding IP addresses and troubleshooting common issues ensures smooth integration of the printer into the network, unlocking the full potential of networked printing.
Read more: How To Assign An IP Address To A Printer
Understanding IP Address
Before delving into the process of adding a printer with an IP address, it is essential to grasp the fundamental concept of an IP address. An IP address, short for Internet Protocol address, serves as a unique identifier for devices connected to a network. It allows devices to communicate with each other and facilitates the seamless transfer of data across the network.
IP addresses are categorized into two primary types: IPv4 and IPv6. IPv4 addresses are composed of a series of four sets of numbers, while IPv6 addresses are lengthier and structured differently. When a device is connected to a network, it is assigned a specific IP address, enabling other devices to locate and interact with it.
Furthermore, IP addresses are divided into two components: the network address and the host address. The network address identifies the specific network to which the device is connected, while the host address pinpoints the individual device within that network. This distinction is crucial for routing data accurately within the network.
It is important to note that IP addresses can be dynamic or static. Dynamic IP addresses are assigned automatically by a network’s DHCP (Dynamic Host Configuration Protocol) server and may change over time. On the other hand, static IP addresses are manually configured and remain constant, ensuring that the device is consistently identifiable on the network.
Understanding the significance of IP addresses and their functionality is pivotal when it comes to integrating devices into a network. As we proceed, this knowledge will serve as the cornerstone for successfully adding a printer using its unique IP address, enabling seamless communication and print accessibility across the network.
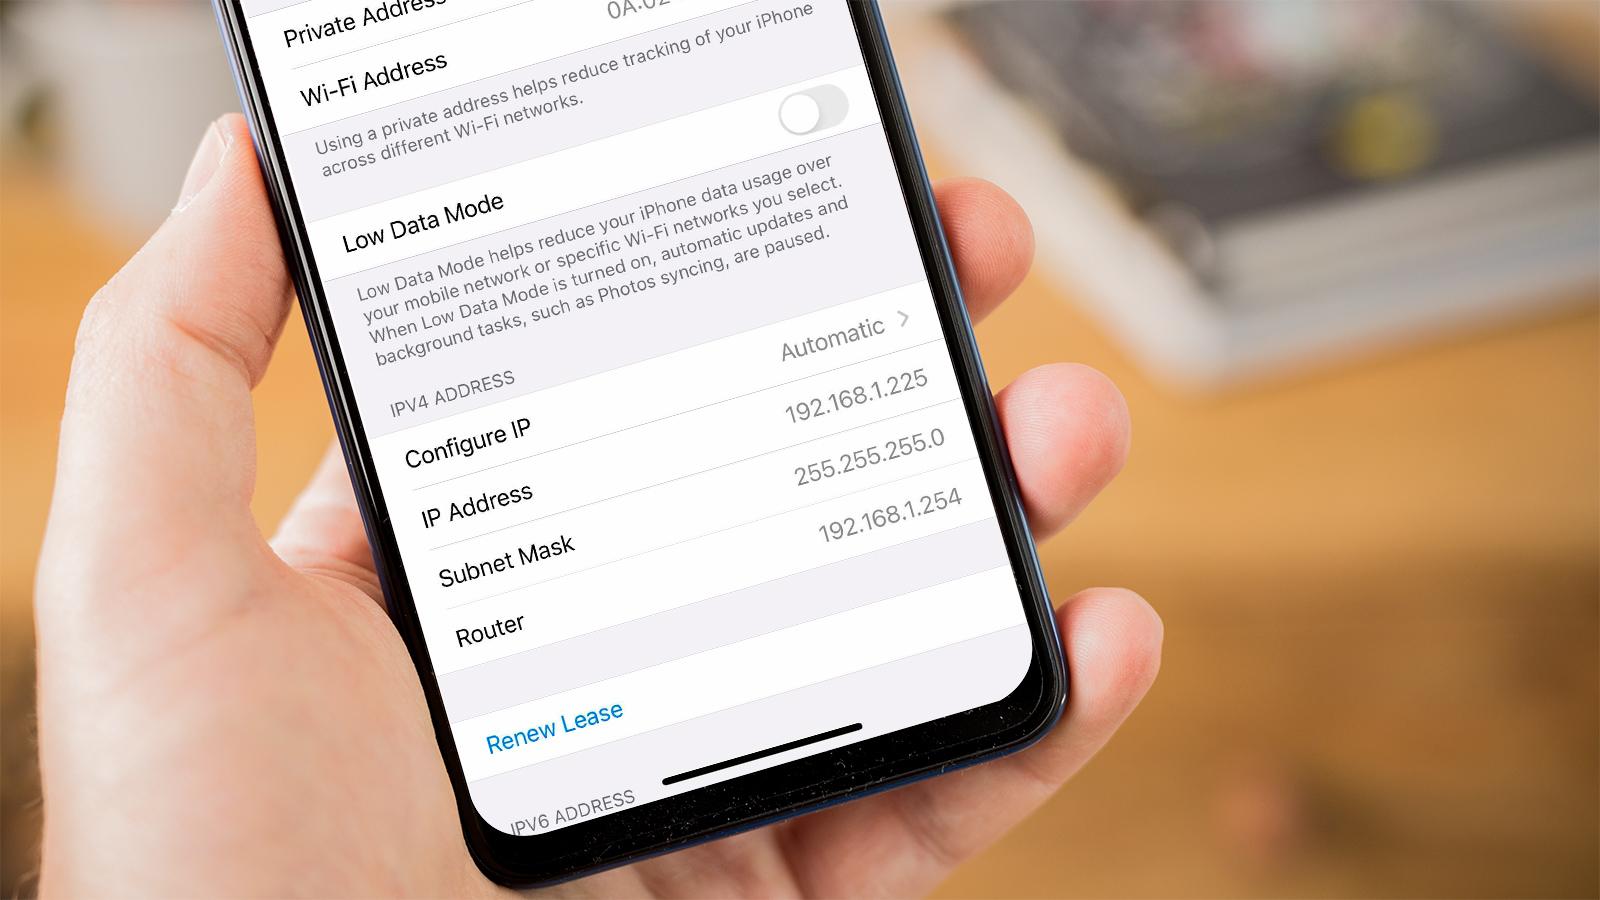
Finding the IP Address of Your Printer
Before adding a printer using its IP address, you need to ascertain the specific IP address assigned to the printer within your network. There are several methods to accomplish this, depending on the type of printer and the network environment. Here are a few common approaches to finding the IP address of your printer:
- Printer Display: Many modern printers feature a built-in display that allows you to access network settings directly from the printer. Navigate through the printer’s menu to locate the network or TCP/IP settings, where you can view the assigned IP address. This method is particularly convenient for directly connected printers or those connected to a local network.
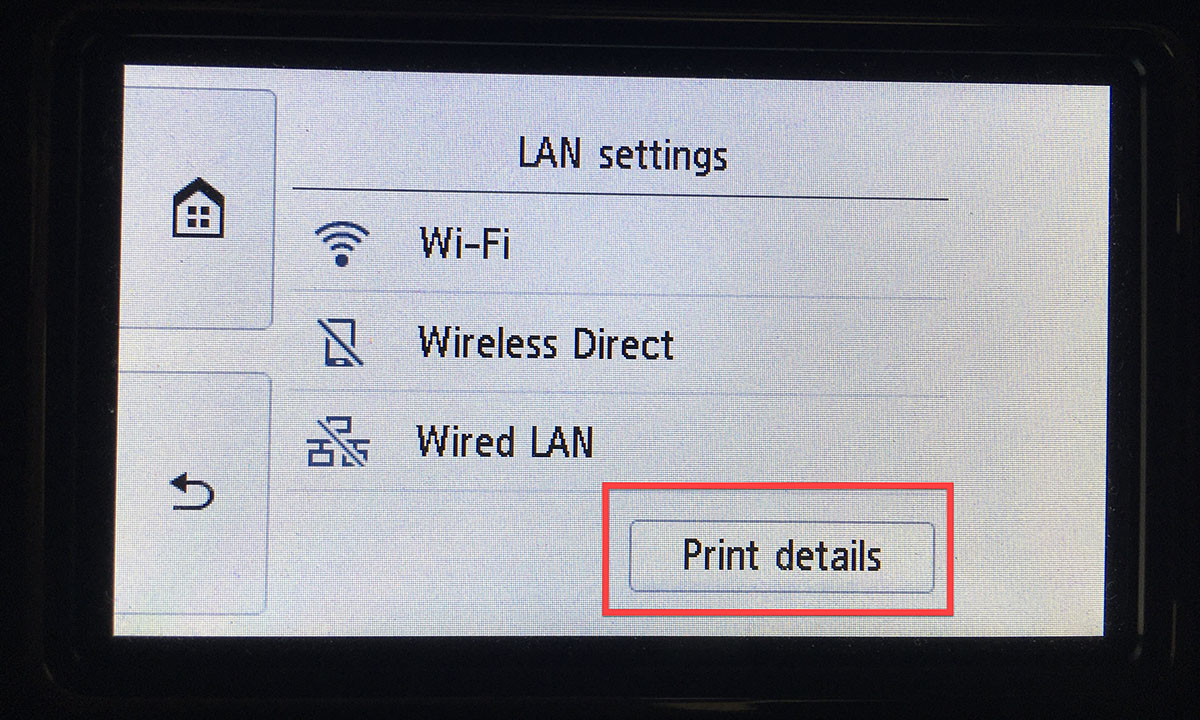
- Print Configuration Page: Most printers offer the option to print a configuration or network information page. This page typically includes vital details about the printer’s network settings, including its IP address. Refer to the printer’s manual or online resources for instructions on printing this page, as the process may vary based on the printer model.
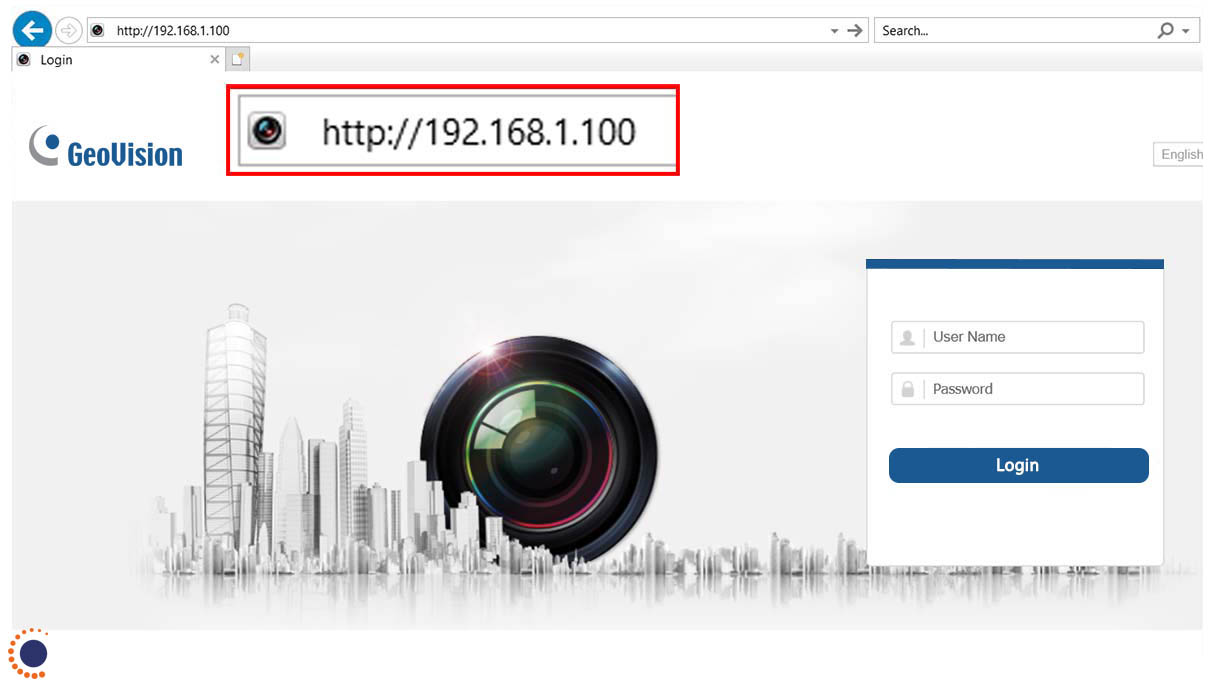
- Router Configuration Page: Accessing your router’s configuration page can provide a comprehensive list of devices connected to the network, along with their respective IP addresses. Log in to your router’s admin interface using a web browser and navigate to the connected devices or DHCP client list section. Look for the entry corresponding to your printer to identify its IP address.
- Network Scanning Software: Utilize network scanning tools or software designed to detect and display all devices connected to the network, along with their IP addresses. These tools offer a convenient way to comprehensively scan and identify all networked devices, including printers, simplifying the process of locating the printer’s IP address.
Once you have successfully determined the IP address of your printer, make a note of this crucial information, as it will be pivotal in the subsequent steps of adding the printer to your network using its IP address.
By employing these methods, you can confidently identify the IP address of your printer, laying the groundwork for the seamless integration of the printer into your network and enabling effortless printing from any connected device.
When adding a printer with an IP address, make sure the printer is connected to the same network as your computer. Then, go to your computer’s settings, select “Devices” and “Printers & Scanners,” and click “Add a printer or scanner.” Choose “Add a printer using a TCP/IP address or hostname,” enter the IP address of the printer, and follow the on-screen instructions to complete the setup.
Adding a Printer with an IP Address
Now that you have obtained the IP address of your printer, it’s time to embark on the process of adding the printer to your network using this essential information. The steps involved in adding a printer with an IP address may vary slightly based on the operating system of your device, but the fundamental principles remain consistent. Here’s a comprehensive guide to adding a printer using its IP address:
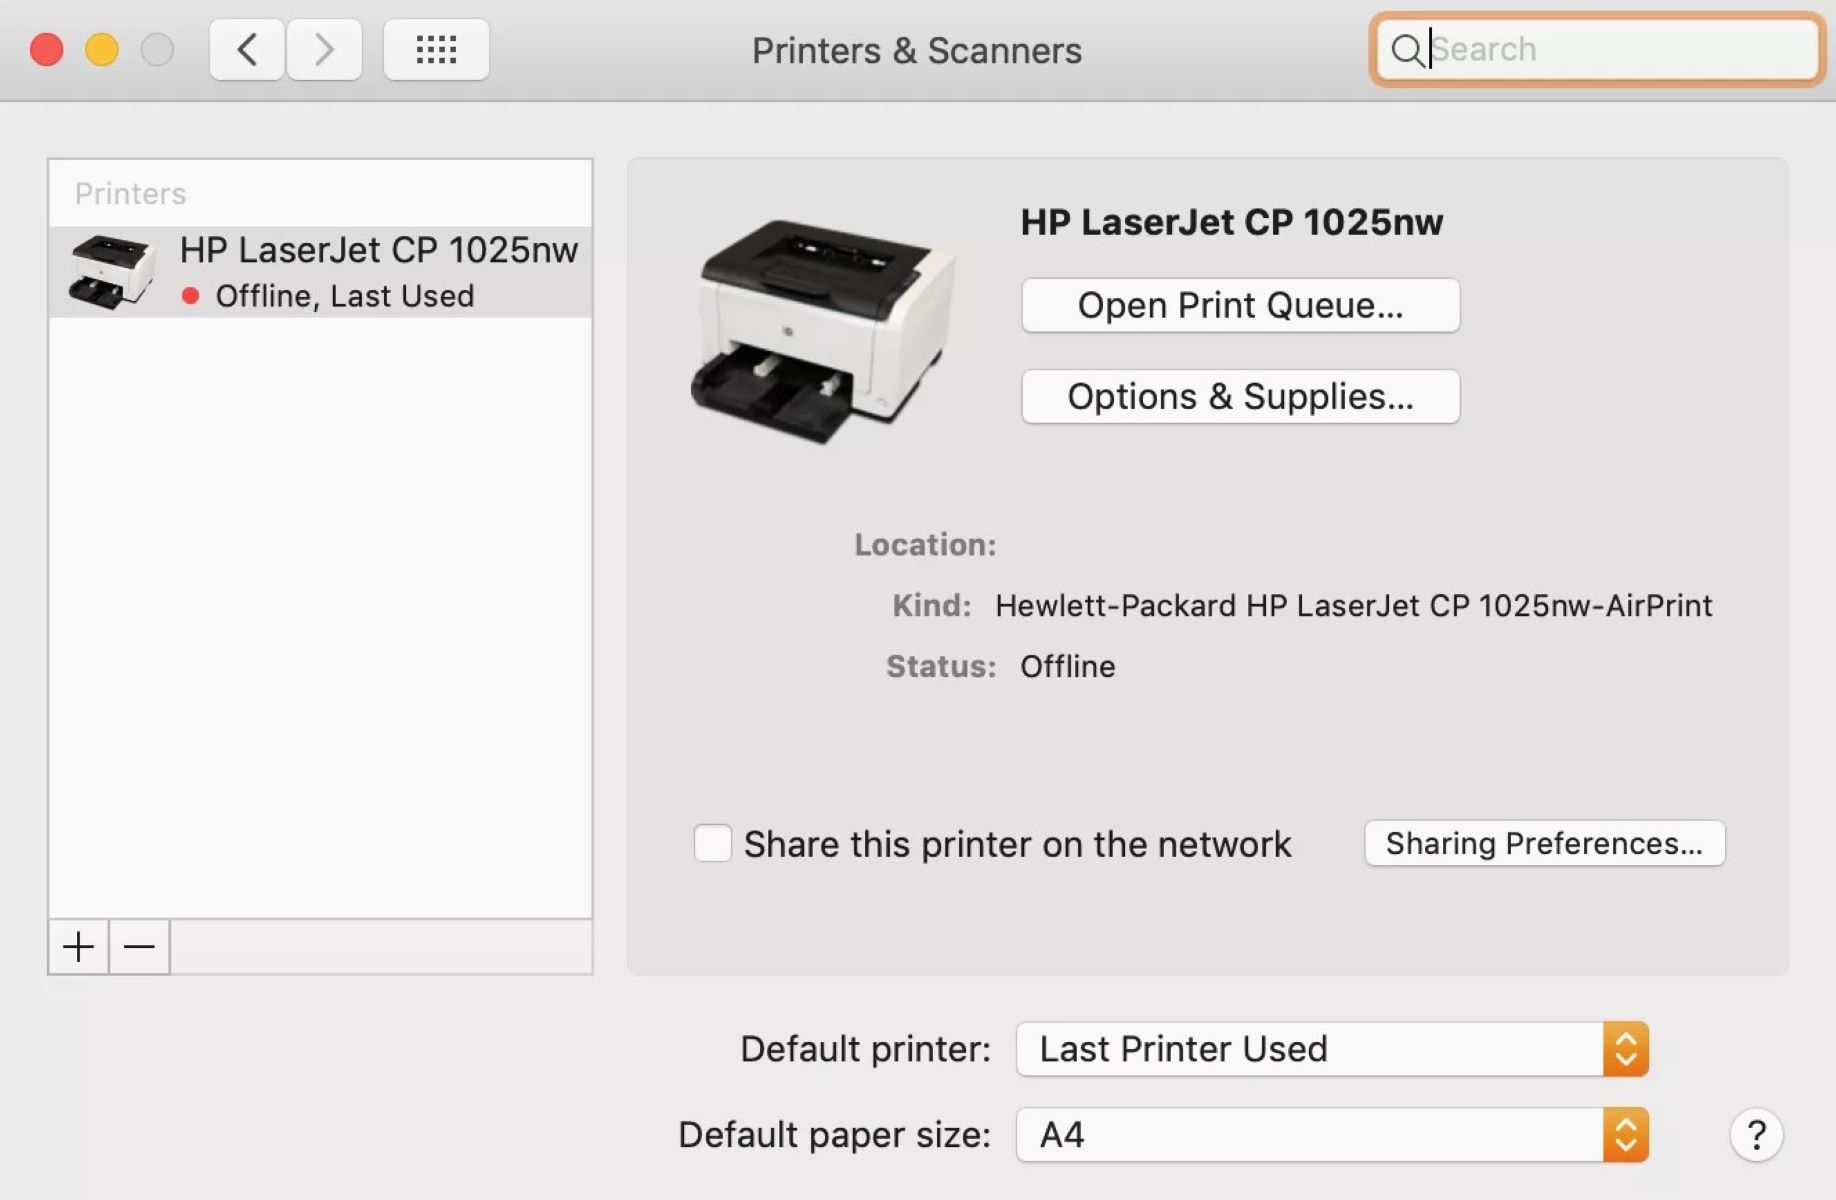
- Access Printer Settings: Begin by accessing the settings or control panel on the device from which you want to print. Navigate to the “Devices” or “Printers & Scanners” section, depending on your operating system.
- Add a Printer: Look for an option to “Add a Printer” or “Add a Device.” Select this option to initiate the process of adding a new printer to your device.
- Choose a Network Printer: When prompted to select the type of printer you want to add, opt for “Add a network, wireless, or Bluetooth printer.” This selection enables you to specify the printer’s IP address for network integration.
- Enter the IP Address: Input the IP address of your printer in the provided field. Double-check the accuracy of the IP address to ensure precise communication with the printer.
- Install Printer Driver: If prompted, install the necessary printer driver for seamless compatibility with your device. The driver facilitates communication between your device and the printer, enabling efficient printing functionality.
- Finalize Setup: Follow any additional on-screen prompts to complete the setup process. Once the printer has been successfully added using its IP address, you can proceed to print a test page to confirm the seamless integration of the printer into your network.
By following these steps, you can effectively add a printer to your network using its IP address, paving the way for effortless printing from any device connected to the network. Whether you’re operating within a home environment or a bustling office setting, integrating your printer using its IP address enhances accessibility and streamlines the printing process, contributing to heightened productivity and operational efficiency.
Now that your printer is seamlessly integrated into your network, you can harness its full potential and enjoy the convenience of printing from any connected device with unparalleled ease.
Troubleshooting Common Issues
While adding a printer with an IP address is generally a straightforward process, certain issues may occasionally arise, hindering the seamless integration of the printer into your network. Understanding and addressing these common issues is essential for ensuring a smooth and efficient printing experience. Here are some prevalent issues and troubleshooting techniques:
- Incorrect IP Address: If the printer is not being recognized after entering the IP address, double-check the accuracy of the entered IP address. A small typographical error can lead to communication issues. Verify the IP address and re-enter it if necessary.
- Network Connectivity: Ensure that the printer is properly connected to the network and that the network settings are configured correctly. Verify the network connection and troubleshoot any connectivity issues to establish seamless communication between the printer and the network.
- Firewall Restrictions: Check for any firewall or security settings that may be impeding the communication between your device and the printer. Adjust the firewall settings to permit communication with the printer’s IP address, ensuring unrestricted access for printing.
- Printer Driver Compatibility: Incompatibility between the printer driver and your device’s operating system can lead to printing issues. Ensure that the printer driver is compatible with your device’s operating system and install any necessary updates or alternative drivers to facilitate seamless communication.
- IP Address Conflict: In a network with multiple devices, IP address conflicts may occur, leading to communication disruptions. Verify that the printer’s IP address is unique within the network and does not conflict with any other devices to prevent communication discrepancies.
- Network Configuration: Review the network configuration settings on both the printer and your device to ensure compatibility and proper network integration. Adjust any network settings that may be impeding the communication between the printer and your device.
By employing these troubleshooting techniques, you can effectively address common issues that may impede the successful addition of a printer using its IP address. Resolving these issues ensures a seamless printing experience, allowing you to harness the full potential of your networked printer and enjoy effortless printing from any connected device.
With these troubleshooting techniques at your disposal, you can navigate and resolve potential obstacles, ensuring that your printer seamlessly integrates into your network and facilitates uninterrupted printing functionality.
Read more: How To Know IP Address Of Printer
Conclusion
Congratulations on embarking on this enlightening journey into the realm of IP addresses and printers. By understanding the significance of IP addresses, discovering the IP address of your printer, and mastering the process of adding a printer using its IP address, you have equipped yourself with invaluable knowledge that empowers seamless integration and efficient printing within your network.
Adding a printer with an IP address opens a gateway to unparalleled convenience and accessibility, enabling you to print from any connected device with effortless ease. Whether you’re managing a bustling office environment or a dynamic home workspace, the ability to integrate your printer using its IP address enhances operational efficiency and productivity, elevating your printing experience to new heights.
As you navigate the process of adding a printer with an IP address, remember that occasional challenges may arise. However, armed with troubleshooting techniques to address common issues, you can overcome obstacles and ensure the seamless integration of your printer into your network, fostering uninterrupted printing functionality.
Embrace the newfound capabilities at your fingertips and revel in the convenience of printing from any device within your network. With each successful print, you’ll witness the harmonious synergy between your devices, facilitated by the unifying power of IP addresses and networked printers.
Now, armed with the knowledge and expertise gained from this guide, you possess the confidence to seamlessly add printers using their IP addresses, unlocking the boundless potential of networked printing and embracing a future of unparalleled printing accessibility.
So, go forth and infuse your printing endeavors with the seamless connectivity and efficiency that adding a printer with an IP address affords. Embrace the transformative power of technology and revel in the harmonious integration of your printer into your network, where every print is a testament to the seamless interplay between devices, facilitated by the unifying thread of IP addresses.
Frequently Asked Questions about How To Add A Printer With An IP Address
Was this page helpful?
At Storables.com, we guarantee accurate and reliable information. Our content, validated by Expert Board Contributors, is crafted following stringent Editorial Policies. We're committed to providing you with well-researched, expert-backed insights for all your informational needs.


0 thoughts on “How To Add A Printer With An IP Address”