Home>Home Security and Surveillance>How Do I Set My Wireless Security Cameras To A Fixed IP Address?
Home Security and Surveillance
How Do I Set My Wireless Security Cameras To A Fixed IP Address?
Modified: October 18, 2024
Learn how to set your wireless security cameras to a fixed IP address for enhanced home security and surveillance. Follow our step-by-step guide today!
(Many of the links in this article redirect to a specific reviewed product. Your purchase of these products through affiliate links helps to generate commission for Storables.com, at no extra cost. Learn more)
Introduction
Welcome to the world of home security and surveillance! With advancements in technology, wireless security cameras have become an essential component of protecting our homes and loved ones. These cameras provide us with the peace of mind that comes from being able to monitor our property, even when we are away.
However, to ensure the seamless operation and accessibility of your wireless security cameras, it is important to set a fixed IP address for them. In this article, we will delve into the significance of setting a fixed IP address for your cameras and provide you with a step-by-step guide to help you through the process.
Setting a fixed IP address for your wireless security cameras offers several benefits. Firstly, it allows for easy remote access to your cameras from anywhere in the world. With a fixed IP address, you can conveniently view the live feed and recordings of your cameras through a smartphone or a computer. This feature is especially useful when you are traveling and want to keep an eye on your property.
Furthermore, by assigning a fixed IP address to your cameras, you can eliminate the risk of them obtaining a new IP address automatically. In some cases, when a camera is restarted or when the network configuration changes, it may be assigned a different IP address. This can cause connectivity issues and make it challenging to access your cameras remotely. Setting a fixed IP address ensures that your cameras always have a consistent and reliable connection.
Additionally, setting a fixed IP address allows for easier management and troubleshooting. With a fixed IP, you can easily access the camera’s web interface and make any necessary adjustments to the settings. It also simplifies the process of configuring port forwarding, which is necessary for remote access.
Now that we understand the importance of setting a fixed IP address for your wireless security cameras, let’s dive into the step-by-step guide to help you through the process.
Key Takeaways:
- Ensure seamless remote access and reliable connectivity for your wireless security cameras by setting a fixed IP address. This allows you to monitor your property from anywhere and simplifies troubleshooting and management.
- Follow a simple step-by-step guide to set a fixed IP address for your wireless security cameras, ensuring easy remote access and enhanced security. Troubleshoot common issues for a seamless surveillance experience.
Understanding the Importance of Setting a Fixed IP Address for Wireless Security Cameras
Wireless security cameras have revolutionized the way we monitor and protect our homes. However, to ensure a seamless and reliable connection, it is crucial to set a fixed IP address for these cameras. Let’s explore the importance of this step.
One of the primary reasons for setting a fixed IP address is ease of remote access. With a fixed IP address, you can conveniently access your camera’s live feed and recordings from anywhere in the world. Whether you’re at work, on vacation, or simply away from home, you can stay connected and keep an eye on your property.
Setting a fixed IP address also eliminates the risk of your camera being assigned a new IP address automatically. In some situations, when a camera restarts or the network configuration changes, it may be assigned a different IP address. This can create connectivity issues, making it difficult to access your cameras remotely. By assigning a fixed IP address, you ensure a consistent and reliable connection.
Furthermore, a fixed IP address simplifies the management and troubleshooting of your cameras. With a fixed IP, you can easily access the camera’s web interface and make any necessary adjustments to the settings. Whether you need to modify the camera’s viewing angle, change the resolution, or adjust motion detection settings, a fixed IP address makes it easier to access and configure these features.
Another benefit of setting a fixed IP address is the streamlined process of configuring port forwarding. Port forwarding allows you to access your cameras remotely by redirecting network traffic from external devices to the appropriate camera. When you assign a fixed IP address to your cameras, you can easily set up port forwarding, enhancing the accessibility of your cameras while maintaining a secure connection.
Moreover, a fixed IP address plays a crucial role in the overall security and protection of your home. It helps prevent unauthorized access to your cameras by ensuring that only designated devices can connect and view the camera’s feed. With a fixed IP address, you have greater control over who can access your cameras, adding an extra layer of security to your home surveillance system.
In summary, setting a fixed IP address for your wireless security cameras offers numerous benefits, including easy remote access, consistent connectivity, simplified management and troubleshooting, enhanced accessibility through port forwarding, and improved security. By taking the time to configure a fixed IP address, you can optimize the performance of your security cameras and enjoy peace of mind knowing that your home and loved ones are well-protected.
Step by Step Guide: Setting Your Wireless Security Cameras to a Fixed IP Address
Setting a fixed IP address for your wireless security cameras may seem daunting, but with the right guidance, it can be a straightforward process. Follow this step-by-step guide to ensure a seamless setup:
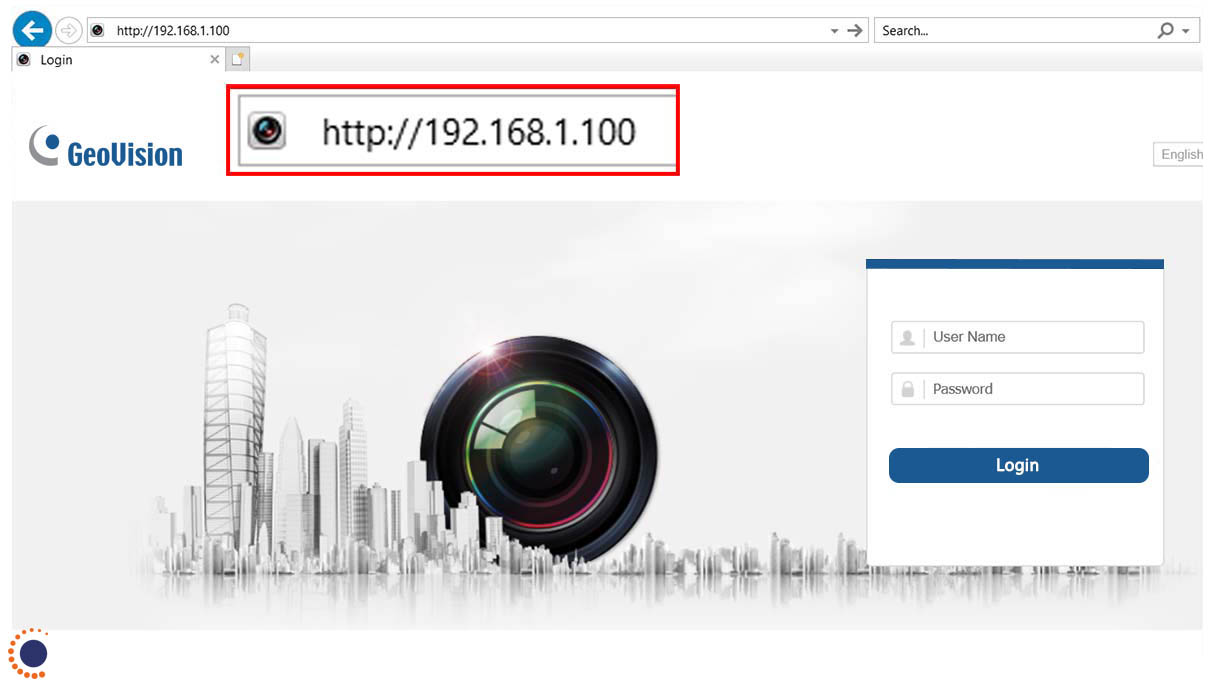
- Start by accessing your camera’s web interface. Open a web browser on your computer and enter the IP address of your camera in the address bar. Press Enter to access the login page.
- Enter the username and password for your camera. These credentials are usually provided in the camera’s documentation or can be found on the bottom of the camera or its packaging. If you have changed the default username and password, use the updated credentials.
- Once logged in, navigate to the network settings or network configuration section. The exact location of these settings may vary depending on the camera model and manufacturer, but they are typically found under the “Network” or “Settings” tab.
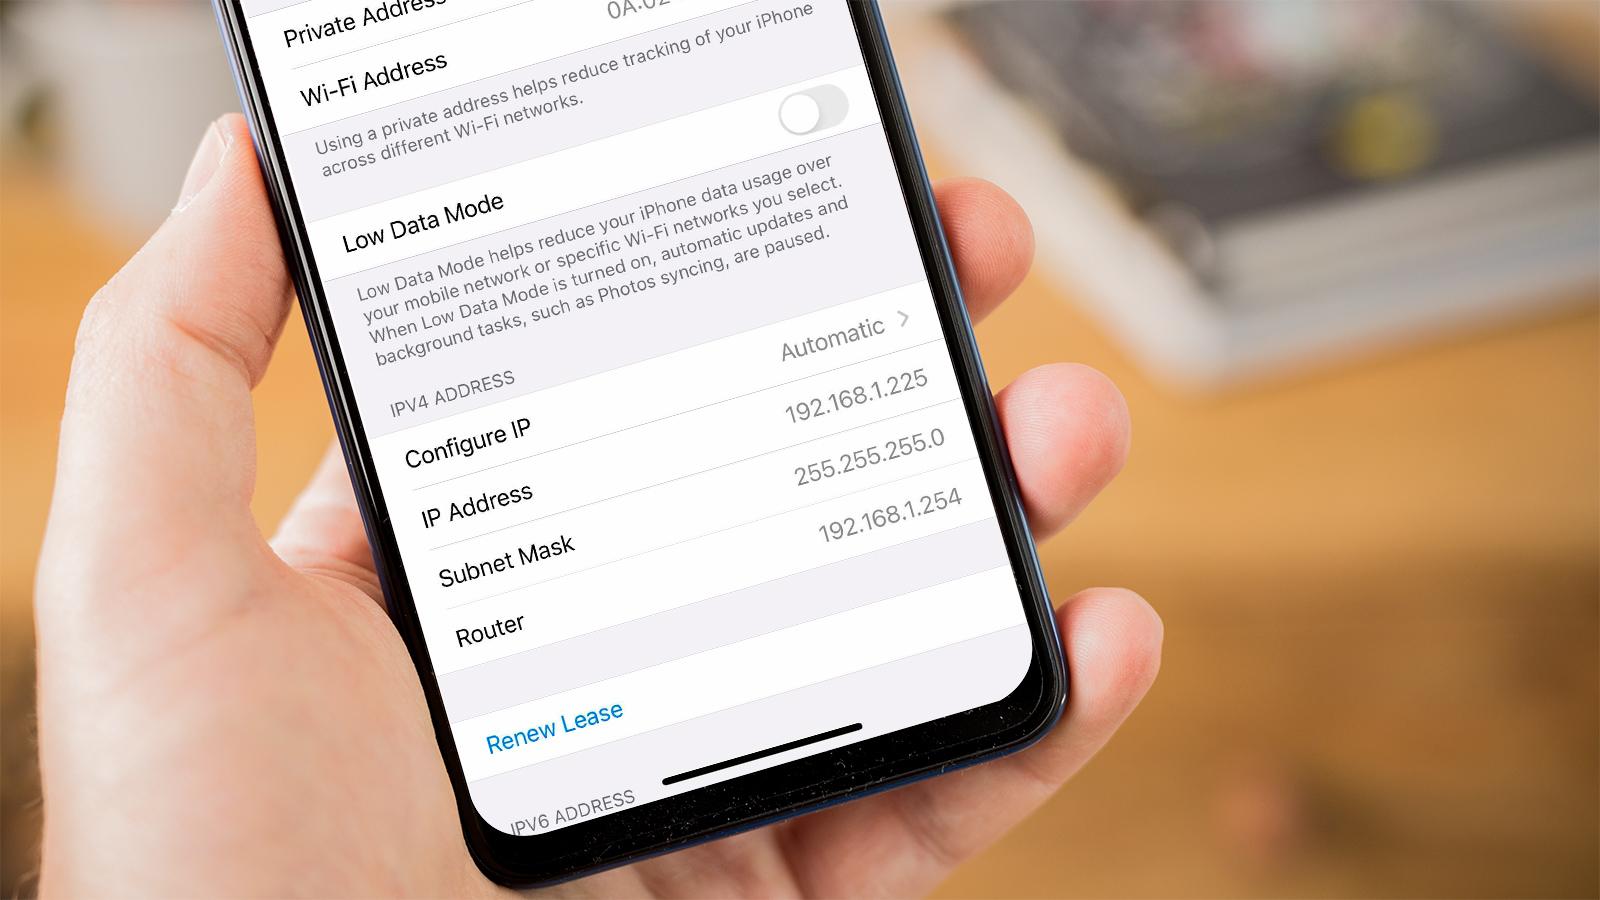
- In the network settings, locate the “IP Address” or “IPv4 Address” field. By default, this field is often set to “DHCP” or “Obtain automatically.” Change the setting to “Static” or “Manually” to assign a fixed IP address.
- Enter the desired IP address for your camera. It is important to choose an IP address that is within the same subnet as your router’s IP address. For example, if your router’s IP address is 192.168.1.1, you can assign an IP address like 192.168.1.100 to your camera.
- Configure the subnet mask and default gateway. The subnet mask is typically set to 255.255.255.0, and the default gateway is your router’s IP address. This information is provided by your internet service provider or can be found in your router’s settings.
- Save the changes and restart your camera. This will apply the new network settings and assign the fixed IP address you configured.
- Once the camera has restarted, verify the connectivity by accessing the camera’s web interface using the new fixed IP address. Open a web browser and enter the new IP address in the address bar. If you can successfully access the camera’s interface, congratulations – you have successfully set a fixed IP address!
It is important to note that the steps outlined above may vary slightly depending on your camera’s model and the manufacturer’s specific user interface. Refer to the camera’s documentation for detailed instructions tailored to your device.
Congratulations! You have successfully set your wireless security cameras to a fixed IP address. Enjoy the convenience and peace of mind that comes with easy remote access and a reliable connection.
To set your wireless security camera to a fixed IP address, access the camera’s settings through a web browser and look for the network or IP settings. Then, choose the option to set a static or fixed IP address and enter the desired IP address, subnet mask, gateway, and DNS server.
Additional Considerations
While setting your wireless security cameras to a fixed IP address is a crucial step, there are a few additional considerations to keep in mind to ensure optimal performance and security:
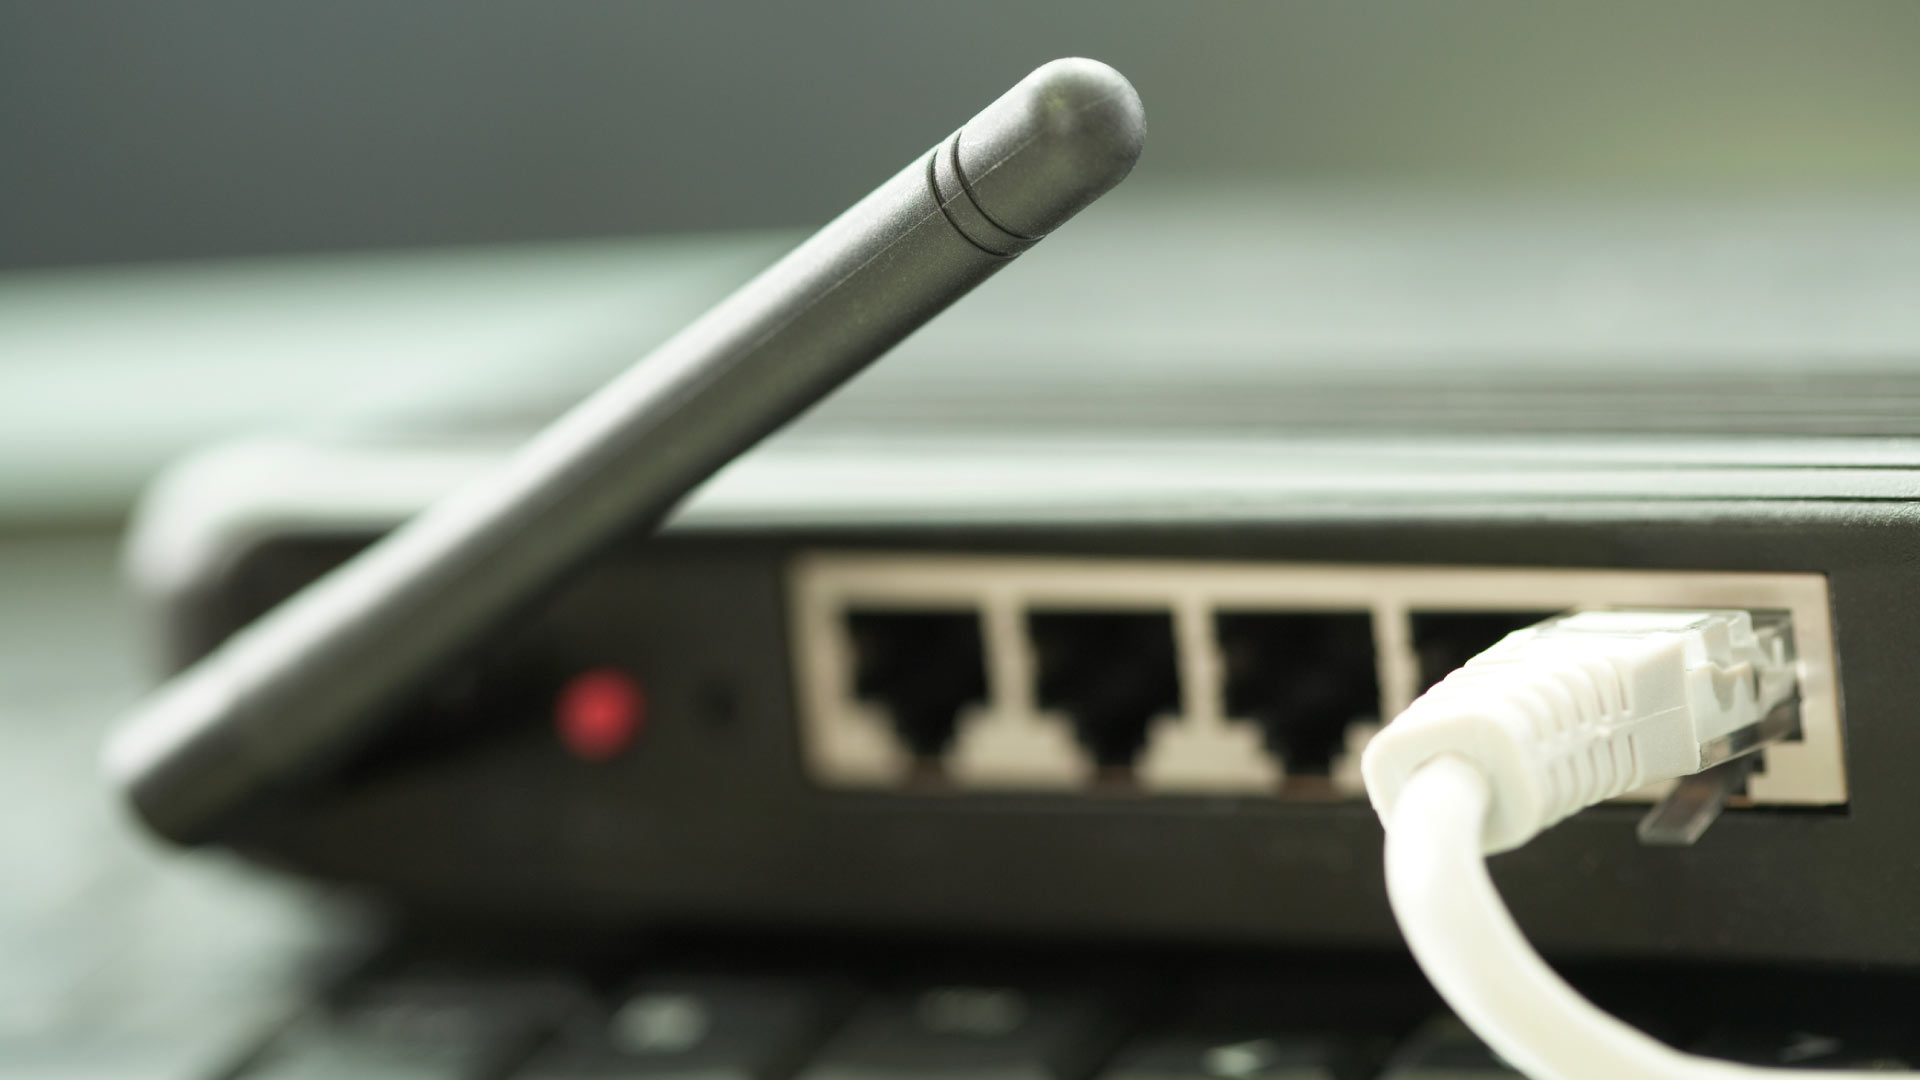
- Router Configuration: In order for your cameras to function properly with a fixed IP address, you may need to configure your router accordingly. This involves setting up port forwarding to allow external access to your cameras. Consult your router’s documentation or contact your internet service provider for detailed instructions on how to configure port forwarding.
- Network Stability: A stable and reliable network connection is essential for optimal performance of your wireless security cameras. Ensure that your cameras are within range of your router and that there are no obstructions or interference that could degrade the signal strength. Consider utilizing Wi-Fi extenders or access points if necessary to improve the coverage and stability of your network.
- Security Measures: While wireless security cameras provide enhanced protection for your home, it is important to implement additional security measures. Ensure that you have strong, unique passwords for your cameras to prevent unauthorized access. Regularly update the firmware of your cameras to patch any security vulnerabilities. Consider enabling encryption protocols, such as WPA2, for your Wi-Fi network to prevent eavesdropping.
- Regular Maintenance: It is recommended to periodically review and update the settings of your wireless security cameras. Check for firmware updates from the manufacturer and install them to ensure you have the latest features and security enhancements. Additionally, inspect the physical condition of your cameras, including the lenses and housing, to ensure they are clean and free from any damage that could affect their performance.
- Power Backup: Consider having a power backup solution in place for your wireless security cameras. Power outages or disruptions can render your cameras inactive, leaving your home vulnerable. You can use uninterruptible power supply (UPS) systems or battery backups to ensure continuous operation of your cameras even during power outages.
By taking these additional considerations into account, you can enhance the functionality, security, and longevity of your wireless security camera system. Remember to regularly monitor and maintain your cameras to ensure they are operating optimally and continue to provide you with the peace of mind you deserve.
Troubleshooting Common Issues
While setting up your wireless security cameras with a fixed IP address, you may encounter some common issues. Here are a few troubleshooting tips to help you resolve them:
- Unable to Access Camera’s Web Interface: If you are unable to access your camera’s web interface using the new fixed IP address, ensure that you are connected to the same network as the camera. Double-check that the IP address, subnet mask, and default gateway are set correctly. If you are still unable to access the interface, try restarting the camera and your computer, and check if any firewall settings are blocking the connection.
- Incorrect IP Address Assignment: If you find that your camera is receiving an incorrect IP address, even after setting it to “Static” or “Manually,” make sure you have entered the IP address correctly. Double-check the subnet mask and default gateway settings as well. If the issue persists, try resetting your camera to its factory default settings and repeat the setup process.
- Network Connectivity Issues: If you are experiencing network connectivity issues with your wireless security cameras, ensure that they are properly connected to your Wi-Fi network. Optimize the camera’s positioning to minimize interference and maximize signal strength. Verify that your router’s DHCP settings are configured correctly, as a conflict may be causing connectivity problems.
- Port Forwarding Configuration: If remote access to your cameras is not working, double-check your router’s port forwarding settings. Ensure that the correct ports are being forwarded to the camera’s IP address. Consult your router’s documentation or contact your service provider for assistance with configuring port forwarding correctly.
- Incompatible Firmware: If you are experiencing stability or functionality issues with your cameras, check if there are any firmware updates available from the manufacturer. Updating your camera’s firmware can address known bugs, improve performance, and add new features. Follow the manufacturer’s instructions to safely update the firmware and ensure compatibility with your fixed IP address configuration.
If you have exhausted troubleshooting steps and are still facing issues with your wireless security cameras, it is recommended to consult the manufacturer’s support or seek professional assistance. They will have specialized knowledge and expertise to diagnose and resolve complex issues.
Remember, patience and persistence are key when troubleshooting. With a systematic approach and the right resources, you can overcome common issues and enjoy the benefits of a reliable and secure home surveillance system.
Conclusion
Setting a fixed IP address for your wireless security cameras is an essential step to ensure seamless remote access, reliable connectivity, and easier management of your surveillance system. By following the step-by-step guide provided in this article, you can successfully configure your cameras with a fixed IP address and enjoy the peace of mind that comes with enhanced security and monitoring capabilities.
Throughout this guide, we emphasized the importance of remote access, network stability, security measures, regular maintenance, and power backup as additional considerations when setting up your wireless security cameras. These factors are crucial for optimal performance and long-term reliability of your surveillance system.
In the event that you encounter any issues during the setup process, we provided troubleshooting tips to help you address common problems. By following these troubleshooting steps and seeking manufacturer support when needed, you can overcome obstacles and ensure the smooth operation of your wireless security cameras.
Remember, technology continues to evolve, and it is essential to keep your security cameras updated with the latest firmware and maintain a proactive approach to security. By regularly reviewing your camera’s settings, ensuring strong passwords, and staying vigilant with network security measures, you can stay one step ahead of potential threats.
With a well-configured wireless security camera system, you can enjoy the convenience and peace of mind that comes from being able to monitor your home and loved ones from anywhere in the world. Whether you’re traveling, at work, or simply away from home, you can have confidence knowing that your property is secure and protected.
Setting a fixed IP address for your wireless security cameras may seem like a technical task, but with perseverance and the guidance provided in this article, you can successfully complete the setup process. So, go ahead, take the necessary steps, and elevate the security and surveillance of your home with wireless security cameras equipped with fixed IP addresses.
Frequently Asked Questions about How Do I Set My Wireless Security Cameras To A Fixed IP Address?
Was this page helpful?
At Storables.com, we guarantee accurate and reliable information. Our content, validated by Expert Board Contributors, is crafted following stringent Editorial Policies. We're committed to providing you with well-researched, expert-backed insights for all your informational needs.