Home>Technology>Smart Home Devices>How To Clean A Laser Printer
Smart Home Devices
How To Clean A Laser Printer
Modified: August 17, 2024
Learn how to properly clean your laser printer to maintain its performance and extend its lifespan. Discover the best practices for maintaining smart home devices.
(Many of the links in this article redirect to a specific reviewed product. Your purchase of these products through affiliate links helps to generate commission for Storables.com, at no extra cost. Learn more)
Introduction
Welcome to the world of smart home devices! In today's fast-paced digital age, our homes are becoming increasingly intelligent, with an array of interconnected devices designed to simplify and enhance our lives. From voice-activated assistants to smart thermostats and security systems, the possibilities are endless. As the demand for smart home technology continues to surge, it's essential to understand the various devices available and how they can seamlessly integrate into our daily routines.
In this comprehensive guide, we will delve into the fascinating realm of smart home devices, exploring their functionalities, benefits, and the latest trends shaping the industry. Whether you're a tech enthusiast looking to expand your smart home ecosystem or a novice seeking to understand the basics, this article will serve as your roadmap to navigating the exciting world of smart home devices.
So, sit back, relax, and prepare to embark on an enlightening journey through the innovative landscape of smart home technology. Let's uncover the endless possibilities and discover how these intelligent devices can revolutionize the way we live, work, and interact within our homes.
Key Takeaways:
- Regularly cleaning your laser printer’s exterior, interior, and toner cartridge ensures optimal performance and print quality, prolonging its lifespan and maintaining professional appearance.
- Prioritize safety by following manufacturer’s guidelines, wearing protective gear, and cleaning in a well-ventilated area to prevent mishaps and ensure effective printer maintenance.
Read more: How To Clean A Brother Laser Printer
Safety Precautions
Before embarking on the cleaning process, it’s crucial to prioritize safety to prevent any mishaps and ensure the longevity of your laser printer. Here are some essential safety precautions to keep in mind:
- Power Off and Unplug: Before cleaning your laser printer, power it off and unplug it from the electrical outlet. This step is vital to avoid the risk of electrical shock and to prevent any moving parts from causing injury during the cleaning process.
- Cooling Period: Laser printers generate heat during operation. Allow the printer to cool down for a sufficient period before initiating the cleaning process. This will minimize the risk of burns and ensure safe handling of internal components.
- Protective Gear: Consider wearing gloves to shield your hands from toner particles and other residues that may be present inside the printer. Additionally, a dust mask can be beneficial to prevent inhalation of airborne particles.
- Well-Ventilated Area: It’s advisable to clean the printer in a well-ventilated area to minimize exposure to airborne particles and toner dust. Adequate ventilation will also help dissipate any odors that may arise during the cleaning process.
- Follow Manufacturer’s Guidelines: Refer to the printer’s user manual for specific cleaning instructions provided by the manufacturer. Adhering to these guidelines will ensure that you clean the printer in a manner that aligns with the manufacturer’s recommendations, preserving the printer’s warranty and performance.
By adhering to these safety precautions, you can approach the printer cleaning process with confidence, knowing that you’ve taken the necessary steps to safeguard yourself and your equipment. Now that we’ve established the essential safety measures, let’s delve into the step-by-step process of cleaning the exterior and interior of your laser printer.
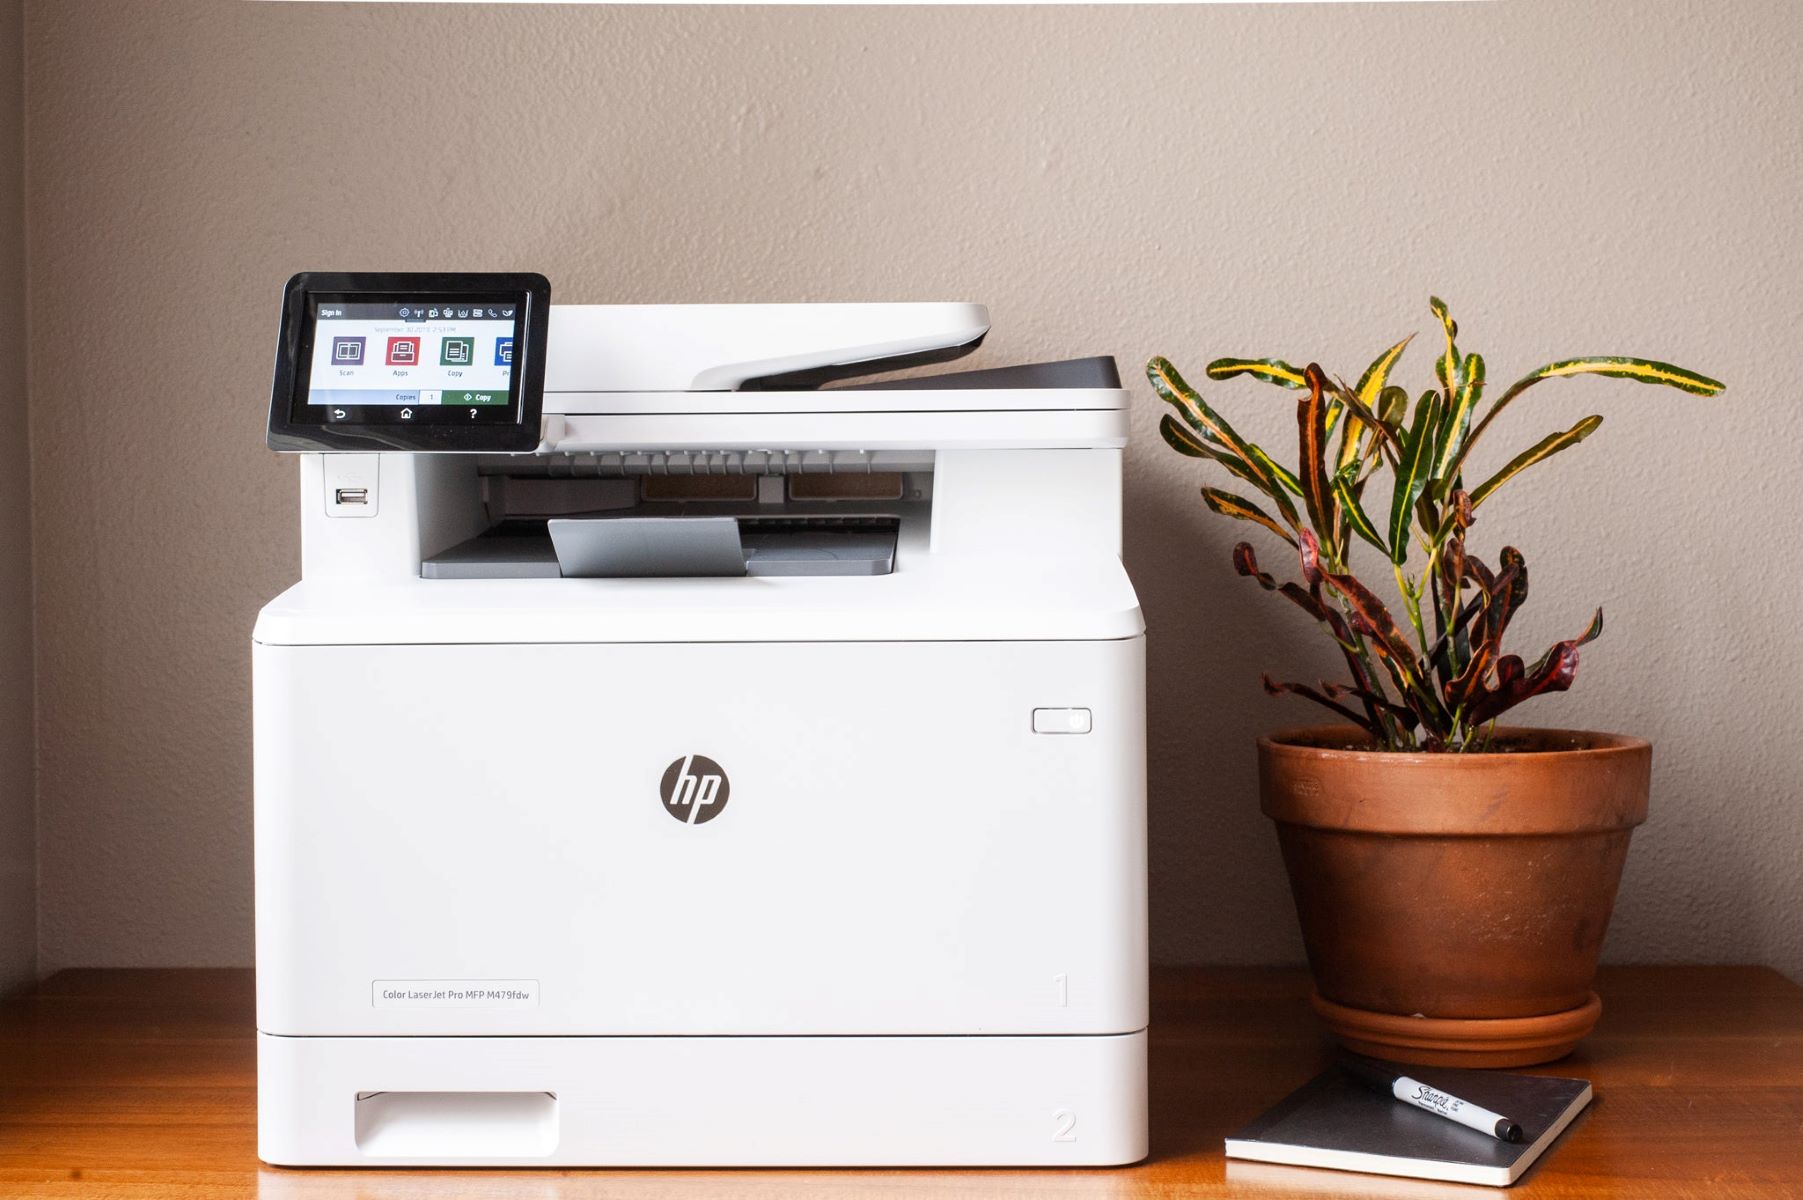
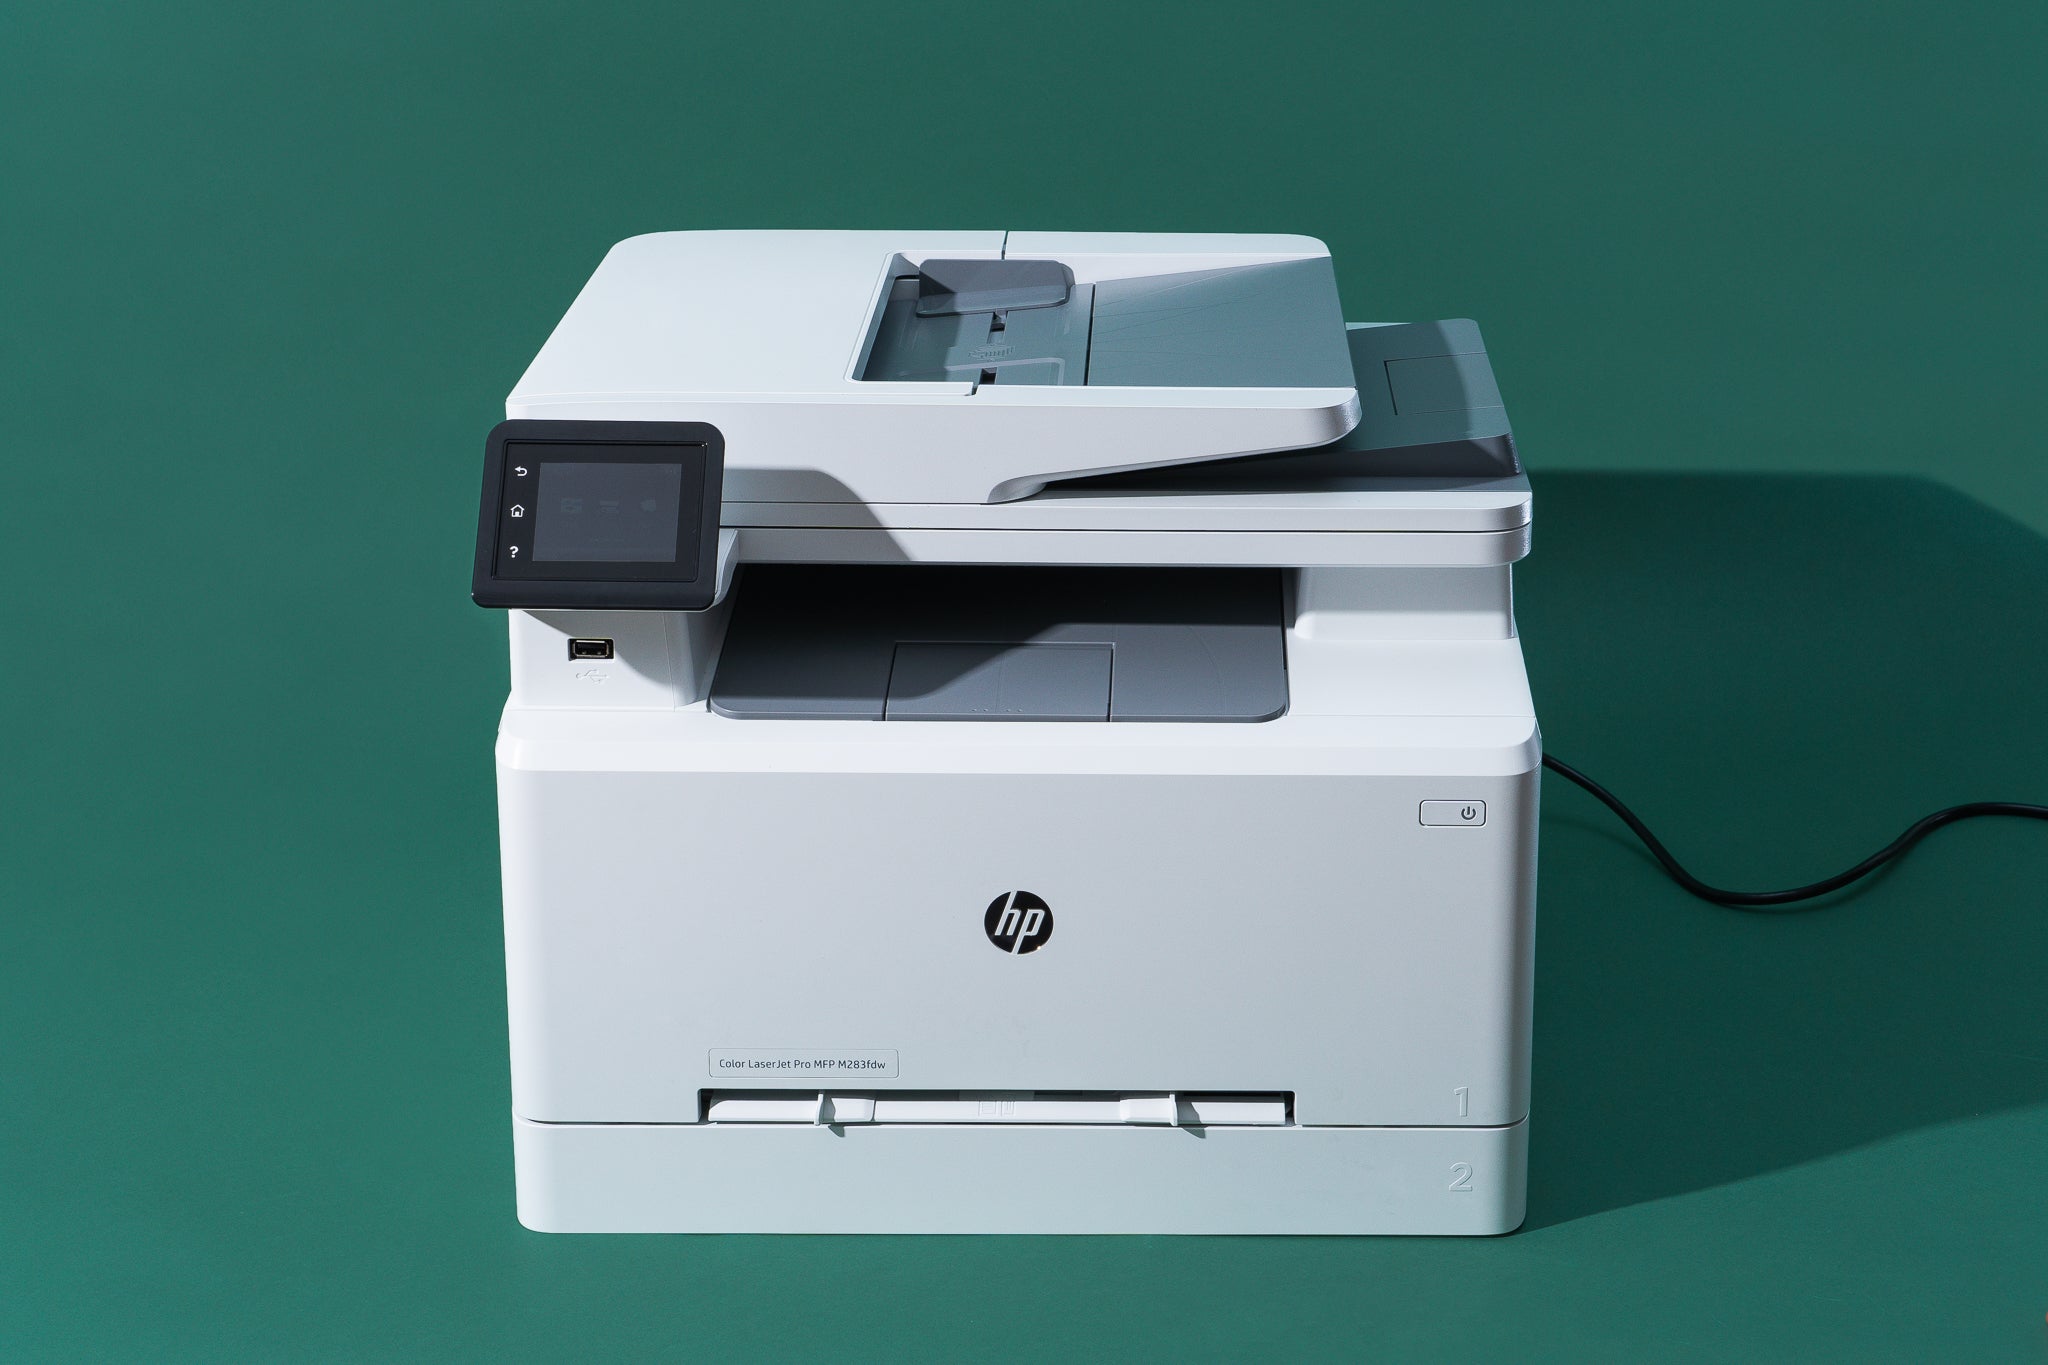
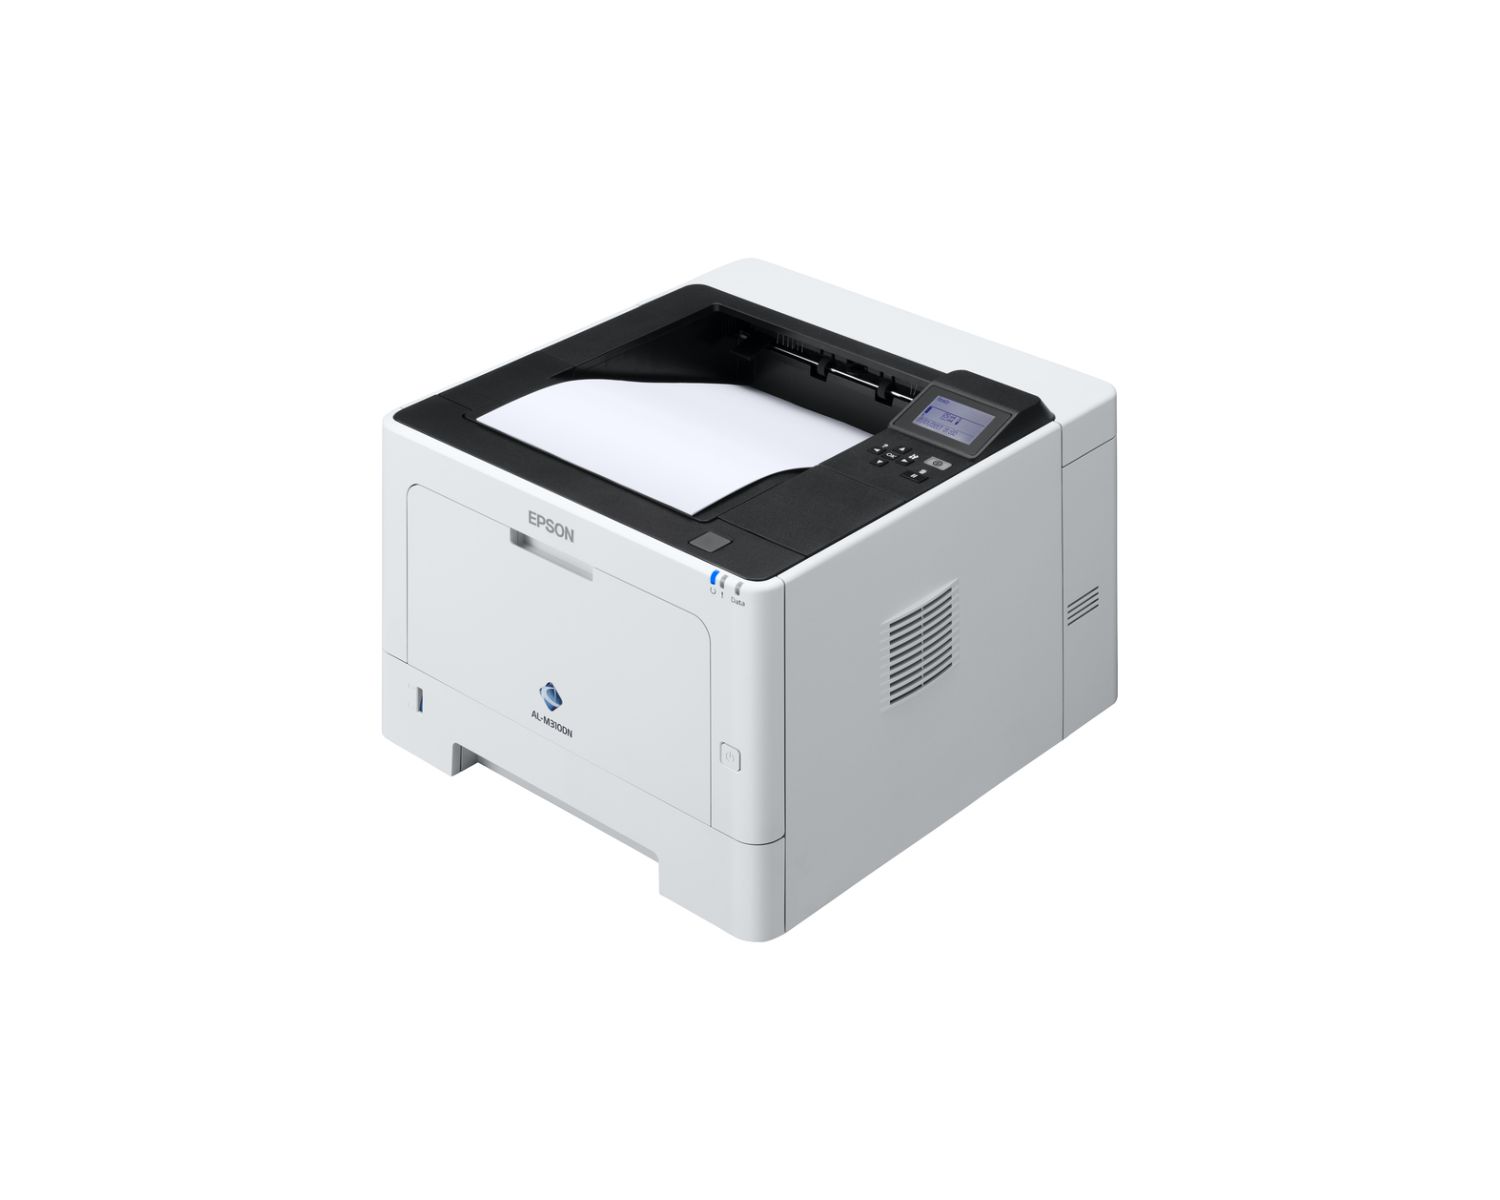
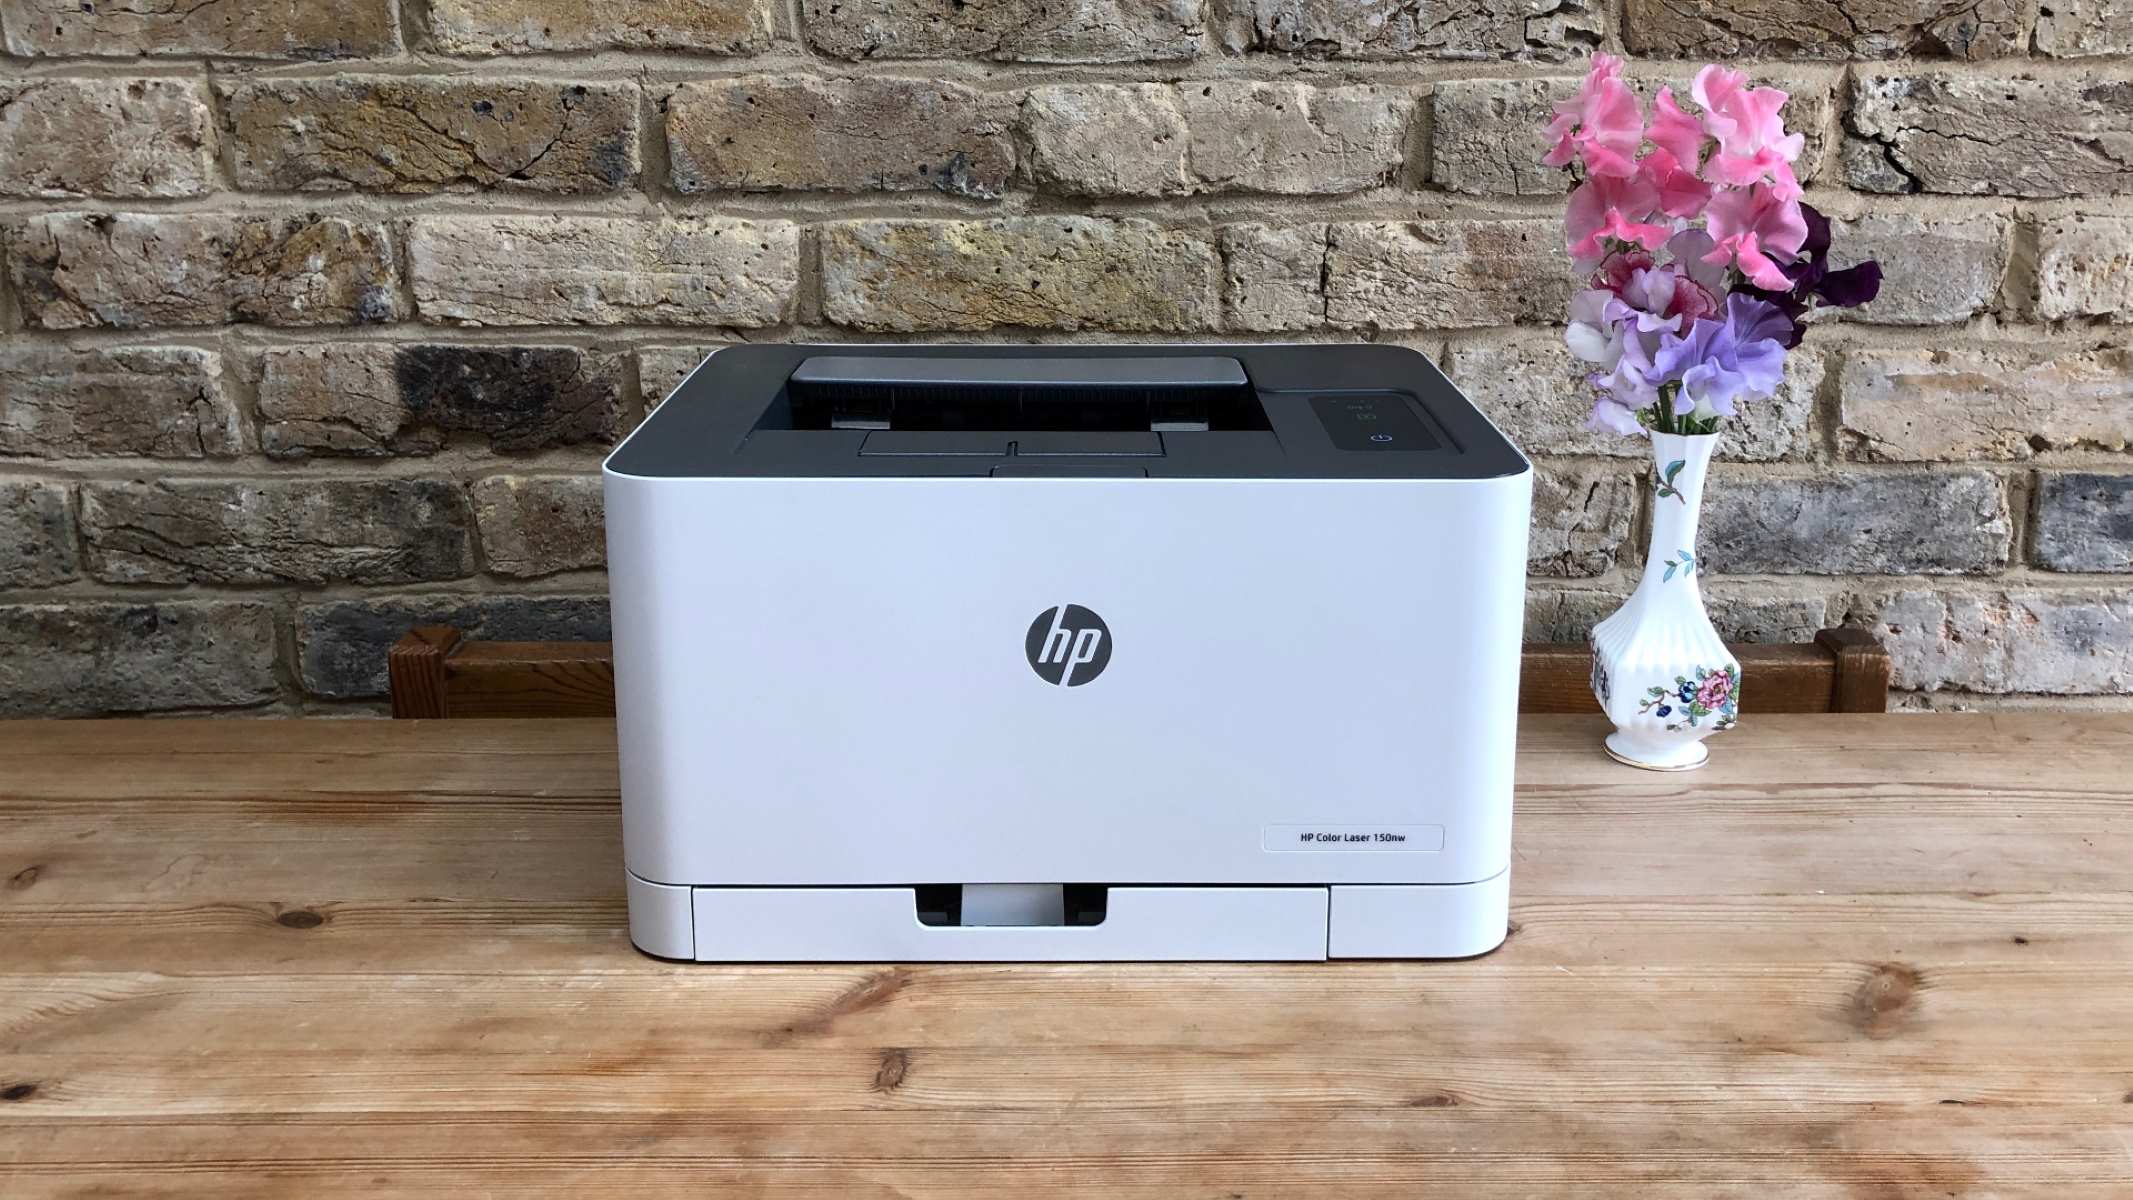
Cleaning the Exterior
The exterior of your laser printer is the first impression it makes in your workspace, so keeping it clean not only enhances its appearance but also contributes to its overall maintenance. Here’s a step-by-step guide to cleaning the exterior of your printer:
- Gather Cleaning Supplies: Before you begin, gather the necessary cleaning supplies, such as a soft, lint-free cloth, mild detergent, and water. Avoid using abrasive cleaners or solvents, as they can damage the printer’s exterior.
- Power Off and Unplug: Ensure that the printer is powered off and unplugged from the electrical outlet before proceeding with the cleaning process.
- Remove Dust and Debris: Using a soft, dry cloth, gently wipe the exterior surfaces of the printer to remove any accumulated dust and debris. Pay attention to the ventilation slots and openings, as these areas are prone to gathering dust.
- Clean with Mild Detergent: If there are stubborn stains or marks on the printer’s exterior, dampen the cloth with water and a small amount of mild detergent. Wring out excess moisture to prevent water from seeping into the printer.
- Gently Wipe the Surfaces: With the damp cloth, gently wipe the affected areas to remove stains and dirt. Take care to avoid excessive moisture near the control panel, display, and other sensitive areas.
- Dry Thoroughly: Once the cleaning is complete, use a dry cloth to thoroughly dry the exterior surfaces of the printer. Ensure that no moisture remains, especially around buttons, ports, and interfaces.
- Reassemble and Power On: After ensuring that the exterior is dry, reassemble any removable components and power on the printer. Your laser printer’s exterior should now be clean and free from dust and stains, presenting a professional and well-maintained appearance in your workspace.
By following these steps, you can effectively maintain the exterior cleanliness of your laser printer, ensuring that it continues to make a positive impression while functioning at its best. Now, let’s move on to the crucial process of cleaning the interior components of your printer.
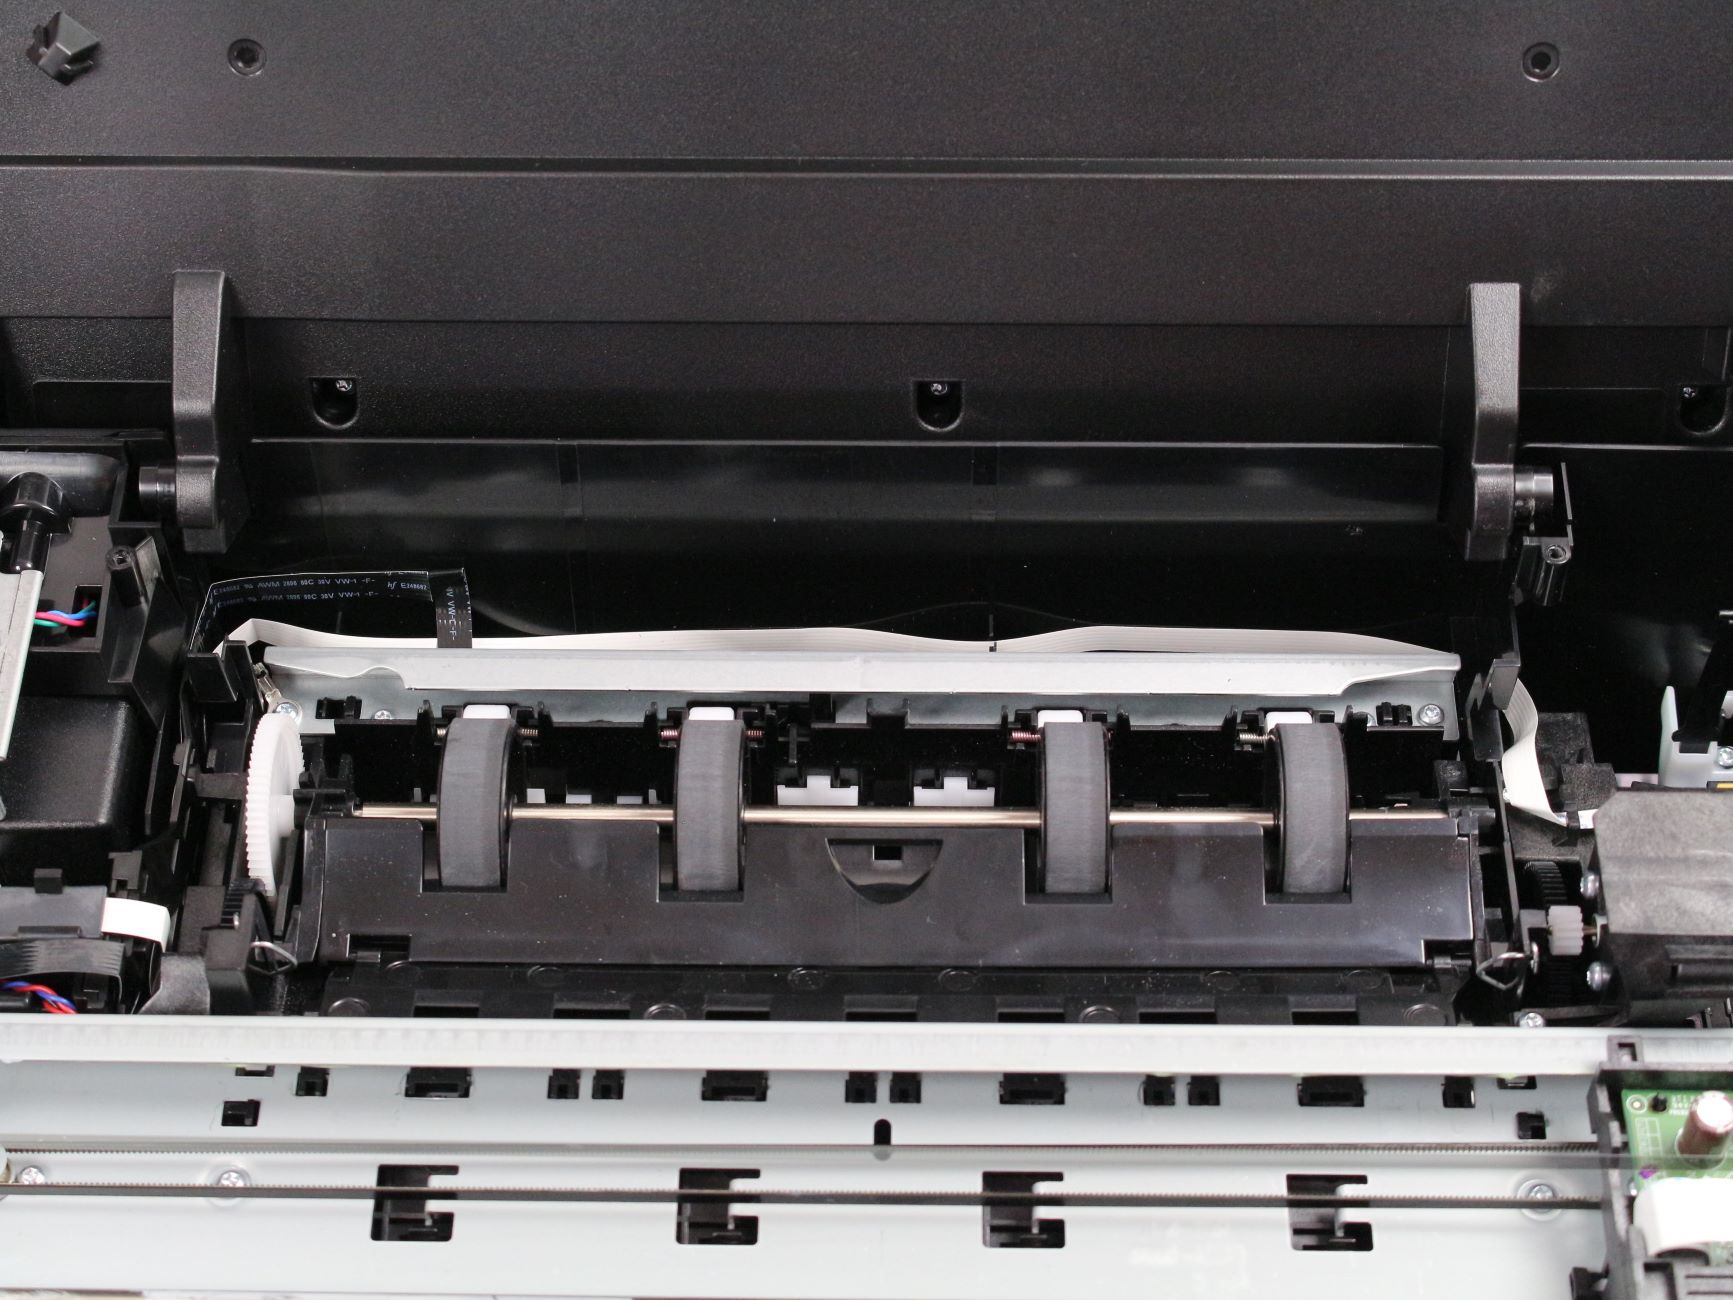
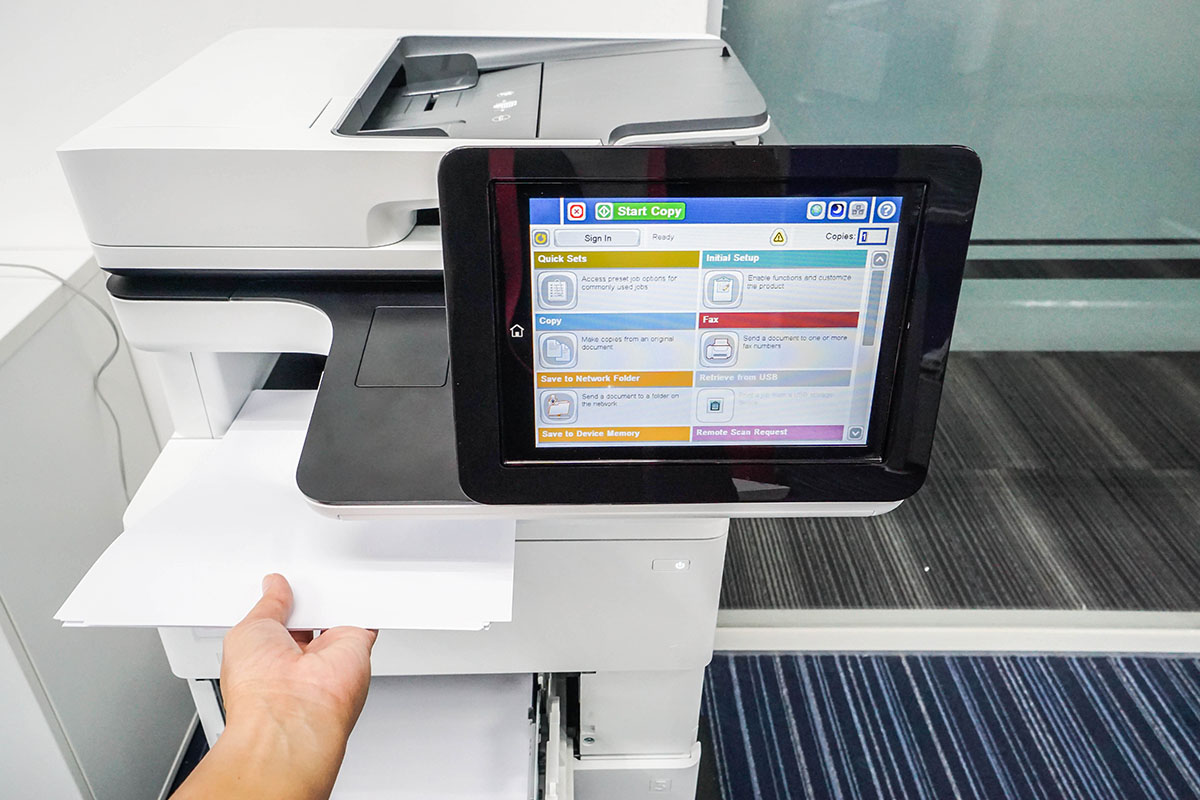
Cleaning the Interior
While the exterior of your laser printer contributes to its aesthetic appeal, maintaining the cleanliness of its interior components is equally vital for optimal performance and longevity. Here’s a comprehensive guide to cleaning the interior of your printer:
- Accessing the Interior: Refer to your printer’s user manual to locate and access the interior components that require cleaning. This may involve opening specific panels or compartments to gain access to the interior.
- Remove Loose Toner: Using a small handheld vacuum cleaner or a toner-specific vacuum, carefully remove any loose toner particles that may have accumulated inside the printer. Exercise caution to prevent toner dust from dispersing into the air.
- Clean Internal Surfaces: With a soft, lint-free cloth, gently wipe the internal surfaces of the printer to remove any residual toner, dust, or debris. Pay close attention to areas surrounding the toner cartridge, paper path, and fuser unit.
- Inspect for Obstructions: Take this opportunity to inspect the interior for any obstructions or foreign objects that may impede the printer’s functionality. Remove any visible obstructions with care.
- Clean Paper Trays and Feed Rollers: If applicable, remove the paper trays and clean the feed rollers using a damp cloth to eliminate paper dust and debris. Ensure that the rollers are completely dry before reinstalling the paper trays.
- Reassemble Internal Components: Once the cleaning process is complete, reassemble any removable internal components, ensuring that they are securely in place and properly aligned.
- Power On and Test: After ensuring that the interior components are clean and reassembled, power on the printer and conduct a test print to verify that it is functioning as expected.
By following these steps, you can effectively maintain the cleanliness of your laser printer’s interior, promoting smooth operation and minimizing the risk of issues caused by dust and debris accumulation. With the interior now clean and optimized, let’s proceed to the critical task of cleaning the toner cartridge.
Use a soft, lint-free cloth to gently wipe away any dust or toner residue from the printer’s exterior and interior. Be careful not to touch the transfer roller or any other sensitive parts.
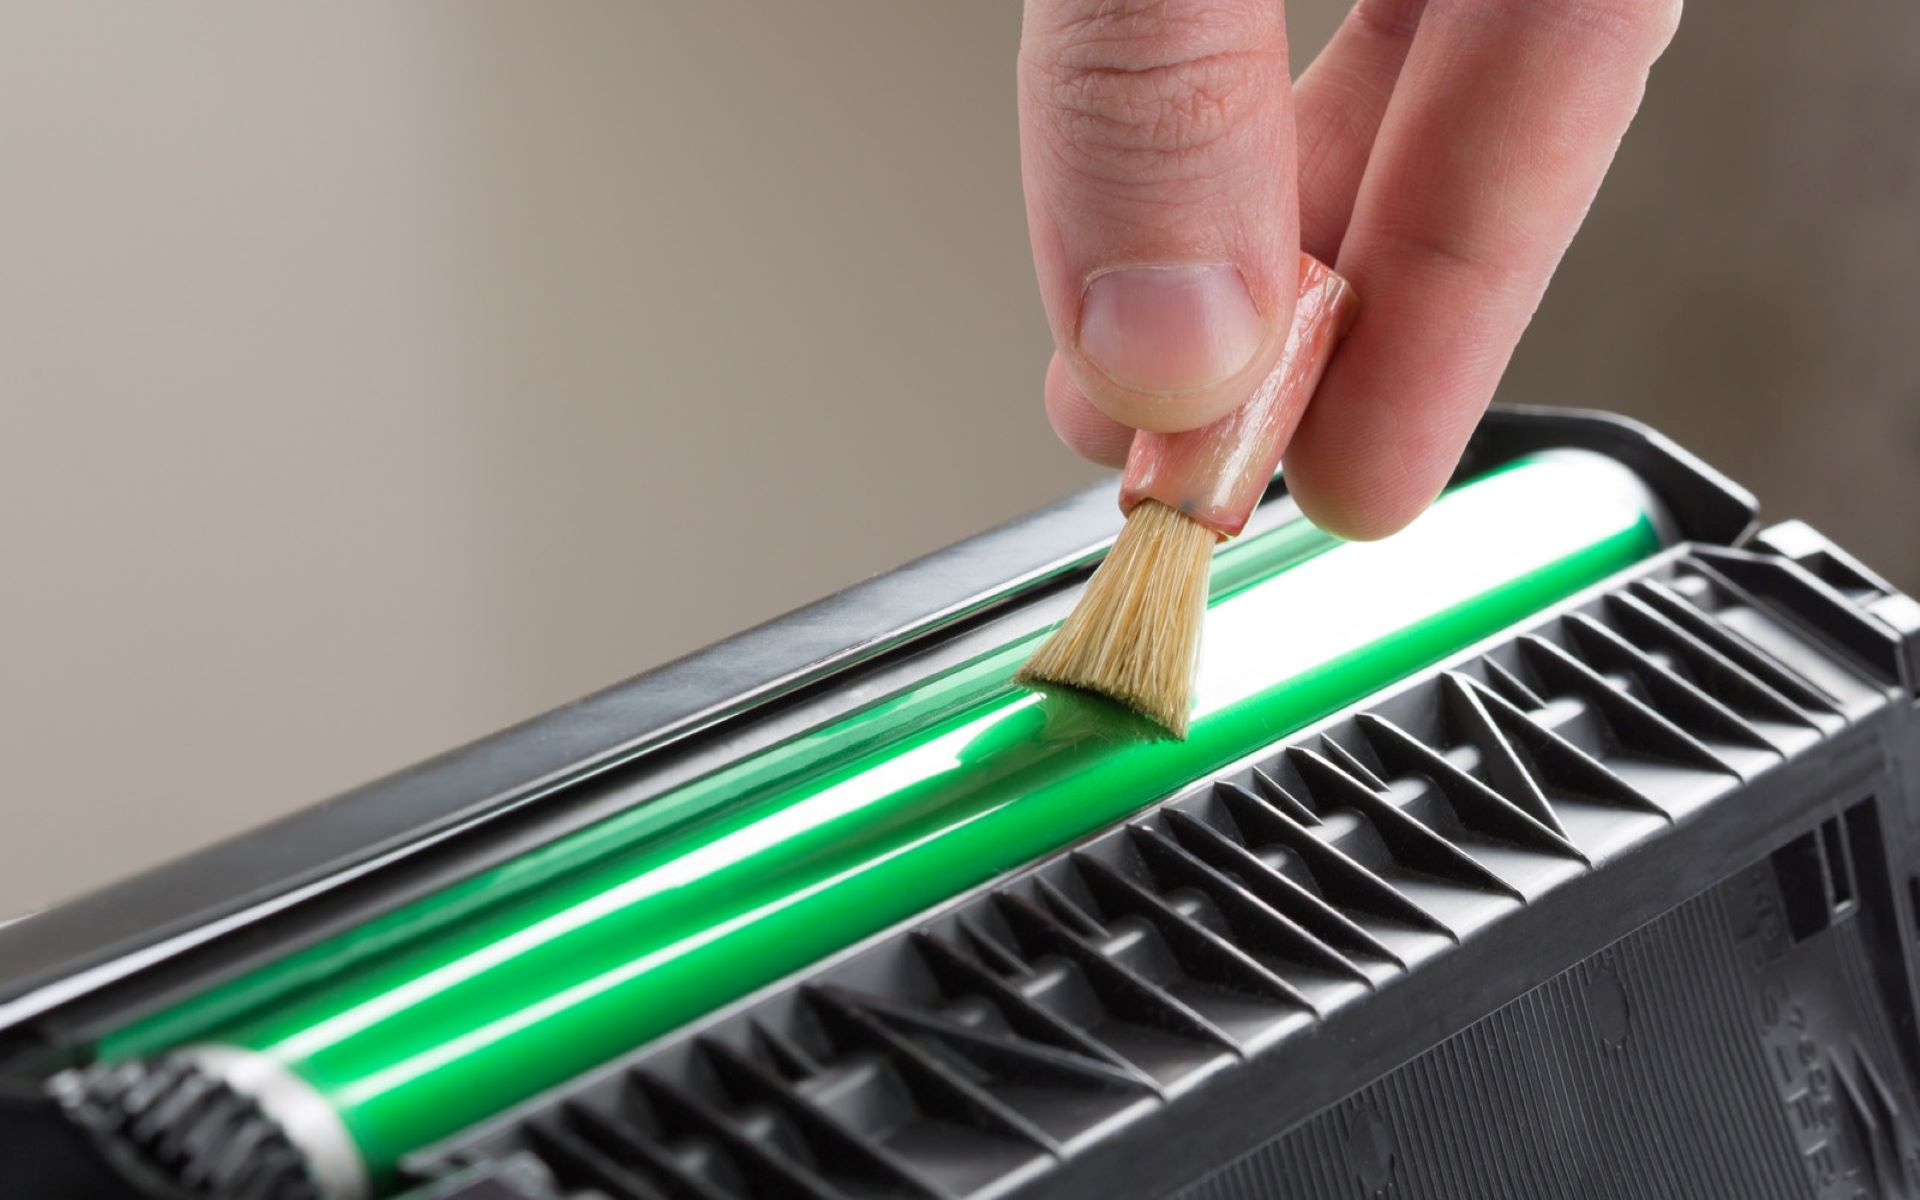
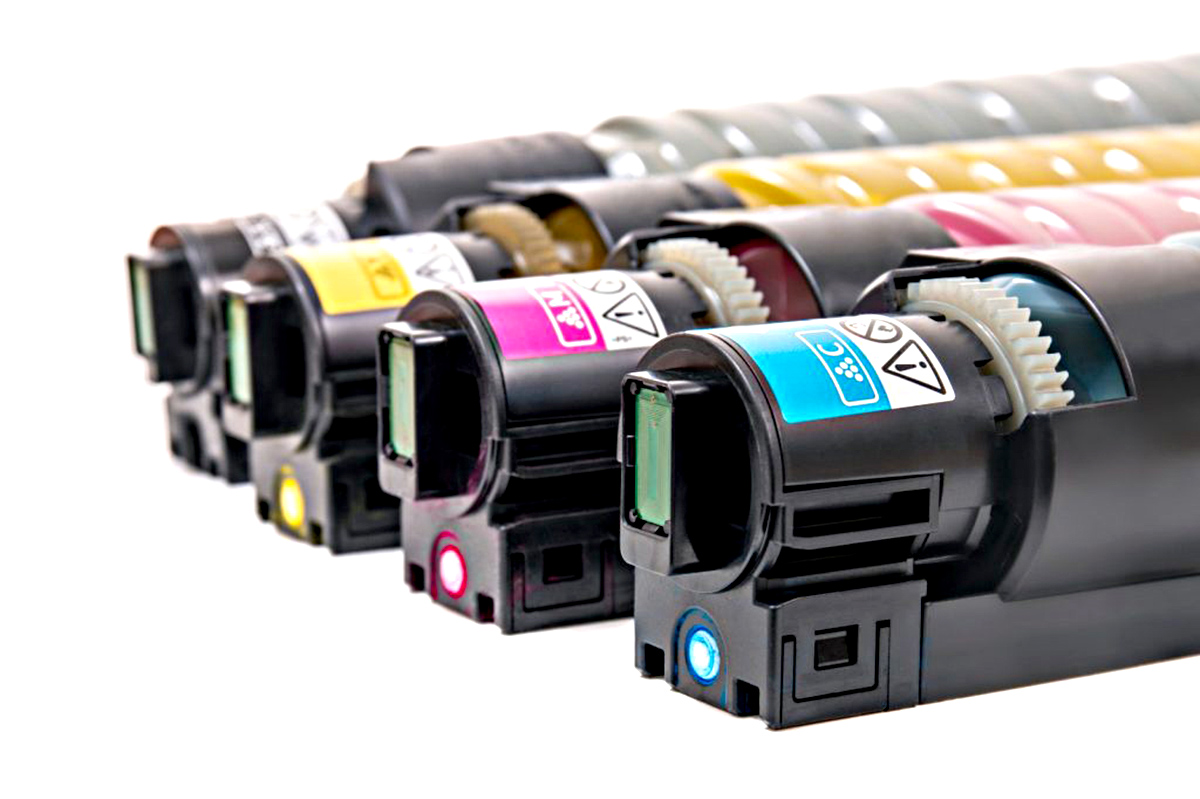
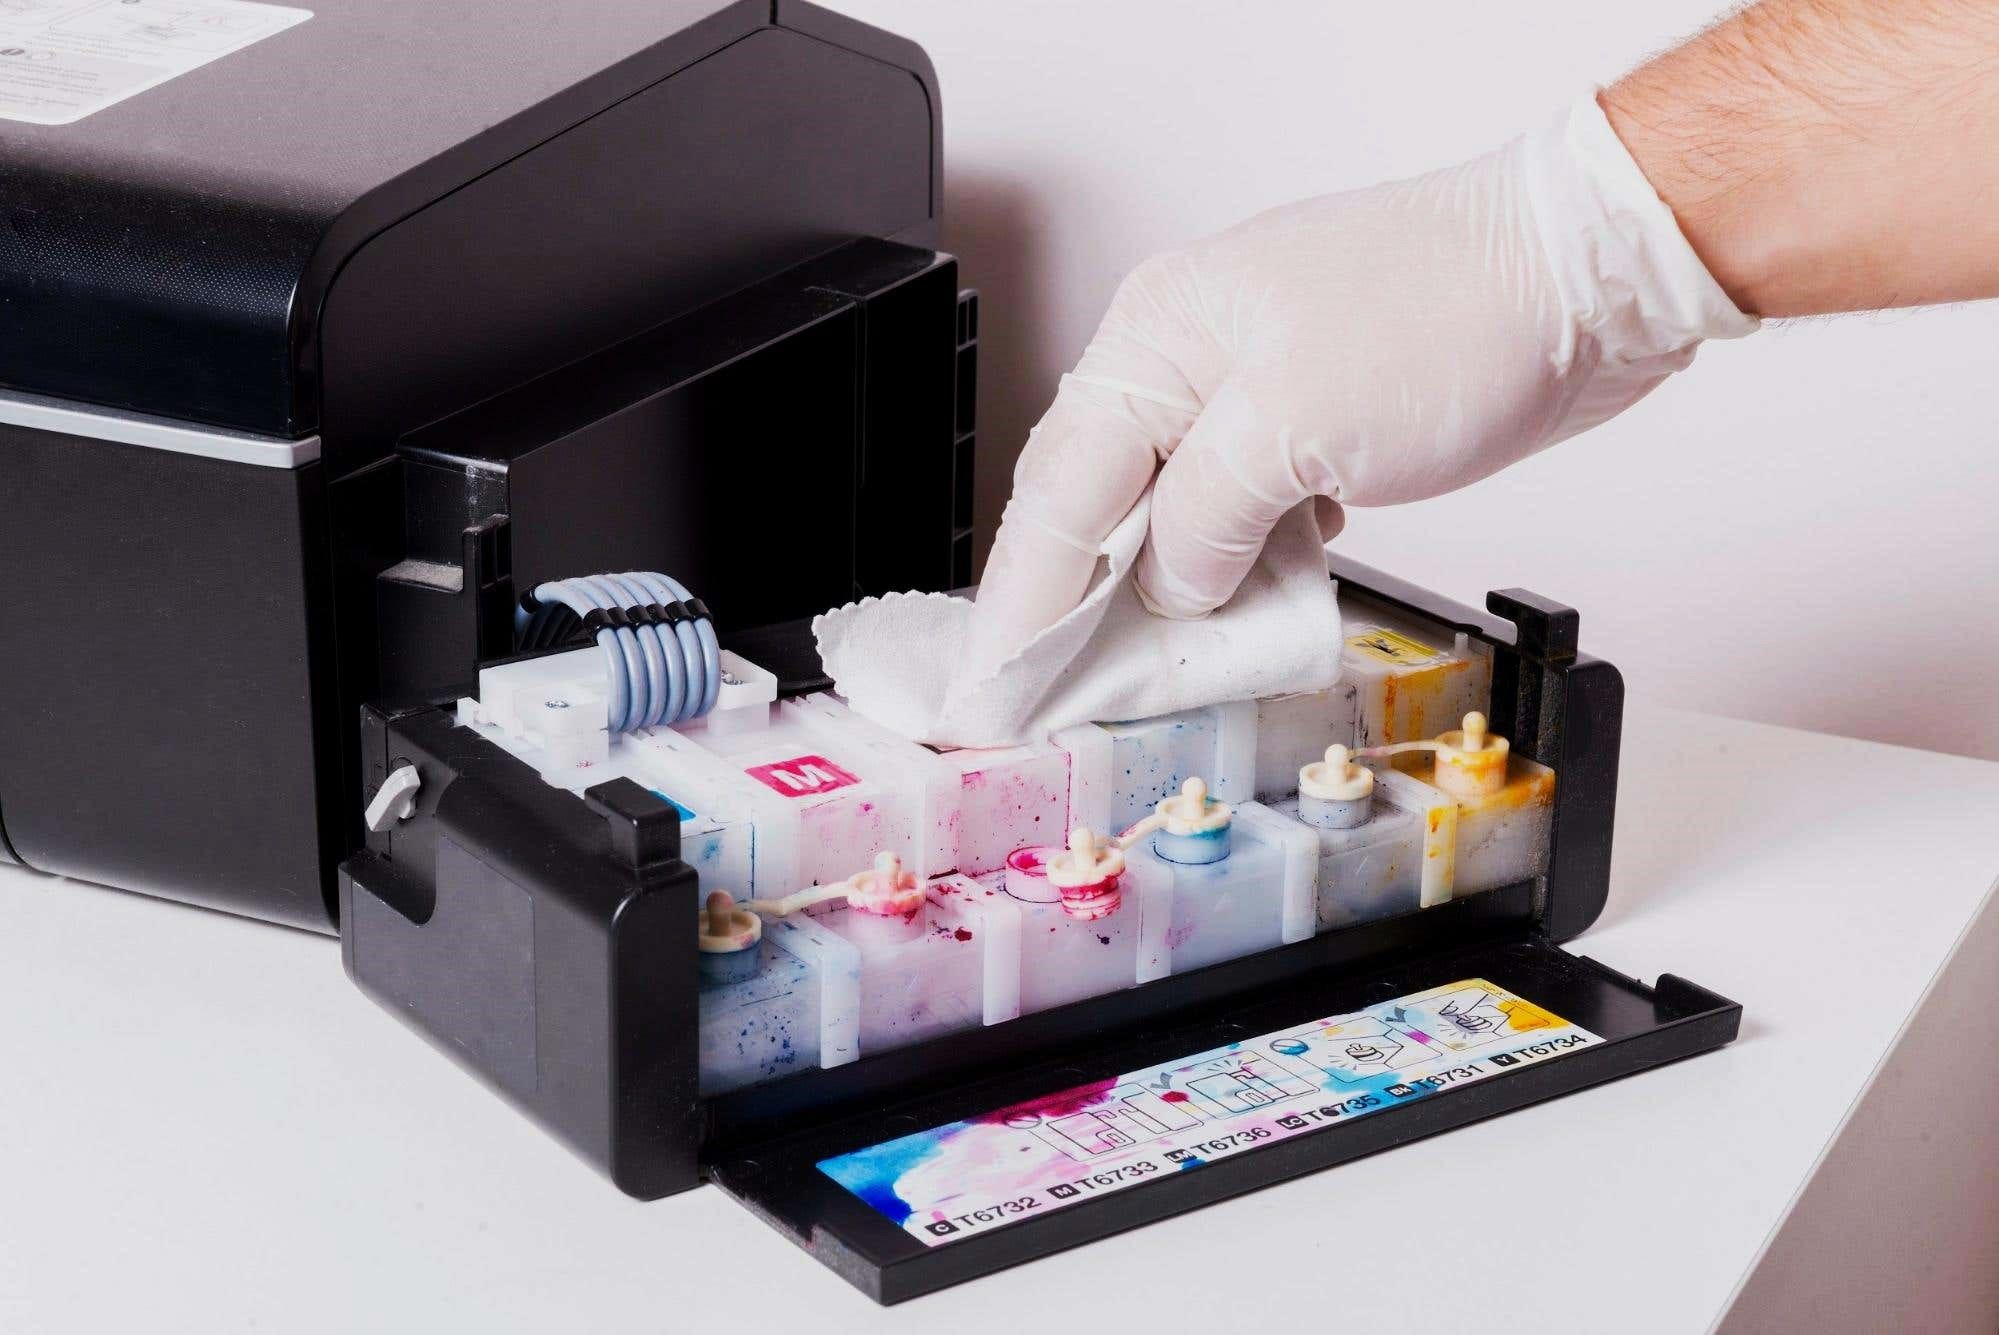
Cleaning the Toner Cartridge
The toner cartridge is a crucial component of your laser printer, responsible for transferring toner onto the paper to create high-quality prints. Keeping the toner cartridge clean is essential for maintaining print quality and prolonging the life of the cartridge. Here’s a detailed guide to cleaning the toner cartridge:
- Remove the Toner Cartridge: Refer to your printer’s user manual for instructions on safely removing the toner cartridge from the printer. Follow the recommended procedure to avoid damaging the cartridge or other printer components.
- Inspect for Toner Residue: Carefully inspect the toner cartridge for any residual toner buildup or spills. Avoid direct contact with the toner to prevent skin contact and inhalation of toner particles.
- Clean Exterior Surfaces: Using a soft, lint-free cloth, gently wipe the exterior surfaces of the toner cartridge to remove any accumulated toner residue or dust. Take care not to scratch or damage the cartridge during the cleaning process.
- Remove Toner Spills: If there are toner spills on the cartridge, use a toner-specific vacuum or a toner cleaning cloth to carefully remove the spilled toner without dispersing it into the air.
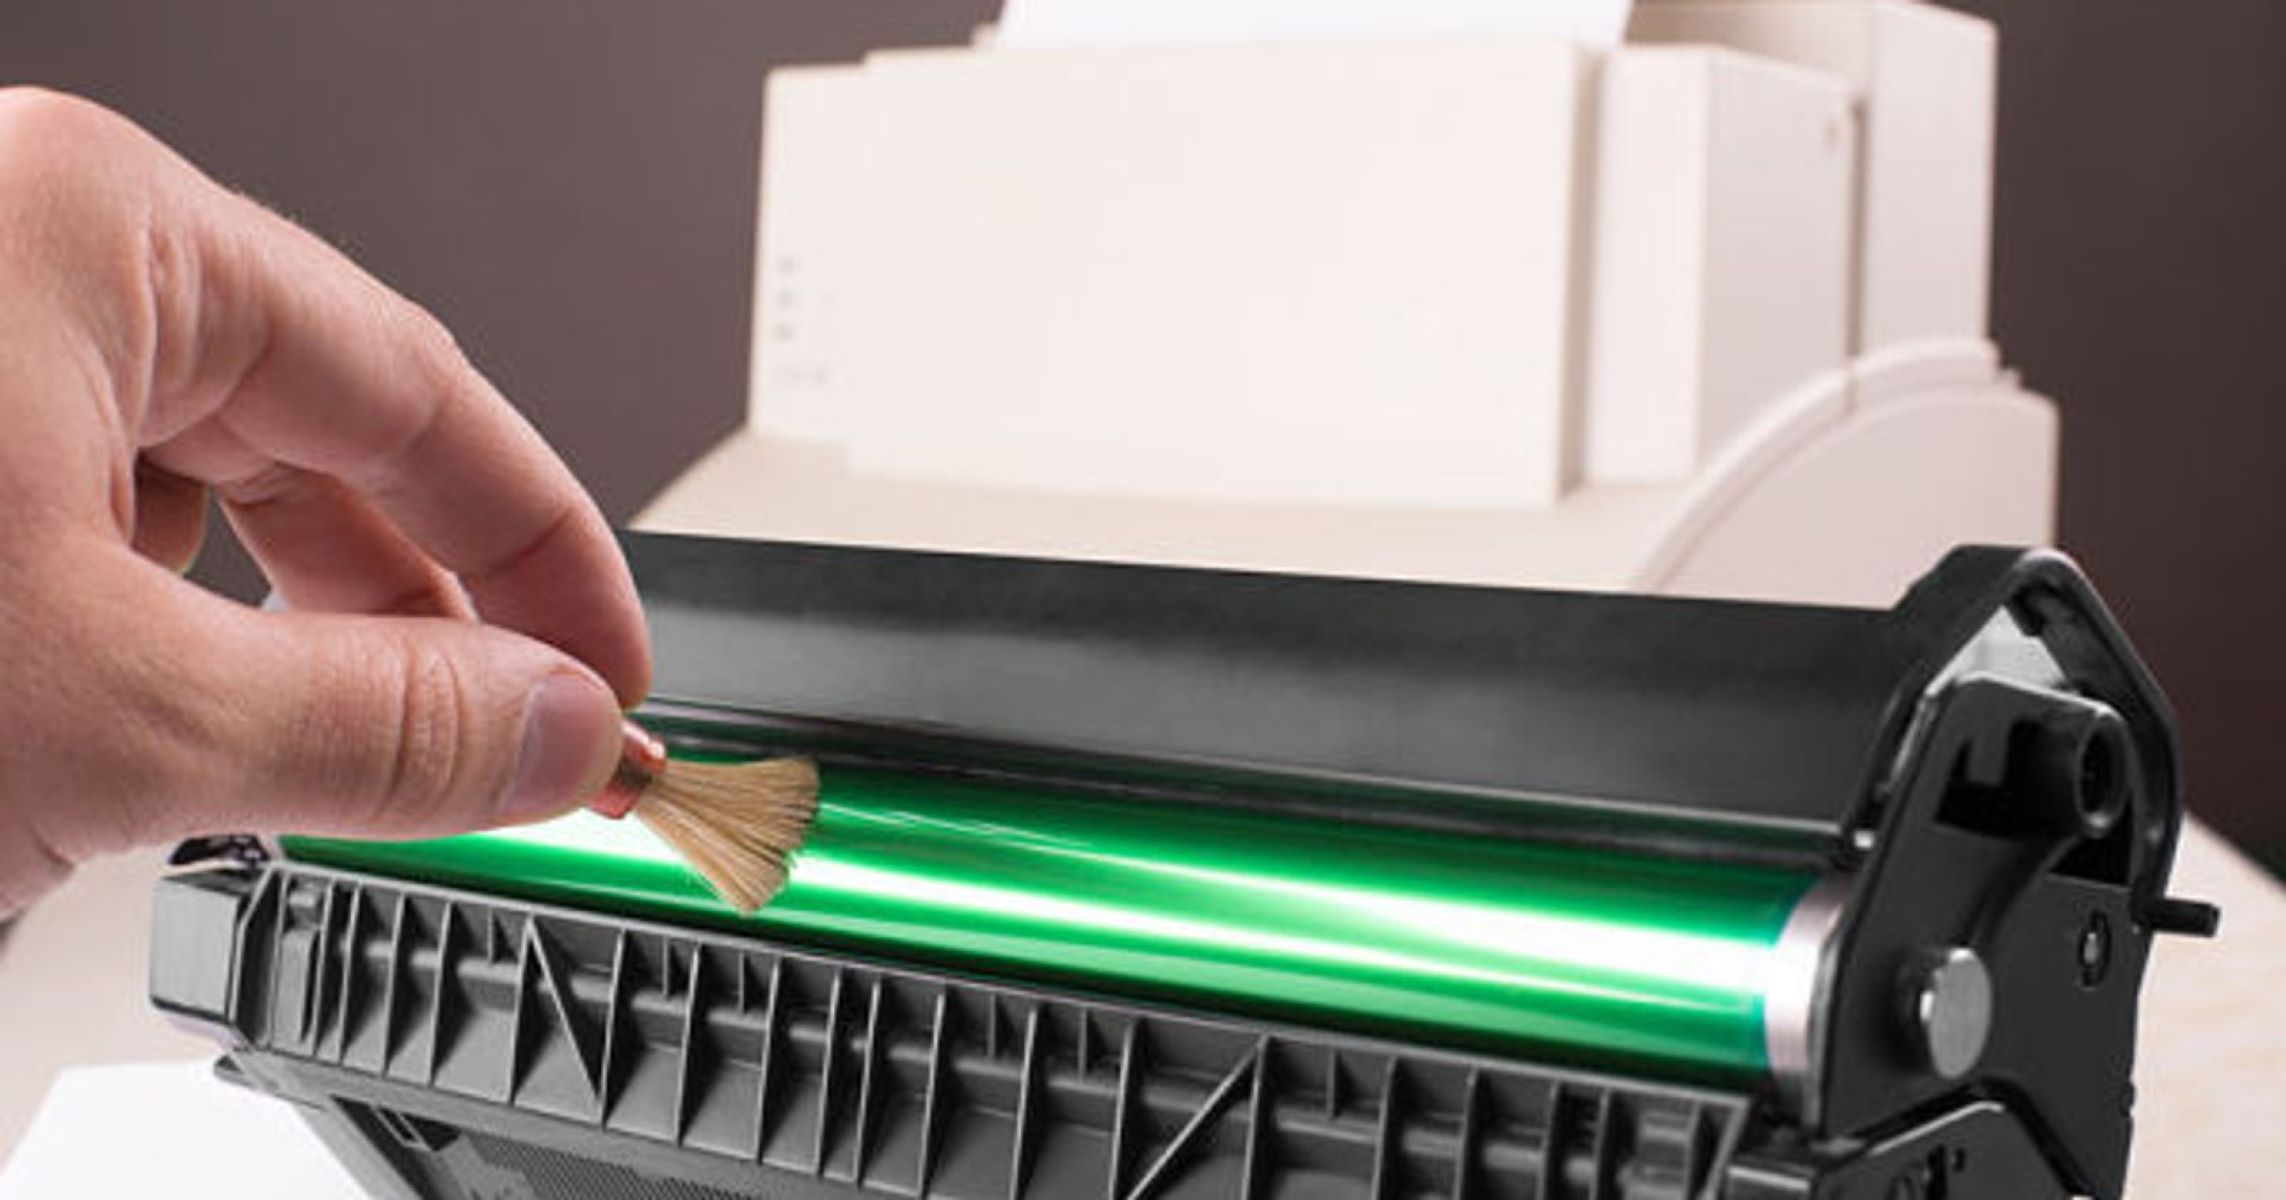
- Inspect the Drum Unit: If your toner cartridge includes a drum unit, inspect it for any visible marks, scratches, or debris. Avoid touching the drum surface, as it is sensitive and can impact print quality if damaged.
- Reinstall the Toner Cartridge: Once the cleaning process is complete, carefully reinstall the toner cartridge according to the manufacturer’s guidelines, ensuring that it is securely seated in the printer.
- Perform a Test Print: After reinstalling the toner cartridge, initiate a test print to verify that the printer is producing high-quality output without any issues related to toner residue or spills.
By following these steps, you can effectively maintain the cleanliness of your toner cartridge, ensuring that it continues to deliver exceptional print quality and reliable performance. With the toner cartridge now clean and reinstalled, let’s move on to reassembling the printer for seamless operation.
Read more: Who Invented The Laser Printer
Reassembling the Printer
After completing the thorough cleaning of the exterior, interior, and toner cartridge, it’s essential to reassemble your laser printer with care and precision to ensure its seamless operation. Here’s a step-by-step guide to reassembling the printer:
- Reinstall Internal Components: Carefully reinsert any internal components that were removed during the cleaning process, such as paper trays, toner cartridges, and imaging units. Ensure that each component is securely in place and properly aligned.
- Close Access Panels and Doors: If you opened any access panels or doors to access the interior components, securely close and latch them according to the manufacturer’s instructions. Properly sealed panels and doors are essential for safe and efficient printer operation.
- Secure External Covers: If any external covers or panels were removed for cleaning purposes, reattach them to the printer’s exterior. Ensure that the covers are securely fastened to maintain the printer’s professional appearance and protect internal components.
- Power On and Perform a Test Print: Once the printer is reassembled, power it on and initiate a test print to verify that it is functioning as expected. Monitor the print quality and ensure that the printer operates smoothly without any unusual noises or errors.
- Verify Connectivity and Settings: Check the printer’s connectivity to your computer or network, ensuring that it is properly connected and configured. Verify that the printer settings align with your preferences for print quality and paper handling.
- Dispose of Cleaning Materials Safely: Dispose of any cleaning materials, such as used cloths or toner cleaning supplies, in accordance with local regulations. Take care to handle toner-related materials safely and responsibly.
By following these reassembly steps, you can ensure that your laser printer is restored to its optimal operational state, ready to deliver high-quality prints and reliable performance. With the printer reassembled and tested, you’ve completed the comprehensive cleaning process, setting the stage for continued productivity and exceptional print outcomes.
Conclusion
Congratulations on successfully navigating the intricate process of cleaning your laser printer! By meticulously tending to the exterior, interior, and toner cartridge, you’ve not only enhanced the printer’s aesthetic appeal but also optimized its performance and print quality. As you reflect on the thorough cleaning journey, it’s essential to recognize the significance of regular maintenance in preserving the longevity and functionality of your printer.
With a clean and well-maintained laser printer, you can look forward to consistently impressive print results, whether you’re producing documents for work, creative projects, or personal use. The attention to detail invested in cleaning the printer reflects a commitment to excellence and a desire to uphold the highest standards of print quality and reliability.
As you reassemble the printer and prepare to resume your printing endeavors, take pride in the care and dedication you’ve demonstrated in maintaining your valuable printing equipment. Remember, the cleaning process is not just about removing dust and toner residue; it’s a testament to your commitment to preserving the integrity of your printer and ensuring that it continues to serve you effectively.
Embrace the renewed potential of your printer, knowing that it has been revitalized through your conscientious efforts. Whether you’re printing essential documents, captivating visuals, or cherished memories, your clean and well-maintained laser printer is poised to bring your ideas to life with clarity and precision.
As you embark on future printing endeavors, may the pristine condition of your printer serve as a testament to the care and attention you invest in your tools and the outcomes you strive to achieve. Here’s to a future filled with exceptional prints and the seamless operation of your revitalized laser printer!
Frequently Asked Questions about How To Clean A Laser Printer
Was this page helpful?
At Storables.com, we guarantee accurate and reliable information. Our content, validated by Expert Board Contributors, is crafted following stringent Editorial Policies. We're committed to providing you with well-researched, expert-backed insights for all your informational needs.
0 thoughts on “How To Clean A Laser Printer”