Home>Technology>Smart Home Devices>How To Connect A Printer To Cricut Design Space
Smart Home Devices
How To Connect A Printer To Cricut Design Space
Modified: May 6, 2024
Learn how to easily connect your printer to Cricut Design Space and start creating amazing projects with your smart home devices. Discover step-by-step instructions and troubleshooting tips.
(Many of the links in this article redirect to a specific reviewed product. Your purchase of these products through affiliate links helps to generate commission for Storables.com, at no extra cost. Learn more)
Introduction
Welcome to the exciting world of Cricut Design Space, where creativity knows no bounds! If you're eager to bring your designs to life using this innovative platform, you'll need to ensure that your printer is seamlessly integrated with Cricut Design Space. This article will guide you through the process of connecting your printer to Cricut Design Space, allowing you to effortlessly print your creations and embark on a journey of artistic expression.
Whether you're a seasoned Cricut enthusiast or a newcomer eager to explore the possibilities, this comprehensive guide will equip you with the knowledge and confidence to set up your printer, install Cricut Design Space, and establish a seamless connection between the two. By the end of this tutorial, you'll be well-prepared to unleash your creativity and bring your designs to life with the click of a button.
So, let's dive in and embark on this enlightening journey to seamlessly integrate your printer with Cricut Design Space. Get ready to witness the magic of technology and creativity intertwine as we unravel the steps to connect your printer to Cricut Design Space.
Key Takeaways:
- Unleash your creativity by seamlessly connecting your printer to Cricut Design Space, allowing you to effortlessly bring your digital designs to life with just a click of a button.
- With your printer and Cricut Design Space in perfect harmony, embark on a captivating journey of creativity, where every print job is a testament to the seamless integration of technology and artistry.
Read more: How To Connect Cricut To Printer
Step 1: Setting up the Printer
Before delving into the intricacies of connecting your printer to Cricut Design Space, it’s essential to ensure that the printer is correctly set up and operational. Follow these steps to prepare your printer for seamless integration with Cricut Design Space:
- Unboxing and Powering On: If you’ve recently acquired a new printer, carefully unbox it and place it on a stable surface near a power source. Connect the power cord and turn on the printer, ensuring that it initializes successfully.
- Installing Ink Cartridges: Depending on the type of printer, you may need to install ink cartridges. Refer to the printer’s manual for specific instructions on inserting the ink cartridges and ensuring proper alignment.
- Loading Paper: Insert the appropriate type and size of paper into the printer’s paper tray, ensuring that it is aligned correctly to avoid potential printing errors.
- Connecting to Wi-Fi: For wireless printing functionality, connect your printer to your Wi-Fi network. Access the printer’s settings menu to locate the Wi-Fi setup option and follow the on-screen instructions to establish a secure connection to your network.
- Printer Driver Installation: If you’re using a computer to access Cricut Design Space, ensure that the printer’s drivers are installed. Most modern operating systems automatically detect and install the necessary drivers when the printer is connected. However, you can also download the latest drivers from the manufacturer’s website for optimal performance.
By meticulously following these steps, you’ll ensure that your printer is primed and ready to seamlessly integrate with Cricut Design Space. A well-prepared printer forms the foundation for a smooth and efficient printing experience, allowing you to bring your designs to life with precision and clarity.
Step 2: Installing Cricut Design Space
Now that your printer is set up and ready, the next crucial step is to install Cricut Design Space on your preferred device. Whether you’re using a computer, tablet, or smartphone, Cricut Design Space offers a versatile and user-friendly platform for unleashing your creativity. Follow these steps to seamlessly install Cricut Design Space:
- Accessing the Official Website: Open your web browser and navigate to the official Cricut website. Look for the "Design Space" section or use the search feature to locate the appropriate page for downloading the application.
- Choosing Your Device: Cricut Design Space is compatible with various devices, including Windows and Mac computers, iOS devices, and Android devices. Select the version of the application that corresponds to your device’s operating system.
- Downloading and Installation: Click on the download link or button to initiate the installation process. Follow the on-screen instructions to complete the download and installation of Cricut Design Space on your device. Ensure that you grant any necessary permissions for the application to function optimally.
- Creating a Cricut ID: If you’re new to Cricut, you’ll need to create a Cricut ID to access the full suite of features offered by Cricut Design Space. Follow the prompts to create an account, providing the required details to set up your Cricut ID.
- Logging In: Once Cricut Design Space is installed, launch the application and log in using your newly created Cricut ID. If you already have an existing account, simply sign in using your credentials to access your saved projects and preferences.
By following these steps, you’ll successfully install Cricut Design Space on your device, paving the way for seamless integration with your printer. With the application ready to unleash your creativity, you’re one step closer to bringing your designs to fruition with the assistance of your newly prepared printer.
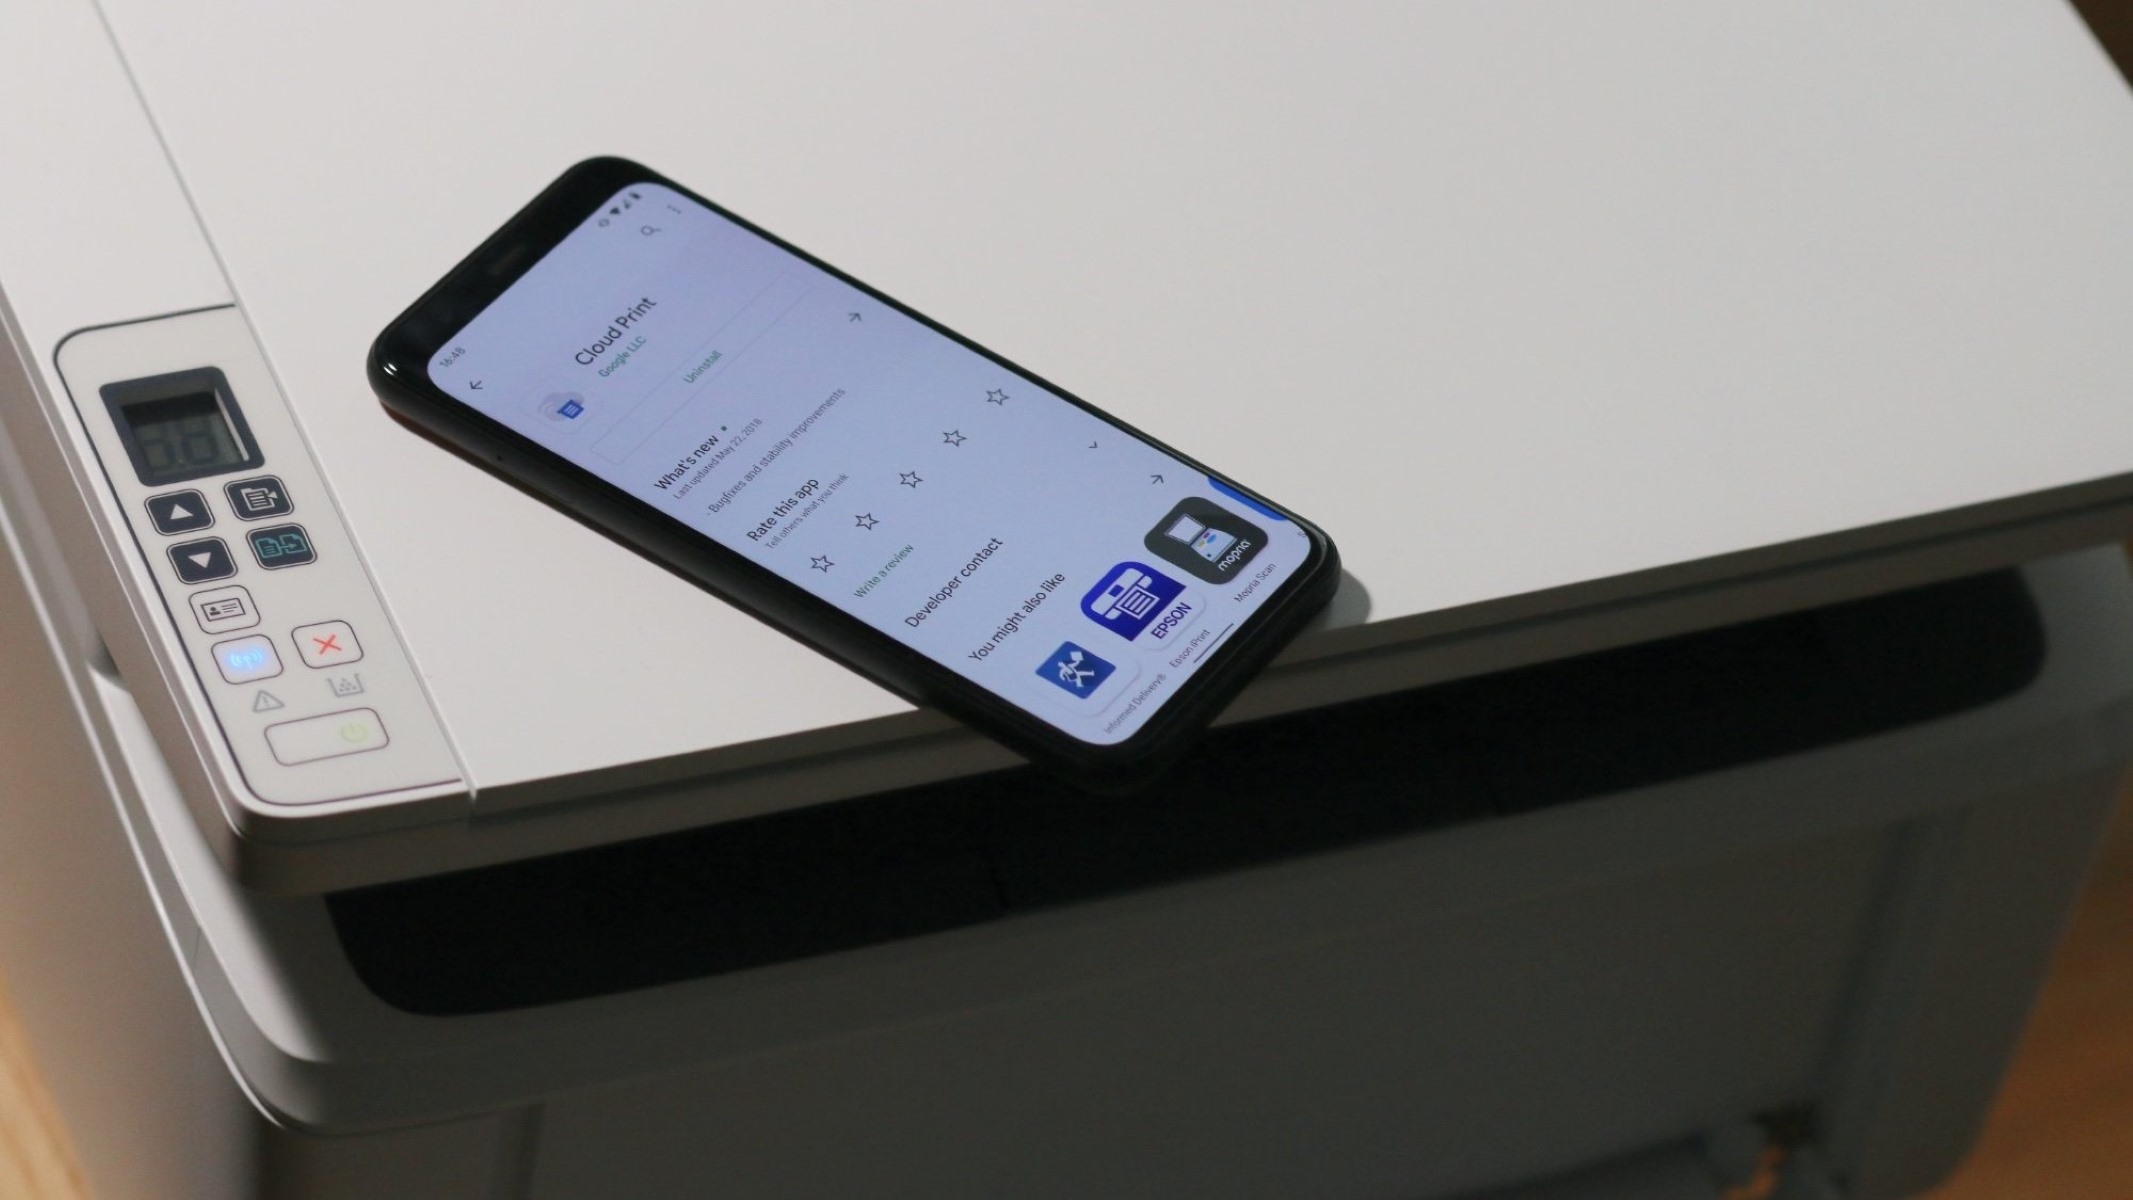
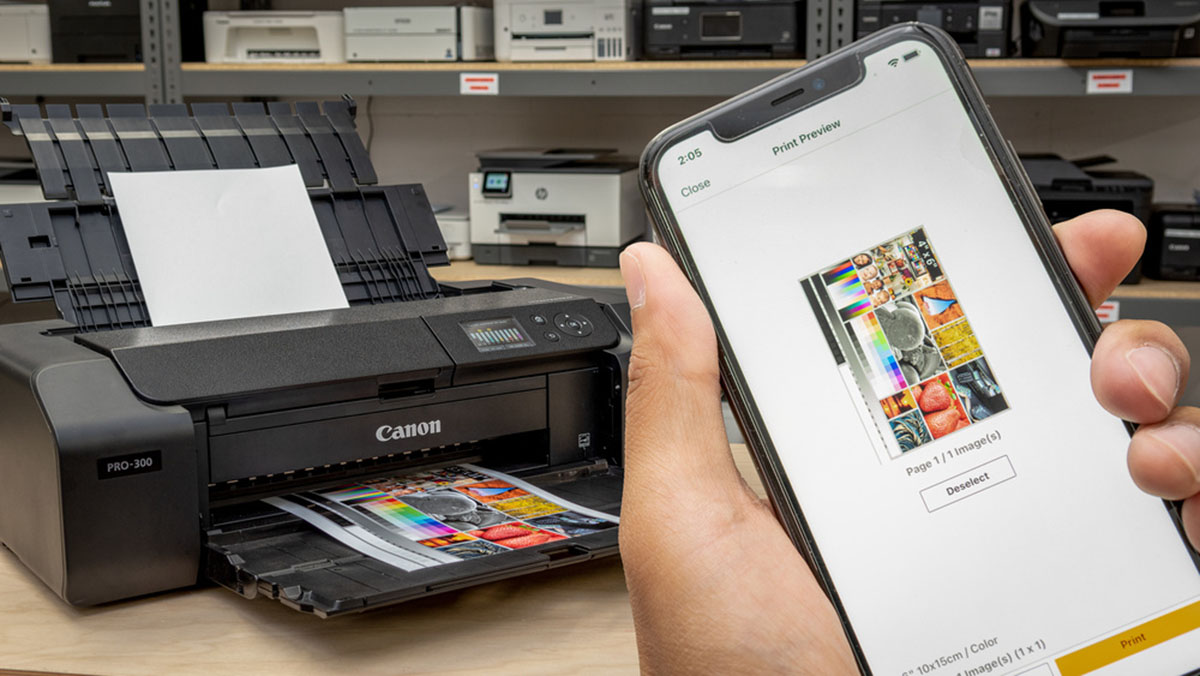
Make sure your printer is connected to the same Wi-Fi network as your computer or device. Then, open Cricut Design Space and follow the prompts to connect your printer.
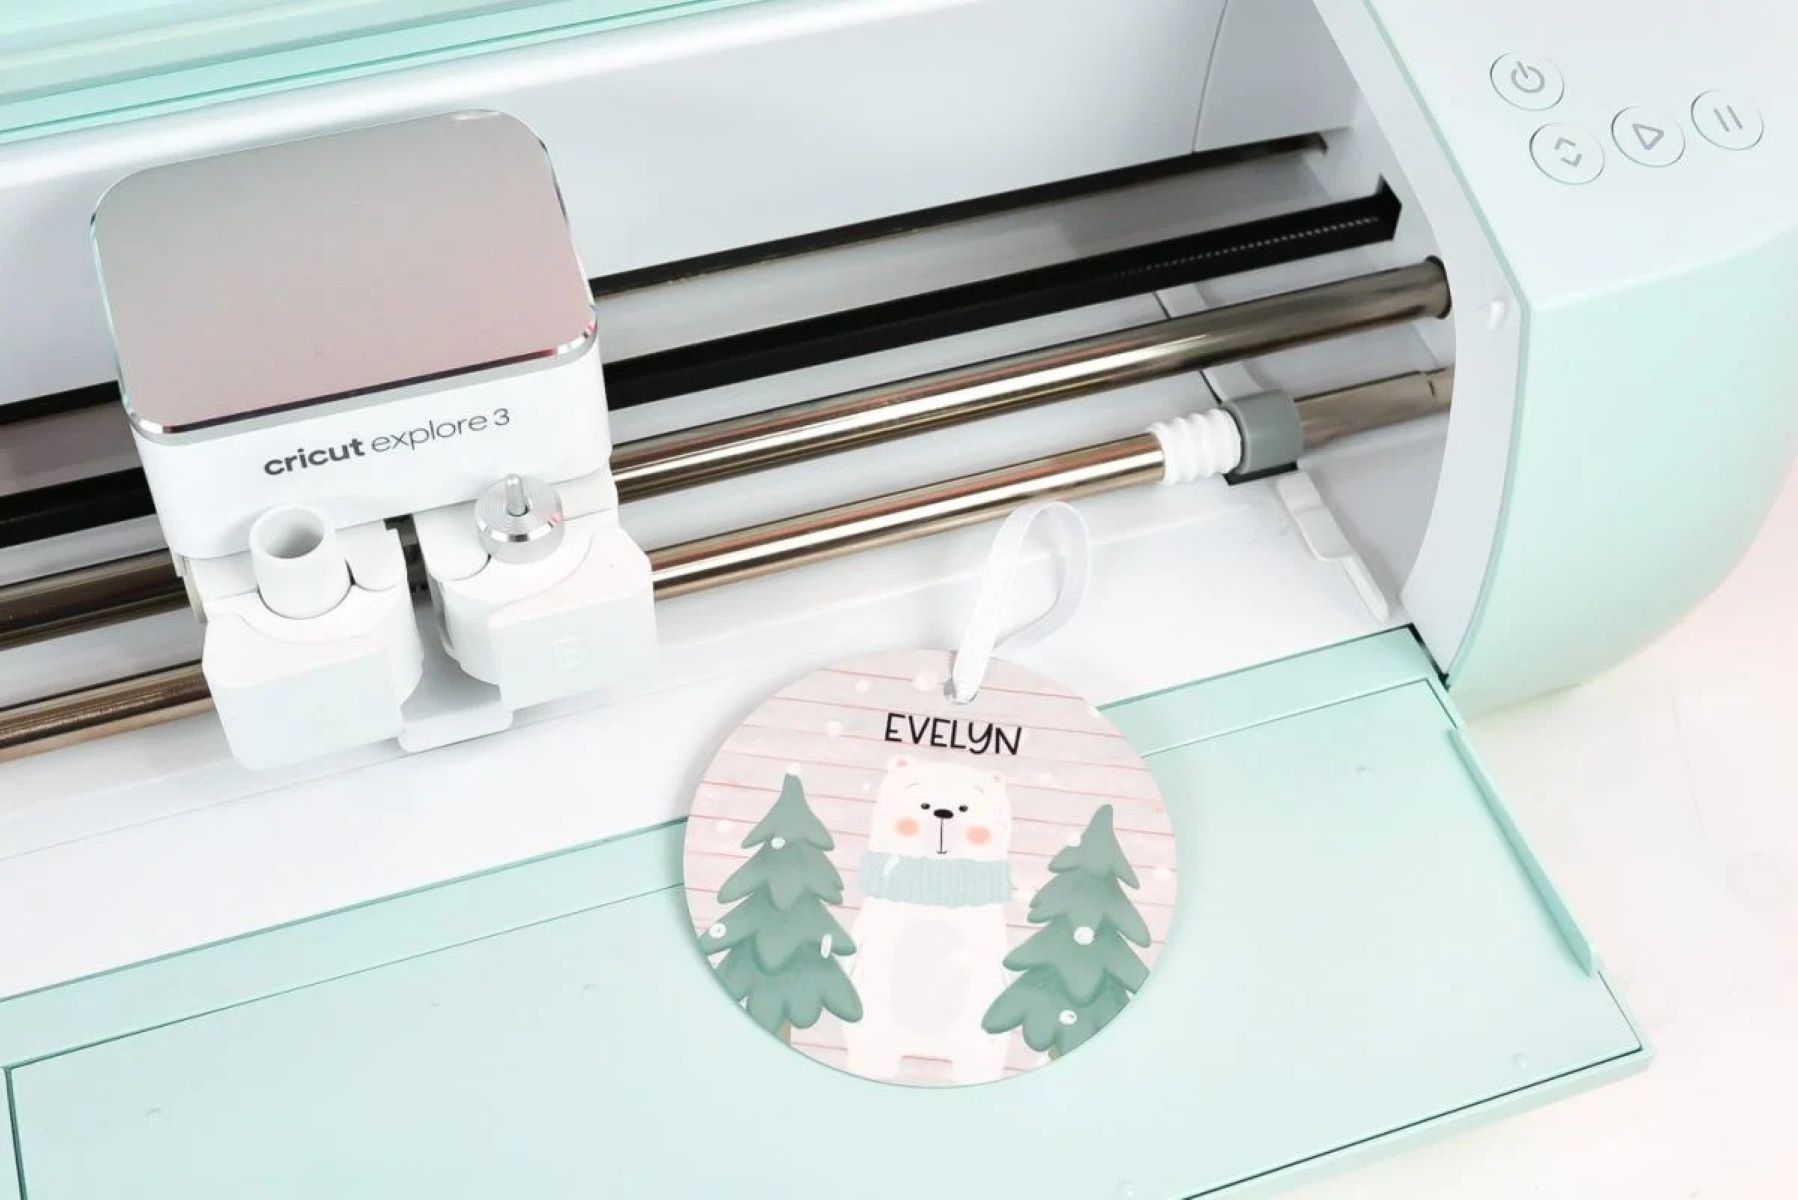
Step 3: Connecting the Printer to Cricut Design Space
With your printer and Cricut Design Space both prepared and installed, it’s time to establish a seamless connection between the two, enabling you to effortlessly print your designs directly from the application. Follow these steps to connect your printer to Cricut Design Space:
- Accessing Cricut Design Space: Open Cricut Design Space on your device by launching the application or visiting the web-based version through your preferred web browser. Ensure that you’re logged in to your Cricut ID to access the full array of features.
- Creating or Opening a Project: Whether you’re creating a new design or working on an existing project, navigate to the project dashboard within Cricut Design Space. Select the design you wish to print or commence a new project to unleash your creativity.
- Configuring the Print Settings: Once your design is ready for printing, access the print settings within Cricut Design Space. Specify the desired print size, quality, and any additional preferences to ensure that the printed output aligns with your creative vision.
- Selecting the Printer: Within the print settings, choose your prepared printer from the list of available devices. Ensure that the printer is powered on and connected to the same network as your device to facilitate seamless communication.
- Initiating the Print Job: With the printer selected and the print settings configured, initiate the print job from within Cricut Design Space. Ensure that the printer responds appropriately and begins processing the print job, translating your digital design into a tangible creation.
By meticulously following these steps, you’ll establish a direct connection between your printer and Cricut Design Space, paving the way for effortless printing of your meticulously crafted designs. With the printer seamlessly integrated, you’re poised to witness your creativity come to life with the click of a button.
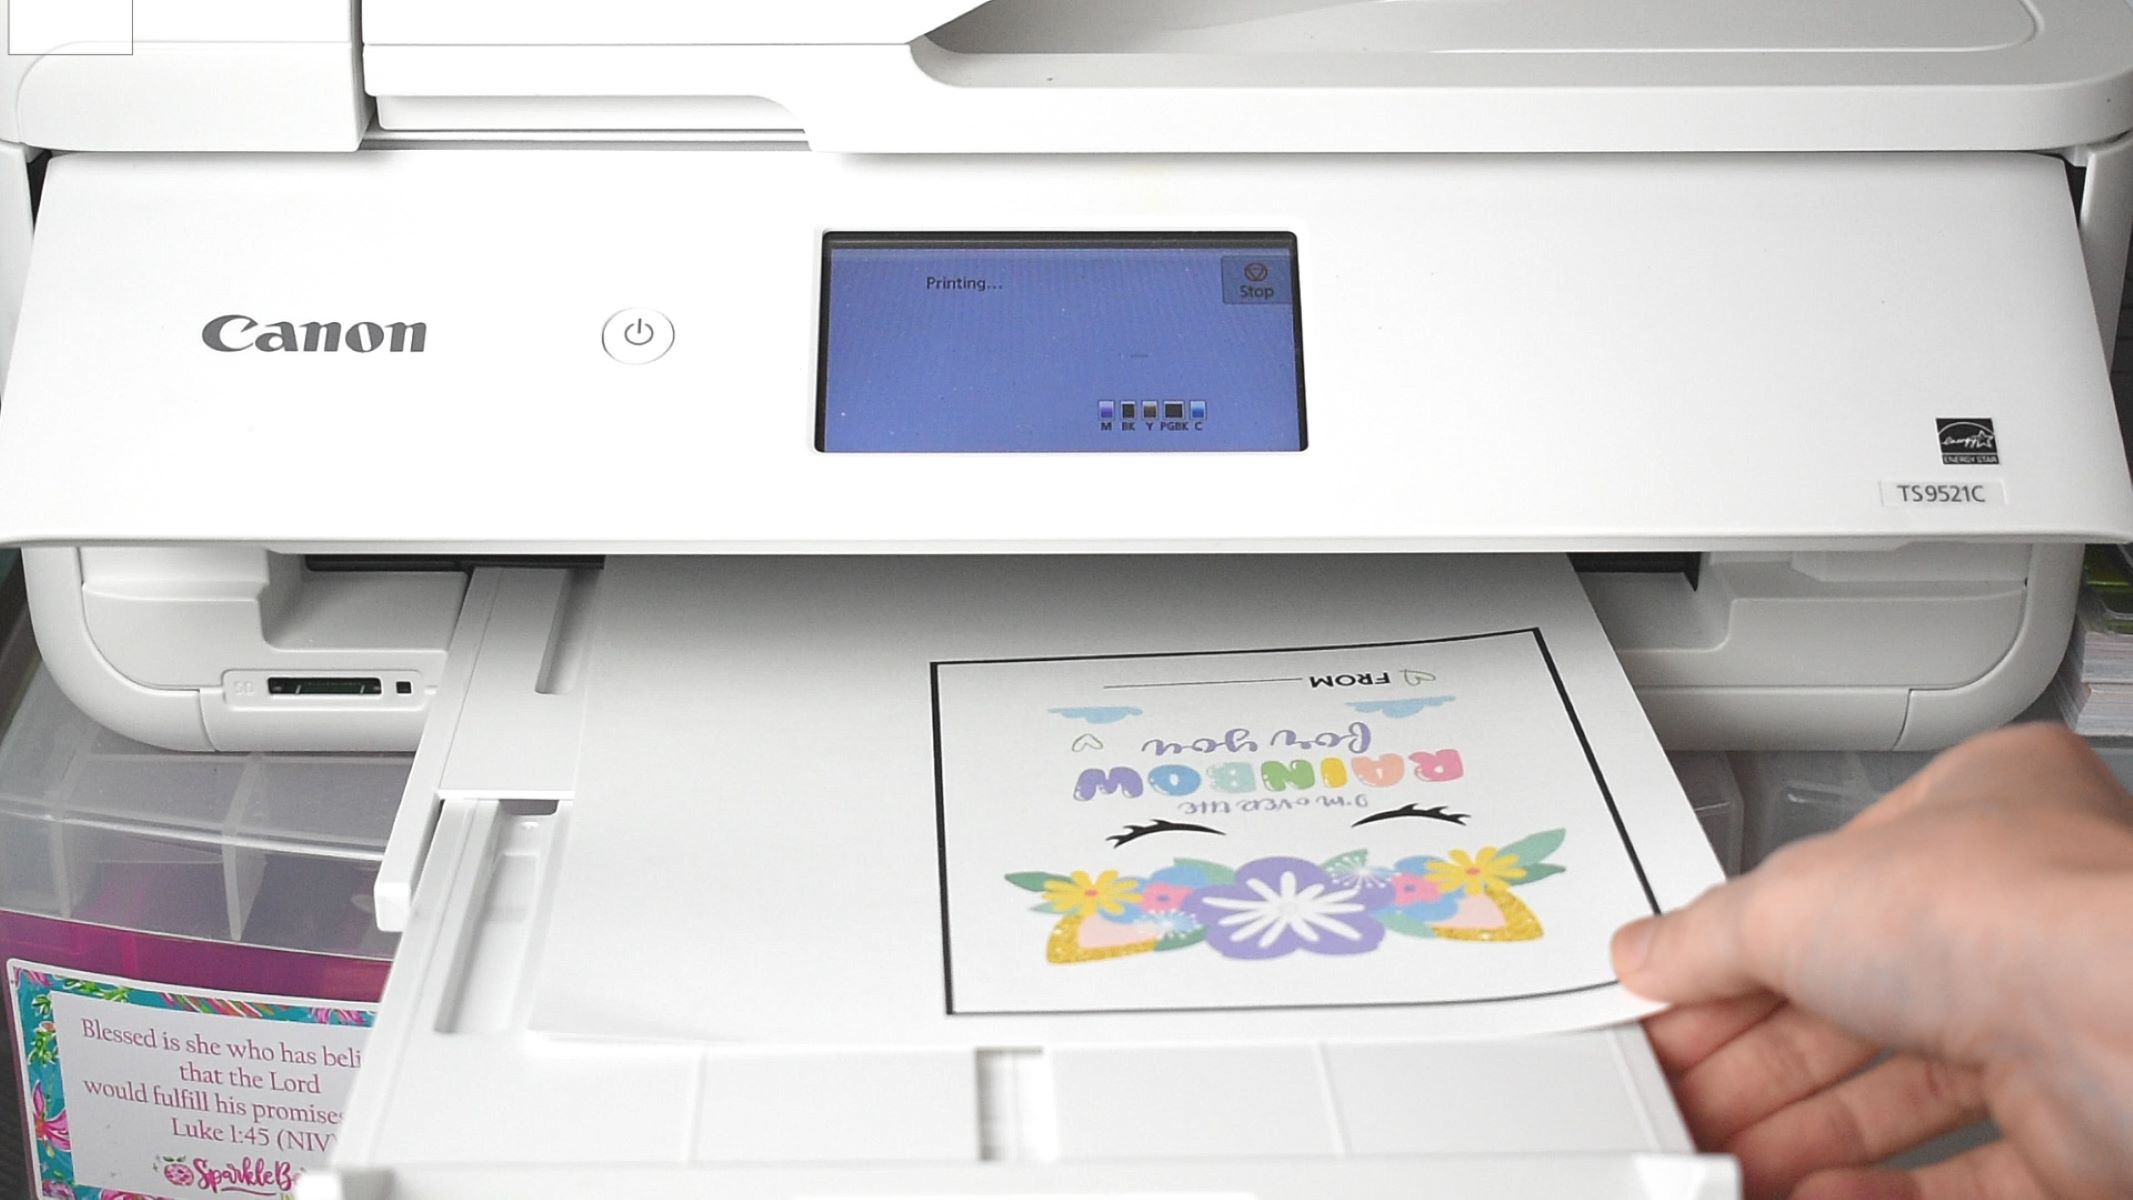
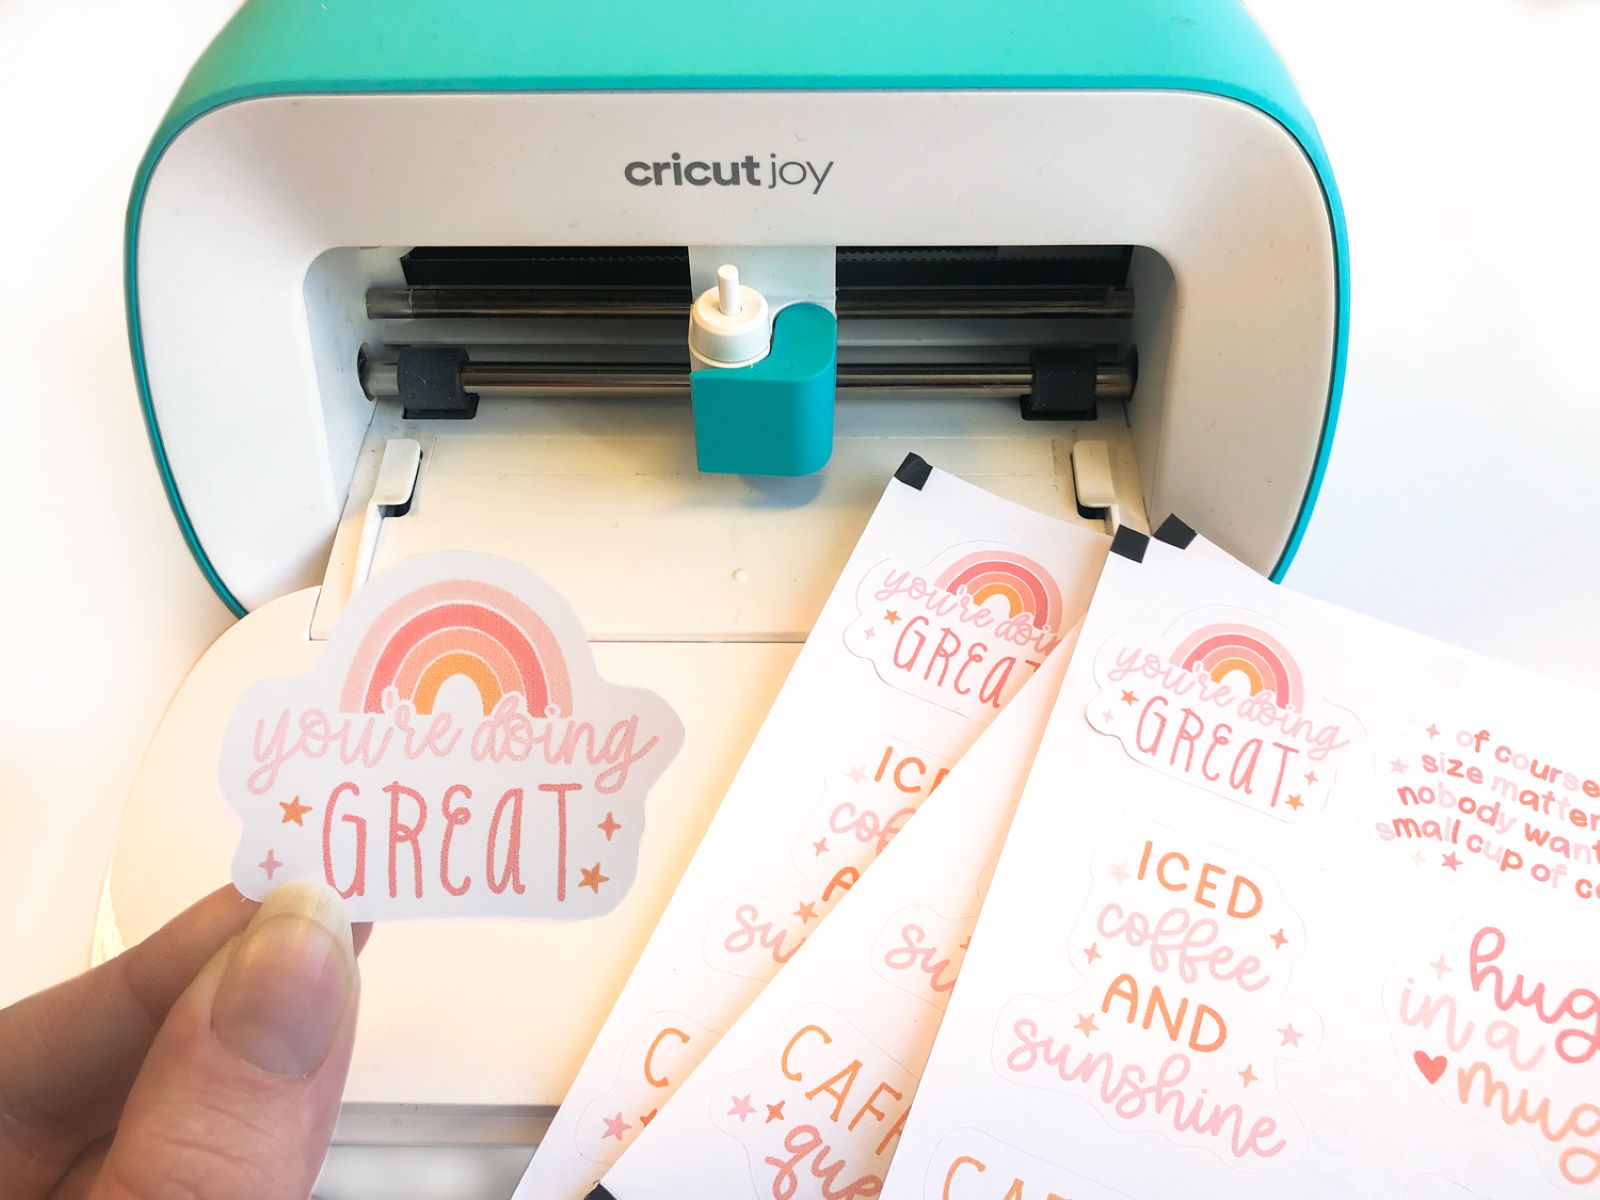
Step 4: Printing from Cricut Design Space
Now that your printer is seamlessly integrated with Cricut Design Space, you’re ready to embark on the exhilarating journey of printing your designs with precision and clarity. Follow these steps to effortlessly print from Cricut Design Space and witness your digital creations materialize into tangible works of art:
- Reviewing the Design: Before initiating the print job, take a moment to review your design within Cricut Design Space. Ensure that the dimensions, colors, and overall layout align with your creative vision, making any necessary adjustments if required.
- Confirming Print Settings: Double-check the print settings within Cricut Design Space to verify that the selected printer, print size, and quality settings are accurately configured. This attention to detail ensures that your printed output mirrors the intricacies of your digital design.
- Preparing the Printer: Ensure that your printer is loaded with the appropriate type and size of paper, and the ink cartridges are primed for optimal printing quality. Address any potential paper jams or ink-related issues to guarantee a seamless printing experience.
- Initiating the Print Job: With everything in place, initiate the print job from within Cricut Design Space. Observe as your printer meticulously translates your digital design onto the selected medium, bringing your artistic endeavors to fruition with remarkable precision.
- Collecting the Printed Output: Once the printing process is complete, carefully retrieve the printed output from the printer. Admire the seamless translation of your digital design into a tangible creation, reveling in the fusion of technology and creativity.
By following these steps, you’ll seamlessly navigate the process of printing from Cricut Design Space, culminating in the realization of your artistic vision. Whether you’re crafting personalized cards, intricate vinyl decals, or captivating designs, the integration of your printer with Cricut Design Space empowers you to unleash your creativity with unparalleled convenience and precision.
Read more: How To Add Printer To Cricut
Conclusion
Congratulations on successfully connecting your printer to Cricut Design Space, a pivotal achievement that unlocks a world of creative possibilities at your fingertips. By diligently following the steps outlined in this comprehensive guide, you’ve laid the foundation for seamless integration, enabling you to effortlessly bring your digital designs to life with the assistance of your prepared printer and the versatile platform of Cricut Design Space.
As you embark on your journey of artistic expression, remember that the fusion of technology and creativity empowers you to transcend traditional boundaries and explore new realms of design and innovation. Whether you’re crafting personalized gifts, embellishing garments with intricate designs, or adding a touch of flair to your living space, the seamless connection between your printer and Cricut Design Space serves as a gateway to boundless creativity.
With your printer poised to materialize your digital designs into tangible creations, the possibilities are as limitless as your imagination. Embrace the process of experimentation, refinement, and artistic exploration, leveraging the intuitive features of Cricut Design Space to refine and enhance your designs before seamlessly transitioning to the printing stage.
As you continue to hone your skills and expand your creative horizons, remember that the integration of your printer with Cricut Design Space is a testament to the harmonious synergy between technology and artistry. Embrace each print job as a canvas for your imagination, reveling in the seamless translation of your digital designs into captivating physical manifestations.
May your creative endeavors be met with boundless inspiration and the unwavering support of your integrated printer and Cricut Design Space. As you navigate the realms of design, remember that the journey itself is a tapestry of innovation and self-expression, with each printed creation serving as a testament to your artistic vision and ingenuity.
So, with your printer and Cricut Design Space in harmonious unison, prepare to embark on a captivating odyssey of creativity, where every print job is a testament to the seamless integration of technology and artistry.
Now that you've mastered connecting your printer to Cricut Design Space, why not put those skills to creative use? Dive into our latest guide on crafting unique decorations this Easter. From sophisticated wreaths to delightful table settings, our guide offers a variety of DIY crafts that will brighten any home this spring. Get ready to turn simple materials into stunning creations that will impress your guests and add a personal touch to your festivities.
Frequently Asked Questions about How To Connect A Printer To Cricut Design Space
Was this page helpful?
At Storables.com, we guarantee accurate and reliable information. Our content, validated by Expert Board Contributors, is crafted following stringent Editorial Policies. We're committed to providing you with well-researched, expert-backed insights for all your informational needs.


0 thoughts on “How To Connect A Printer To Cricut Design Space”