Home>Technology>Smart Home Devices>How To Connect Cricut To Printer
Smart Home Devices
How To Connect Cricut To Printer
Published: January 12, 2024
Learn how to easily connect your Cricut to your printer for seamless printing of your smart home device designs. Follow our step-by-step guide today!
(Many of the links in this article redirect to a specific reviewed product. Your purchase of these products through affiliate links helps to generate commission for Storables.com, at no extra cost. Learn more)
Introduction
Welcome to the world of Cricut, where creativity knows no bounds! Cricut machines have revolutionized the art of crafting, allowing enthusiasts to bring their wildest ideas to life with precision and ease. One of the most exciting features of Cricut is its ability to seamlessly connect with printers, enabling users to effortlessly transfer their designs from the digital realm to the tangible world.
In this comprehensive guide, we will walk you through the step-by-step process of connecting your Cricut machine to a printer. Whether you are a seasoned crafter or a newcomer eager to explore the endless possibilities of Cricut, this guide will equip you with the knowledge and confidence to seamlessly integrate your Cricut with a printer.
So, grab your Cricut machine, dust off your creative spirit, and get ready to embark on an exciting journey of artistic expression and innovation. By the end of this guide, you will be well-versed in the seamless integration of your Cricut with a printer, ready to bring your imaginative designs to life with just a few clicks and a touch of magic. Let's dive in and unleash the full potential of your Cricut machine!
Key Takeaways:
- Unleash Your Creativity: Seamlessly connect your Cricut machine to a printer for effortless design transfer and printing, bringing your imaginative concepts to life with precision and finesse.
- Craft with Confidence: Master the seamless integration of your Cricut with a printer, empowering you to explore endless artistic possibilities and transform digital designs into tangible masterpieces.
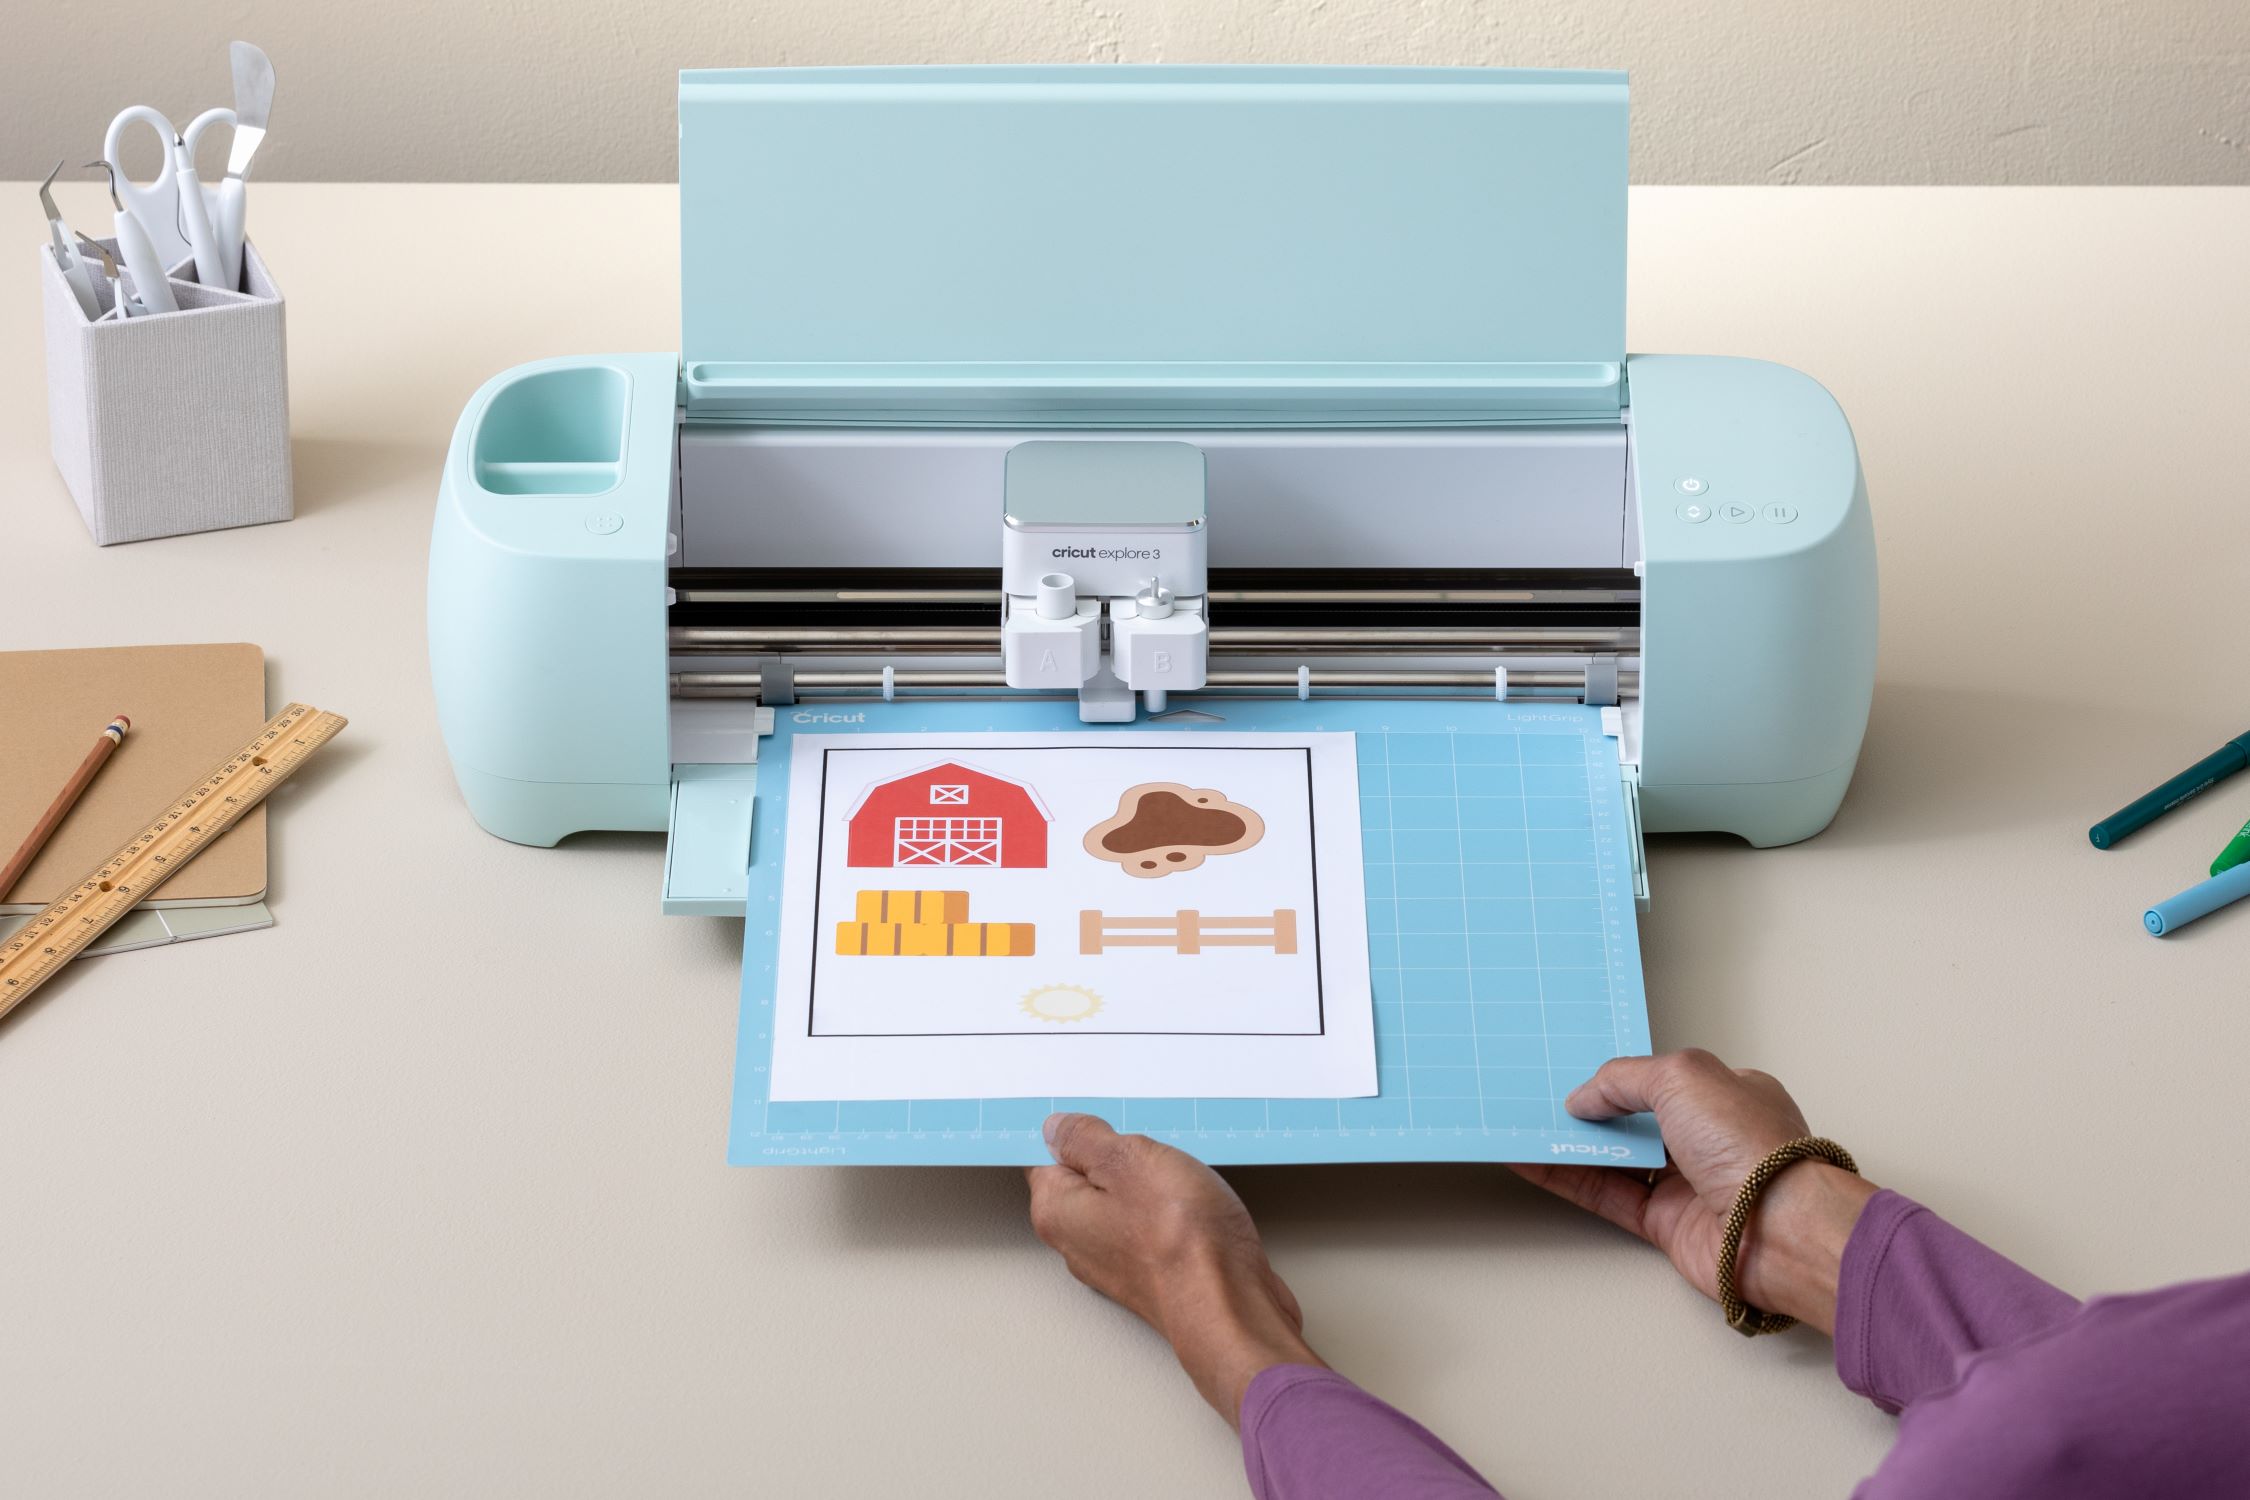
Step 1: Setting Up Your Cricut
Before delving into the intricacies of connecting your Cricut to a printer, it is essential to ensure that your Cricut machine is properly set up and ready for action. Follow these steps to prepare your Cricut for the seamless integration with a printer:
- Unboxing and Assembly: Unpack your Cricut machine carefully, ensuring that all components are intact. Assemble the machine according to the instructions provided, making sure that it is placed on a stable surface with ample space for maneuvering.
- Power On and Calibration: Connect the power cord to your Cricut machine and plug it into a power source. Power on the machine and follow the on-screen prompts to calibrate the cutting blade and ensure optimal performance.
- Software Installation: If your Cricut machine requires specific software for operation, such as Cricut Design Space, ensure that it is installed on your computer or mobile device. Follow the installation instructions provided by Cricut to set up the software seamlessly.
- Material Selection: Prepare the materials you intend to work with, whether it’s vinyl, cardstock, fabric, or other crafting materials. Ensure that the materials are compatible with your Cricut machine and are placed within easy reach for convenience.
By meticulously following these preliminary steps, you will lay a solid foundation for the flawless integration of your Cricut machine with a printer. A well-prepared Cricut machine is the key to unlocking its full potential, allowing you to seamlessly transition from crafting to printing with unparalleled ease.
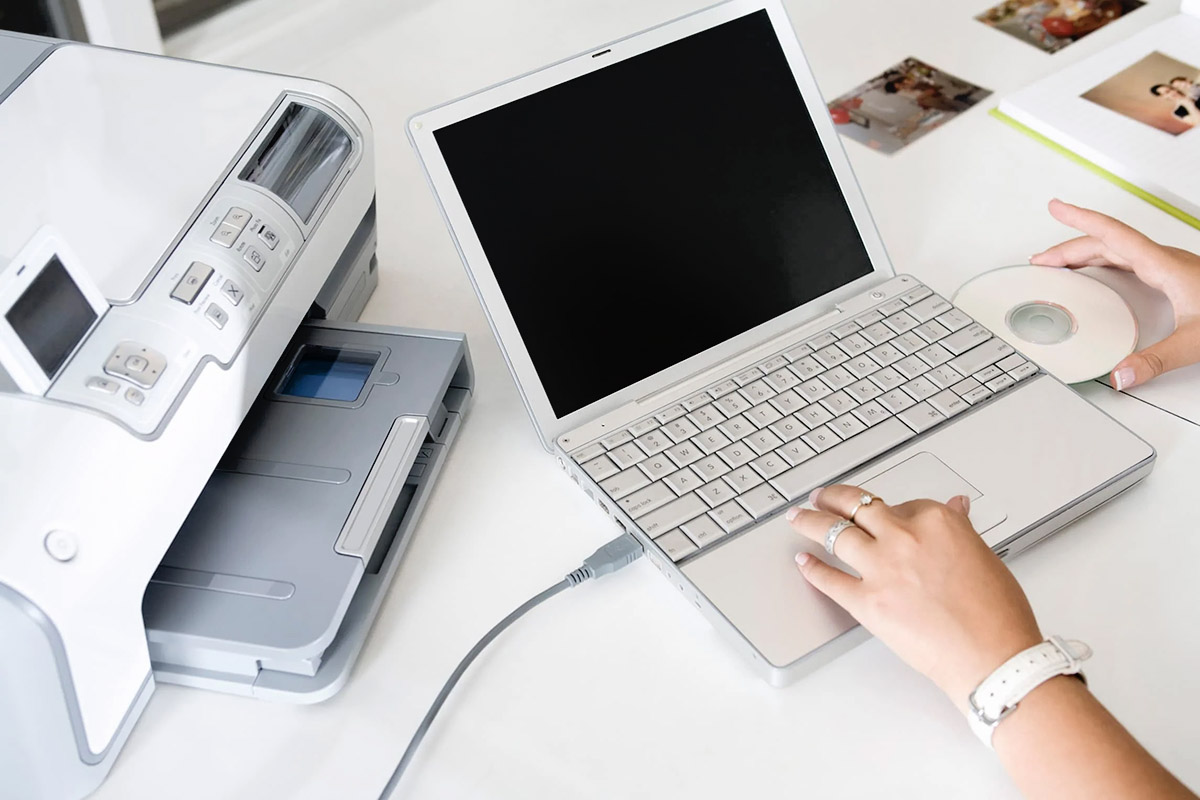
Step 2: Connecting Your Cricut to Your Computer
Once your Cricut machine is set up and primed for action, the next crucial step is to establish a seamless connection between your Cricut and your computer. This pivotal link serves as the gateway for transferring your creative designs from the digital realm to the physical canvas. Follow these steps to connect your Cricut to your computer:
- USB Connection: For Cricut models that support direct USB connectivity, use the provided USB cable to connect your Cricut machine to your computer. Ensure that the cable is securely plugged into the designated ports on both the Cricut machine and your computer.
- Bluetooth Pairing: If your Cricut machine features Bluetooth capabilities, activate Bluetooth on your computer and initiate the pairing process with your Cricut. Follow the on-screen prompts to establish a stable and secure connection between the two devices.
- Software Recognition: Once the physical connection or Bluetooth pairing is established, ensure that your computer recognizes the presence of the Cricut machine. Install any necessary drivers or software updates to facilitate seamless communication between your computer and the Cricut.
- Test Connection: To verify the successful connection, open the designated software, such as Cricut Design Space, and attempt to detect your Cricut machine. If the machine is detected without any issues, you have successfully established a robust connection between your Cricut and your computer.
By following these steps, you will forge a reliable and efficient link between your Cricut machine and your computer, laying the groundwork for effortless design transfer and printing. With the connection in place, you are now poised to seamlessly integrate your Cricut with a printer, bringing your digital creations to life with unparalleled precision and finesse.
Step 3: Installing Cricut Design Space
Before you can seamlessly integrate your Cricut machine with a printer, it is essential to have the designated software installed on your computer or mobile device. Cricut Design Space serves as the digital hub for creating and customizing designs, which can then be effortlessly transferred to your Cricut machine for cutting and, subsequently, to a printer for physical reproduction. Follow these steps to install Cricut Design Space:
- Visit the Official Cricut Website: Navigate to the official Cricut website or app store on your mobile device to locate the Cricut Design Space software.
- Download and Installation: Select the appropriate version of Cricut Design Space for your operating system and device. Proceed to download and install the software, following the on-screen prompts to ensure a seamless and error-free installation process.
- Account Creation: Upon launching Cricut Design Space, you will be prompted to create a Cricut ID or sign in with your existing account. Follow the account creation process, providing the necessary details to set up your Cricut Design Space profile.
- Explore Features and Tutorials: Familiarize yourself with the myriad features and tools available within Cricut Design Space. Take advantage of tutorials and guides provided by Cricut to enhance your proficiency in creating and customizing designs for your projects.
By installing Cricut Design Space, you are equipping yourself with a powerful and intuitive platform for unleashing your creativity and bringing your designs to life. This software serves as the bridge between your digital designs and the physical realm, seamlessly integrating your Cricut machine with a printer for the ultimate expression of your artistic vision.
Make sure your Cricut machine and printer are both connected to the same Wi-Fi network. Then, use the Cricut Design Space software to send your design to the printer for cutting or printing.
Step 4: Connecting Your Cricut to the Printer
With your Cricut machine primed and your computer equipped with Cricut Design Space, the time has come to establish a seamless connection between your Cricut and the printer. This pivotal step enables you to effortlessly transfer your meticulously crafted designs from the digital domain to the tangible canvas, bringing your artistic vision to life with unparalleled precision. Follow these steps to connect your Cricut to the printer:
- Printer Setup: Ensure that your printer is set up and operational, with an ample supply of the appropriate printing materials such as paper, vinyl, or cardstock, depending on your project requirements.
- Cricut Design Space: Open Cricut Design Space on your computer or mobile device, and navigate to the design or project you wish to print. Ensure that the design is finalized and positioned according to your preferences within the software.
- Printing Preferences: Select the ‘Print’ option within Cricut Design Space and specify the desired printing preferences, including the type of material, print quality, and any additional settings offered by your printer.
- Printer Selection: Choose the designated printer from the available options within Cricut Design Space, ensuring that the software is seamlessly linked to your printer for a streamlined printing process.
- Initiate Printing: Once all parameters are configured and the printer is selected, proceed to initiate the printing process within Cricut Design Space. Sit back and witness your digital masterpiece come to life as it is meticulously reproduced by your printer.
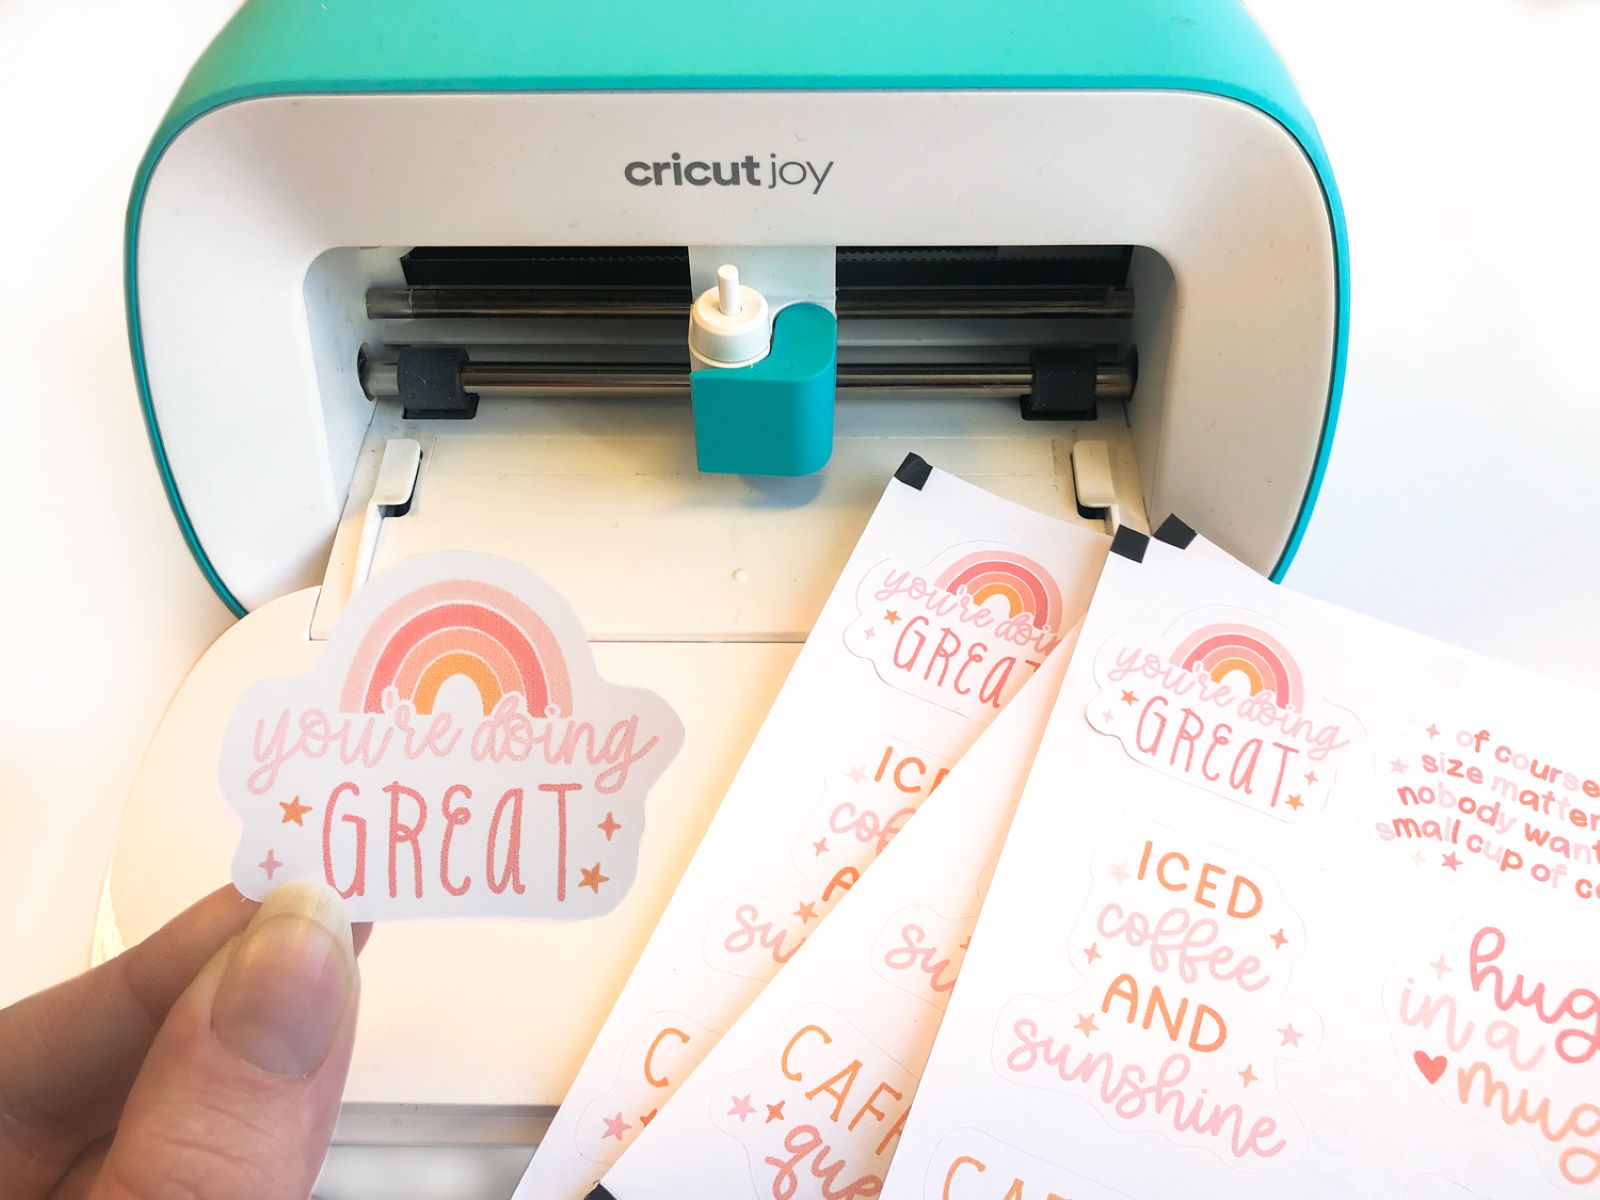
By seamlessly connecting your Cricut to the printer, you are bridging the realms of digital design and physical expression, unlocking the full potential of your creative endeavors. Whether you are crafting intricate designs, personalized decals, or vibrant stickers, the seamless integration of your Cricut with a printer empowers you to bring your imaginative concepts to life with unparalleled clarity and finesse.
Read more: How To Add Printer To Cricut
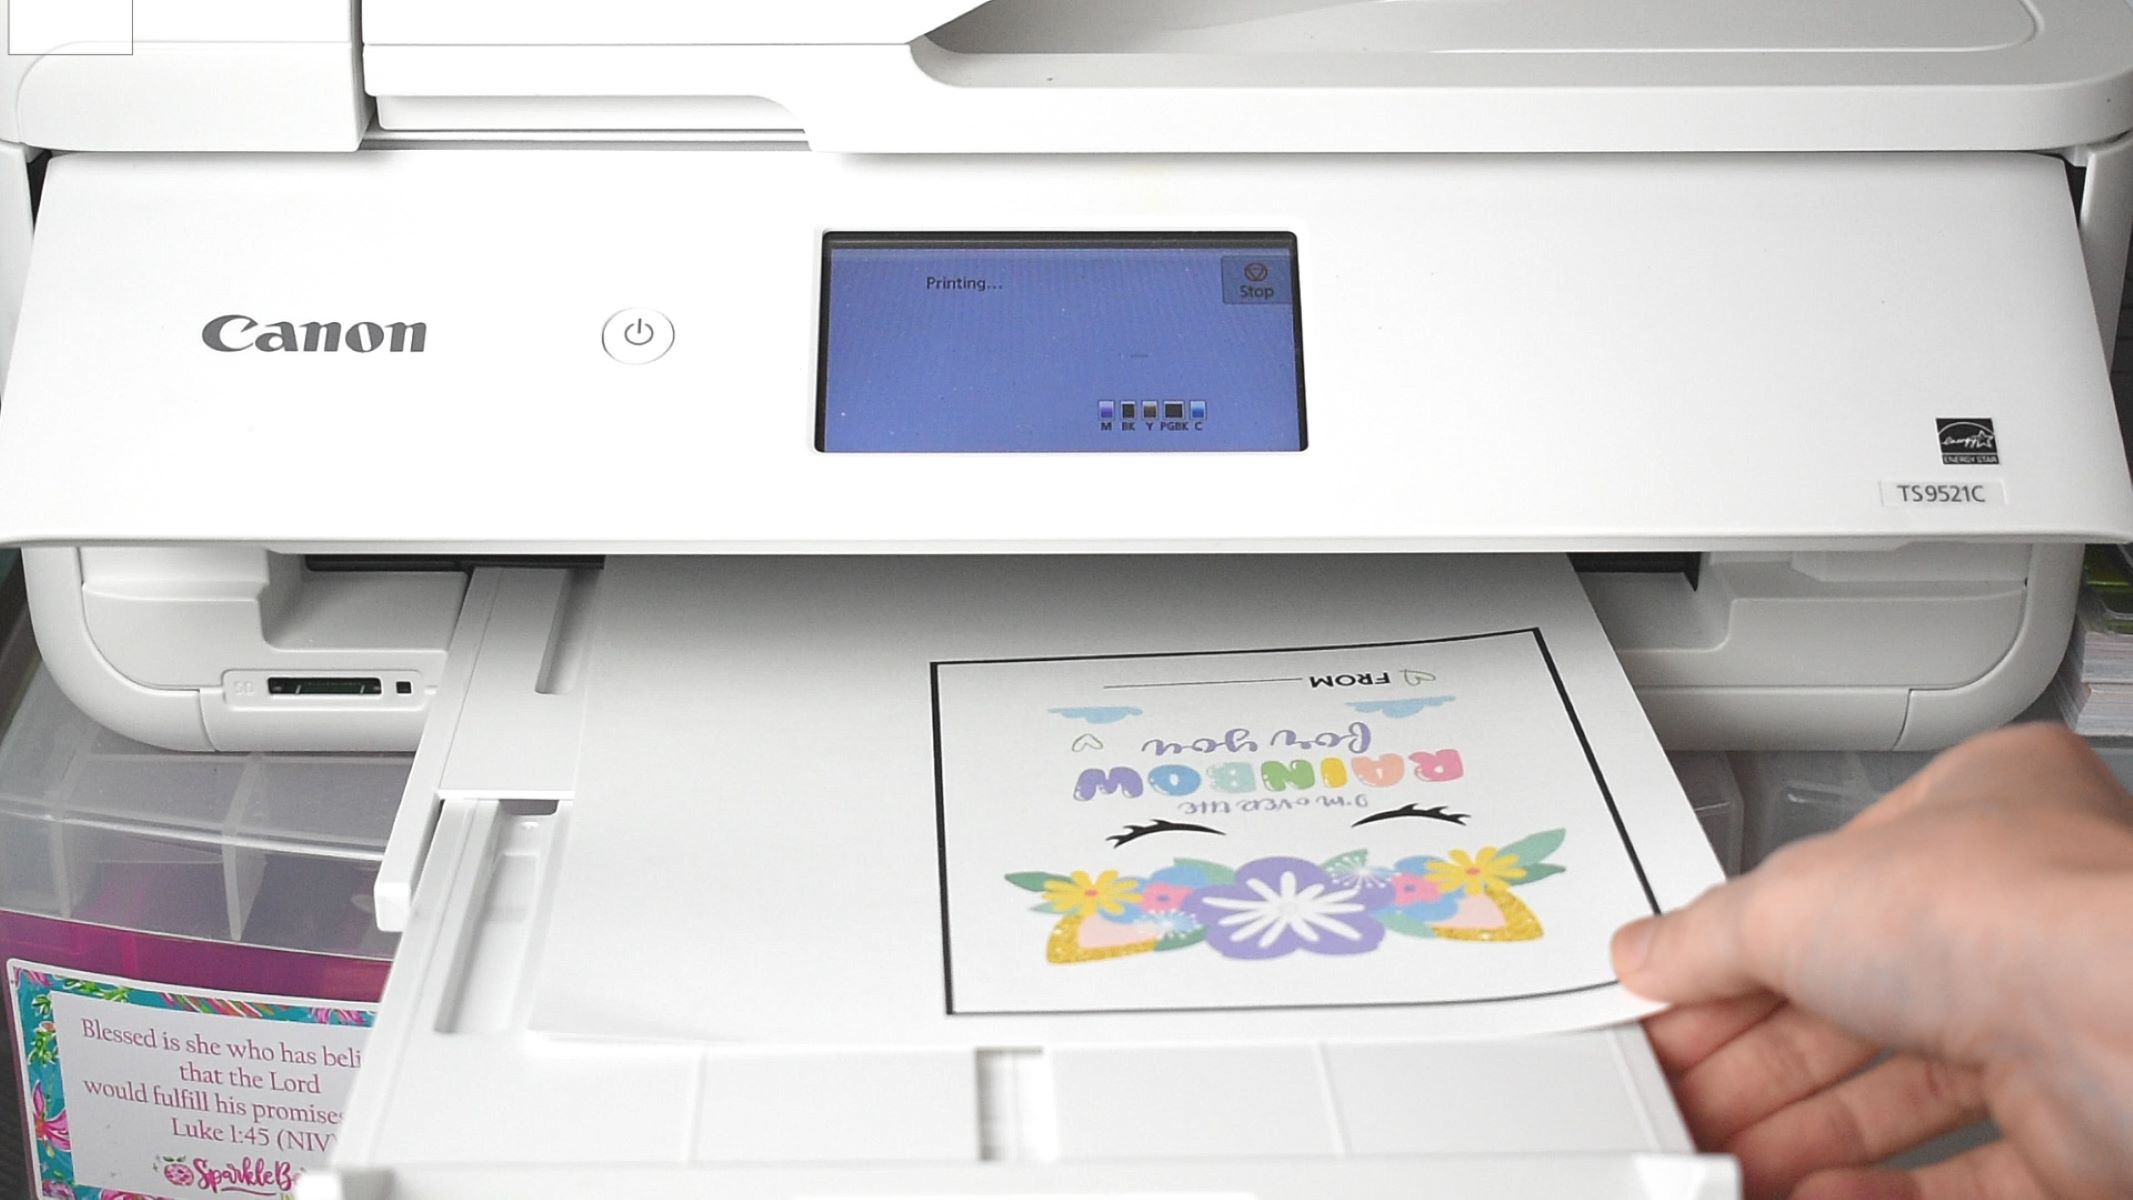
Step 5: Printing from Cricut Design Space
Printing from Cricut Design Space is a seamless and intuitive process that empowers you to effortlessly transfer your meticulously crafted designs from the digital realm to the physical canvas. Whether you are creating intricate patterns, custom stickers, or personalized decals, the printing capabilities of Cricut Design Space offer unparalleled precision and versatility. Follow these steps to print your designs from Cricut Design Space:
- Finalize Your Design: Ensure that your design is meticulously crafted and positioned according to your preferences within Cricut Design Space. Verify the dimensions, colors, and any text elements to guarantee a flawless printing outcome.
- Printing Preferences: Select the ‘Print’ option within Cricut Design Space and specify the desired printing preferences, including the type of material, print quality, and any additional settings offered by your printer. Adjust the settings to align with the specific requirements of your project.
- Printer Selection: Choose the designated printer from the available options within Cricut Design Space, ensuring that the software seamlessly communicates with your printer for a streamlined printing process.
- Material Preparation: Prepare the printing material, whether it’s high-quality paper, adhesive vinyl, or specialized crafting material, and ensure that it is loaded into the printer according to the manufacturer’s guidelines.
- Initiate Printing: With all parameters configured and the printing material in place, proceed to initiate the printing process within Cricut Design Space. Observe as your digital masterpiece is meticulously reproduced by your printer, capturing the intricate details and vibrant colors with unparalleled accuracy.
By leveraging the printing capabilities of Cricut Design Space, you are empowered to breathe life into your creative visions, transforming digital designs into tangible works of art with exceptional clarity and finesse. Whether you are embellishing garments with custom prints or adorning your living space with personalized decor, the seamless integration of Cricut with a printer elevates your artistic endeavors to new heights of precision and expression.
Conclusion
Congratulations on mastering the seamless integration of your Cricut machine with a printer! By following the comprehensive steps outlined in this guide, you have unlocked the full potential of your creative endeavors, seamlessly transitioning from digital design to physical expression with unparalleled precision and finesse.
With your Cricut machine set up, connected to your computer, and seamlessly integrated with a printer, you are now equipped to embark on a journey of artistic exploration and innovation. Whether you are crafting personalized gifts, embellishing apparel with custom designs, or adorning your living space with vibrant decor, the seamless synergy between your Cricut and a printer empowers you to bring your imaginative concepts to life with unparalleled clarity and intricacy.
As you venture further into the realm of crafting and design, continue to explore the myriad features and capabilities of Cricut Design Space, leveraging its intuitive tools and functionalities to expand your creative horizons. Experiment with diverse printing materials, embrace new techniques, and let your creativity flourish as you harness the seamless integration of your Cricut with a printer to realize your artistic vision.
Remember, the journey of creativity is an ever-evolving odyssey, and with your Cricut machine and printer in harmony, the possibilities are limitless. Let your imagination soar, and revel in the joy of witnessing your digital designs transform into tangible masterpieces, each imbued with the essence of your artistic ingenuity.
Embrace the seamless integration of your Cricut with a printer as a gateway to boundless creativity and expression, and let your unique designs resonate with the world, one meticulously crafted creation at a time.
Now, armed with the knowledge and expertise gained from this guide, go forth and unleash the full potential of your Cricut machine and printer, infusing the world with the beauty of your artistic vision and the precision of your craft.
Frequently Asked Questions about How To Connect Cricut To Printer
Was this page helpful?
At Storables.com, we guarantee accurate and reliable information. Our content, validated by Expert Board Contributors, is crafted following stringent Editorial Policies. We're committed to providing you with well-researched, expert-backed insights for all your informational needs.


0 thoughts on “How To Connect Cricut To Printer”