Home>Technology>Smart Home Devices>How To Connect To Printer From IPad

Smart Home Devices
How To Connect To Printer From IPad
Published: January 12, 2024
Learn how to easily connect your iPad to a printer and print from anywhere. Discover seamless integration with smart home devices. Simplify your printing experience today!
(Many of the links in this article redirect to a specific reviewed product. Your purchase of these products through affiliate links helps to generate commission for Storables.com, at no extra cost. Learn more)
Introduction
So, you've got an iPad and a printer, and you're eager to learn how to connect the two. The good news is that with the advancements in technology, it's easier than ever to print directly from your iPad to a compatible printer. Whether you need to print documents, photos, or any other content, the process is quite straightforward once you have the right setup in place.
In this comprehensive guide, we'll walk you through the steps to set up your printer, connect it to your iPad, and start printing seamlessly. By the end of this article, you'll have a clear understanding of how to harness the power of your iPad to produce hard copies of your digital content with ease.
Let's dive into the world of wireless printing and explore the simple yet powerful methods that enable you to connect to a printer from your iPad. Whether you're a student, a professional, or simply someone who values the convenience of modern technology, this guide will equip you with the knowledge to make printing from your iPad a breeze.
Key Takeaways:
- Embrace the convenience of wireless printing by connecting your iPad to a compatible printer. Simply enable Wi-Fi and Bluetooth, select the printer, and start printing documents, emails, web pages, and photos effortlessly.
- Prepare your printer for wireless printing by ensuring compatibility with AirPrint, updating firmware, and positioning it within Wi-Fi range. Once set up, connect your iPad to the printer and enjoy seamless printing of digital content.
Read more: How To Connect IPad To A Wireless Printer
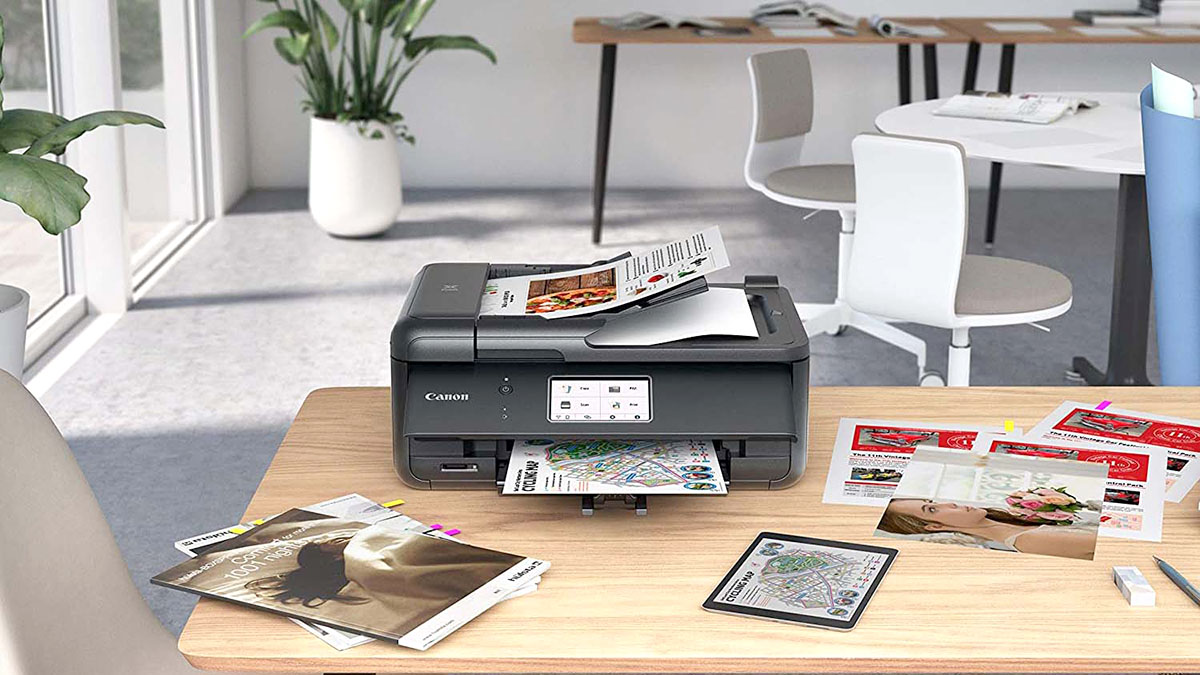
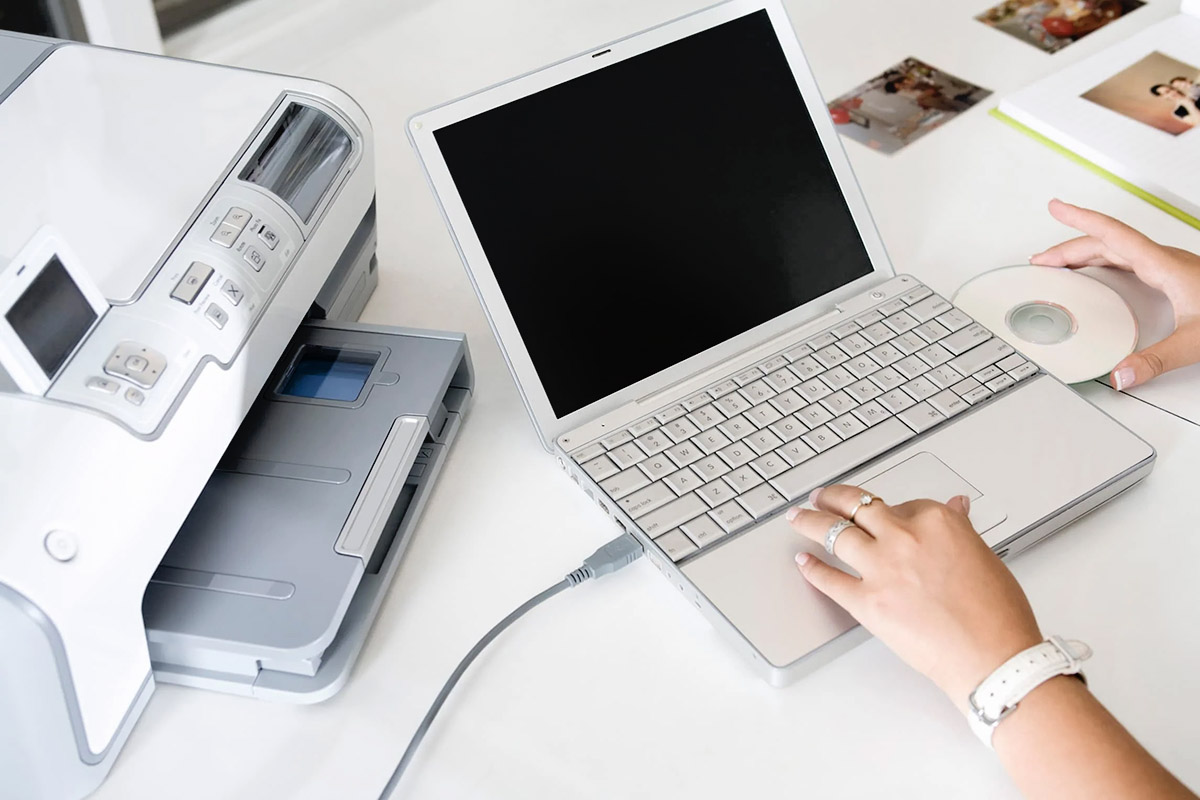
Setting Up the Printer
Before you can start printing from your iPad, it’s essential to ensure that your printer is set up correctly and is compatible with wireless printing. Here are the steps to get your printer ready for seamless connectivity with your iPad:
- Check for Compatibility: Verify that your printer is compatible with AirPrint, Apple’s wireless printing technology. Most modern printers from popular brands support AirPrint, but it’s always a good idea to confirm this compatibility.
- Connect to Wi-Fi: Ensure that your printer is connected to the same Wi-Fi network as your iPad. This is crucial for establishing a wireless connection between the two devices.
- Update Firmware: Check for and install any firmware updates for your printer. Manufacturers often release updates to improve compatibility and performance, so keeping your printer’s firmware up to date is beneficial.
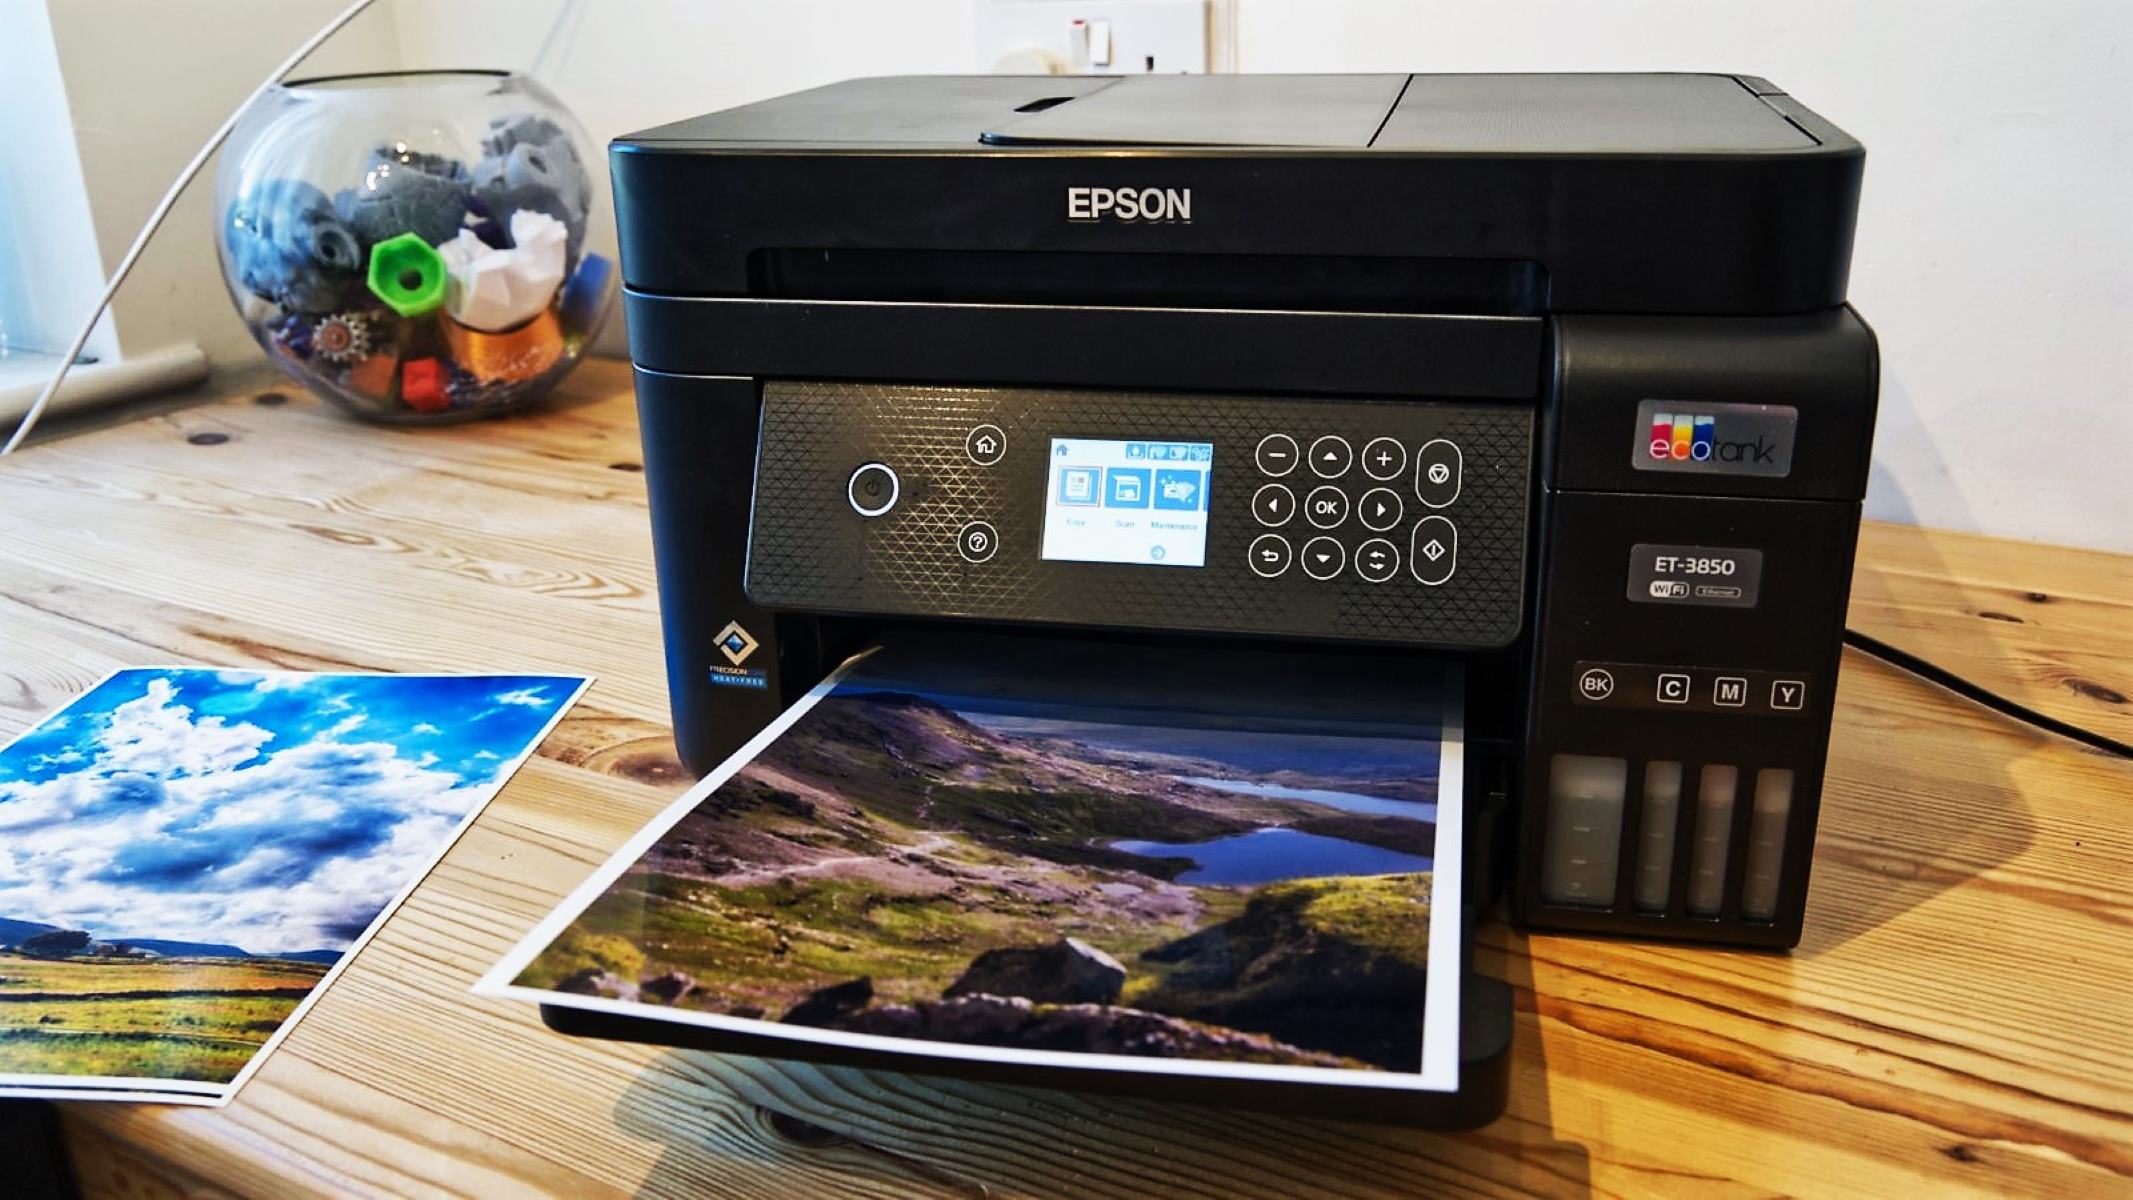
- Load Paper and Ink: Make sure that your printer has an adequate supply of paper and ink or toner. This ensures that you can print without interruptions once the connection is established.
- Position the Printer: Place the printer in a convenient location within the range of your Wi-Fi network. Optimal placement can help ensure a stable wireless connection with your iPad.
By following these steps, you can prepare your printer for wireless printing from your iPad. Once the printer is set up and ready to go, you can proceed to connect it to your iPad and start printing your documents and images effortlessly.
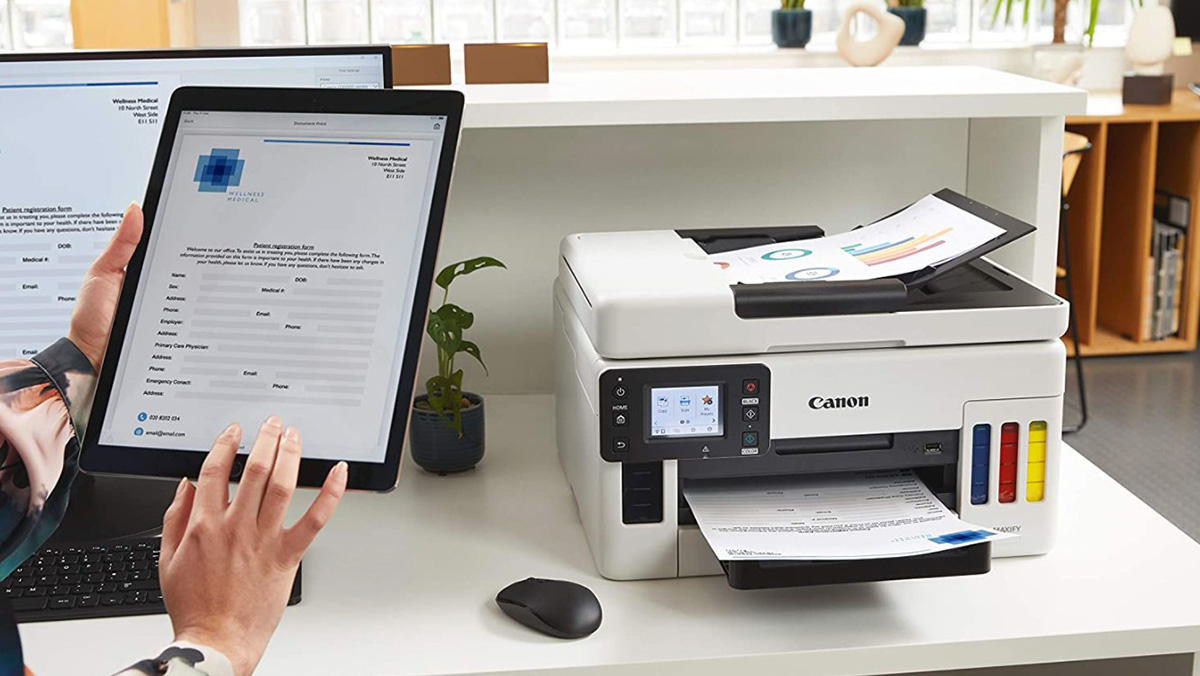
You can connect to a printer from your iPad by making sure both devices are on the same Wi-Fi network, then selecting the printer from the “Print” option in the app you want to print from.
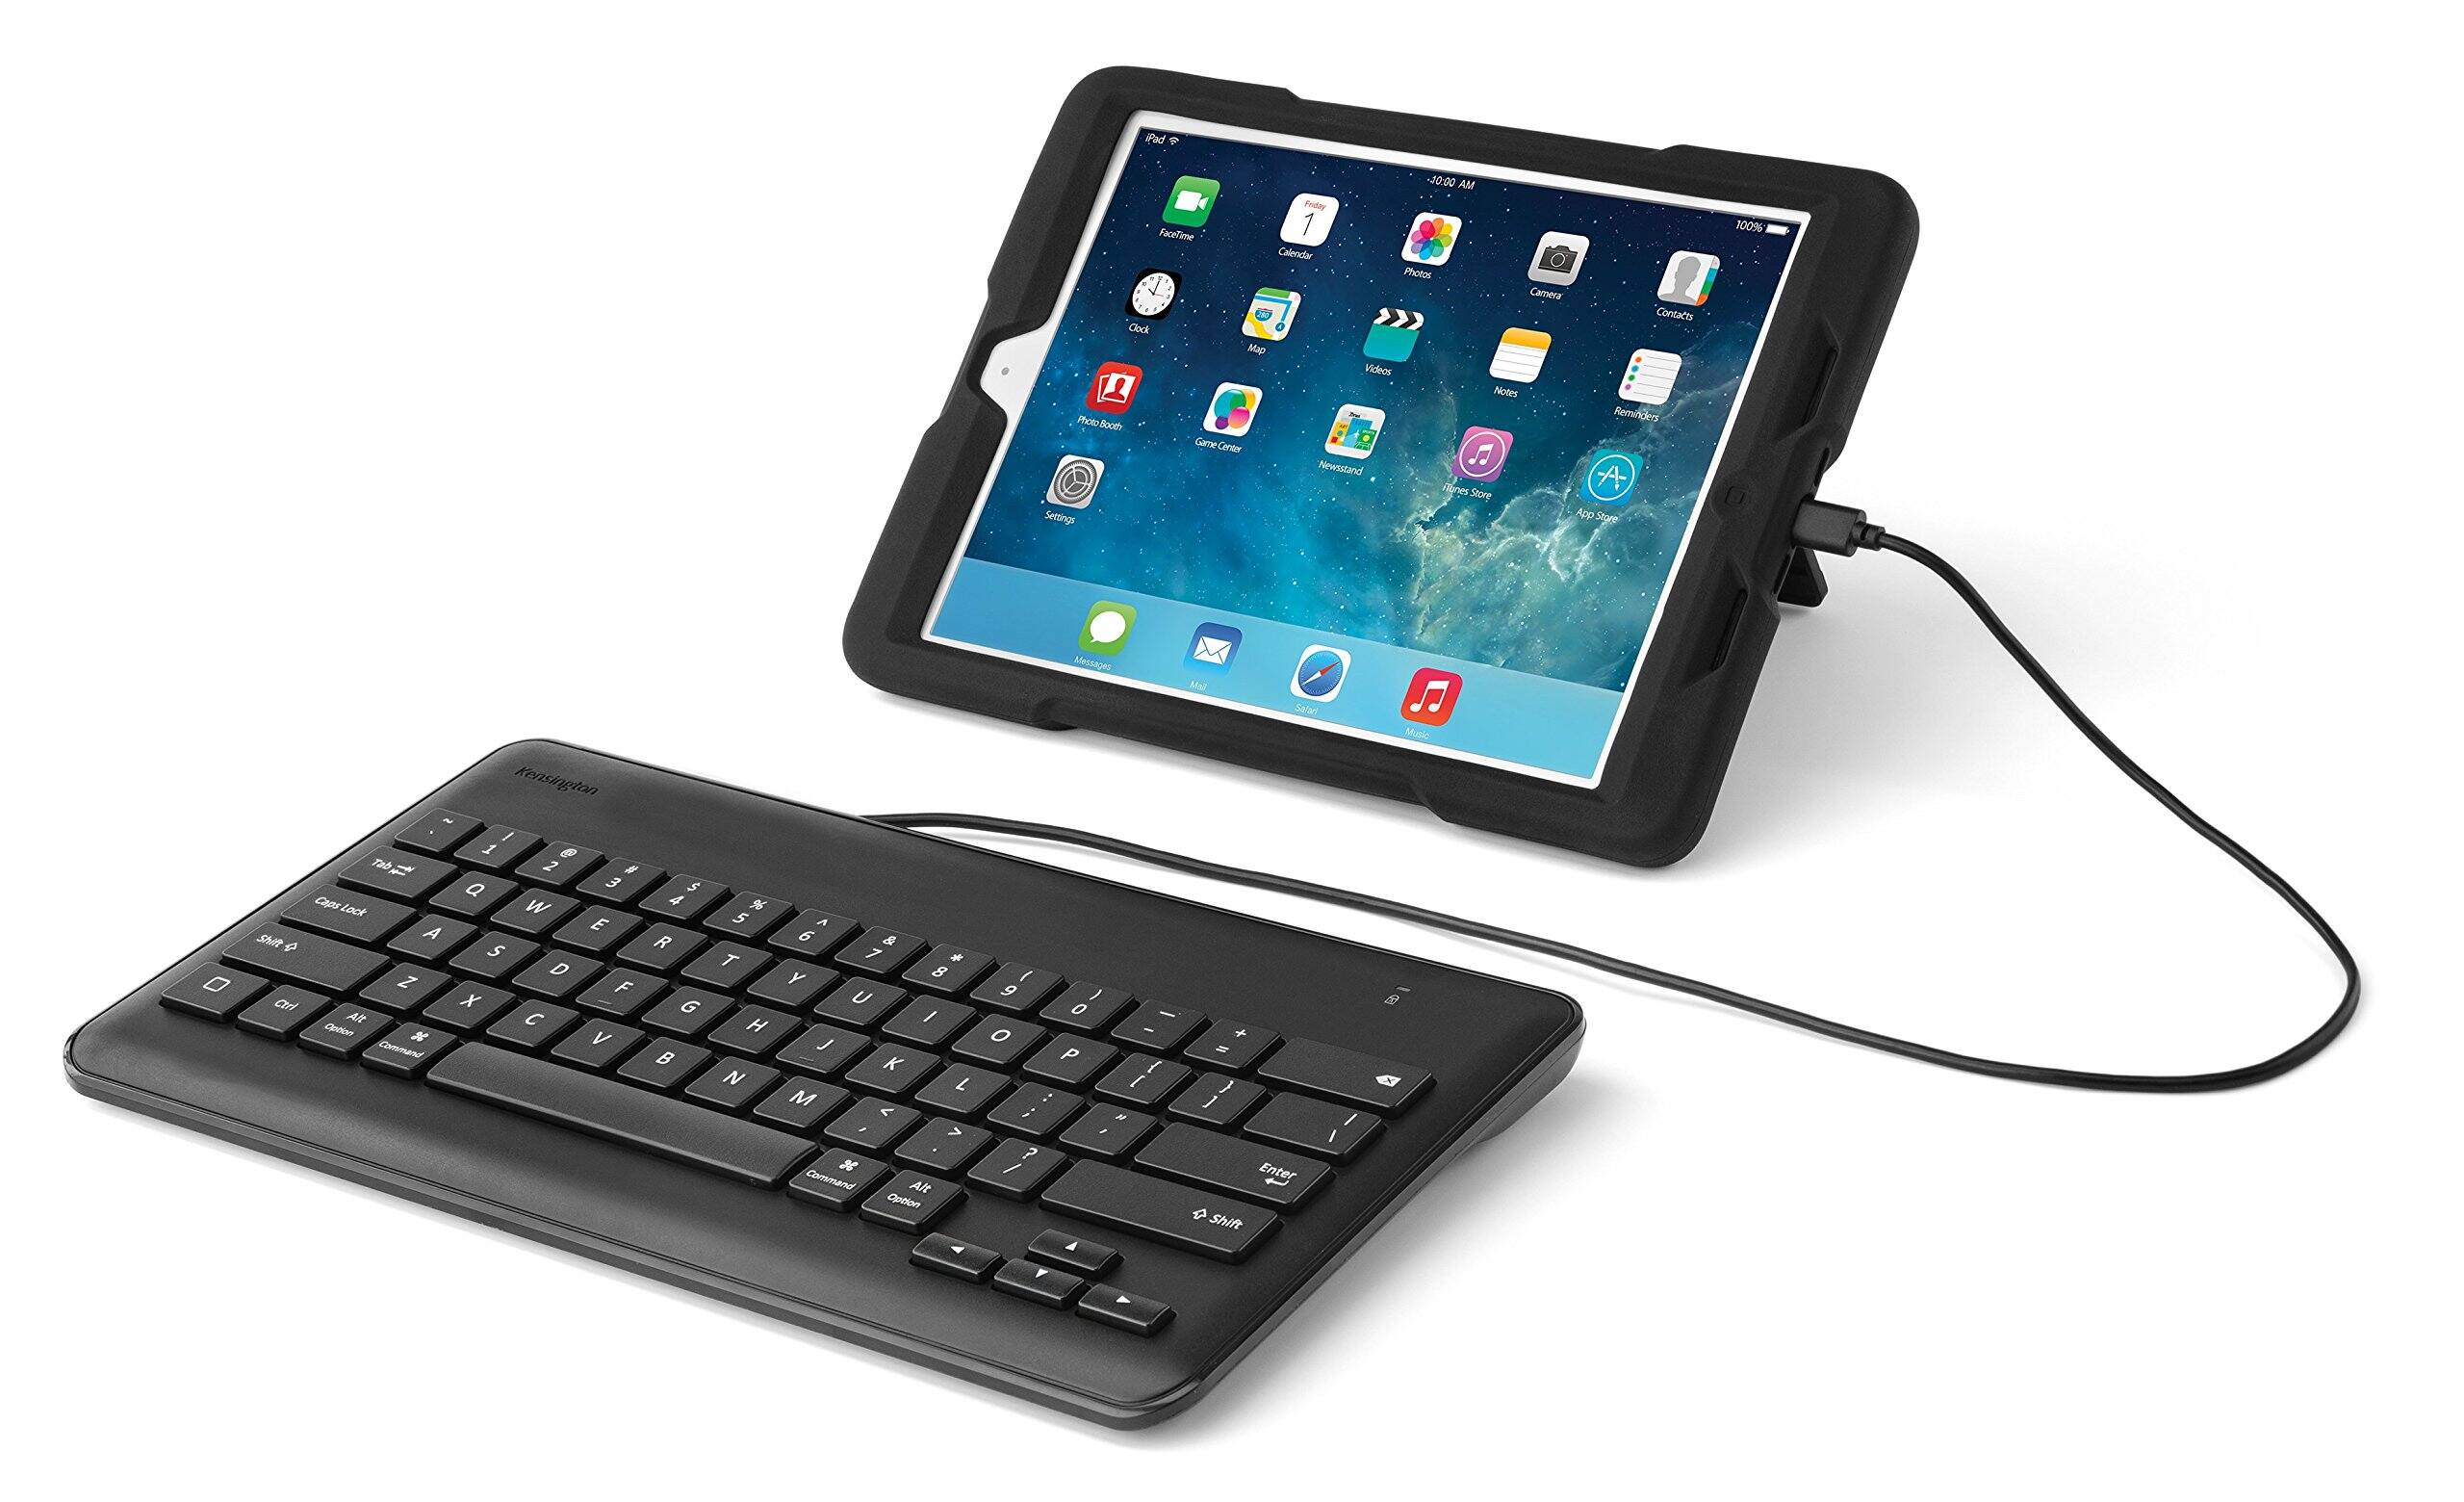
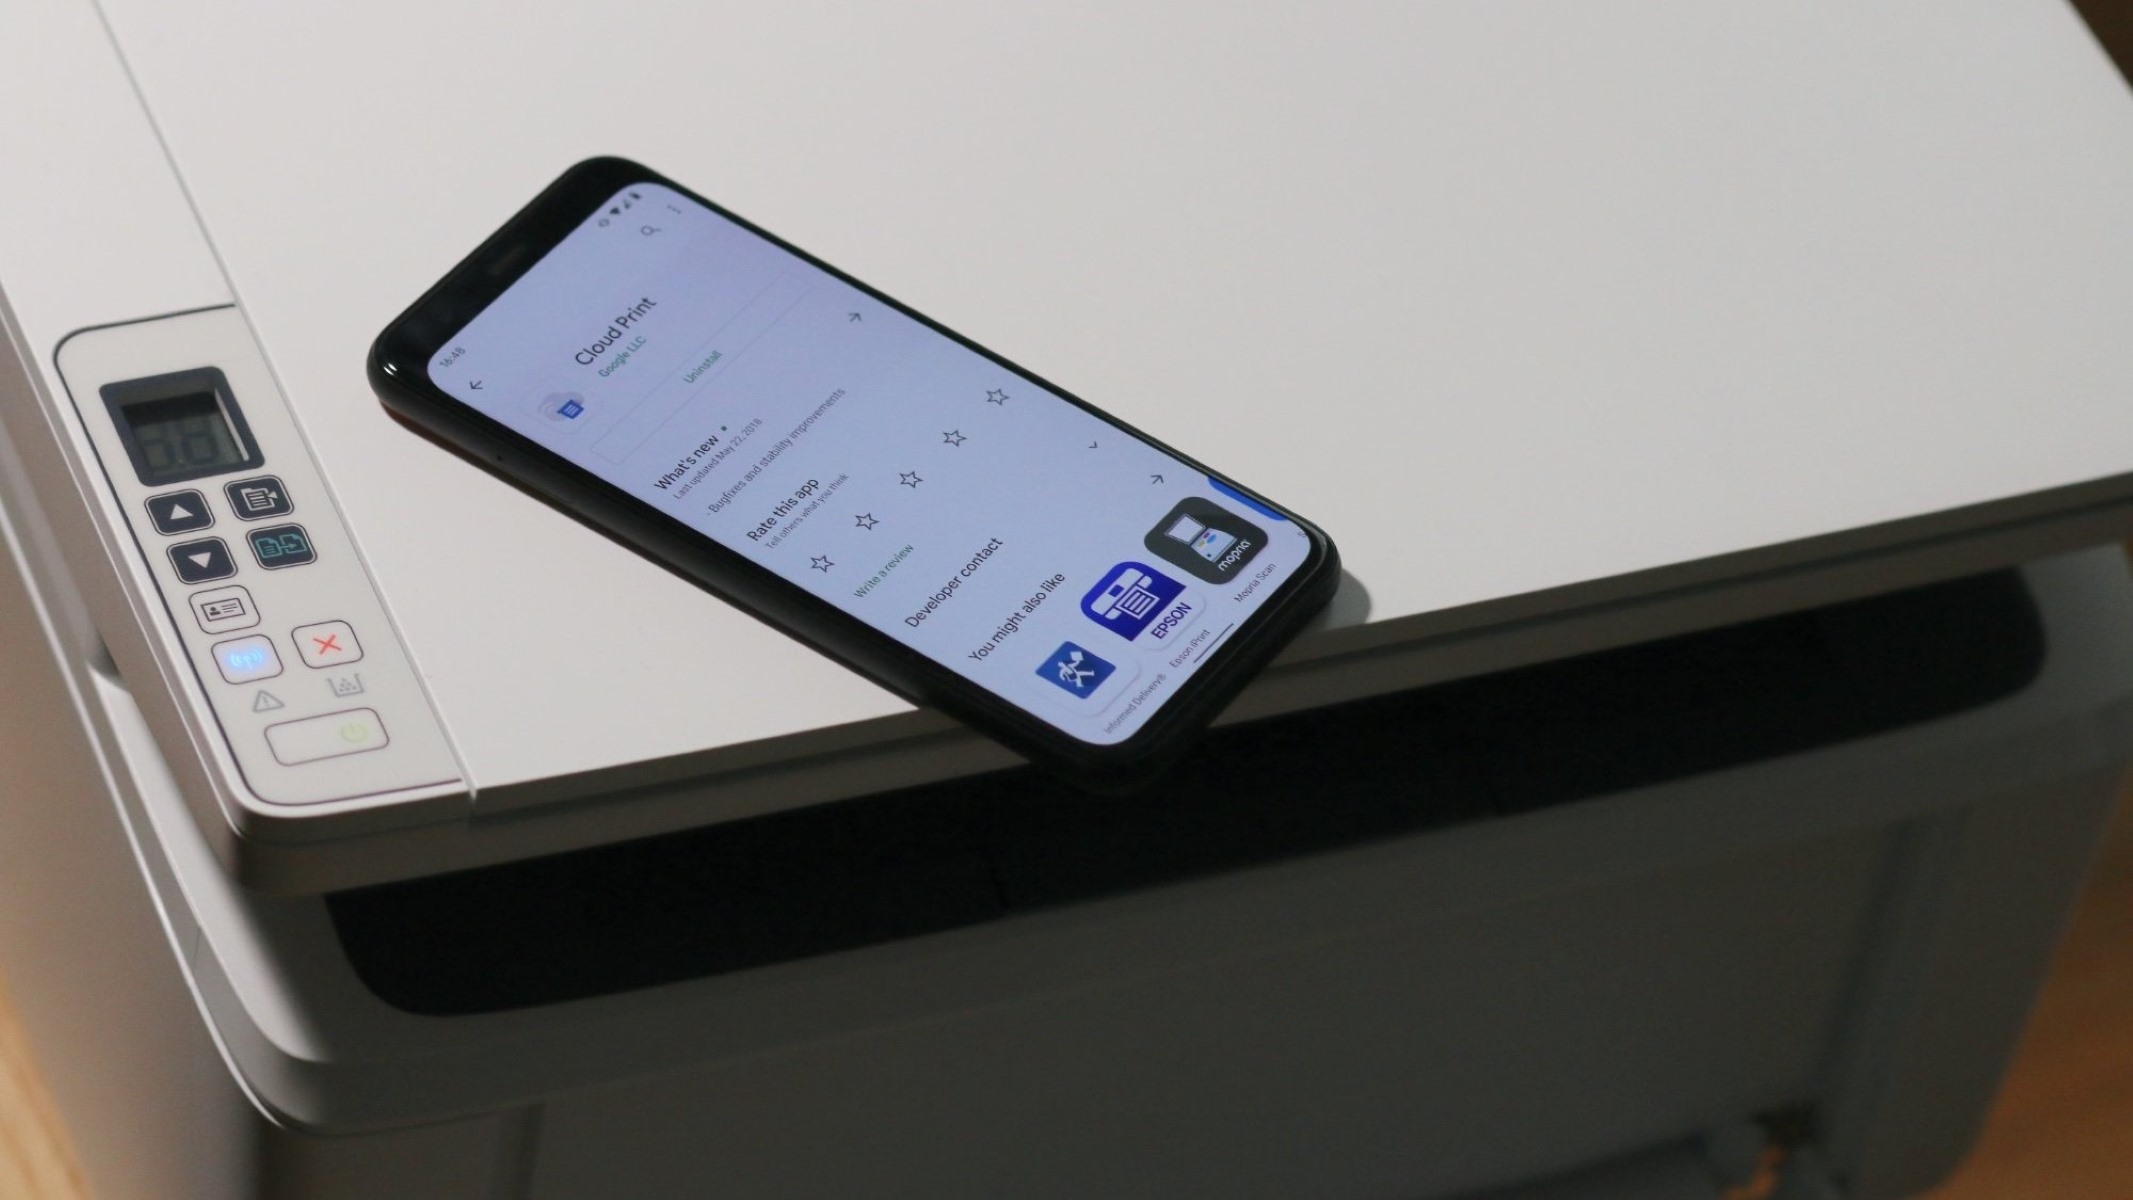
Connecting to the Printer
After setting up your printer, the next step is to establish a connection between the printer and your iPad. This process involves leveraging the wireless capabilities of both devices to enable seamless printing. Here’s a detailed guide on how to connect your iPad to the printer:
- Enable Wi-Fi and Bluetooth: Ensure that both Wi-Fi and Bluetooth are enabled on your iPad. These are essential for establishing a wireless connection with the printer.
- Access the Control Center: Swipe down from the top-right corner of the iPad’s screen to access the Control Center. From here, you can manage various settings, including Wi-Fi and Bluetooth.
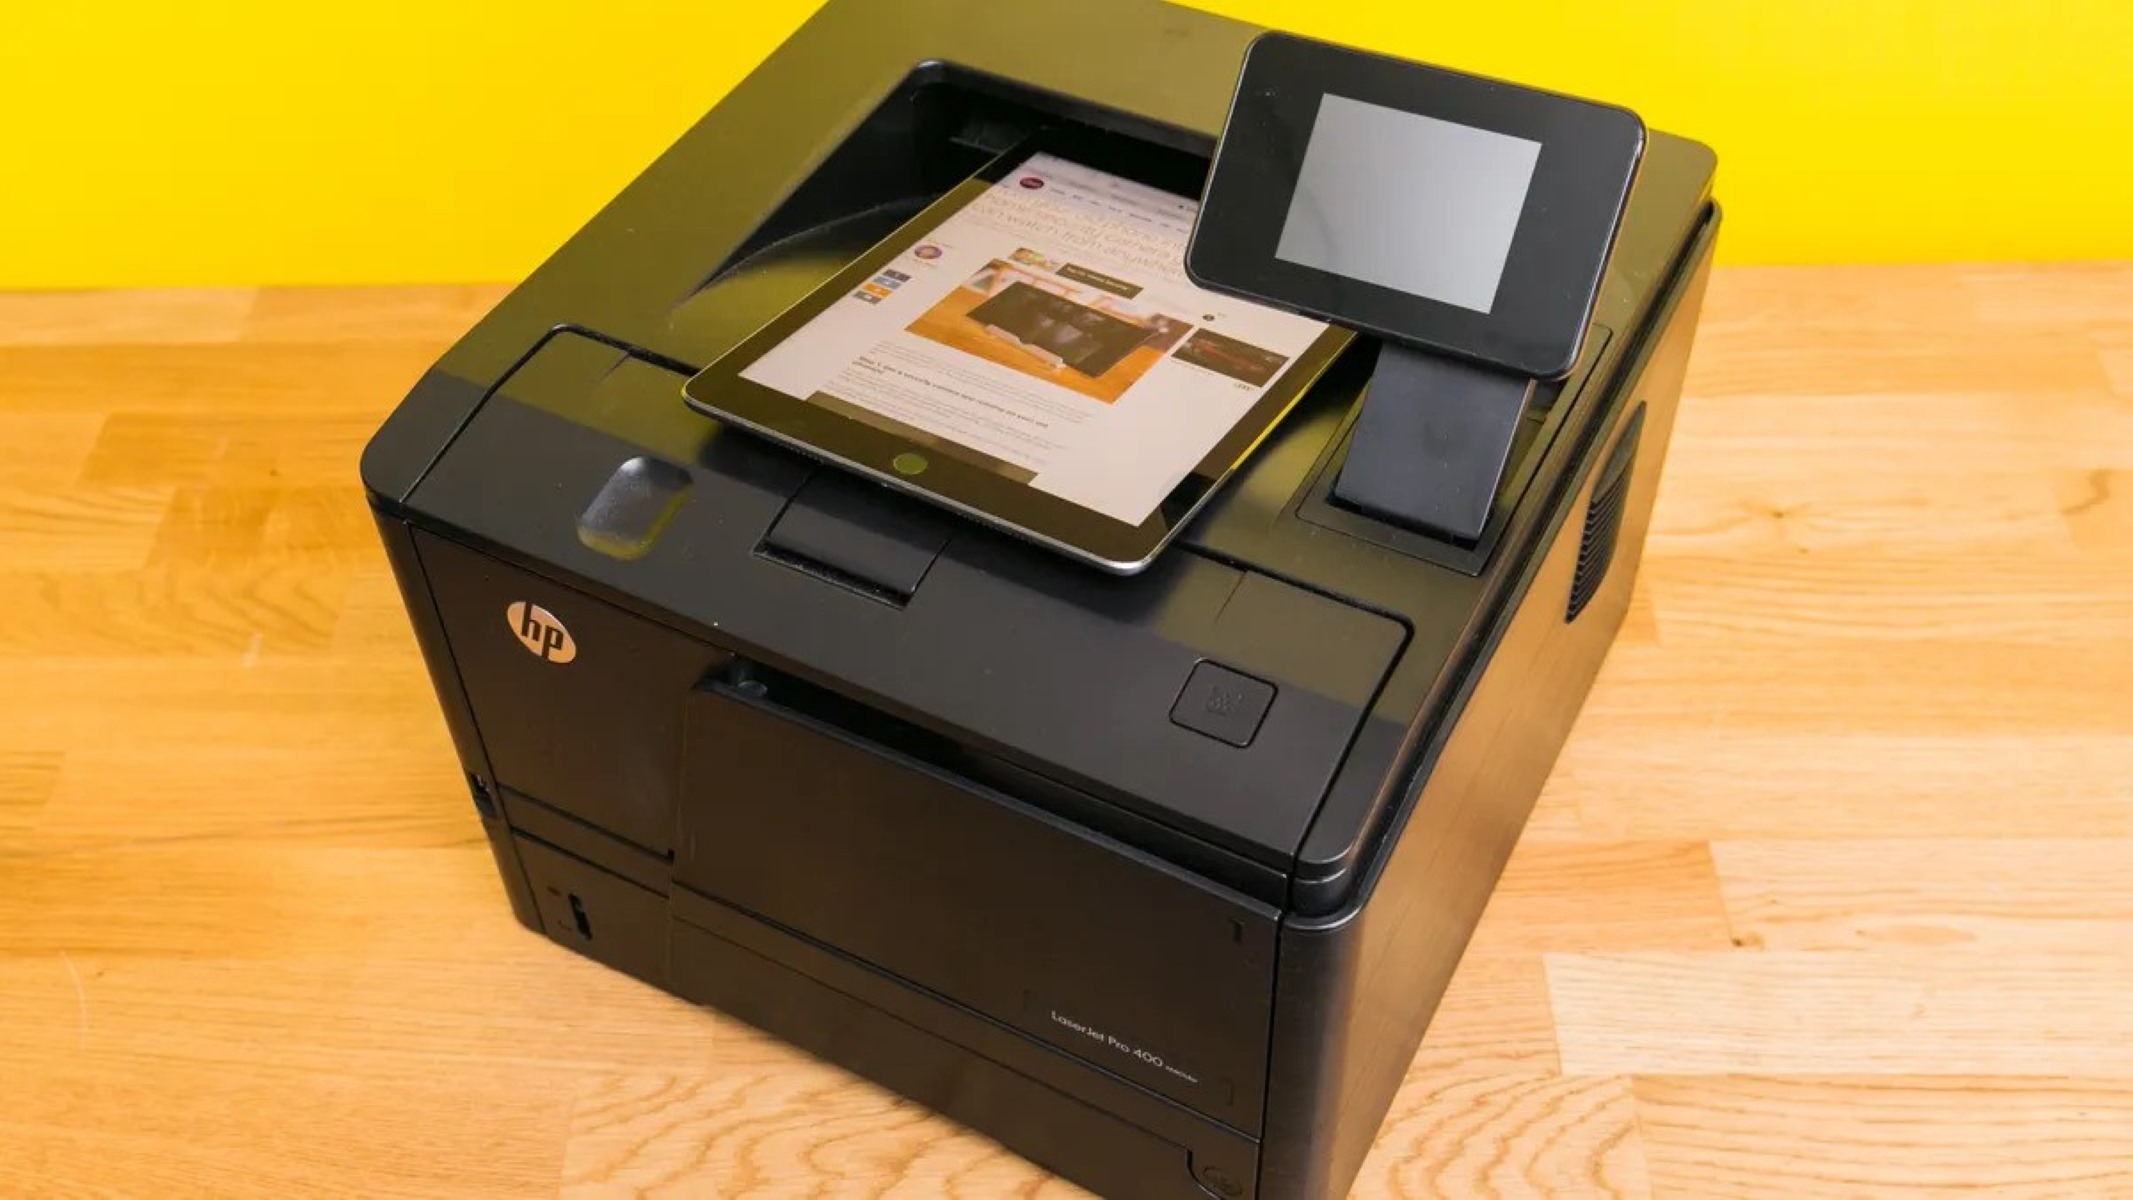
- Locate the Printer: On your iPad, navigate to the document, photo, or content you wish to print. Look for the “Print” option within the app or document viewer.
- Select the Printer: Tap the “Print” option, and your iPad will search for available printers on the same Wi-Fi network. Once your printer is detected, select it from the list of available devices.
- Adjust Print Settings: Depending on the app or document, you may have the option to adjust print settings such as the number of copies, color or black and white printing, and paper size.
- Initiate the Print Job: After configuring the print settings, tap the “Print” button to send the document or image to the selected printer. Your iPad will communicate with the printer, and the printing process will commence.
By following these steps, you can seamlessly connect your iPad to the printer and initiate print jobs directly from your device. This wireless integration simplifies the printing process and allows you to produce hard copies of digital content with ease.
Now that your iPad is successfully connected to the printer, let’s explore how you can print various types of content, such as documents, emails, web pages, and photos, directly from your iPad.
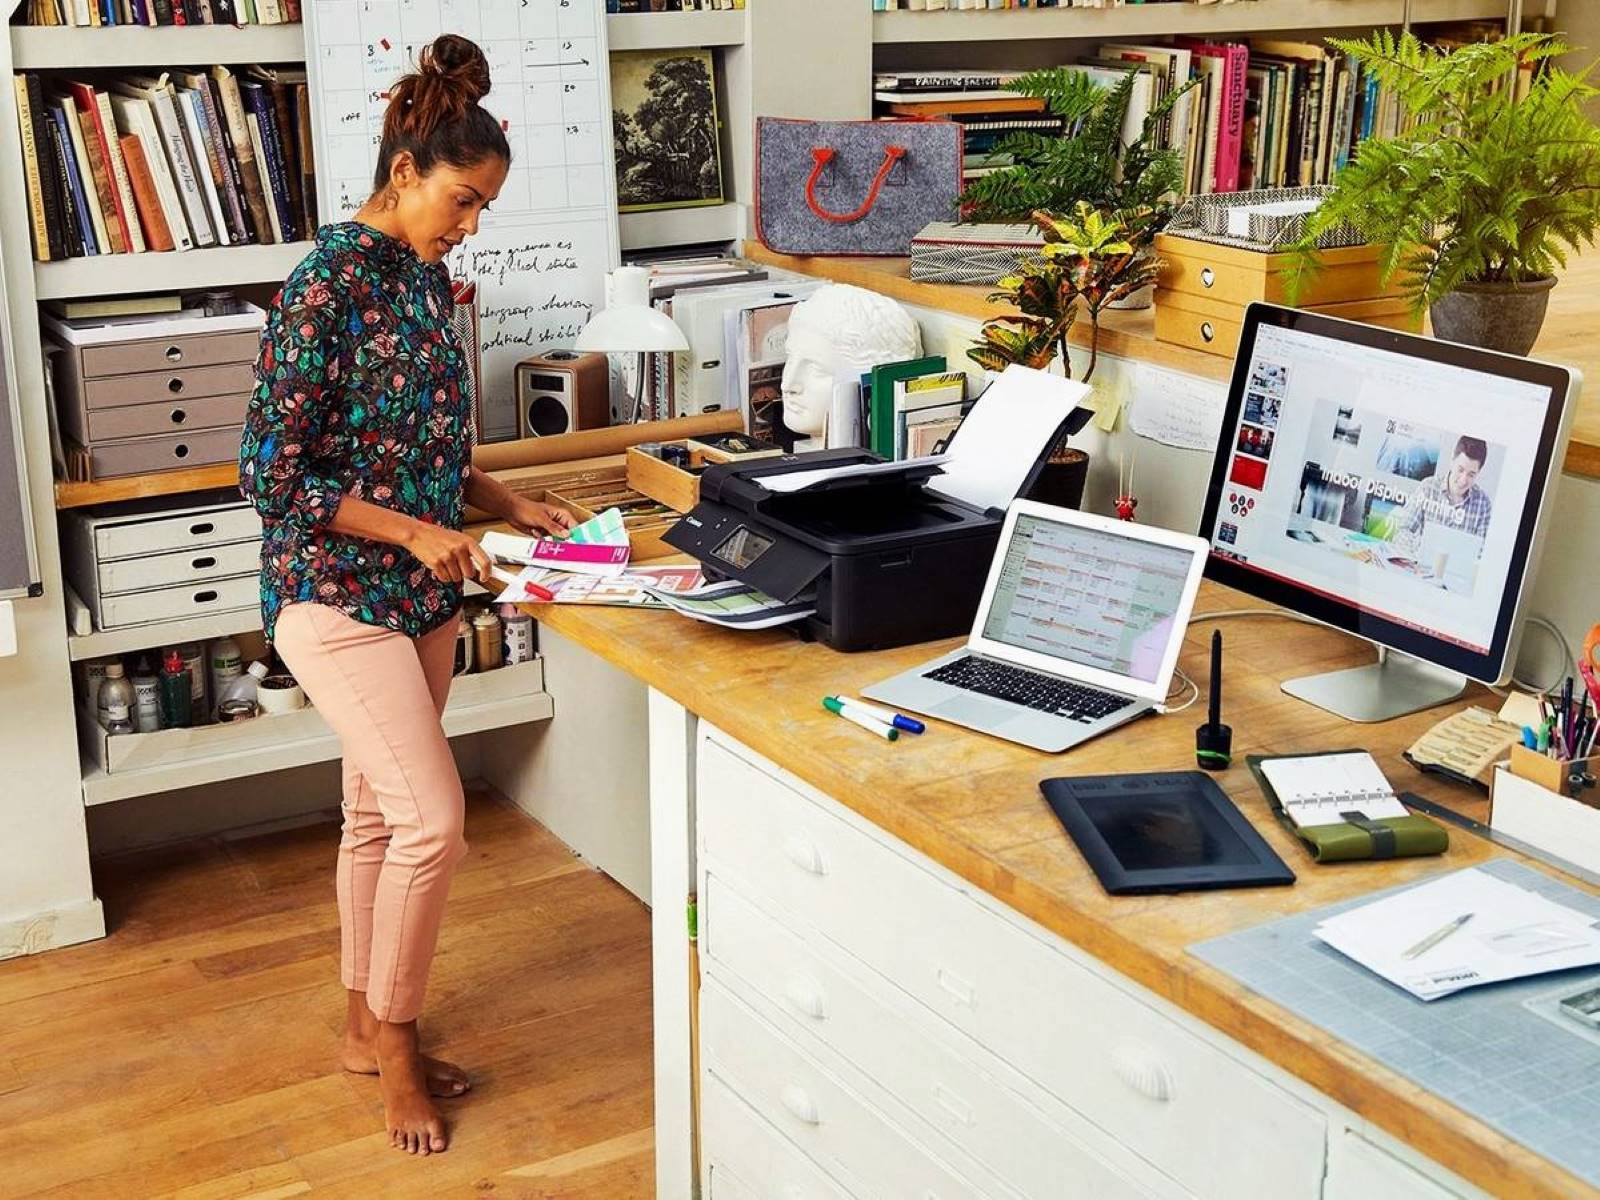
Printing from the iPad
Now that your iPad is connected to the printer, you have the convenience of printing a wide range of content directly from your device. Whether you need to print documents, emails, web pages, or photos, the process is streamlined and user-friendly. Here’s a comprehensive overview of how to print from your iPad:
- Printing Documents and Emails: When viewing a document or an email on your iPad, look for the “Print” option within the app or email client. Tap “Print,” select the desired printer, configure print settings if necessary, and initiate the print job.
- Web Page Printing: While browsing the web on your iPad, you can print web pages directly from the Safari browser. Tap the “Share” icon, select “Print,” choose the printer, adjust print settings, and proceed with printing the web page.
- Printing Photos: To print photos from your iPad’s camera roll or a specific app, open the photo, tap the “Share” icon, select “Print,” choose the printer, configure print settings, and initiate the printing process.
- Managing Print Queue: Your iPad allows you to manage the print queue, view pending print jobs, and cancel or prioritize print tasks as needed. This flexibility ensures that you have control over the printing process.
- Exploring Additional Print Options: Depending on the app or content you’re printing, you may have access to additional print options such as double-sided printing, page range selection, and paper size adjustments.
By leveraging the wireless connectivity between your iPad and the printer, you can seamlessly transform digital content into tangible hard copies. Whether you’re printing essential documents for work, capturing memorable photos in physical form, or producing reference materials for study, the ability to print from your iPad enhances your productivity and convenience.
With these insights and practical steps, you now have the knowledge and confidence to harness the printing capabilities of your iPad effectively. Embrace the seamless integration of technology and unleash the power of wireless printing to bring your digital content to life on paper.
Frequently Asked Questions about How To Connect To Printer From IPad
Was this page helpful?
At Storables.com, we guarantee accurate and reliable information. Our content, validated by Expert Board Contributors, is crafted following stringent Editorial Policies. We're committed to providing you with well-researched, expert-backed insights for all your informational needs.


0 thoughts on “How To Connect To Printer From IPad”