Home>Technology>Smart Home Devices>How To Fax With A HP Printer
Smart Home Devices
How To Fax With A HP Printer
Modified: August 27, 2024
Learn how to easily send faxes with your HP printer and streamline your smart home devices. Follow our step-by-step guide for seamless faxing.
(Many of the links in this article redirect to a specific reviewed product. Your purchase of these products through affiliate links helps to generate commission for Storables.com, at no extra cost. Learn more)
Introduction
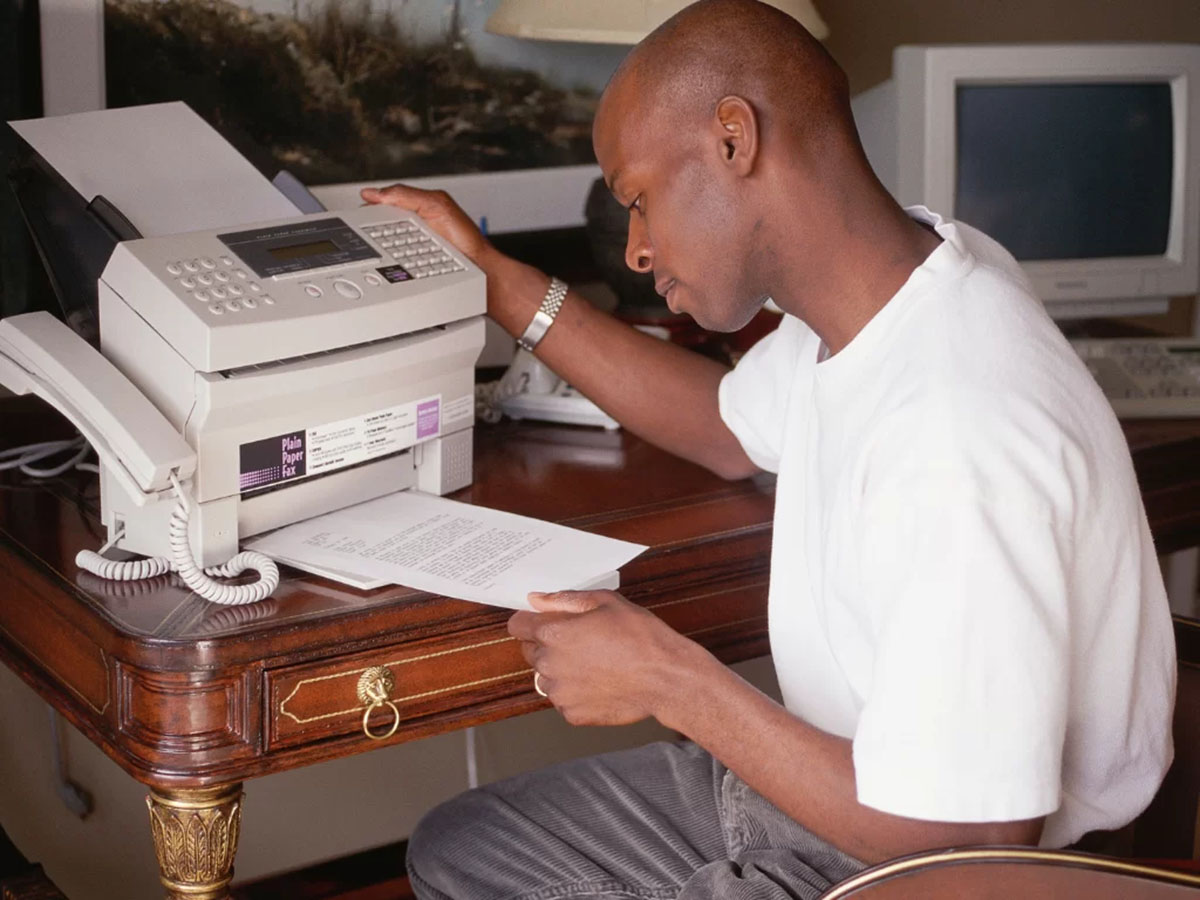
In the age of digital communication, the fax machine may seem like a relic of the past. However, it remains a crucial tool for transmitting documents securely and reliably. If you have a HP printer with fax capabilities, you have the convenience of sending and receiving faxes directly from your home or office. In this comprehensive guide, we will walk you through the process of sending a fax using your HP printer, ensuring that you can harness this traditional yet essential technology with ease.
Faxing with a HP printer offers a seamless integration of modern printing technology with the timeless reliability of fax communication. Whether you need to send a signed contract, a legal document, or any other paperwork that requires a verified transmission, your HP printer can serve as your trusty fax machine. With the convenience of faxing from your printer, you can streamline your workflow and eliminate the need for a separate fax machine.
As we delve into the step-by-step process of faxing with your HP printer, you will discover how simple and efficient it can be to transmit important documents. By following these instructions, you can harness the full potential of your HP printer and utilize its multifunctionality to meet your faxing needs. Let's embark on this journey to unlock the faxing capabilities of your HP printer and simplify your document transmission process.
Key Takeaways:
- Embrace the convenience of faxing directly from your HP printer to streamline document transmission and eliminate the need for a separate fax machine. Simplify your workflow with this versatile and reliable communication tool.
- Ensure successful fax transmission by following the step-by-step guide to prepare, send, and confirm your fax using your HP printer. Master the art of integrating traditional communication methods with modern printing technology.
Read more: How To Fax To A Printer
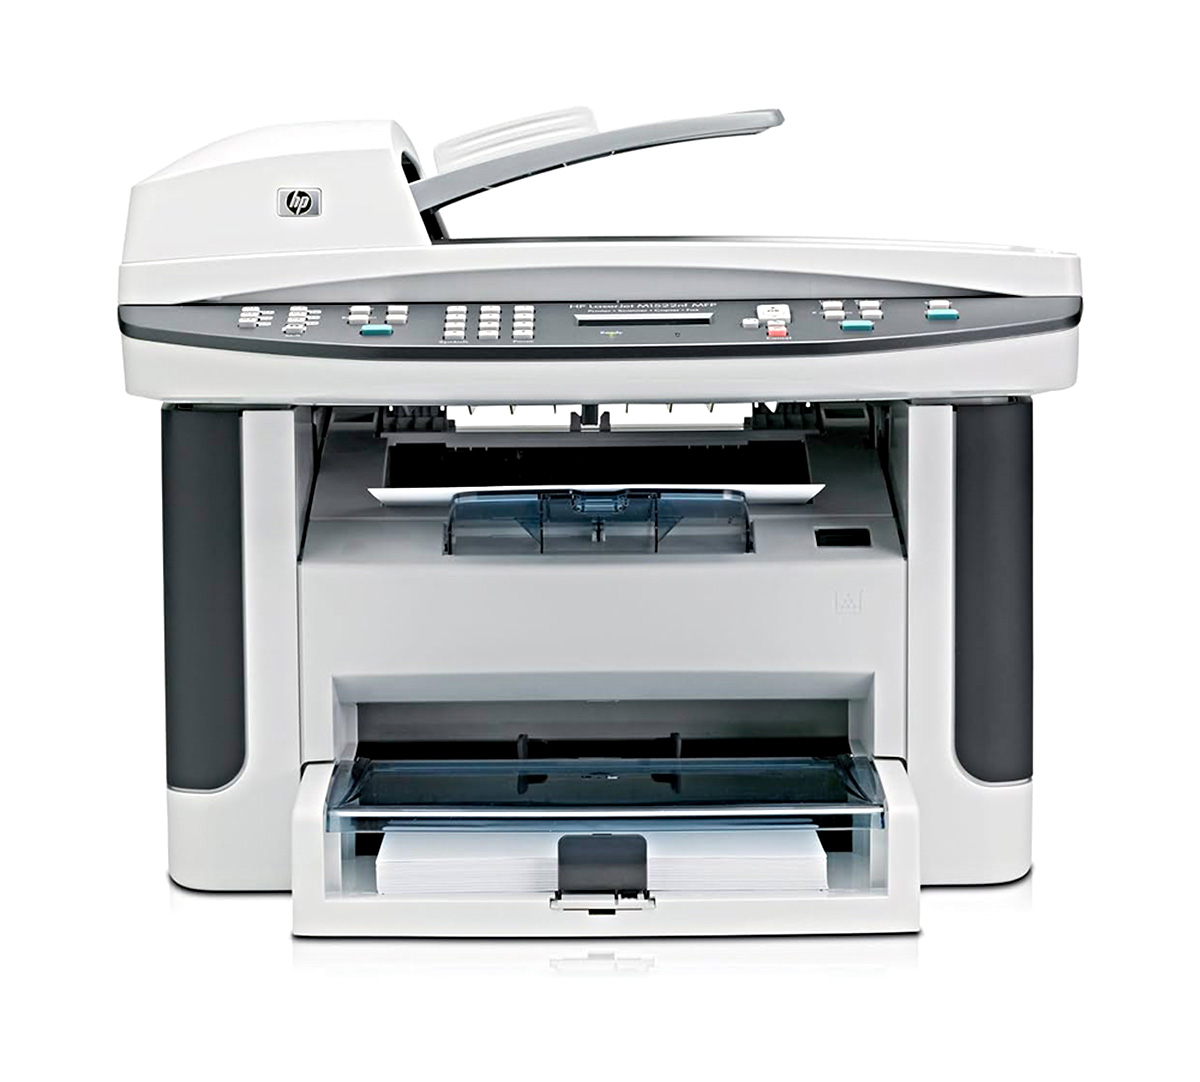
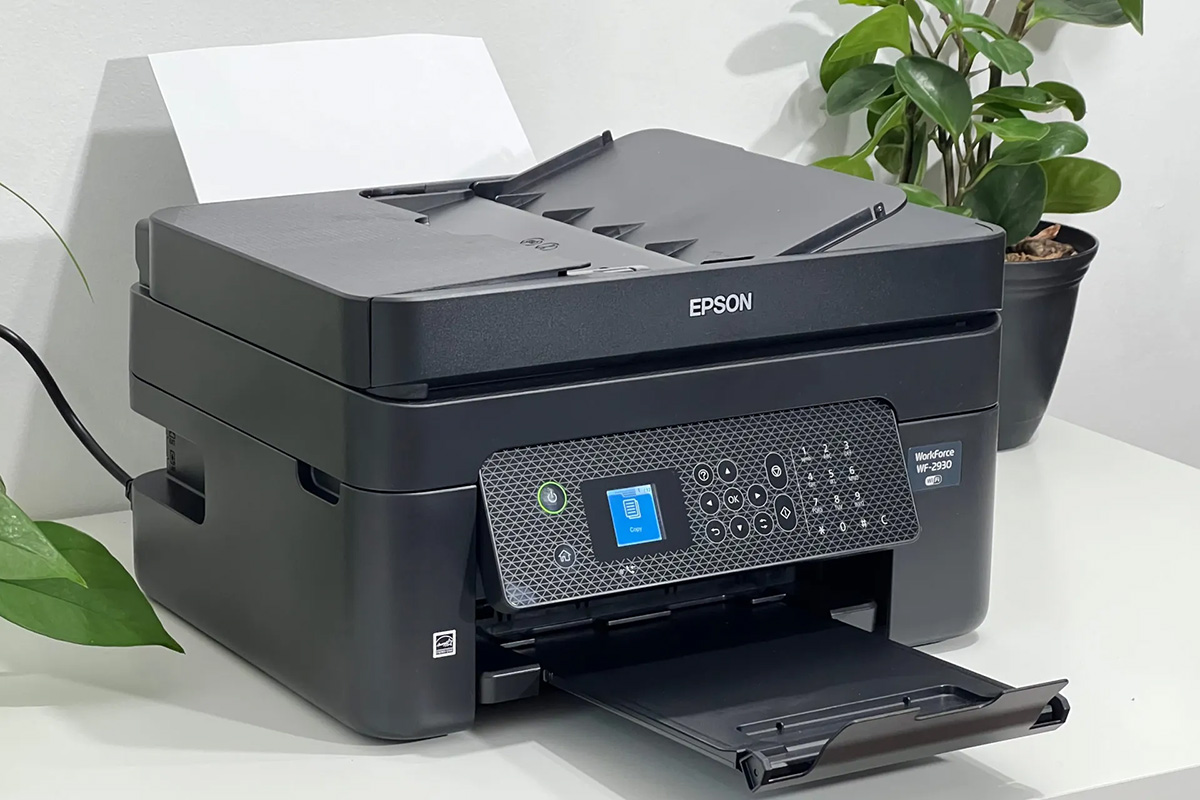
Step 1: Set up your HP printer
Before you can start faxing with your HP printer, it is essential to ensure that the printer is properly set up and configured to send and receive faxes. Here are the key steps to get your HP printer ready for faxing:
- Check fax compatibility: Verify that your HP printer is equipped with fax capabilities. Most HP printers that have an all-in-one functionality include the ability to send and receive faxes. Refer to the printer’s specifications or user manual to confirm its faxing capabilities.
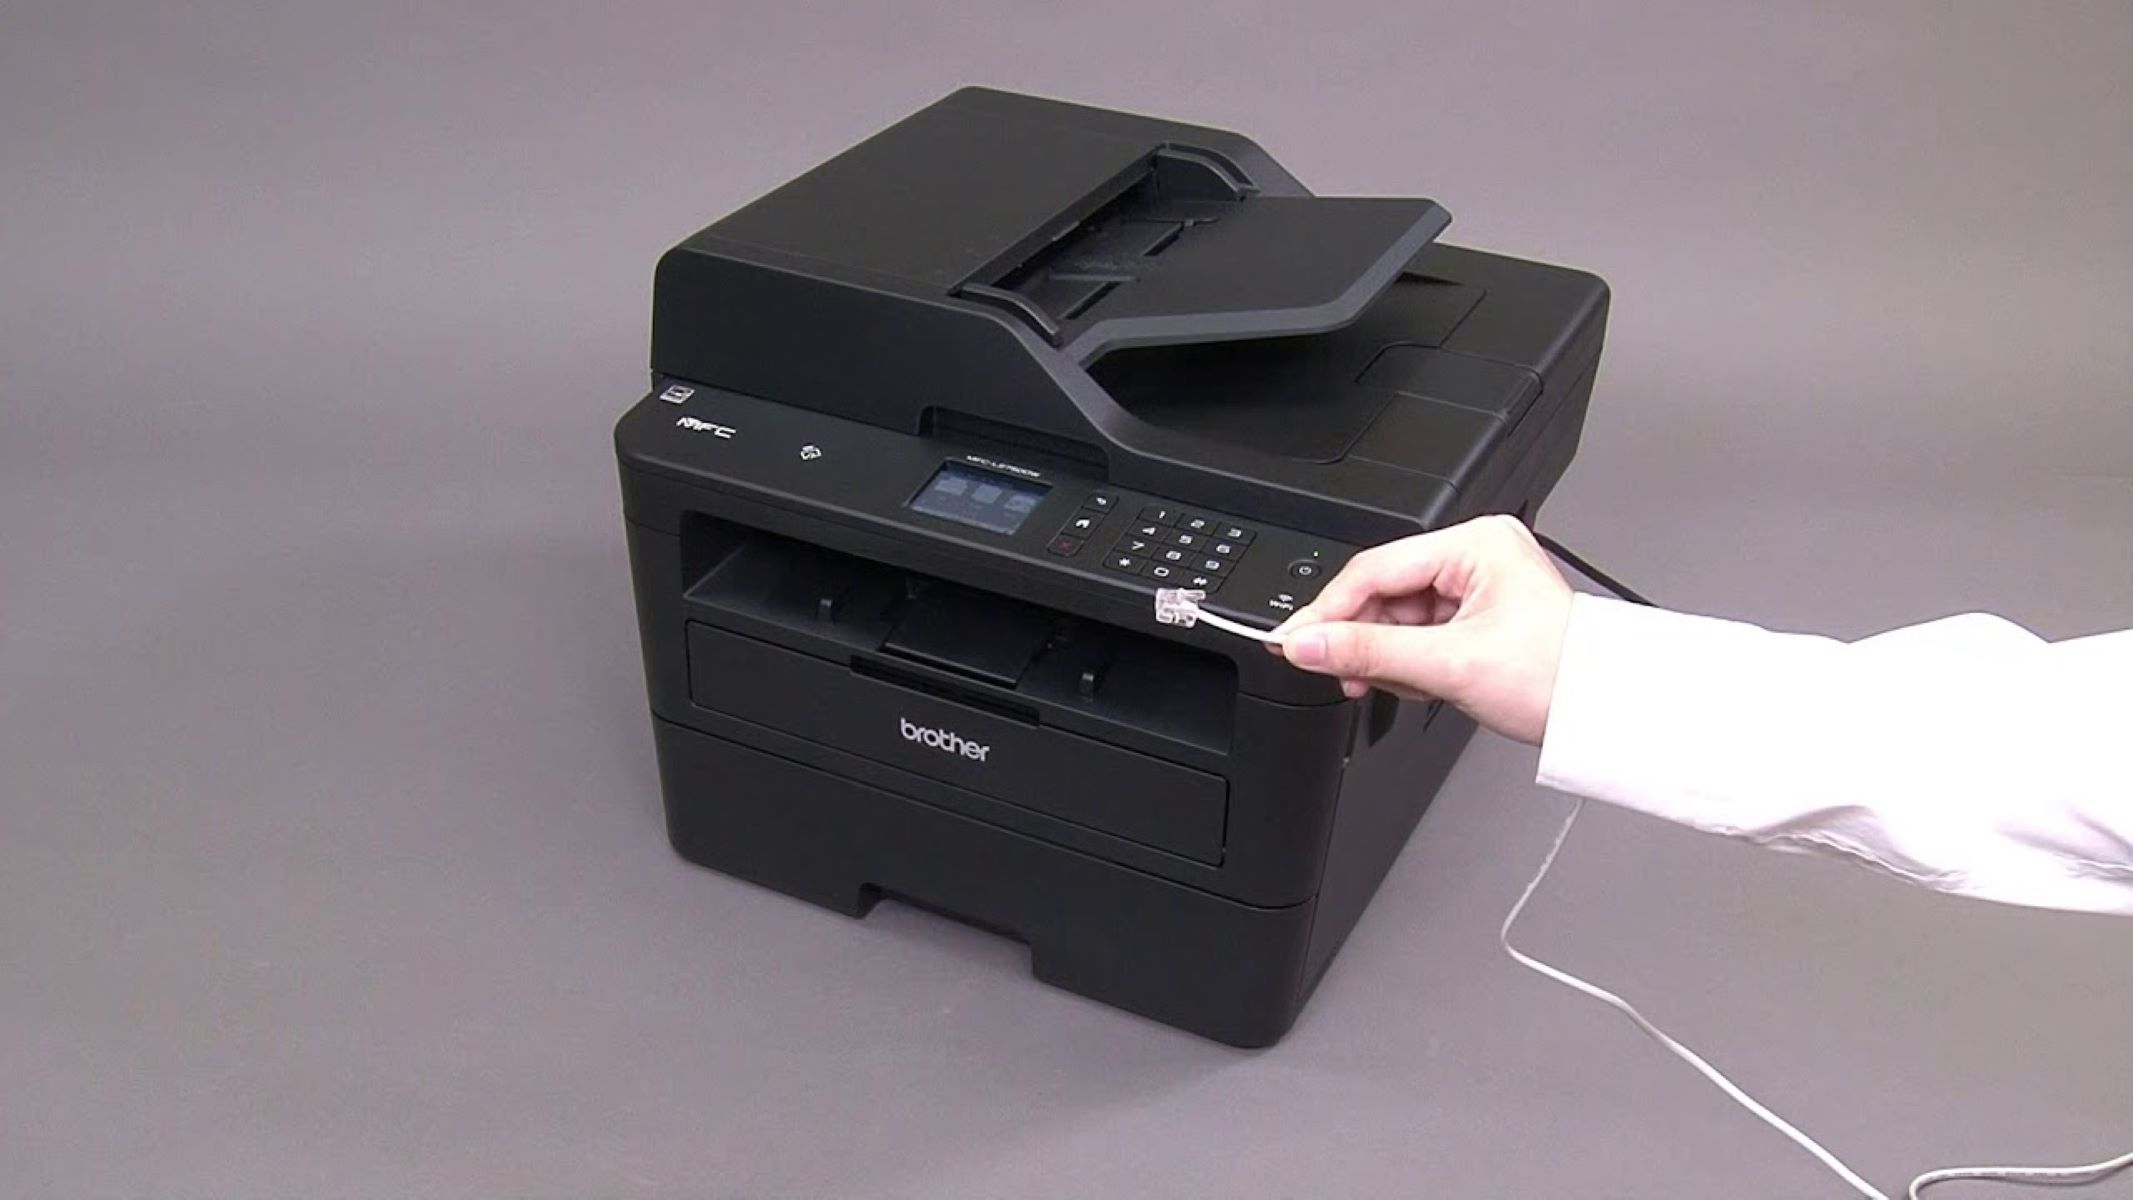
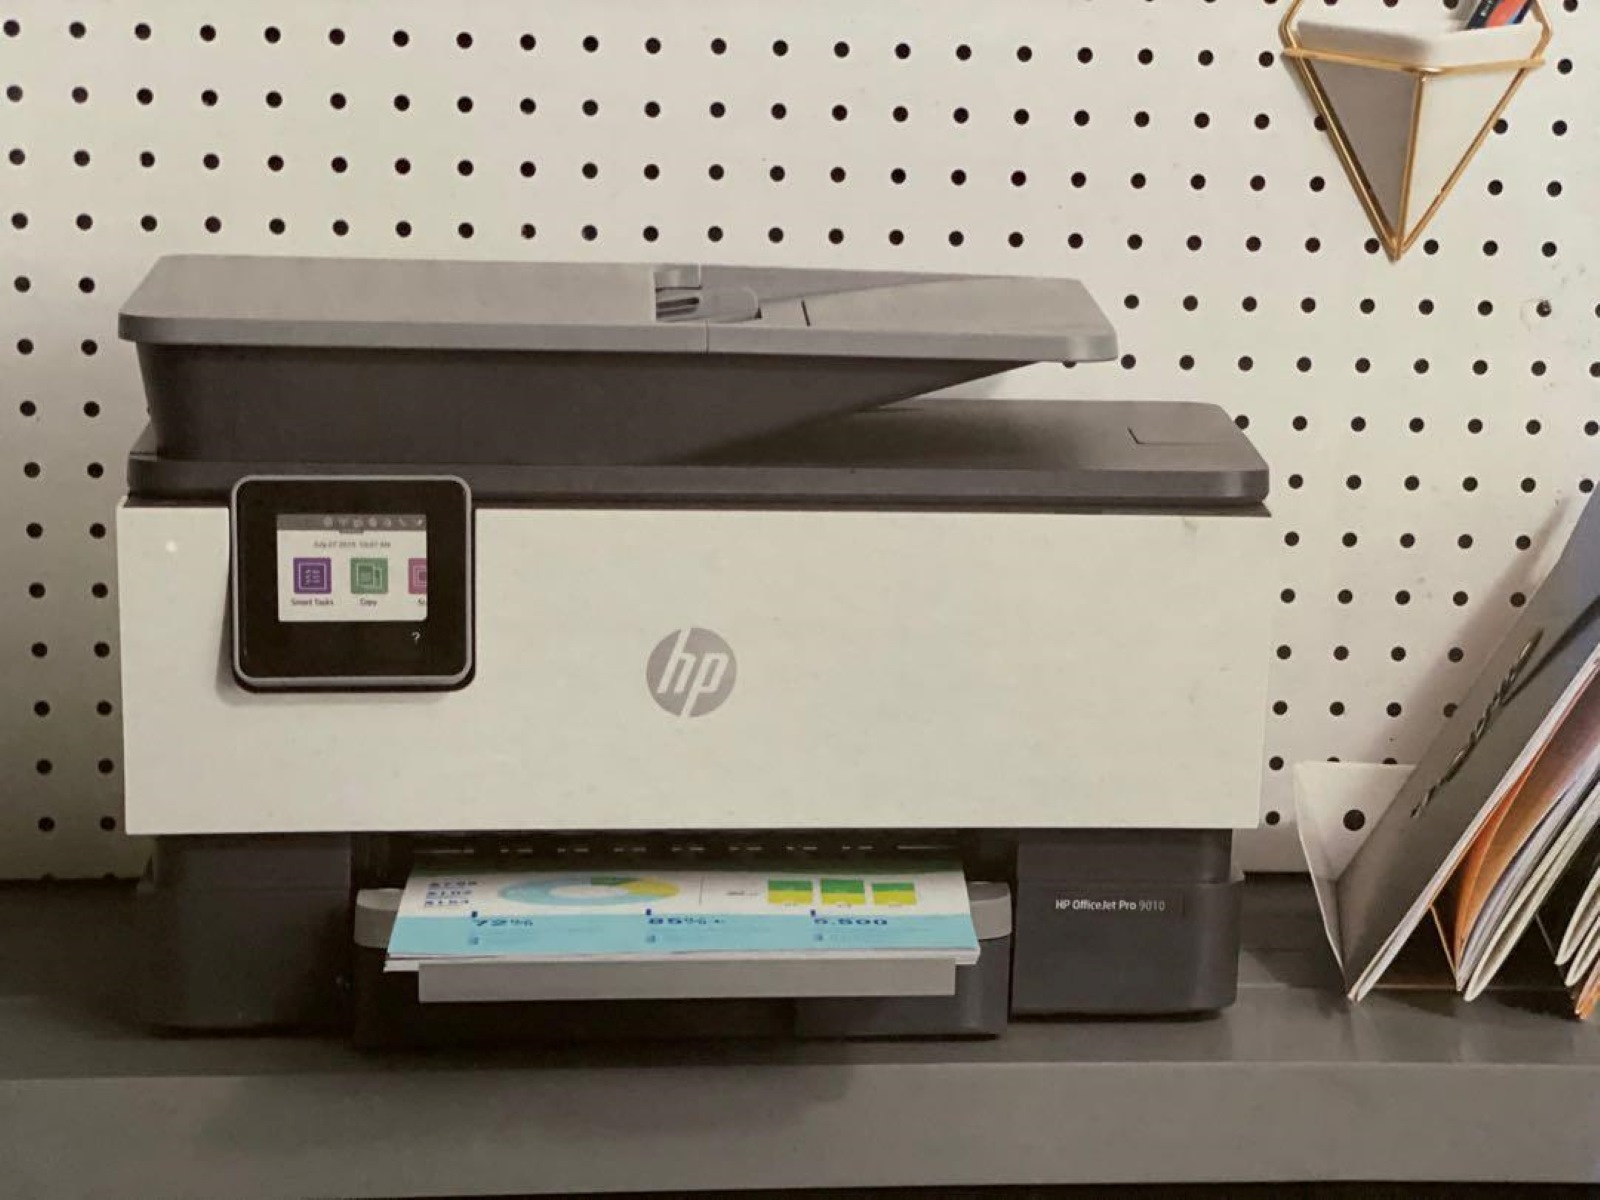
- Connect the phone line: To send and receive faxes, your HP printer needs to be connected to a working phone line. Ensure that the phone line is securely plugged into the correct port on the printer. If you are using a digital phone service, such as VoIP, make sure the printer is compatible with this type of connection.
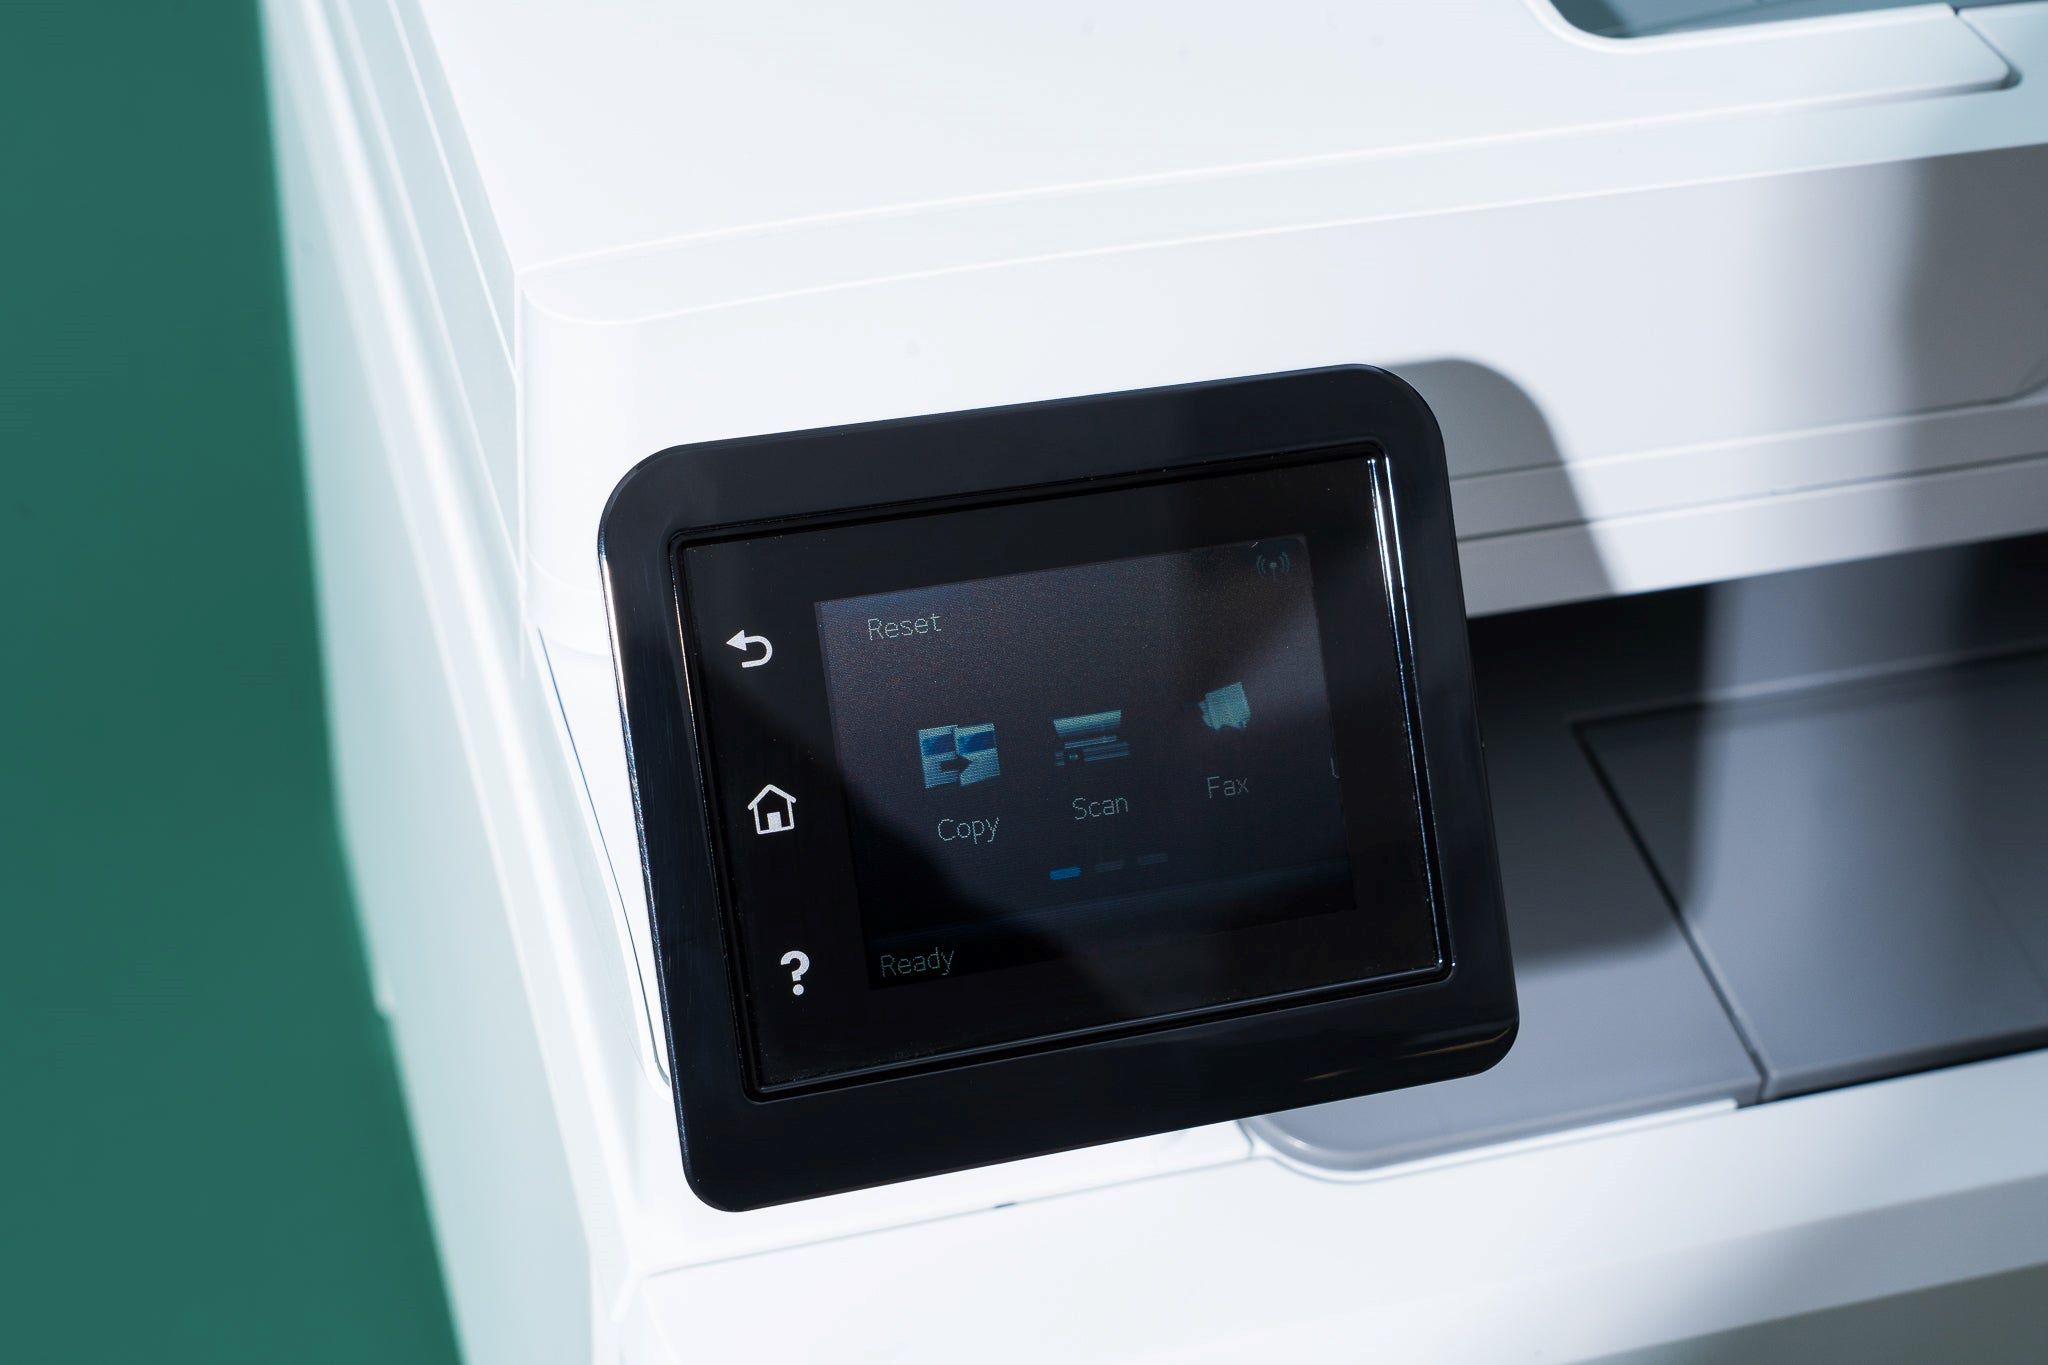
- Configure fax settings: Access the printer’s control panel or settings menu to configure the fax settings. You may need to set the date and time, as well as your contact information, which will be included in the fax header. Follow the instructions in the user manual to navigate the printer’s settings and customize the fax preferences.
- Load paper and ink: Ensure that your printer has an adequate supply of paper and ink or toner. Running out of these essential supplies during a fax transmission can disrupt the process. Keep your printer stocked with paper and ink to avoid any interruptions when sending or receiving faxes.
- Test the fax function: It is advisable to conduct a test fax to ensure that your HP printer is set up correctly for faxing. Use a test document and send it to a fax number that can confirm receipt. This test will validate that the printer can send and receive faxes successfully.
By completing these setup steps, you can ensure that your HP printer is fully prepared to handle fax transmissions. Once your printer is configured for faxing, you can proceed to the next steps to prepare your document and send the fax with confidence.
Step 2: Prepare the document for faxing
Now that your HP printer is set up for faxing, it’s time to prepare the document you want to send. Whether it’s a contract, a form, or any other paperwork, ensuring that the document is formatted correctly will help facilitate a smooth fax transmission. Here are the essential steps to prepare your document for faxing:
- Format the document: Ensure that the document is clear, legible, and formatted appropriately for faxing. Avoid using color backgrounds or intricate designs that may not translate well in a fax transmission. Keep the content concise and well-organized to facilitate easy reading on the recipient’s end.
- Remove staples and clips: If the document contains any staples, paper clips, or other fasteners, remove them before placing the pages in the printer’s document feeder. These items can jam the feeder and disrupt the fax transmission process.
- Arrange the pages: Organize the pages in the correct order before placing them in the document feeder or on the scanner bed. Ensure that the pages are facing the correct orientation and that the content flows logically from page to page.
- Review for accuracy: Take a moment to review the document for accuracy and completeness. Verify that all the necessary information is included and that there are no missing pages or illegible sections. A thorough review can help prevent errors during the fax transmission.
- Consider a cover page: Depending on the nature of the document, you may want to include a cover page that provides additional information to the recipient. A cover page can convey the purpose of the fax, include contact details, and serve as a formal introduction to the transmitted document.
By following these steps, you can ensure that your document is well-prepared for faxing, minimizing the potential for errors or confusion during the transmission process. Once your document is ready, you can proceed to the next step to initiate the fax transmission using your HP printer.
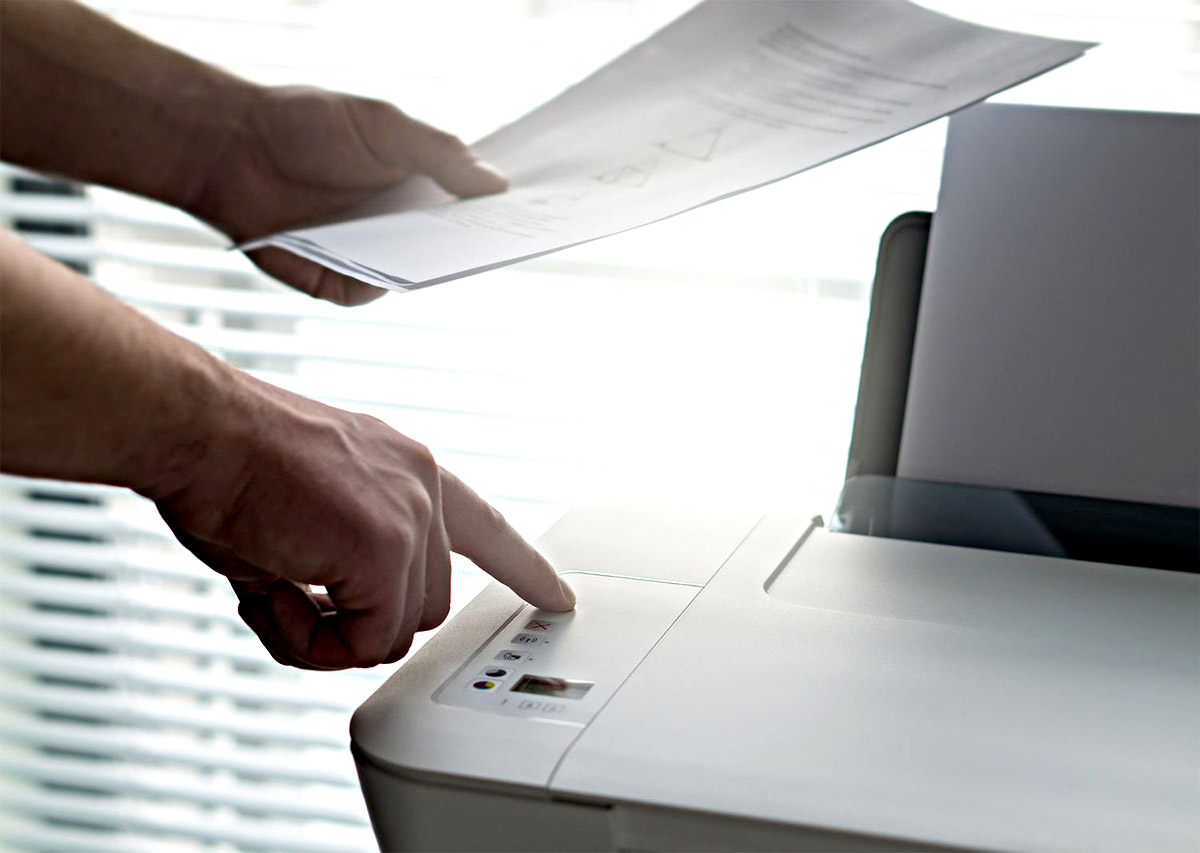
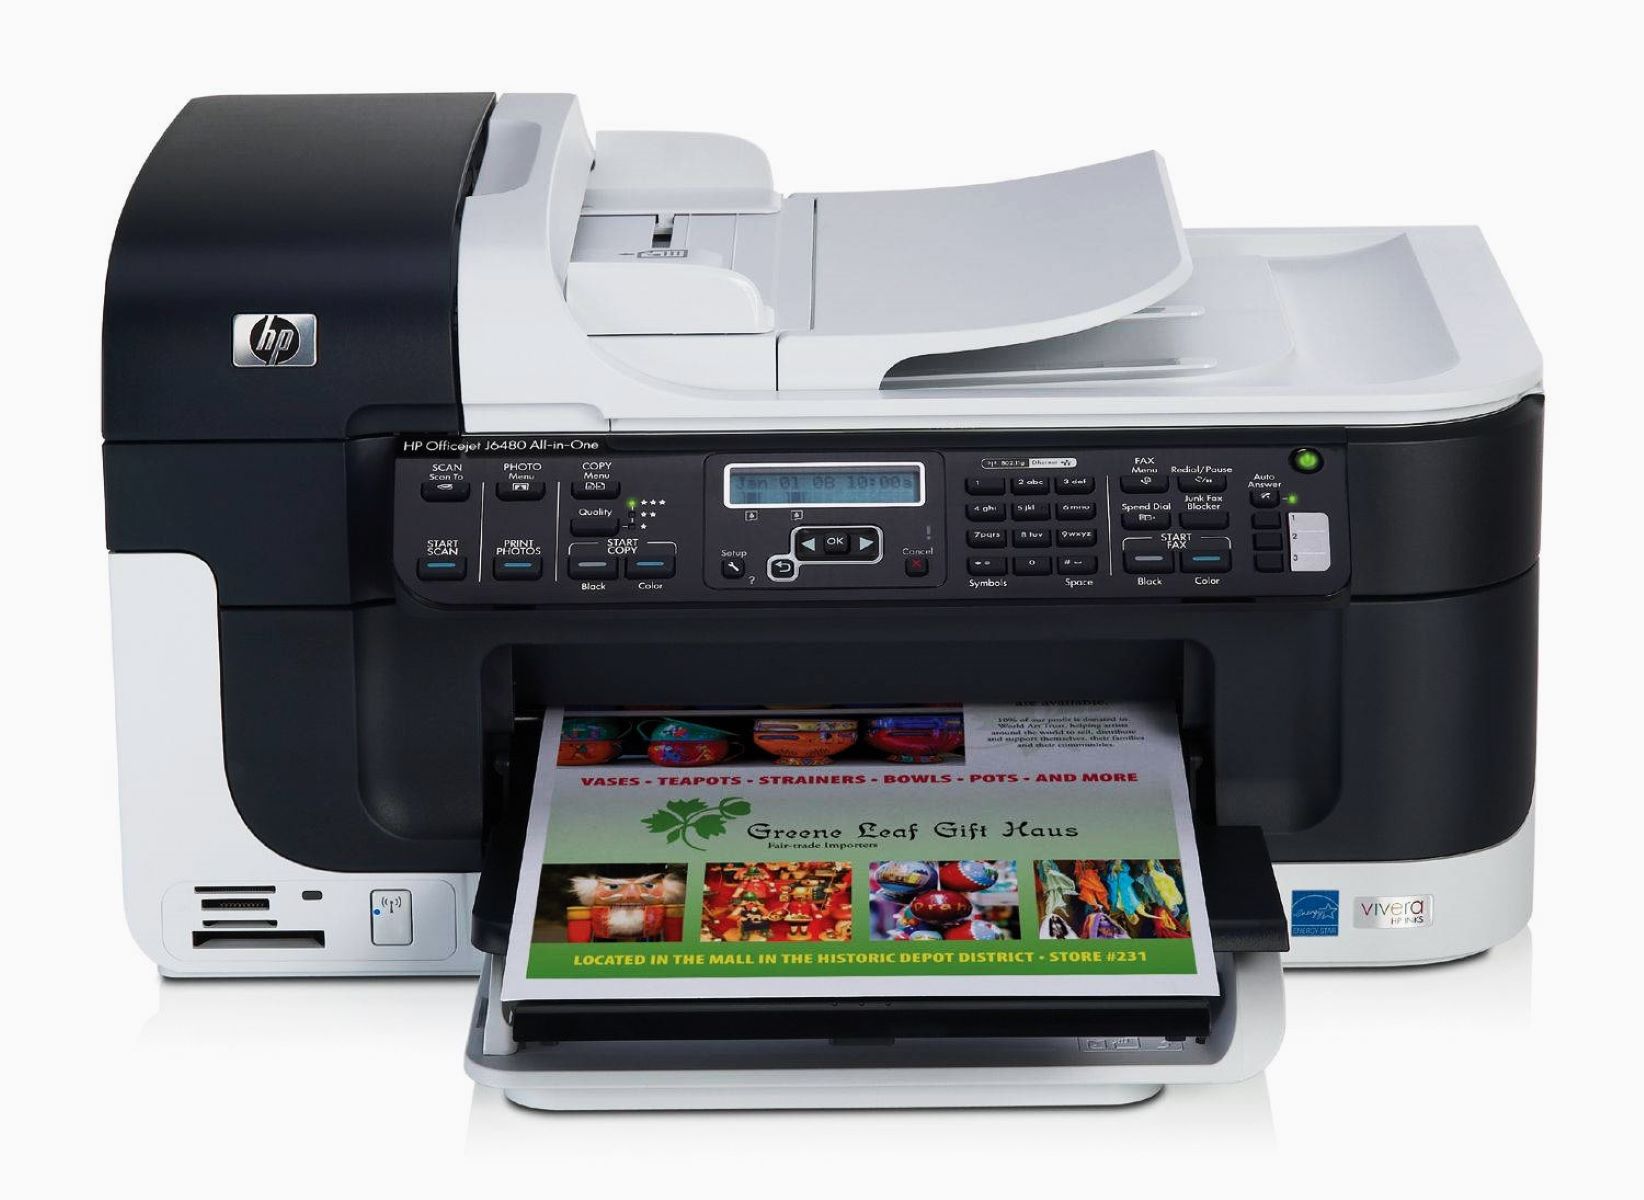
Make sure your HP printer is connected to a phone line. Load the document you want to fax into the feeder. Enter the recipient’s fax number and press the “Send” button. Keep an eye on the display for any error messages.
Step 3: Send the fax
With your document prepared and your HP printer configured for faxing, you are ready to initiate the fax transmission. Sending a fax with your HP printer involves a straightforward process that leverages the printer’s built-in fax functionality. Here’s a guide to sending a fax using your HP printer:
- Load the document: If you have not already done so, place the document you want to fax into the printer’s document feeder or on the scanner bed, following the guidelines provided in the printer’s user manual. Ensure that the document is positioned securely and that the pages will feed smoothly during the fax transmission.
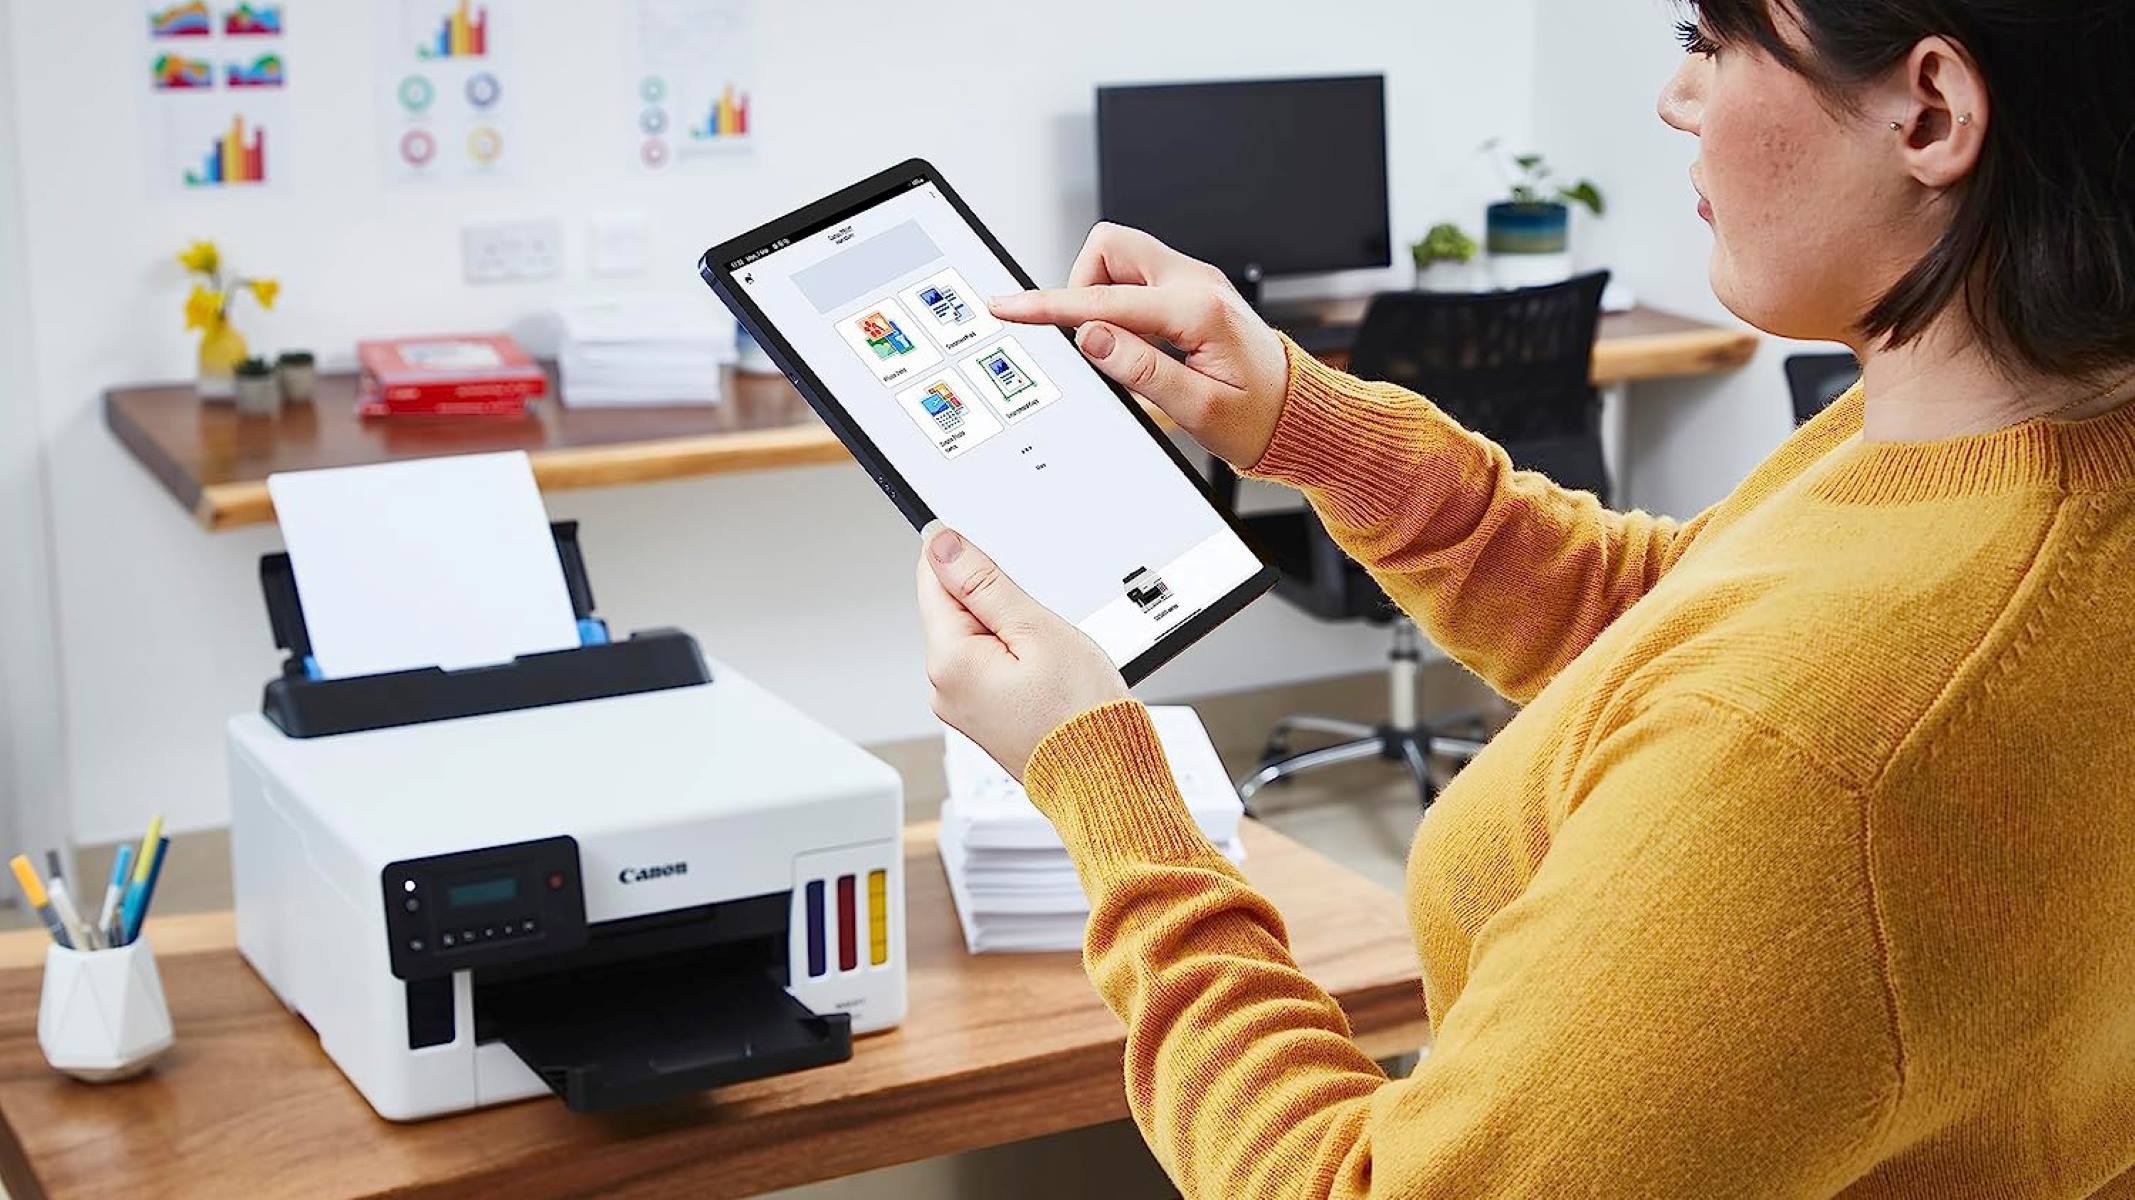
- Enter the recipient’s fax number: Using the printer’s control panel or interface, enter the recipient’s fax number. Some HP printers allow you to store frequently used fax numbers in the address book for quick access. Double-check the fax number for accuracy to avoid sending the document to the wrong recipient.
- Adjust fax settings: Depending on your preferences and the nature of the document, you may need to adjust the fax settings before sending the transmission. This can include specifying the resolution, contrast, and other parameters that optimize the document’s appearance on the recipient’s end.
- Initiate the fax transmission: Once you have loaded the document and entered the recipient’s fax number, you can initiate the fax transmission from the printer’s interface. Follow the on-screen prompts to confirm the transmission and start the faxing process.
- Monitor the transmission: While the fax is being sent, monitor the printer’s display or status indicators to ensure that the transmission progresses without any issues. If the printer encounters any errors or obstacles during the fax transmission, it will provide relevant notifications that require attention.
By following these steps, you can confidently send a fax using your HP printer, leveraging its intuitive interface and reliable faxing capabilities. Once the fax transmission is initiated, you can proceed to the final step to confirm that the fax was sent successfully.
Step 4: Confirm the fax was sent successfully
After initiating the fax transmission, it’s important to verify that the document was sent successfully and received by the intended recipient. Confirming the successful transmission of your fax ensures that the document has reached its destination without any issues. Here’s how you can confirm that the fax was sent successfully using your HP printer:
- Check the fax confirmation: Many HP printers provide a fax confirmation report once the transmission is complete. This report includes details such as the date and time of the fax, the recipient’s fax number, and a status indicating whether the transmission was successful. Review the fax confirmation report to ensure that the transmission was completed without errors.
- Verify with the recipient: If possible, follow up with the recipient to confirm that they have received the fax. A quick phone call or email can provide reassurance that the document reached the intended party and that the content is legible and complete.
- Check for transmission errors: If the fax confirmation report indicates that the transmission encountered errors, review the details provided to identify the nature of the issue. Common errors include busy signals, communication errors, or incomplete transmissions. Troubleshoot any errors to ensure that future fax transmissions are successful.
- Archive the fax confirmation: Once you have confirmed the successful transmission of the fax, consider archiving the fax confirmation report for your records. This documentation can serve as proof of the transmitted document and its delivery, providing a valuable reference for your records or in the event of any disputes or inquiries regarding the fax.
By following these steps, you can verify that the fax was sent successfully using your HP printer, providing peace of mind that your document reached its destination in a timely and accurate manner. With the fax transmission confirmed, you can conclude the process with confidence and proceed with your workflow knowing that your document has been securely transmitted.
Conclusion
Mastering the art of faxing with your HP printer empowers you to seamlessly integrate traditional communication methods with modern printing technology. By following the comprehensive steps outlined in this guide, you have gained the knowledge and confidence to leverage your HP printer’s fax capabilities effectively. From setting up your printer for faxing to preparing and sending the fax, you have embarked on a journey that streamlines the transmission of important documents.
With the convenience of faxing directly from your HP printer, you can eliminate the need for a separate fax machine and simplify your document transmission process. Whether you are sending contracts, legal documents, or other paperwork, the reliability and security of fax communication remain unparalleled, and your HP printer serves as a versatile tool to facilitate this process.
As you confirm the successful transmission of your fax and archive the fax confirmation report, you can proceed with confidence, knowing that your document has been securely delivered. Embracing the faxing capabilities of your HP printer enhances your workflow and ensures that you can meet your communication needs with efficiency and reliability.
By harnessing the power of your HP printer for faxing, you have unlocked a valuable feature that complements its multifunctionality, further enhancing its role as an indispensable tool in your home or office. Embrace the seamless integration of fax communication with your modern printing technology and continue to explore the diverse capabilities of your HP printer in simplifying your document management and communication processes.
Now that you've mastered faxing with your HP printer, why stop there? Dive deeper into optimizing your device by checking out our detailed guide on how to specifically send faxes from your HP model. Whether you're tidying up office communications or ensuring vital documents reach their destination, our helpful tips make the process even more straightforward. Equip yourself with the know-how for speedy, error-free faxing every time.
Frequently Asked Questions about How To Fax With A HP Printer
Was this page helpful?
At Storables.com, we guarantee accurate and reliable information. Our content, validated by Expert Board Contributors, is crafted following stringent Editorial Policies. We're committed to providing you with well-researched, expert-backed insights for all your informational needs.


0 thoughts on “How To Fax With A HP Printer”