Home>Technology>Smart Home Devices>How To Fax On A Canon Printer
Smart Home Devices
How To Fax On A Canon Printer
Modified: October 19, 2024
Learn how to easily fax documents using your Canon printer and other smart home devices. Follow our step-by-step guide for hassle-free faxing.
(Many of the links in this article redirect to a specific reviewed product. Your purchase of these products through affiliate links helps to generate commission for Storables.com, at no extra cost. Learn more)
Introduction
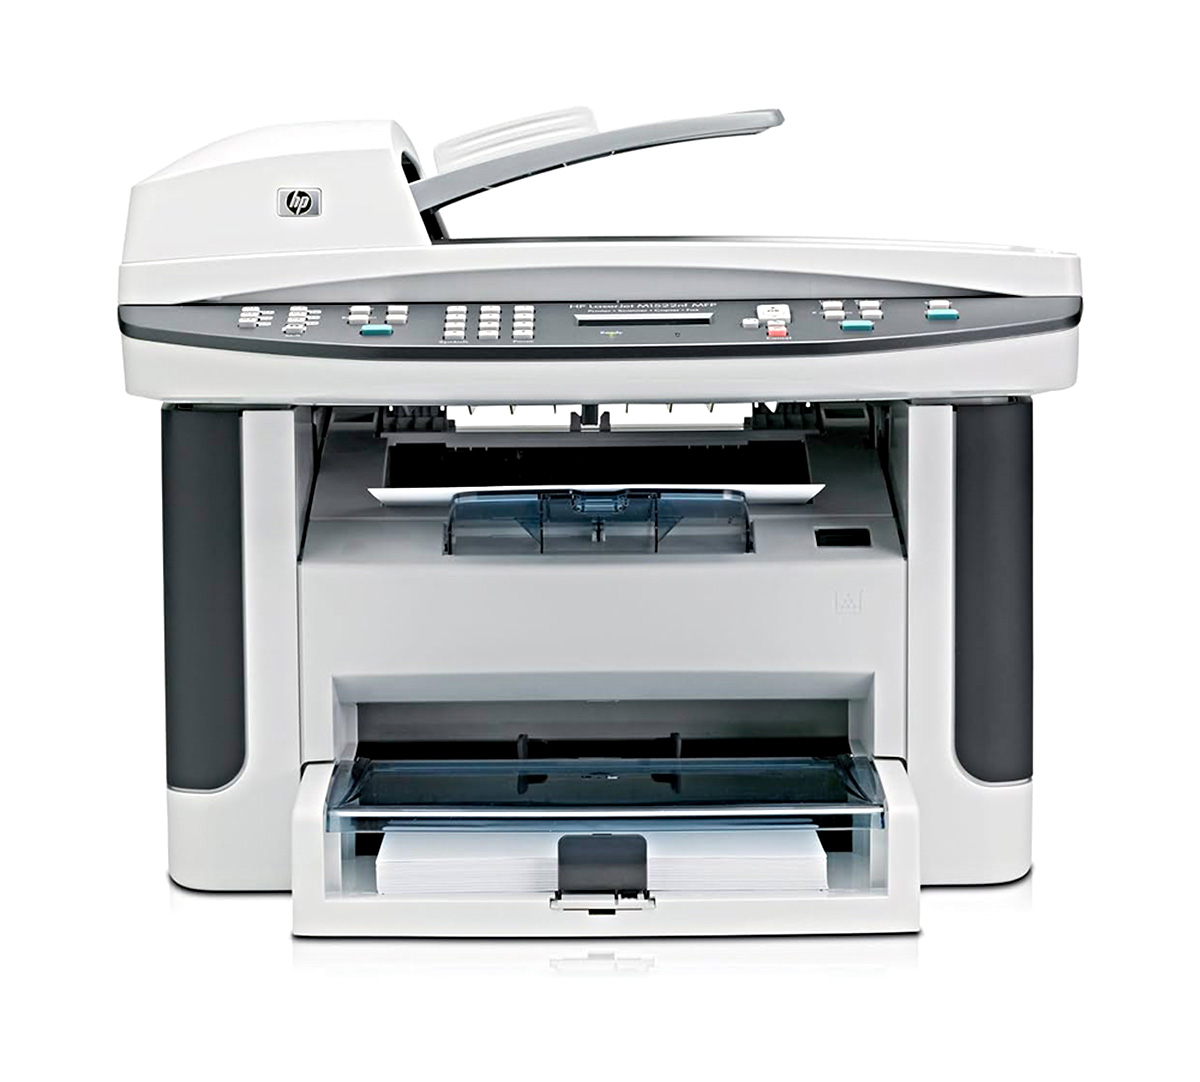
In today's digital age, the concept of sending faxes might seem like a relic of the past. However, faxing remains a crucial method of communication in various industries. Canon printers, known for their exceptional multifunctionality, often come equipped with fax capabilities, making them a valuable asset in a professional environment.
Understanding how to utilize the fax feature on a Canon printer can streamline communication processes and facilitate the seamless transmission of important documents. Whether you're sending contracts, medical records, or legal paperwork, mastering the art of faxing on a Canon printer can significantly enhance your workflow efficiency.
In this comprehensive guide, we will delve into the step-by-step process of sending a fax using a Canon printer. From checking the fax capability of your device to successfully transmitting your document, each stage is essential for ensuring a successful fax transmission. By the end of this tutorial, you'll be well-versed in harnessing the faxing capabilities of your Canon printer, empowering you to communicate effectively and professionally in a variety of business settings. Let's embark on this journey to demystify the faxing process and harness the full potential of your Canon printer's functionality.
Key Takeaways:
- Master the art of faxing on your Canon printer to send important documents with ease and professionalism, streamlining your workflow and enhancing communication in various business settings.
- Ensure your Canon printer’s fax capability, connect the fax line, load the document, input the recipient’s fax number accurately, and send the fax to leverage the printer’s multifunctionality for efficient communication.
Read more: How To Fax To A Printer
Step 1: Check the Fax Capability
Before initiating the faxing process, it's essential to ensure that your Canon printer is equipped with fax capabilities. Not all Canon printers are designed to send and receive faxes, so verifying this functionality is the first crucial step.
To determine if your Canon printer supports faxing, you can refer to the product specifications provided by the manufacturer. This information can typically be found in the printer's user manual or on the official Canon website. Look for indications such as "fax capability" or "fax functionality" in the product description or technical specifications.
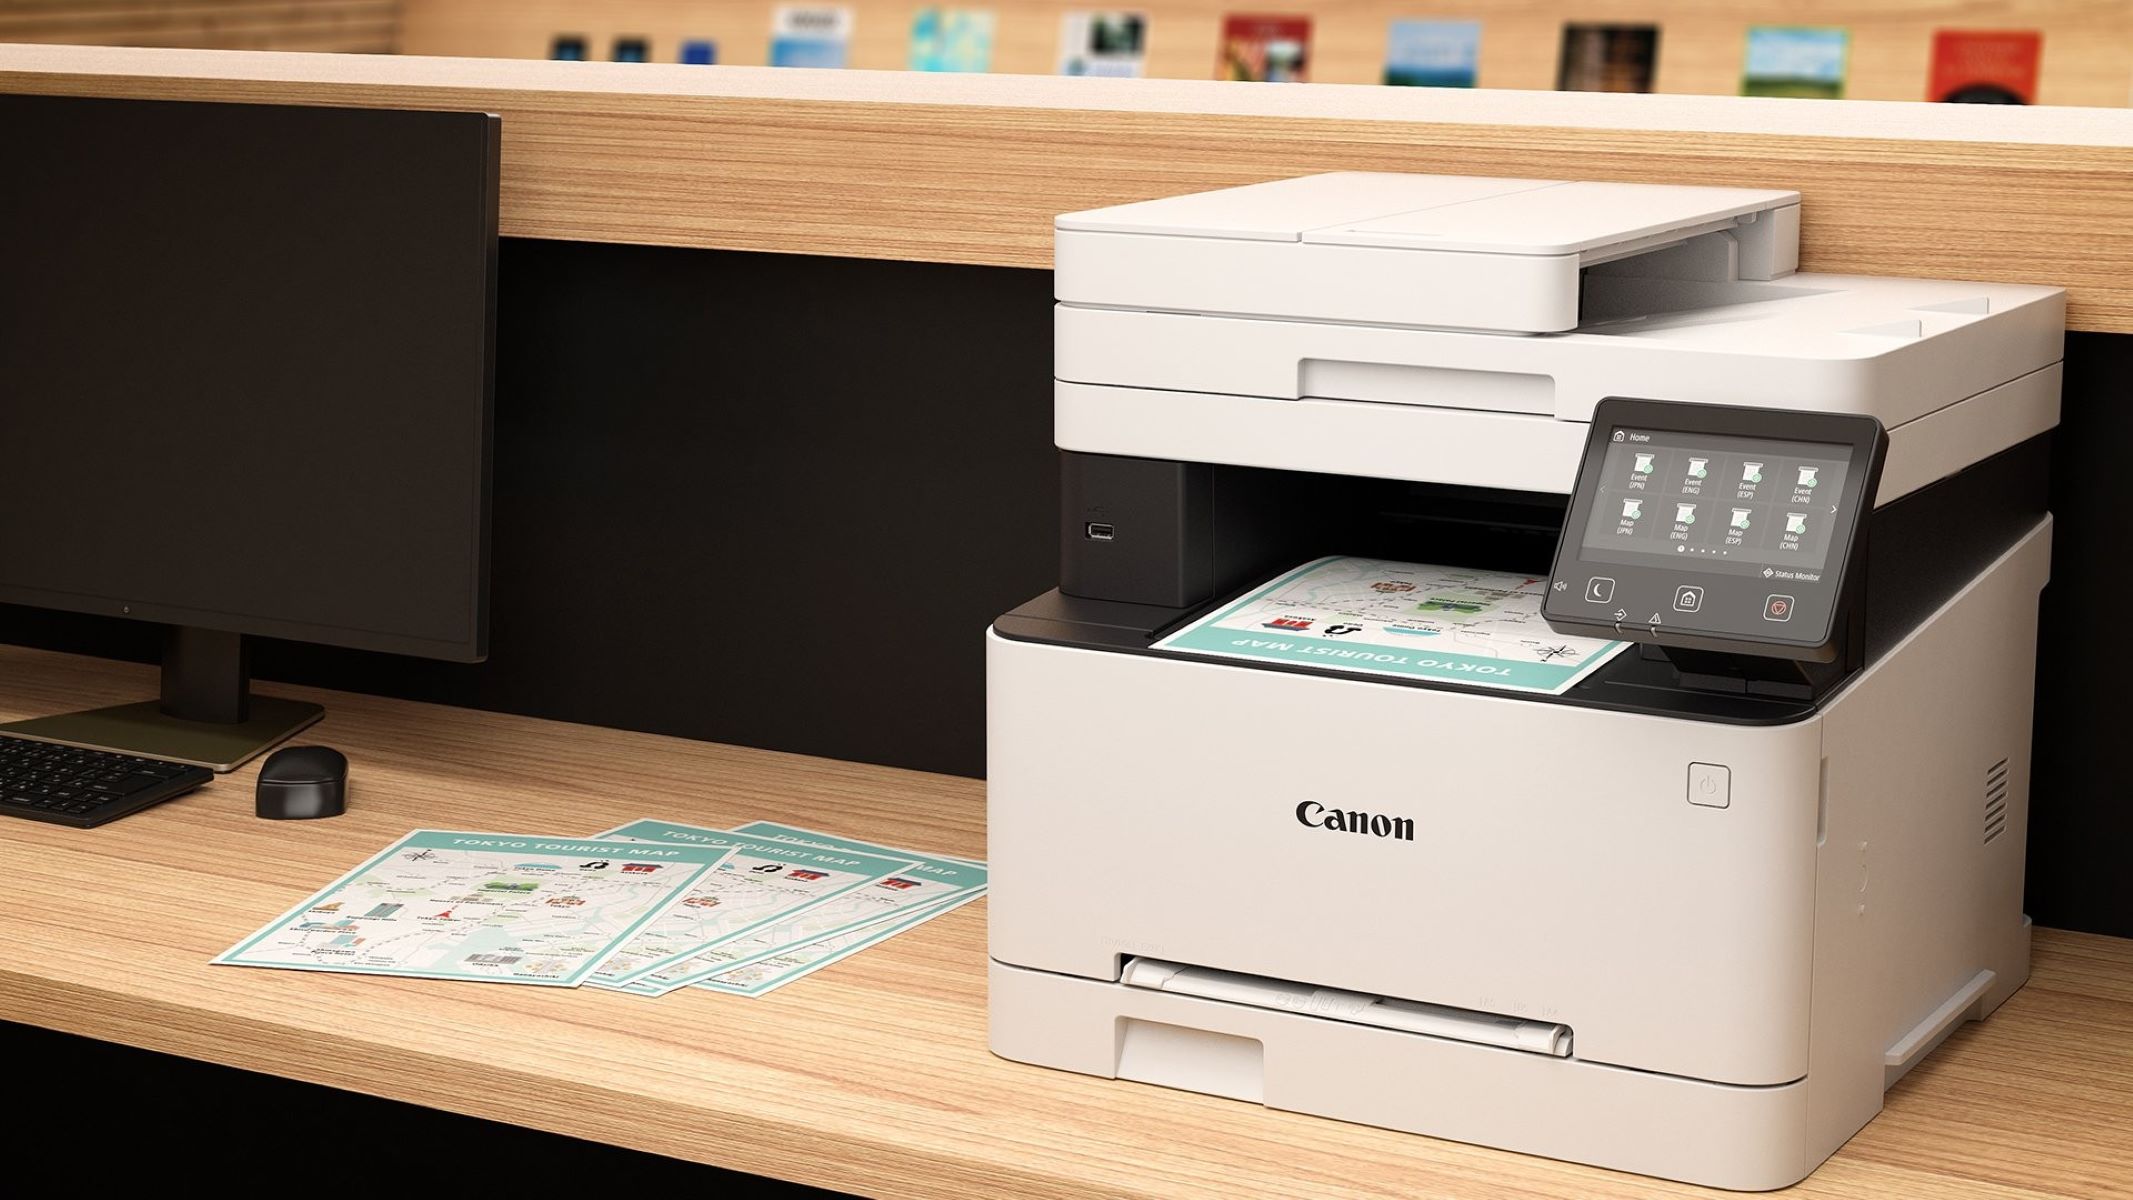
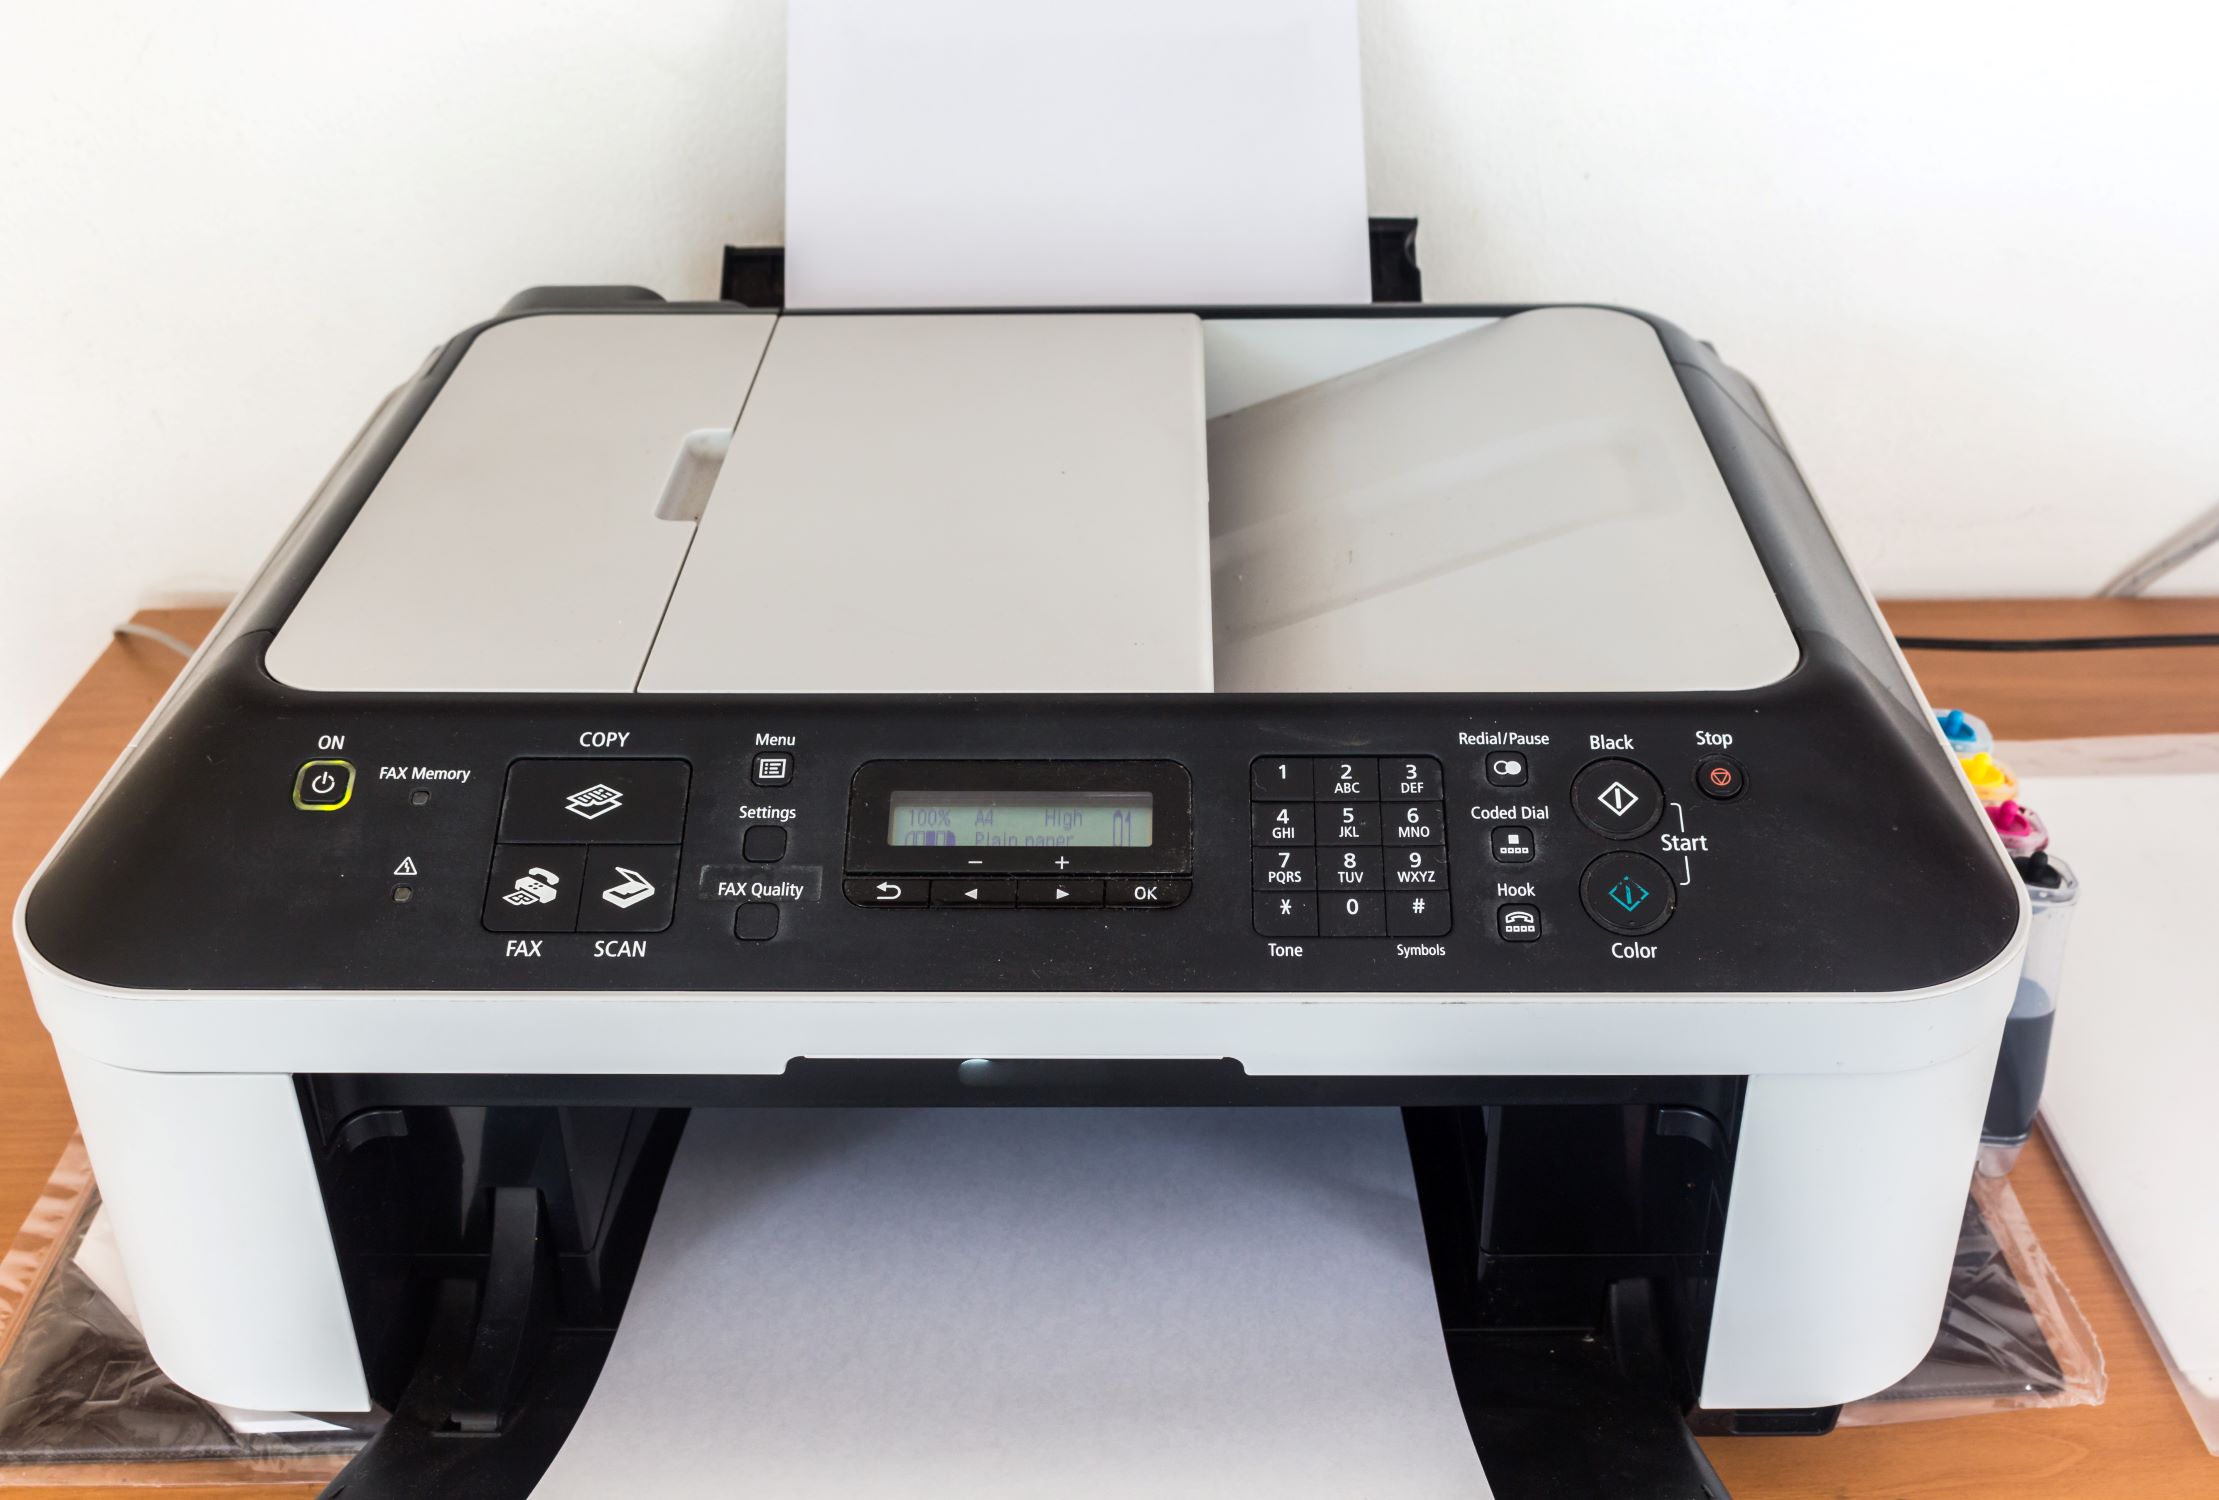
If you have access to the printer's control panel or display screen, navigate through the settings or menu options to locate the fax-related features. Look for icons or menu items that specifically reference faxing, such as "Fax Setup," "Fax Settings," or "Fax Operation." The presence of these options confirms that your Canon printer is indeed equipped to handle fax transmissions.
Additionally, some Canon printers may have a dedicated fax button or key on the control panel, indicating that the device is capable of sending and receiving faxes. If you find such a button, it serves as a clear indicator of the printer's fax functionality.
Verifying the fax capability of your Canon printer is crucial to avoid any frustration or inconvenience during the faxing process. Once you have confirmed that your printer is equipped to handle faxes, you can proceed with confidence, knowing that you have the necessary tools at your disposal to send and receive documents via fax.
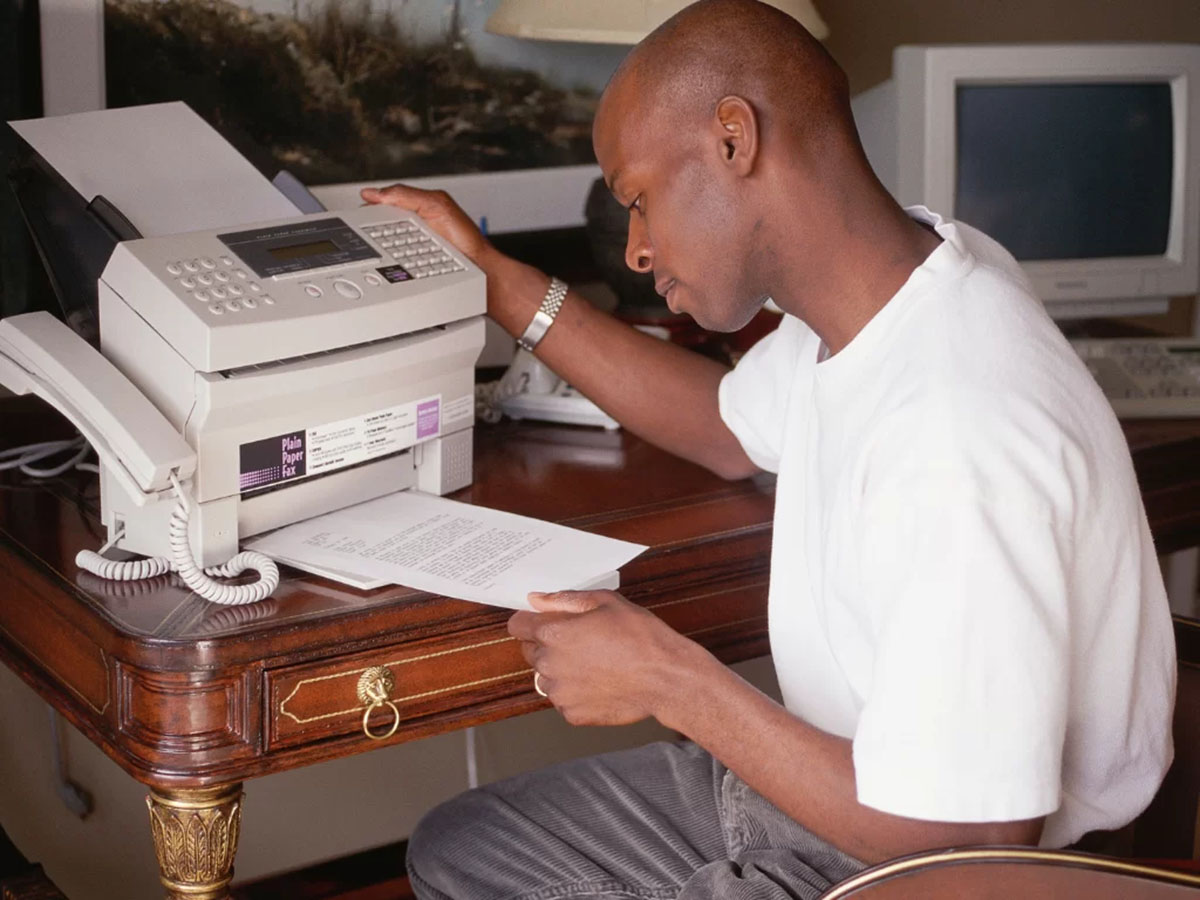
Step 2: Connect the Fax Line
Once you have confirmed the fax capability of your Canon printer, the next step is to ensure that it is properly connected to a fax line. The fax line serves as the communication channel through which your printer will transmit and receive faxed documents.
Start by locating the fax line input port on your Canon printer. This port is typically labeled as "Line," "Fax," or "Line In," and it is where you will connect the telephone cable that carries the fax signals. Ensure that the cable is securely inserted into this port to establish a reliable connection.
Next, you'll need to connect the other end of the telephone cable to a telephone wall jack or a suitable telecommunications outlet. If you are using a traditional landline for faxing, simply plug the cable into the appropriate wall jack. Alternatively, if your faxing setup involves a digital phone system or a Voice over Internet Protocol (VoIP) service, follow the specific instructions provided by your telecommunications provider to connect the fax line accordingly.
It is important to note that some Canon printers support wireless faxing, allowing you to send and receive faxes without the need for a physical telephone connection. If your printer offers this wireless faxing capability, you can configure the wireless settings through the printer's control panel or the accompanying software to establish a connection to your network.
By ensuring that your Canon printer is properly connected to a fax line, whether through a physical telephone cable or a wireless network, you are laying the foundation for seamless fax communication. This vital connection enables your printer to send and receive fax transmissions, positioning it as a reliable hub for handling your document exchange needs.
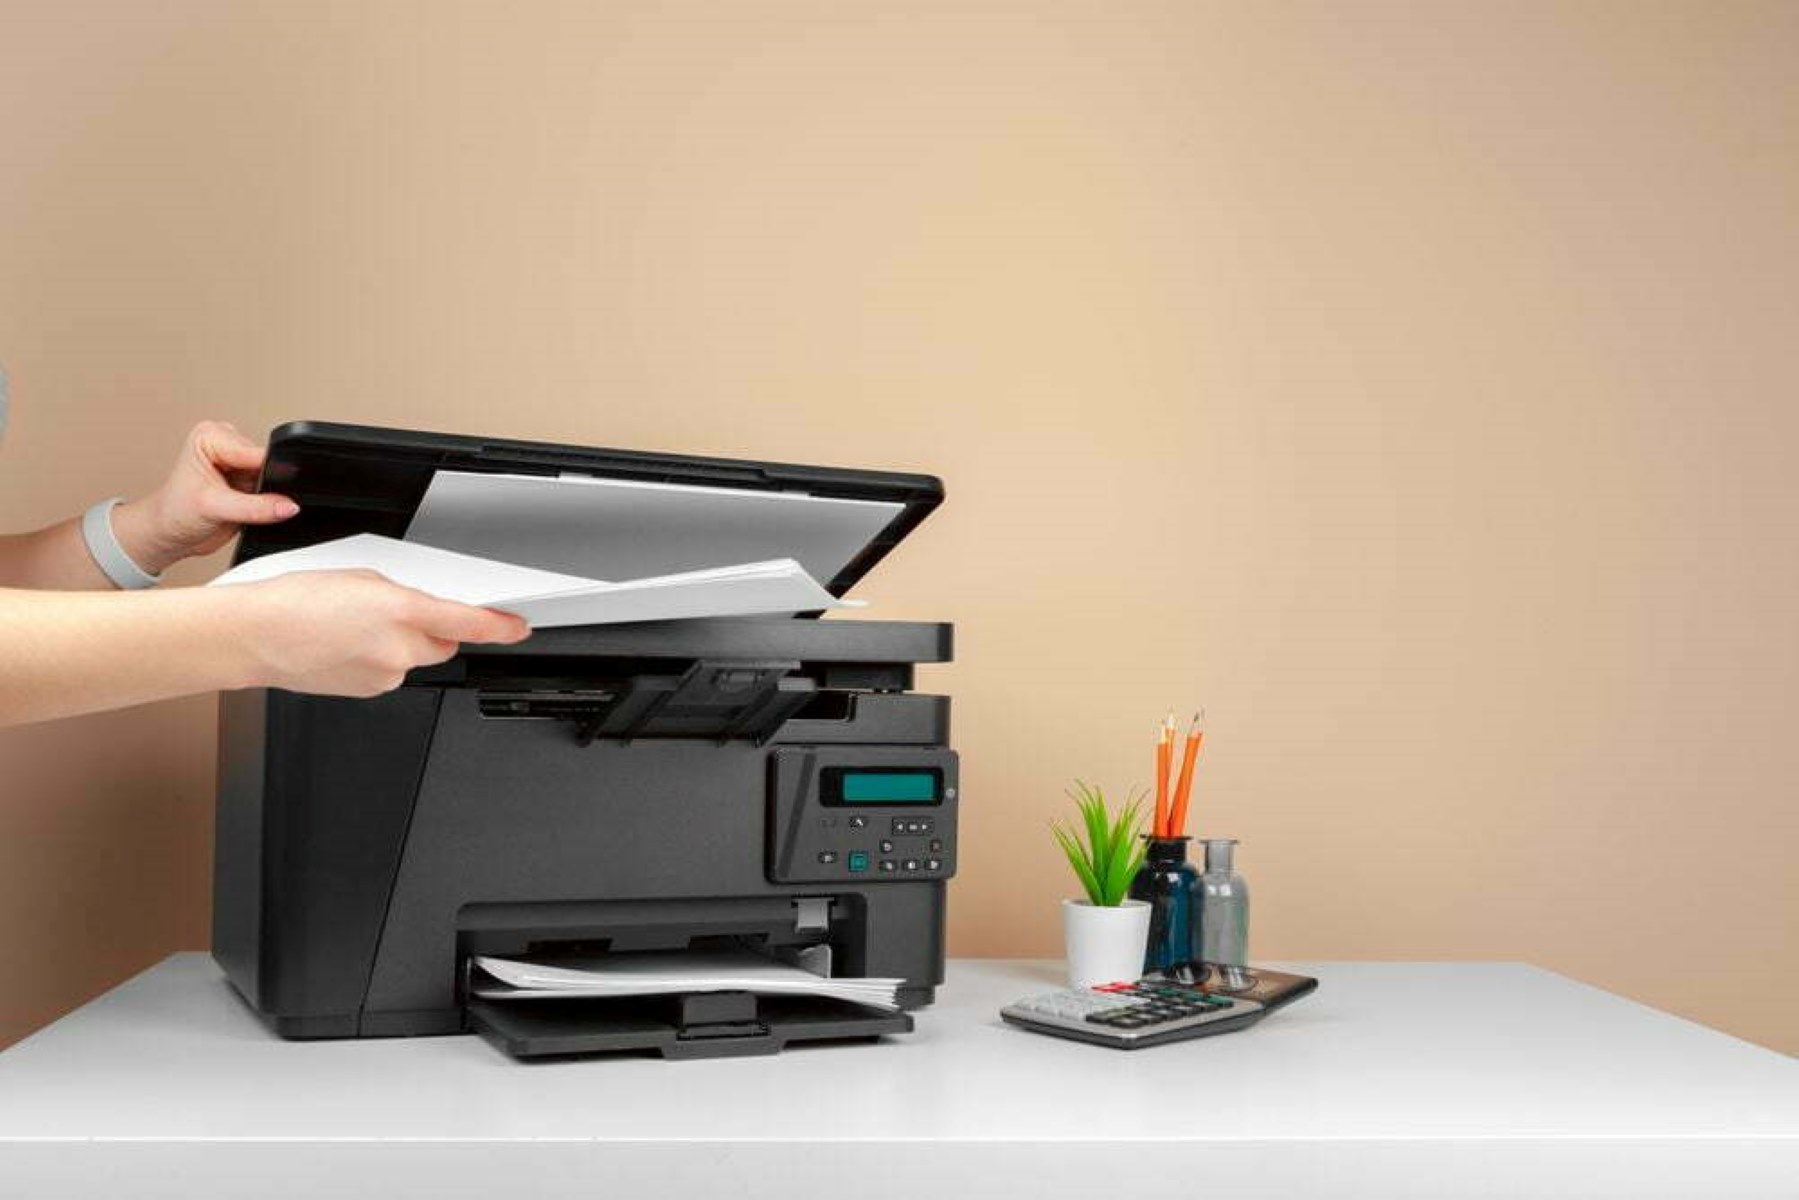
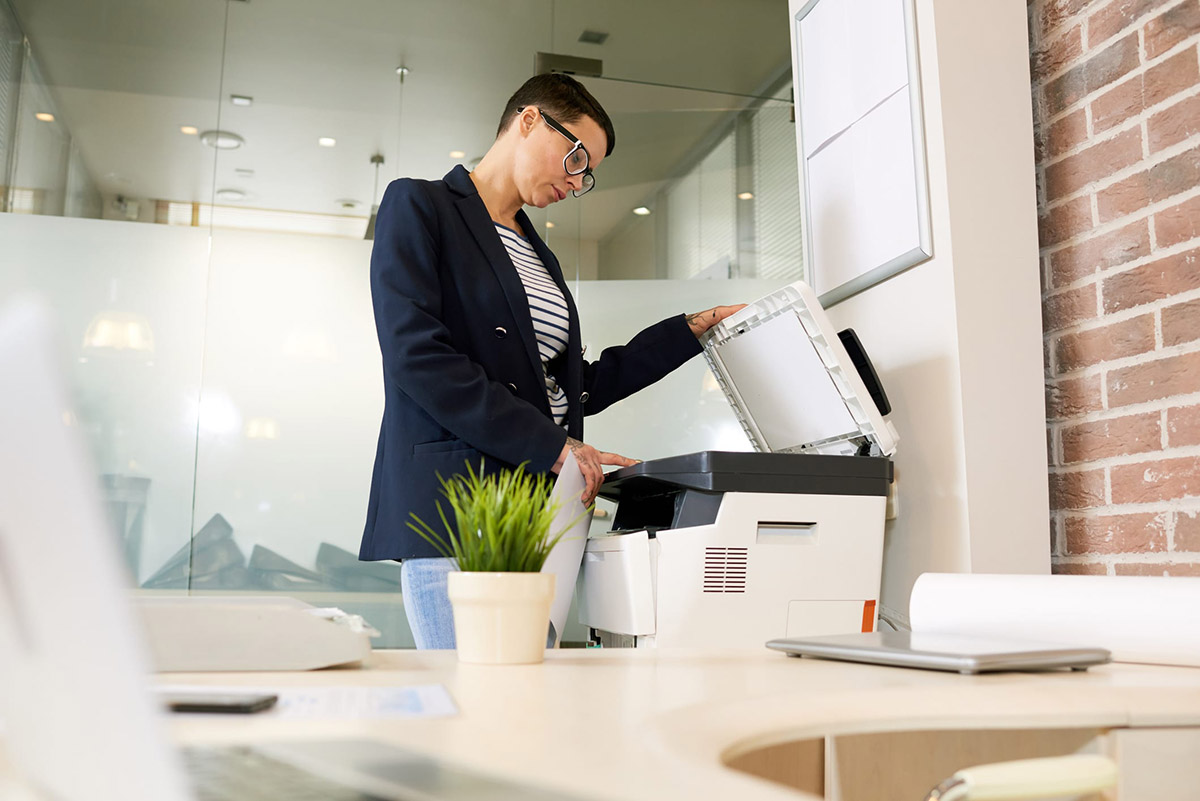
Step 3: Load the Document
With the fax line connected and the printer primed for faxing, the next step involves preparing the document that you intend to fax. Whether it's a contract, a report, or any other type of paperwork, ensuring that the document is properly loaded and positioned in the printer is crucial for a successful fax transmission.
Begin by opening the document input tray or feeder on your Canon printer. This is where you will place the document that you wish to fax. Ensure that the input tray is free from any obstructions and that it can accommodate the size and type of document you intend to send. If your printer supports automatic document feeding, take advantage of this feature to expedite the process.
Before placing the document in the input tray, review the content to confirm that it is complete and legible. Check for any creases, tears, or smudges that could affect the document's quality during transmission. If necessary, make copies or re-print the document to ensure that it is in optimal condition for faxing.
Once you are satisfied with the document's quality, position it in the input tray of your Canon printer, ensuring that it is aligned properly and securely placed. If the document contains multiple pages, arrange them in the correct order to ensure that the recipient receives the content as intended.
After loading the document, take a moment to verify that the printer is ready to process the fax transmission. Check the printer's display or control panel for any prompts or indicators related to document loading and readiness. By confirming that the document is correctly positioned and the printer is prepared, you are poised to move on to the next crucial step in the faxing process.
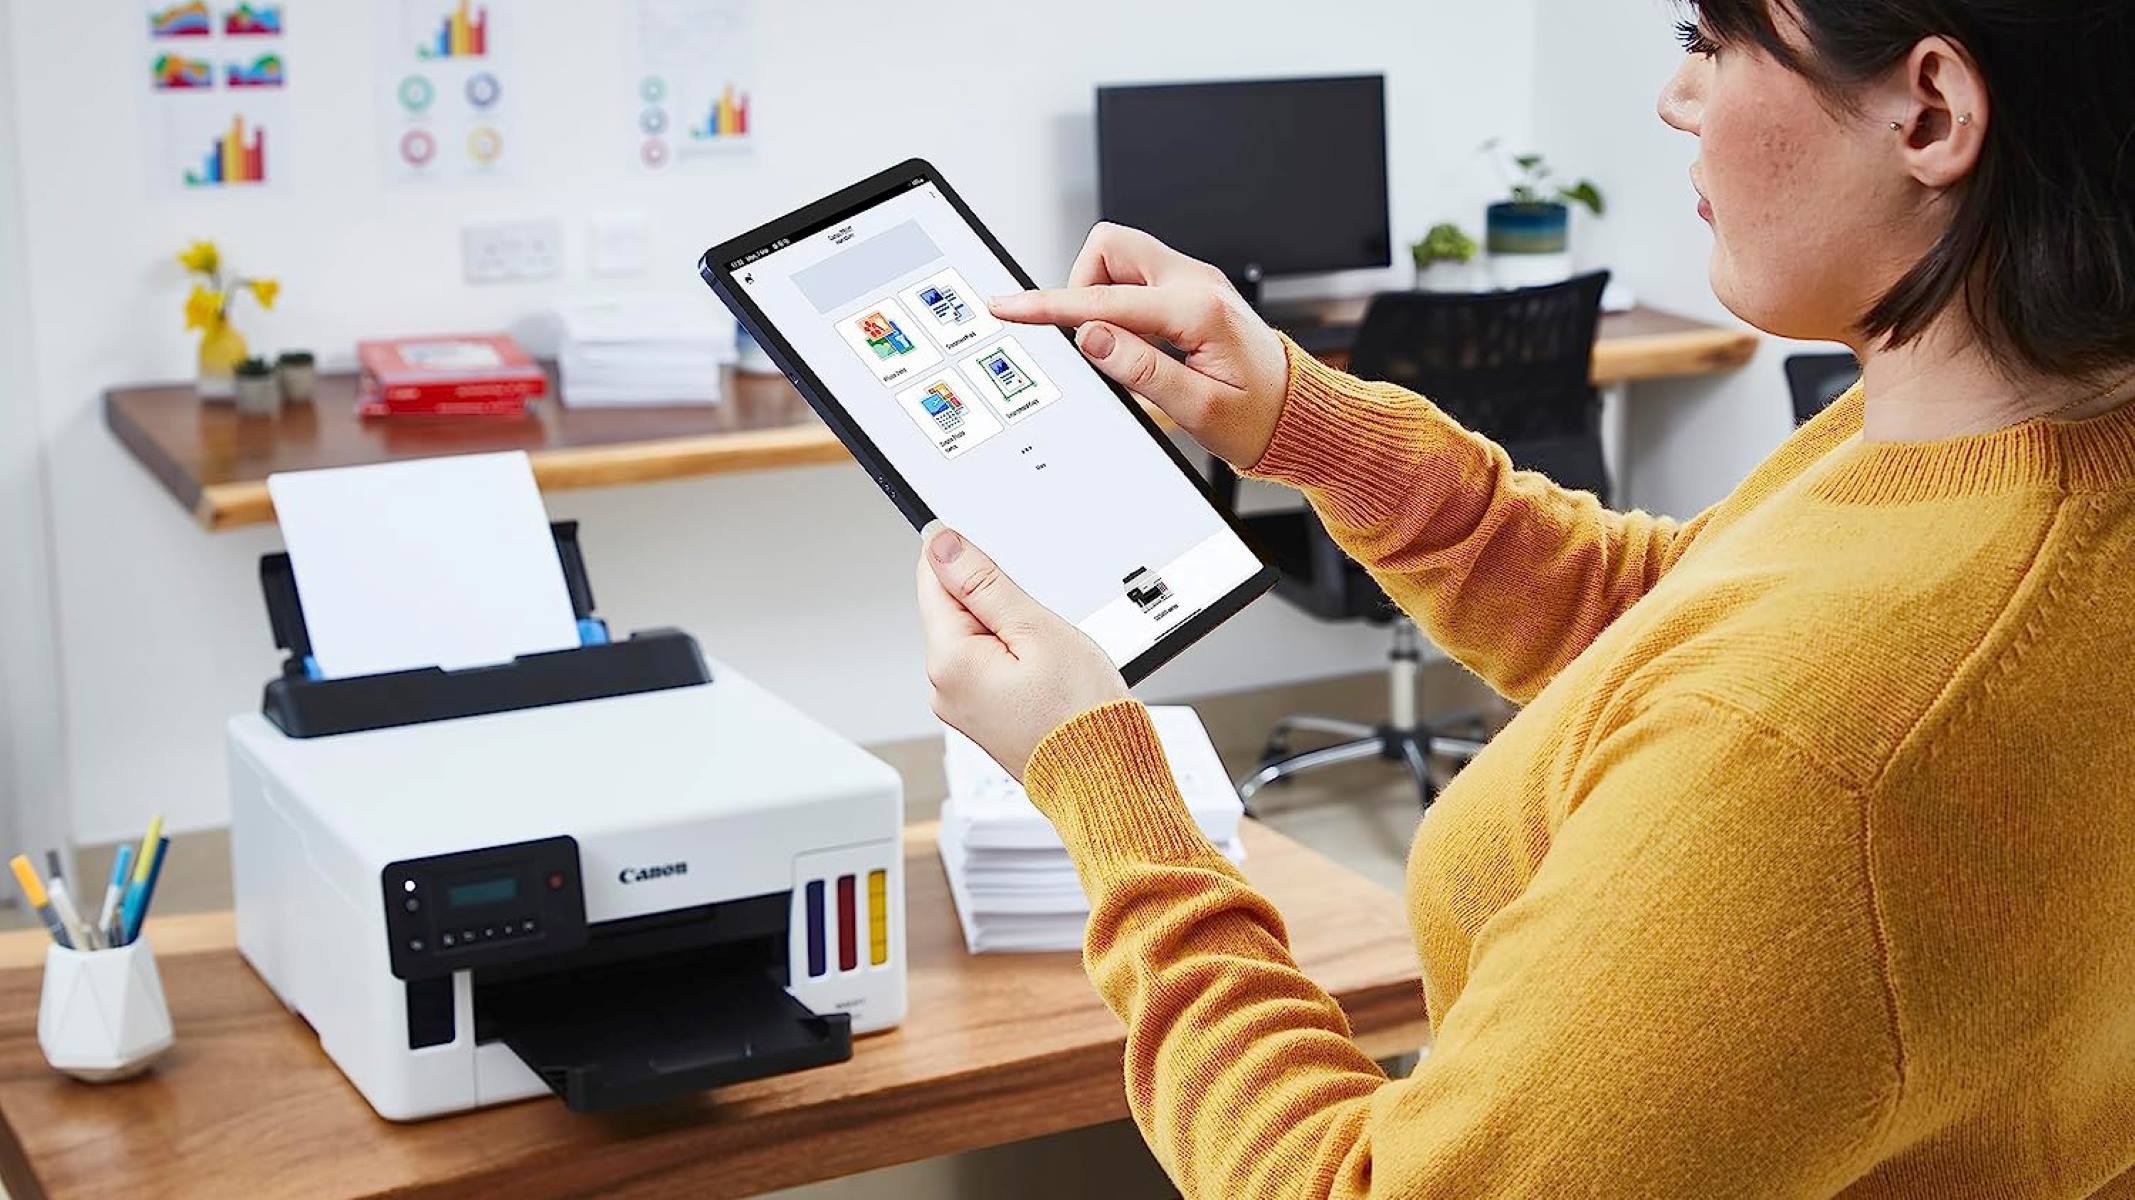
To fax on a Canon printer, load the document in the feeder or on the glass, then press the “Fax” button. Enter the recipient’s number and press “Start” to send the fax.
Step 4: Enter the Fax Number
As you prepare to send your document via fax, the next pivotal step is to input the recipient’s fax number into your Canon printer. The accuracy of this step is essential, as it ensures that your document reaches the intended recipient without any errors or delays.
Begin by accessing the fax interface on your Canon printer. Depending on the model, this may involve navigating through the printer’s menu using the control panel or accessing the faxing feature through the accompanying software on a connected computer or mobile device.
Once you have accessed the fax interface, you will typically encounter a prompt or a designated field where you can input the recipient’s fax number. Carefully enter the full fax number, including the country code and area code, if applicable, to ensure that the transmission is directed to the correct destination. Take care to double-check the number for accuracy, as even a single digit error could result in the document being sent to an unintended recipient.
If you frequently send faxes to a particular recipient, some Canon printers offer the convenience of storing frequently used fax numbers in the device’s memory. This can streamline the process for future transmissions, allowing you to select the recipient’s fax number from a saved contacts list or speed dial directory.
Additionally, if your fax transmission requires specific settings or additional information, such as a cover page, delivery confirmation, or transmission scheduling, take the time to configure these options before proceeding. Customizing these settings can enhance the clarity and professionalism of your fax communication.
By accurately entering the recipient’s fax number and configuring any necessary transmission settings, you are laying the groundwork for a successful and efficient fax transmission from your Canon printer. This meticulous attention to detail ensures that your document is poised to reach its destination securely and expediently.
Read more: How To Fax On Brother Printer
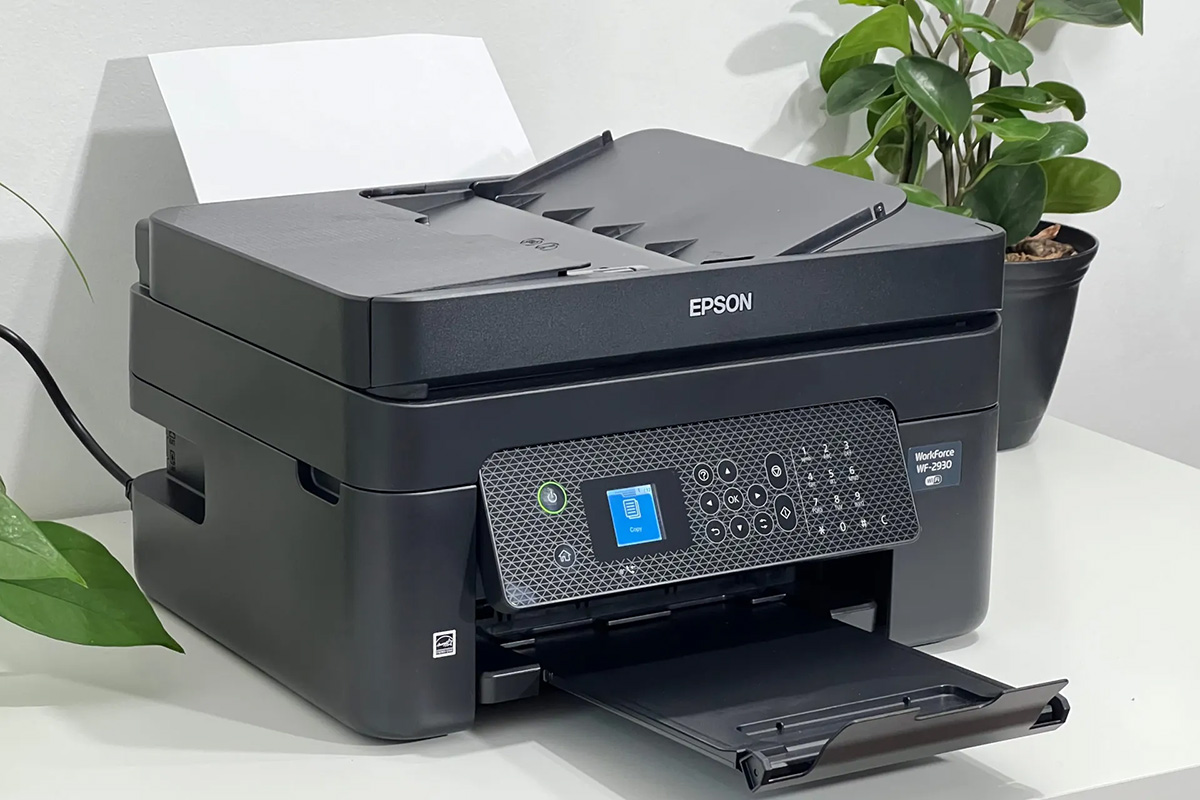
Step 5: Send the Fax
With the recipient’s fax number entered and all necessary settings configured, you are now ready to initiate the fax transmission from your Canon printer. This final step culminates in the seamless dispatch of your document to the designated recipient, leveraging the printer’s faxing capabilities to facilitate efficient communication.
Initiate the fax transmission process by selecting the "Send" or "Start" option within the fax interface of your Canon printer. Depending on the model, this action may prompt the printer to begin scanning the document and processing it for transmission. You may also have the option to preview the document before finalizing the transmission, ensuring that it appears as intended.
As the document is being transmitted, your Canon printer will display status indicators or progress updates to keep you informed of the transmission’s progress. These visual cues can include notifications of the number of pages being sent, the connection status, and any error messages that may arise during the transmission process.
During the transmission, it is important to maintain the integrity of the fax line and ensure that the printer remains powered on and operational. Any interruptions to the fax line or power supply could disrupt the transmission, potentially necessitating a re-send of the document to ensure its successful delivery.
Upon completion of the fax transmission, your Canon printer may provide a confirmation message or status report indicating the outcome of the transmission. This feedback can include details such as the transmission duration, the recipient’s fax machine response, and any error codes or alerts that may require attention.
With the fax successfully sent, you have effectively harnessed the faxing capabilities of your Canon printer to dispatch your document to its intended recipient. This marks the culmination of a precise and methodical process, leveraging the printer’s functionality to facilitate seamless and reliable fax communication.
Conclusion
Mastering the art of faxing on a Canon printer empowers you to seamlessly communicate and exchange documents in a professional and efficient manner. By following the step-by-step process outlined in this guide, you have gained the knowledge and proficiency to leverage your Canon printer’s faxing capabilities effectively.
From verifying the fax capability of your printer to meticulously entering the recipient’s fax number and dispatching the document, each stage of the faxing process plays a pivotal role in ensuring the successful transmission of your documents. Embracing this method of communication enables you to navigate various industries and business settings with confidence, knowing that you can rely on your Canon printer to handle your faxing needs.
As technology continues to evolve, Canon printers remain at the forefront of innovation, offering robust faxing features that complement their multifunctionality. Whether you are sending contracts, medical records, legal paperwork, or other essential documents, your Canon printer serves as a versatile tool for facilitating secure and expedient fax communication.
By embracing the convenience and reliability of faxing on a Canon printer, you can streamline your workflow, enhance your professional communication, and ensure that your documents reach their intended recipients with ease. This proficiency in leveraging your printer’s faxing capabilities positions you as a proficient and adaptable communicator in today’s dynamic business landscape.
As you continue to harness the full potential of your Canon printer, remember that the ability to send and receive faxes is just one facet of its multifaceted functionality. Whether it’s printing, scanning, copying, or faxing, your Canon printer stands as a versatile ally in your pursuit of seamless and efficient document management.
With this comprehensive guide, you have unlocked the power of faxing on your Canon printer, paving the way for enhanced communication and document exchange in your professional endeavors.
Frequently Asked Questions about How To Fax On A Canon Printer
Was this page helpful?
At Storables.com, we guarantee accurate and reliable information. Our content, validated by Expert Board Contributors, is crafted following stringent Editorial Policies. We're committed to providing you with well-researched, expert-backed insights for all your informational needs.
0 thoughts on “How To Fax On A Canon Printer”