Home>Technology>Smart Home Devices>How To Set Up A Canon Printer
Smart Home Devices
How To Set Up A Canon Printer
Modified: October 20, 2024
Learn how to set up a Canon printer effortlessly to streamline your smart home devices. Our step-by-step guide makes installation a breeze!
(Many of the links in this article redirect to a specific reviewed product. Your purchase of these products through affiliate links helps to generate commission for Storables.com, at no extra cost. Learn more)
Introduction
Setting up a Canon printer is an exciting endeavor that brings the convenience of at-home printing to your fingertips. Whether you're a seasoned tech enthusiast or a novice in the world of smart home devices, the process of unboxing, assembling, and configuring your Canon printer is a rewarding experience. With a few simple steps, you can have your printer up and running, ready to produce high-quality prints of your documents, photos, and more.
In this comprehensive guide, we will walk you through the step-by-step process of setting up your Canon printer. From unboxing the device to connecting it to your Wi-Fi network and installing the necessary drivers, we've got you covered. By the end of this journey, you'll be equipped with the knowledge and confidence to seamlessly integrate your Canon printer into your home or office environment.
So, grab your new Canon printer, and let's embark on this fulfilling journey of setting up a reliable and efficient printing companion. Whether it's for work, school, or personal use, having a Canon printer at your disposal is a valuable asset that can simplify your printing needs and enhance your productivity. Let's dive in and make the most of this innovative technology!
Key Takeaways:
- Setting up a Canon printer is an exciting journey that involves unboxing, assembling, connecting to Wi-Fi, and installing drivers. It’s a rewarding experience that brings convenience and productivity to your printing needs.
- By following the step-by-step process, you’ll equip your Canon printer with fresh ink, establish a robust Wi-Fi connection, and seamlessly integrate it into your digital ecosystem. This sets the stage for a productive and creative printing journey.
Read more: How To Set Up A Canon Ts3322 Printer
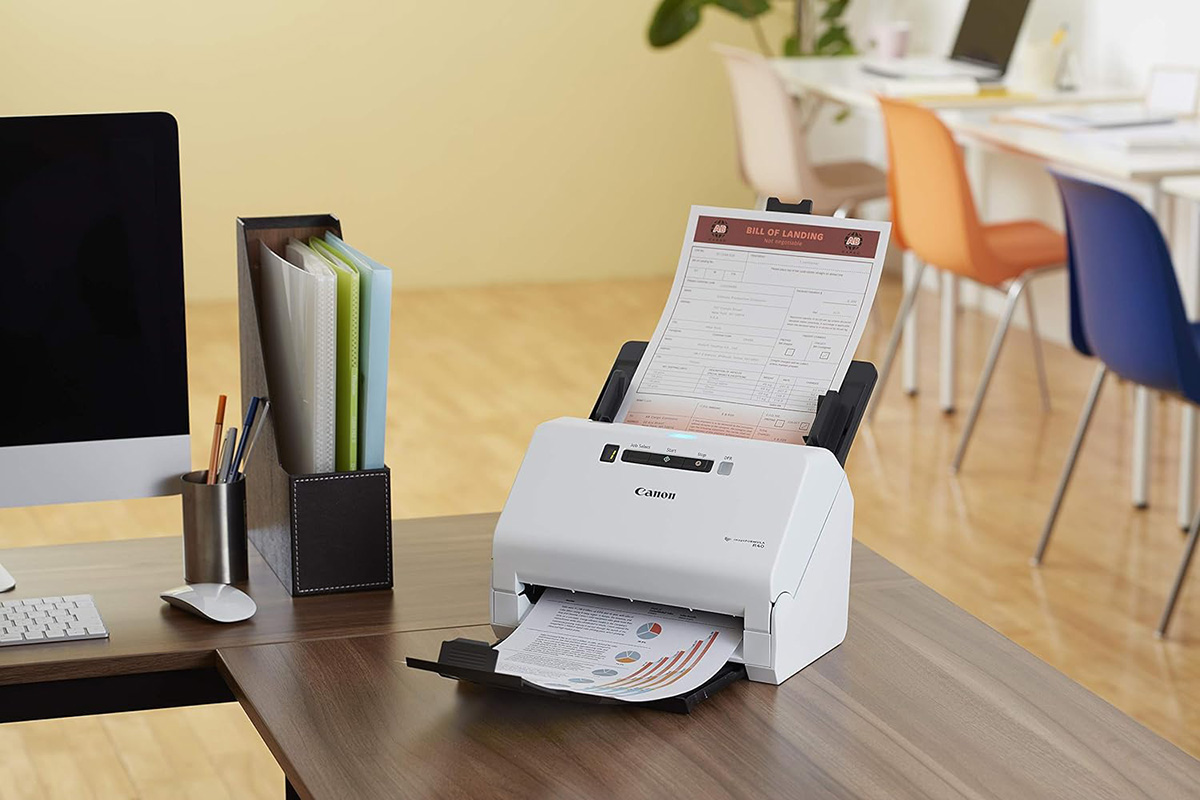
Step 1: Unboxing and Assembling the Printer
Unboxing a new Canon printer is an exciting moment, signaling the beginning of a seamless printing experience. As you carefully open the packaging, you’ll find the components neatly arranged, ready to be assembled. Here’s a step-by-step guide to unboxing and assembling your Canon printer:
- Unpack the Printer: Carefully remove the printer from its packaging, ensuring that all included components, such as the power cord, ink cartridges, and user manual, are readily accessible.
- Remove Protective Materials: Take a moment to remove any protective tapes, foams, or plastic covers from the printer. These are designed to safeguard the device during shipping and should be removed before proceeding.
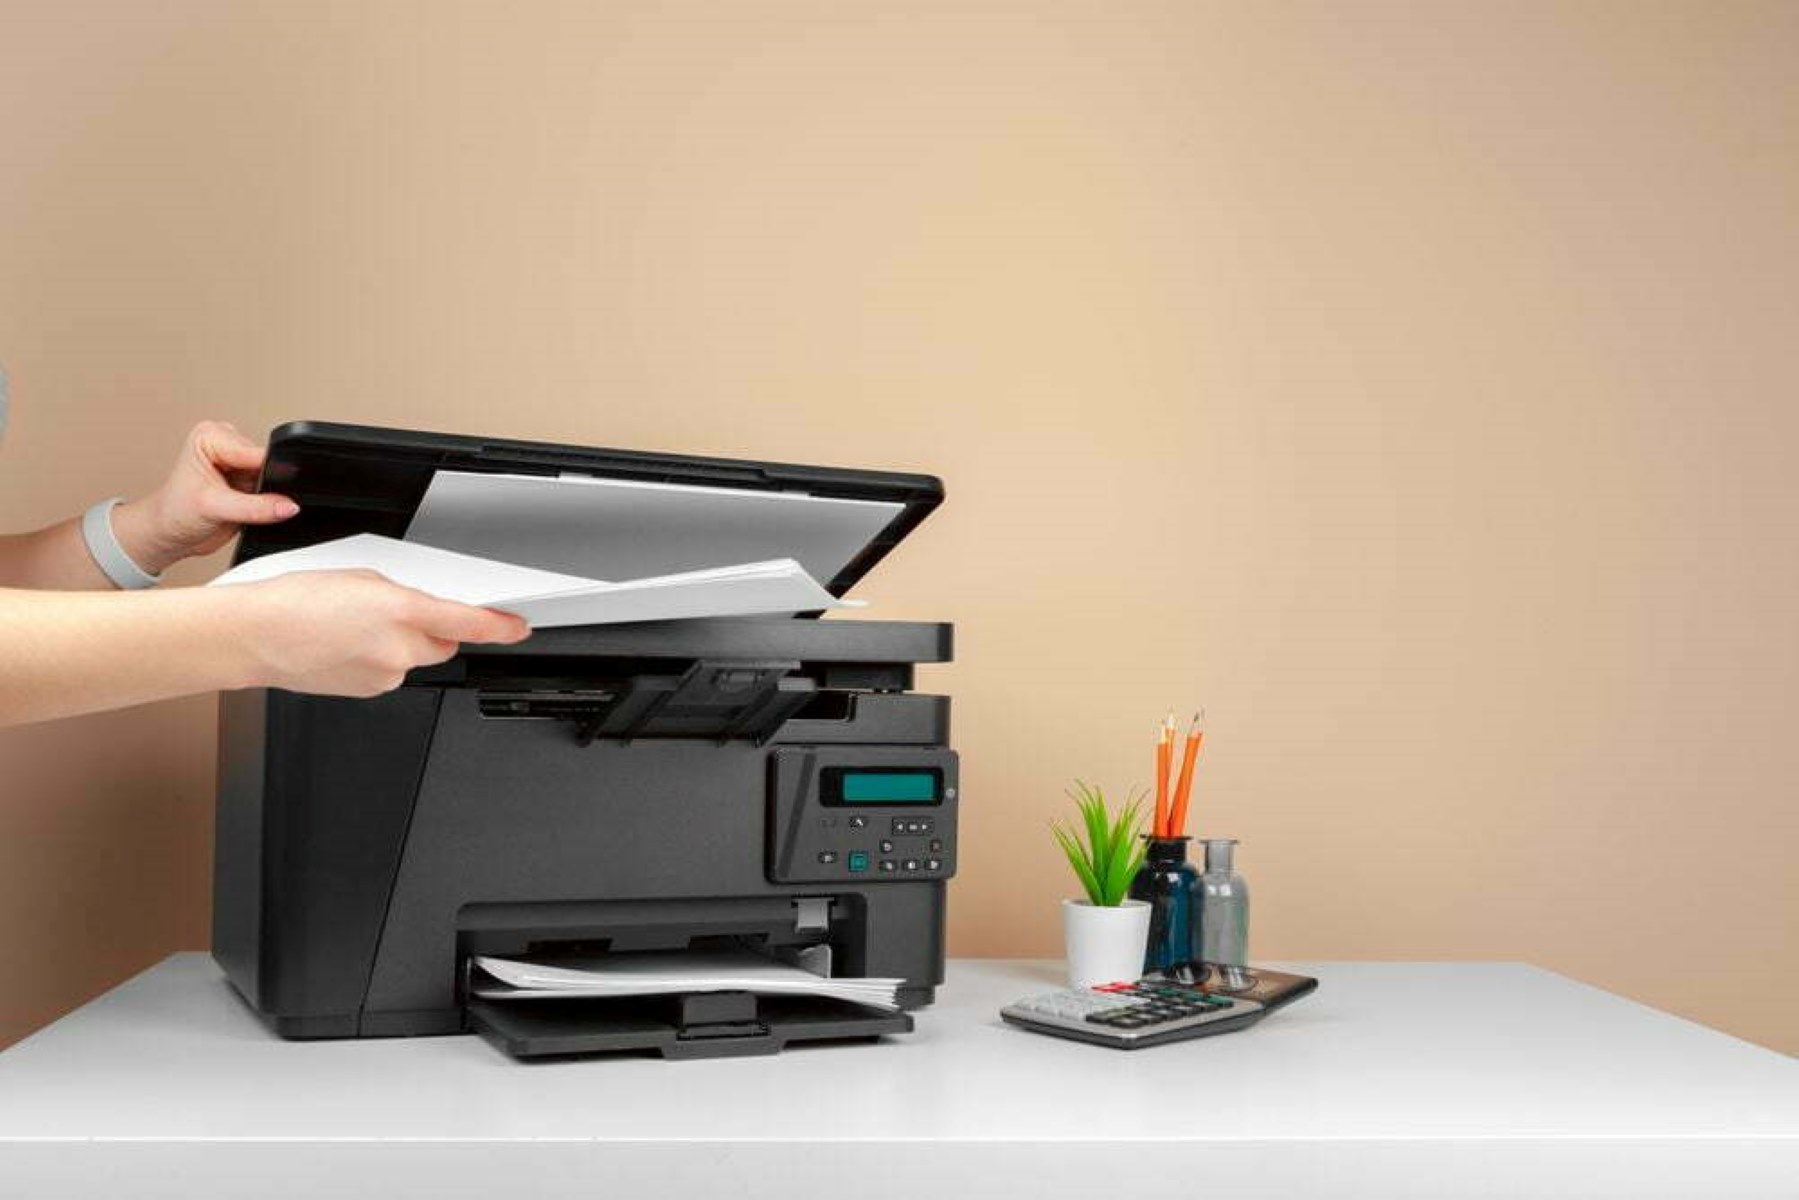
- Assemble Paper Trays: If your printer comes with separate paper trays, follow the instructions to attach them securely to the printer. This step ensures that your printer is ready to handle various paper sizes and types.
- Connect Power Cord: Locate the power cord included in the packaging and connect it to the designated port on the printer. Ensure that the other end of the power cord is plugged into a power outlet.
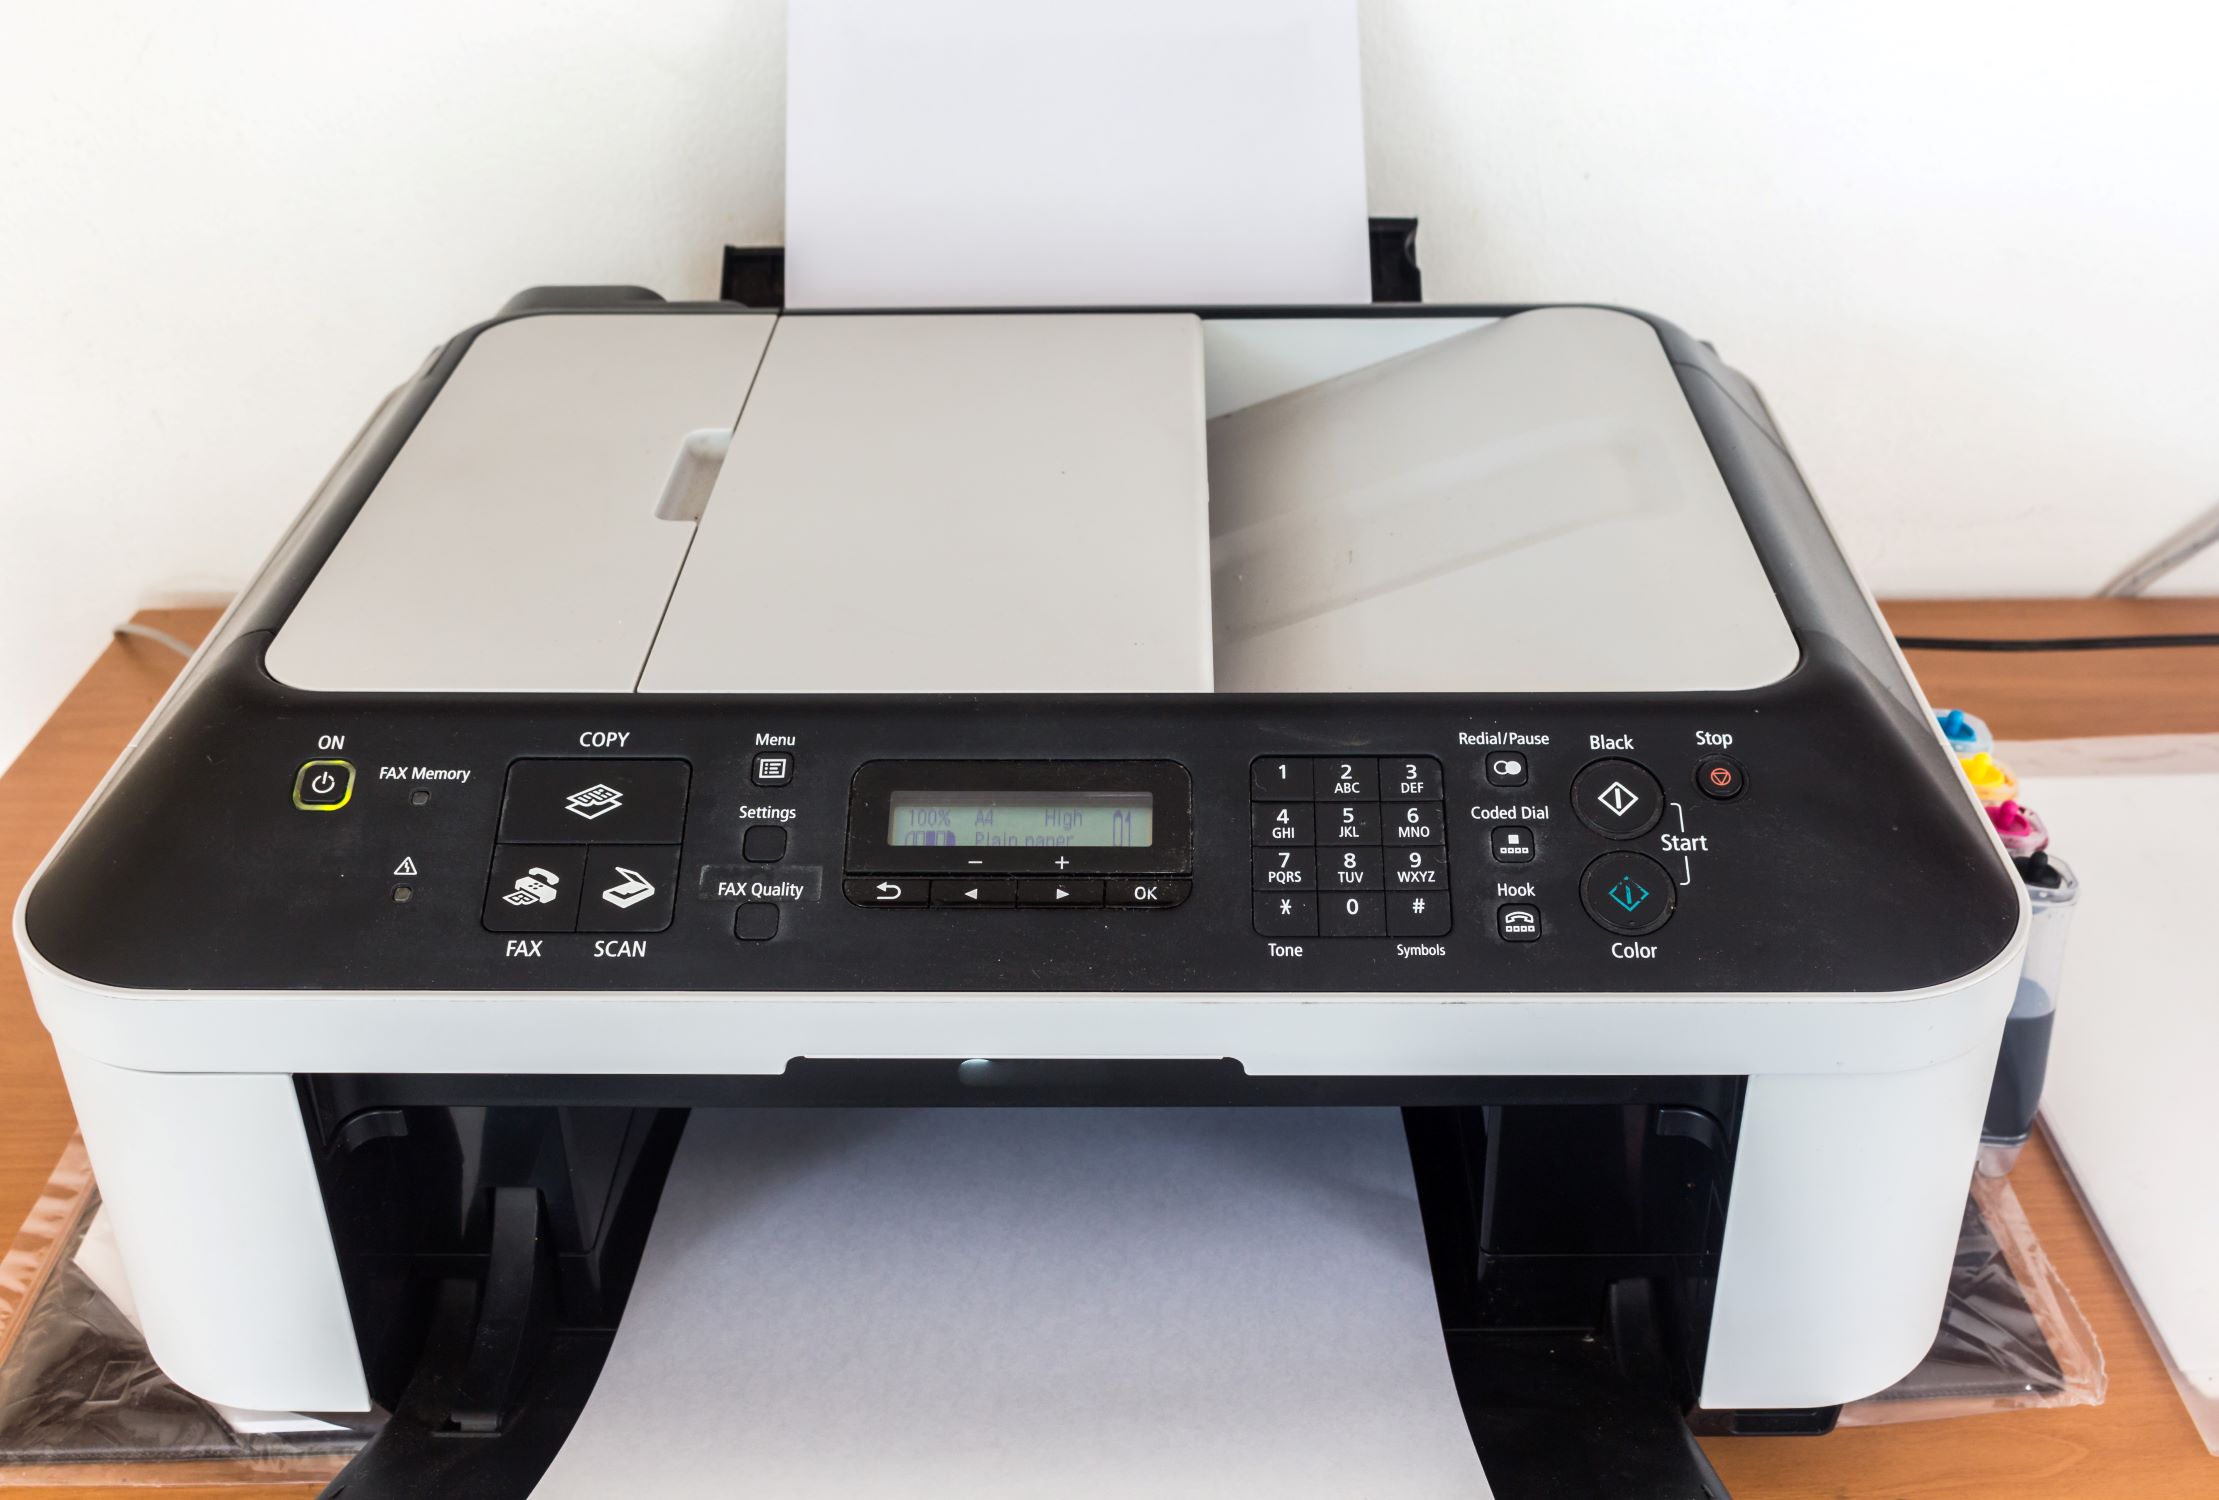
- Power On the Printer: Press the power button to turn on the printer. You should see the control panel light up, indicating that the printer is receiving power.
- Set Language and Preferences: Follow the on-screen prompts to set your preferred language, date, time, and any other initial preferences as guided by the printer’s display.
As you complete these steps, you’ll witness your Canon printer come to life, ready to be further configured for optimal performance. Unboxing and assembling the printer sets the stage for the subsequent steps, allowing you to seamlessly transition into the ink installation and network connectivity phase. With your printer now assembled and powered on, you’re one step closer to harnessing its full potential for your printing needs.
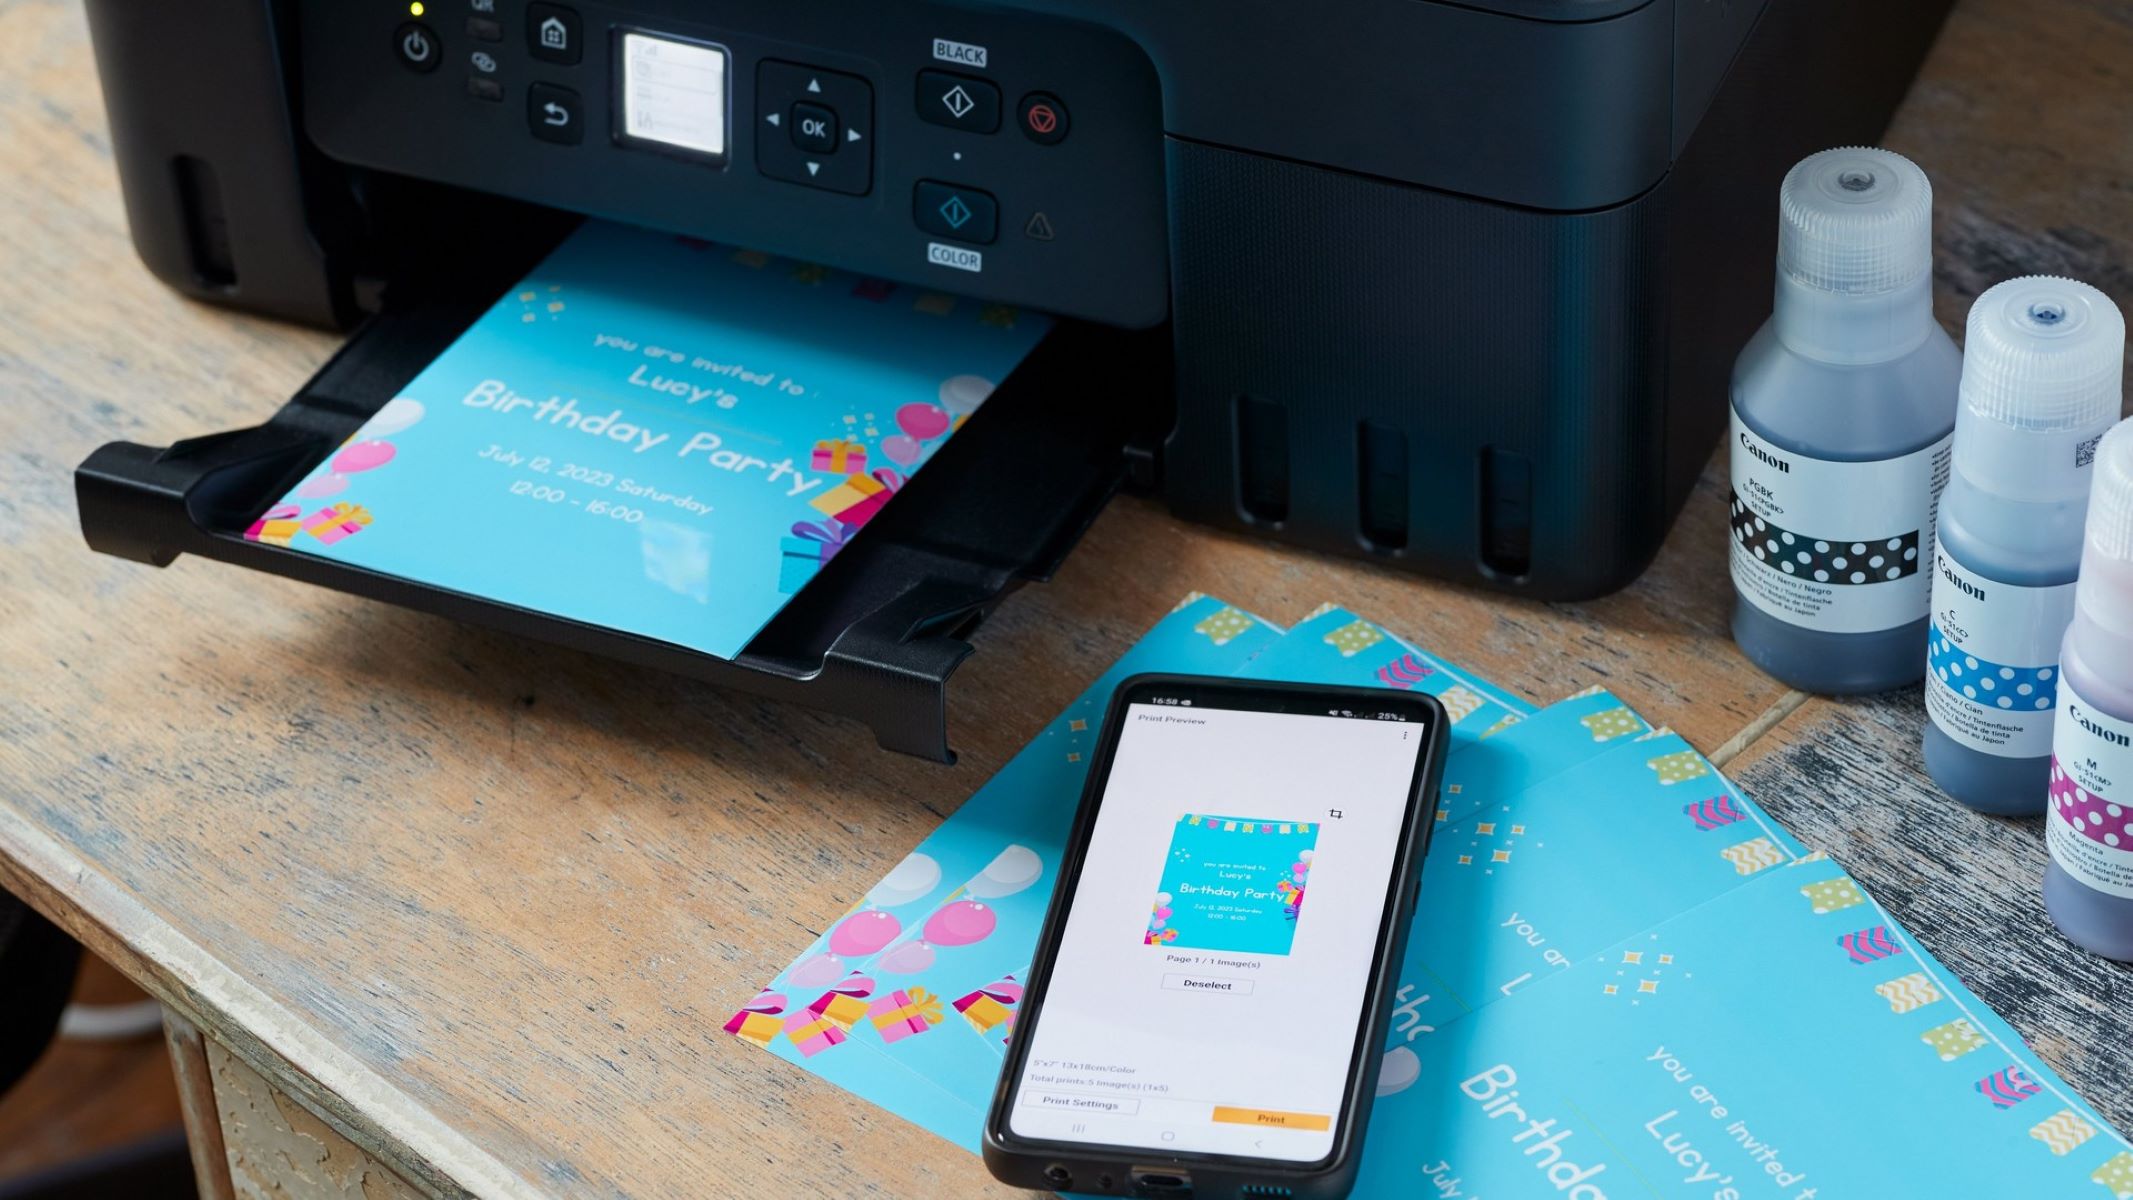
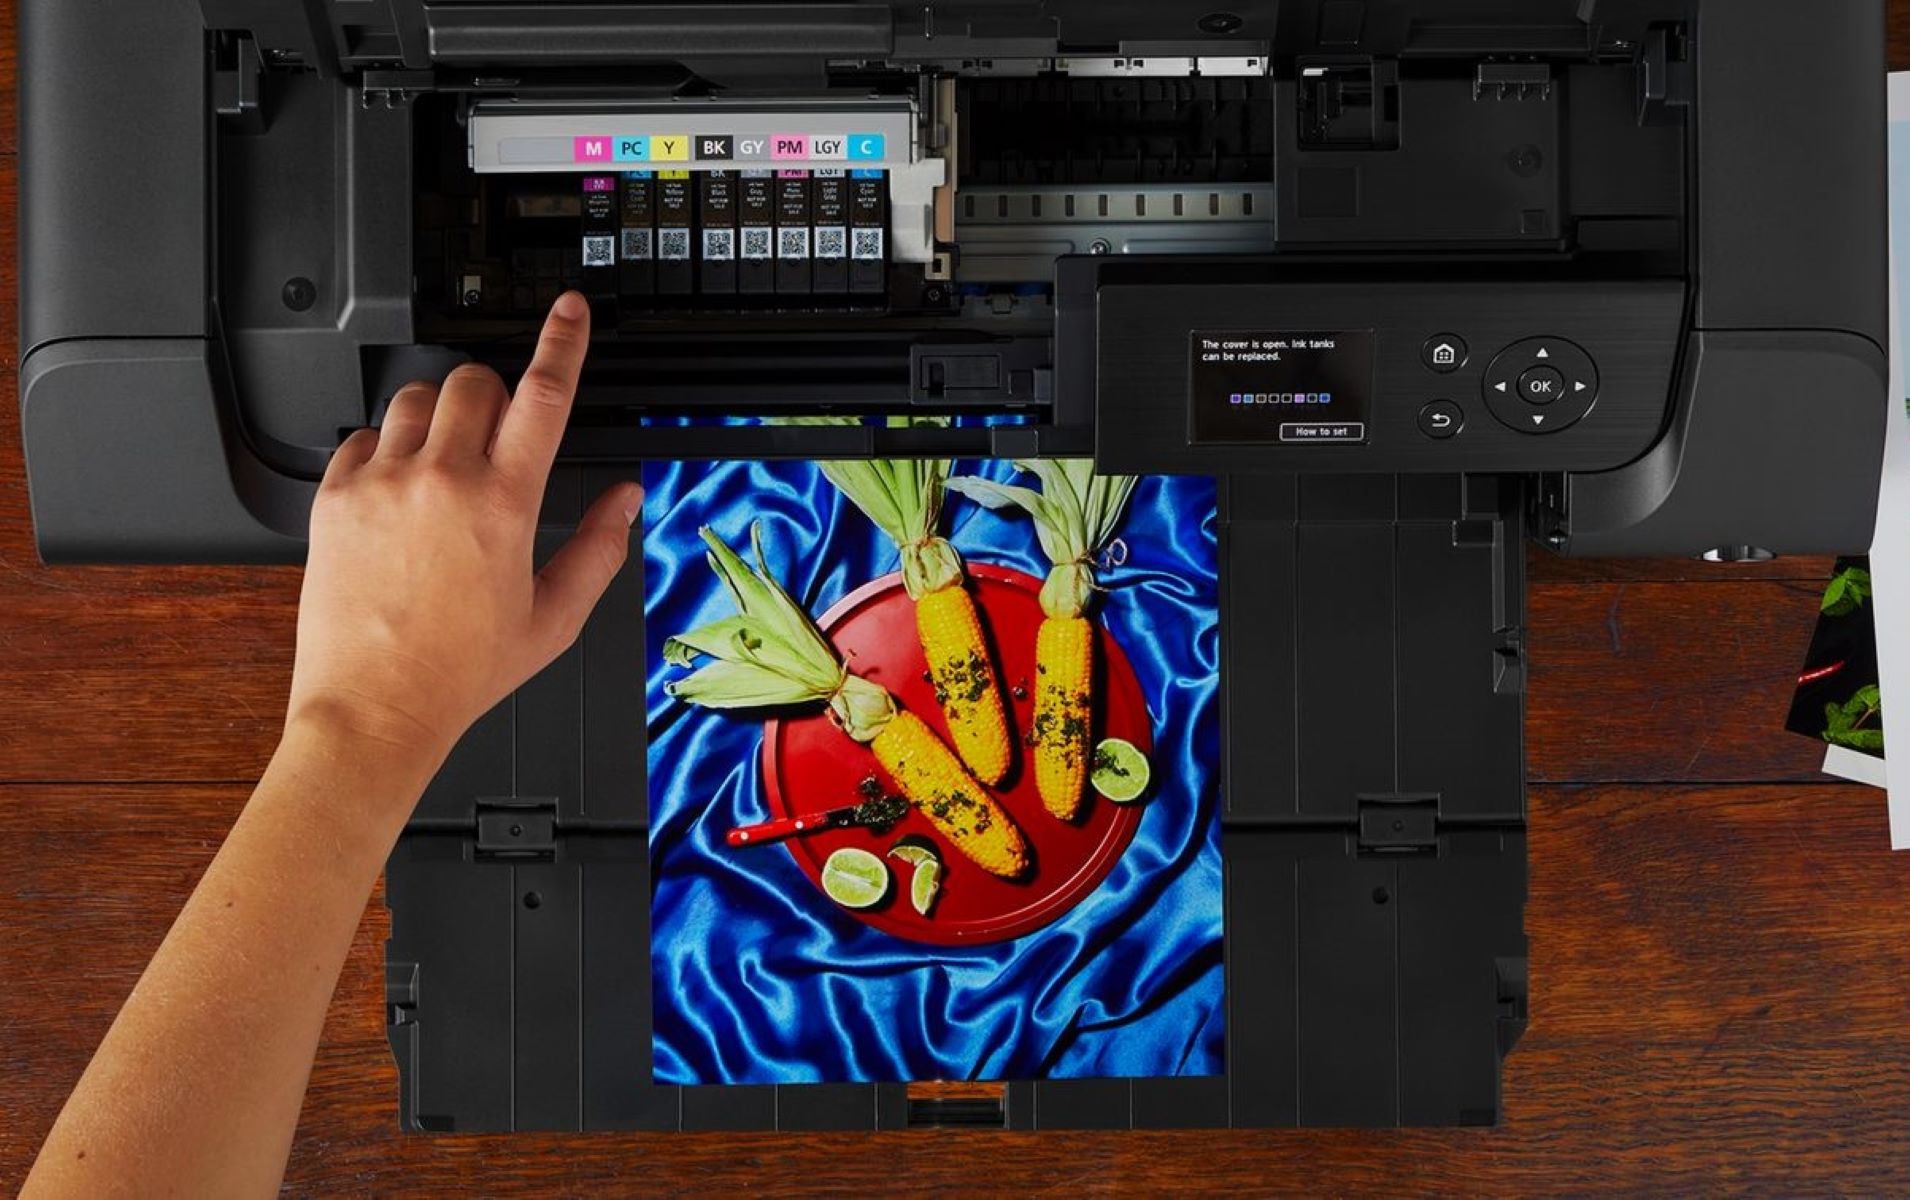
Step 2: Installing the Ink Cartridges
Installing the ink cartridges is a pivotal step in preparing your Canon printer for its printing duties. With precision and care, you can ensure that the ink is properly installed, allowing for high-quality prints with vibrant colors and sharp text. Here’s a detailed guide to installing the ink cartridges in your Canon printer:
- Access the Cartridge Compartment: Open the printer’s cartridge access door or panel, which is typically located near the paper output tray. The printer may also have specific instructions on its display to guide you through this process.
- Prepare the Cartridges: Remove the new ink cartridges from their packaging, being mindful not to touch the contacts or ink nozzles. Gently shake each cartridge before unwrapping to ensure the ink is evenly distributed.
- Insert the Cartridges: Align the cartridges with their corresponding slots inside the printer, following the labeled indicators for color and placement. Press firmly but gently until each cartridge clicks into place.
- Close the Cartridge Compartment: Once the cartridges are securely installed, close the cartridge access door or panel. Ensure that it is firmly shut to maintain proper cartridge alignment and printer functionality.
- Initiate Ink Calibration (if required): Some Canon printers may prompt you to initiate an ink calibration process after installing new cartridges. Follow the on-screen instructions to calibrate the ink for optimal print quality.
- Verify Ink Installation: Check the printer’s display or status indicators to confirm that the ink cartridges have been successfully installed. The printer may also provide information on ink levels and any additional steps to finalize the installation.
By following these steps, you’ll ensure that your Canon printer is equipped with fresh ink cartridges, ready to deliver exceptional prints with every use. The installation process sets the stage for the next phase of connecting your printer to power and Wi-Fi, allowing you to unleash its full potential in the digital realm.
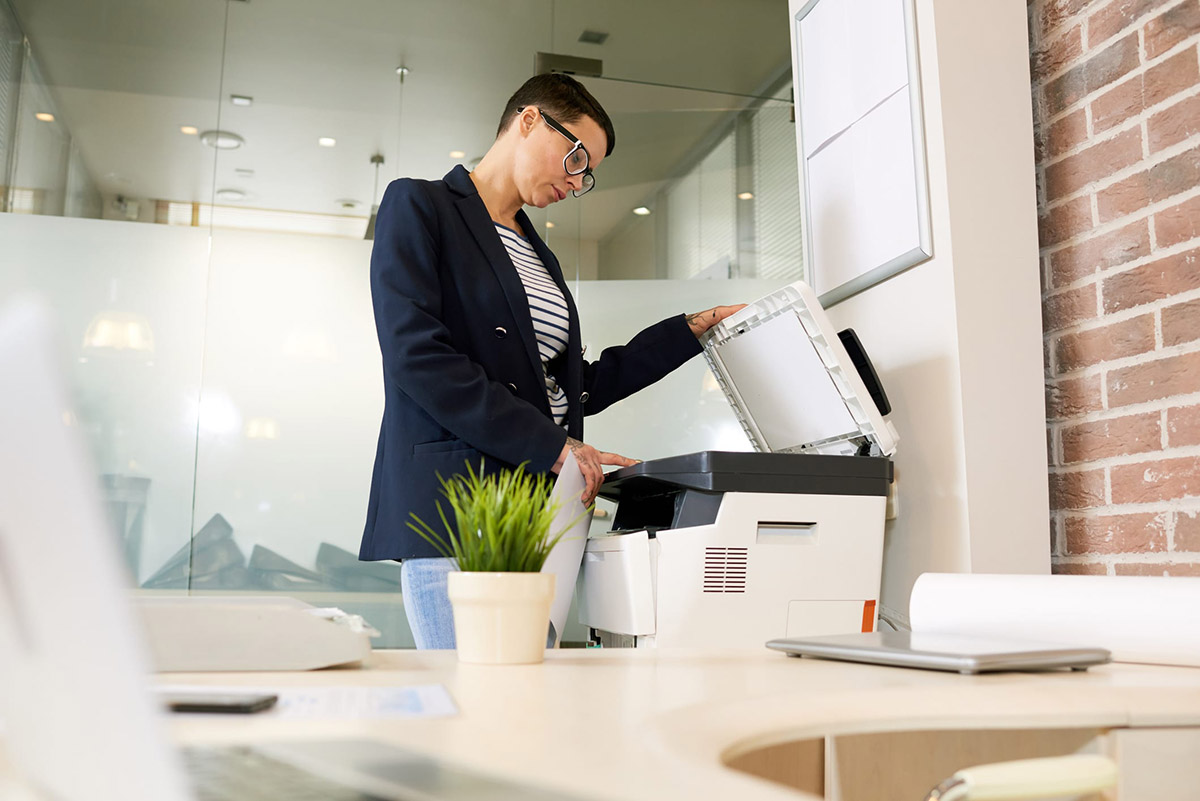
Step 3: Connecting the Printer to Power and Wi-Fi
Connecting your Canon printer to both power and Wi-Fi is a crucial step that enables seamless printing from various devices within your network. This dual connection ensures that your printer is readily accessible and can receive print jobs from computers, smartphones, and other compatible devices. Here’s a comprehensive guide to connecting your printer to power and Wi-Fi:
- Power Connection: Ensure that your printer is positioned near a power outlet. Connect the power cord to the printer and plug the other end into a reliable power source. Powering up the printer establishes the foundation for its operation.
- Power On the Printer: Press the power button to turn on the printer. Allow the printer to initialize and prepare for the Wi-Fi setup process.
- Wi-Fi Setup on Printer: Access the printer’s control panel or display and navigate to the Wi-Fi setup or network settings. Follow the on-screen prompts to select your Wi-Fi network and enter the corresponding password, if required.
- Network Authentication: Once the Wi-Fi credentials are entered, the printer will attempt to connect to your wireless network. This process may take a few moments, and the printer will display status indicators to notify you of the connection progress.
- Verify Connection: After the printer successfully connects to your Wi-Fi network, it will display a confirmation message or indicator. You may also be prompted to print a network configuration page to verify the connection details.
- Test Print from a Device: To ensure that the printer is fully operational, send a test print from a connected device, such as a computer or smartphone. This validates the wireless connection and confirms that the printer is ready to receive print jobs.
By following these steps, you’ll establish a robust connection for your Canon printer, empowering it to seamlessly communicate with your devices over the Wi-Fi network. This connectivity paves the way for the next phase of installing the printer drivers, which is essential for enabling comprehensive printing capabilities across your digital ecosystem.
Make sure to carefully follow the instructions in the printer manual or on the manufacturer’s website. Use the provided installation CD or download the necessary software from the Canon website. Follow the step-by-step guide to connect the printer to your computer or network.
Step 4: Installing the Printer Drivers
Installing the printer drivers is a crucial step that facilitates seamless communication between your devices and the Canon printer. By integrating the necessary drivers, you ensure that your printer can interpret print commands and produce high-quality outputs. Here’s a detailed guide to installing the printer drivers for your Canon printer:
- Visit the Canon Support Website: Navigate to the official Canon support website using a computer or mobile device. Locate the section for printer drivers and software.
- Enter Printer Model: Enter the model number of your Canon printer in the provided search or selection tool. This ensures that you access the specific drivers tailored to your printer’s capabilities.
- Download the Drivers: Identify the appropriate printer drivers compatible with your operating system. Download the drivers to your device, ensuring that you save them in a location easily accessible for installation.
- Run the Driver Installer: Locate the downloaded driver file and run the installer. Follow the on-screen prompts to initiate the driver installation process.
- Complete the Installation: As the driver installation progresses, carefully review and accept any license agreements or additional software components that may be included with the drivers. Ensure that you only install the necessary drivers and software for your printing needs.
- Connect the Printer (if prompted): During the driver installation, you may be prompted to connect your Canon printer to the device. Follow the instructions to establish the connection, allowing the drivers to recognize and configure the printer accordingly.
- Verify Driver Installation: Once the installation is complete, verify that the printer drivers have been successfully installed. You can do this by accessing the list of installed printers on your device and confirming that your Canon printer is recognized and ready for use.
By following these steps, you’ll equip your devices with the necessary drivers to communicate effectively with your Canon printer. This seamless integration sets the stage for testing the printer and initiating your first print jobs, marking the culmination of the setup process and the beginning of a productive printing journey.
Read more: How To Turn On A Canon Printer
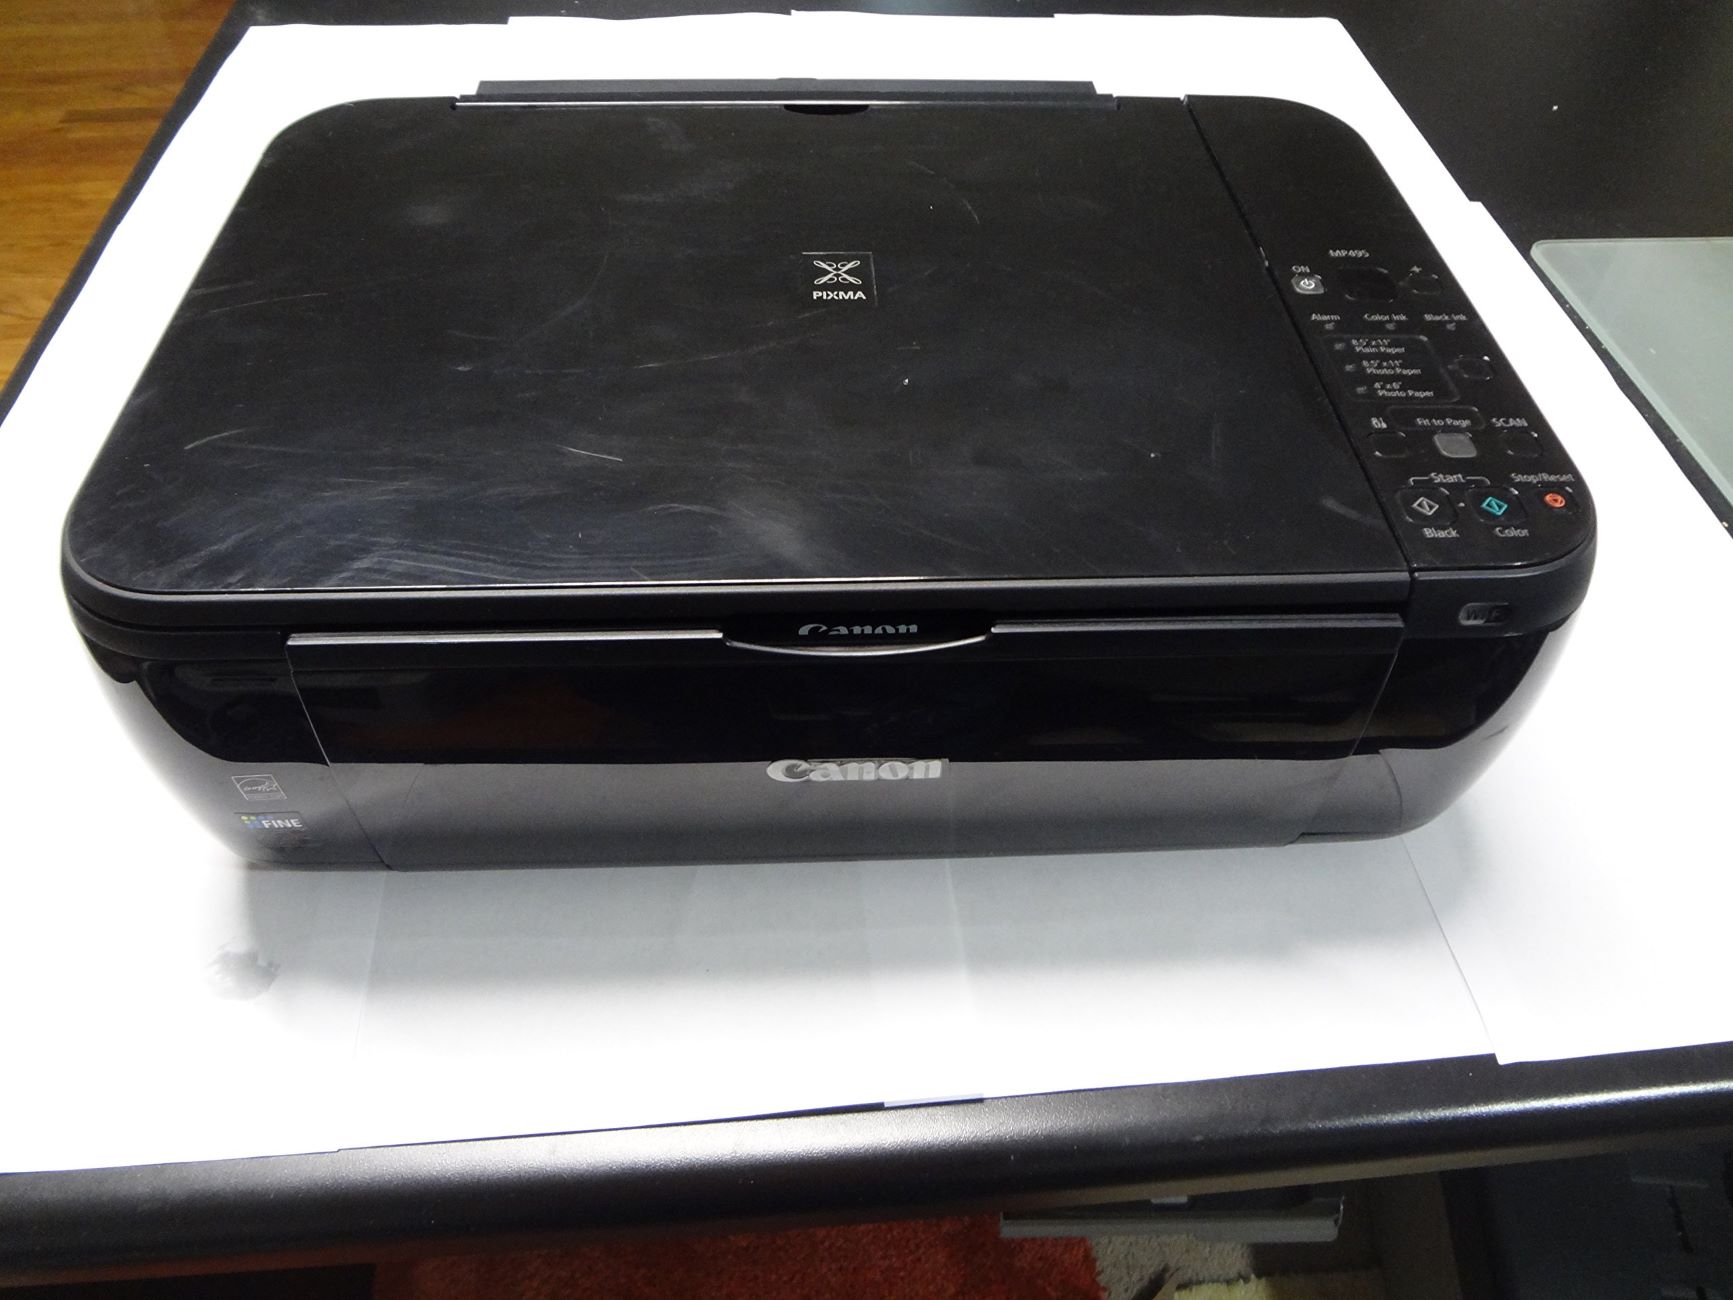
Step 5: Testing the Printer
Testing the printer is the final step in the setup process, allowing you to verify its functionality and ensure that it can produce high-quality prints with precision. By conducting a series of test prints and checks, you can confirm that your Canon printer is ready to fulfill your printing needs. Here’s a comprehensive guide to testing your Canon printer:
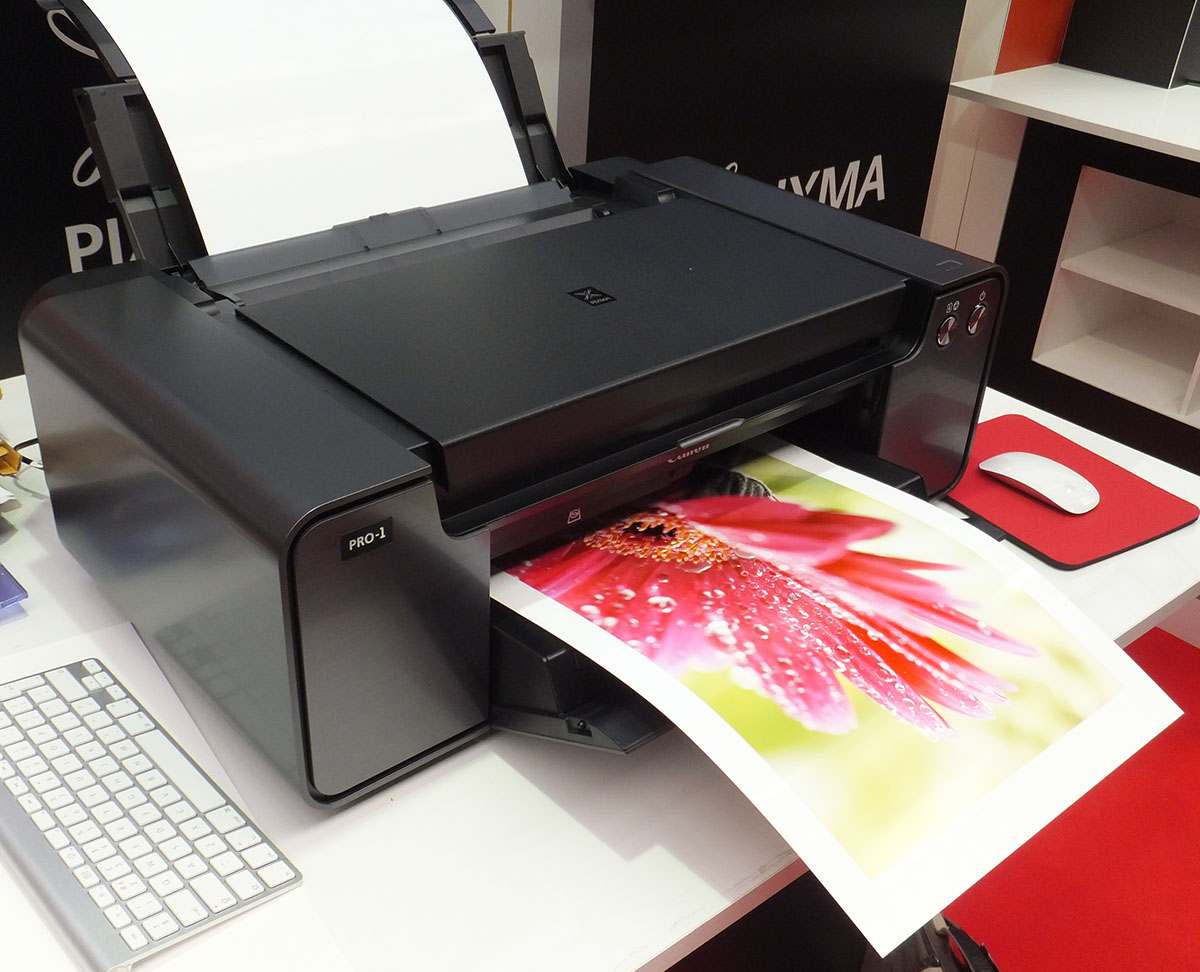
- Print a Test Page: Initiate a test print from your computer or device to assess the printer’s output. This can typically be done by right-clicking on your Canon printer in the devices and printers settings and selecting “Print Test Page.”
- Inspect Print Quality: Examine the test print for clarity, color accuracy, and overall print quality. Ensure that the text is sharp, images are vibrant, and there are no visible defects or smudges on the printout.
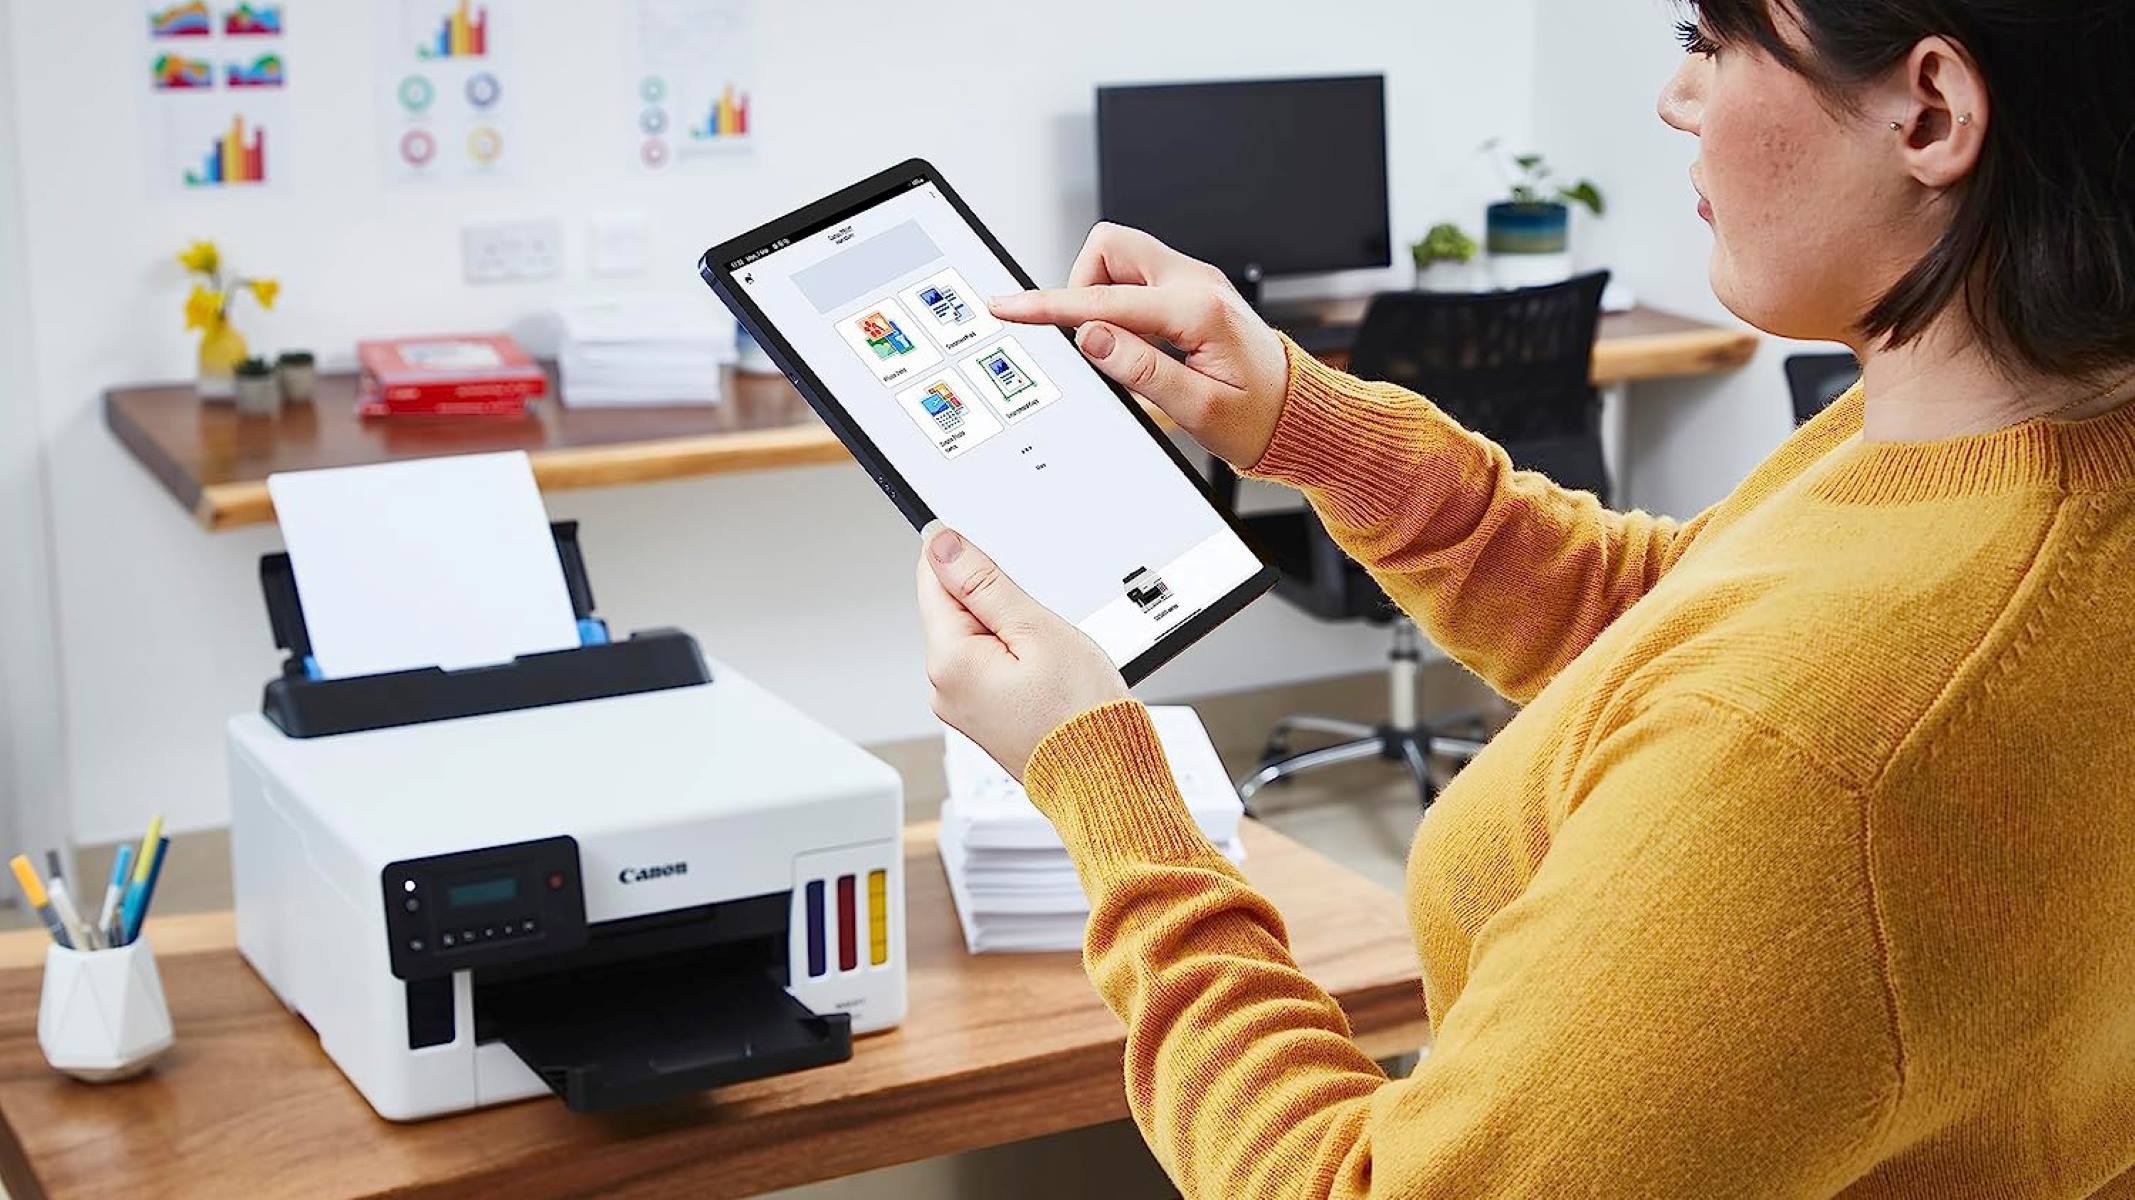
- Check Connectivity: Send a print job from a different device within your network, such as a smartphone or tablet, to confirm that the printer can receive and process print commands from various sources.
- Explore Additional Features: Familiarize yourself with the printer’s additional features, such as scanning and copying, to ensure that all functions are operational and meet your expectations.
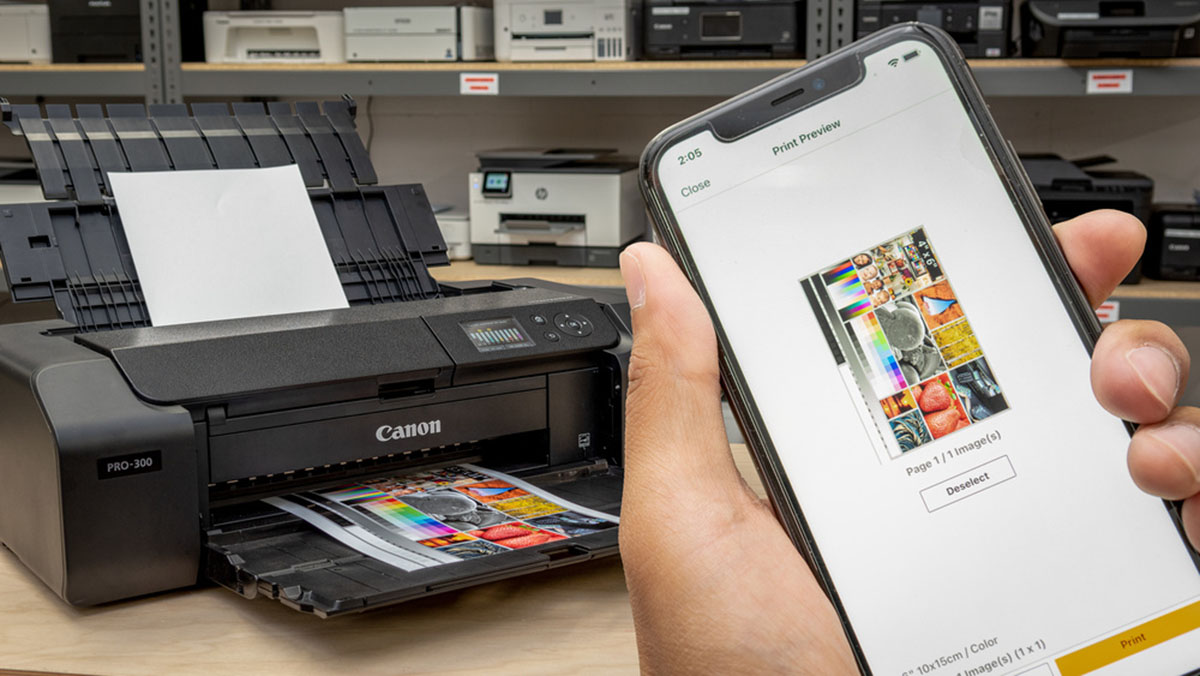
- Verify Wireless Printing: If you’ve connected your Canon printer to Wi-Fi, test its wireless printing capabilities by sending a print job from a device without a direct USB connection to the printer.
- Check Ink Levels: Access the printer’s control panel or associated software to verify the ink levels in the cartridges. This ensures that you are adequately prepared for future printing tasks.
By conducting these tests, you’ll gain confidence in your Canon printer’s capabilities and confirm that it is fully integrated into your digital ecosystem. The successful completion of the testing phase marks the beginning of a productive partnership with your Canon printer, empowering you to effortlessly produce high-quality prints for your personal and professional needs.
Conclusion
Congratulations on successfully setting up your Canon printer! The journey from unboxing and assembling the device to connecting it to power, Wi-Fi, and installing the necessary drivers has equipped you with a powerful printing companion. As you embark on this new chapter of seamless printing, it’s essential to reflect on the significance of your Canon printer and the convenience it brings to your daily tasks.
By diligently following the step-by-step process outlined in this guide, you’ve not only established a functional printing environment but also gained valuable insights into the integration of smart home devices. The careful installation of ink cartridges, the establishment of a robust Wi-Fi connection, and the seamless installation of printer drivers have culminated in a comprehensive setup that aligns with your digital lifestyle.
As you test your Canon printer and witness its impressive print quality, you’re embracing the efficiency and convenience that modern printing technology offers. Whether it’s producing professional documents, vibrant photographs, or creative projects, your Canon printer stands ready to meet your diverse printing needs with precision and reliability.
Remember to explore the full spectrum of features and capabilities that your Canon printer offers, from wireless printing to advanced scanning and copying functions. By harnessing the power of this innovative device, you’re poised to elevate your productivity and creativity in various aspects of your personal and professional endeavors.
As you continue to integrate your Canon printer into your daily routine, consider exploring additional resources and support provided by Canon to further enhance your printing experience. Whether it’s accessing cloud printing services, optimizing print settings, or discovering new ways to maximize your printer’s potential, there’s a wealth of opportunities to explore within the Canon ecosystem.
With your Canon printer now seamlessly integrated into your home or office setup, you’re poised to embark on a productive and creative printing journey. Embrace the convenience, reliability, and quality that your Canon printer brings, and let it serve as a trusted companion in your pursuit of exceptional prints and seamless digital connectivity.
Here’s to a successful setup and a future filled with remarkable prints, courtesy of your Canon printer!
Frequently Asked Questions about How To Set Up A Canon Printer
Was this page helpful?
At Storables.com, we guarantee accurate and reliable information. Our content, validated by Expert Board Contributors, is crafted following stringent Editorial Policies. We're committed to providing you with well-researched, expert-backed insights for all your informational needs.

0 thoughts on “How To Set Up A Canon Printer”